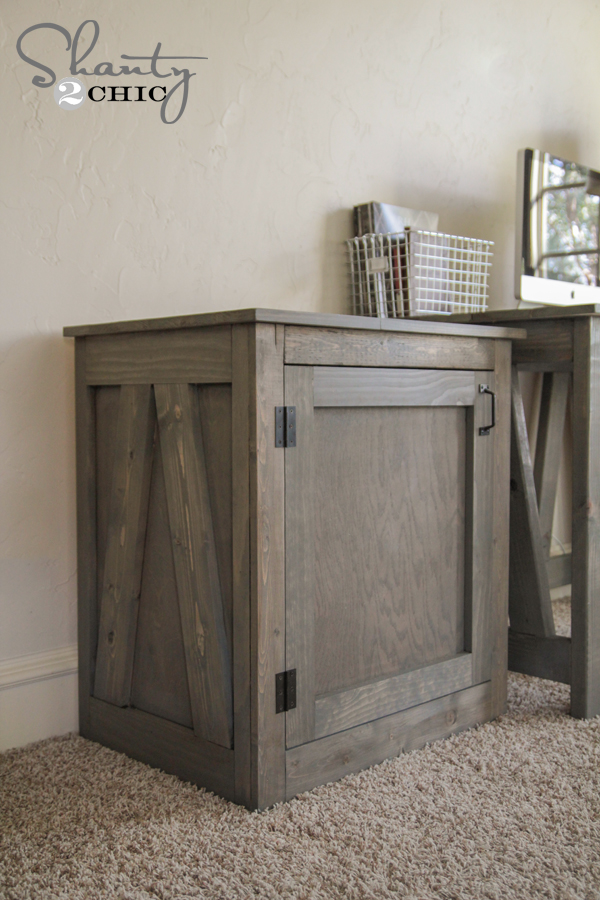
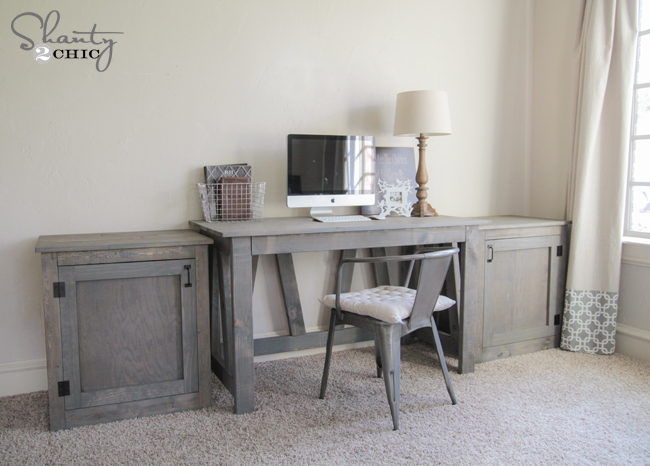
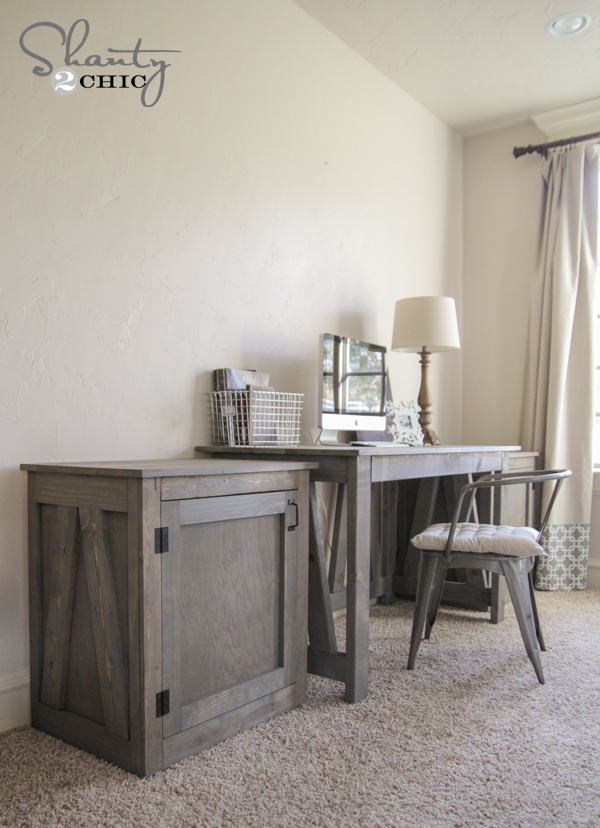
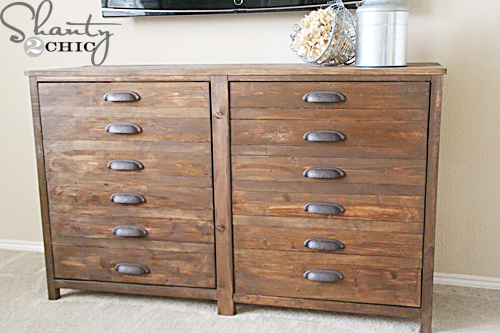
Today I am sharing the free woodworking plans for the side tables of the desk. I designed this part of the desk to be very multi-functional! I am using it as part of my desk system, but these babies also double as nightstands. Nightstands with hidden storage… Can I get an Amen?? Here it is with my desk!
Free Woodworking Plans
I shared the first part of this desk with you guys a few weeks ago, and you can see that HERE. It has been really exciting for me to “need” a desk space. When we started this little blog 6 years ago I never thought I would need a large desk to store a bunch of stuff, but here we are. Makes me thankful.
So… Let’s get to it! As always, you can download the FREE set of plans for this project HERE or the button below! We have an awesome friend named Jay of Jay’s Custom Creations. He puts all of our original ideas and plans into printable plans for you guys! Go check him out and give him some Shanty love!

As always, I would call this a very simple and easy build! I have broken it down for you, but let me know if you have any questions at all!
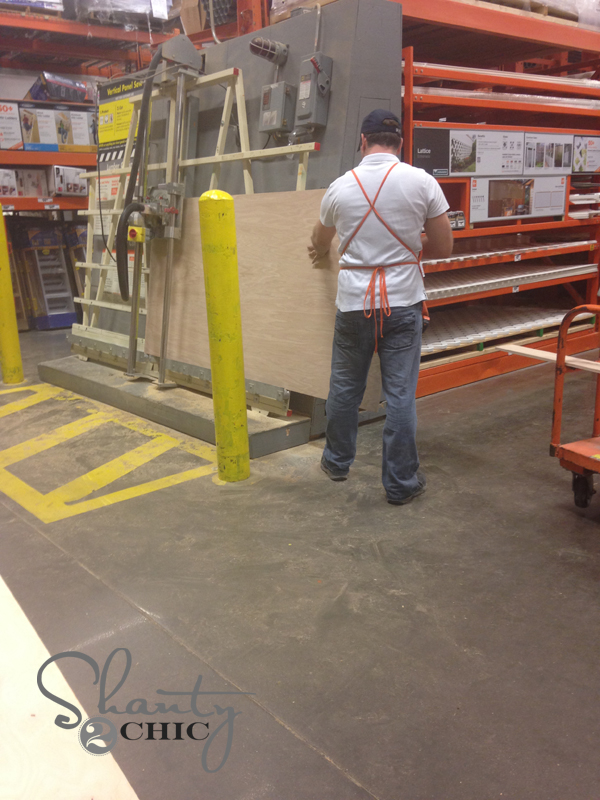
The box of this little table uses hardwood plywood. I chose to use Purebond Plywood for mine! Purebond is our favorite product to use when plywood is part of a build. It looks like expensive hardwood at a fraction of the cost. It’s made here in the USA and it’s formaldehyde-free making it safe to work with! You can find it at the Home Depot. We always have the guys there cut it down for us to make it easier to get into the car.
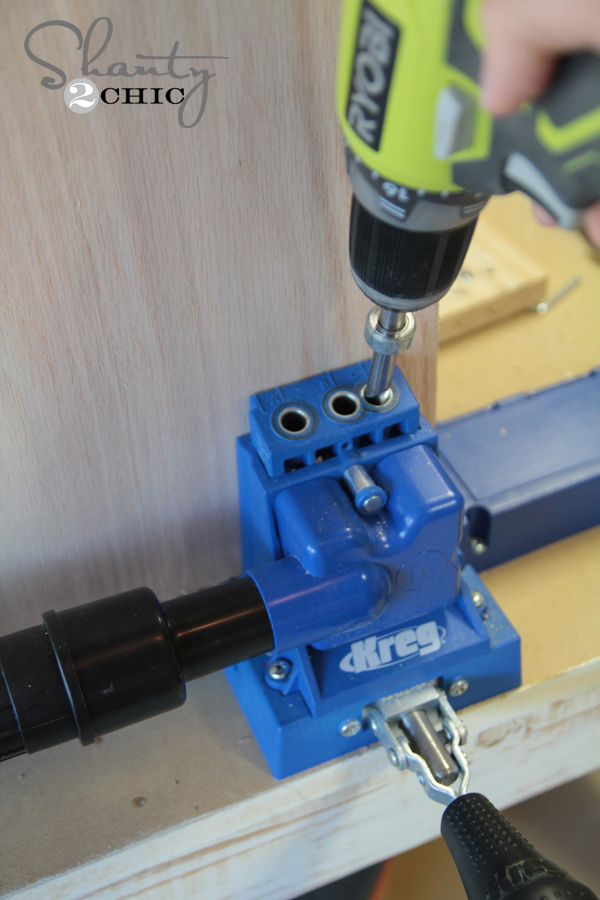
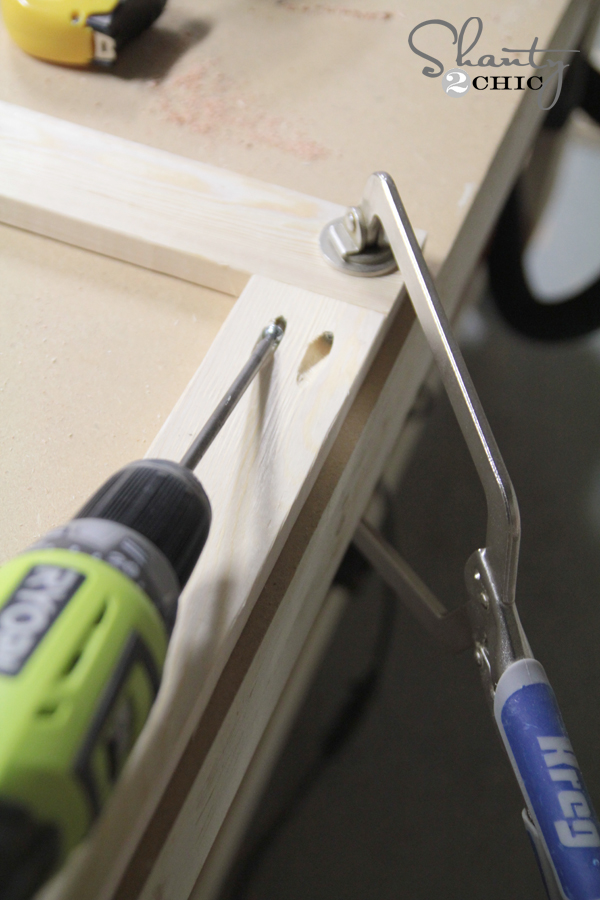
The first step on these tables is to build the box. I used my Kreg Jig for this part. I made 3/4″ pocket holes on my top and bottom pieces.
I used a pencil to mark where the bottom board would line up on a side piece and added a line of Gorilla Wood Glue before attaching the bottom piece.

I used my Kreg Right Angle Clamp to hold the bottom board in place while attaching with 1.25″ pocket hole screws. I love this clamp! It’s like having an extra arm around!
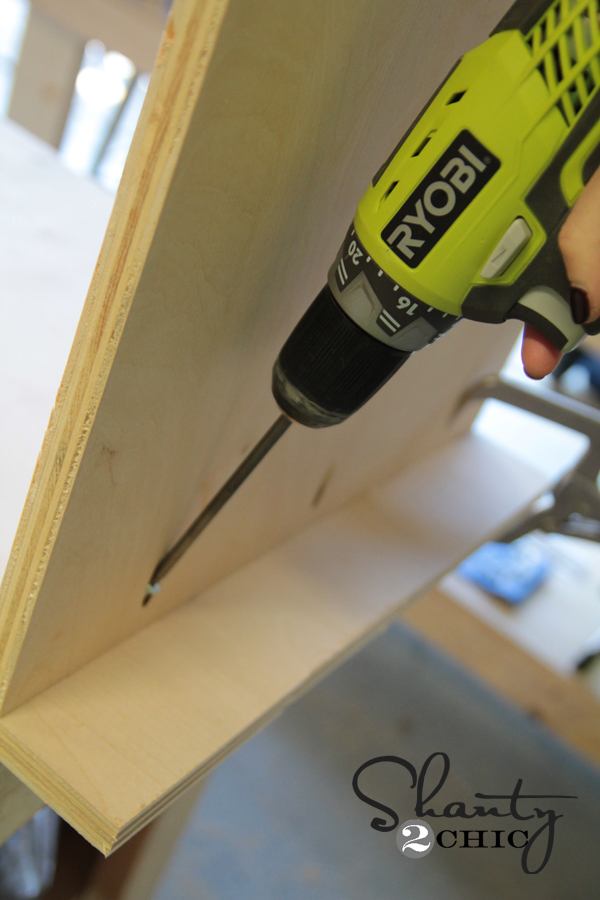
I attached my top board the same way. Make sure it’s flush with the edge of the side pieces.
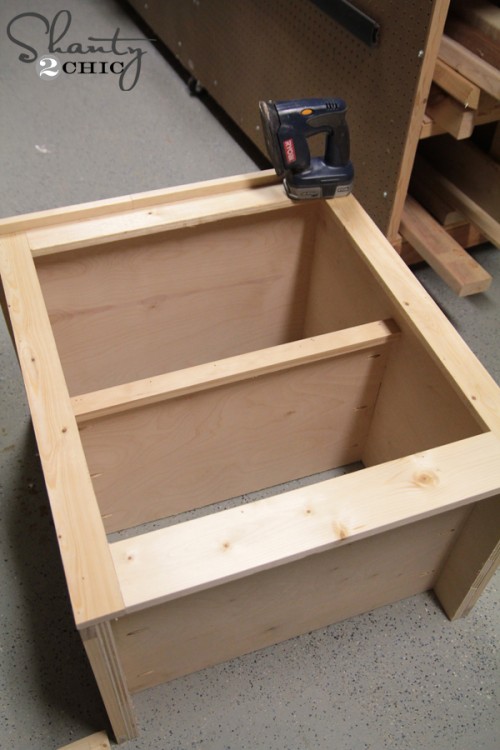
And you have a box!
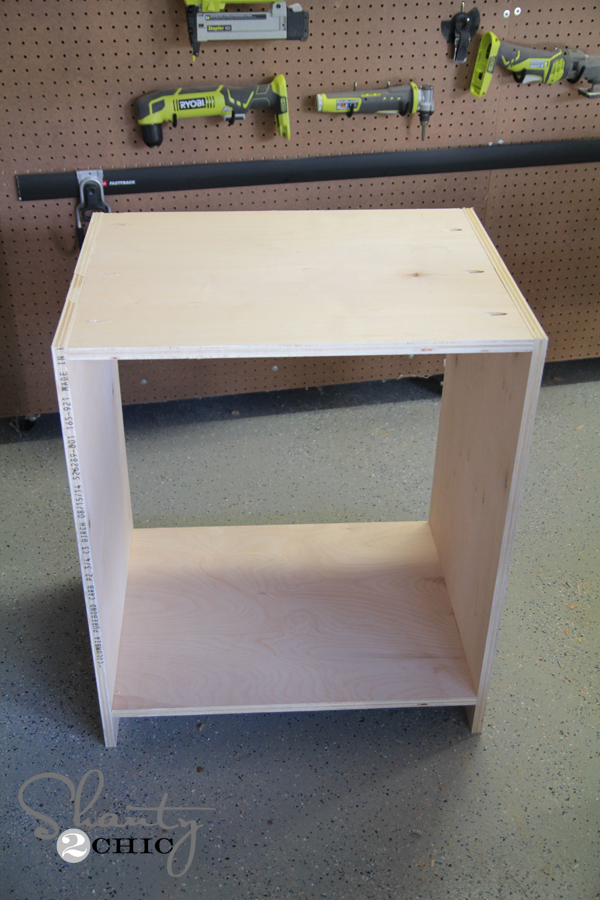
I added the shelf piece next. This part is optional and you can line it up inside the table wherever you want to fit your own storage needs. I used 3/4″ pocket holes and 1.25″ pocket hole screws for this part as well.
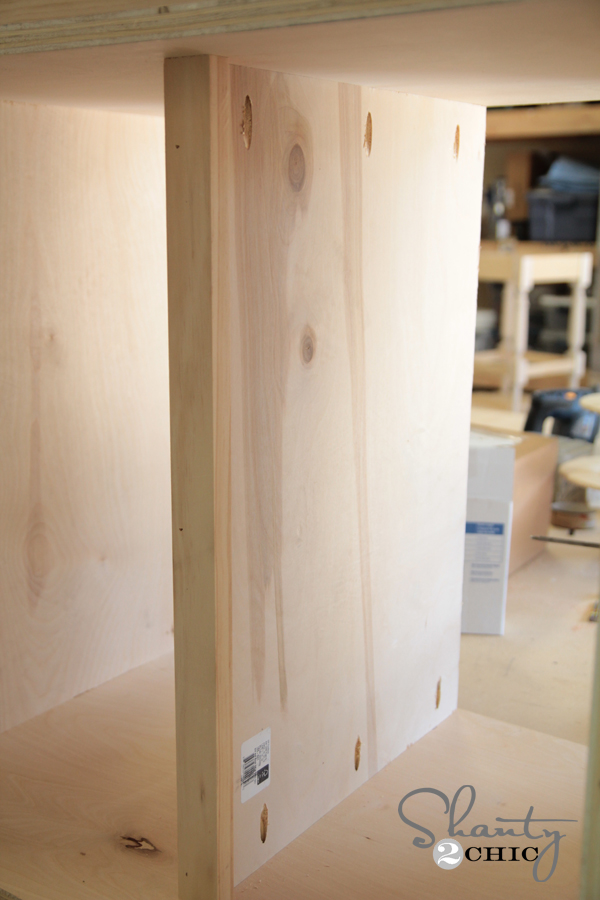
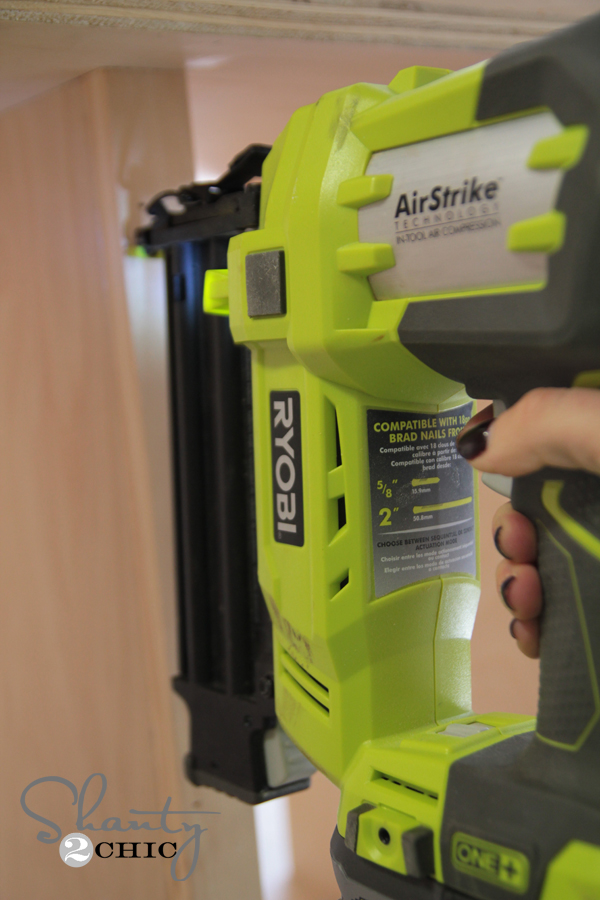
I attached a piece of 1×2 on the front of the shelf using my Ryobi AirStrike brad nailer and wood glue. This covers the rough edge of the plywood.
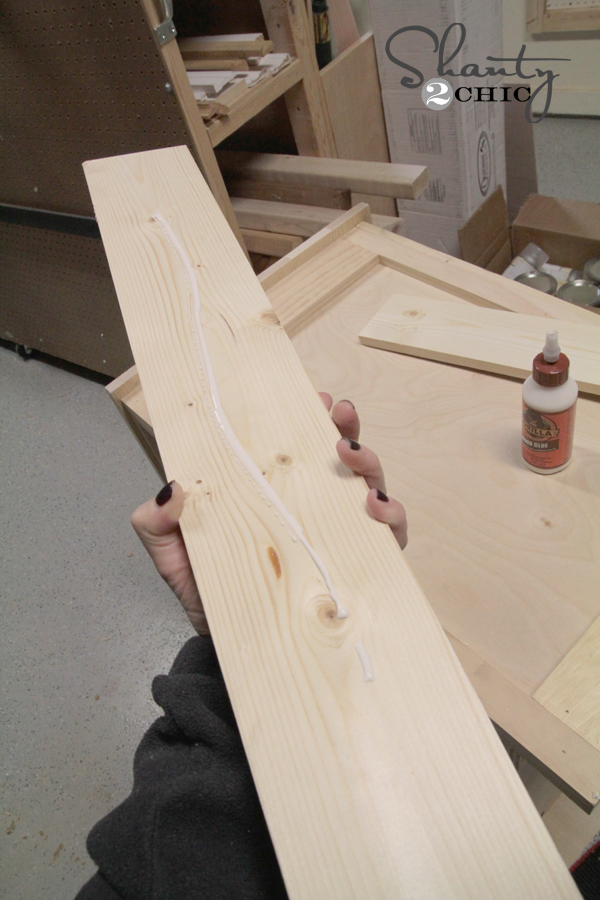
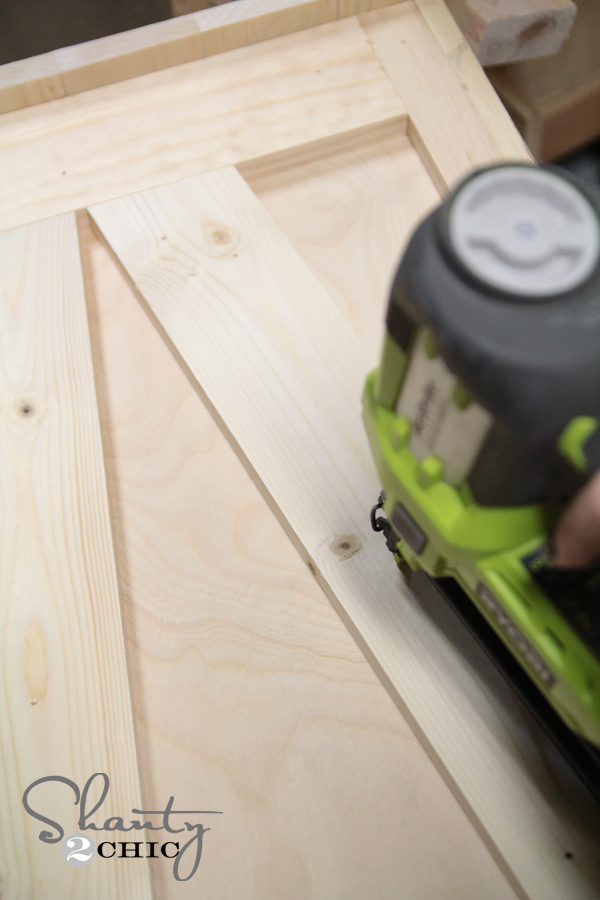
Now to trim this bad boy! Simple. I used whitewood for all of my trim pieces. We have noted the cuts in the plans, but I really like to measure this part as I go. Sometimes you may be of a very tiny bit, and that will be most evident when adding trim. I used a line of wood glue under each board.
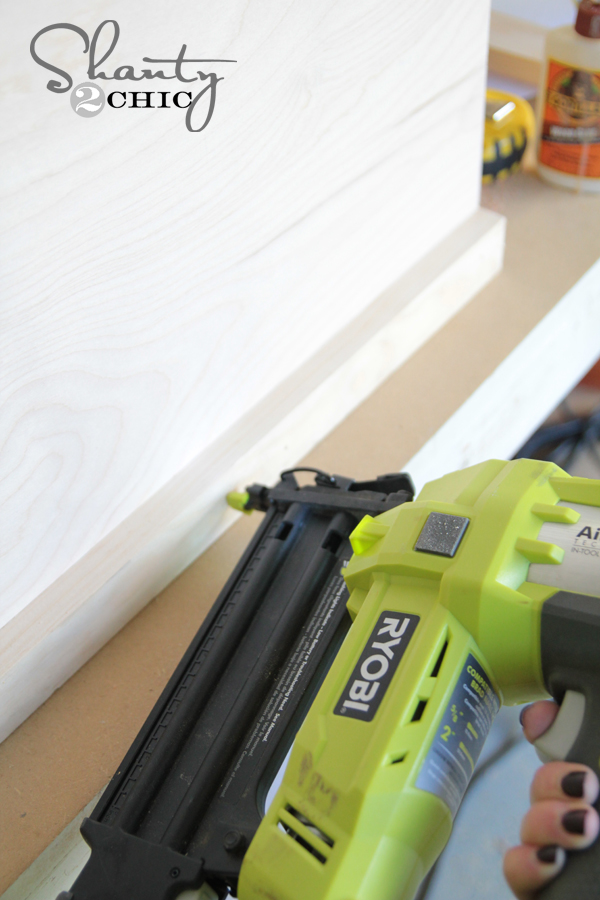
Then, I attached them using my brad nailer with 1.25″ brad nails.
I didn’t worry about the nail holes on this part. I am going with a weathered wood look, and I actually love the look of the exposed nail holes. You can fill yours if you wish… Just be sure to use stainable filler if you plan to stain.
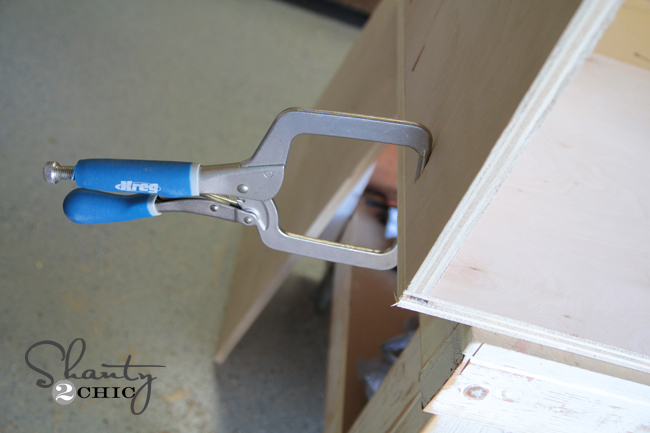
I used my Kreg Jig again to put together the face frame of the table. This part uses 3/4″ pocket holes and 1.25″ pocket hole screws as well. You can see my Kreg face clamp hard at work here….
Once I had the entire face frame assembled, I attached it to my ‘box’ using wood glue and my brad nailer.
Time for the doors… AKA Mom’s best friend…
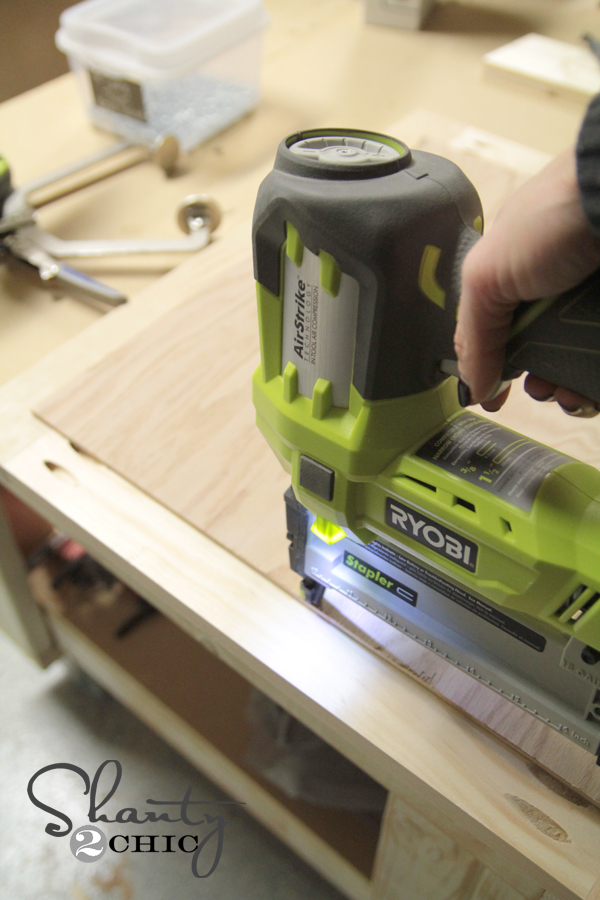
You build the doors the same as the face frame using the Kreg Jig. Once those frames are built, attach a piece of 1/4″ Purebond plywood to the back of the frame. I used wood glue and 3/4″ staples with my AirStrike Stapler for this part. Staples are a good option when using thin plywood like this.
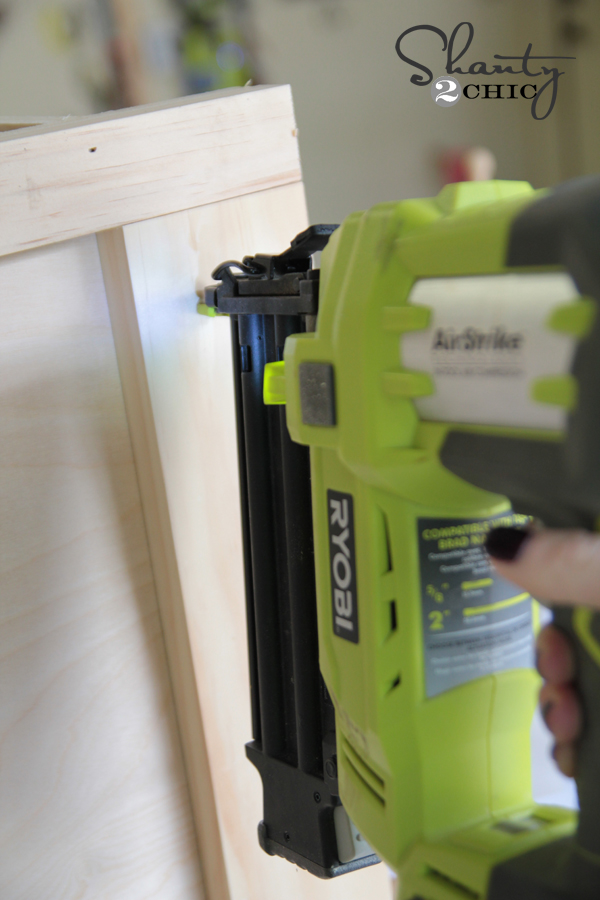
I kept the doors off for now, so I could stain them. My final step was adding the side pieces of trim. These are 1×4 cut with a 10 degree angle. This is a very easy cut to make with a miter saw. Just set the saw to cut a 10 degree miter cut and cut them according to the plan. I added a line of wood glue on each piece….
I attached them using my brad nailer and 1.25″ brad nails.
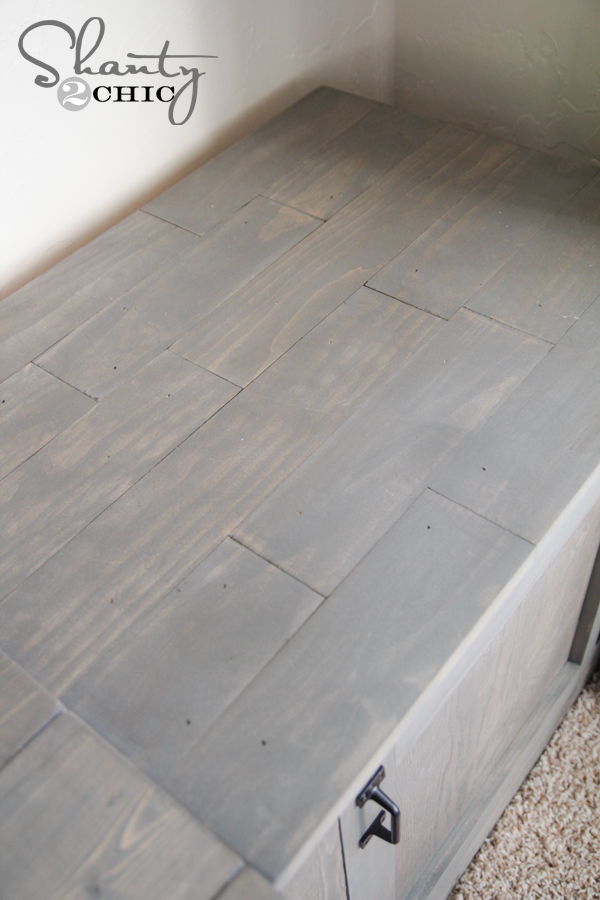
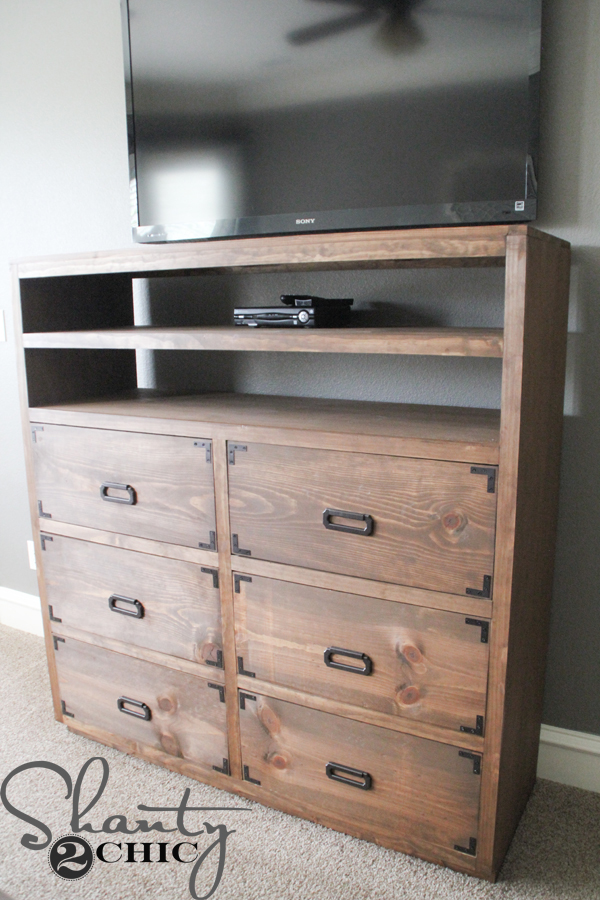
My final steps were adding the plywood to the back of the tables and planking the top. I used Purebond for the back and attached it using my stapler and no glue. I decided to plank the top of the table with the same measurements that the plan calls for. I just broke those up into more cuts to give it a ‘planked’ look. I LOVE IT. You can see it here…
Let’s talk about the stain!
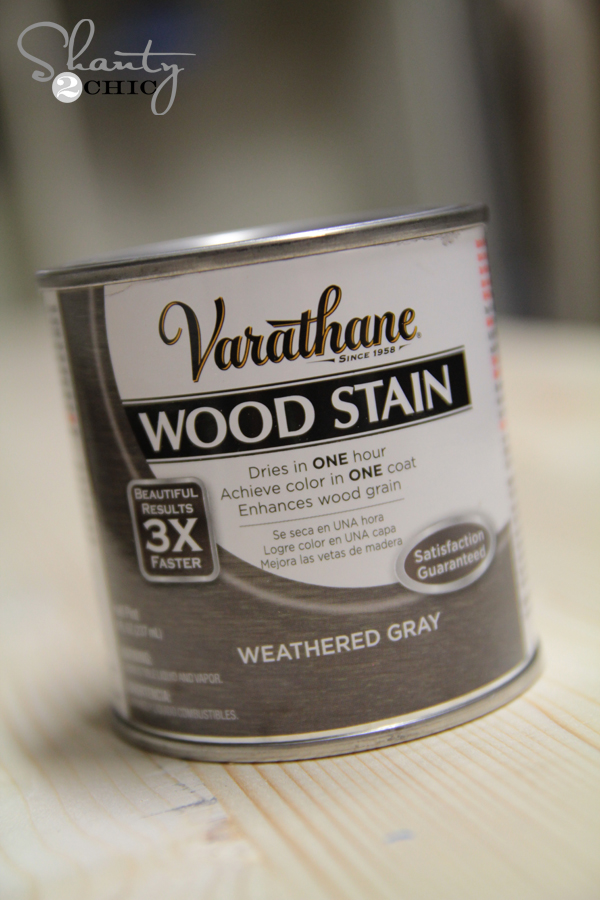
I used one of my new fav stain combos for the finish! I started by staining the whole thing with Varathane wood stain in Weathered Grey. You can find this at Home Depot! It only requires one coat and dries in an hour… Yes please!
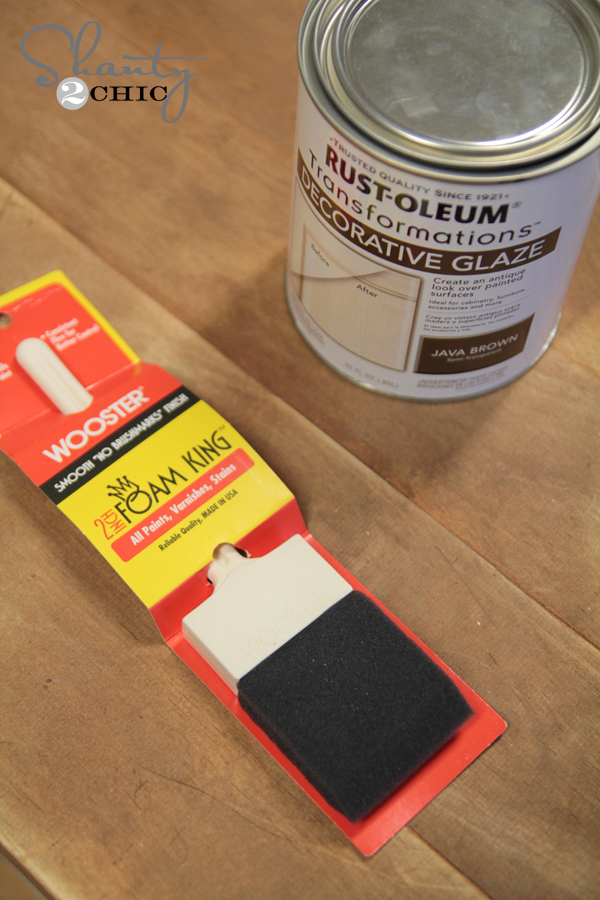
I wanted mine to look a bit more distressed, so I used Rust-Oleum decorative glaze on top of the stain once it dried. You just brush this stuff on and then wipe the excess off. Work on one side at a time as it does dry pretty quickly. You can also find this at Home Depot.
I found my hardware at Home Depot as well. These are the pulls and hinges I used for my tables. Just use your drill to attach both… Easy peasy. I also added a small magnet closure on the bottom of the inside of the table to catch the door as it closes.

Here are a few more shots of the progress!
I can’t wait to share part 3 with you guys soon! This is such a fun system that can be easily modified to fit your own space!
I would LOVE for you to PIN and share this plan with all your friends! You guys are great and we appreciate you so much!
~Whitney


My husband and I have just finished building all the components to this desk and have made several of your other pieces and I just want to say that your directions/plans are far superior to the build I’m on now. Excellent job.
Thank you! Thank you!
I was wondering if you could give me the overall length to the desk with the two side pieces on it thank you
Can anyone give me an estimate of how much this project costs? Thanks!
Has anyone considered building this with MDF instead of Plywood? I’m guessing if someone was building this with the intention of painting it, that would cut the cost down dramatically.
So I bought all the plywood, despite the (unexpected) high cost because I love these. I got home to find that the supply list said 1/2″ plywood, but this blog post and the rest of the plans say 1/4″. I’m a little distressed, because that would have been a much cheaper piece of plywood to purchase! Please correct the plans so no one else makes this mistake!
Update: While it was annoying because the 1/2 is much thicker, other than adding weight, the thicker piece of board doesn’t seem to have affected much. I suggest the 1/4″ though!!
Hey Jenny, I just picked up all the wood needed for this project, I havent cut anything yet, I am still having a hard time understanding the plywood issue. I am a beginner at this. the plans are not laid out correct… Can you pls help?
Does anyone know if the truss pieces are the correct measurement and/or angle? I cut my pieces to 24 3/8″, but they seem to be too long.
We had to cut ours down an additional amount. We stuck them in, marked where they needed to be cut again, and cut them again at the 10º angle
I’m having the same problem right now! Super frustrating, having everything cut to the perfect dimensions and then feeling insane because things aren’t matching up. Gonna mark and cut them down.
Wow, I’m 2 years too late to this comment. Lol.
I love this whole set! I built the desk and the bookshelves cause they were what I needed first, now to work on this part! I love the broken up planking that you did on top!
How is the glaze applied? Put it on thick and then wipe off like you would a stain or…?
what are the dimensions of the DIY bedside cabinet, would it be harder to make this longer and higher? Should I just add 2 inches to everything?
Just a question…what kind of wood do use for your projects?
The materials list also says you need a piece of 1/2 inch plywood but then none is used throughout the plans….I am a building beginner…I would love some clarification.
1/2 is for the top
No, it isn’t. The top is made up of the 1×4’s.
You don’t need 1/2″ plywood. You need 1/4″ plywood, which is for the back of the cabinet and the door.
Love this so much but the plans are a bit confusing. The page showing all of the cuts on the lumber does not label anything to let us know which piece goes on what part of the cabinet. It would be so helpful to have text on the page with the dimensions of each pieces showing which piece is a side, top, shelf, trim, door frame, etc.
They are color coordinated 🙂
When printed out, they are all just grey. 🙁
Change the settings on your printer to not print greyscale and you will get the colors which are then easier to follow
can you please show a picture of the magnet closure piece you used? i have been trying to figure out how to keep my doors from “folding in” on a console table i made from your inspiration. 🙂 thanks.
Can you please give the overall dimensions of the nightstand/cabinet? Thanks!
I would like to know this too! did you ever get an answer?
I would love to know the overall dimensions as well!
Math dictates it as being 30.75″ H x ~26.5″ W x 20″ D, with a 1″ Top overhang
Love the finish. Did you seal it with anything?
I’ve got the same question. Anything after the glaze?
So cute!! Now if y’all would make plans for a filing cabinet in this style I would be in desk heaven! I can’t wait to start this build. Thanks for the continuous plans and inspiration to spruce up my home with gorgeous furniture on a budget
Awesome Regan!!! Not a bad idea!
Regan I’m planning to just make mine without a shelf then put my little 2 drawer file cabinet in it. Keeps the fireproofness but looks much better!