Hey friends!
Want to see what I made during nap time yesterday?? My oldest kids are staying at their grandparents for a few days and the baby took her good, long afternoon nap so I had to utilize this precious time! Know what I mean moms??
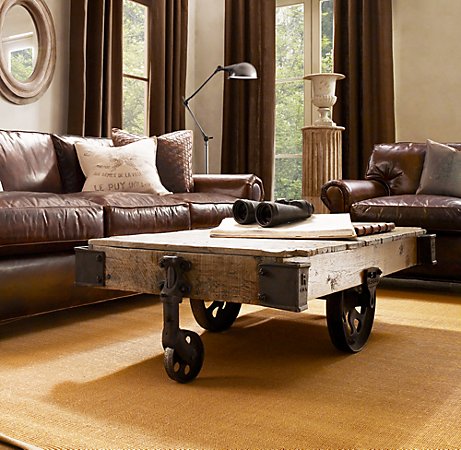
I have been loving this table from RH for years now…
With a price tag of over $1000 (YUCK), I had no intentions of ever having one. That was until I stumbled on Ana White’s version!
So, I lovingly passed on my current coffee table to my younger sister and got to work yesterday!
First off, a stop to Lowe’s with one of my favorite “helpers”…
Yah, she was just checking the receipt for me… Not about to eat it at all 😉
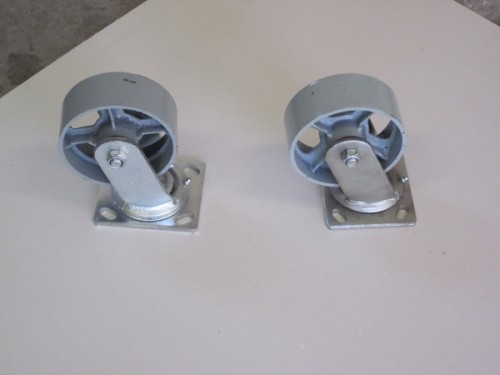
I also stopped my Northern Tool to pick up my metal casters. I actually found several online as well but I wanted mine now so I purchased these for $12 a piece. That was the most expensive part of this table but well worth it I think.
I followed Ana’s plan with just a few exceptions…
~For the sides I used 1×10 rather than 1×6. I didn’t want such a low sitting coffee table with my big couch so this gave it an extra 4″.
~ I added an extra 1×6 plank to the top which made the table a bit longer.
~ I made the top planks 3″ longer than the measurement she called for. This gave me a bit of an overhang which is exactly how I wanted it.
~Because I wanted an overhang, I moved the 1×2 braces under the table flush with my sides rather than putting the 3/4″ down. This actually made the entire table much easier to build I think!
~ I also used 2×4 for the wheel supports on the bottom. I had some extra, plus they are cheaper and stronger.
So here are a few pictures of my steps…
I used Gorilla Wood Glue for everything and actually used a 2″ nailer to hold everything together. It’s sturdy!
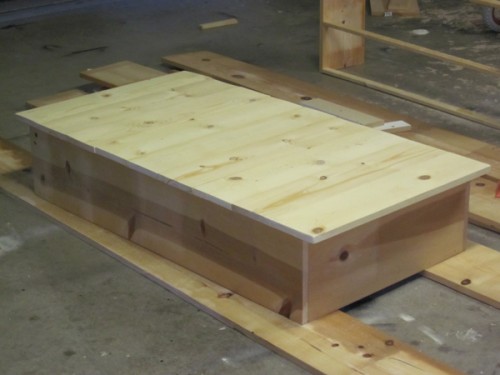
These are the planks lined up for the top of the table. I bought the knottiest wood I could find to make it look older and shatier 🙂
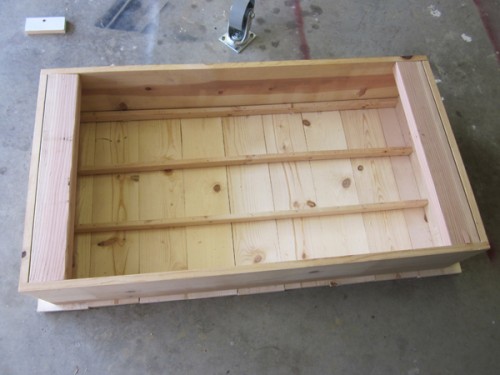
This is a picture of the finished underside of the table just before I flipped it to stain it!
And here it is ready to be stained!
I actually stained it last night and will be putting the polycrylic on it this morning before I attach my wheels.
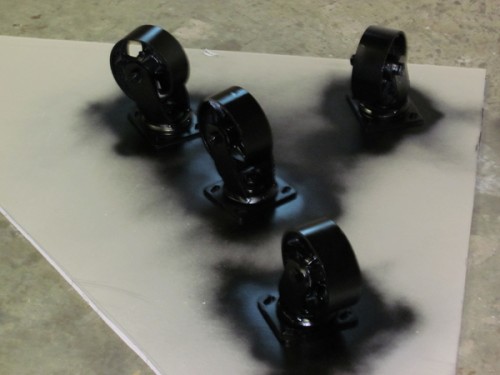
The wheels got a little revamping as well…
Here they are drying after I sprayed them all with a coat of Rust-Oleum Black spray paint. Woohoo!
I promise… This is super easy to build! She actually has you use screws so if you have a drill you can build this baby! Easy! I had the entire thing done in the 2 hours it took E to nap!
Oh, I almost forgot. Total cost out of my pocket… Less than $85! That is $10 less than the quoted shipping cost on RH’s version!
Want to see it all finished??? Me too! I will share that with you guys in my next post :-)! Have a great Wednesday! I’m off to get more done!!
~Whitney





If you can recall, about how much did you spend on all your materials?
Hello! My husband and I are following your’s and Ana’s directions to make a table just like this! Where did you buy the wheels from? All the ones at Home Depot were too small!
Northern Tool and they sell them online if you don’t have one near you! 🙂
Hi Ashley,
If you don’t mind my asking, why did you decide to get away from the other coffee table that you built? Was it the size? I’m still thinking of building that one for our living room because I love the look of it, but I’m concerned about it taking up too much space. What are your thoughts? Thanks! 🙂
Minna
Hi Minna,
This is actually Whitney’s coffee table:) I still have mine in my living room and LOVE it!!! Love Whit’s too but I have carpet so the casters don’t really work for my area:)
I wish you were my next door neighbor and could teach me all your mad skills. I love your creativity.
Looks great and sounds very doable. I can’t wait to see it finished!
Love it!! Fabulous idea and I can’t wait to see it when it’s finished!
I can’t wait to see – I bet it’s fabulous! I was thinking, with the extra depth, I bet it’d be so easy to turn this into a hidden storage area, too!