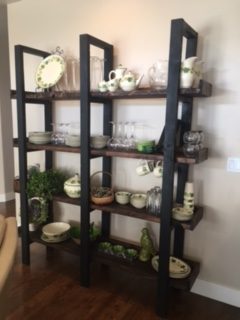
Submitted By: Jenni Jeffer
Original Shanty2Chic project it was inspired by:
https://www.shanty-2-chic.com/2014/08/diy-distressed-plank-wall.html
Time to Complete: 2 days
Total Cost: 25
Finishing Details:
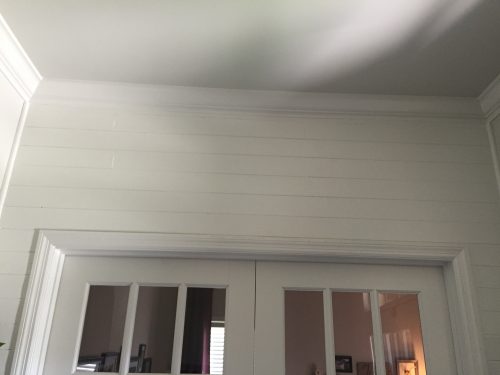
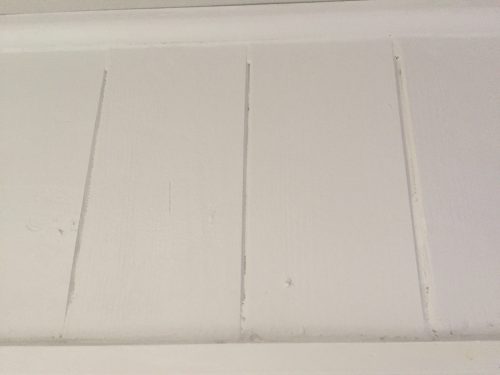
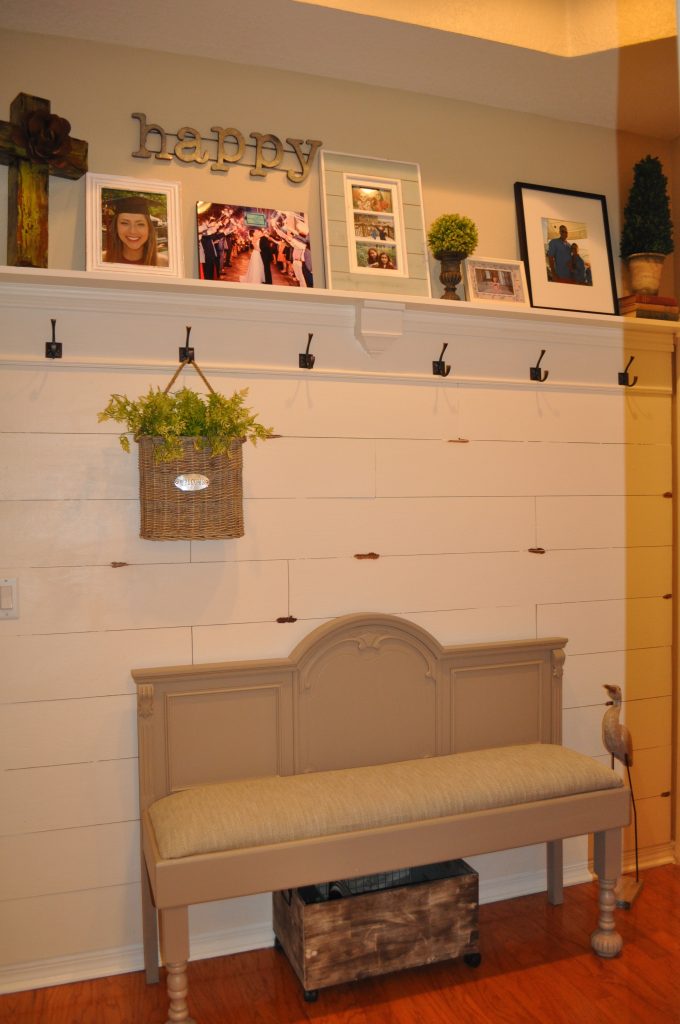
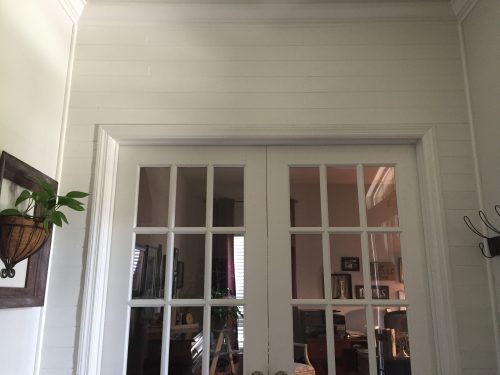
I've been inspired by many of the project you have done but have been scared to step out of my comfort zone. Your courageousness to step into A world that is filled with a whole bunch of men, has given me hope that one day I might be as good as the two of you! I am a self-proclaimed DIYer, as many are, but I have a lot to learn! One of my "fantasies" has been to put some sort of wood up on my wall, similar to your plank wall, but I also was realistic and knew it could get expensive. Money is very tight and I knew I did not have a whole lot to spend on this project but was determined to do it and while $100 is still not super expensive, to our budget, it was not possible! So, while my husband was out of town I went off to Lowe's and looked around for almost an hour at all the different wood products. I thought about using pallets, they are everywhere, but I was worried about the wood being unsafe and Was also very aware of my limited amount of power tools (i have a jig saw and a drill – that's it!) . But after about an hour of strolling down isle 21, 22, 23, I came across a package of bead board and took one of the pieces out and realized that the back part of it was smooth as well as being tongue and groove, a necessity in my mind for it to look right and go up easily. It was also extremely cost-effective as each package was only $10 and contained 10 planks. So, I thought "hey", this was something that would be possible and I brought 2 packages home. I have to admit I pondered for a few days but knew if I was going to do it, I had to do it while my husband was out of town as I was certain he would freak out! So I began to put pieces together on the floor trying to tell if I was about to make a huge mistake but I bit the bullet and put that first piece of wood up with the nail and there was no turning back! By the way, I also did not have a nail gun so every single nail that went in was done by hand. I figured if they did that in the olden days, I could embrace history and it could be done!! Piece by piece it went up and I think the wall came out great! it was extremely time-consuming though, but If I had to do it all over again, I would!! I think this was an extremely creative way to use resources on a limited budget. Thank you for inspiring me and giving me the courage to do something I really aspired to have as a part of my home! It's really awesome when you put so much heart and soul into something and it all comes together in the end and I have You 2 thank for that! and my husband loved the WALL!!! SWOOSH!