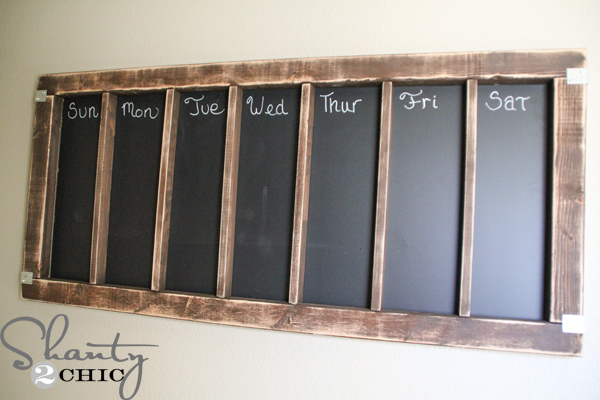
Hey guys! I am so motivated to get my life, family, home, etc. organized this year. I always feel like I’m forgetting appointments, dates, my mind 😉 So, I came up with a cute Chalkboard Days of the Week Calendar that will hopefully get my world organized but, if all else fails, at least it will be cute hanging on the wall!
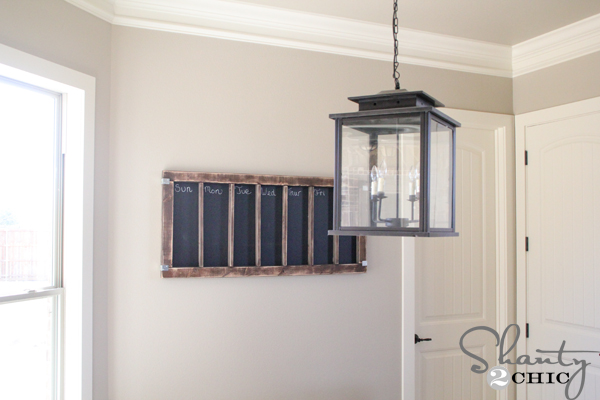
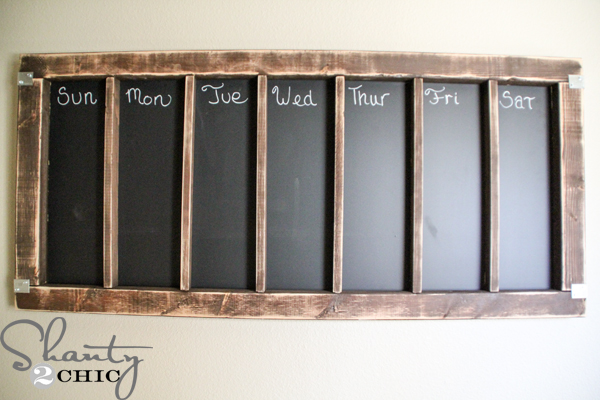
There it is! I’m in LOVE, it was so easy to build and only cost me about $20!
To start, I bought a sheet of 2’x4′ chalkboard at Home Depot for about $10 and left it as-is!
Next, I purchased 3 2×3’s and cut 2 pieces at 52 13/16″ and 2 at 19 1/4″.
I used my Kreg Jig to attach the 2×3’s to make the frame. I drilled 2 – 1 1/2″pocket holes in both ends of each of the short 2×3 pieces.
Easy enough? You can see in the picture above that I marked where I drilled my pocket holes.
I attached the frame using 2 1/2″ pocket hole screws.
For the day dividers, I purchased 1 1×2 @ 8 ft. and cut 6 pieces at 19 1/4″ long.
I then drilled 1 – 3/4″ pocket hole at the end of each 1×2 on the skinny side.
I attached them with 1 1/4″ pocket hole screws and wood glue and then it was time to stain! ** I attached my dividers about 6.5″ apart from divider to divider. Try that and then eyeball it to make sure they are all equally spaced. **
Using a foam brush, I applied one coat of Rust-Oleum Dark Walnut stain to the entire frame.
To get the distressed look on the wood that we like, I ran my Ryobi Corner Cat Sander all over the frame with 80-grit sand paper.
Once the stain dried, I used my Ryobi Cordless Airstrike Stapler to attach the chalkboard to the frame. This baby is a life saver for backing pieces like this. I no longer have to worry about my nails pushing through AND it uses the same 18-Volt battery as the rest of our Ryobi tools!!
To finish this cutie off, I purchased those “L” brackets for about $.50 each and purchased screws to fit. I bought flat heads because I liked the look. I used saw tooth hangers and anchors to attach the piece to the wall.
I like to use my 12-Volt drill to do attach small pieces like this.
That was IT! NOT-EVEN-KIDDING! How easy was that 🙂 Hopefully this is just the motivation I need to kick my booty in organization gear for the new year!
Become a VIP Insider
Stay up-to-date on all the new project, free plans and new products available for you!
I just made this project but my piece of chalkboard was only 44 inches and it do not fit. I will have to disassemble the pieces and shorten the long pieces. Make sure to measure the chalkboard piece first.
Anyway, still a super simple project and I made it with my 4 year old daughter. Great father daughter project. It is her chore schedule and she is just excited to use it
Did you cut these at 9.25 or 19.25? 9.25 seems pretty small and you would have had to cut the chalkboard if that is the correct measurement. 19.25 would work though for not cutting the chalkboard.

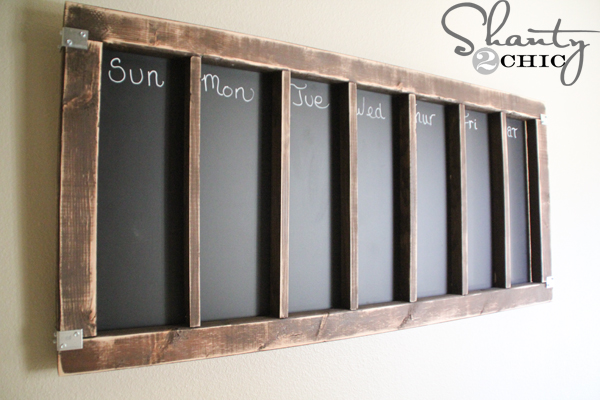 There it is! I’m in LOVE, it was so easy to build and only cost me about $20!
 To start, I bought a sheet of 2’x4′ chalkboard at Home Depot for about $10 and left it as-is!
 Next, I purchased 3 2×3’s and cut 2 pieces at 52 13/16″ and 2 at 19 1/4″.
 Using a foam brush, I applied one coat of Rust-Oleum Dark Walnut stain to the entire frame.
 Once the stain dried, I used my Ryobi Cordless Airstrike Stapler to attach the chalkboard to the frame. This baby is a life saver for backing pieces like this. I no longer have to worry about my nails pushing through AND it uses the same 18-Volt battery as the rest of our Ryobi tools!!
 To finish this cutie off, I purchased those “L” brackets for about $.50 each and purchased screws to fit. I bought flat heads because I liked the look. I used saw tooth hangers and anchors to attach the piece to the wall.
 I like to use my 12-Volt drill to do attach small pieces like this.

 To start, I bought a sheet of 2’x4′ chalkboard at Home Depot for about $10 and left it as-is!
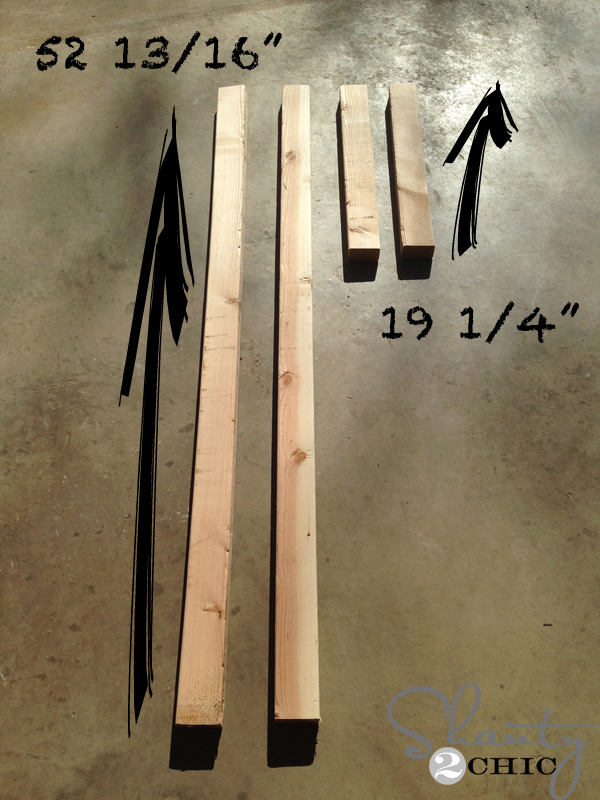 Next, I purchased 3 2×3’s and cut 2 pieces at 52 13/16″ and 2 at 19 1/4″.
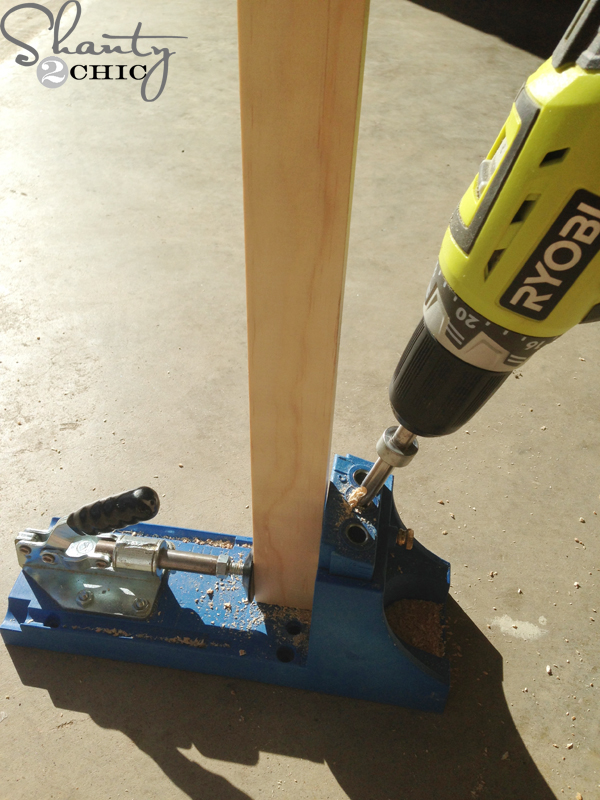 I used my Kreg Jig to attach the 2×3’s to make the frame. I drilled 2 – 1 1/2″pocket holes in both ends of each of the short 2×3 pieces.
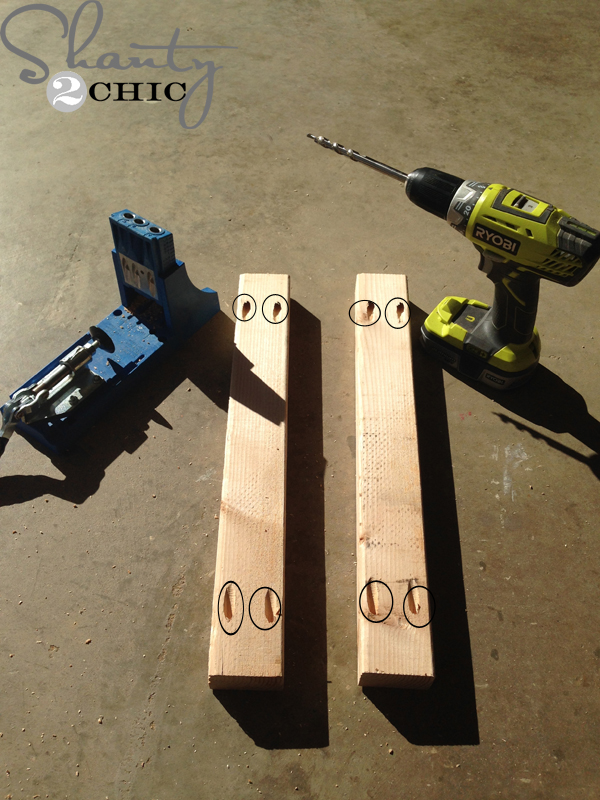 Easy enough? You can see in the picture above that I marked where I drilled my pocket holes.
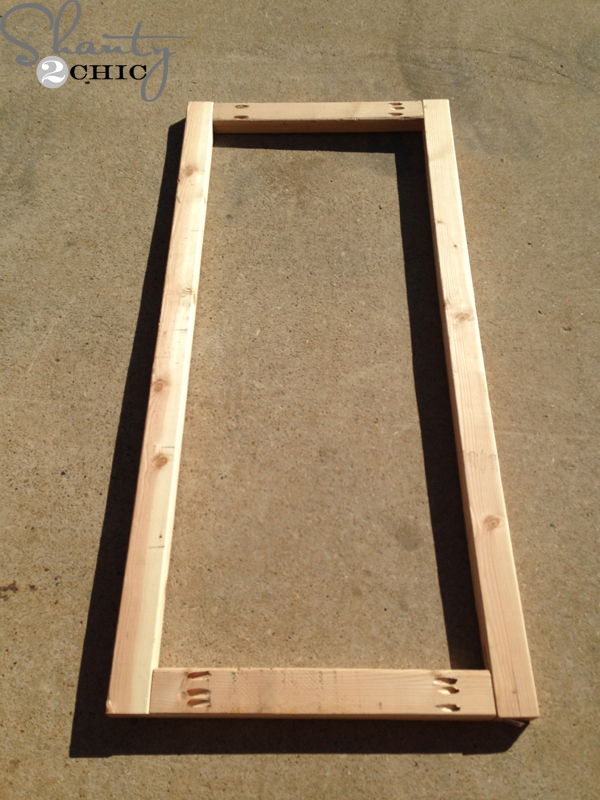 I attached the frame using 2 1/2″ pocket hole screws.
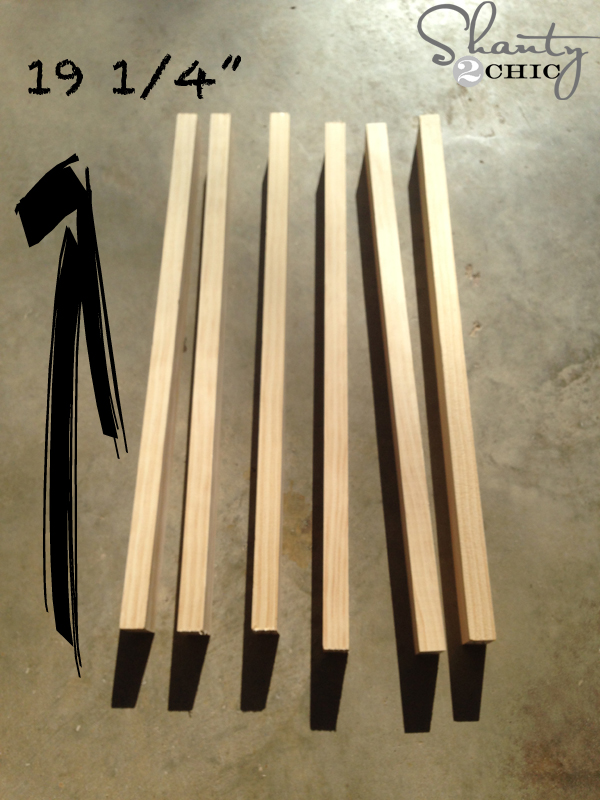 For the day dividers, I purchased 1 1×2 @ 8 ft. and cut 6 pieces at 19 1/4″ long.
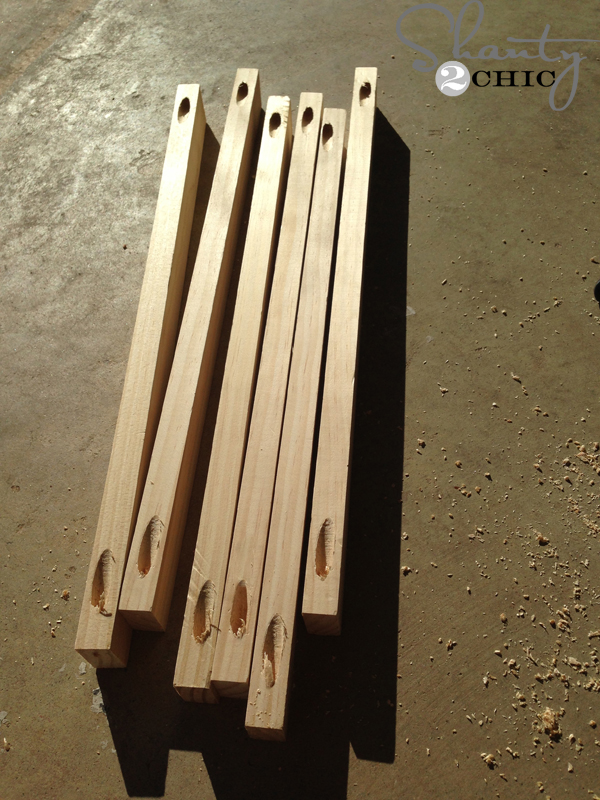 I then drilled 1 – 3/4″ pocket hole at the end of each 1×2 on the skinny side.
 I attached them with 1 1/4″ pocket hole screws and wood glue and then it was time to stain! ** I attached my dividers about 6.5″ apart from divider to divider. Try that and then eyeball it to make sure they are all equally spaced. **
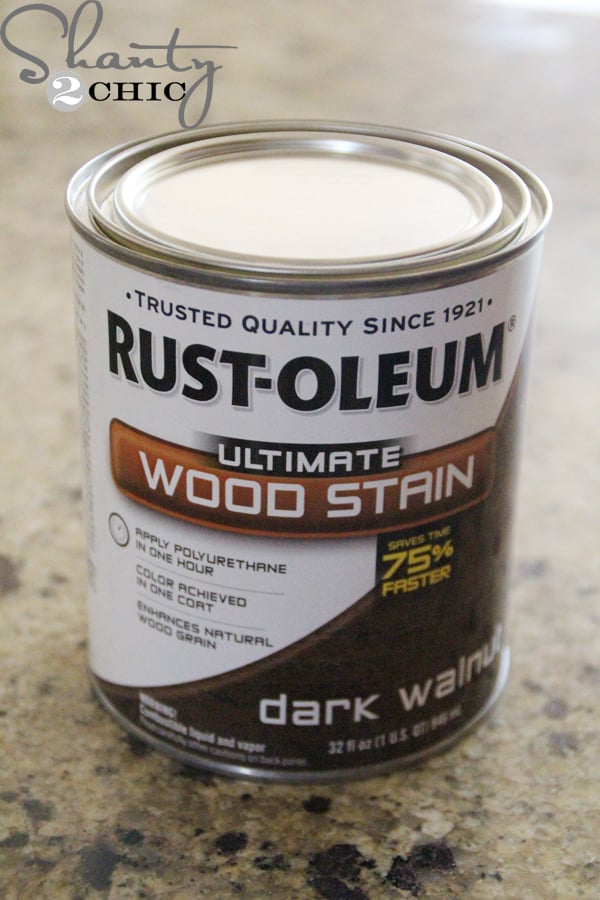 Using a foam brush, I applied one coat of Rust-Oleum Dark Walnut stain to the entire frame.
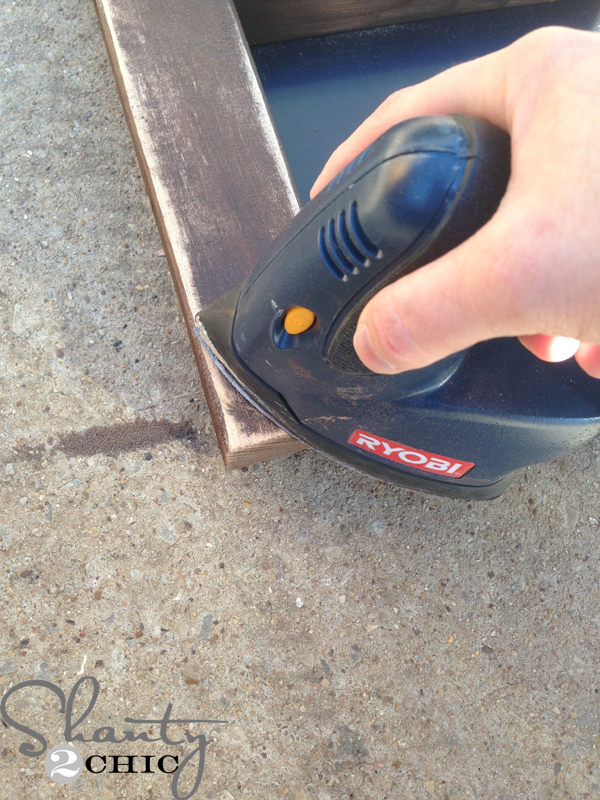 To get the distressed look on the wood that we like, I ran my Ryobi Corner Cat Sander all over the frame with 80-grit sand paper.
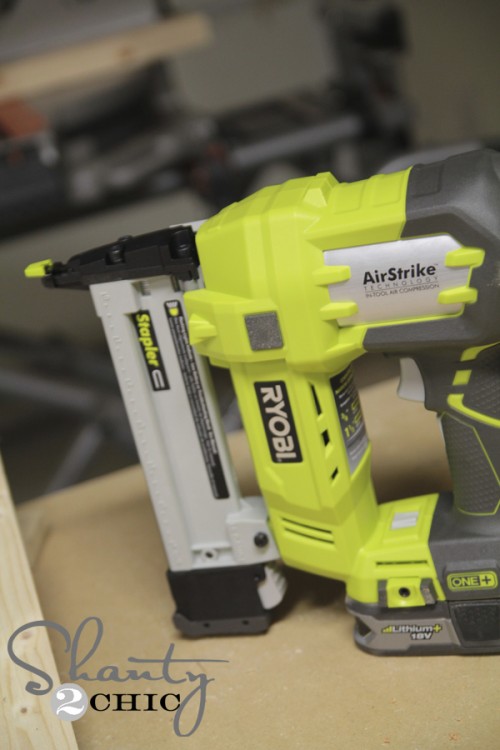 Once the stain dried, I used my Ryobi Cordless Airstrike Stapler to attach the chalkboard to the frame. This baby is a life saver for backing pieces like this. I no longer have to worry about my nails pushing through AND it uses the same 18-Volt battery as the rest of our Ryobi tools!!
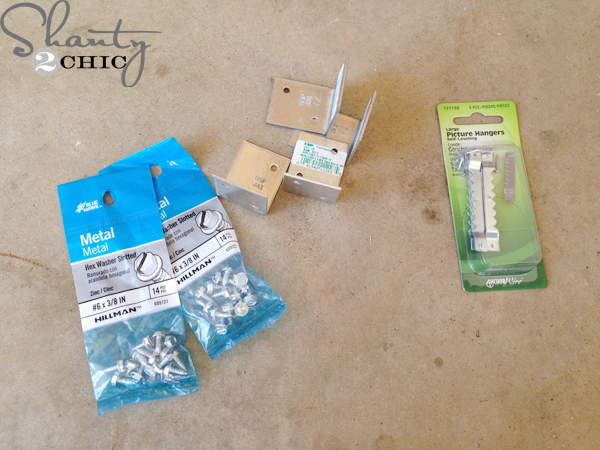 To finish this cutie off, I purchased those “L” brackets for about $.50 each and purchased screws to fit. I bought flat heads because I liked the look. I used saw tooth hangers and anchors to attach the piece to the wall.
 I like to use my 12-Volt drill to do attach small pieces like this.

Can I pay for you to make me one? I love this! But I don’t have time to make one. 🙁
Why 52 13/16ths for the top and bottom? Isn’t that to long for a 2×4 chalkboard?
Whoah! Full chalkboard pieces already ready? Where in Home Depot do we find those morsels of goodness??
Lol Carri! They are with the 2×4 mdf boards:)
Wonder if Lowe’s will have them? Bismarck, ND doesn’t have a Home Depot. 🙁
Love this project! Awesome plan and idea!
I just made this project but my piece of chalkboard was only 44 inches and it do not fit. I will have to disassemble the pieces and shorten the long pieces. Make sure to measure the chalkboard piece first.
Anyway, still a super simple project and I made it with my 4 year old daughter. Great father daughter project. It is her chore schedule and she is just excited to use it
Thanks for sharing your plans.
Awesome!! Love that:). Yes, always measure as you go. I’m sorry your fit was off!
Wow. Great project! At first glance, I thought this was going to be an old door!
That’s an awesome chalk board you guys! Great work as usual – Linda @ Hell I Live Here
Super Cute! Where did you get the piece of chalkboard?
Did you cut these at 9.25 or 19.25? 9.25 seems pretty small and you would have had to cut the chalkboard if that is the correct measurement. 19.25 would work though for not cutting the chalkboard.
Oh shoot! Yes it is 19 1/4″ sorry for the typos. I will fix ASAP! Thanks!
LOVE! So easy and you can even flip it the long way for a narrower wall! 🙂 Did you purchase the chalkboard at Home Depot? Thanks!
Thank you Sarah! I did get it at Home Depot:)