You just can’t go wrong with black. It is the perfect color for almost anything… including chairs. I have found that one of my favorite pieces of furniture is a dining chair. They make perfect accent chairs… they have great lines, they are a great size and they are really easy and cheap to find. Can’t beat that! My latest revamp… an old dining chair given to me by my father-in-law. I fell in love immediately… the lines, caning and legs… woohoo!!! It obviously just needed a bit of a makeover. This is what I did…
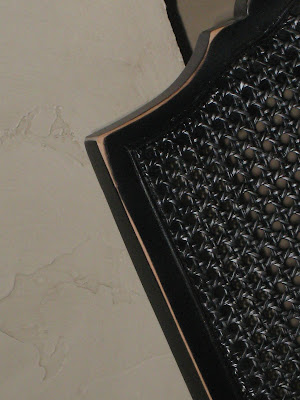
I started by removing the cushion and taking the chair to the garage to paint. I used Rustoleum American Accents spray paint in Canyon Black. I only used about a half of a can on this chair and if you are considering painting your chairs I would ONLY use this brand… It’s the best!
While that was drying I started working on my cushion… I wanted something a bit less tailored and also decided to add a little burlap… why not??
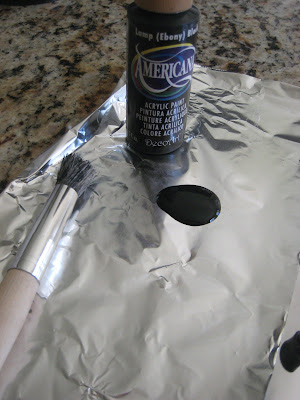
This is my stencil brush and my Americana Ebony acrylic paint I used to do the stenciling. I knew this would be an accent chair that won’t get much use so I used the acrylic. If you will be using your chairs more often you will need to find a washable fabric paint to do your stenciling.
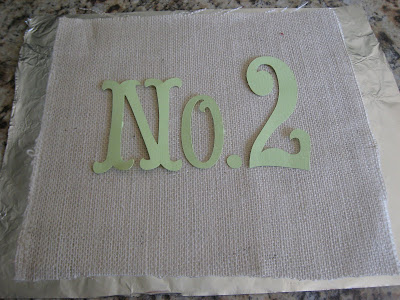
I cut out my stencils with my Cricut and positioned them on a 10″ square piece of burlap to get an idea of how it would look…
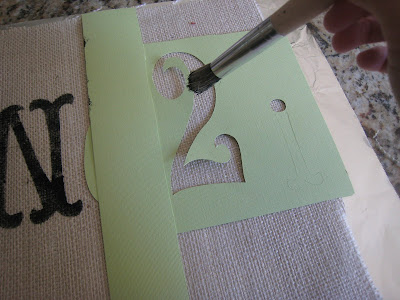
I used my stenciling brush to put the paint on… remember… up and down, not like a normal paint brush!
While this was drying I got to work on the rest of the cushion…
I will give a few details on the sewing but I know many of you don’t even own a machine so I will skip the tutorial:) If you do want some extra tips, just leave me a comment. I started by making my cording. I decided the rest of my cushion would be made of a drop cloth. I purchased a $5 drop cloth from Lowe’s for this project. It is a perfect weight for this project and many others. I cut a strip of the fabric and sewed it around some jute twine to make my cording.
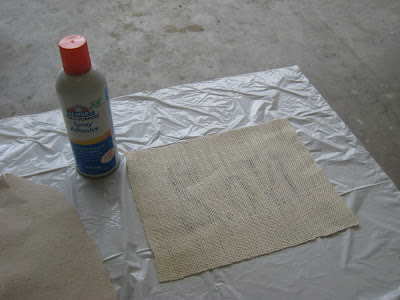
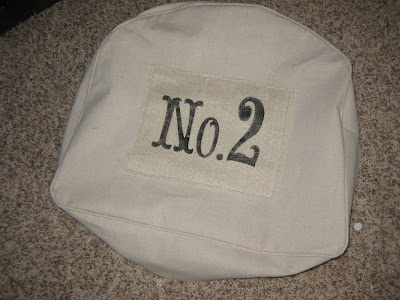
After making my cording, I went back to my now dried burlap. I cut a piece of drop cloth the shape of the cushion and layed it next to my burlap. I used just a bit of spray adhesive to stick the burlap to the drop cloth.
This is what it looked like….
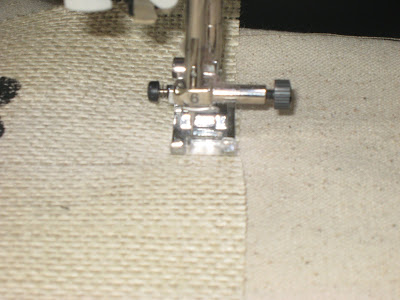
I used my machine to put a straight stitch around the burlap about 1/2 inch short of the edge. I wanted it to look like a patch so I frayed up the edge of the burlap just a bit.
Here I have put the cushion cover together… skipping all of my sewing steps that don’t interest many of you:)
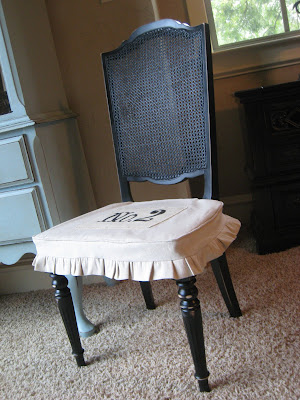
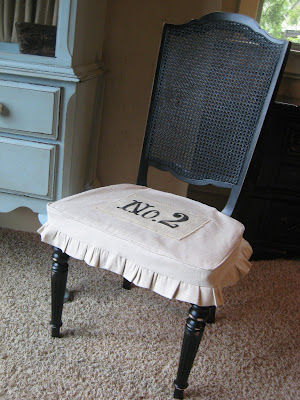
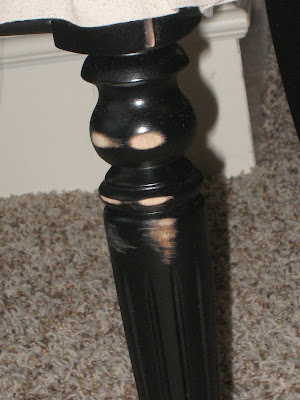
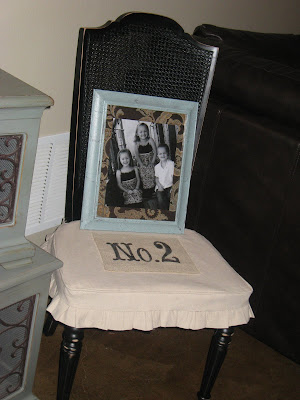
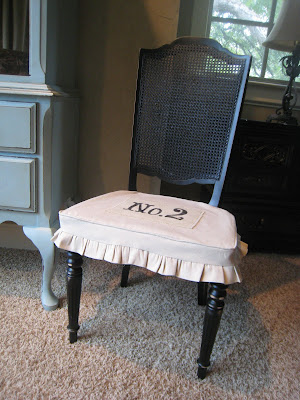
I distressed the edges of my chair just a bit and then just pulled the cover over the cushion. Isn’t she cute?? I think this will be my chair for my work space up in my loft but for now I just took some random shots for you. What do you think?? For those of you hesitating to paint your chairs… STOP:) Just go for it! You will look at the outcome and smile every time!!





The chair is adorable, miles from where it started! Great post.
Pretty little chair. I love your stencils but don't have the machine. Any ideas of where to get stencils like that? I have checked google for help but can't seem to find any I like. Yours look great.
cute cute cute…love it
xoxo
Julie
Do you ever get that feeling of deja Vu that you already commented somewhere? LOL Oh well. I really like the way this chair turned out.
Beautiful makeover! I love it! 😉
Have a great week. Your party sounds like a lot of fun!
Roeshel
Okay, more great ideas from you two! Everyone needs 'a little black chair' don't you think?
Great chair makeover. Love the little skirt on the cover. You have a great blog.
Sandy
I LOVE IT!!
Very cute–love the little skirt! Now did you really have to give it a worn looK when kids do the job in minutes! Ha!
my met blog is the spindle cottage blog 😉
Great redo! You and your Sister are so talented.
Love the ruffle! I really love the "w/o the hubby" button 🙂 That is the only way I make things :)–unless, of course, he pays to have it done. Then, I guess, it is "with the hubby" 🙂 Great job!
I love this chair! Fantastic transformation. I would definitely use a chair like this as my desk chair. Love the little skirt you put on.
Perfection! The black spray paint, the burlap, the stencil… I love every last bit of it. I stenciled numbers on the backs of our kitchen chairs and our (crude) little dinner time joke is to tease whoever gets the chair with 2 on it. We say "tee-hee, you're sitting in number 2" in our best second-grader voices. I love your #2 chair ; )
WAY cute! Absolutely love it!
Smiles,
rachel
Oh my gosh – I've just stumbled across your blog and love this chair. Rustoleum paints have only just arrived in the UK and I've been dying to try them out on something. Your chair if fabulous – well done!