Hey everyone!
Hope you all had a great weekend and Memorial Day. I feel like I got more done today than I have the last 4 months. Pregnancy.
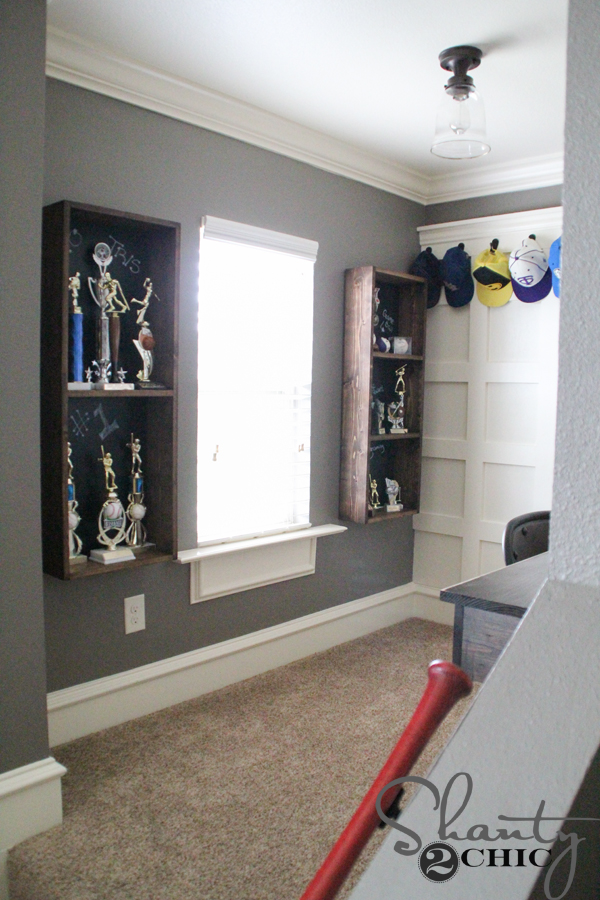
With little bit on the way, I decided it might be time to find a place to put him. This seems like an easy task, but for me it involves a big game of musical rooms. Remember my really cute craft table in the loft?

Well… It’s days at my house are over. That loft will serve as the kids’ playroom. The kids’ playroom now will become the oldest girls’ room once I build a closet in the back of it. Before I can build a closet in the back of it I have to empty all the toys out. I have to empty the loft to set up a new playroom. Do you see a pattern here?
Before I could do any of that I had to find a place for all my junk really important craft items.
That leads us to our next picture. Be warned… I’m keeping it real here. Sadly, very real. I have a great closet space under my stairs just outside my kitchen. Until today it was the home of my trash can, vacuums, and about 2,458 “shanties” that I have picked up over the last 2 years and never managed to make chic. It’s got great space but it’s an odd shape and and needed some revamping. I am a kitchen crafter anyway so this would become my new really important craft item closet.
Here’s the before… Don’t judge. Ok, do.

Yah, I know.
So, today I decided to build some shelves and clean this baby out. I started by cleaning it out and donating about 3/4 of it. That left me with a clean slate.

I decided to build one deep shelf along the back and 3 narrow shelves on the left side. I started by measuring 18″ from the ground and attaching 1×3’s to the wall. I used my stud finder to make sure they were anchored in a stud.


I had some extra mdf from a previous project I used for this shelf. I just measured it and used the circular saw to cut it. I had my helper test for sturdiness.

Then I was ready for my side shelves. I found these babies for right around $1 at Lowe’s. I bought 6 of them.

I found my studs on the side wall, measured the right height for the boards and worked from the bottom up. I did angle my boards off in the front to avoid any booboos with the kids.

I got two shelves up and then stopped to feed her 🙂

After that I attached my top board and I was set. I did use a serious amount of caulk at this point to cover up a few imperfections. Here is the new really important craft item closet drying.

I did get it all painted and I will show you that in my next post. For now, I am just enjoying being able to step into this closet! Woohoo for that!
Thanks so much for stopping by!! Have a great short week!


How deep are the shelves on the side wall, what size brackets did you use, and how far apart did you space the shelves?? This has been on my to-do list since we had our first son…this has to happen!!!
I really like this idea. I have been looking for just the perfect thing for my under the stairs closet. I also need to incorporate a coat rack in the closet as well. Mine currently does not have a light but will be wiring a light in it first thing. Do you have any suggestions on where to put a coat rack with the shelves?
You have done such a great job on your closet! Way to go! You are so organized and crafty at that! I love the pics of the children!
i have that exact closet, i just cleaned it out today and i guarantee it was worse than yours!
what a great idea i can’t wait to see the finished product!
oh! Looks great so far! Can’t wait to see the final result!!!
You are welcome to come over to my house and clean and organize here! I am forever deciding to clean out closets and then open the door and then close the door! I don’t know where to begin!
Great job, I love the shelving!
jodi
Ooooo I need to do something very similar to this in my workroom closet. It’s one of the areas no one sees but me so I tend to be putting it off a bit too long.
I use my under-the-stairs space for extra storage {and a tornado shelter!} and it has a few shelves in it but I’m going to copy your back shelf idea. That small space is so wasted and a little shelf would really help. Thanks for the inspiration!
looking good.. cant wait to see it painted and all set up.
You are so stinkin’ inspiring. I have 4 days left of my job and I can’t wait b/c I’m going to copy the heck out of your ideas!!! BTW~ Did you make the craft table? I have been wanting one to go in my sewing room/office, but the only one I can find that I really like besides yours is from Pottery Barn and super expensive. If so, could you link me to it!? Thanks and keep up the great work!
Hey Jan~
I did make the craft table. It seems hard but Ana’s plans made it super easy. Here is the first post I did on it with a link to the instructions and I put the final post link up top. Let me know if you have any questions!
~Whitney
https://www.shanty-2-chic.com/2011/01/what-i-have-been-up-to.html
I think I’m going to cry! I LoVe it! I can’t wait for my summer to get here so I can start on my projects. I have been hoping to find a good greenhouse plan (that’s do-able) for me. My hubby is SO NOT into handy man things. Don’t get me wrong he’s a hard worker outside on our farm/ranch, but more with heavy steel and machinery. So I usually have to do things like this myself. Thank you!!
I just turned our second master closet into my craft closet, so I know where you’re coming from! My loft craft space is soon to be enclosed to serve as a nursery for baby #4. Seems we’re operating on the same wavelength! 🙂
Love that! That was one of the options I considered but finally settled on this one. I guess a new baby is a better trade for loss of crafting space 🙂 Whoop!
I love this! I have a closet too that needs revamping! I think I shall copy your shelves!!!…and surprise my hubby!! (Since I’ve only been asking for a few months to build them for me! 🙂 )
Stephanie~ I learned long ago not to wait on my sweet hubby! That’s why I do everything by myself… I want it done 😉 Good luck!!