Happy Good Friday friends! We hope you are all staying safe and spending great time with your families. Things are different around here for a bit, so we decided to take this time and work on some projects in our own homes and share the process with you. My first target – the most used hallway in my house! I have 6 kids, and this is the space they enter into the house the most, and it also serves as the spot they hang their school bags. Several years ago I did a barn wood treatment on the bottom half of the wall. I did love the way it turned out, but it was definitely in need of some freshening up! So, I decided to give my a hallway a big makeover. Here is what it looked like before…

And, here is how it looks now!

I’ve got the entire project on video for you! Check it out by clicking the play button below!
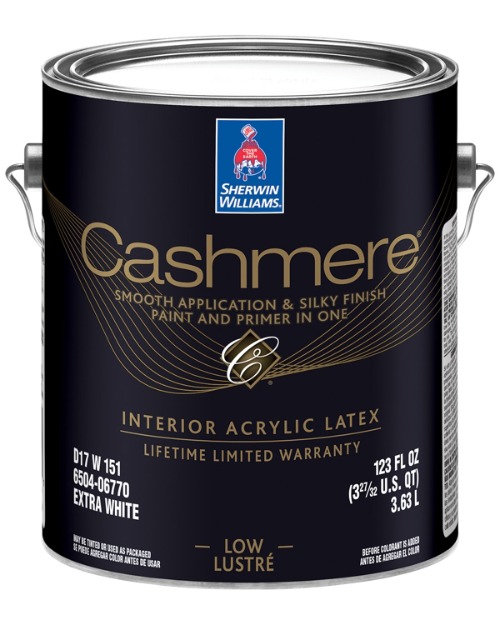
Now, let’s talk about all the products and pretties… the fun part! I used Sherwin-Williams paint for this project. One reason for that is because they are offering call-in orders and contact free pickup. You just pull up to the store, open your trunk and call them with your last name. They brought th paint out in just a few minutes. I was very impressed with the ease and safety of the whole thing.
For my walls and ceiling I used flat Sherwin-William’s Pure White 7005 in their Cashmere line. I LOVE this paint. Flat paint always scares me, but this line of flat paint is perfection. It has a very small sheen to it, and I am still able to keep it clean.

For the trim, doors and board and batten wall, I used the Cashmere line as well, but went with the Low Lustre finish. It is between an eggshell and satin I would say. I also LOVE this paint. I used the same color of True White 7005.
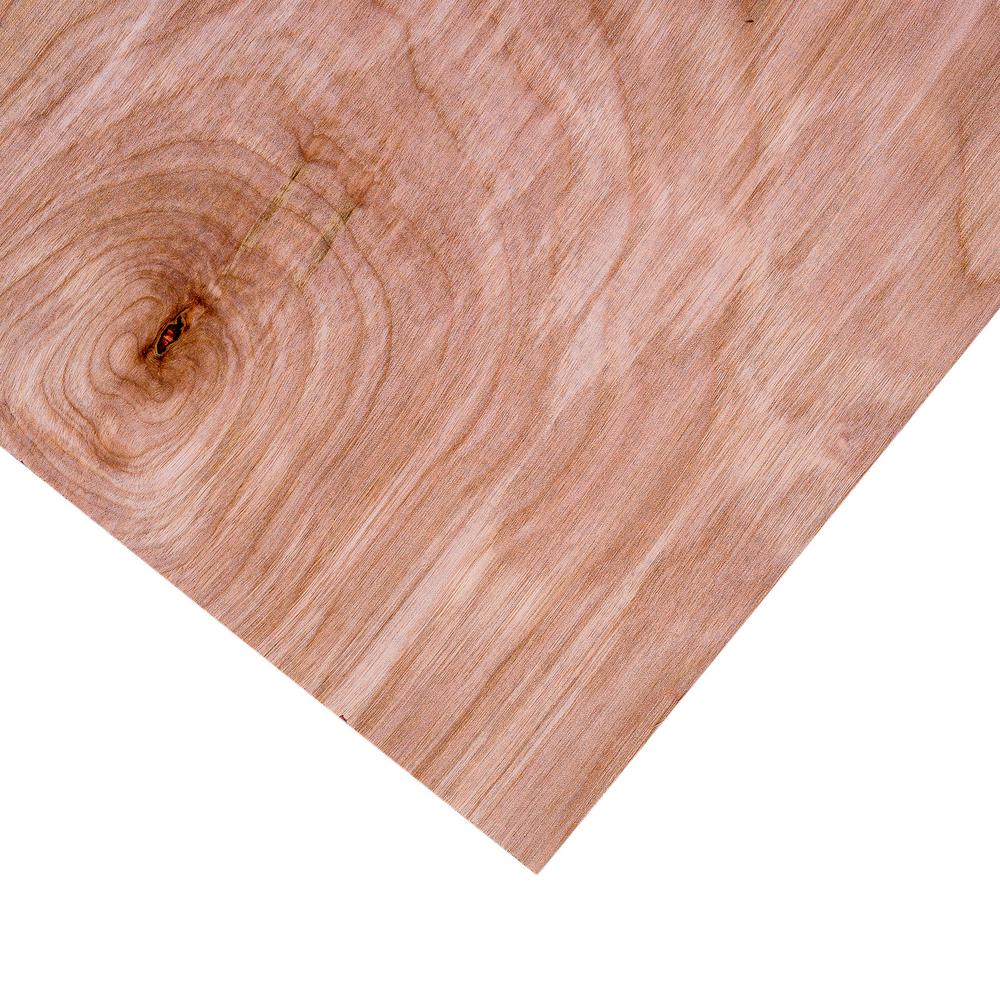
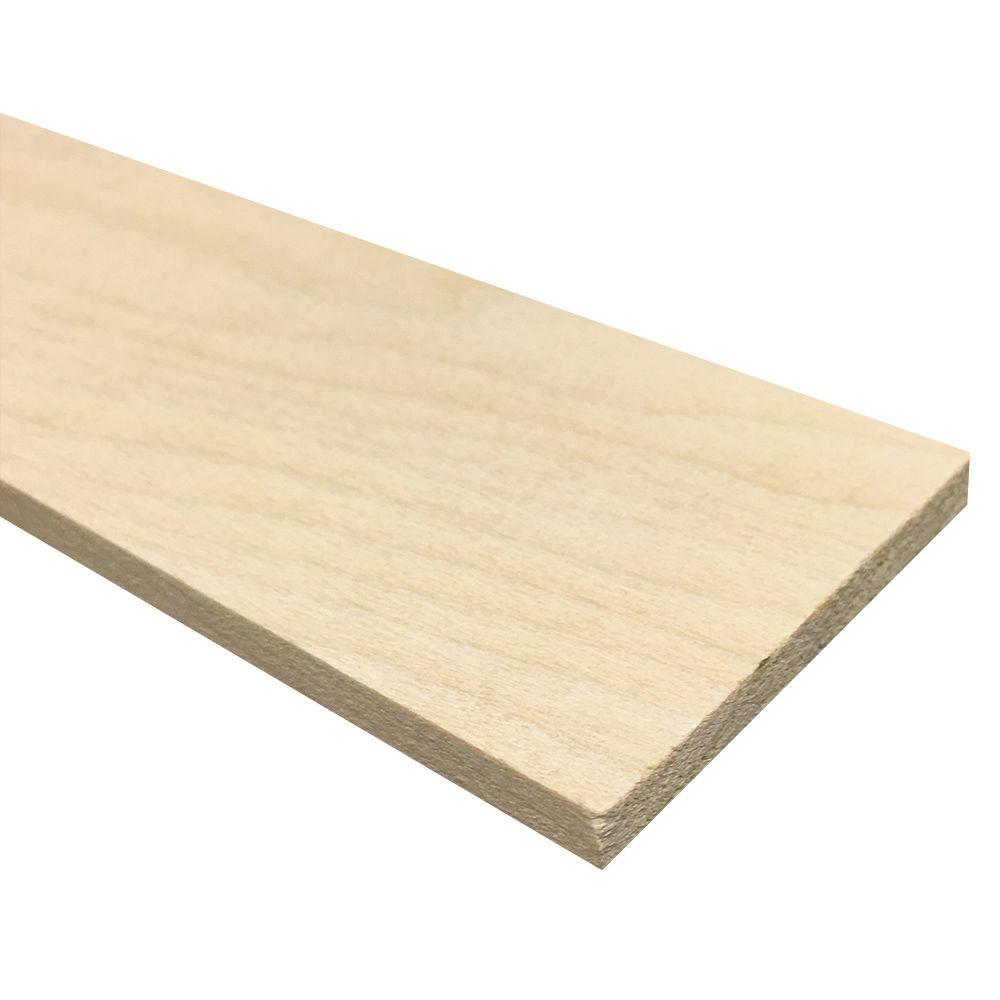
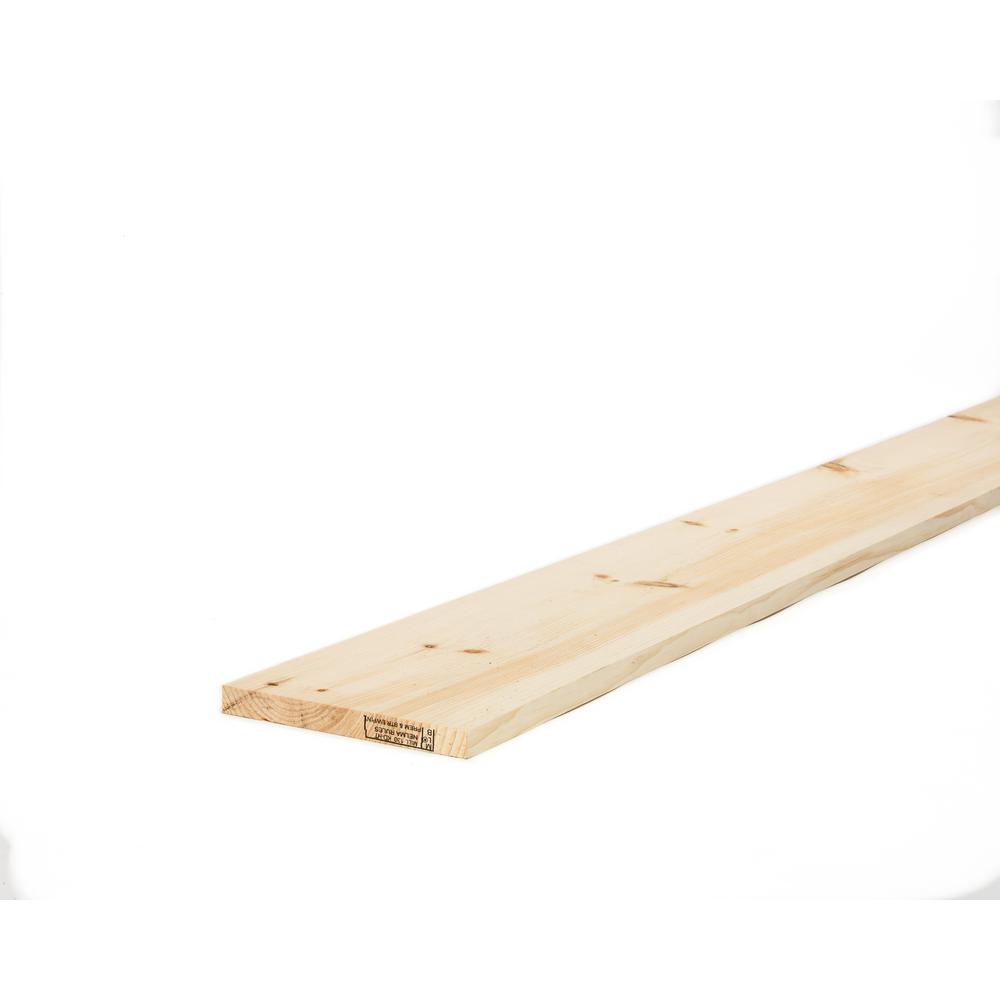
These are links to the wood products I used for the wall. Home Depot and Lowe’s both offer store pickup. I know Lowe’s will deliver it to your car, and Home Depot is now offering curbside as well. Great job guys!
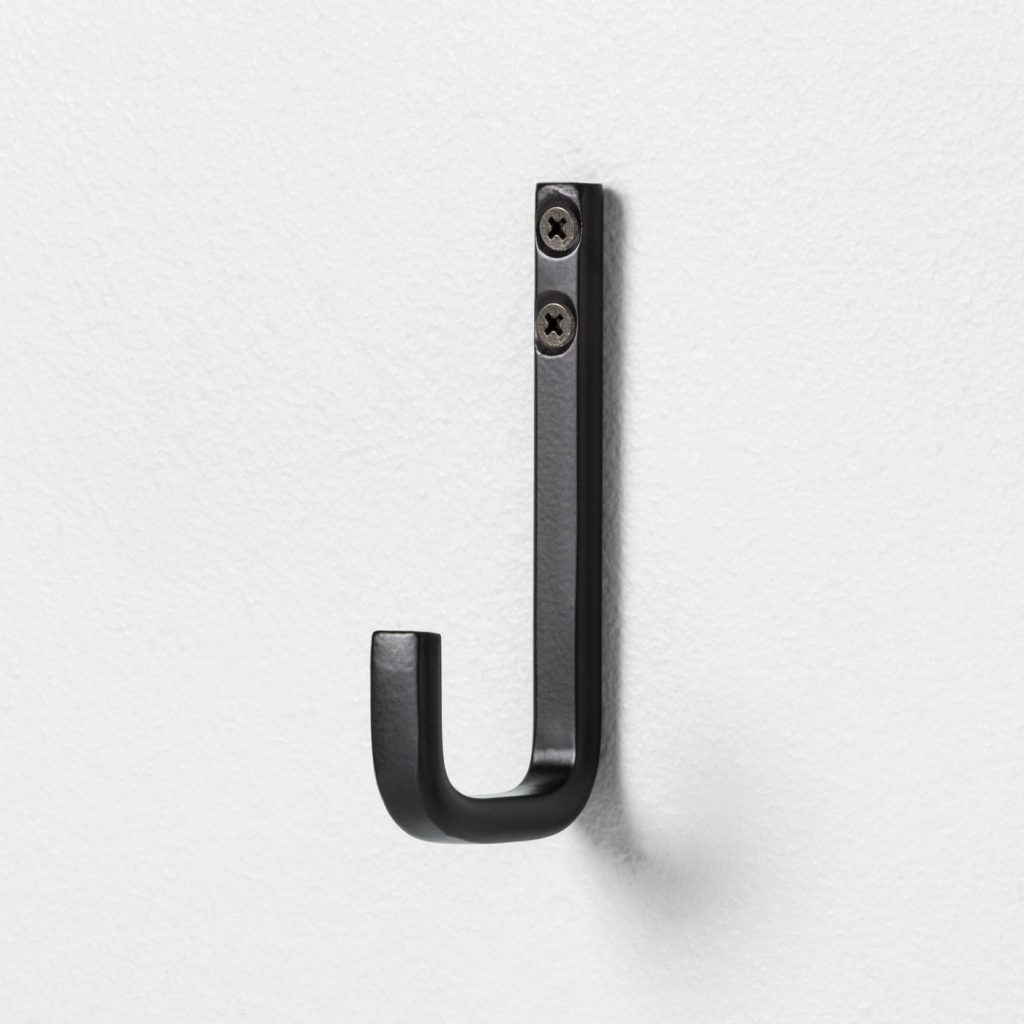
I found the CUTEST hooks for the kids backpacks at Target… Drive-up baby! Click HERE to find them!
I will be sharing info on the frames soon! They are so easy to build and a great scrap pile project. I also will share info on the new barn door and lots of other fun stuff. Let me know if you have any questions at all!
We are really thankful for all of you. We are thankful for the ability to continue working in a different way at this time. We are praying for those of you struggling at this time and for all of the first responders and medical people who are working so hard at this time. Stay safe friends!


How can you lengthen switches or outlets if they are flush with the drywall after installing wood paneling?
https://www.lowes.com/pd/CANTEX-SINGLE-GANG-PVC-BOX-EXTENDER/5001724999
If you didn’t already get the answer 🙂 Use an extender outlet box for old work.
What did you use to hang the pictures in the frames. I have been searching for those clips but cannot find them.
The frames…. is there a tutorial for that yet? I love the new style you did when you redid your wall!!! Thanks and I can’t wait to hear back!
I’m in the midst of this project right now! I used liquid nails to attach my vertical boards, but they have pulled up slightly and aren’t flush against the wall. I did not use plywood boards underneath, just attached to the drywall. Is it appropriate to use regular nails and a hammer to get them more flush? I do not have access to a nail gun. Thanks!!!
I can’t seem to find the “play” button and have looked a ton of times. Help!
If the switches or outlets are level with the drywall, how do extend them once you add the wood paneling?
This is so awesome. I can’t wait to see the video for the frames.
Looking forward for your plans for the picture frames! Going to build 4 for my daughter
I love that saying from your dad because it is SO TRUE!! Nice job on the wall.
Loved your video! Can’t wait to do this in my kids bathroom!