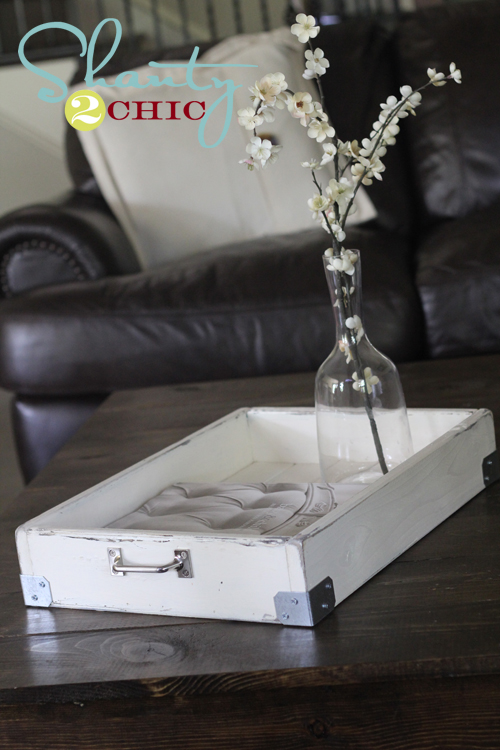
Hey guys! I hope you all had a great weekend! My oldest three were at their grandparents, so I got busy on a little project for my coffee table.
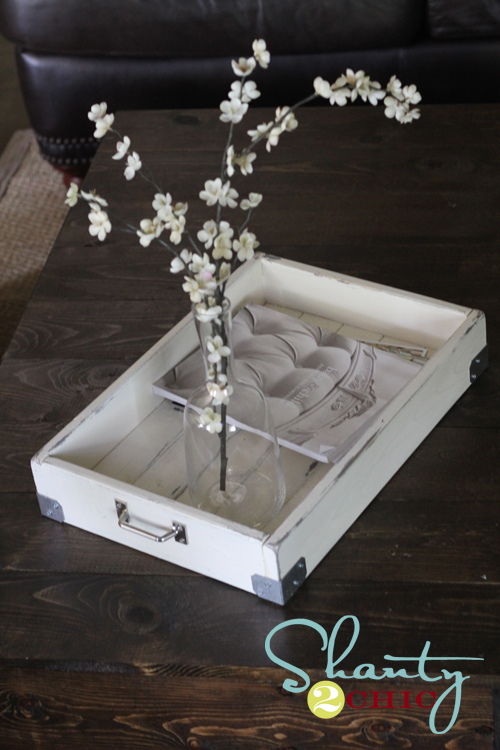
I love magazines (almost as much as Pinterest ;-)), and decided I needed a little something for my table to hold them! This project is super easy and cheap. And it can be used just about anywhere! Woohoo!
You can follow the easy tutorial below, or you can also check out our video tutorial to make it HERE!
You will only need 2 pieces of wood for this. 1 – 3″ furring strip, and 1 – 4″ furring strip. Total cost for wood?? Under $4!
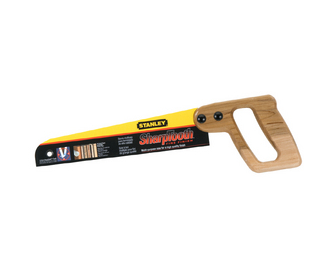
For those of you that don’t own a saw, it’s time to go get one. You don’t have to buy a table saw. A little guy like this one will do all the work you need for this, and many of our other projects.
That is under $15 at Lowe’s. I have this and a table saw, and I still will use this one on small projects! Easy!
Your wood cuts will be…
1×3″ furring strip – 5- 18″ pieces
1×4″ furring strip – 2- 12.25″ pieces and 2- 19.5″ pieces.
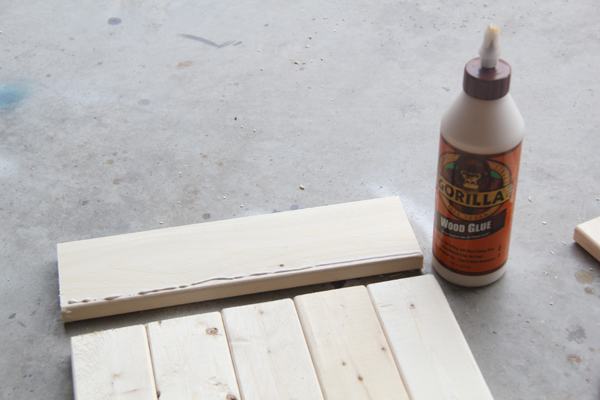
I assembled my tray using Gorilla Wood Glue and finish nails.
I started by attaching my 18″ pieces to my shorter side pieces like this…
Then I just attached my longer side pieces like this…
That’s it! Pretty simple! Took me all of 5 minutes!
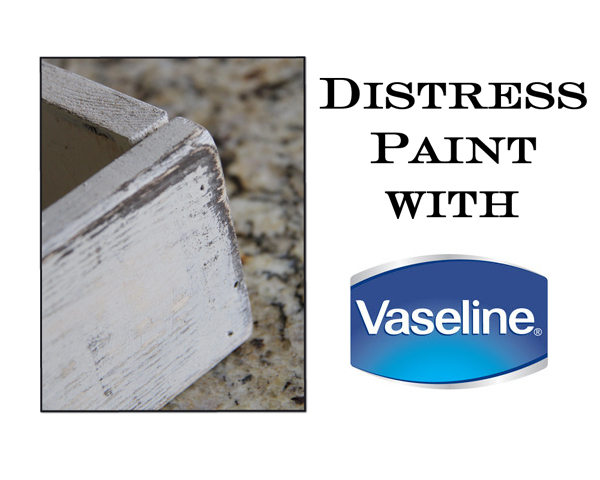
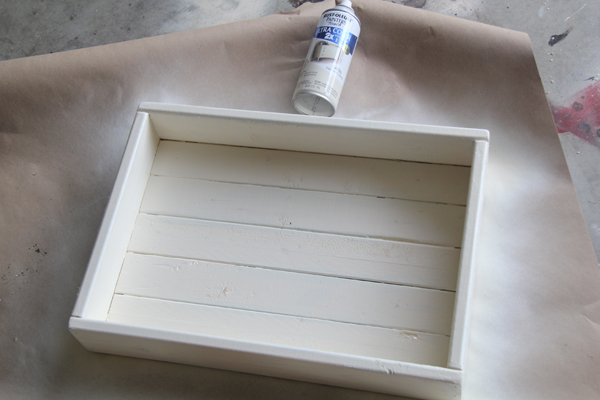
Now for paint! I used my vaseline method to finish this one, but I changed it up a bit! I used Rust-Oleum Painter’s Touch in Heirloom White as my top coat! I LOVE the results! You can read more about that paint method by clicking the link below!
Here is my base coat… A bit shanty I know 😉
And my top coat that I spray painted on after my Vaseline!
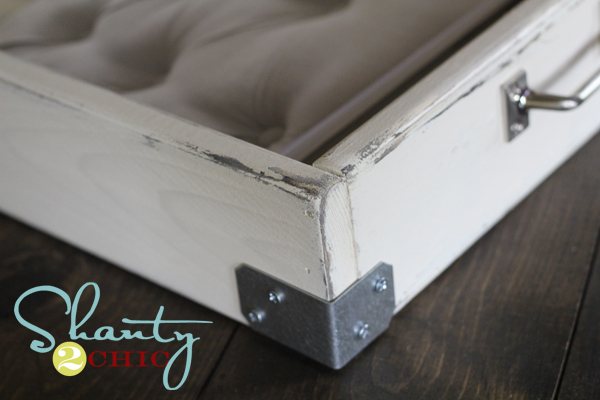
After distressing it I wanted to add a little something! Ash and I found these great metal pieces at Lowe’s for under $1 a piece. You can find them in the framing/lumber section.
I just used some small wood screws to attach one to each corner. Totally not necessary, but totally cute 😉 !
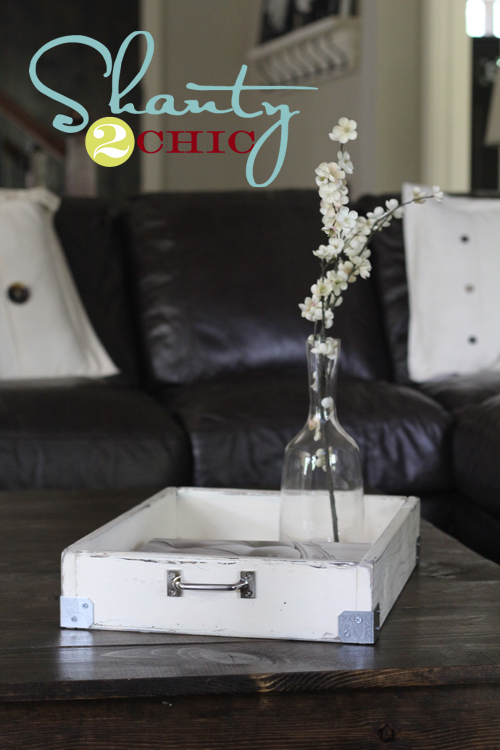
And it needed some handles too… Why not? I found these in the hardware section of Lowe’s as well for around $2 a piece. I put one on each end!
All done!
Let’s do the math…
$4 for wood and $8 for the optional hardware! Yup… That’s pretty darn cheap!!
So… What do you think??
I hope you like it! If you do, I would love for you to Pin it and share it below!!
Thanks so much for stopping by!! Have a great Monday!!
~Whitney








ok what is this thing at the left of your screen, the box for likes, it’s like it is on top of the screen. it takes up to much space in trying to read your blog, i have to scroll to the top of my screen to be able to read. sorry I had to ask, it really bugs me. but i love the tray and your blog!!
LOVE it!! How easy you make it sound. I think I’ll definitely be giving this a go! Love the industrial look of the metal edging too. Thanks for posting this I saw it on Pinterest.
Another item that I need to make….your stuff is so fun and most of easy due to your amazing tutorials. Thanks! Also I know you said the cherry blossoms are from Michaels, I have been twice and I found two different ones that look like yours. The one is 4.99 and the other is 9.99, not on sale. Do you have any idea of what they cost you? I bought the cheap ones and they dont seem to look like yours, and of course the workers dont seem to know what a cherry blossom is!
This is gorgeous. I know just the person who would love to receive this as a gift. I think I’ll go make it for her right now!
HI
wondering…..did you leave out a step or am I missing something?? don’t you want to glue the 1×3 together first?? (long sides together) or does glueing the ends of them to the side pieces hold them in place???
You can Lori, but the way I did it holds it all together well. Thanks!
I love this! Thanks for the great idea. I’m going to make this and the mason jar this weekend.
Thanks just doesn’t seem to cover it! I am just new at woodworking and your tutorials make me think I really can do this!
I am a newbie to your site…I am loving it!!! Wondering if the flowers in your magazine post are artificial and if they are where did you get them?
Regards and happy building! 🙂
From New Brunswick, Canada
They are artificial. I found them at Michael’s and they are cherry blossoms. Hope this helps! 🙂
Terrific Tutorial! I LOVE EVERYTHING you do! 🙂
Thank you so much Kellie 😉
I love the look of this! I am wondering if it could double as a serving tray or is it too heavy? Thinking to make one for a gift for a new bride!
It for sure could! The wood glue makes it super strong! 🙂
Very Nice!! I notice that you use a finishing nailer with many of your wood projects and was wondering if you could comment on the type that you use or would recommend for the type of projects that you do. Thanks!
~Heather
How do you come up with this stuff?? You are totally amazing and I love every single one of your projects!
Thank you Nicole!! You are sweet 🙂
Another AMAZING project! I bought furring strips last weekend so that I could try my hand at your lovely planter box but now I’m thinking this will be my first attempt! I don’t know how you constantly find new ways to inspire your readers. Everything is always so fresh!
Thanks for the great tutorial!
– Claire
Thanks so much for your sweet comment Claire!! Good luck on your first attempt!
FREAKING love! U guys seriously ROCK!
Thank you so much Liz :-)!!
What do I think? I think I wish we were neighbors so we could have building parties together!
Haha I would love that :-)! Thanks!!