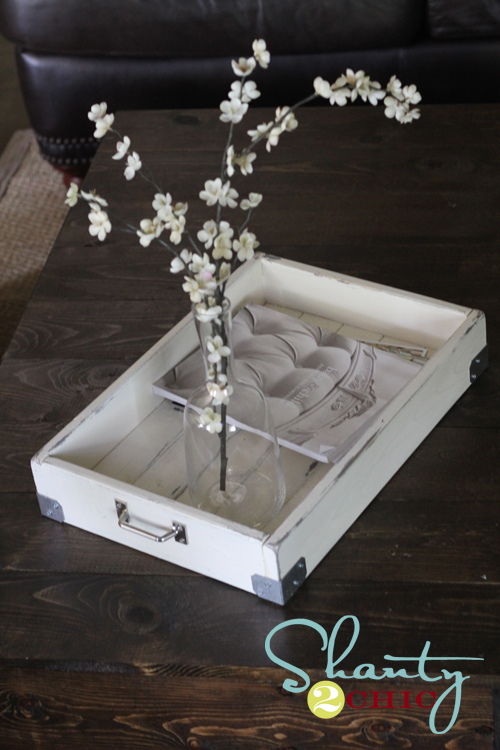
Hey guys! I hope you all had a great weekend! My oldest three were at their grandparents, so I got busy on a little project for my coffee table.
I love magazines (almost as much as Pinterest ;-)), and decided I needed a little something for my table to hold them! This project is super easy and cheap. And it can be used just about anywhere! Woohoo!
You can follow the easy tutorial below, or you can also check out our video tutorial to make it HERE!
You will only need 2 pieces of wood for this. 1 – 3″ furring strip, and 1 – 4″ furring strip. Total cost for wood?? Under $4!
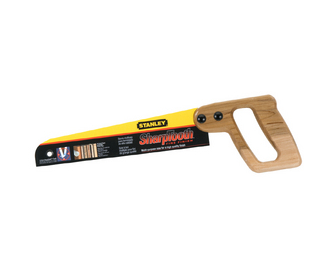
For those of you that don’t own a saw, it’s time to go get one. You don’t have to buy a table saw. A little guy like this one will do all the work you need for this, and many of our other projects.
That is under $15 at Lowe’s. I have this and a table saw, and I still will use this one on small projects! Easy!
Your wood cuts will be…
1×3″ furring strip – 5- 18″ pieces
1×4″ furring strip – 2- 12.25″ pieces and 2- 19.5″ pieces.
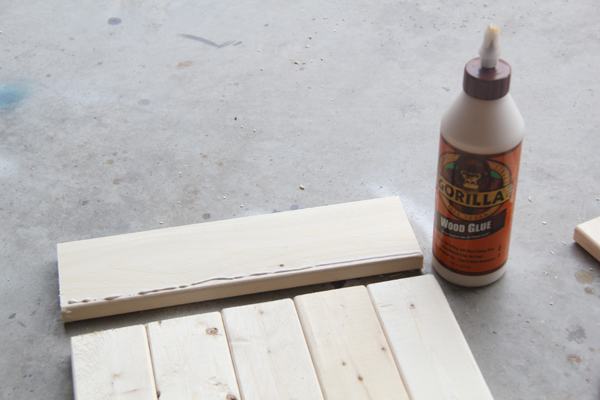
I assembled my tray using Gorilla Wood Glue and finish nails.
I started by attaching my 18″ pieces to my shorter side pieces like this…
Then I just attached my longer side pieces like this…
That’s it! Pretty simple! Took me all of 5 minutes!
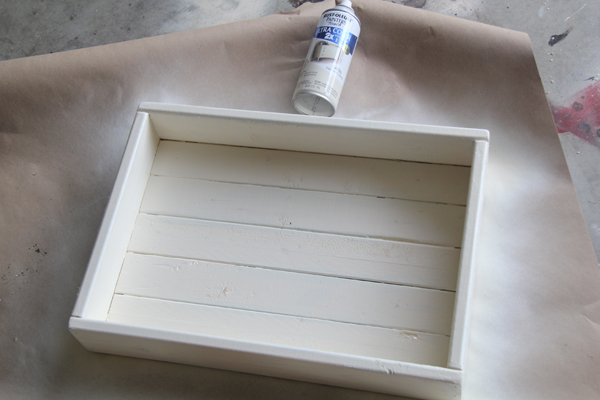
Now for paint! I used my vaseline method to finish this one, but I changed it up a bit! I used Rust-Oleum Painter’s Touch in Heirloom White as my top coat! I LOVE the results! You can read more about that paint method by clicking the link below!
Here is my base coat… A bit shanty I know 😉
And my top coat that I spray painted on after my Vaseline!
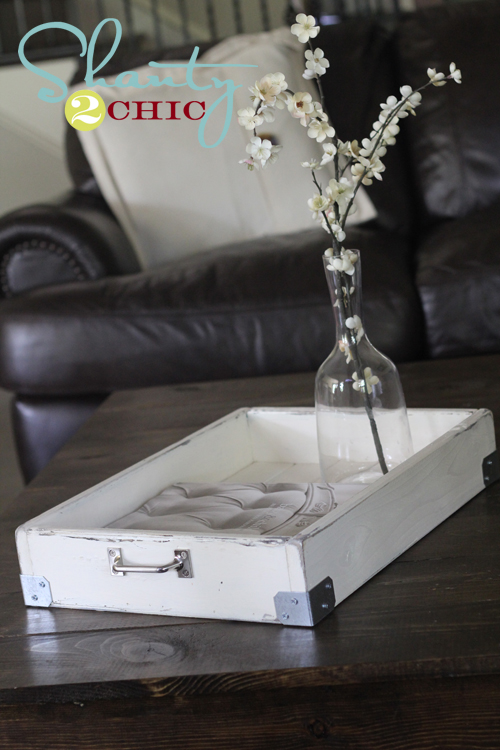
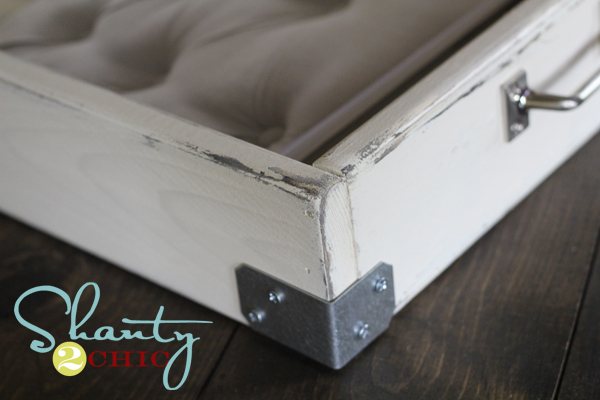
After distressing it I wanted to add a little something! Ash and I found these great metal pieces at Lowe’s for under $1 a piece. You can find them in the framing/lumber section.
I just used some small wood screws to attach one to each corner. Totally not necessary, but totally cute 😉 !
And it needed some handles too… Why not? I found these in the hardware section of Lowe’s as well for around $2 a piece. I put one on each end!
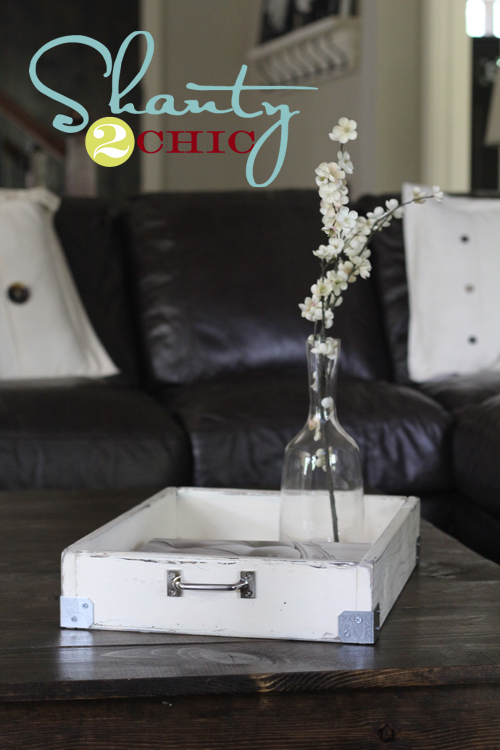
All done!
Let’s do the math…
$4 for wood and $8 for the optional hardware! Yup… That’s pretty darn cheap!!
So… What do you think??
I hope you like it! If you do, I would love for you to Pin it and share it below!!
Thanks so much for stopping by!! Have a great Monday!!
~Whitney











I love all of y’all’s projects!! I just finished this one. I made it as a house warming gift for my sister in law. I snagged a pallet from their construction site and used the boards from it to make the tray. She loved it!
super stinkin cute girl! you always inspire me to whip out m’tools! 🙂 thanks!
I just came across your blog and am in love! I have seen so many things I want to try! Thanks for the inspiration!
I just found you – where have you been all my life?
Darcy from TheWldRoses.etsy.com
Looks great!
Thanks so much!! 🙂
Just wanted to remind fellow crafters to check and see if there might be a “Restore’ Thrift store in your area. They are run by Habitat for Humanity and sell all types of hardware, paint and building materials that have been donated at super discounted pries. Best of all its recycling to the max so it helps out all involved, all monies go towards helping rebuild homes for the needy:)
Perfect reminder Judy! Thanks so much!
We have a Habitat Restore near me and I think it must be the only one that is way over priced. They do not bargain at all. I’ve bought items there that I felt were double what they were worth but did so because of the “donation”.
I just made this tonight!!! Still need to paint it- but so far so good. Although what kind of wood did you use?? I think the wood I bought was too heavy….
I used pine furring strips:-) I would love to see a pic of yours!
I made this a couple of weeks ago, woohoo! I bought more wood to make another one. Thank you for a great idea, you have so many on here!!!! 🙂 I posted about it on my blog, and gave the link (and credit) back to your tutorial. Thanks again! I’ve gotten friends hooked on your site too 🙂 http://craftykat-mycraftyplayground.blogspot.com/2012/05/make-your-own-wood-tray.html
I just made this tonight, woohoo! I haven’t painted it yet or added hardware- I think I will opt for just handles, but might peruse the hardware too 😉 . I’m still deciding what color(s) to paint it. Thanks for a great idea- I love all your fantastic and fun projects that you post about 🙂
i just started on the planter boxes and used my miter saw. what do you use to remove the slivers of wood and soften the cut edges? I have a small file that i used, but it doesn’t seem to work very well.
Okay, I just have to say, I LOVE all of these little projects you post. You make these look so straightforward and POSSIBLE . . . I want to go pick up my saw and get to work. :o) This one has been pinned, along with quite a few others. Thanks so much!
I love it- as all of your projects! I think i might actually attempt this one! So many uses- and an awesome idea for a gift!!! Love!