Hey there! Hope everyone had a great weekend! I got busy building these cuties!
 They were quick, easy and only $15 each! They are HUGE and a lot of BANG for your Buck;)
Here’s how you can build your own! (My purchases and cuts are based on 3 frames). ***I suggest measuring as you go, especially on the moulding cuts. Boards tend to vary.)
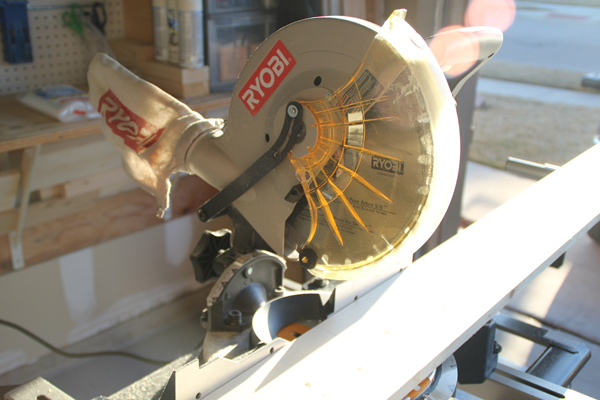 I purchased 2 – 1×6″ white wood boards and cut 9 @ 16 1/4″ with my miter saw.
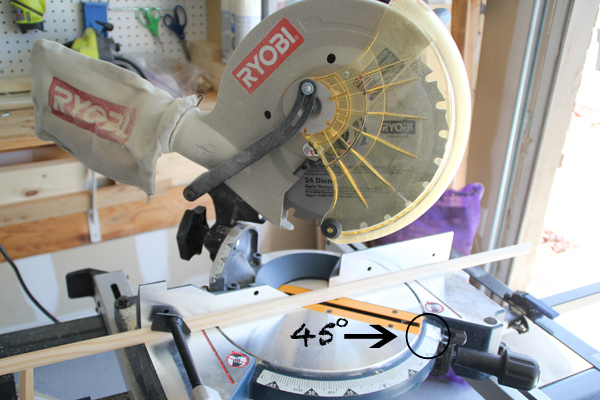
If you don’t have a Compound Miter saw, no worries! This is a very simple miter-job that can be done with this inexpensive hand saw and miter box!
Next, I used my Kreg Jig Pocket Hole System to drill pocket holes into 6 of the 1×6 boards.
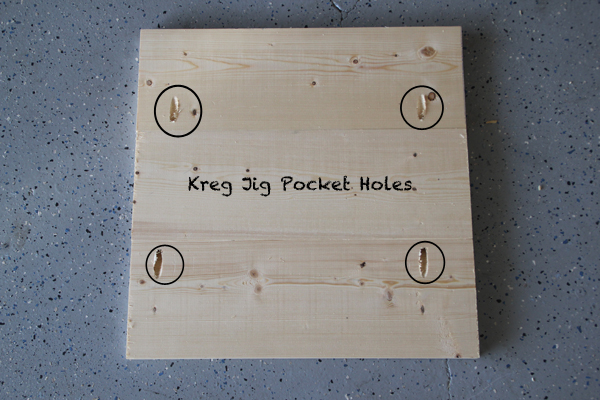 I drilled my 1 1/4″ pocket hole screws from each end of a 1×6 without pocket holes forming a pallet of 3 – 1×6 boards.
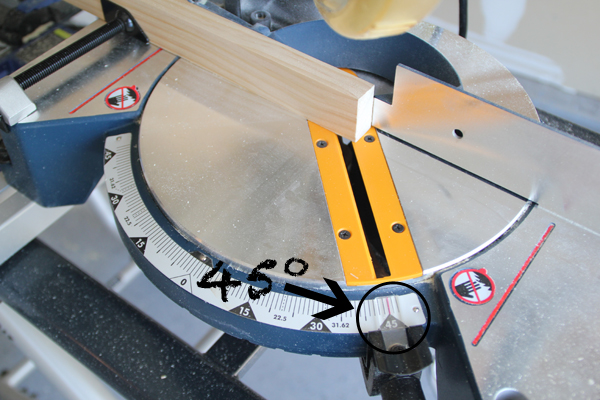 I purchased 3 – 1×2″ @ 8 ft. Select Pine boards for the outside trim. I made 12 – 45 degree miter cuts at 18″ long point to long point. (If you are not familiar with long point to long point, it refers to the measurement from the longest point on one end of the board to the longest point on the opposite end). The ends will not be parallel, meaning that you will have to slide your miter from right to left to make your cuts on each board.
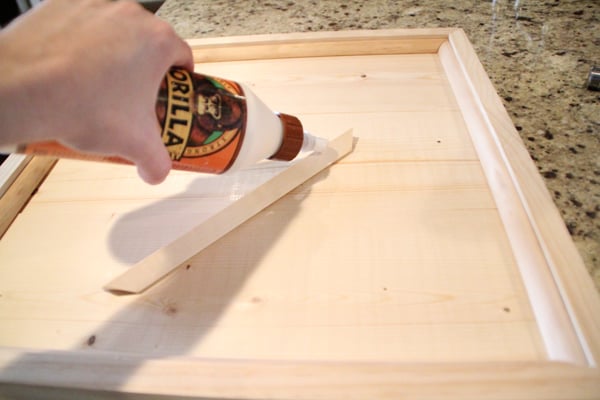
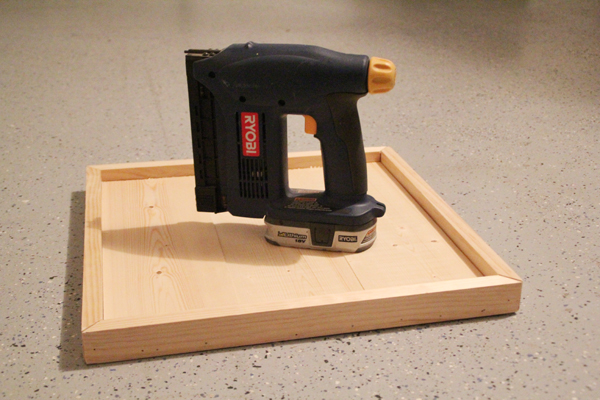 I used my Brad Nailer to attache the 1×2 trim to the pallet. (I also ran a thin line of Gorilla Glue wood glue at each joint for added strength)!
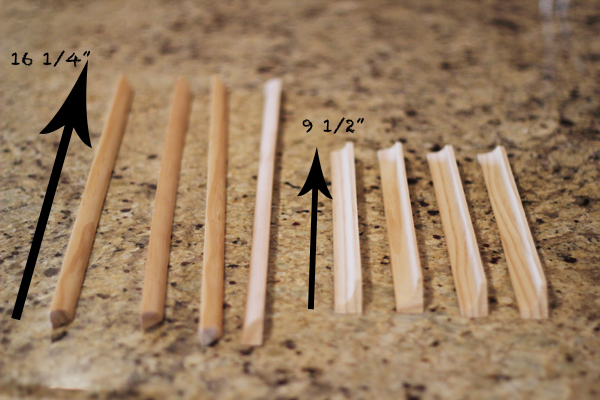 Now for some fun:) I purchased 17 ft. of Quarter Round and made 12 – 45 degree miter cuts at 16 1/4″ (long point to long point). I also purchased 10ft. of Cove Moulding and made 12 – 45 degree miter cuts at 9 1/2″ (long point to long point).
 ***When cutting your moulding pieces, you will need to cut both ends of the board. You can not finish one piece and use the mitered edge of the scrap piece. You need to make a fresh cut and then cut the other end.***
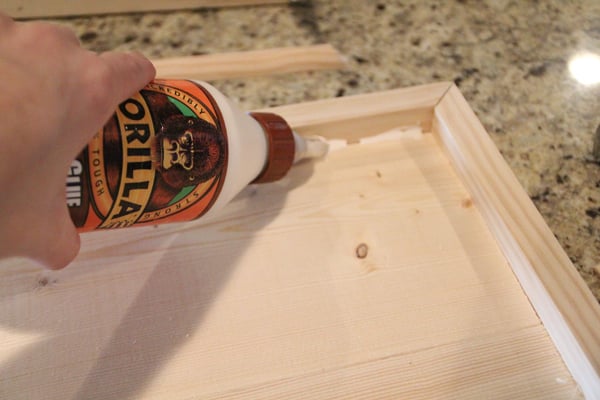 Apply Gorilla Glue Wood Glue along the edges where the 1×2 trim and pallet meet and then lay your quarter round moulding down.
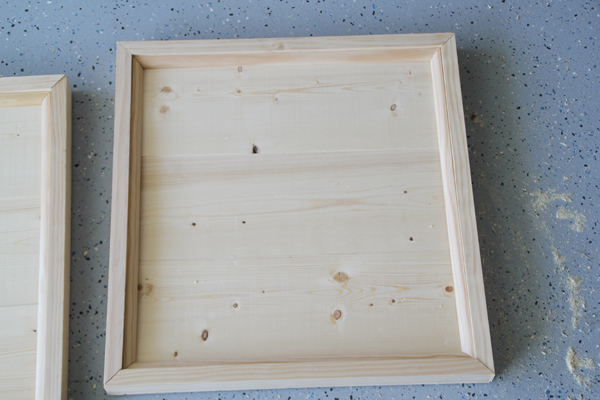 After installing quarter round.
Now, apply a thin line of Gorilla Glue wood glue to the back of each cove moulding piece and arrange them in the center of the pallet forming a square frame.
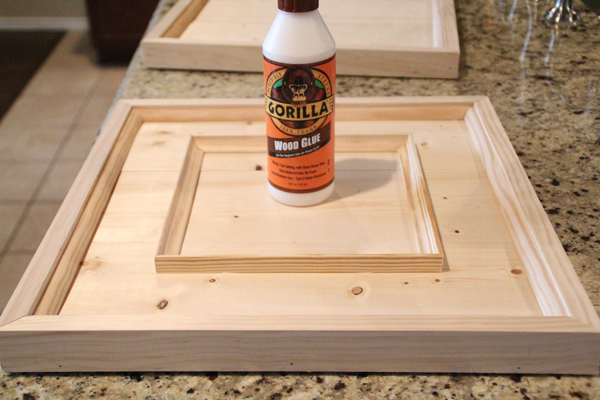 Let it dry:)
 Once the glue dried, I applied one coat of Dark Walnut stain to each frame. I used a foam brush to apply, let it dry for about 5-10 minutes and then wiped it with a clean cloth. You do not need to remove all of the excess stain when wiping. Just use the cloth to blend it well.
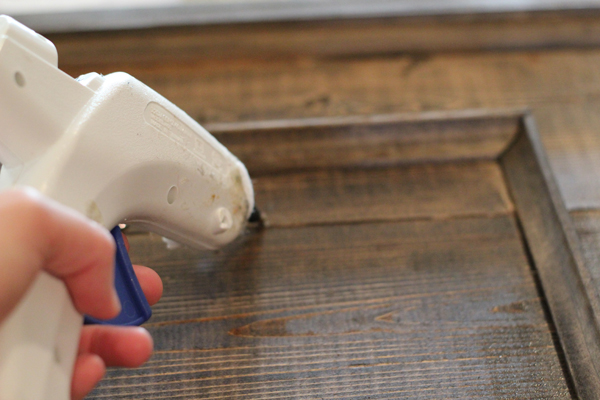
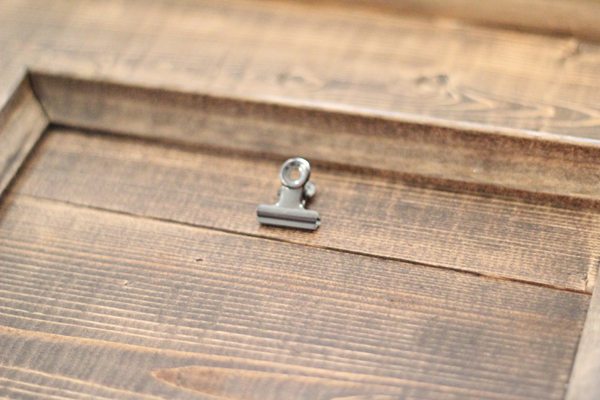
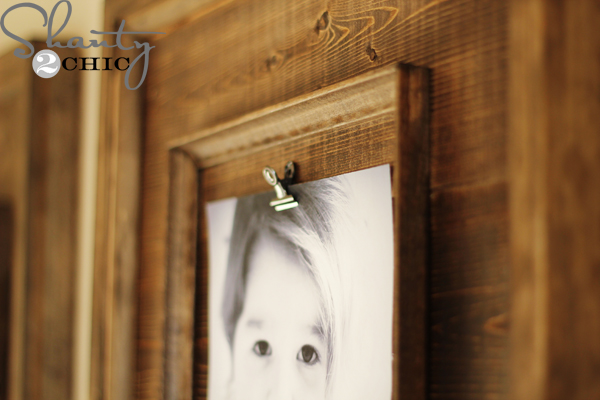
I purchased these super cute bull clips at Hobby Lobby and hot glued one in the center of each square frame.
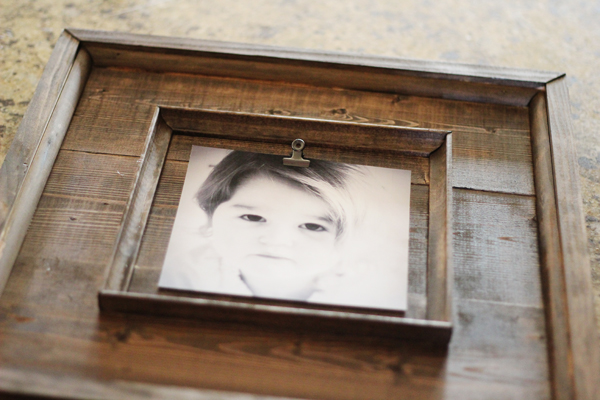 And added a cute picture to each frame:) And, that’s it!!!

I used sawtooth hangers to hang the frames and used anchors to secure them to the wall! I am so in LOVE with these cuties! At only $15 each and about a day of work, you can’t lose! I want them all over my house now;)
If you love my DIY Wooden Frames, I would love your pins! Thanks so much for stopping by!
~Ashley


I would love to make these. I have a Kreg Jig and it is awesome!!!!!! Very well worth the money spent to purchase it and so many uses for it. I would love to make these frames with glass in the inner frame and a beveled mat but not sure how to go about it. Any ideas?
You would have to leave the inner frame open…no back at all. Then, with your Dremel with a router bit or a router with the correct bit to make the inner lip for your picture and glass to rest on. You could also keep the inner frame open as before but attach your cove molding (inner frame) about 1/4 inch over your back edge to make that lip needed for your picture and glass.
The measures are wrong! They are 16 1/4 in one side and 18 on the other. If you cut 3 planks of 1×6 @ 16 1/4, you will have 16 1/4 in length but when you add tree in a row they will make up 18. So the borders that will be cut are not all the same because it’s not a square. If you measure the final pictures of this project on this page with a white paper against the screen you can judge by yourself.
The material right measures are as follows:
– 1×6″ White wood boards cut 9 @ 16 1/4″
– 1×2″ Pine boards for the outside trim. 6 – 45 degree miter cuts at 18″ short point to short point.
– 1×2″ Pine boards for the outside trim. 6 – 45 degree miter cuts at 16 1/4″ short point to short point.
– Quarter Round 6 – 45 degree miter cuts at 16 1/4″ (long point to long point).
– Quarter Round 6 – 45 degree miter cuts at 18″ (long point to long point).
– Cove Moulding 6 – 45 degree miter cuts at 9 1/2″ (long point to long point).
– Cove Moulding 6 – 45 degree miter cuts at 10 1/2″ (long point to long point).
Hi AJ,
I always appreciate when I am corrected on my measurement typos! However, what you are saying is not accurate. A 1×6 board is not 6″ wide (it will vary from about 5 1/4 to 5 3/4). This is true for all board measurements. So no, 3 1×6’s will not equal 18″. I suggested at the beginning of my post to measure as you go because board sizes vary quite a bit! In my case, the measurements I gave were correct. I went back and measured mine on my wall and there were no typos in this post. I do appreciate your time and the heads-up!
No problem, I was just trying to help. I did the project yesterday and ran into this problem. The 1×6 boards here where 1 inch by 6 inches. Making a total of three boards put together 18 inches in height.
Your frame looks is fantastic so great. absolutely nice looks in home your frame. such wonderful your work and great job. thanks for sharing your great idea.
http://yourwallart.areavoices.com/2013/03/19/wall-art-decoration-for-your-uk-based-home/
This really a great idea, i want to say thanks for sharing this easy DIY wooden frame. I will try whenever i feel free. 🙂
http://canvasdesign.tumblr.com/post/45412972998/most-excellent-online-canvas-art-store
These are gorgeous!!! I love them, wonder if I can talk my husband into helping me create something similar?
Debbie 🙂
Super like it!!!! It’s so artistic of you to think of this. 🙂 Great job! -http://www.wallums.com/
Super freaking great idea! I love this!
Sooo Beautiful! I really really love these Ashley! I am pinning!
I would love to make these but don’t have that heavy duty machinery!lol Are there any alternatives that one could do if you don’t have the right equipment?
It can be done with a miter box and hand saw. It’s very inexpensive. I shared a link to one under the first picture of my saw 😉
I fall into the same problem. I also don’t have the tool to make the holes in the back. I would love to make it otherwise.
I’m going to try to peg it (drill a hole in two spots insert pegs in
each with some glue). The idea came to me after putting together
pre-made furniture. I’ll let you know how it turns out.
Instead of the kreg jig, I used a drill. I drilled three holes in each side and put a 1/4 wooden peg in. Add in wood glue and let dry. I also tried staple gun and wood glue. Both worked just fine.
Instead of the nail gun, I used a hammer and nails. I used three finishing nails 1 1/2 inches long. Holds together beautifully.
Instead of the machine saw, I just used a hand saw. I had to make some adjustments, but the wood isn’t too thick that it was difficult to make the adjustments.
Love,love love! Really I love all your stuff. I finally did my first DIY wood project the $10 shelves. ??? I am using the same dark walnut stain but it doesn’t look as nice and dark like yours even after 3 coats …it still looks more honey colored. Any thoughts? Thank you for sharing all your wonerful posts!
Thank you Dedriann! Are you shaking the can before you stain? The color tends to settle at the bottom. ….
Not sure if the hubby shook or stired it..he did the staining for me I will have to check with him. My be I’ll give it another go. Thanks again for all the wonerful project tutorials
Amazing ashley! How did you hang them on the wall?
Thank you Juanita:). I just used saw tooth hangers and anchors;). Dummy proof which is great for me;)
What is the finished size? And what size picture did ya use? I just showed my husband and told him how much I wanna make these…
They are 18×18″ each and I made my pictures 7×7″:)
Sent from my iPad
I love these! And now I need them…
LOL!!!
Sent from my iPad
Those are really cute! I love chunky frames!
Thank you Michelle:)) Totally agree on the chunky frames;)
These look amazing! Way to go.
Thank you Korrie!!!