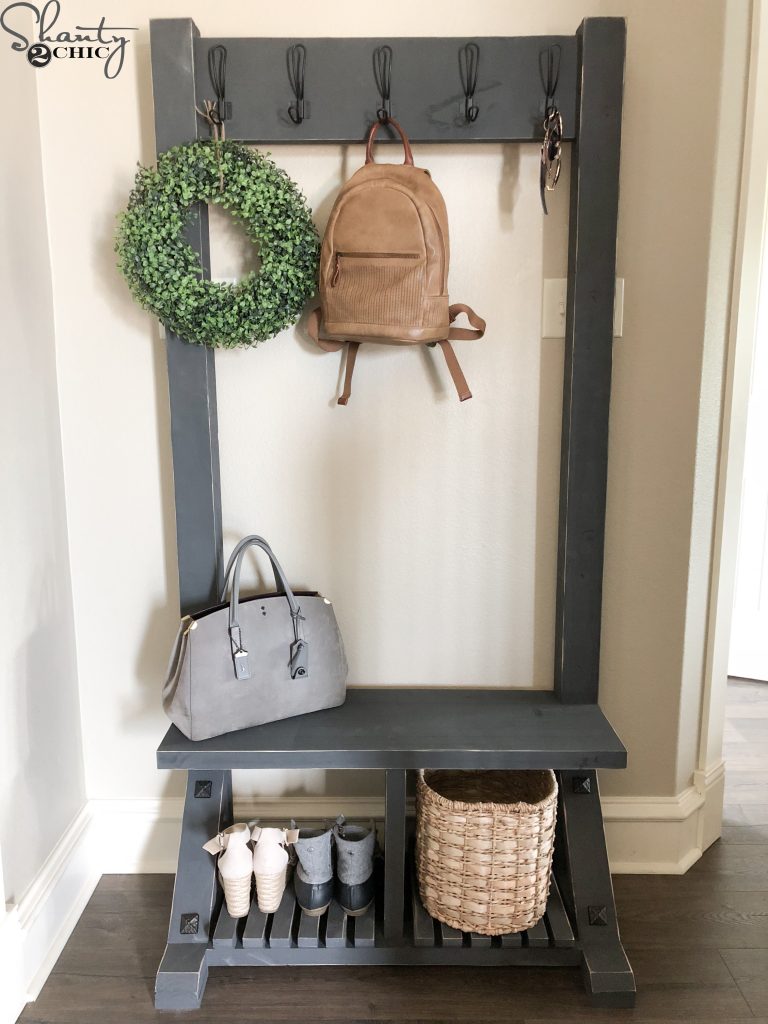
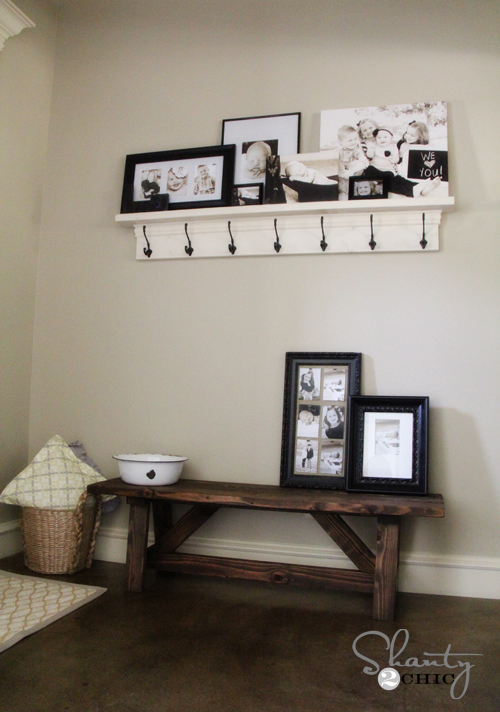
Learn how to build this DIY Modern Farmhouse Hall Tree with free plans and how-to video by Shanty2Chic.
We are always looking for ways to create extra storage spots that are not only functional but beautiful! We have designed this DIY Modern Farmhouse Hall Tree that will do just that! It’s an easy build and it only cost us about $50 to build!
We’ve got the how-to video for you! Just click HERE or the box below to watch!
DIY Modern Farmhouse Hall Tree – free plans
And, don’t forget to download the FREE Printable Plans HERE!
You can also follow along in the step-by-step below!
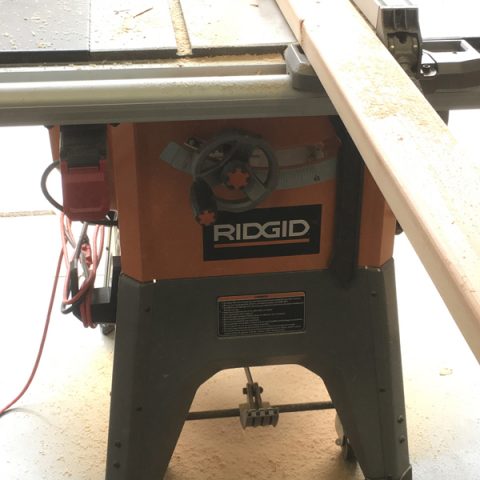
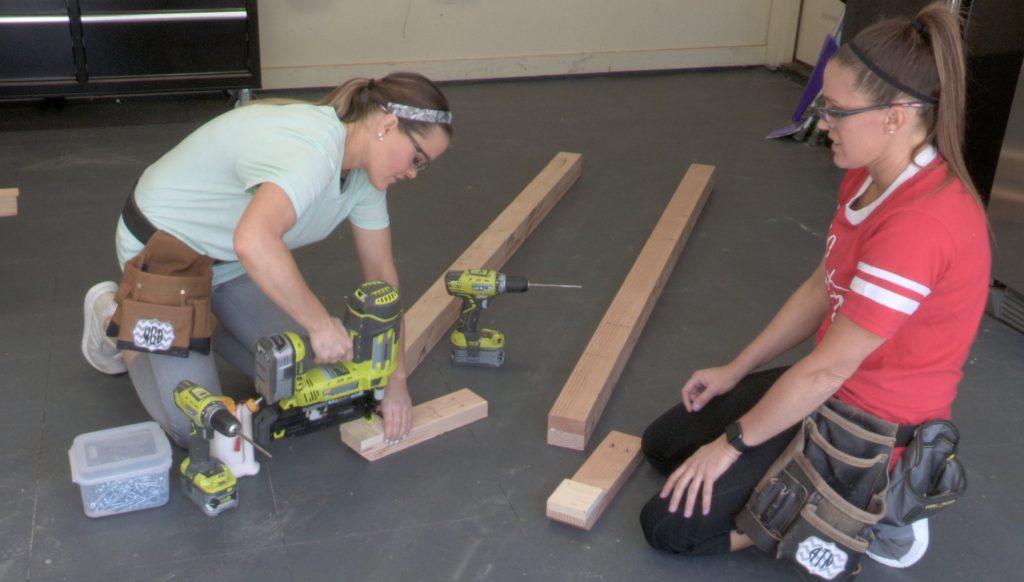
We used our table saw to rip the round edges off of all of the boards (1/8 off each side). This will give a smooth joint between the 2×4 laminated posts and an overall clean, modern look to the piece. We also ripped a 2×8 from the 2×10 and ripped 2×2’s from the 2×4 to save money. If you choose not rip your round edges, just adjust the measurements accordingly.
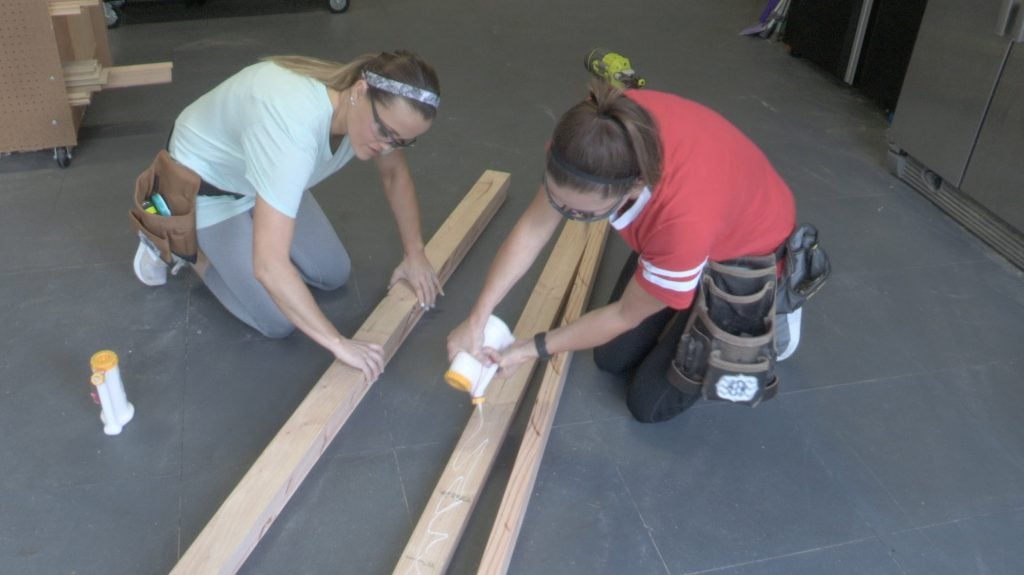
The first step is to laminate the 2×4’s posts together. This will make the posts chunky. Just use wood glue and clamp the pieces together, overnight, to dry. You can find our favorite glue bottle HERE!
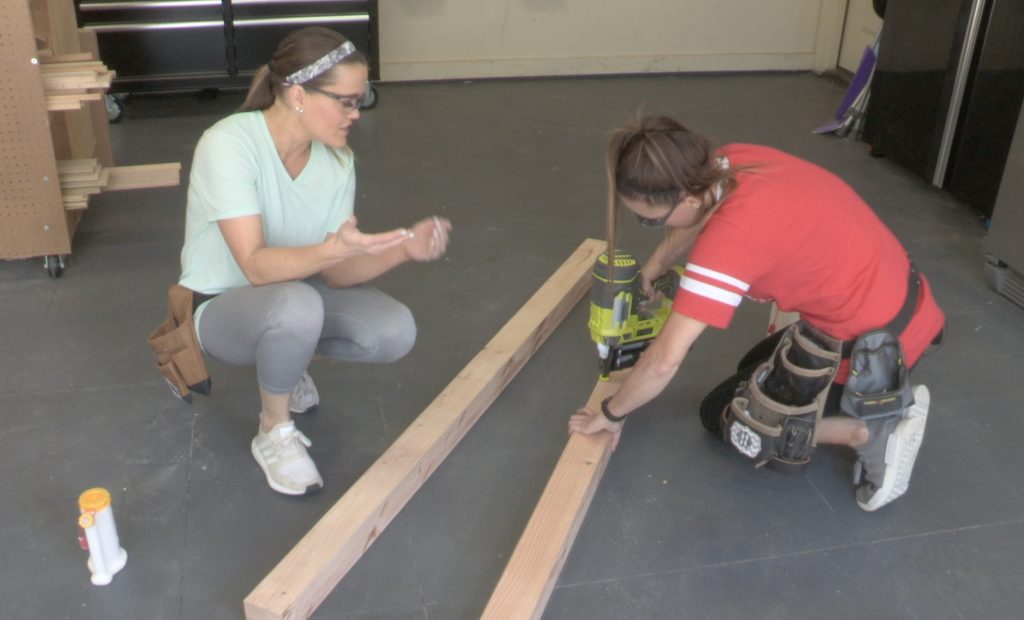
To save time, we used our 16 gauge finish nailer and 2″ finish nails to attach the boards. We attached from the back to hide the nail holes.
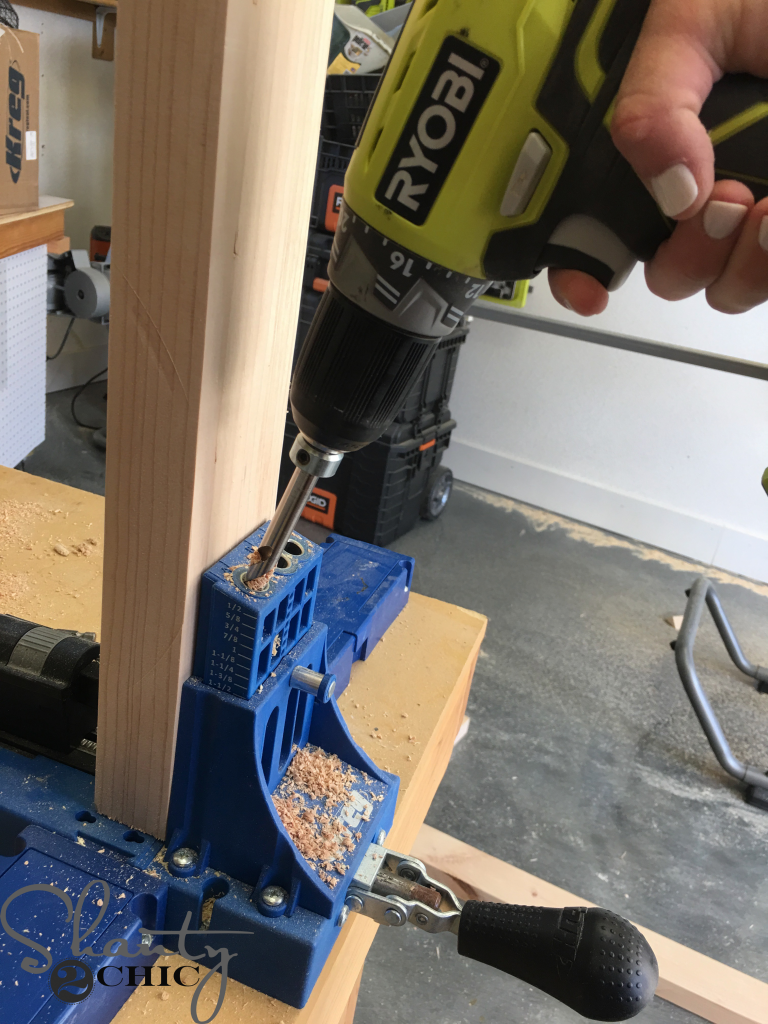
DIY Modern Farmhouse Hall Tree – the kreg jig
Next, we cut the legs to size and use our Kreg Jig to drill 1 1/2″ pocket holes into one end. You can find our favorite model of Kreg Jig HERE!
Then, we cut a 45° angle off of the other end. We attached a foot pad to the bottom of each let with 2″ finish nails and wood glue.
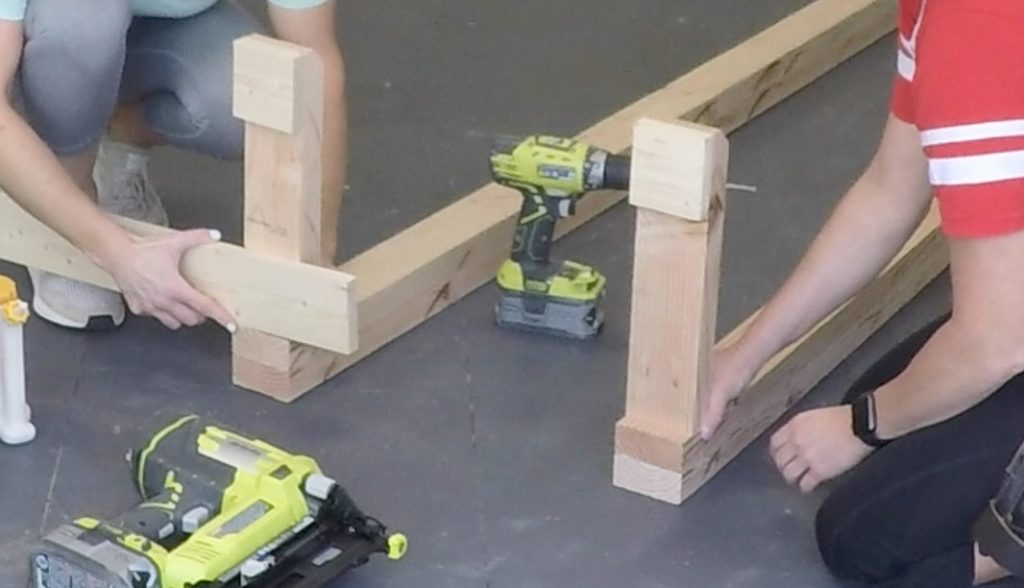
We attached a foot assembly to each leg assembly, 3/4″ from the bottom of the leg. We used 2 1/1″ pocket hole screws and wood glue.

We cut the hook board to size and drilled 1 1/2″ pocket holes into the back of the board. We centered it and attached it 1″ from the top, to the inside of the legs. We used 2 1/2″ pocket hole screws and wood glue. Make sure that the pocket holes face back, away from the feet.
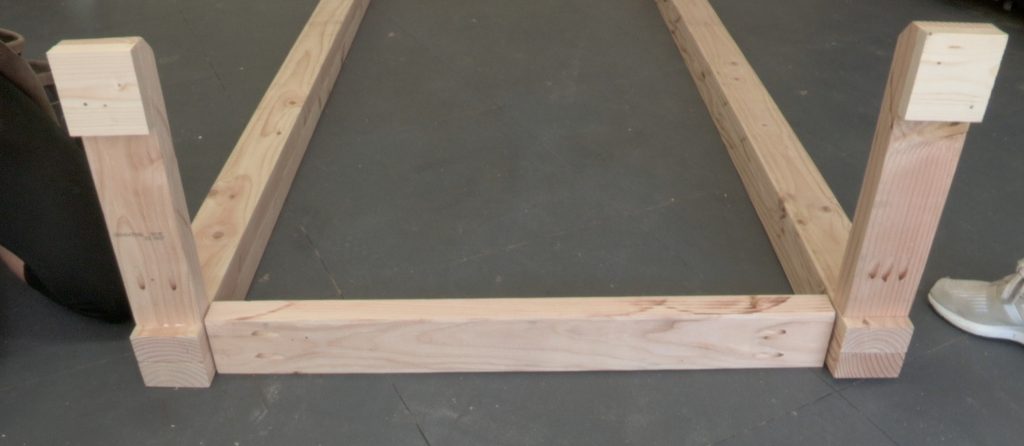
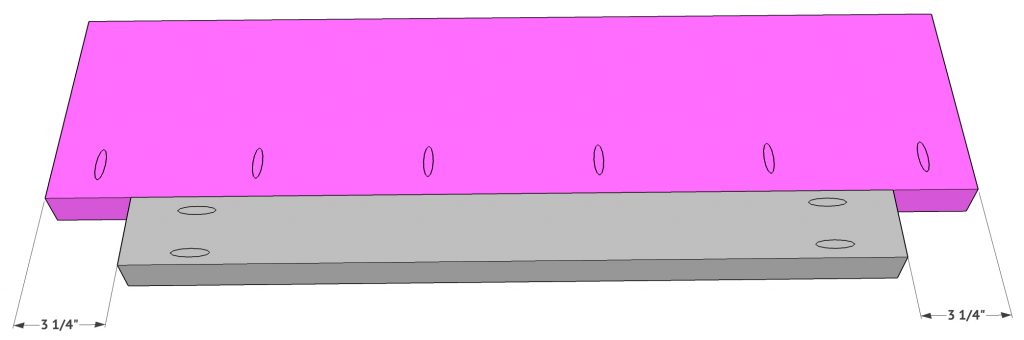
Next, we cut the base pieces to size and drilled 1 1/2″ pocket holes into the ends of both pieces. We attached them flush with the feet. The back piece should be flush with the back of the legs and the front piece should be 3 1/2″ from the front of the feet.
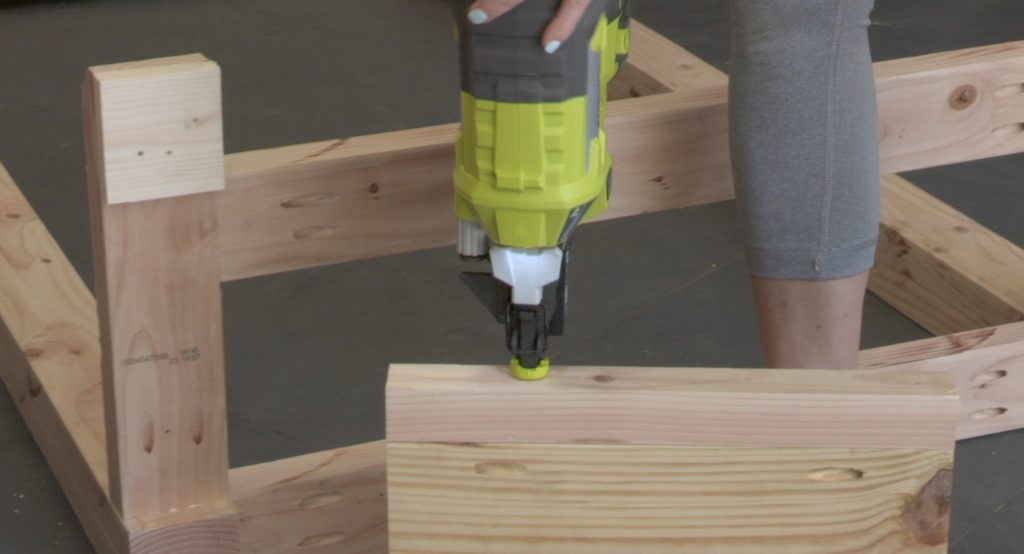
Then, we cut the seat support pieces to size and drilled 1 1/2″ pocket holes into each end of the 2×2’s. We attached the 2×2’s to the 2×10 piece with 2″ finish nails and wood glue.

We centered the seat support on the base runners and attached it with 2 1/2″ pocket hole screws and wood glue.
We cut the seat pieces to size and drilled 1 1/2″ pocket holes according to the plans. We centered the short piece on the long piece and attached them together with 2 1/2″ pocket hole screws and wood glue.
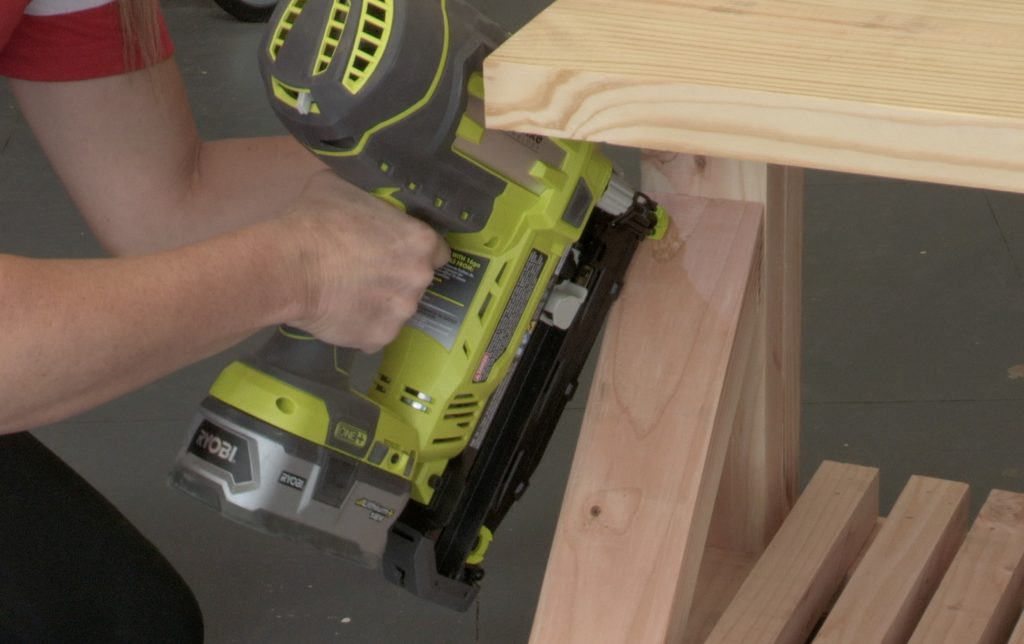
We attached the seat to the seat support and to the legs with 2 1/2″ pocket hole screws and wood glue.
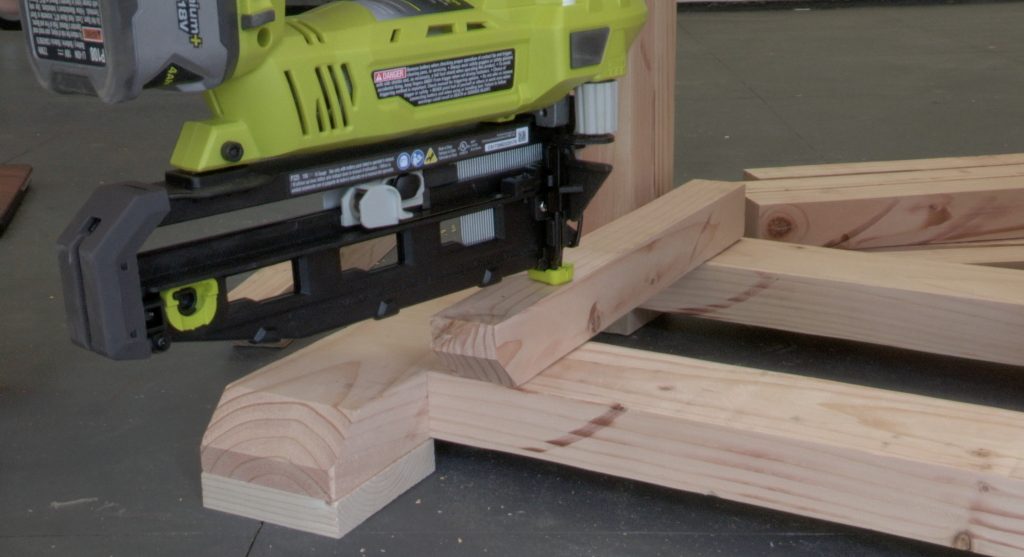
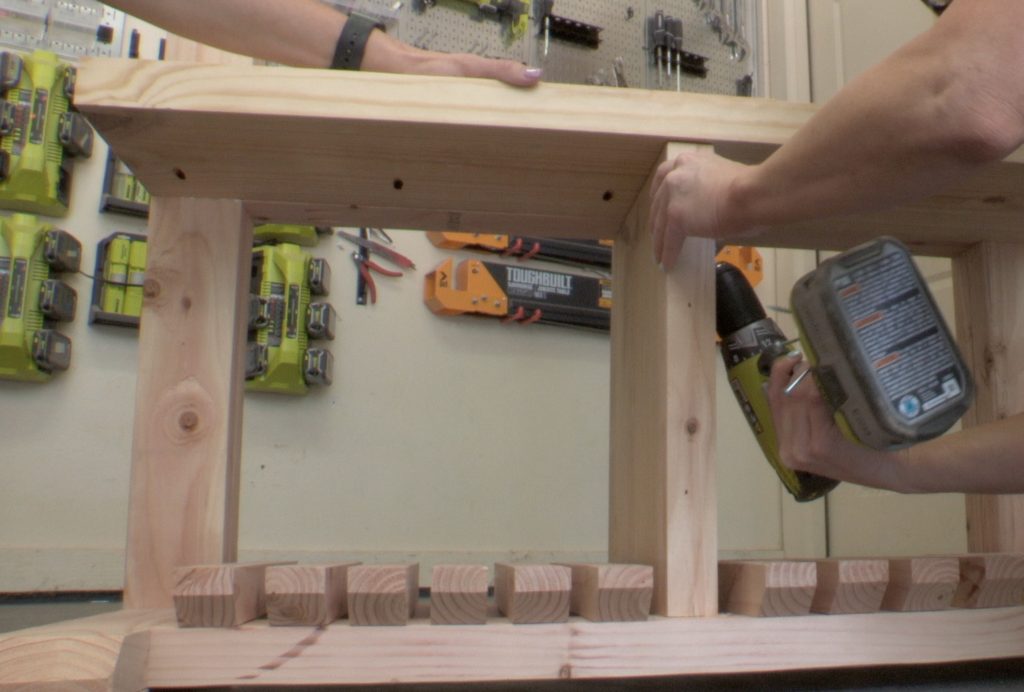
We cut the slat pieces to size and attached them to the bottom runners with 2″ finish nails and wood glue. The bottom of the angle should be flush with the front of the bottom runner. Refer to the plans for exact placement.
The final step in assembly was to measure and cut the truss pieces to size. We attached them to the legs and feet with 2″ finish nails and wood glue.
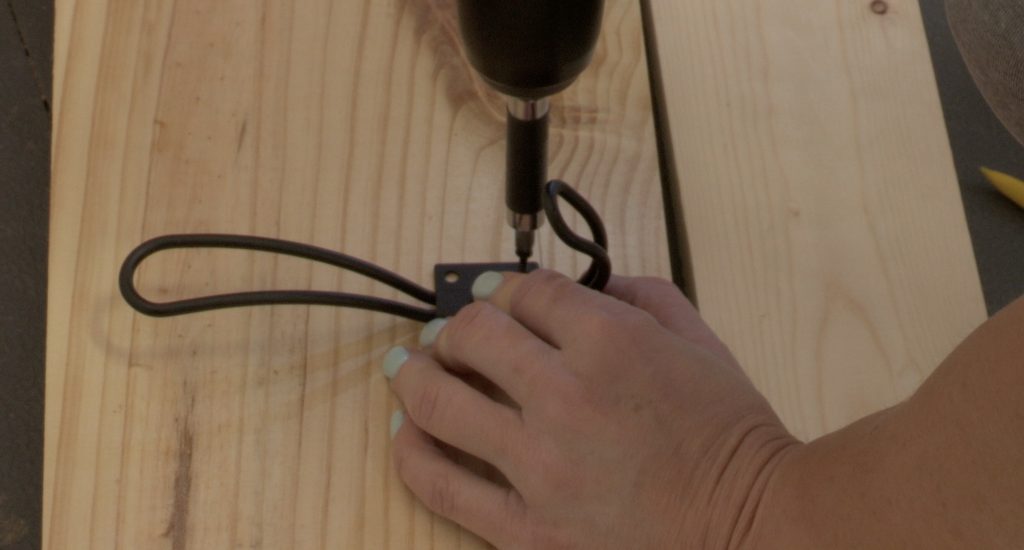
After adding a finish, we attached the hooks and the nail heads to the piece.
DIY Modern Farmhouse Hall Tree – hooks and paint
–You can find the nail heads HERE
We used 2 coats of THIS paint for the finish.
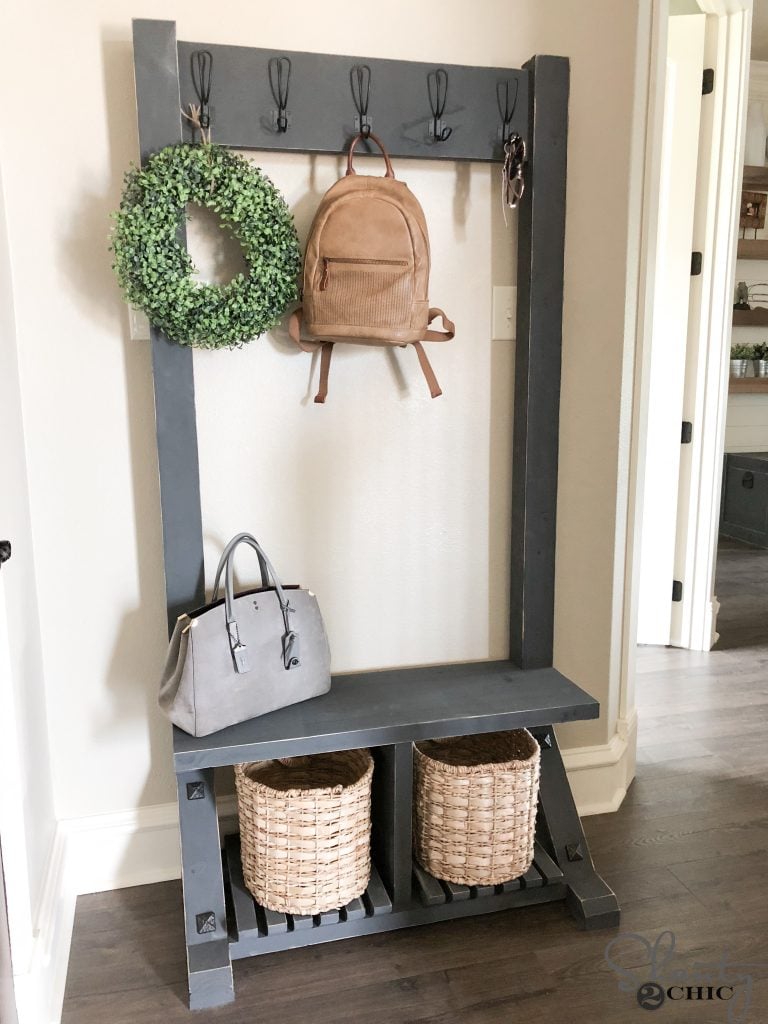

That was it! The perfect combination of form and function! If you have room for a wider piece, the modification are easy to customize! If you build it make sure to share it with us on social media and use #shanty2chic so we can share them too!
Check out the links for all sources!
Baskets (I cut the handles off to fit)
Happy Building!

This is a very practical and well-designed entryway solution. The hall tree combines seating, storage, and hanging space in a clean modern farmhouse style, making it perfect for keeping everyday essentials organized. I like how the design balances functionality with a strong visual presence. It’s always inspiring to see entryway furniture ideas alongside broader interior and material trends here: https://plywoodbazar.com/ A smart and versatile DIY build.
Hi in the cutting diagram you say the foot pad is cut from a 2×4 but it is clearly not a 2×4 is it cut from a 1×4 that you don’t list?
If I build this to 40″ width, do i need an extra seat support?
Your link to the glue bottle you use takes you to Walmart and a 4oz bottle. I didn’t pay attention to the size and paid $13.24 fir that tiny bottle and shipping. Then be after I got it I ended up finding the 16oz bottle on amazon. Didn’t know if you were aware that it’s notvthe right bottle.
Hi, this is exactly what I need! Awesome step-by-step!! The only snag is that I live in a metric-únit country and it’s insane to convert it all by hand. By any change, do you have available for download the Sketchup file?
Thanks for sharing and keep the goodness rolling!!
Gabz
Your note says you ripped a 2 x10 to a 2 x 8 to save money. What did you use the 2 x8 for? and if the same length why do you need an extra 2 x 8 if you didn’t do this. Just confused and I don’t want to make extra trips to the store for more wood. I can rip the wood down to size. Is your wood list reflecting that you ripped to size the wood you needed?
What type of sealer do you use over the paint?
What is the difference in using a 16 gauge brad nail gun and 18 gauge?
16 Gauge Brad Nails are usually for lighter trim so with a heavier piece it won’t hold well. 18 Gauge Finish Nails are larger so they hold better but make a larger whole which you would need to cover up with wood putty.
I didn’t see where you put the info on wood putty..
Hi Ladies!
LOVE YOU!
What is your recommended table saw. I am ready for the next level! xoxoxo