Happy Friday!
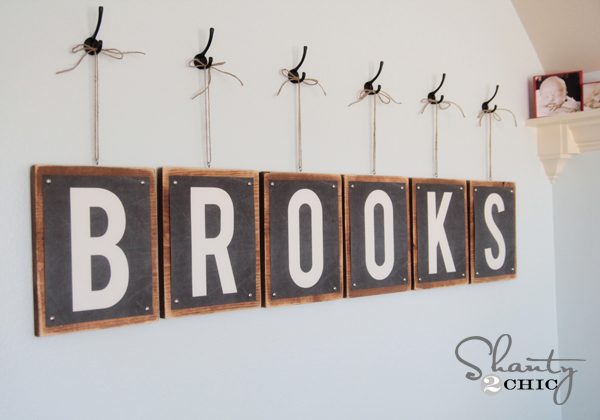
I hope you are all having a great week! Today I will be sharing a super easy project! This one can be customized for any room in your house and I have done all the hard work for you! I have been thinking of a fun way to do my son’s name for his room. You guys know me… I wanted something cheap, easy and of course, so cute! So… I created these Free Printable Letters & Numbers to get the job done.
And guess what? You get them for free too! Woohoo! Who out there likes free? Yah. Me too!
These are 8×10 prints that can be easily printed from home or a photo place (like Walmart, Walgreens, etc.). Just click the letter you want to print below, and then press print from your browser bar up top. Easy peasy. Oh… And free. 😉 These are the 8×10 letters, and I will be posting everything in 5×7 as well later.
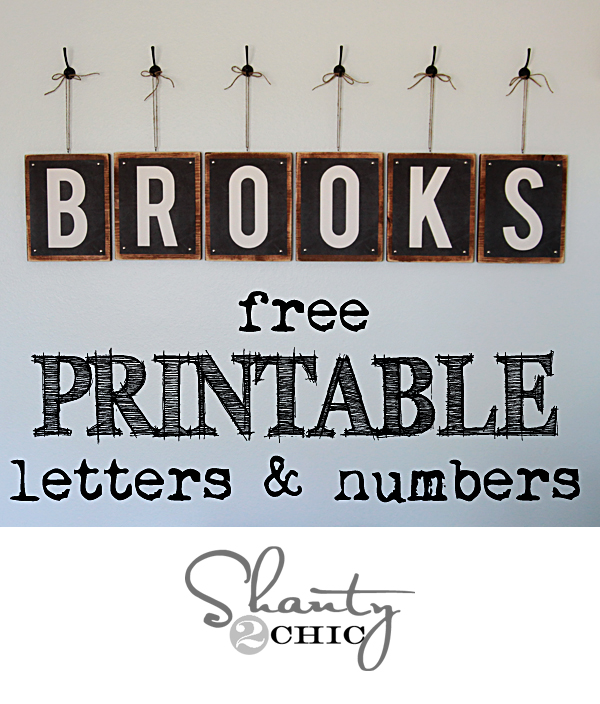
Free Printable Letters & Number
And here are numbers 0-9, an ampersand and a heart…
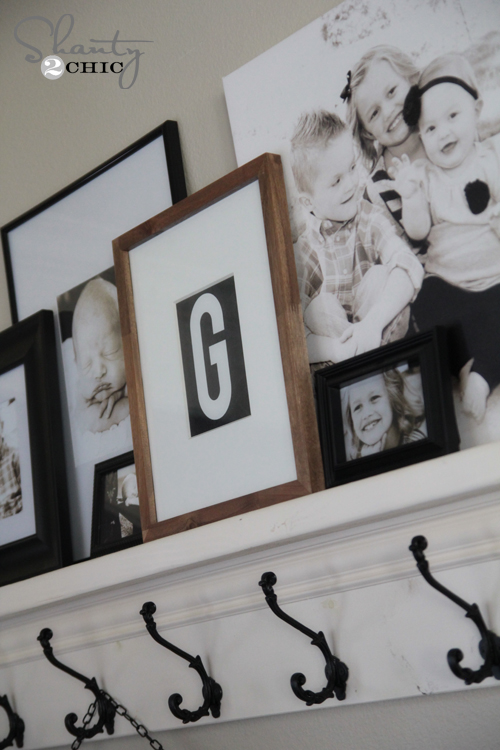
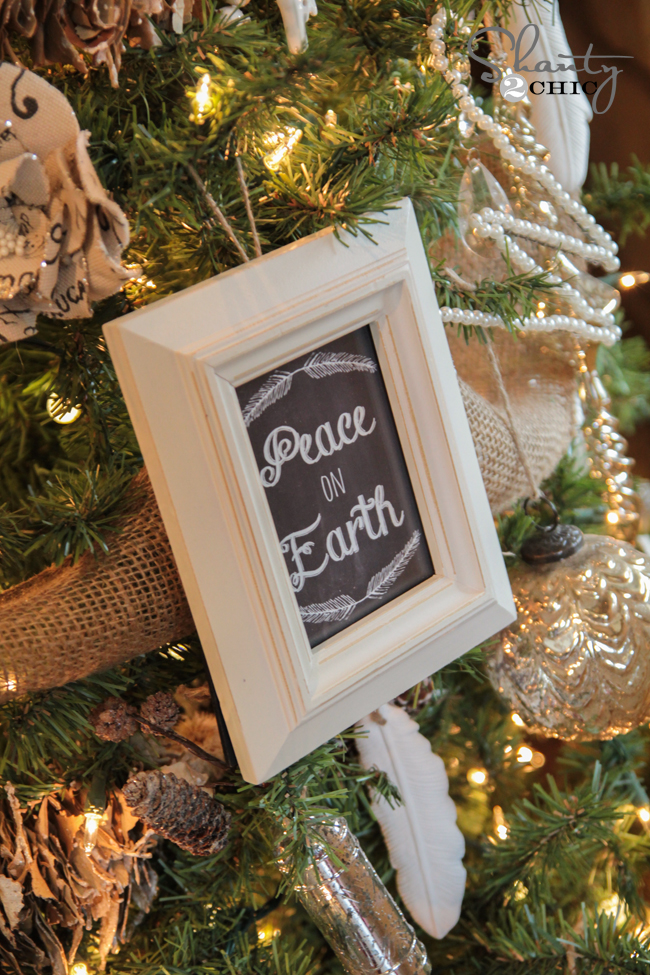
And don’t worry… If the project I am sharing with mine intimidates you, these can also be printed and put in an 8×10 frame just like this…
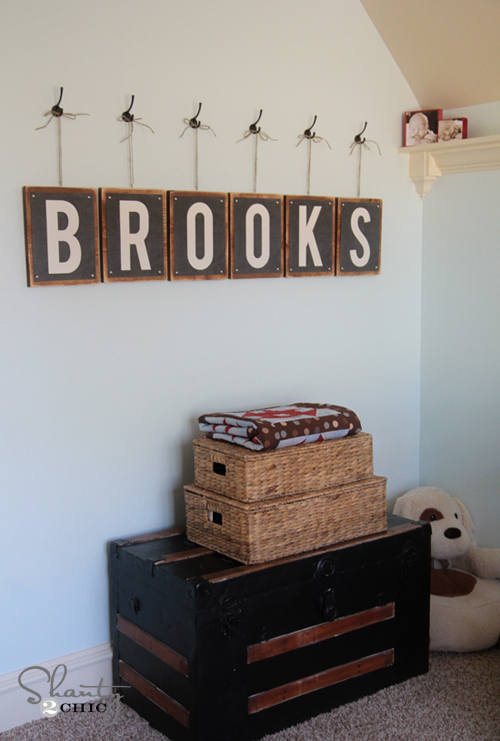
Let me show you how I created my son’s letters for his room! This is such an easy project.
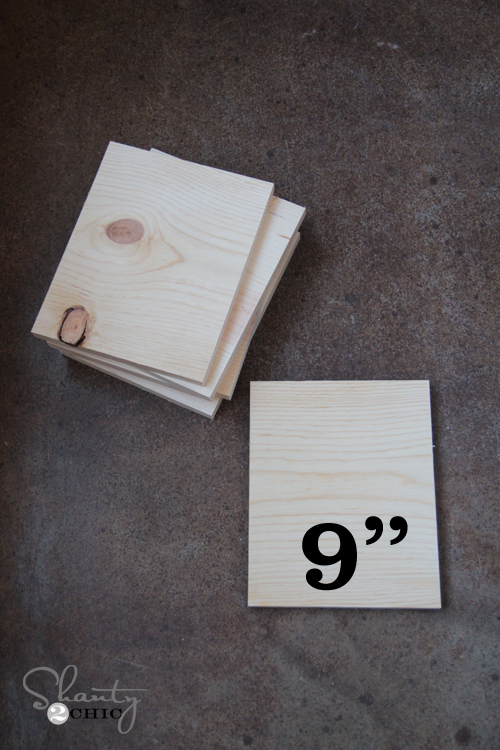
I started with 1×12 whitewood or pine board. You can get these in 4′ pieces at Lowe’s which makes them super easy to throw in the car. They are right around $6 for a 4′ piece which will make 5 letters. Here is a picture of my little helper assisting me with picking up our wood. Come follow us on Instagram!

For each letter you will cut a piece of your 1×12 at 9″ long. His name has 6 letters, so I cut 6 pieces of 1×12 at 9″ long. Here they are below.
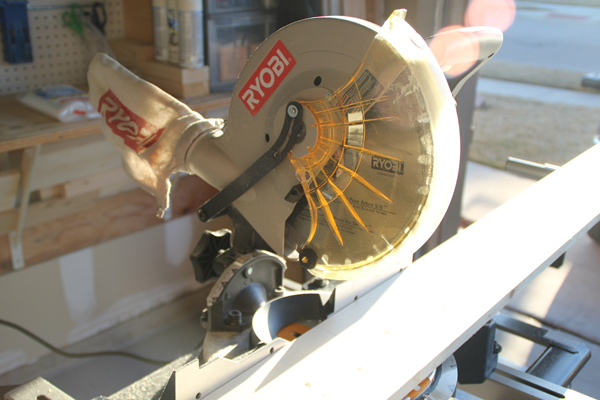
You can have the hardware store cut your wood for you, or you can use a cheap and easy hand saw like this one…
I used my Ryobi 10″ Compound Miter Saw for my cuts. I had all of them cut in minutes.
Now for stain! I used my favorite stain for mine…
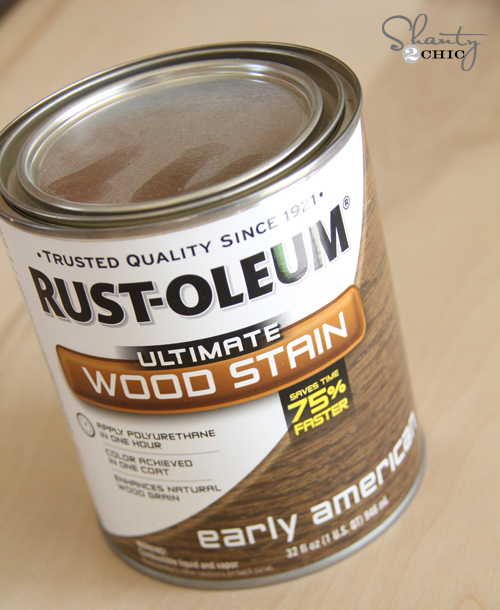
Rust-Oleum Ultimate Wood Stain in Early American
This stuff is the bomb. It is a 1 coat application, and dries in under an hour. LOVE.
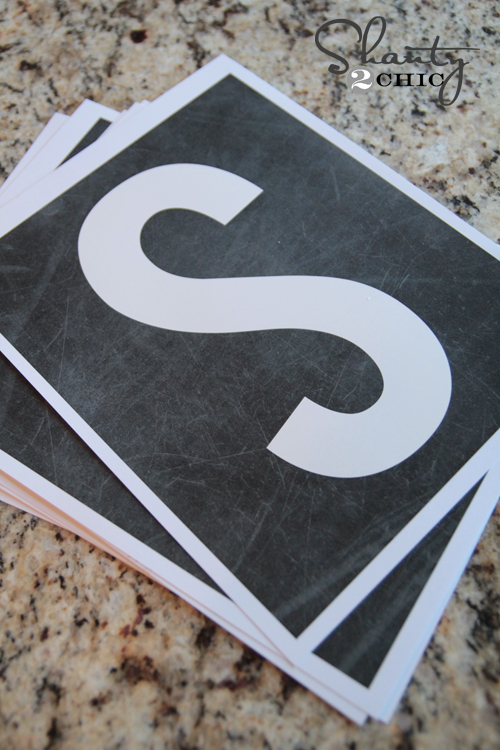
While those were drying, I printed my letters I needed and used scissors to cut them out. I like printing these on white cardstock. You can also use plain printing paper, kraft paper or photo paper. I just like the look of the cardstock best.
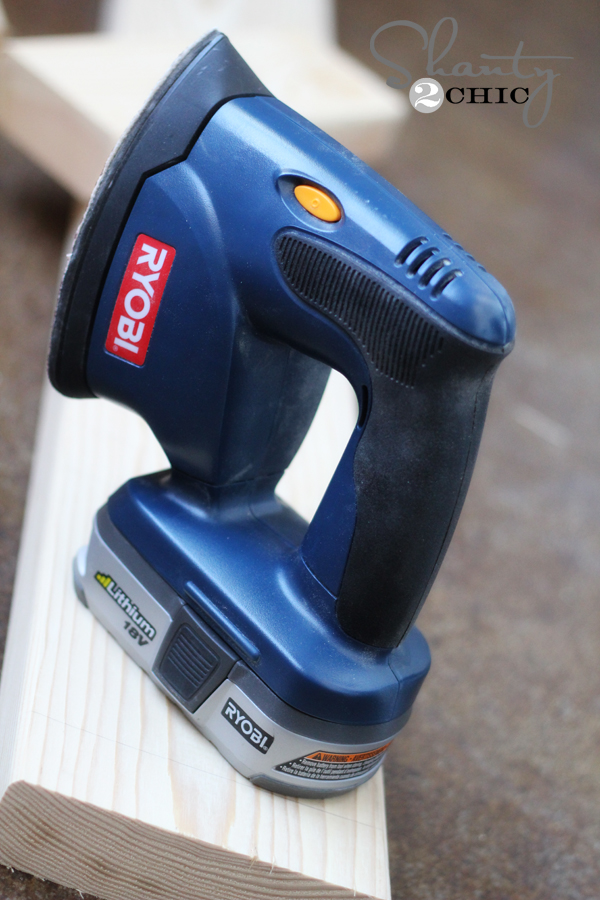
Before attaching my letters, I sanded them down a bunch! I made all the corners nice and round, and sanded away some of the stain to make them look distressed. To do this I used my favorite tool in my collection…
Ryobi Corner Cat Finish Sander
I LOVE this tool. It’s the best sander I have ever used, and always gives me the perfect finish that I am looking for. Plus… It’s cheap!
To attach my letters I used small silver furniture tacks that I found at the hardware store. Just place one in each corner and use a hammer to lightly tap them into your wood. Then, I put a small screw eye in the top of each board like this.
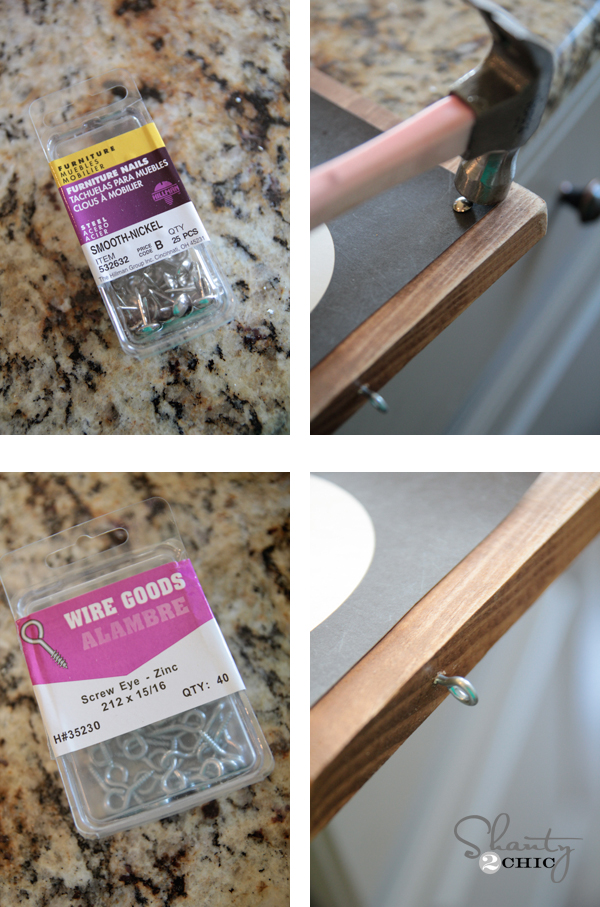
Done. How easy was that??
Next, I used twine to hang each one from a decorative hook. Again… Easy! I get asked all the time how I keep my frames and boards hanging so straight. Here is a little ‘Shanty’ tip… Gorilla Tape.

You can find this at your hardware store. I just tear a bit off, roll it up and stick it to the back of the board. Then I stick it to the wall. This tape is awesome… It stays sticking for a LONG time, and I never really have issues with it leaving mess behind or messing up my paint.

So… Here they are all finished up!


And again… These can be framed in seconds as well! Super easy… Super cute… Super cheap. That is my kind of project! Woohoo!
Thanks so much for stopping by! I would love for you to share and PIN these letters below! You guys rock! 🙂
~Whitney


Thank you for the printables I am excited to use the letters in my own home.
I love your site. You are so creative with a budget friendly mind. So many ideas. I would love to do something like this in 5×7 letters. Are you still gonna do the free printables for 5×7? Again I love your site.
Any chance there is a post of the 5*7 printables yet?
I love this project! Moving into a new home and loving the ideas!!
Love these letters! I featured you today on my Kick-Off Friday post! http://craftivitydesigns.blogspot.com/2013/03/kick-off-friday_22.html
Thank you so much for these. I love them and have so many places I want to use them.
You guys are the best. I love a new Shanty project!
Thank you SOOO much for all that you ladies do on this blog. I have you to thank for my new need for power tools. My first was a compound miter saw… I used my husbands pneumatic tools to do the rest. Well we split and I was left with no other tools.. So I had to restock.. got a great deal on a porter cable set. Each with an 18v lithium battery. It came with a 10″ cordless circular saw & cordless drill. Both with a bag and charger for only 89.00!!!! I also got a sander like yours.. 26.00! It didnt come with a battery, but I already have 2 and you can only charge one at a time, or only need to with the quick charger. I am going today to get a kreg jig system and dremel trio. My husband kept those too. They are definitely necessary to have in your tool kit.
Before I found your blog, the last thing I would have cared about would be power tools. But times, they – are – a – changin’. Now Nana needs her power tools!! So thank you so much for all of the work you put in on this blog. It is really nice! And to have you guys in my own backyard, even better! I just wish I could have gotten a way to go see you guys at your thing at Home Depot. I am not able to drive due to Lupus causing me to have seizures so I had to find a ride and it was during the week and a good ways from my home even if we are in the same D/FW area… Hopefully you will do another thing at a store closer to me! That would be so great! Fingers crossed!
Thank you,
Erin S aka Nanasrcool
thank you soooo much!!!! i love it!!
Seriously! I’m so excited about this!! I’m making these today with the letters P, R, O, M, 2, 0, 1, 3 for group prom photos. I had a vision of what I wanted, then while on FB I saw this. Perfect! I love your style and great ideas! Thank you.
Yeah Kim!! So happy you love them! What a fun idea using them in photos! Thanks so much for your sweet message! 🙂
Love this project, and can see many uses for the graphics. I have downloaded all but ‘&’ it doesn’t download, can you fix the problem?
Done! Problem solved… I had saved it under a bad file name. Oops! Thanks for catching it for me!! Have a good one!
Another great idea!
Thank you Melissa!!
You have a wonderful God given talent, keep up the great work. I love everything you post. May the Lord continue to bless you. LOVE LOVE THE POST………..
Thank you SO much for your message Scherree… This made my day 🙂
This is great and thanks for sharing. I love all of your ideas.
Thank you so much Amy!! 😉
Love these! Did you
Load the 5×7 ones?
This is a great project! I love your blog! I love the gorilla tape tip. I was also wondering if you had a good tip on how to get those hooks perfectly spaced and level? I am horrible at hanging more than two pictures in a row and always mess it up. Thanks!
Haha! I hear you! I did hang my first one and measured it. I hung all the rest after that one off of those measurements. I also started with a penciled line along the wall where the bottom of the boards should sit. That gave me something to go off of… Hope this helps!! 🙂
Thanks!
This is an awesome project! I love how it turned out. I have a couple of grandsons, now with their own rooms in a new home. This would be perfect for them. Thanks for the inspiration.
Debbie 🙂
Yeah Debbie! I bet they will love it! Thanks for your sweet message! 🙂