Happy Friday!
For those of you that follow us on Instagram, you know that I am knee deep in the process of changing around my dining room a bit! I have had the itch for a new table for sometime, and really wanted to build one myself. I have that all finished up and can’t wait to share it. In the meantime, I wanted to share a revamp I did to an old server that I LOVE. Ash and I started this blog doing revamps and transforming old pieces into new ones. I love the process of giving an old piece of furniture a brand new life! It’s like a good hair cut… And, it’s really not difficult at all!
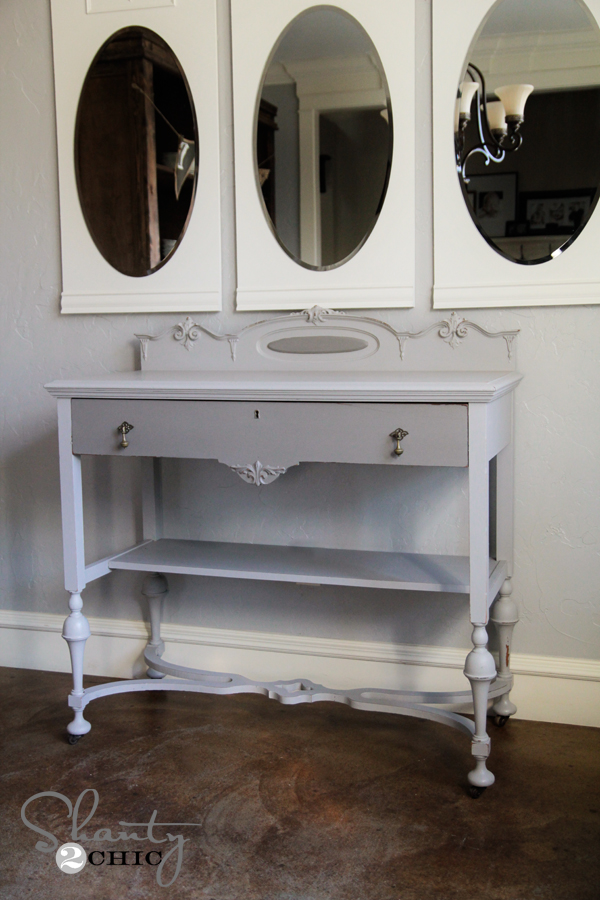
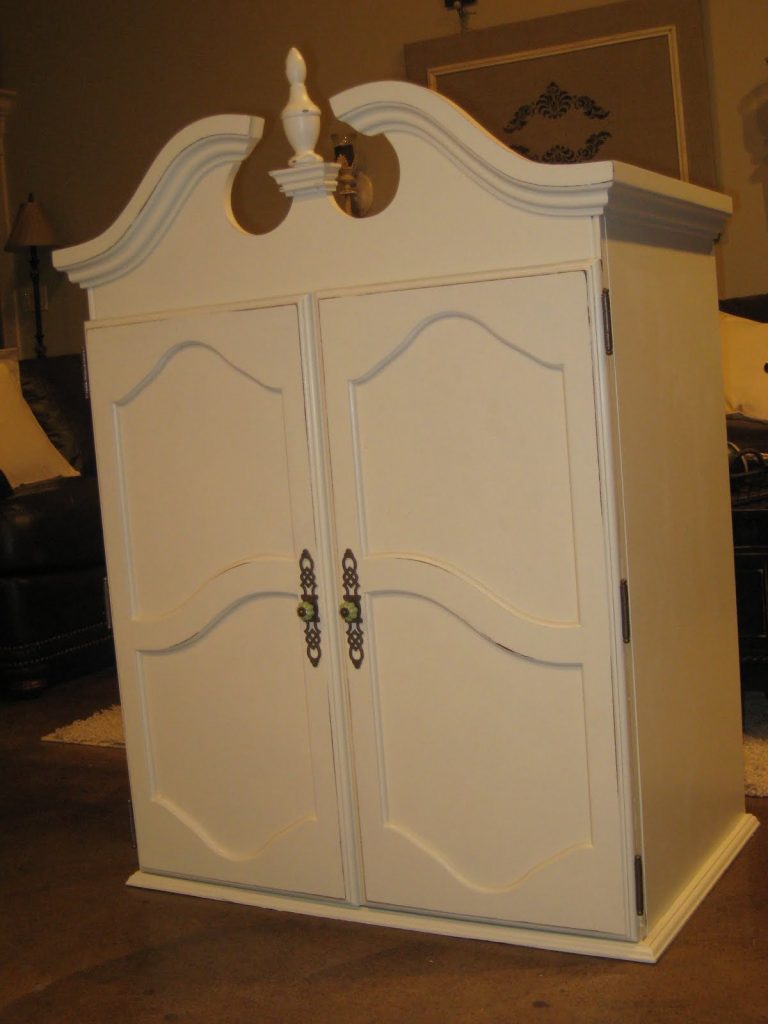
Here is how she turned out…
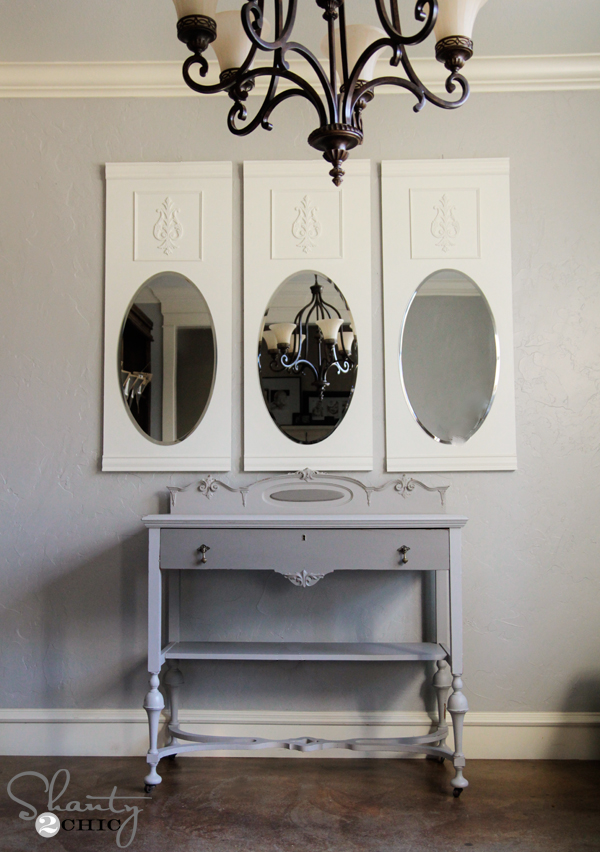
I LOVE this piece. It’s actually going to have a new home at my mom’s house, but before I sent it over I wanted to freshen it up a bit.
This was the original finish…
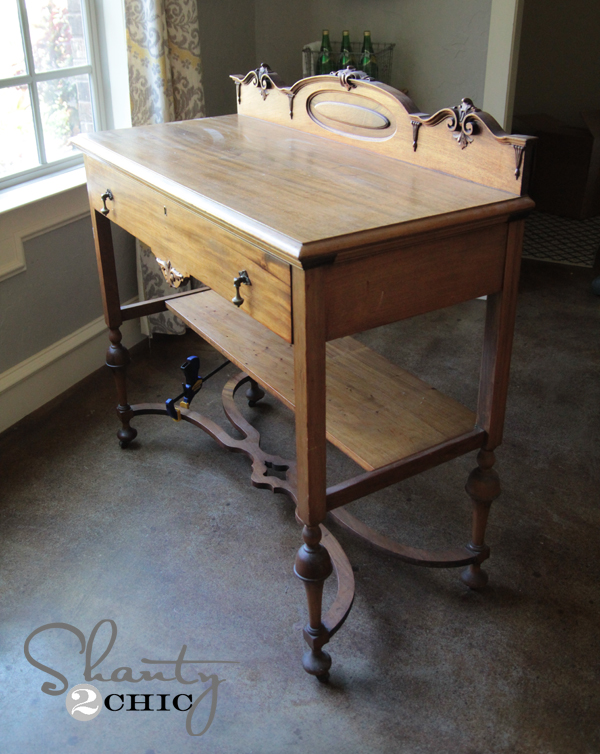
I did love the tone of the legs, but the rest of the piece was very yellow-orange and it had lots of dings and spots. So, after repairing the base (you can see the clamp on the bottom), I got started.
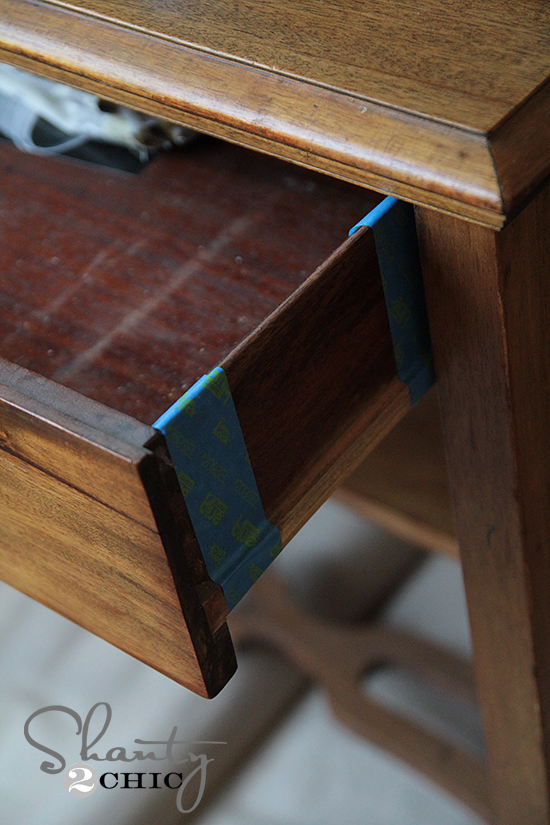
My first step was removing all of the old hardware. Typically I like to replace it with new hardware, but these pulls are perfection. They are worn and beautiful, and you really can’t find any like it still.
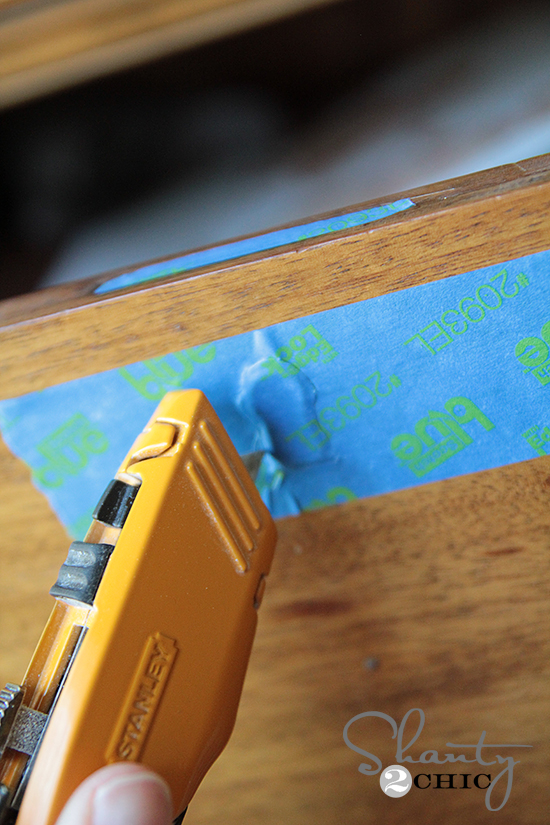
I also used some 3M ScotchBlue painter’s tape to cover some areas I wanted to keep paint free like the keyhole and the inside of the drawer.
I did prime this piece first. Although the paint claims to have primer, I have found that it is always best to use an actual primer on old pieces like this. I used one coat of this on the whole thing using a brush…
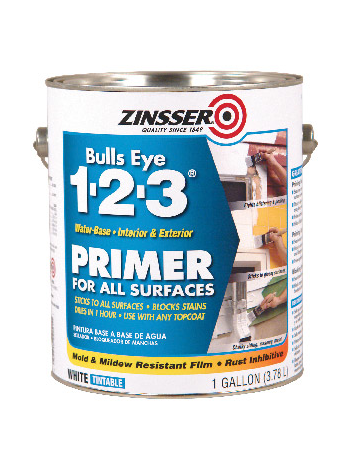
You can find this stuff at Lowe’s! It’s super easy to apply, and it will save you lots of heartache later… Promise.
Next I decided to go with 2 different shades of grey. These are the two colors I chose…
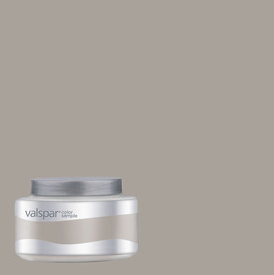
For my lighter color I used Valspar Pantone String
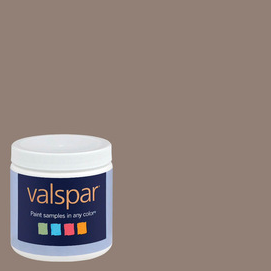
And the darker color is Valspar Siene.
They both look a bit brown on the screen, but the color is a perfect grey. I used a satin sheen for both colors.
After letting that dry, I used an 80 grit sanding paper like this to very lightly scratch my corners and edges…
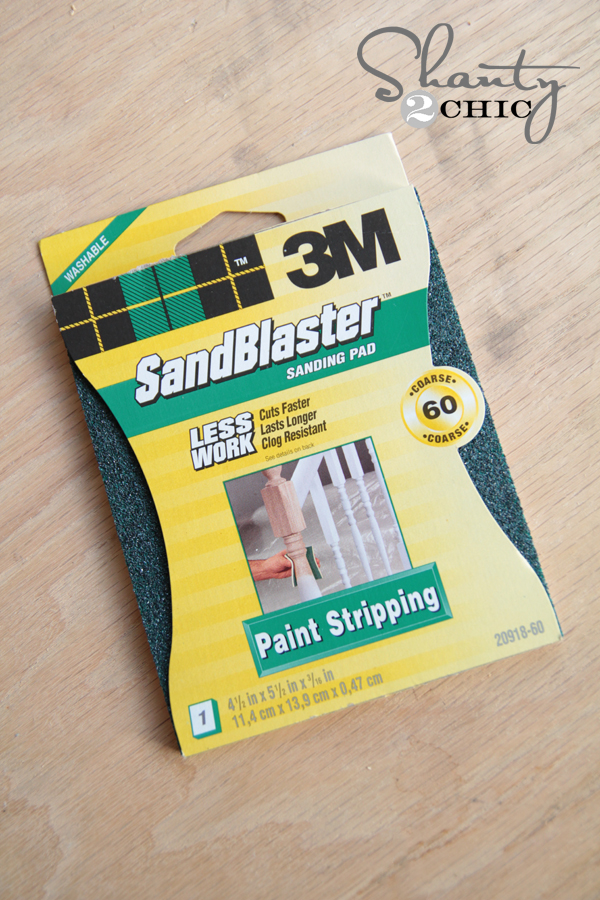
Easy peasy!
And to protect all my work, I gave the entire piece 2 coats of Rustoleum Ultimate Polyurethane. LOVE this stuff. It goes on white and dries clear. I like to apply with a bristle brush and not a foam brush because the foam brushes tend to make more bubbles.

That is it. I put all my old hardware back on and I was set to go. I LOVE it. To me, it gives the whole piece a brand new look and life, and really brings out all of the beauty even more.

I hope my mom takes good care of her (because I will be getting her back at some point ;-))
Thanks so much for stopping by! Let me know if you have any questions at all!

I love it. Nice old piece and the color is perfect. Love the old hardware.
Beautiful! Off topic, but are your floors stained concrete?
love the style of the piece, though frankly, i find the finish
uninteresting. This cute little piece needs a little more artistry.
LOVE This