Hey there! I’m so excited to share this post with you today! Not only because I found a super easy cure for my horrid garage floor but also because we are giving away such an awesome product!
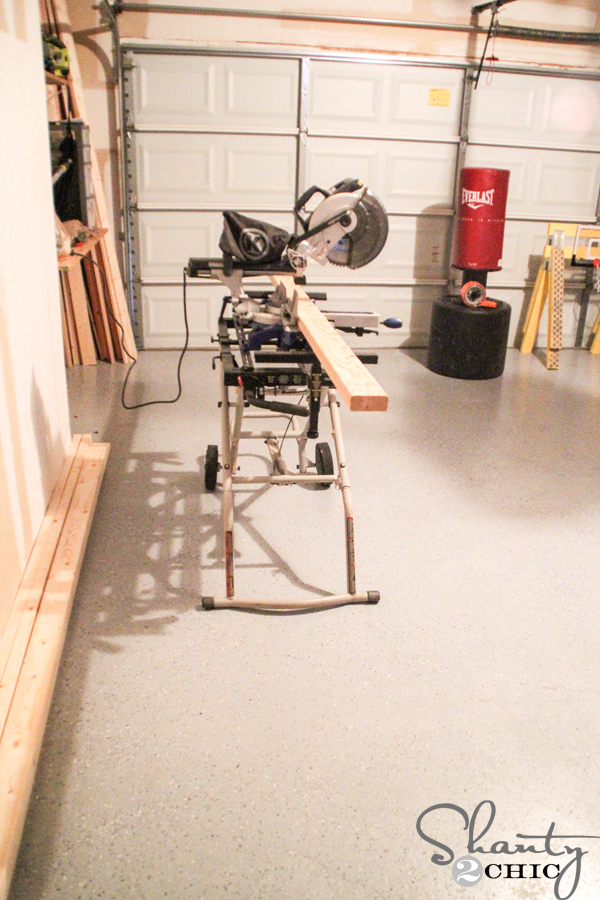
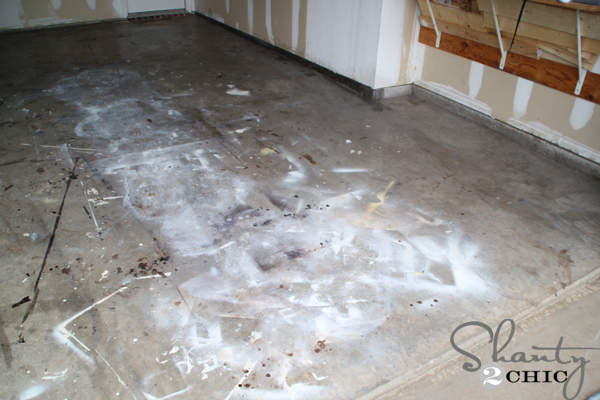 4 years of DIY has lent itself to a hideous garage floor! I never cared to protect it when I would paint or stain because really – It’s a slab of concrete, outside and it’s supposed to be dirty right? That’s what I told myself until I couldn’t handle it anymore! I wanted a beautiful garage with pretty shelves and storage, and a beautiful shop to create in! I didn’t know how I was going to accomplish this with a paint and stain covered garage floor until I found this!
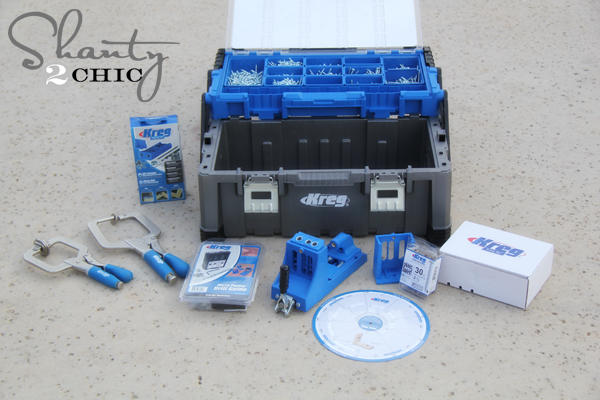
 Rust-Oleum Garage Floor Epoxy Shield! It was just what my sad floor needed and it was SOOOOOO EASY! It comes with a very easy to understand instruction manual along with an instructional DVD. There is even a graph to tell you how long to let it set depending on the temperature outside. The epoxy comes in two color options, Gray Gloss and Tan Gloss. I went with Gray Gloss;) *I have a standard two-car garage and needed to cases of this epoxy.
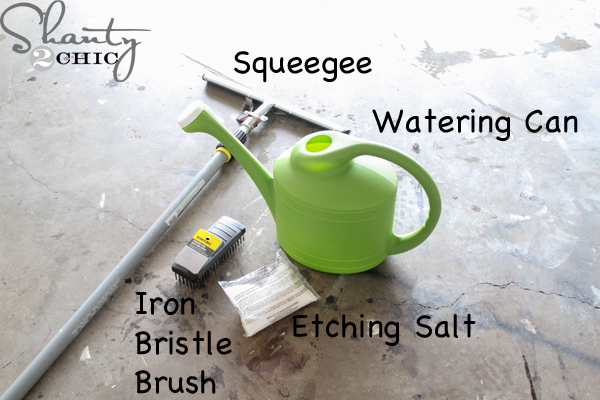 The first thing to do is to make sure you don’t have any oil spots or paint that chips off. I lucked out on oil spots but I did have to use a putty knife to lift up some of the loose paint. Next is the etching (sounds intimidating but it’s not). You just fill a watering can with water and the etching salt. Sprinkle the mixture onto the garage floor and scrub with a wire bristle brush. I bought a brush that could attach to my extension pole and that made it so easy. You work your way from the back of the garage to the front and you will hear the salt fizz:) It is cleaning your garage floor and prepping it to allow the epoxy to really stick! After you scrub with the etch, you just squeegee it out the door;)
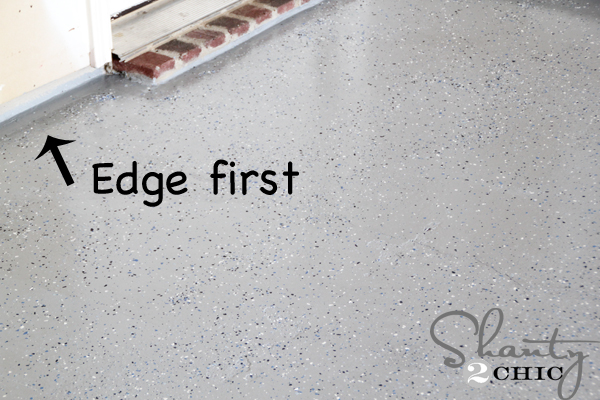
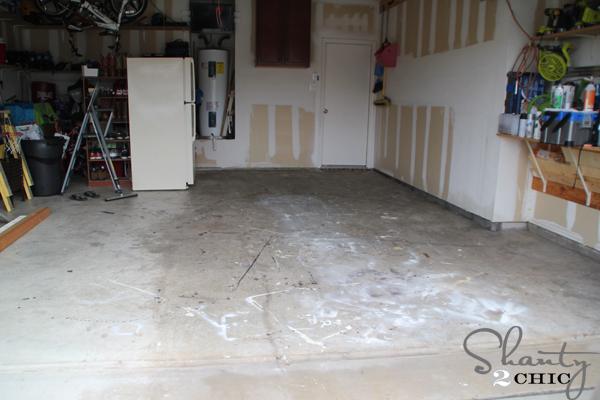 You can see the right side of my garage has been etched. It is damp and needs to dry before applying the Epoxy. Notice that I only did one side at a time….That was another way that I made this easier. Our garage had a ton of stuff in it that we didn’t want to find a place for over the weekend so, we pushed everything to one side and worked on the other side.
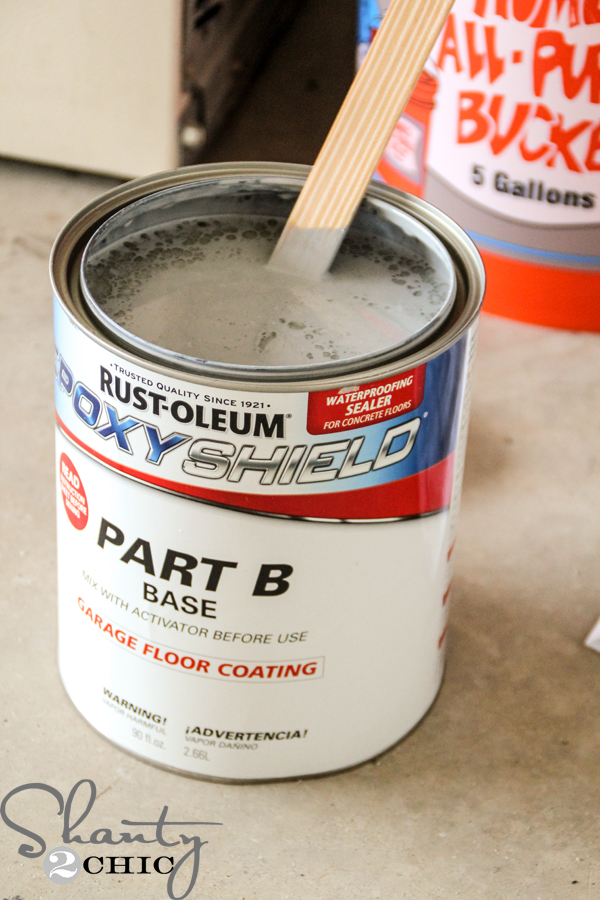 Now for the fun! The epoxy comes in two cans. You have can “A” and can “B”. Just pour can “A” into can “B”, mix and let it set for the suggested time in the instruction manual (this varies depending on the temperature outside).
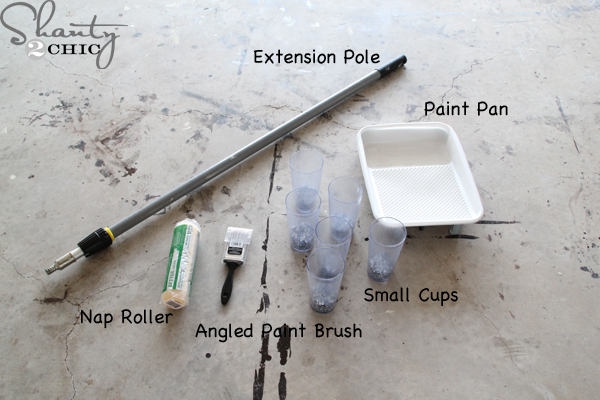 Once it is set, it’s time to get busy! Pour your Epoxy mixture into your paint pan. You will need a nap roller, an extension pole, an angled paint brush, a paint pan and small cups. I chose to use small cups to separate the confetti so that they were dispersed evenly on the floor.
 Start with the angled brush and paint the epoxy along the entire perimeter of the garage. I did let mine run up the side of the wall a bit to make sure that I covered the edges good. You will have about 15 minutes, or so, to get the edging done so you want to move pretty quick. I did this entire floor by myself – no help – so don’t let the time constraints intimidate you! It is most definitely a 1-person job!
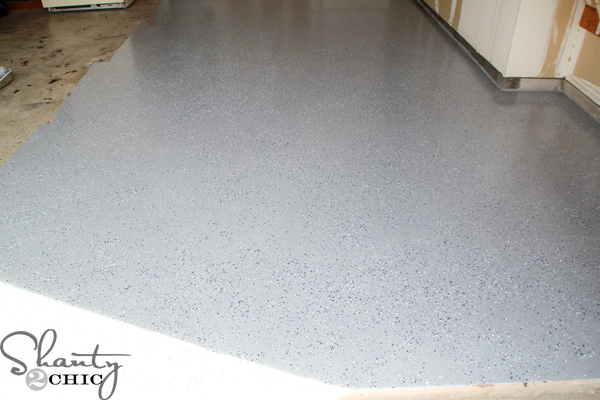
 You then use your nap roller and extension pole to just roll the epoxy out onto the floor. It’s just like painting a wall;) Start at the back of the garage, working your way to the front. You will roll out a 4’x4′ area then sprinkle it with the confetti chips. I found it best to just grab a little at a time and toss them up about 3 feet over the area. It allows them to rain down and spread out exactly where I wanted them. *Notice that I am still working on one side of the garage floor. I let it dry over-night (see your instruction manual for the suggested time per the temperature outside), then I moved everything to the other side of the garage and began the process on that side.
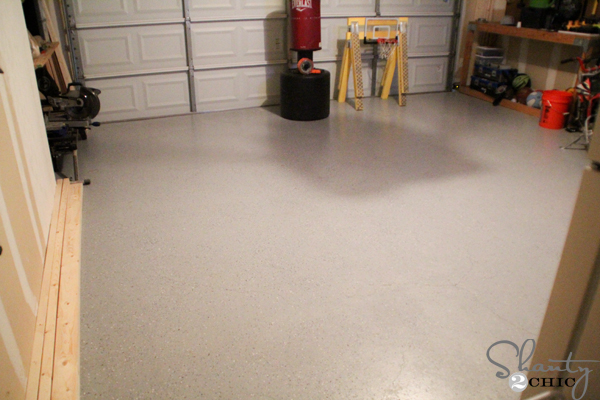 Here she is all finished and pretty! What’s so cool is that our garage has become sort of a playroom for the kids! They spend so much time in here on bad weather days!
 I love it because I don’t feel like I’m going outside when I am building. And, for about $150, I covered up my hideously stained garage floor! I can’t wait to deck-out the rest of the garage now!
So, who wants to win some Rust-Oleum Garage Floor Epoxy???
There are so many ways to enter! The more you follow, the better your chances;) Good Luck!

Holey schmoley. I love this!!
I am DYING to do this to my 27 year old garage floor. Want to do it this weekend. Yours looks FANTASTIC!!!
Oh man I would love this!!
What happens if you get oil stains on the epoxy?
Mop it up. The epoxy is impervious to oil.
we did this last summer….its already peeling up. We followed the directions to a T. Im wondering if we should have painted on a oil based primer first even though it didn’t come with the kit.
Really sounds like you have water under the concrete. If you performed the test in the instructions and found water under the plastic you cant use this or any other product. A poorly etched floor will also do this. The etching will not remove grease or oils spills residue either. Only a degrease will do this and it is not included in the kit. Some kits include a product that says it includes a degreaser but it doesn’t work very well.
How does this floor treatment hold up?I had heard that hot tires might “lift” some of the epoxy paint in summer or after a long car trip . Have you experienced any of that?
I’m wondering the same thing myself. I have heard about the finish actually coming up. I wonder if the blogger here, Ashley, is having that problem.
No problems at all!:))
If you have properly etched the floor (sometimes twice to be sure) and performed the water test on the concrete and degreased the floor and waited the proper amount of time for it to cure you should have no lift off problems. If in doubt etch twice. use a degreaser even if you have no grease you can see. Wash thoroughly. Let dry completely – may take 2-3 days for the floor to be ready. I always plan a week:One day to etch, degrease and rinse, two days to dry, one day to appy the color, one day to apply the clear. On day six move everything back in place (pick it up don’t drag it across the floor because it has not cured yet. Give it another 72 hours and put the car in
Thanks for hosting this giveaway!! This is a rare one my husband would LOVE! He wasn’t too thrilled when I spray painted outside the cardboard on the garage floor LOL
I have wanted to do this for a few years but thought it was going to be much harder then you made it look!
Love how this looks! I wonder if I could use this on our basement floor…
This looks so awesome
I love this!! Great idea!
This is awesome!
saw this at home depot and wanted it, my garage floor needs it bad!
Thank you for the inspiration. We pinned this to pinterest/homedepot on the “small spaces, big impact” pinboard.
My husband would love to cover my project stains! It looks great!
Wonderful idea. Thanks for the step by step instructions and encouragement. Your floor looks great and I love the color you chose. Yay you!