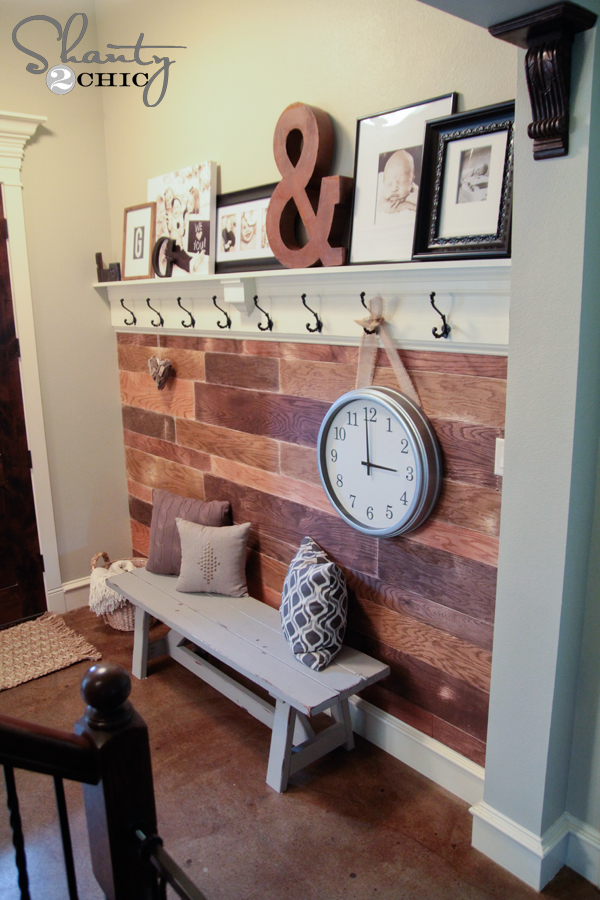
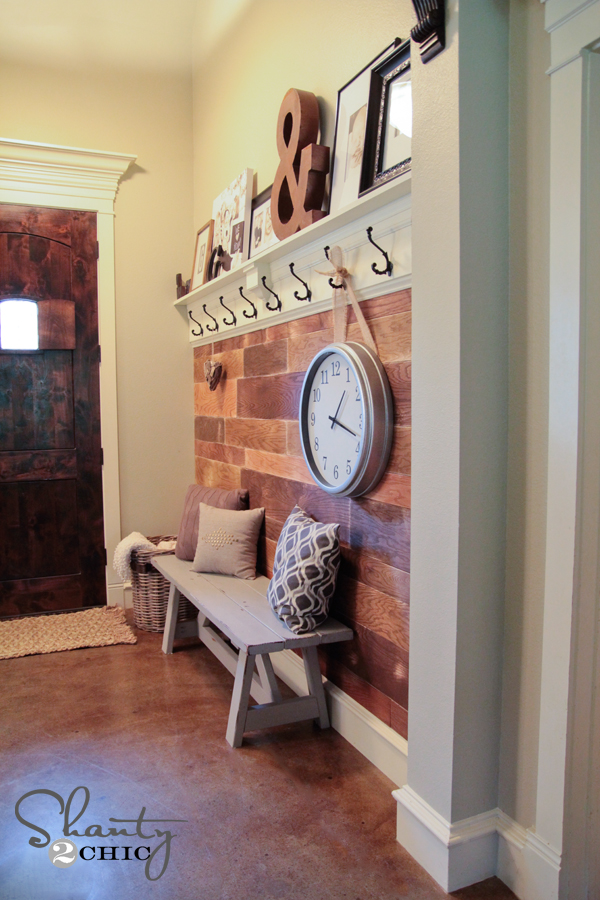
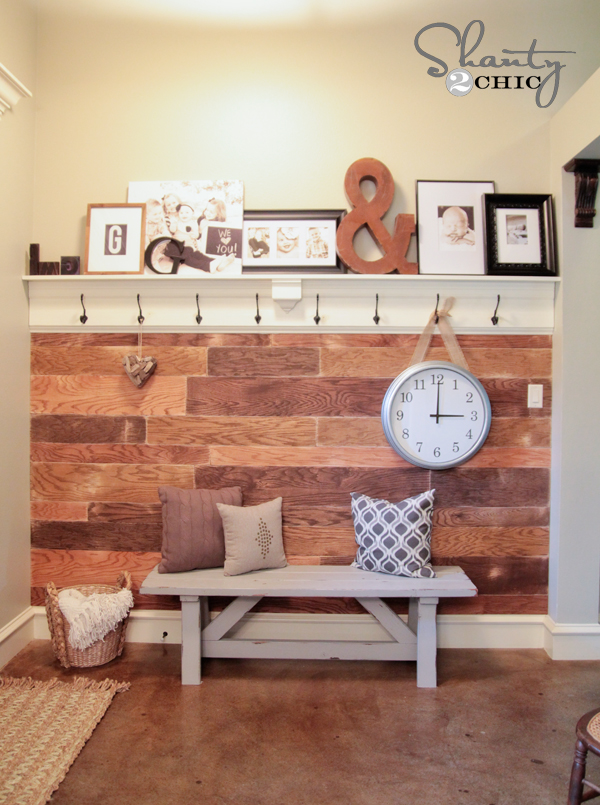
Oh I am so happy to share this project with you! Those of you that follow us on Instagram have seen this project from the beginning, and I am so pumped to finally show you the whole thing! Here is how my DIY plank wall in my entryway turned out…
Really this is such a simple project! I actually started and finished the entire planked portion of the wall in one day. That’s the part I will show you today.
So… Let’s get started!
First, to keep the cost of the wood down, I decided immediately to use a favorite product for the planks. Many of you have heard us talk about PureBond Plywood. It’s an amazing hardwood plywood that we use on so many of our furniture pieces. What’s so cool about it? Well, it’s made in the good ol’ USA. It’s formaldehyde-free making it safe for me and my family. It’s affordable! You get the look of a beautiful hardwood at the cost of plywood, and it’s made from reusable resources. But, our very favorite thing about it is what it looks like. It’s BEAUTIFUL! Perfect for this plank wall.
Since learning about it a few years ago, we made it our go-to brand for plywood. It was an easy choice!

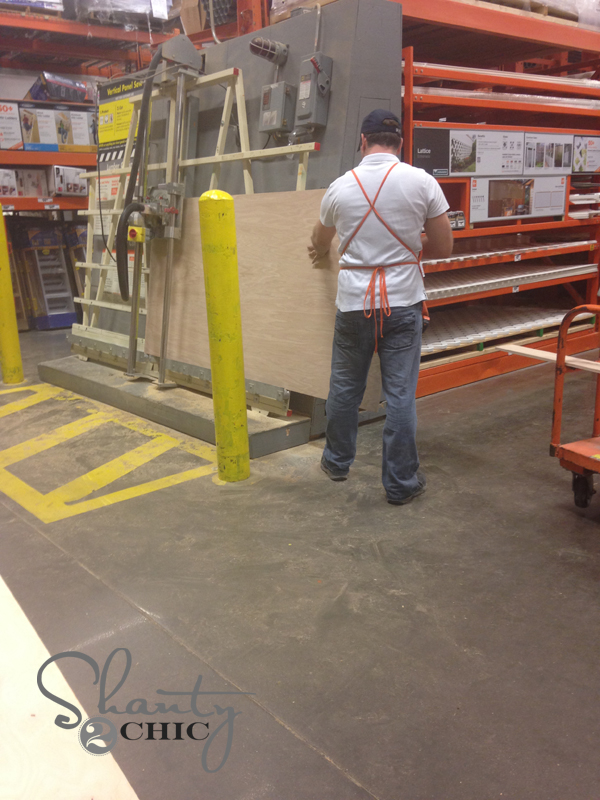
You can get PureBond at the Home Depot. I decided to go with 1/2″ oak for my wall. It comes in a huge 4′ x 8′ sheet which is next to impossible to get in the car with 5 kiddos in tow. That’s why I let Home Depot do most of the work for me!
I had the nice man in the lumber department rip the sheet down into boards. When I started to tell him what sizes I needed, he did look at me like I was a bit bonkers, but he had it done in no time.
My wall space I covered is 9ft long. I went 6ft of the wall. For this project I used two sheets of the 1/2″ maple. This kept the cost of wood under $80 peeps! WOOHOO!
Here are the rips I had him make…
SHEET 1 –
6 cuts at 4″
4 cuts at 6″
SHEET 2 –
2 cuts at 6″
4 cuts at 8″
So each of your pieces will be the inches shown above by 8ft. Load it in your car and take it home!
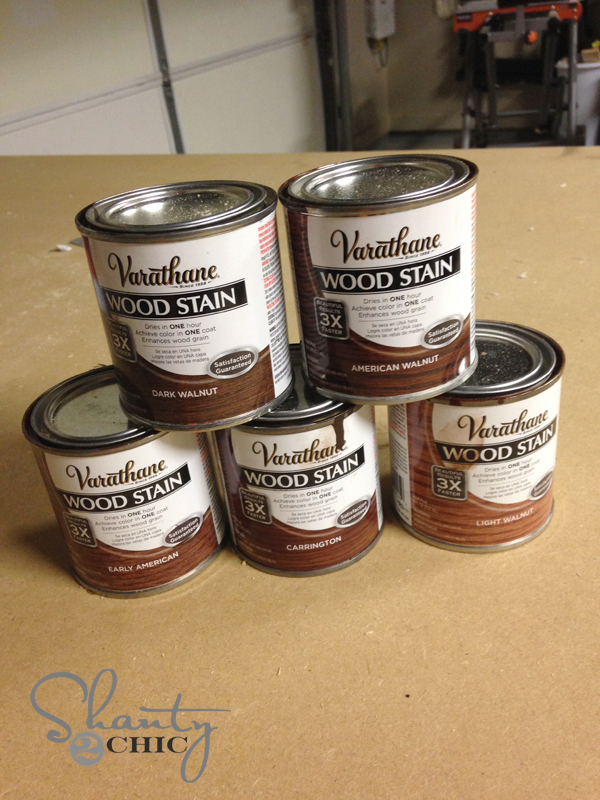
I decided to use 5 different stain colors for this wall. This is Varathane stain. It dries in under an hour and only requires one coat. You can find these at the Home Depot.
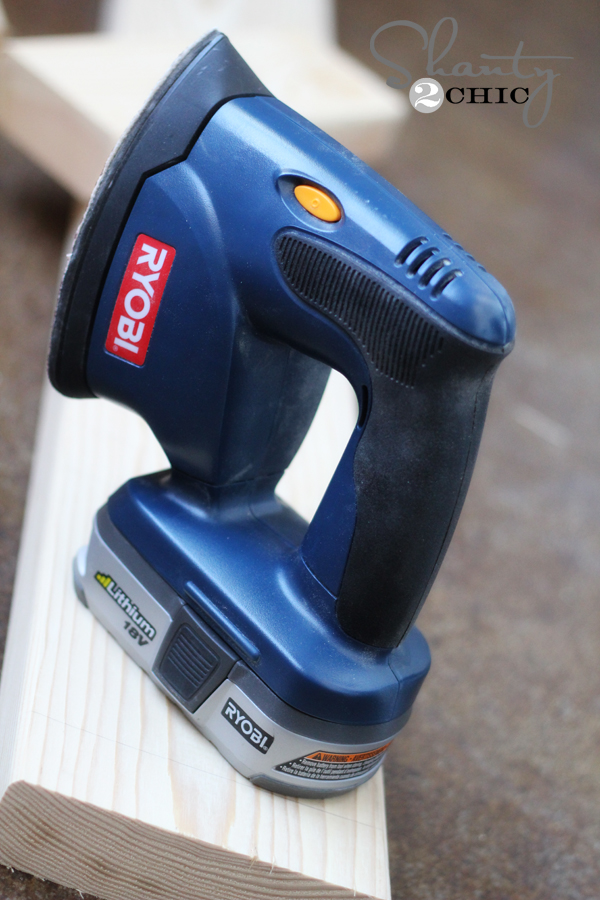
I stained the boards before I cut and attached them. Once they were dry I used my Ryobi Corner Cat sander with a 120 grit paper to distress the wood and give it a fun vintage look.
I used my miter saw for all my cuts. This wood is thin and easy to cut. You could easily use a small hand saw like this one…
This is actually the first saw I started with before upgrading to my big girl saw 🙂 It will do the trick perfect… You will just need to throw in a little more elbow grease.
So there really isn’t any set trick to deciding on cut size. I eyeballed everything. I knew I didn’t want any of my vertical breaks to be in the same place and I also tried to line the planks up where I wouldn’t have 2 the same size stacked on top of each other.
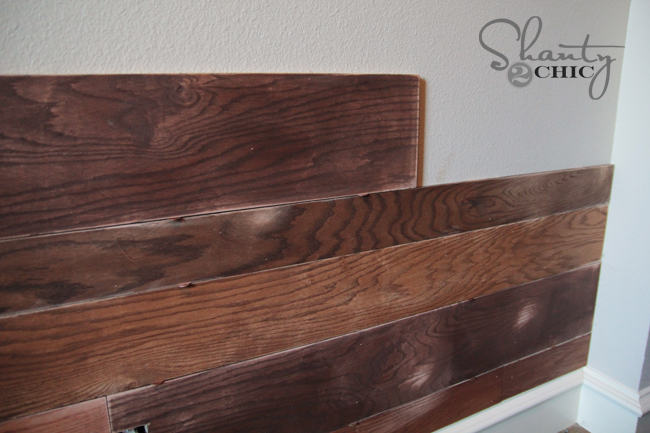
For example, here is how I started the wall.

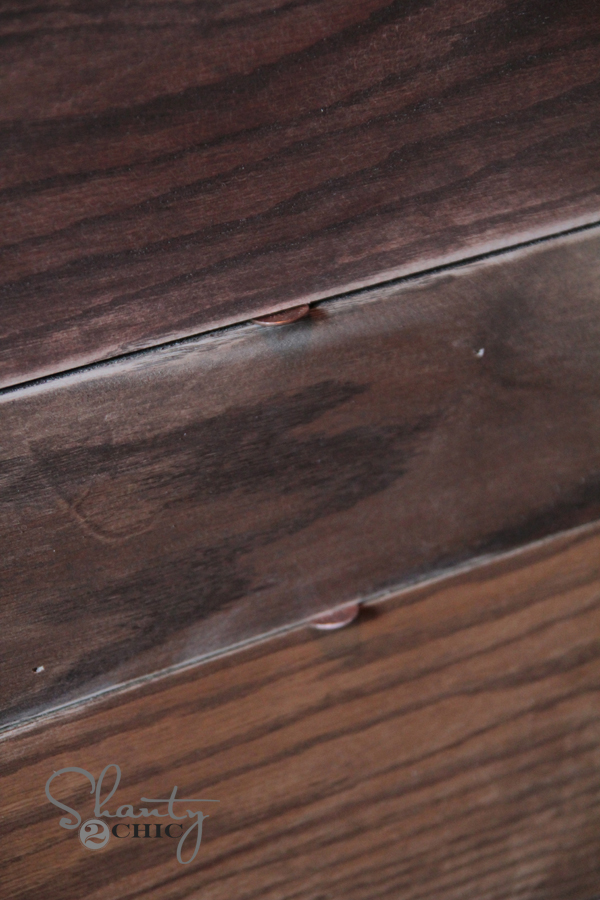
You can see that my bottom board is 4″. The next one is 8″. I was sure to use different stains on both of my 8″ pieces and then another different stain on the 6″ piece above it. It’s kind of a puzzle. As I would attach them, I would measure the leftover space and cut my next piece to size. It’s really similar to doing a puzzle and super easy.
I did add a small space between each break in my wood. I used pennies for this part. We happen to have a ton on hand and it does the job perfectly 😉
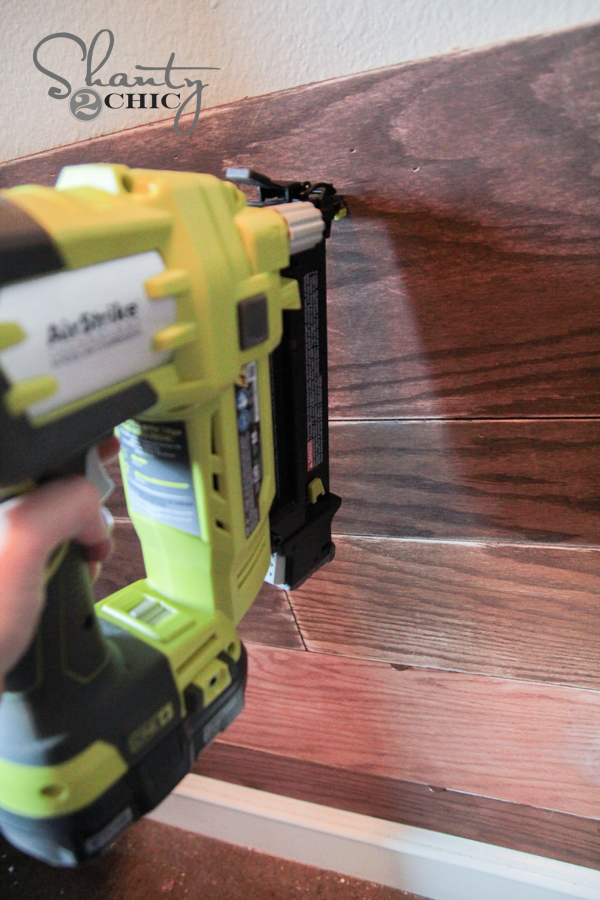
Attaching the wood to the wall is really the easiest part! I know you all know how much I LOVE my Ryobi AirStrike nailer.
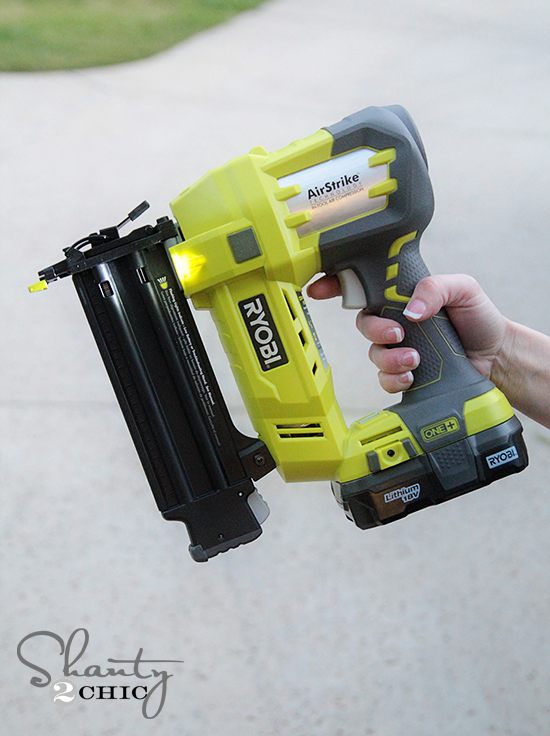
This tool made attaching the wood a breeze. I didn’t have to lug a cord or compressor around… Just popped the battery in and shot a few nails into each piece. EASY PEASY!
Now for the outlets…
I did have to work around 2 different outlets. MAKE SURE YOUR BREAKER IS FLIPPED OFF for this part. You do not want to do any work on your switches if the power is on… Bad move. After removing the switch plate, I used my jigsaw to cut a small rectangle the size of the electric box. Then, I pulled the inside of the switch forward towards the front of the wood, and used small wood screws to attach the switch to the wood on the wall.
This is what they looked like before I reattached the plate.

Here is another shot about halfway done…
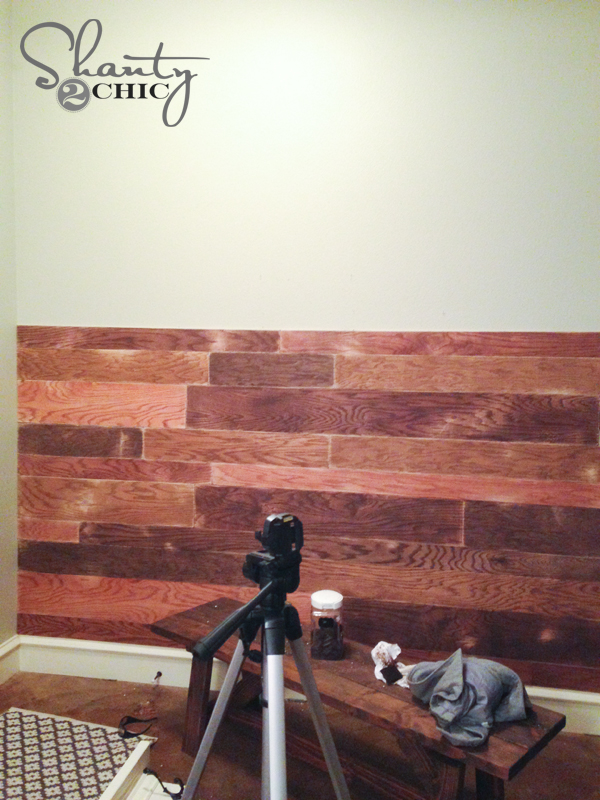
And a shot of the plank wall done before I added the top… Please excuse the tragic lighting and lovely setup at the bottom ;-)…
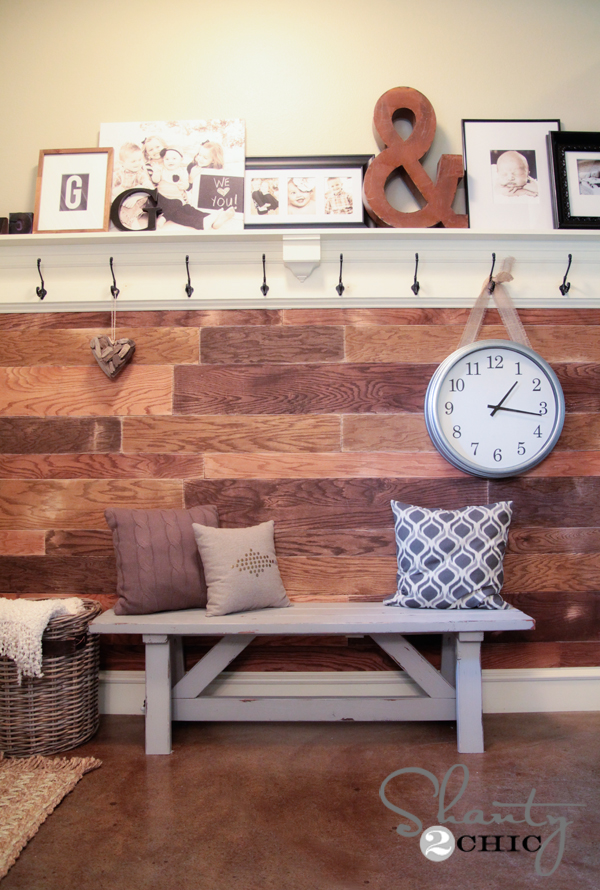
Monday I will be sharing how I created the shelf on the top! It is easy as well and really dresses the plank wall up a bunch!
For now… Here are a few more shots of her finished up!
What do you think?? Totally doable, right??


Thank you SO much for stopping by! I would LOVE for you to share this and PIN it with your peeps below! Let me know if you have any questions at all!
~Whitney


This looks wonderful! I’m considering doing this at the end of a hallway
in my home. I know you didn’t use a Kreg Jig with this, but I have a
question about it anyway. I’ve decided to take the plunge and buy a Kreg
Jig, and I looked on their website and saw the K5 — have you used one
yet? Which should I buy, the Master System or the K5? Thanks!
This looks awesome and I was easily able to convince my husband that this was the perfect solution for our mini hallway. Question: did you use a filler between the boards?
Yes was wondering if a filler was used? Love this idea!
It'[s “Boo” tiful…….
**U**
Nance
…….LOOKS GREAT!!!
I love love love this wall. We are building a house and I am definitely going to use this in my new house. I had planned to build a hutch type coat rack, but this is much better as you can hang a lot more coats on this. Thank you. By the way, do you have concrete floors? If so, can you tell me what finish you put on them? We have concrete and I am in the process of selecting a finish. Thanks so much in advance. I love your blog.
I LOVE this!!! Thank you. I also love your front door and can you tell me what kind of floor you have in your entryway? Love that too : )
I rarely leave any comments but I want to tell you what a super job you have done. Not only thinking up the idea but doing it!!! Your entry wall is so fantastic!!! Thank you for sharing. Blessings and smiles
This is awesome and I am totally going to try to replicate it using grey tone colors. Love the hooks on top and this will be perfect for our entryway! Thanks for sharing your creativity and instructions with us!
Queenboss I like this
….and when the cameras are turned off, your kids use the hooks right??
I love this! Do you think that it will hold children’s back packs and coats, etc? I had a board with hooks (made for the above!) and we had it super secured into the wall and it repeatedly ripped out. I am looking to do the whole entryway, and I want lots of hooks like you have so that we can all have a hook but I am scared of putting so much effort into it and having it come falling down.
Thanks for sharing I’ve been looking for something to spruce up my space I can’t wait to share with my friends!
Awesome! Where did you find your wooden ampersand?
What a sweet and cozy little nook!
LOVE!!!! This is a great wall!