Hey guys!!! We are back with another fun and super EASY DIY that will make a huge impact in any room!
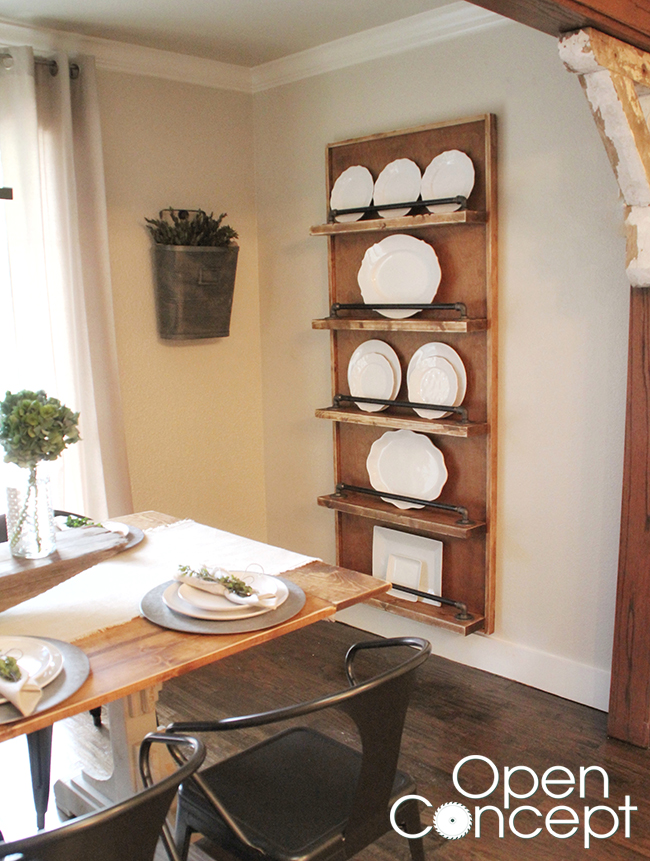
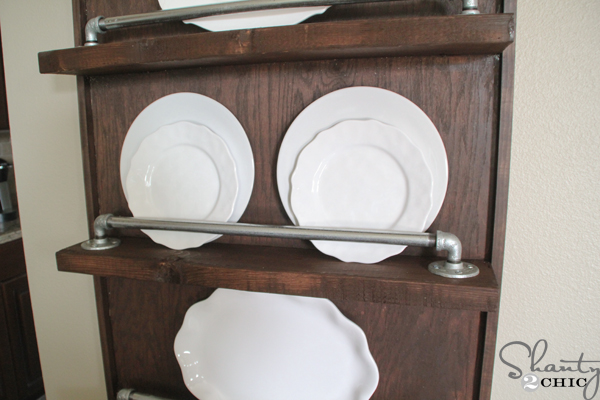
 Metal pipes are all the rage right now! You can find them in some of our favorite stores like Pottery Barn and Restoration Hardware! We decided to build this Industrial Plate Rack to fill-up a giant blank wall in my kitchen and thought it would also make the perfect spot to display my pretty dishes and platters!
This is definitely a project for beginners and it’s made super easy with the right tools! Here’s how I made it!
Supplies:
1 – 3/4″ sheet of Purebond plywood
3 – 1×2 @ 8ft.
2 – 2×6 @ 8ft.
10 – galvanized floor flanges
10 – galvanized 90 degree street elbows
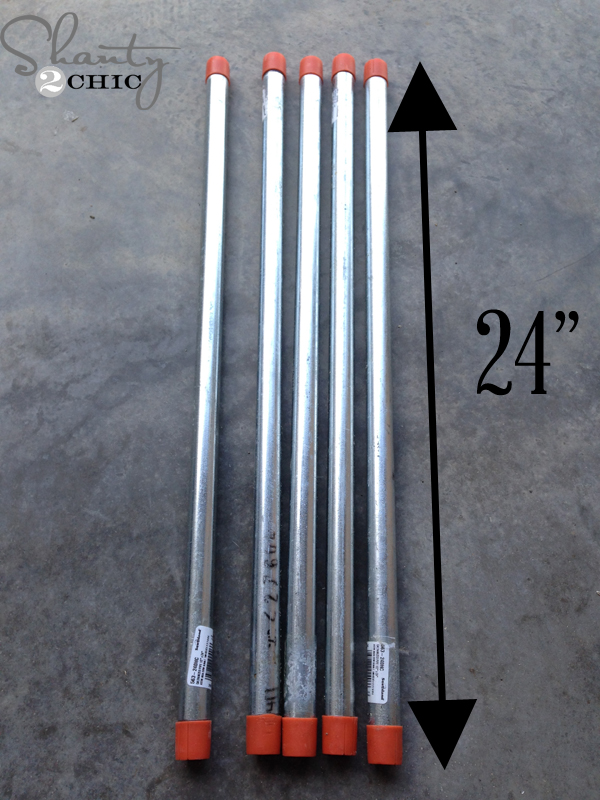
5 – 24″ (1/2″ thick) galvanized pipes
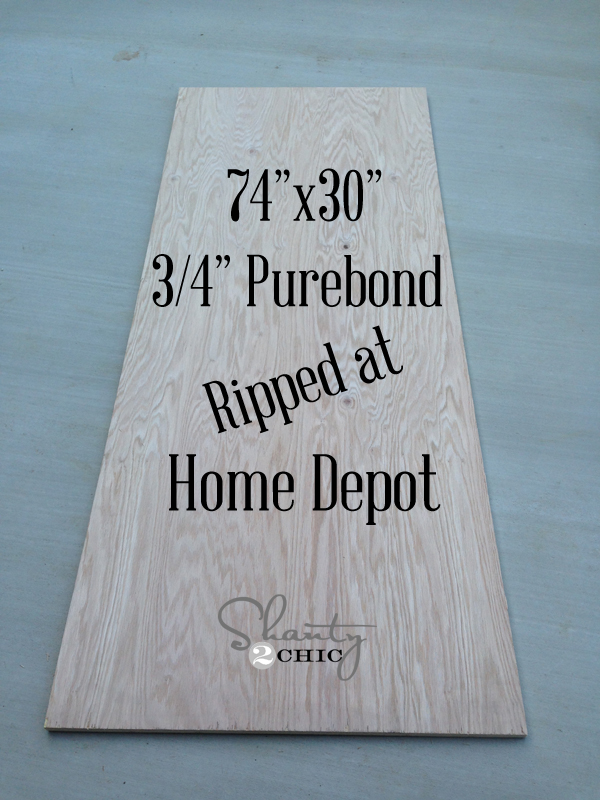 I had my 3/4″ sheet of Purebond plywood ripped down, at the store, to a 74″x30″ piece.
 Next, I cut 2 pieces of 1×2 @ 30″. Make sure to measure and cut as you go!
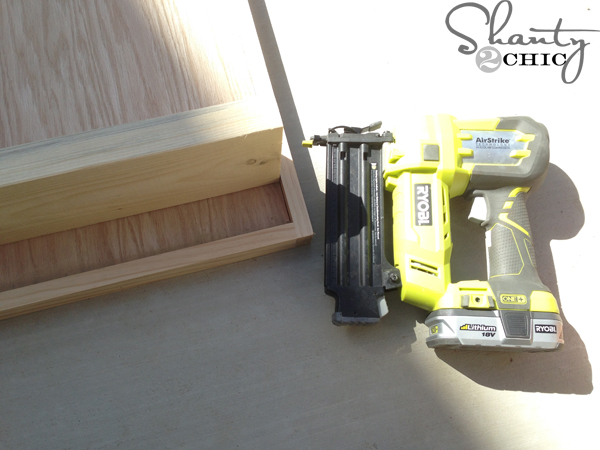
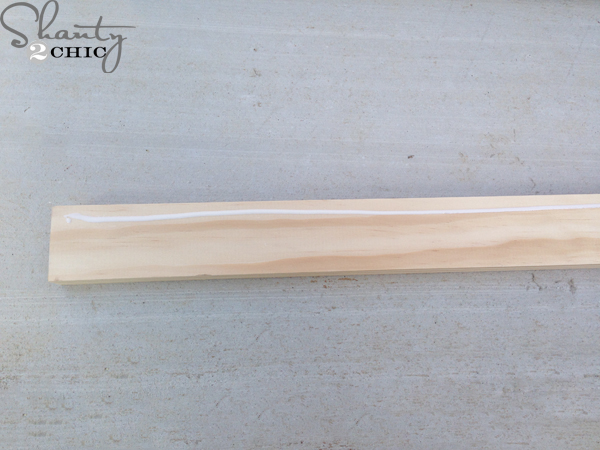 I applied a thin line of glue to each 1×2
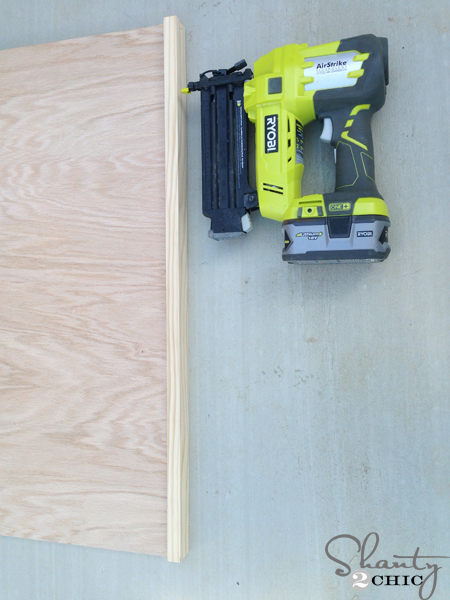 and used my brad nailer to attach a piece at each short end of the plywood. Make the back of the plywood flush with the back of the 1×2 so that there is a 3/4″ over hang on the front.
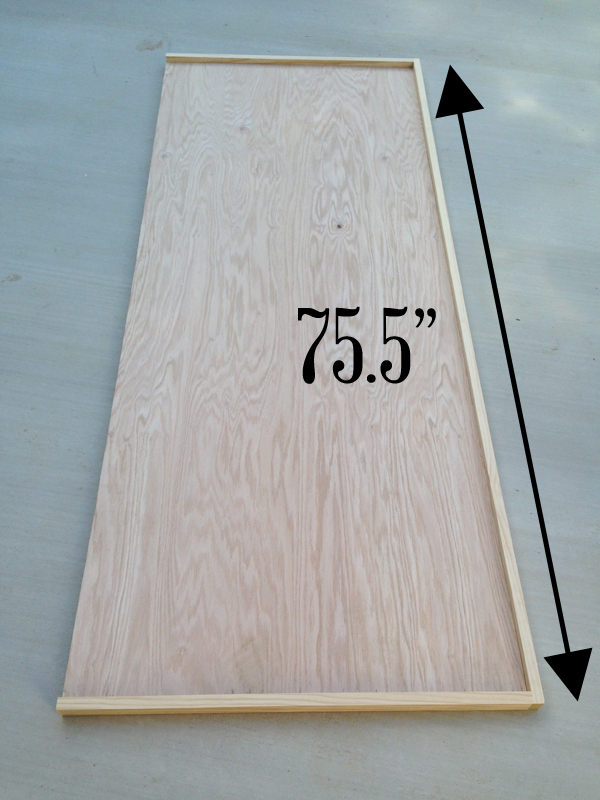 Then, I cut 2 more 1×2 pieces at 75.5″ and attached them, on the long ends of the plywood, the same way.
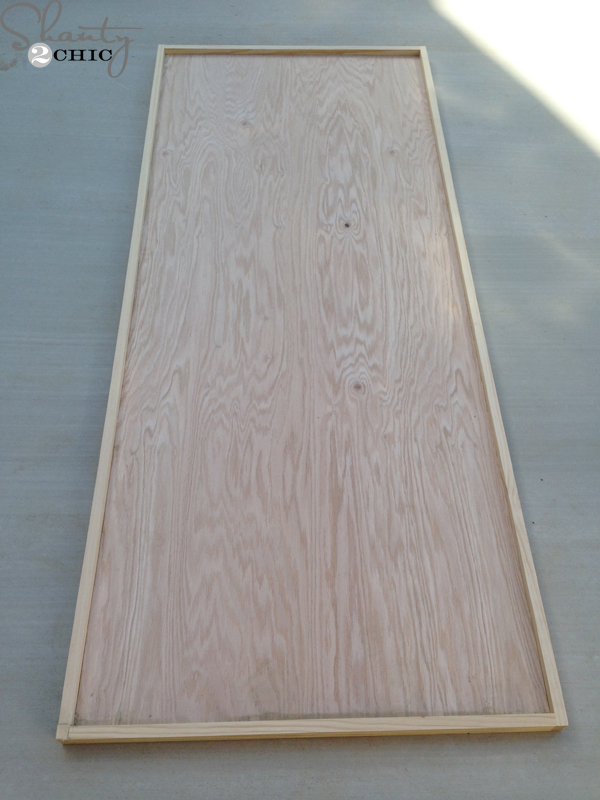 That’s it for the construction of the back part of the shelf. Now it’s time to add the shelves!
 I used my 10″ saw to make the cuts on this piece!
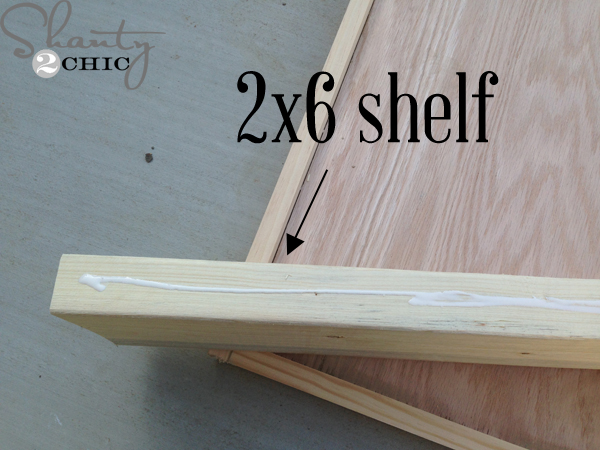 I cut 5 2×6 boards at 30″ and applied a thin line of glue to each board before I attached them.
 To set them temporarily, until I could flip it over, I used my brad nailer to put a few nails through the 1×2 trim into each end of the shelves.
 I placed my shelves 13″ from each other, based on the plates and platters that I wanted to display.
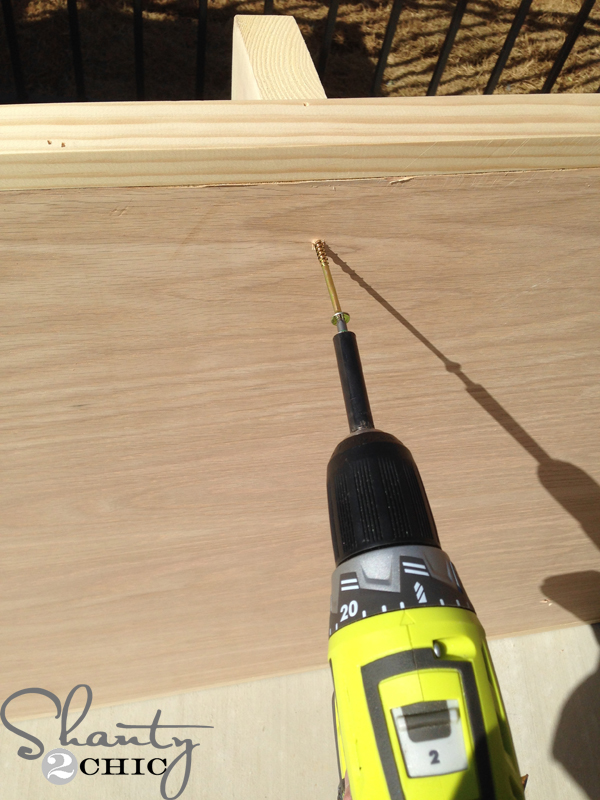 Then, I flipped it over on it’s side and drove 3 3″ wood screws into each shelf, through the back of the piece.
After staining this one of our favorite stain colors, it was time to add the pipes!
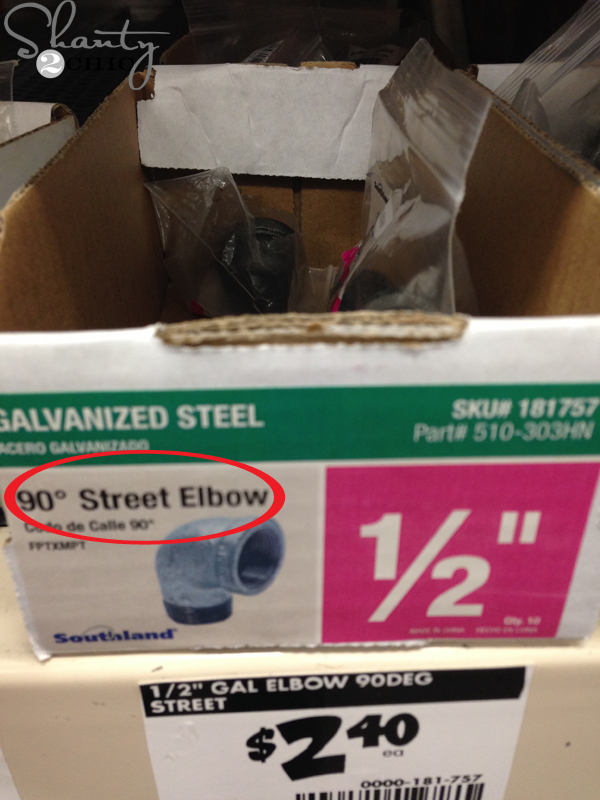
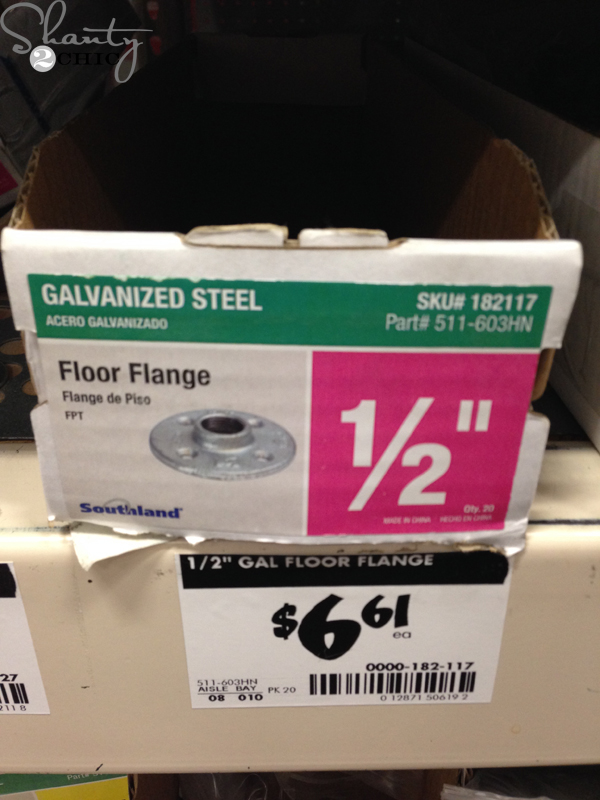
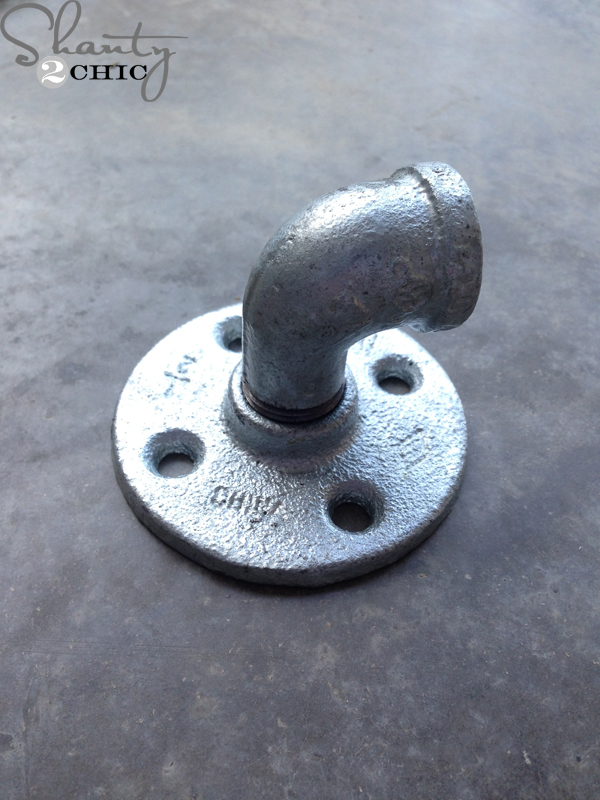 I screwed one elbow into each floor flange
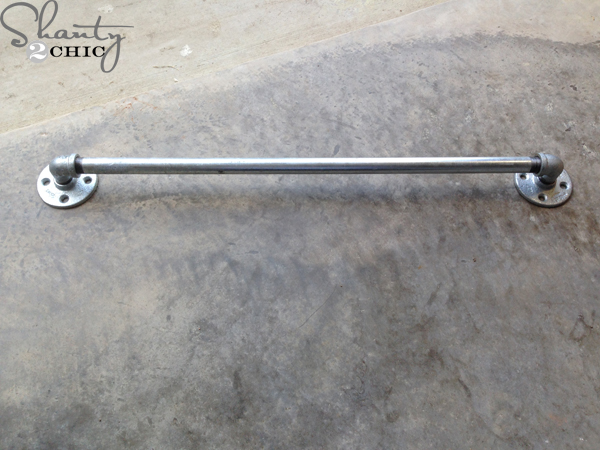 and then attached the pipe in between. I made on of these for each shelf.
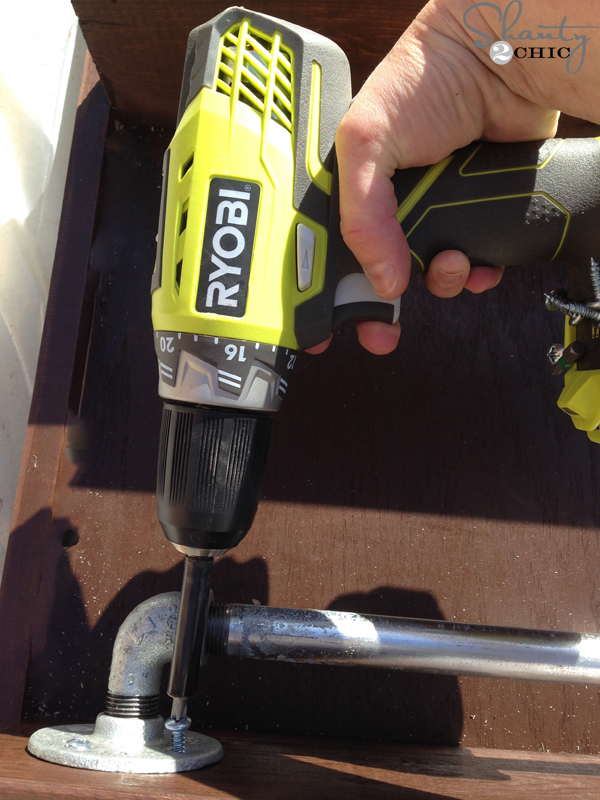 To attach the pipes, I used #12 x 5/8″ screws and used my drill to secure them.
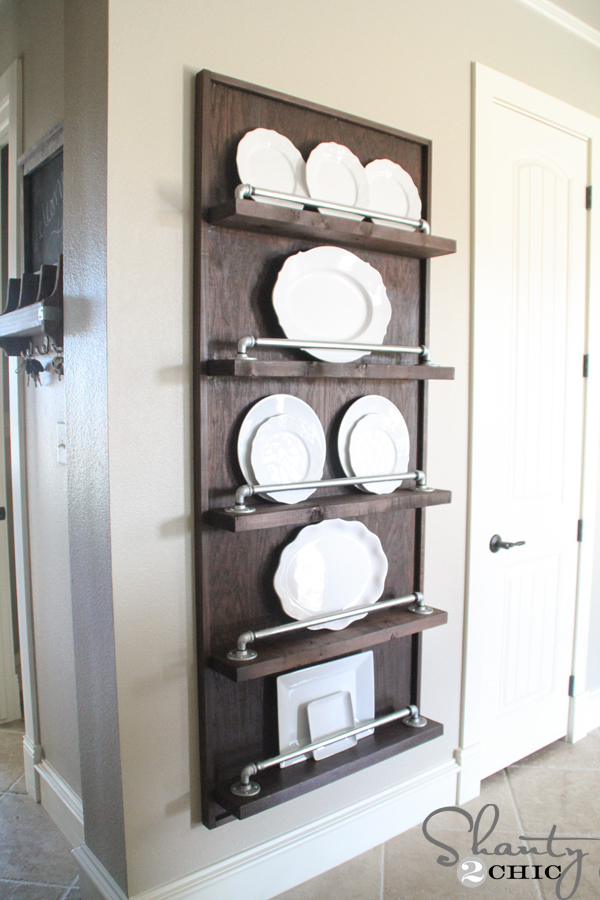
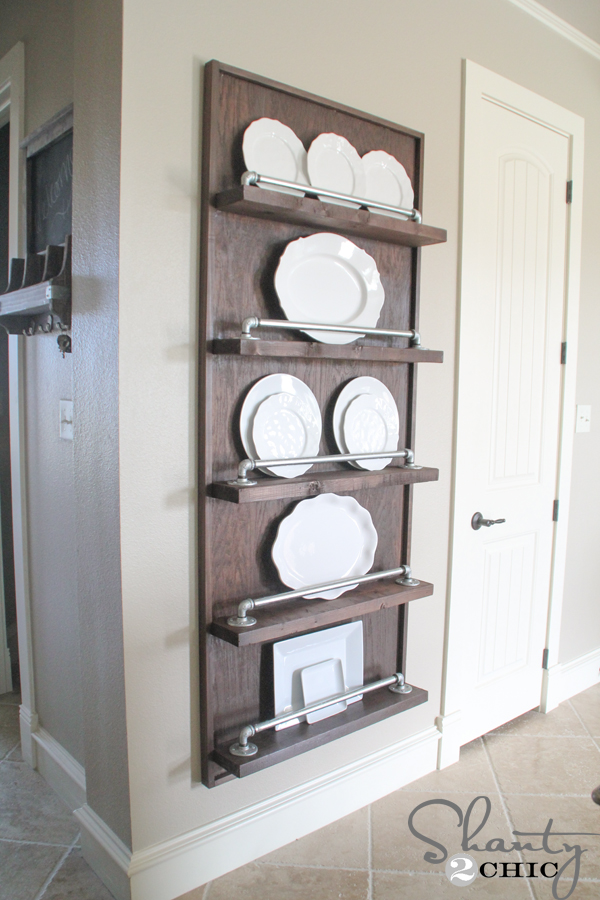
For the finish, I applied one coat of Rust-Oleum Carrington stain! To hang , I purchased the French Cleat below and it is a SUPER EASY way to hang large, heavy pieces like this 🙂
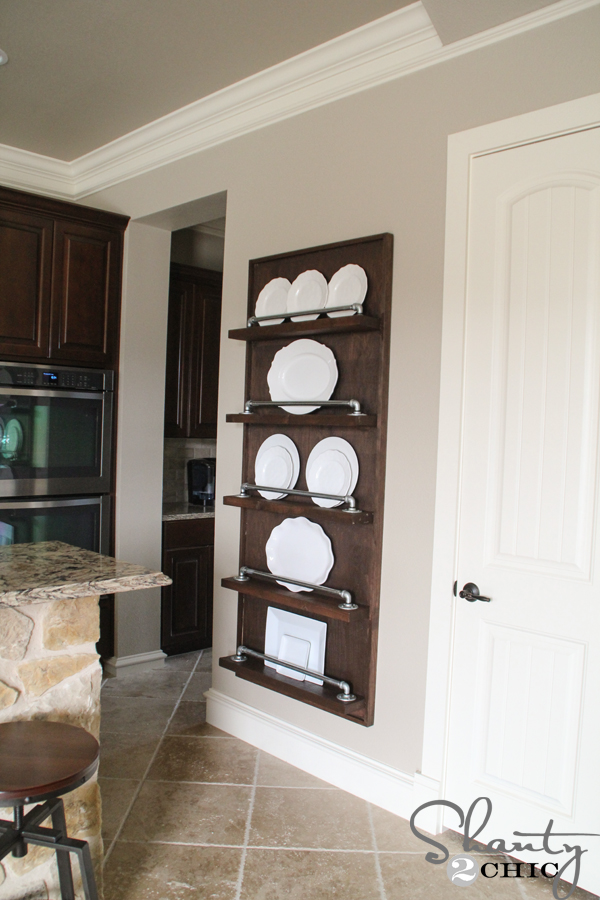

 That was it!! A quick and easy DIY that is sure to impress! The total cost for this piece was $225. The majority of the cost is in the pipes but they really make the piece! And, at over 6 ft. high, it really is more like a piece of furniture than wall decor. I’m totally in LOVE with this piece and now I want to add a little pipe all over my house 🙂
Thanks for stopping by!
~Ashley
Other items in these photos that you may be interested it?
Valspar Paint Color: HERE
Cambria Countertops: HERE
Cabinotch Cabinets: HERE


Another great article filled with GREAT information Thank you! LOVE the “extra fun” you shared. LOVE IT!
Amazing! I just found your site and I love your style and creativity. I know my husband could make these projects for me but you’re inspiring me to learn how to create them myself! Then I won’t have to wait for him to find time out of his busy schedule.
I saved BIG TIME on my pipes by asking a HD rep cut down a longer piece and rethread them! The individual pieces were around $14/each and a 10ft piece they cut down was only $21. I thought I’d share to help others save a little on this great tutorial 🙂
The plumbing fittings can be had for half that cost at an actual plumbing supply. Plus they will look much better. You can also get black iron fittings (not actually black, they are dark gray) for much less than galvanized. Also you should never use just a line of wood glue. Better to coat the entire edge using a 1″ foam brush. Much stronger bond that way. Using a matte clear brushing laquer over the stain will protect it. Very nice project there. I need to make a version of that and post it on Etsy.
Hi Ashley! I love this plate rack so much, I’ll be featuring it on my ‘Weekly Wonders’ post tomorrow morning! Thank you for sharing! ~Lisa
I am thinking you could lay the shelves down and make a towel rack!!!!
I love the plate holder and I’m adding it to my to do list. I’m also loving the chalk board shown on one of the pictures to the left of the plate holder. Do you have the plans for that?
This is great and I have the perfect place to put it in my kitchen. Now I just need some pretty dishes to display or maybe a place for an herb garden. I use French Cleats for all my heavy mirrors. You can get them at different sizes at HD.
If you have a Menards, the elbows and flanges are about 50% of the price that they are at HD.
Oh man!!! That’s a great tip Karen! Sadly we don’t have one but that would save a ton of money:) thank you for sharing!!!
I get 99% of my lumber at HD because it is stored inside and acclimated to indoor temps. However, they don’t carry 4×4 pine at my store so I have to go across the street to Menards for table legs. Kreg items, paint, stain, etc all cheaper at Menards. If I need a lot of stuff though, I take my Father Inlaw along to HD and have him use his 10% Military Discount. And then I buy him lunch.
Smart girl:)
Get pro rewards at HD and save even more. You don’t have to be a business to get the discount.
Very nice looking! So impressed! Does the cleat make it stick out from the wall at all? The pictures make it look completely flush with the wall.
Not at all Lynn!!! The entire cleat is probably 1/8″ thick 🙂
Nice! Can you tell us how you atached it to the wall? I would be inclined just to drill right through it.
So sorry Anna! I forgot to mention that and it’s. Huge tip! I added a link to the French cleat that I purchased towards the bottom of the post:)
Thank you!