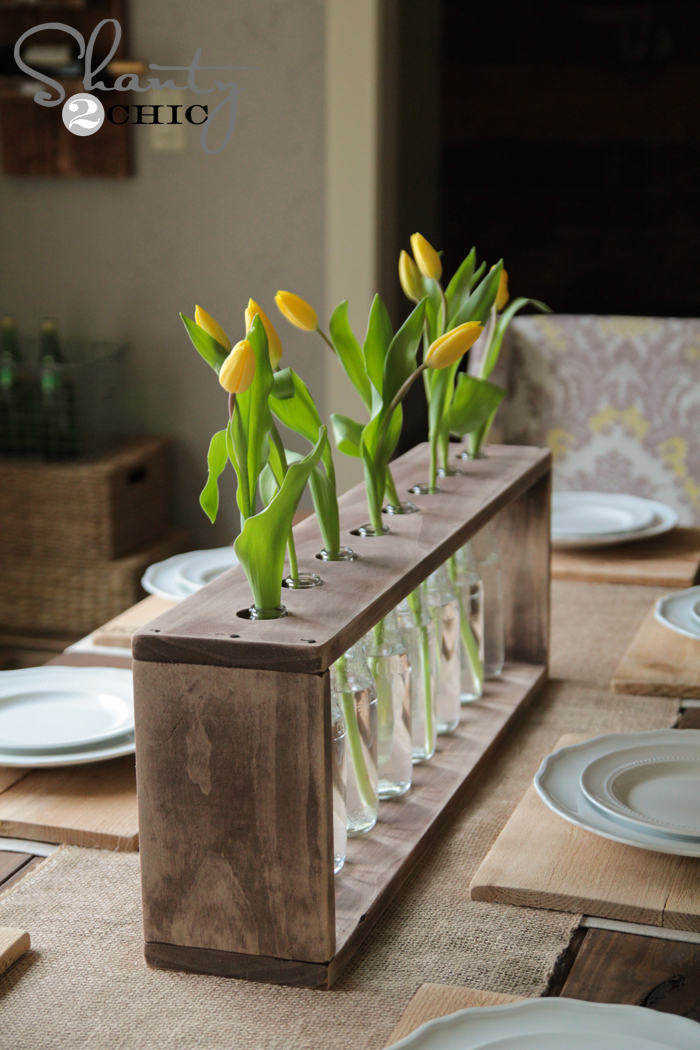
Learn how to build this DIY Glass Bottle and Wood Vase. This is the perfect beginner project and budget friendly! Free plans by Shanty2Chic.
This is such a fun project! It took me under an hour to do the entire thing! I have shared a full tutorial here. Scroll to the end of this post to download the FREE Printable Plans!
Supply List
1 x 6 x 8 Pine or Whitewood Board
1 3/8″ Ryobi Forstner Bit
Drill
Brad Nailer
Wood Glue
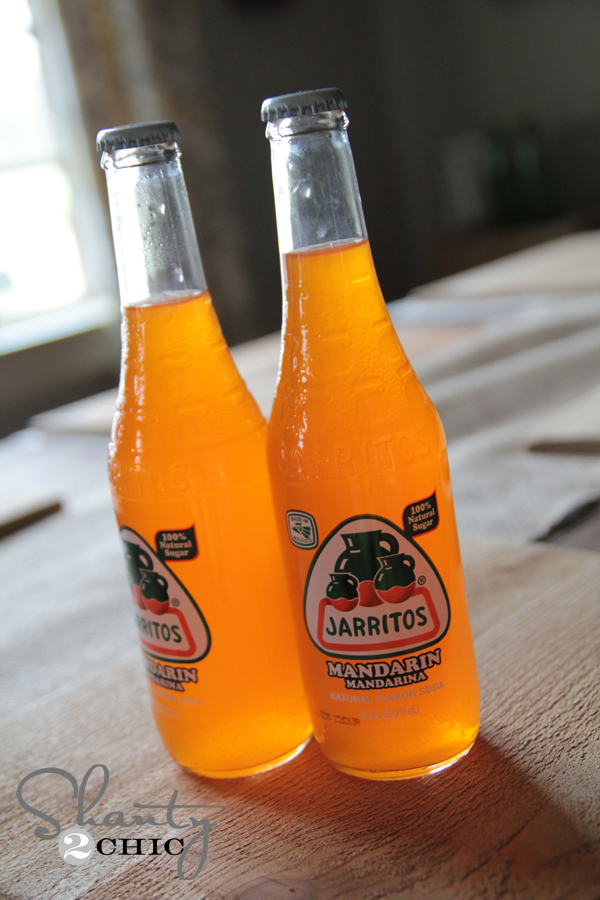
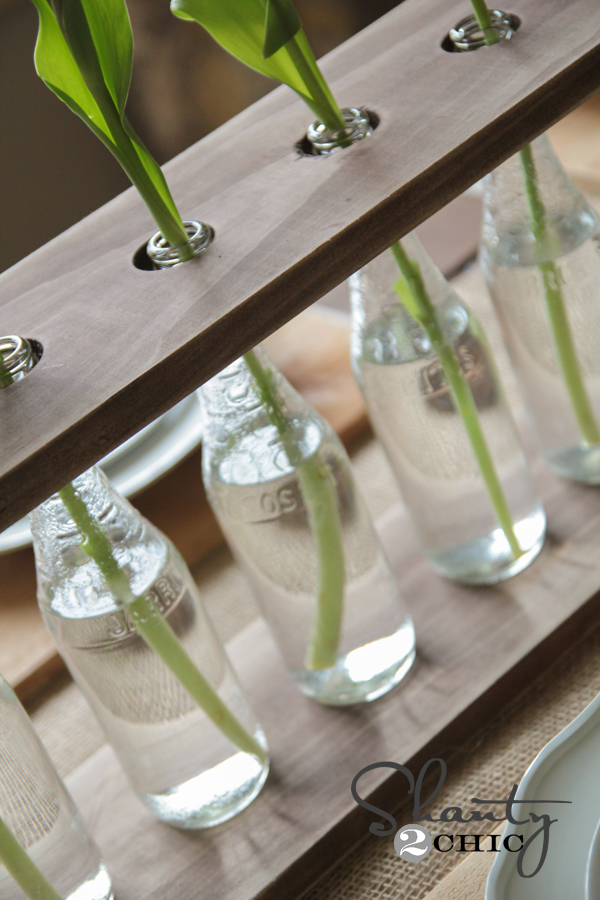
8 Soda Bottles ( I used Jarritos from Target)
Table of Contents
Step 1 – Make Cuts
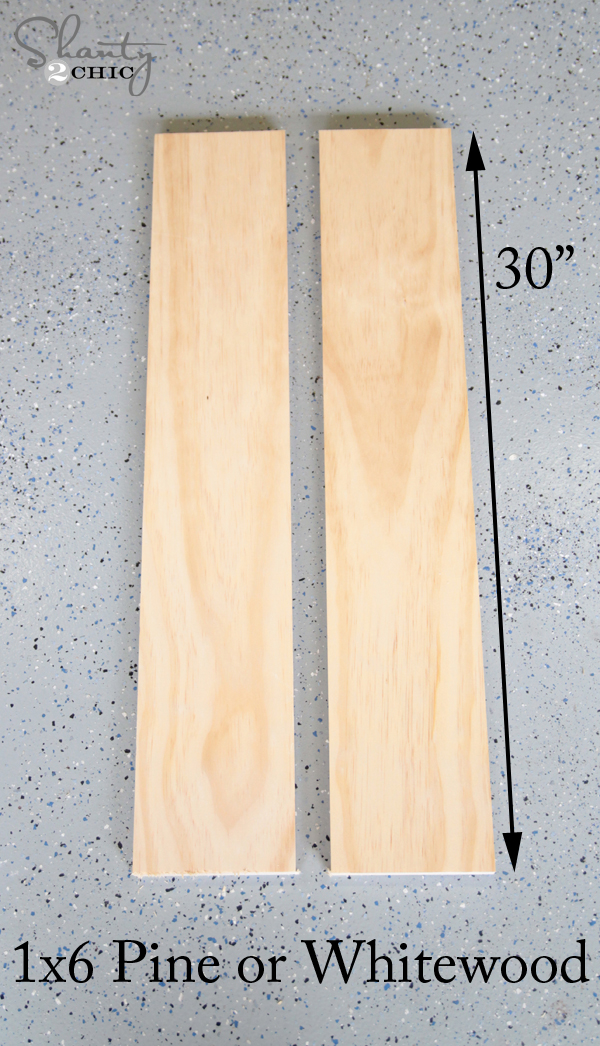
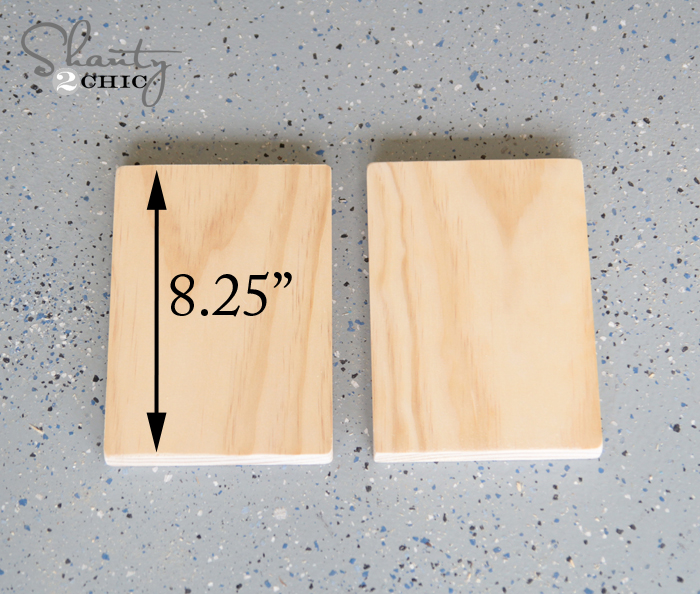
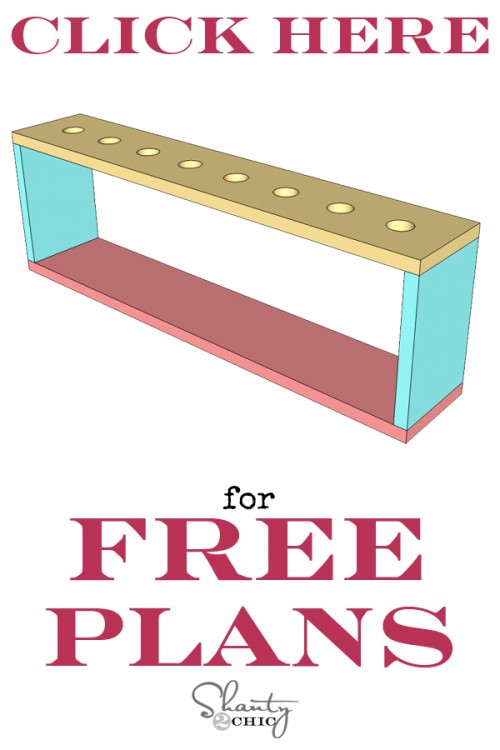
First, you need to make your cuts! I used my miter saw to make the cuts below. These pieces are all cut from the 1 x 6 board. My top and bottom pieces are both 30″ and the sides are 8.25″. If you are using different bottles than I am using, make your cuts on this part 1/2″ shorter than the height of your bottles.
Step 2 – Drill Holes
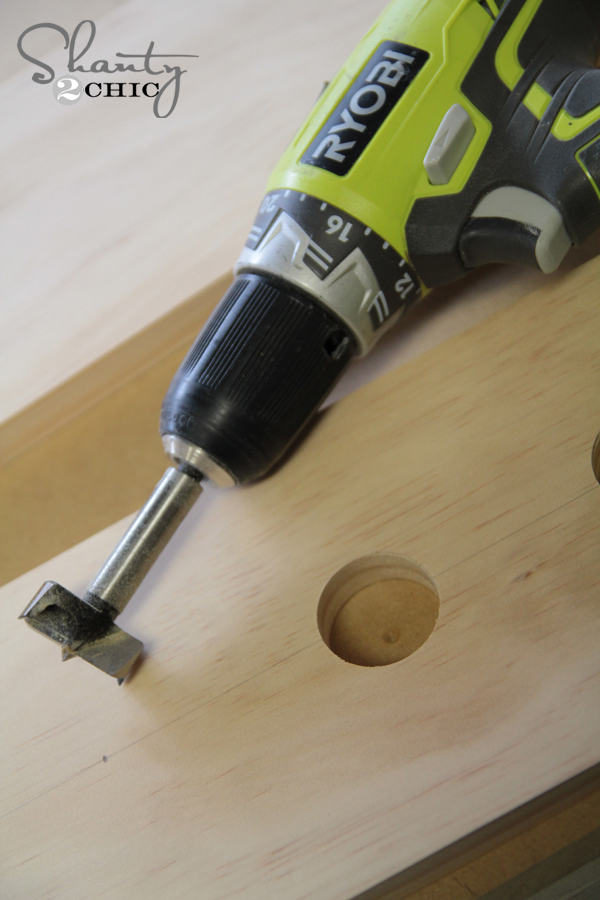
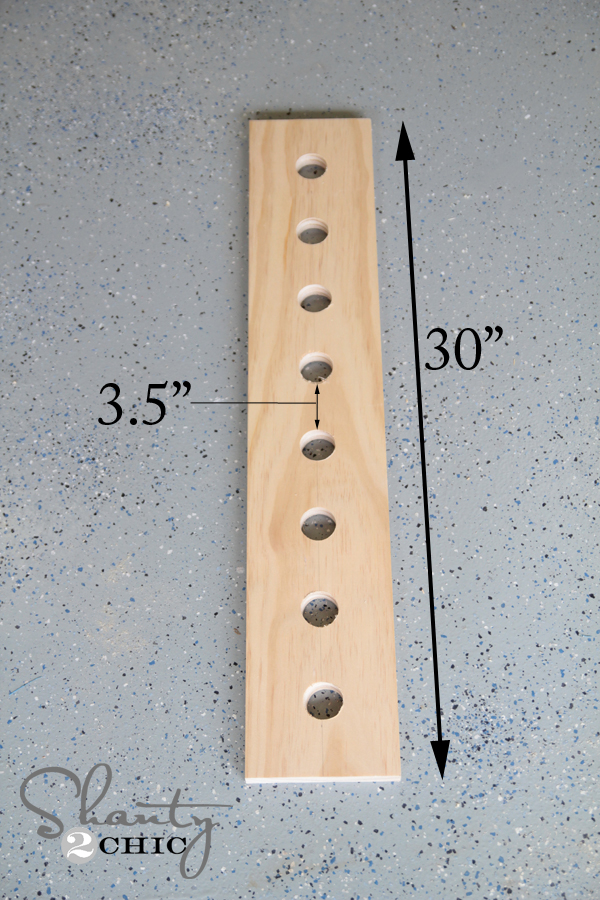
Once you have your cuts done, you are ready to add some holes! We are only putting holes in the top 30″ piece. To make these holes, I use a 1 3/8″ forstner bit. You can find a whole set of these at The Home Depot.

I clamped my 30″ piece to a scrap board and used my 18V cordless drill to make the holes.
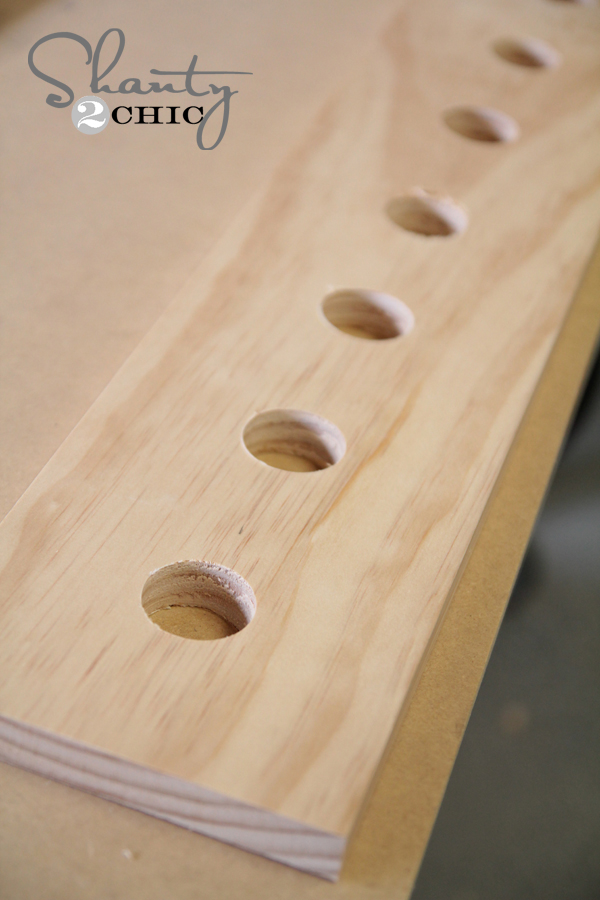
Each of the holes are 3.5″ apart, and I started the first hole at 2.5″ from the side of the 30″ board. These measurements are the middle of each hole.
Step 3 – Assemble the Base
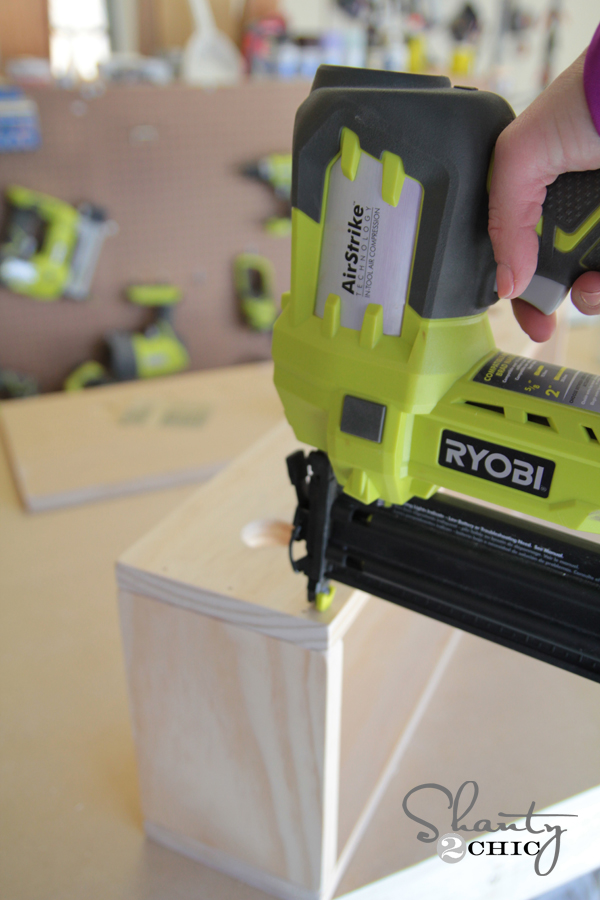
Now, it’s time to put it all together! I used my brad nailer for this part. This thing is the BOMB people. It uses the same battery as my drill, and requires no cord or compressor… Too legit.
I attached the sides to my bottom 30″ piece first. Add a line of wood glue to each seam before using the nail gun.
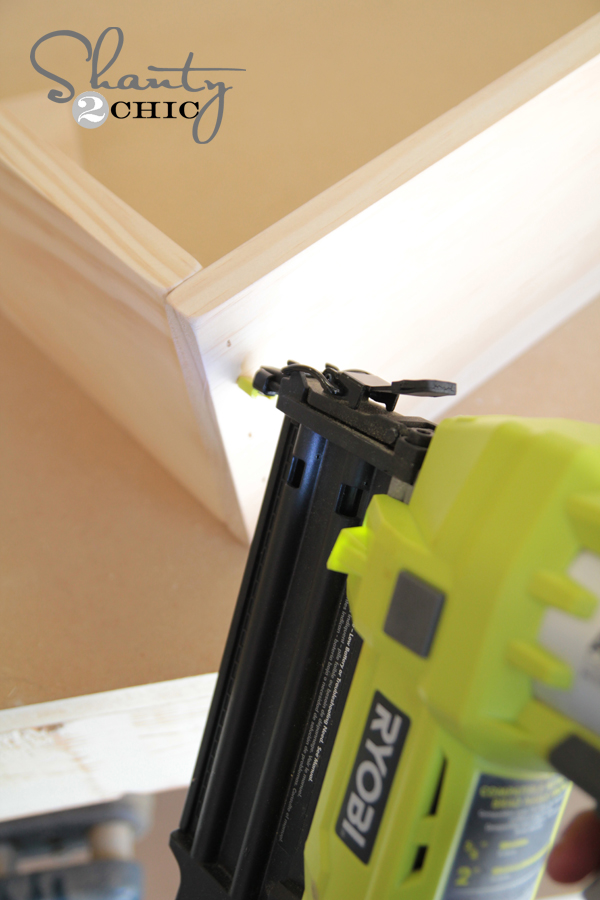
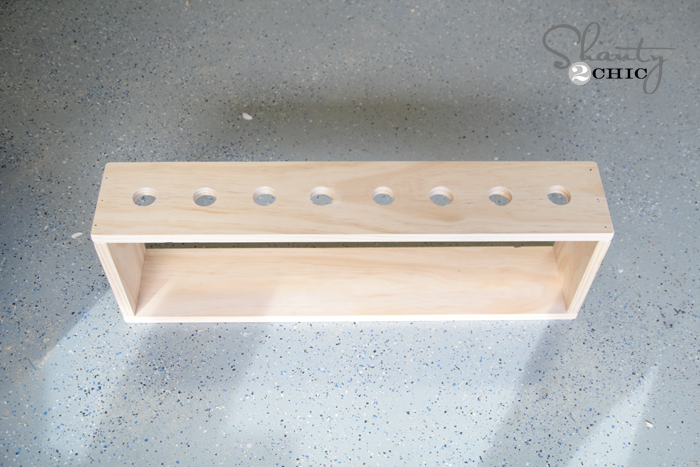
Finally, I attached the top piece! I used the nail gun on this part too. Just add a line of wood glue to the top of each side piece, and use the nail gun to nail the 30″ top board in place.
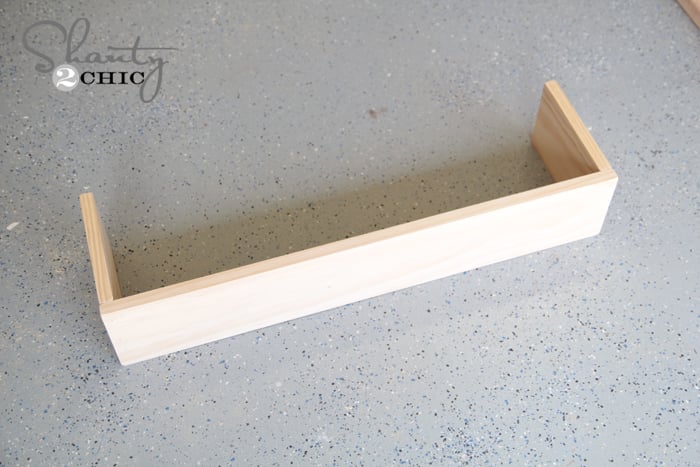
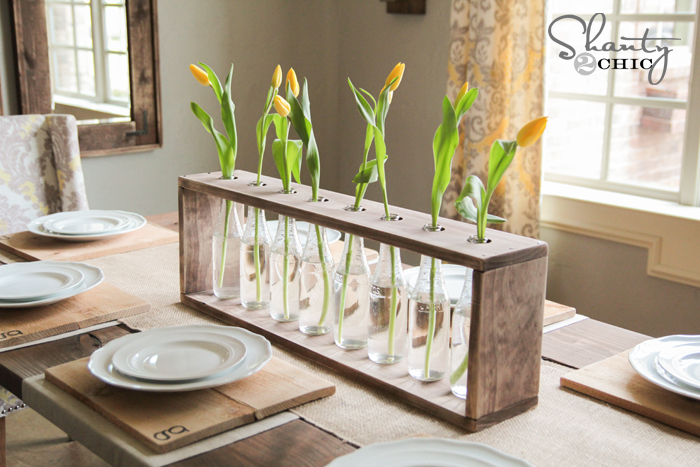
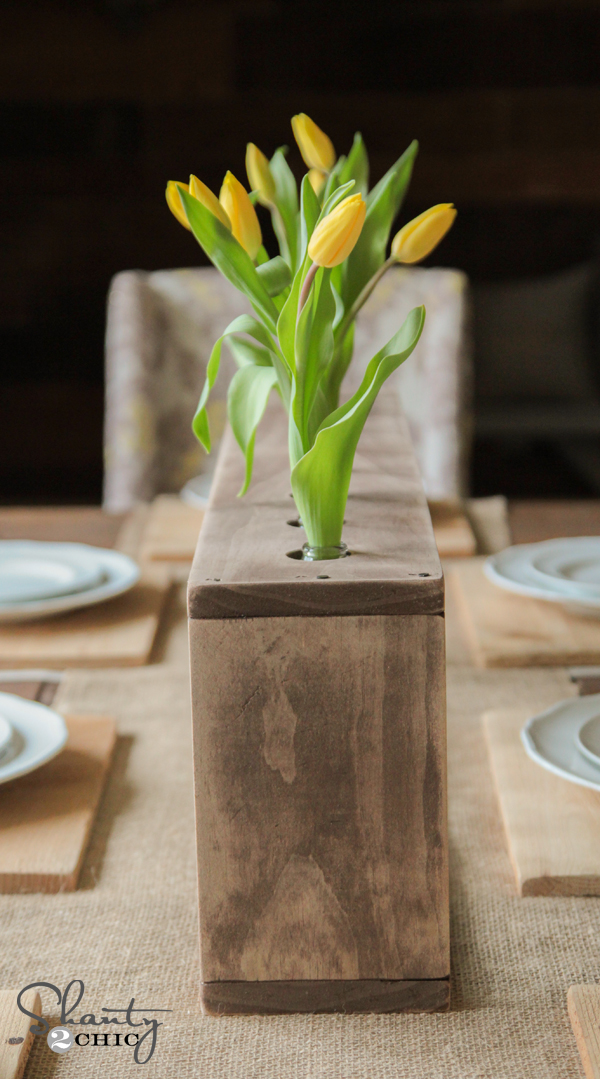
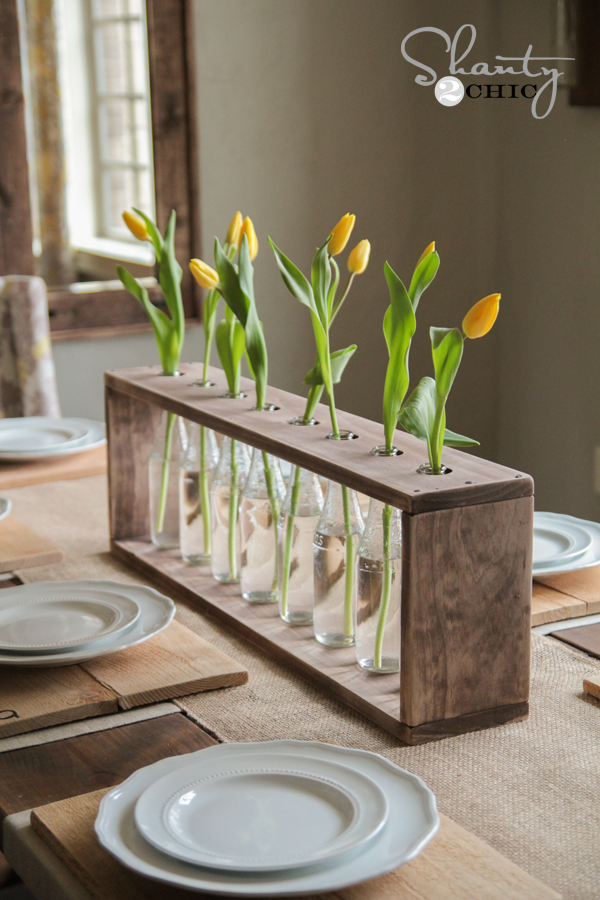
Here she is all finished up!
Step 4 – Add a Finish
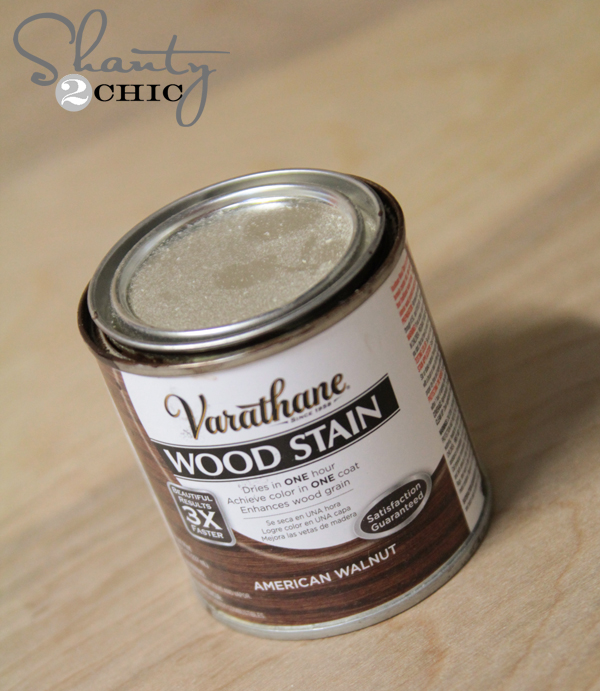
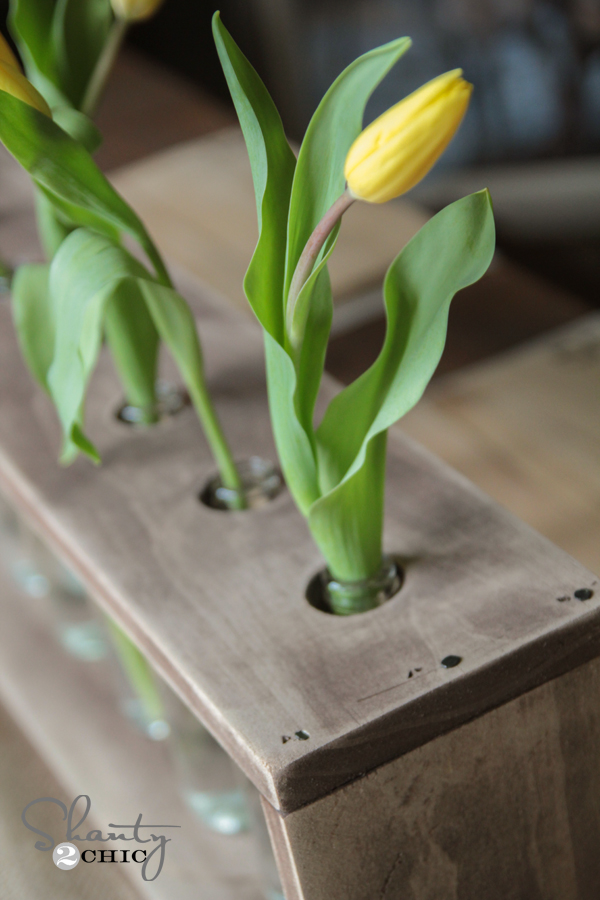
You can finish your vase however you like! I chose to use a this stain. Just brush it on, let it sit for a couple minutes, and then use a rag or old t-shirt to wipe off any excess. I love this stain because it only requires one coat, and dries in under an hour.
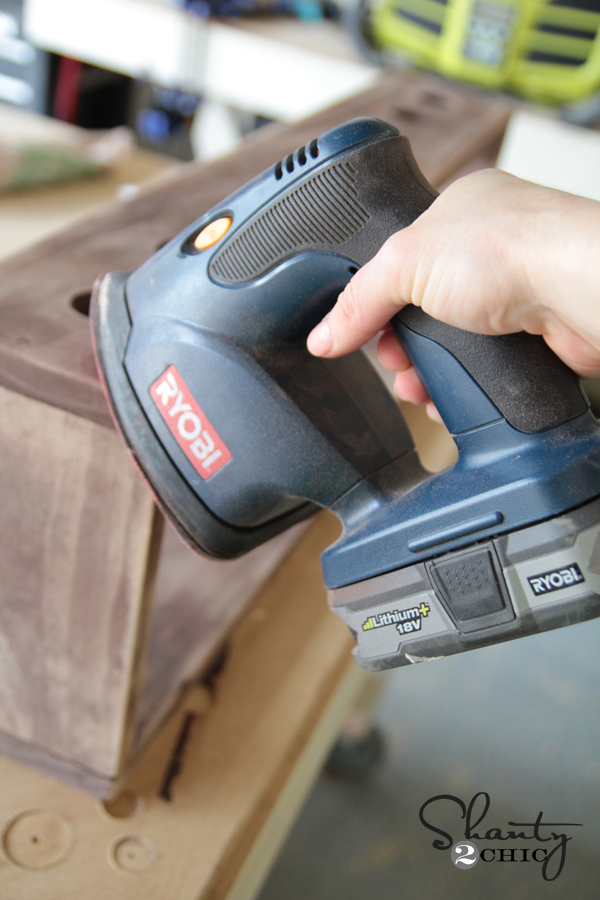
After the vase dried, I decided to ‘shanty’ it up a bit. I used this sander with 80 grit paper to go over the entire piece. This gives it a fun, vintage look!
I found these bottles at Target. I let the kiddos drink a few of them, and then repurposed them :-)…
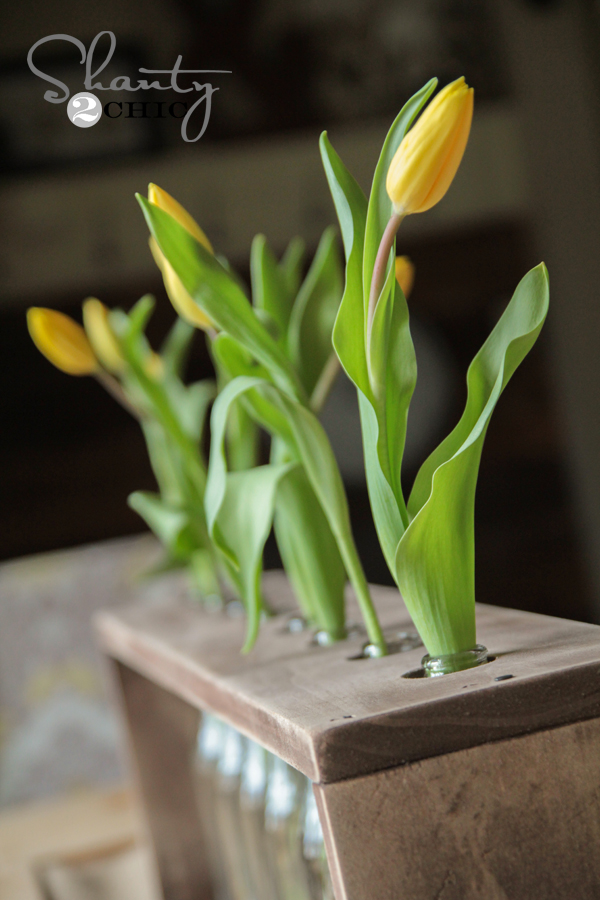
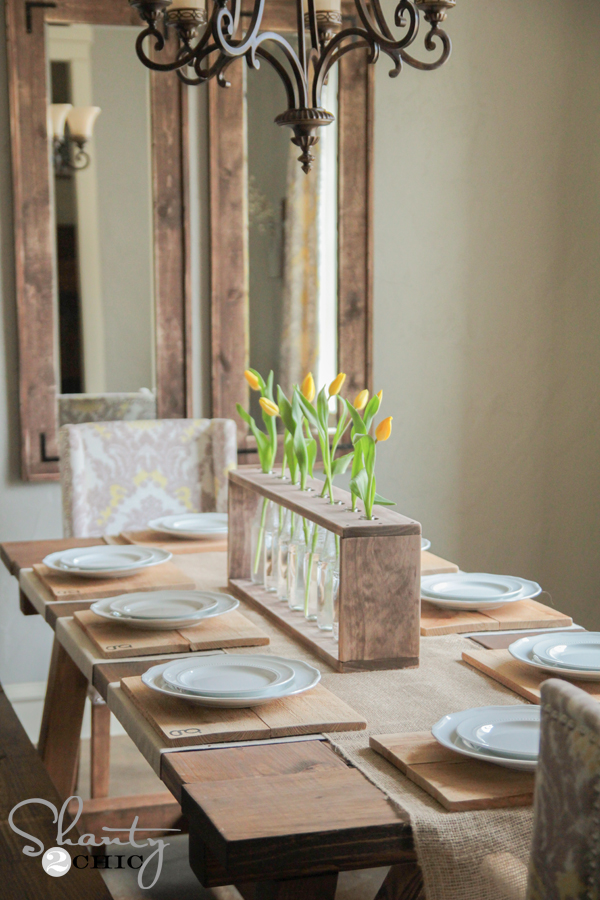
I bought a few tulips, and I was set! I am loving the results! I also added a few black furniture tacks on the top for a fun touch. These don’t hold it together at all… They are just for fun!
What do you think?? Pretty cute for an $8 board, right?? 😉
Thanks so much for stopping by guys! Let me know if you have any questions at all! I would LOVE for you to pin and share this project with all your friends!
CLICK HERE OR THE IMAGE BELOW TO DOWNLOAD THE FREE PRINTABLE PLANS
Have an awesome week!
~Whitney

How do you guys get logo off bottle? I have few cola bottle around.
This was my first shanty-2-chic project I finished earlier this week. Since then I’ve made the floating shelves and can’t wait to start another project. I’ve got the bug! Thanks girls for the tutorials and making woodwork fun 🙂
Are the measurements the same for wine bottles? Thanks so much!
This was so much fun to make!
Thanks for helping me score some points with my wife for Valentine’s Day! She loved this!
This is awesome! Would you be willing to make them and sell them!?
Do you have the measurements for this? I wanted to use my starbucks bottles as well.
Where did you get that dishware I love it!
I totally won the set from SNAP! by adding almost 70 pictures of your beautiful faces on instagram using these tools! I kid you not! This will be my first project!
I LOVE this idea. I am making them for Mothers Day gifts. Here is one I made today using Starbuck’s bottles I have been saving
I also wanted to know–how did you wipe the Jarritos labels off the glass bottles easily?
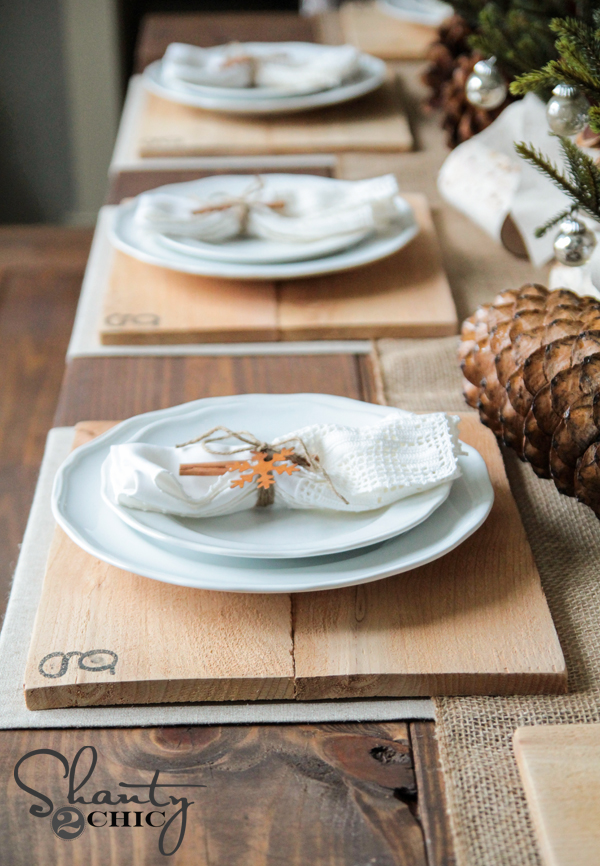
How about those chargers!! what a cute idea!!!
LOVE this!! question for you! how do you suggest taking the labels off the bottles? i picked up some of the same jarrittos tonight and those labels are stuck good!!
J’aime beaucoup. (I like this)
Thanks for this idea.
Evelyne
What a Great Idea!!! Thanks for the free plans -marissa @www.4herhome.com
Very cute Whitney! I have a ton of old cream soda bottles, I love this idea!