We are back with day 7 of our 12 Days of Christmas series! We would love for you to follow us on Instagram and Pinterest to keep up with our most current projects and sneak peeks 🙂
 I’m excited to share my project with you today! It’s quick, easy and so darn cute!
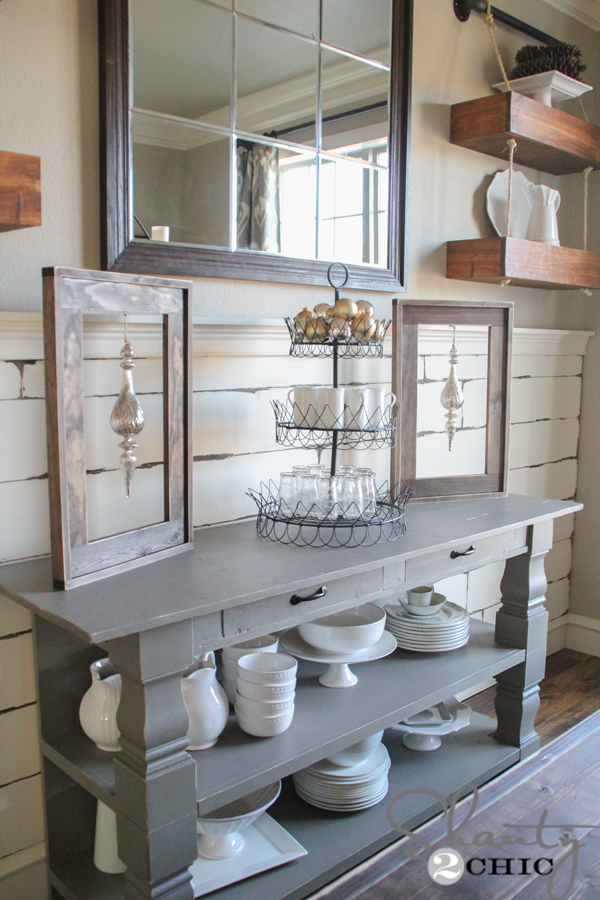 I found these large mercury glass ornaments at Hobby Lobby and thought they would be so cute displayed in a frame! I grabbed two and headed home to work in my shop 🙂
This project is so basic and it’s perfect for you guys that are just getting started with your Kreg Jigs! (and for you seasoned pros)!
 To make one frame, you need to purchase one 1×3 and one 1×2. Start with your cuts. I used a miter saw but if you don’t have one, a simple hand saw like the one below will work great!
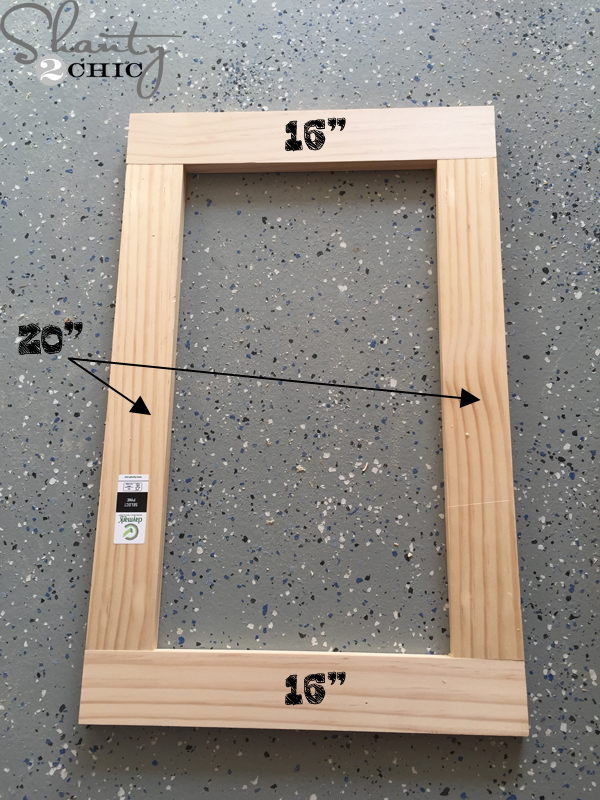
Cuts:
2 – 1×3 @ 16″
2 – 1×3 @ 22″
2 – 1×2 @ 17 1/2″
2 – 1×2 @ 25″
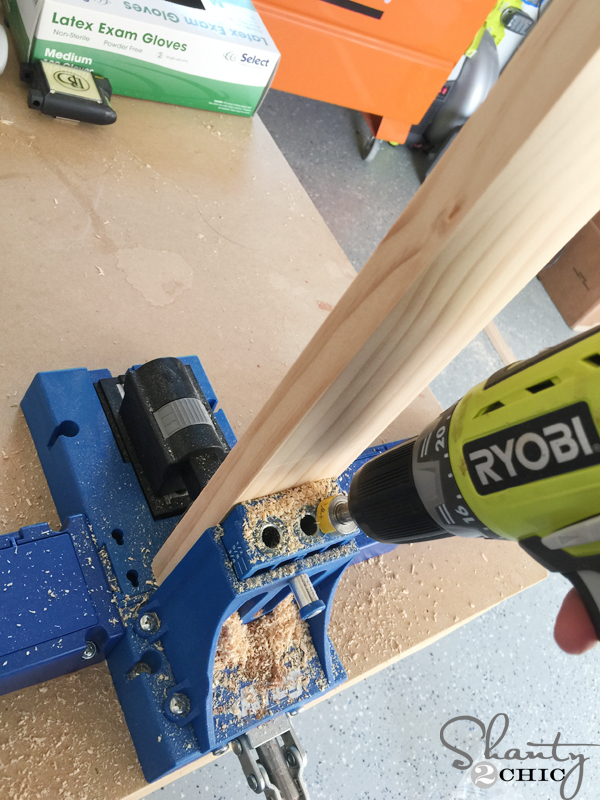
Next, I drilled two 3/4″ pocket holes on both ends of the 20″ 1×3 pieces.
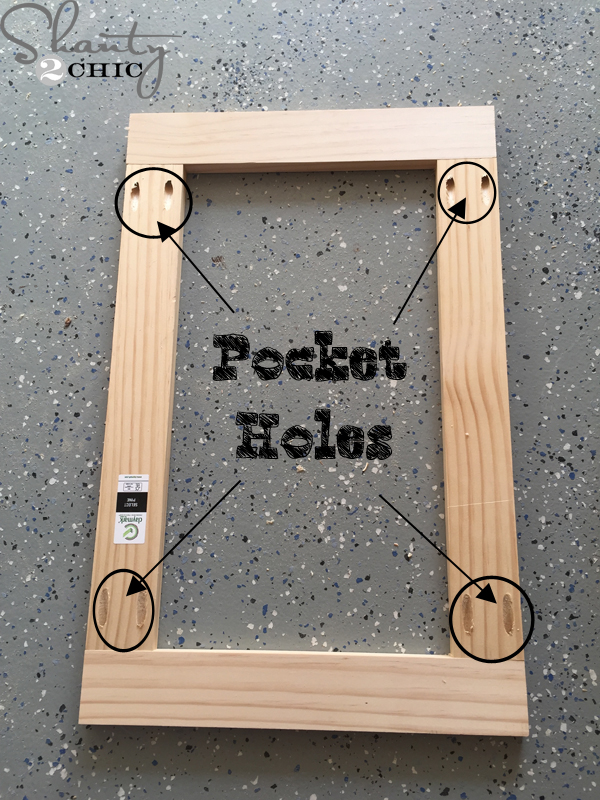 Then, I attached the 20″ pieces to the 16″ pieces with 1 1/4″ pocket hole screws to form the frame. You can see that I circled where I drilled my pocket holes.
 Next, I attached the 1×2 pieces around the edges of the 1×3 frame. I gave measurements for these pieces but it’s best to measure your 1×3 frame and cut these to fit. I centered the 1×2’s on the 1×3 (so that there is an equal amount of over hang on each side of the frame) and used 1 1/4″ brad nails to attach them. I used my Airstrike Nailer but you can also use a hammer and finish nails. The long 1×2 pieces will go on the long sides of the frame and the shorter 1×2 pieces will fit the top and bottom of the frame.
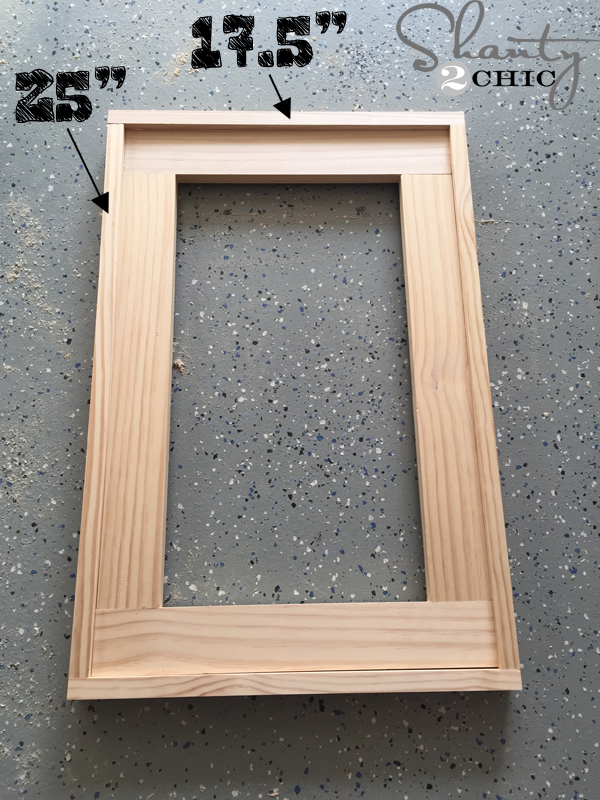 Here it is completely assembled.
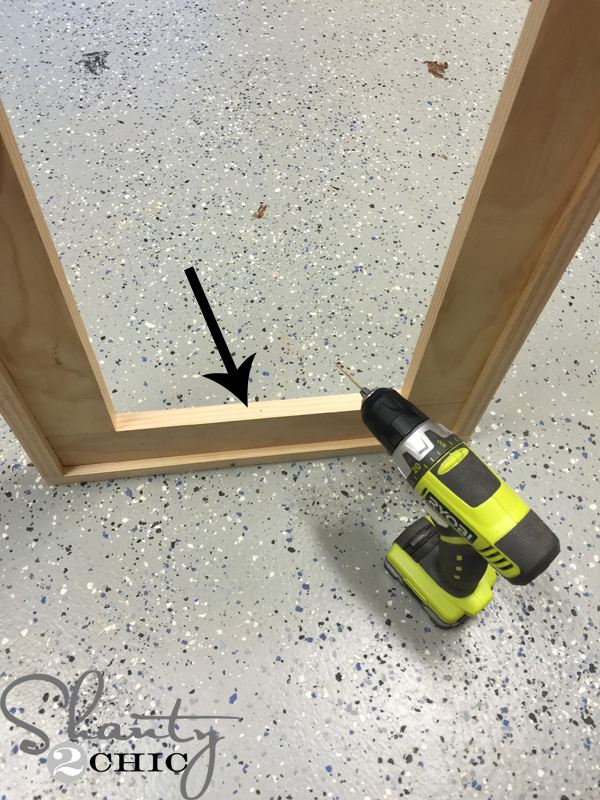 Next, I drilled a small pilot hole into the top, center of the inside of the frame (use a bit that is a size smaller than the eye hooks you will use).
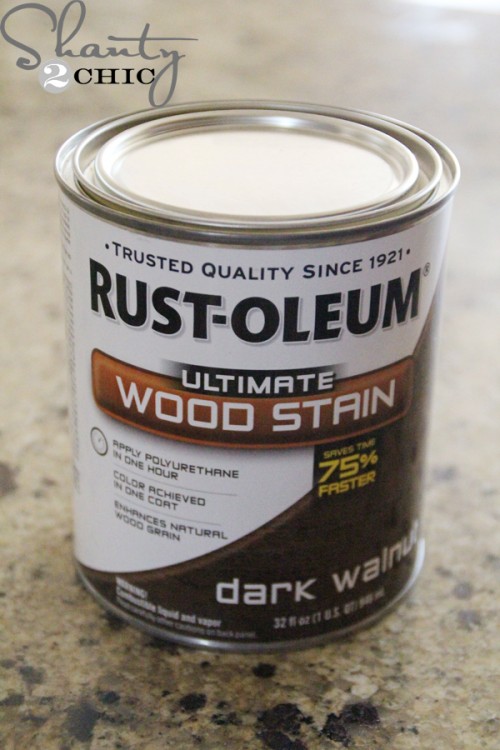 Finally, I gave them one coat of Rust-Oleum Dark Walnut stain. I wiped mine on with a clean cloth, let it sit for 5 minutes then blended it with a separate clean cloth.
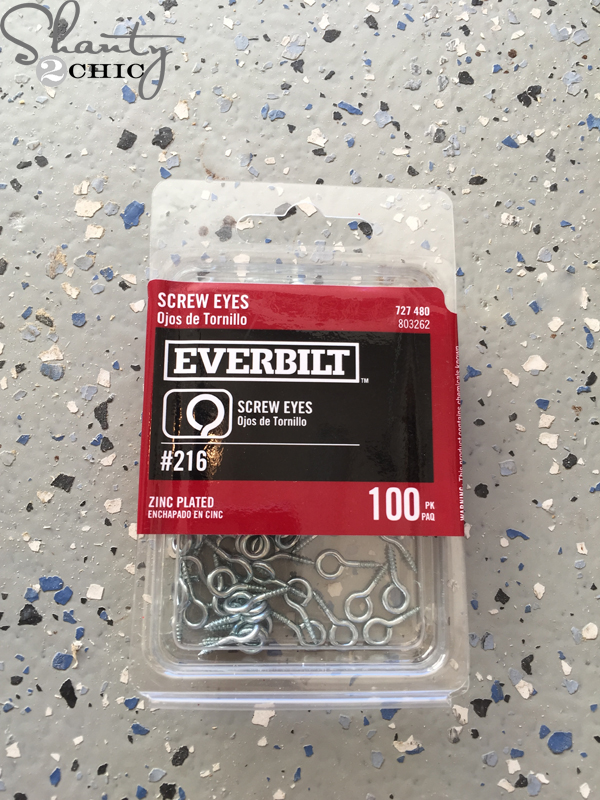 Once the stain was dry, I screwed one eye hook into the pilot hole
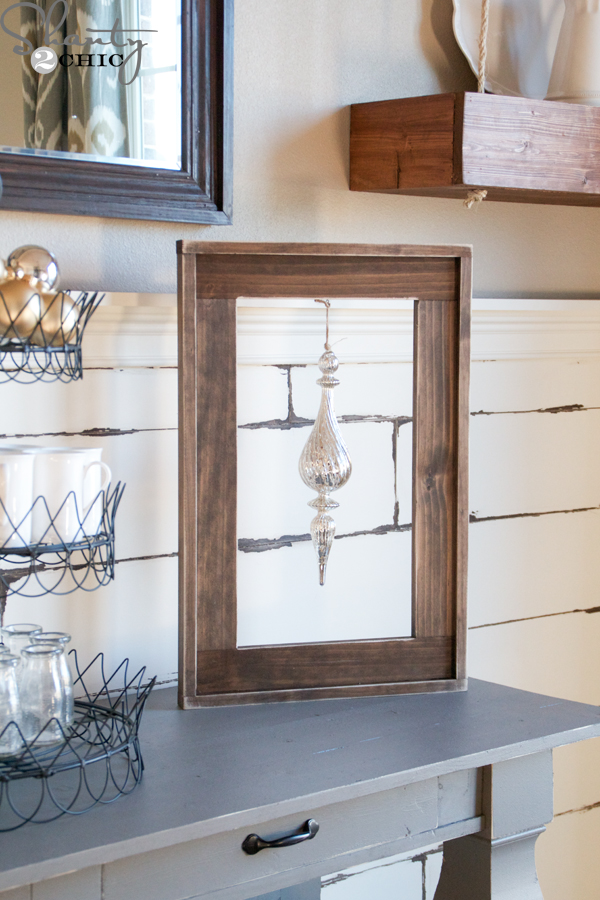 and tied my big, cute ornament to the eye hook.
That was it!
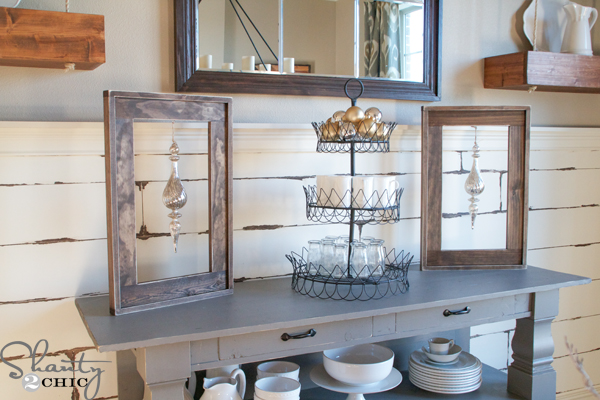
If you are worried about them falling over, you can easily swap the 1×2’s and 1×3’s out to give the frame a wider base! These are so versatile and you can customize them to fit whichever ornaments you want to display!
Thanks so much for stopping by!
Make sure to check out the amazing projects that our friends shared today! Remember, one of us is hosting a giveaway every day of the series so make sure to click the images below to check them out 🙂


So clever! I love this frame design. But now I need a kreg jig stat!