It’s almost Christmas and one thing I am always thinking about around this time is STORAGE! With the cooler temps, my kids are always leaving blankets around the house. I used to throw them in baskets but the baskets were overflowing and they began to look sloppy. So, I designed and built this DIY Modern Farmhouse Storage Trunk to hide all of our junk!
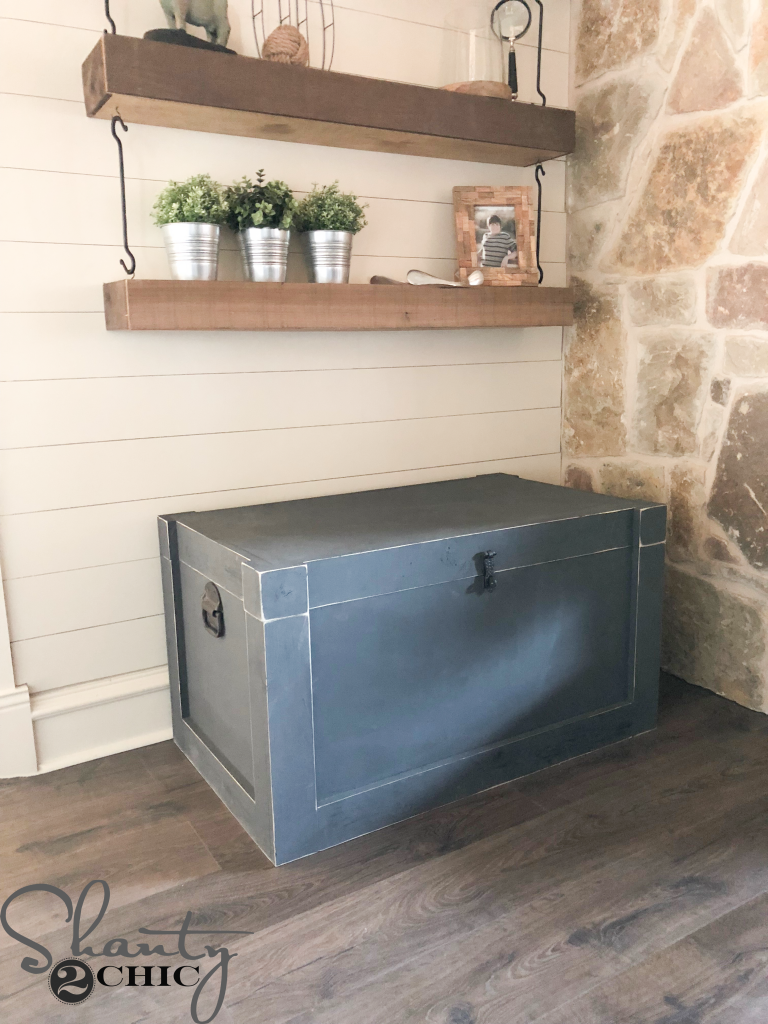
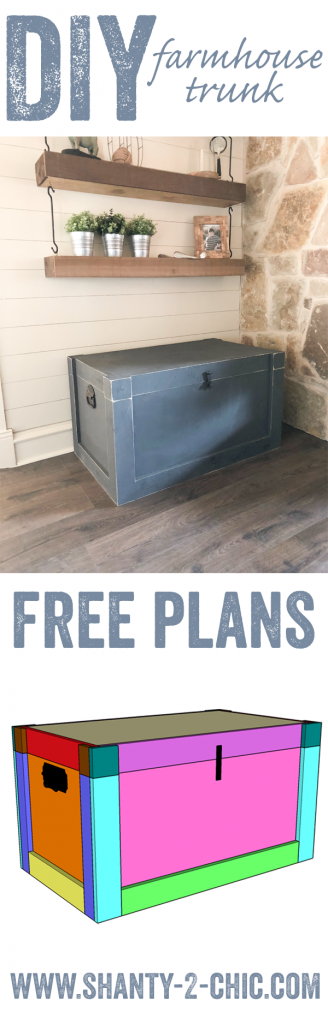
DIY Modern Farmhouse Trunk
Total cost in lumber was about $80! Come join us in our shop and let’s build a giant trunk!
You can click HERE or the image below to watch the video!
So simple, so fun and SO much STORAGE! Make sure to download the FREE PRINTABLE PLANS HERE! You can also follow along with the step-by-step tutorial below!
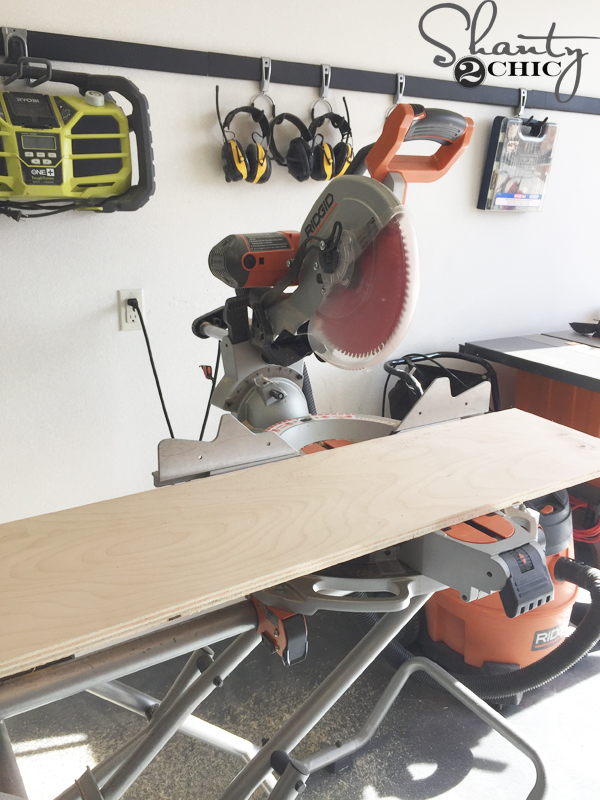
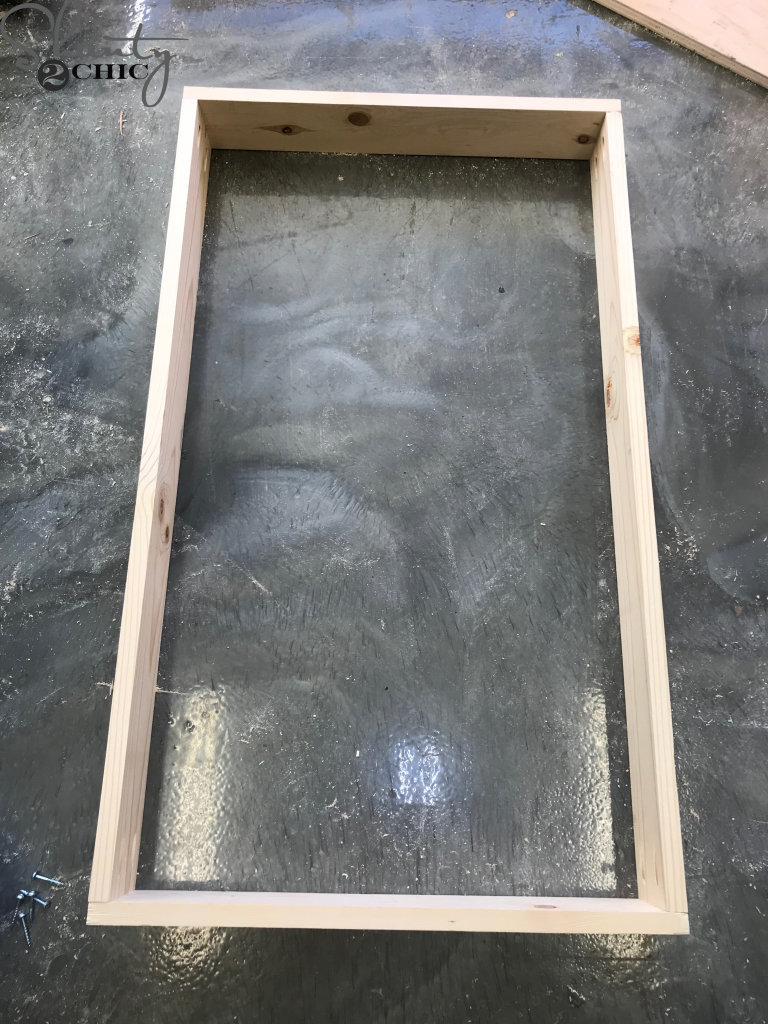
First, I made the cuts for the box of the trunk.
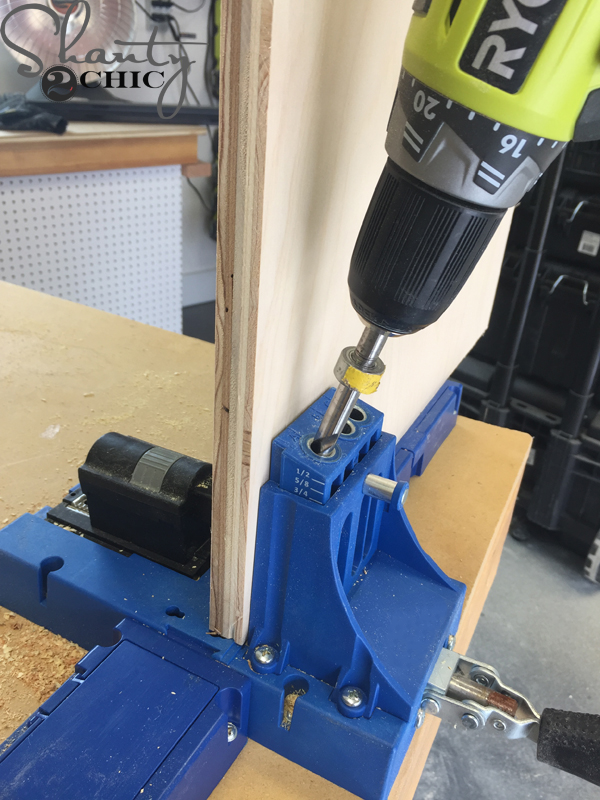
DIY Modern Farmhouse Trunk – Kreg Jig
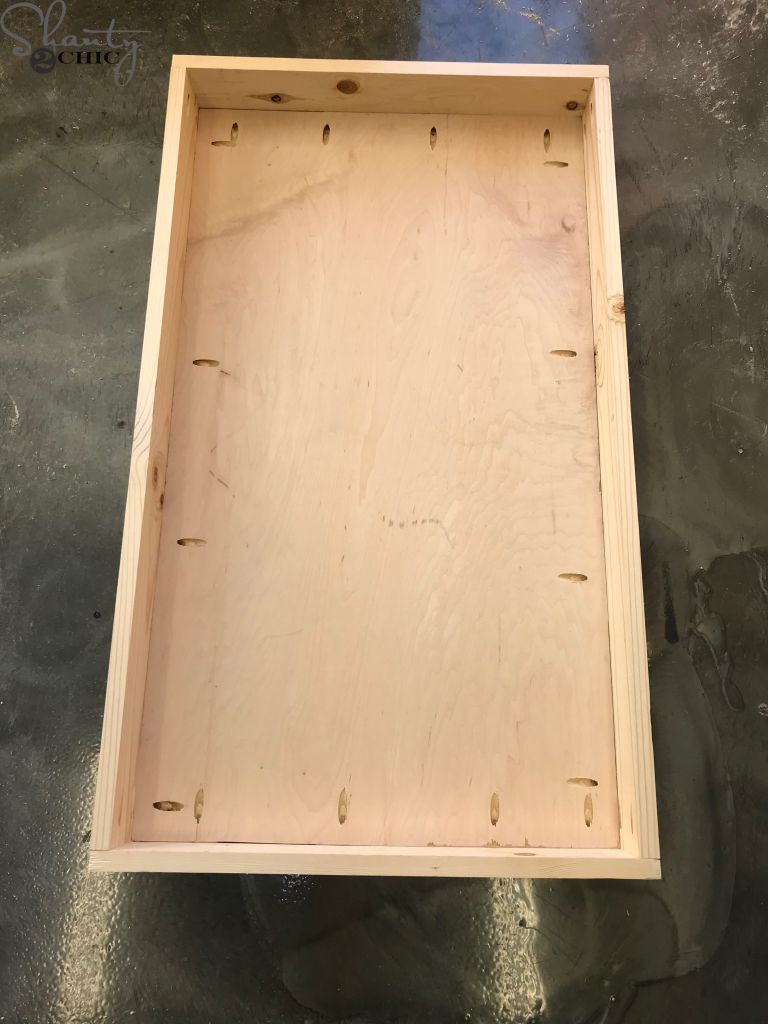
I used my Kreg Jig to drill 3/4″ pocket holes into the front and back panels of the base of the trunk (you can find our favorite Kreg Jig model HERE on Amazon).
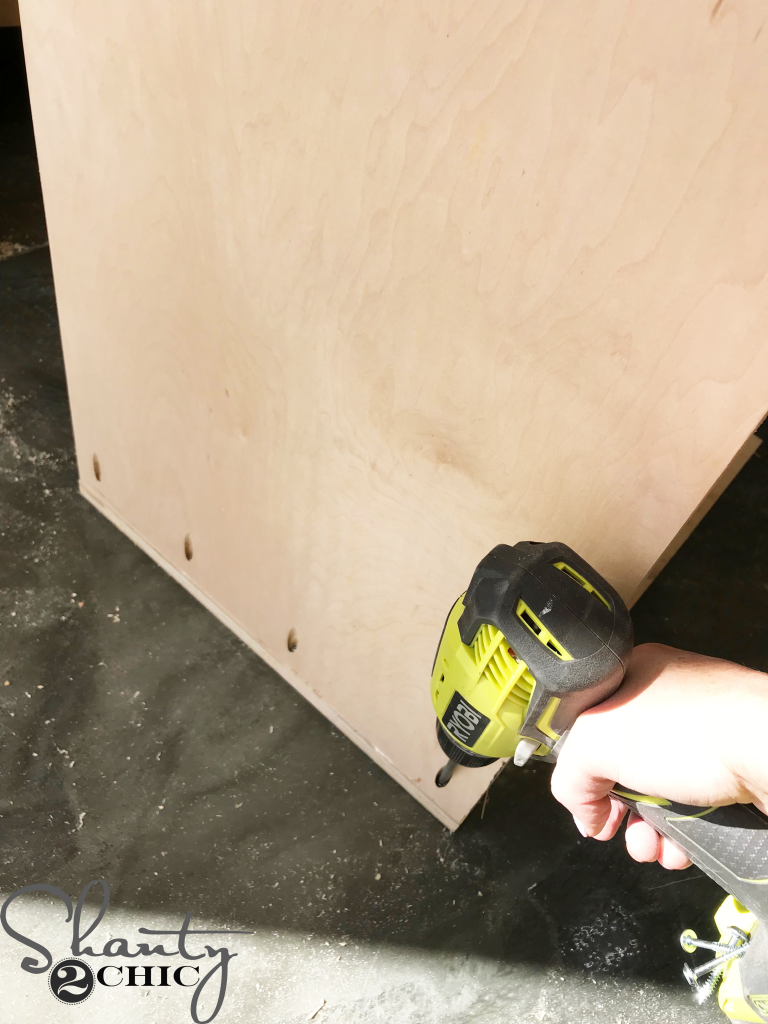
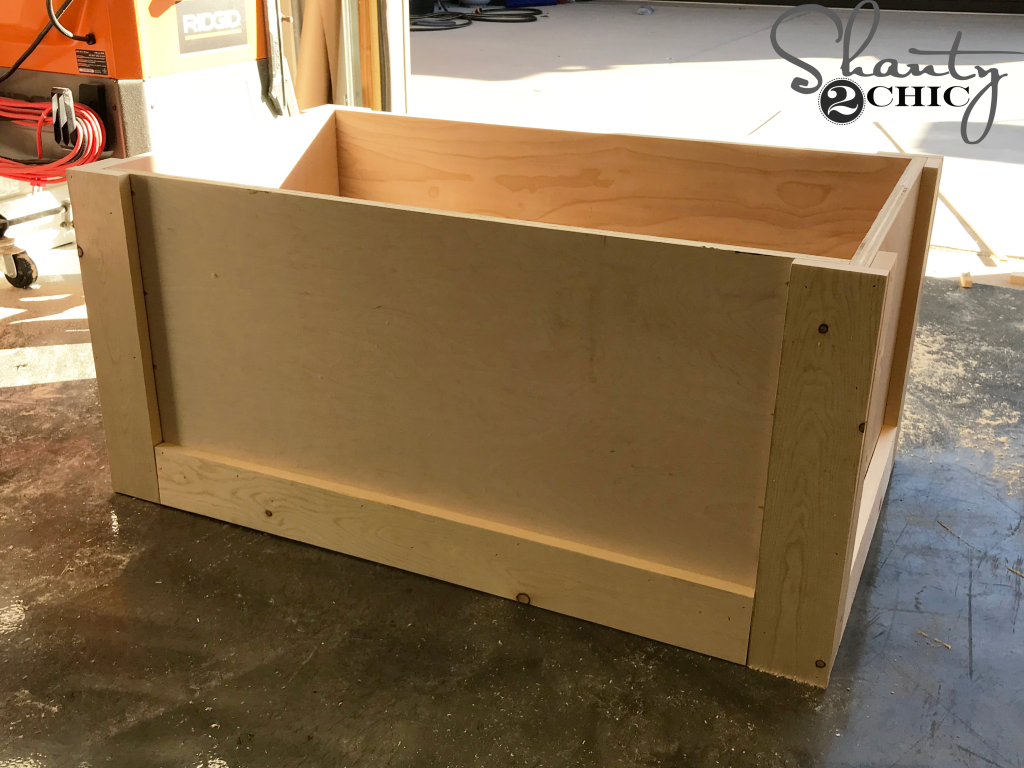
and attached the front and back panels to side panels with 1 1/4″ pocket hole screws and wood glue.
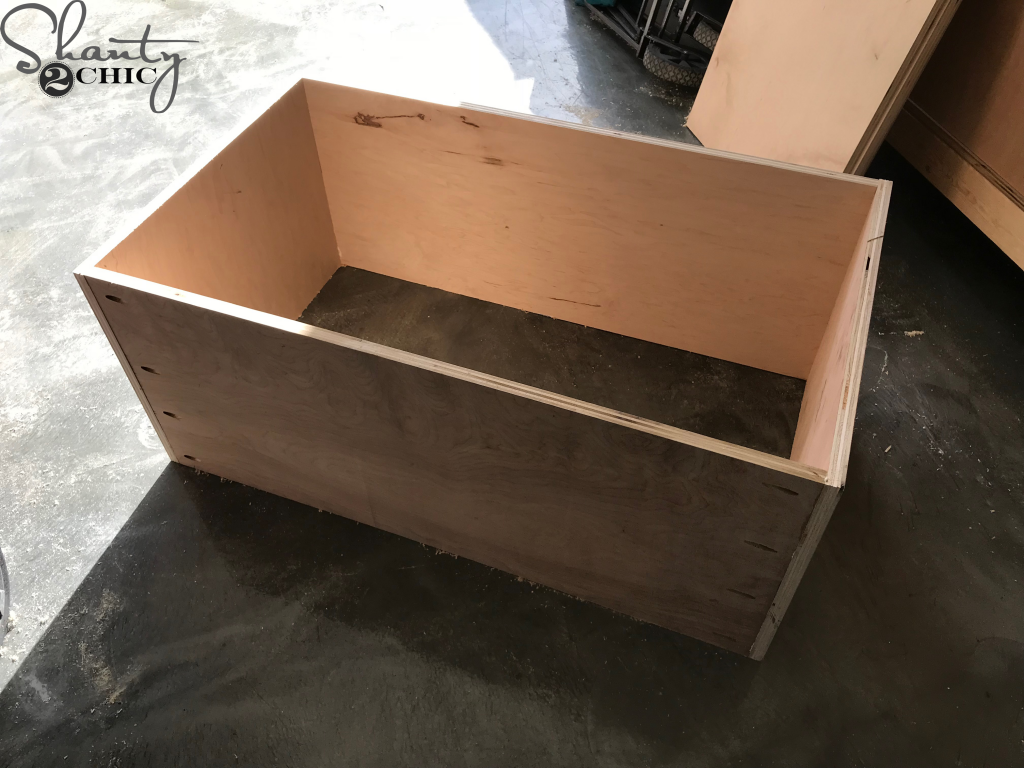
This will create a box. Your pocket holes can face out if you are painting the trunk.
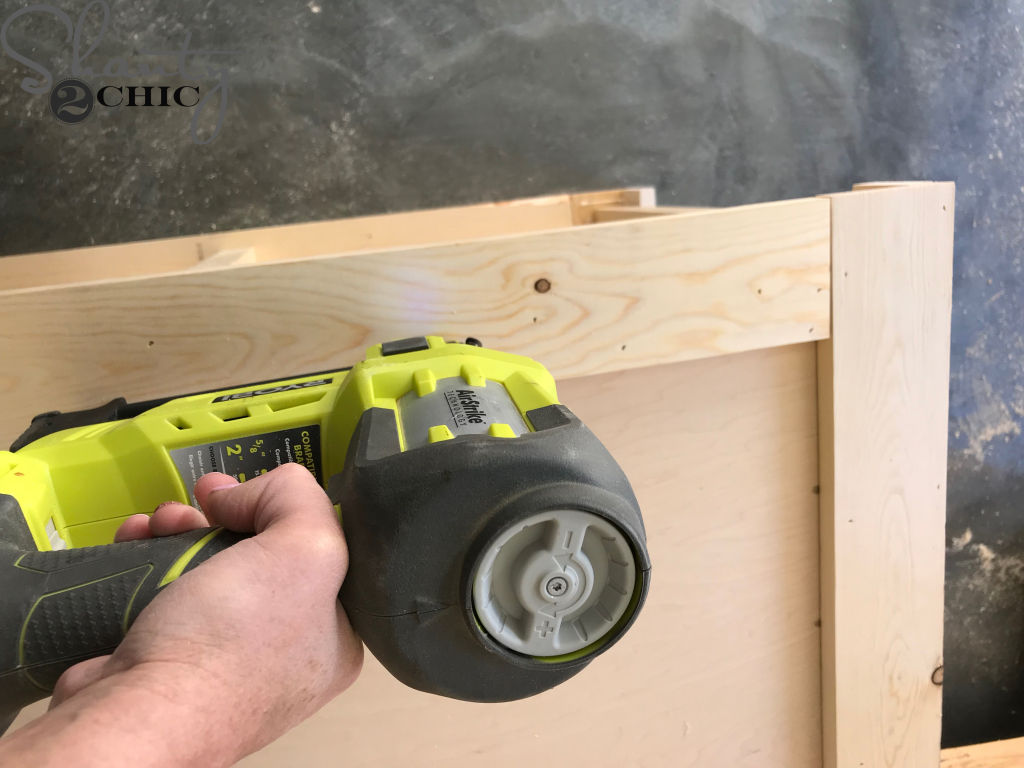
Next, I built the bottom of the trunk by attaching 3 1×2 boards to the bottom panel. I used wood glue and 1 1/4″ brad nails to attach.

Once the base was assembled, I laid it on the bottom of the box and attached it to the box with 2″ brad nails and wood glue.

Here is the trunk upright, at this point.
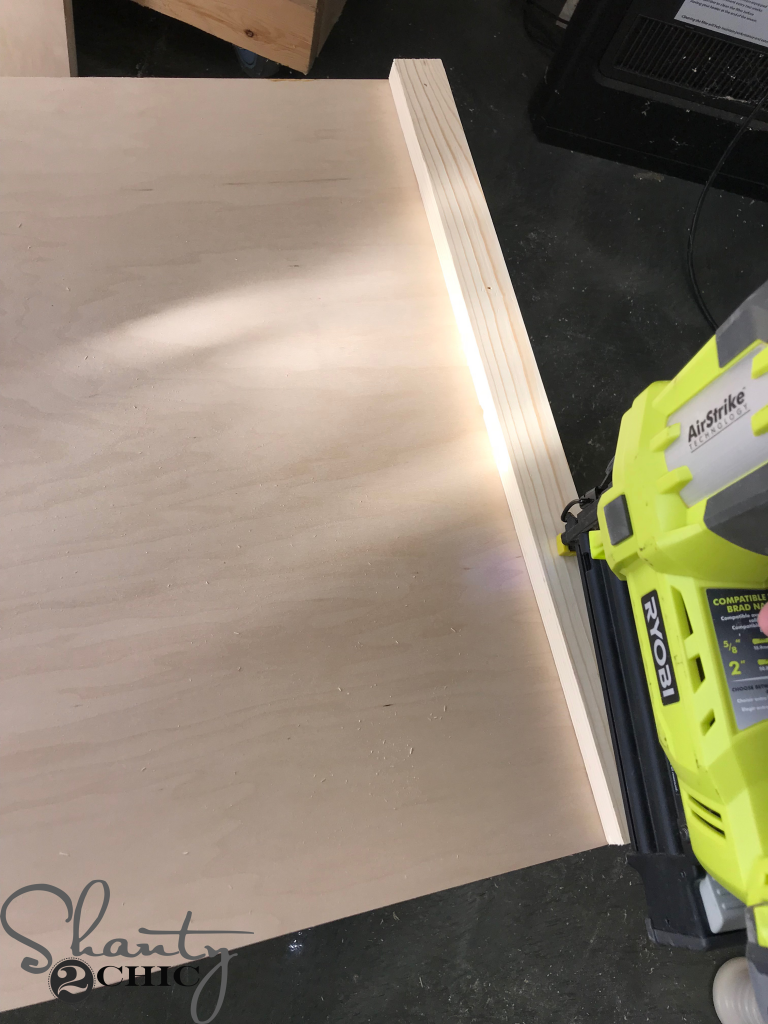
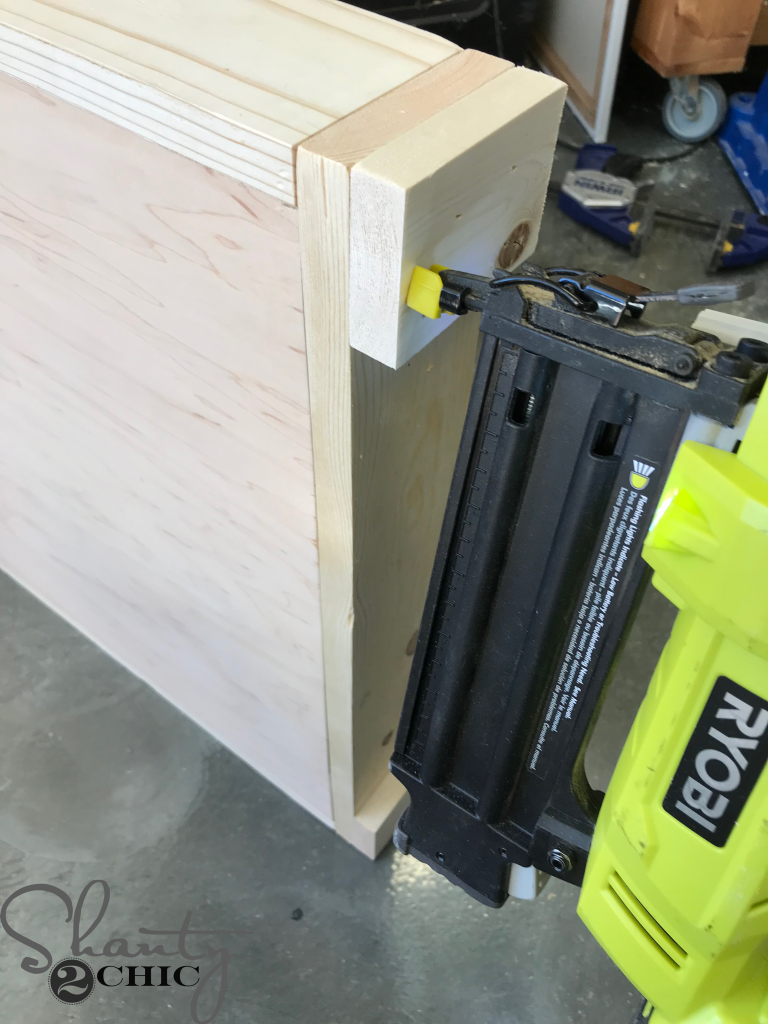
I cut the side trim to pieces to size and attached them to the side of the trunk with 1 1/4″ brad nails and wood glue. The trim should be flush with the top and sides of the trunk. Do this on both sides.
Then, I cut the front and back trim pieces to size and attached them to the front and back of the trunk with 1 1/4″ brad nails and wood glue. The trim should be flush with the side trim pieces.
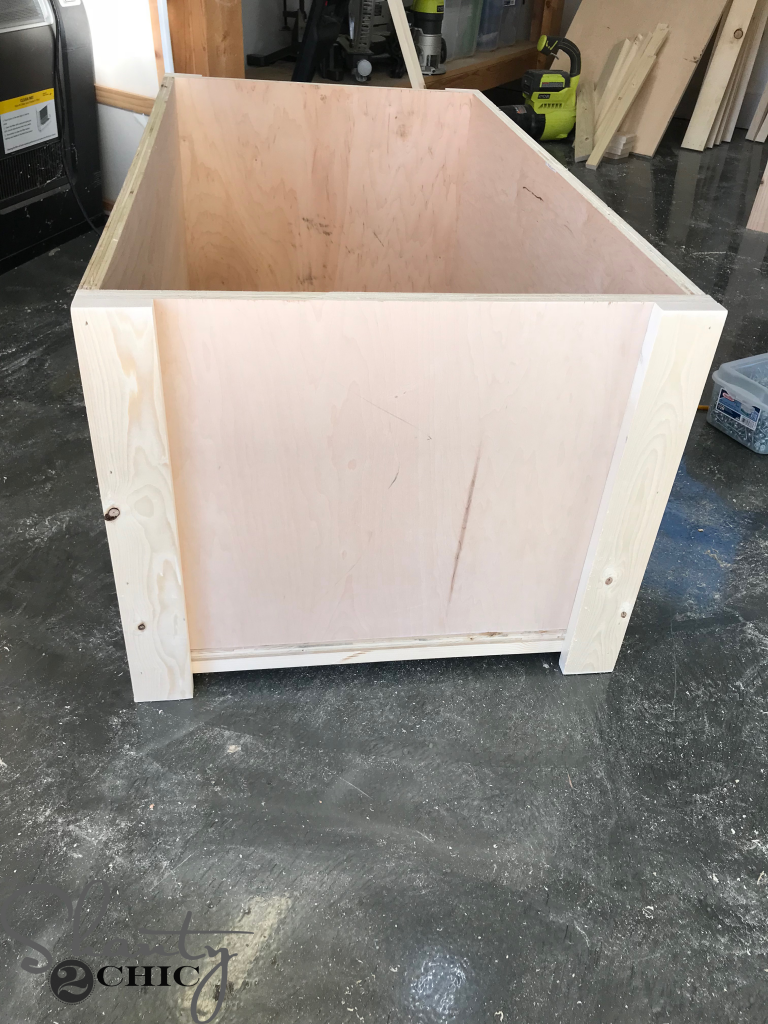
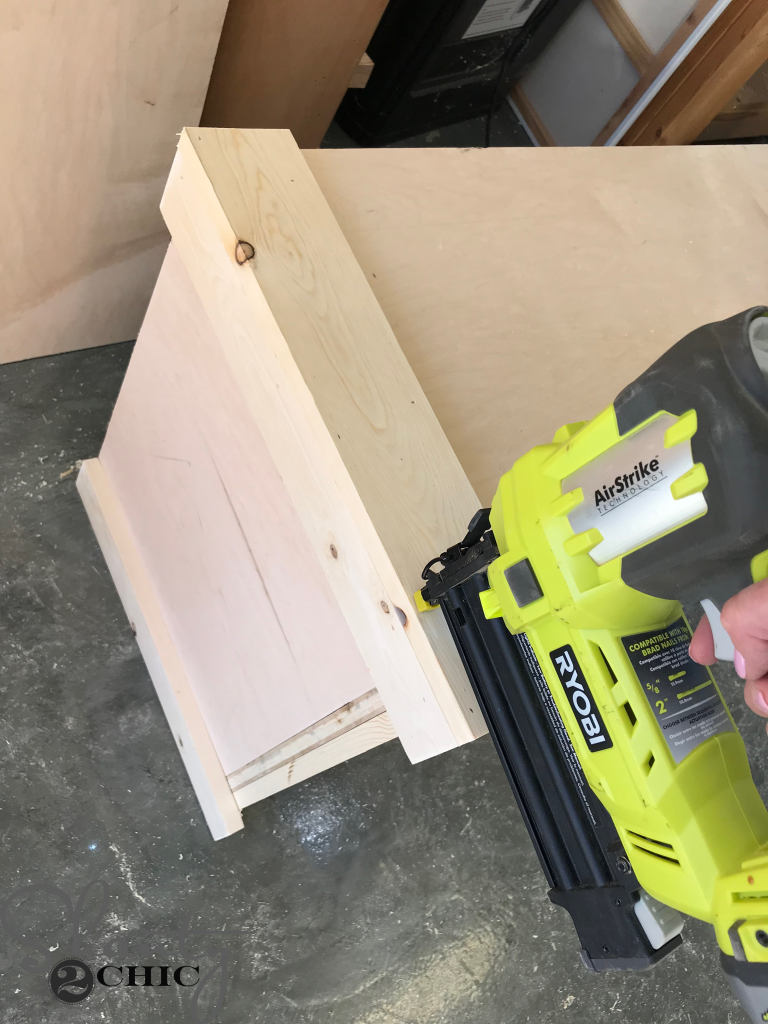
Next, I attached the bottom trim on both sides and front and back of the trunk. I used 1 1/4″ brad nails and wood glue.
Here is the base of the trunk with all of the trim pieces attached. Now for the lid!
I cut the lid pieces to size and drilled 3/4″ pocket holes into the ends of the front and back pieces. I attached them to the side pieces with 1 1/4″ pocket hole screws and wood glue.
Then, I cut the lid panel to size and drilled 3/4″ pocket holes around the edges. I laid the panel inside of the frame and attached it with 1 1/4″ pocket hole screws and wood glue. Make sure the panel is flush with the lid frame. Make sure the pocket holes are inside the lid.
Now for the trim!
I cut the side trim pieces to size and attach them to the side corners of the lid with 1 1/4″ pocket hole screws and wood glue. I did this on both sides.
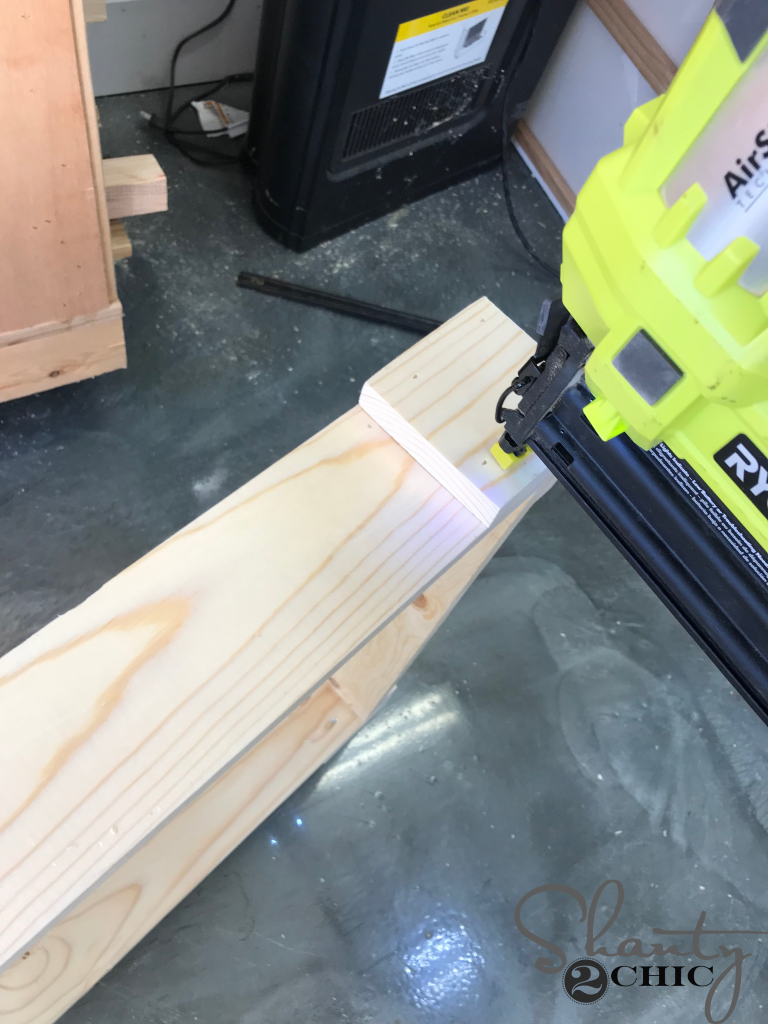
Then, I cut the front and back trim pieces to size and attached them to the lid with 1 1/4″ brad nails and wood glue. They should be flush with the side trim pieces.
Now is the time to fill those pocket holes and nail holes! Use wood filler and let it dry!
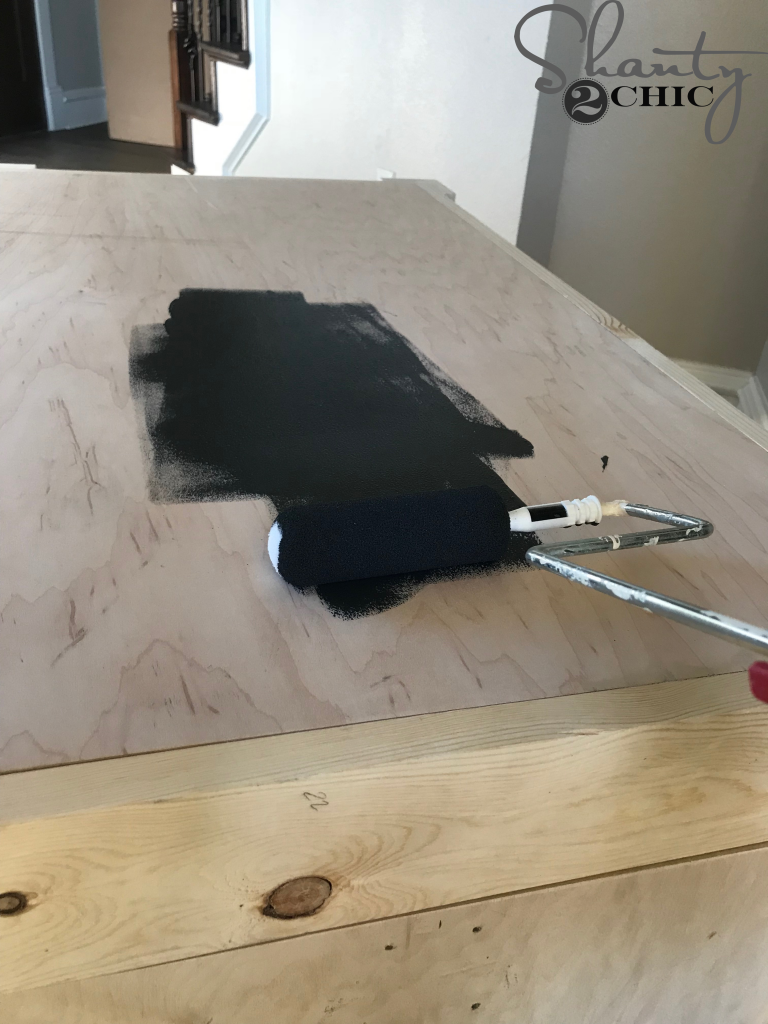
DIY Modern Farmhouse Trunk – Charcoal Chalked Paint
Time for the finish! I used two coats of Charcoal Chalked paint by Rustoleum! You can find it HERE on Amazon or in some Home Depot stores!
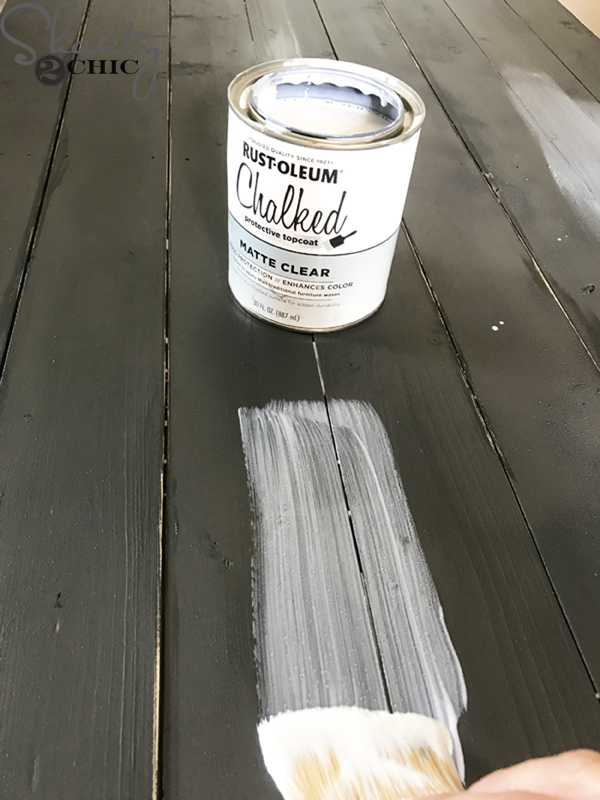
Once the paint dried, I applied one coat of Rust-oleum Chalked protective top coat to the entire trunk. You can find the top coat HERE on Amazon or in some Home Depot stores.
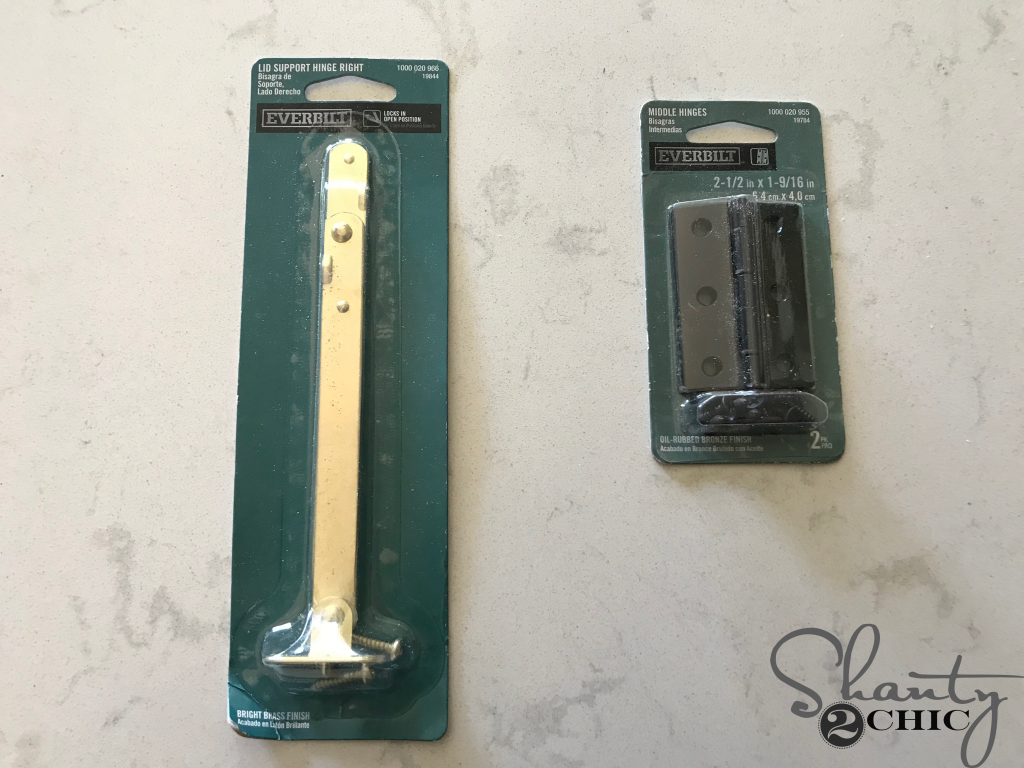
DIY Modern Farmhouse Trunk – Hardware
For the hardware, I used one Lid Support Hinge and a pack of two middle hinges.
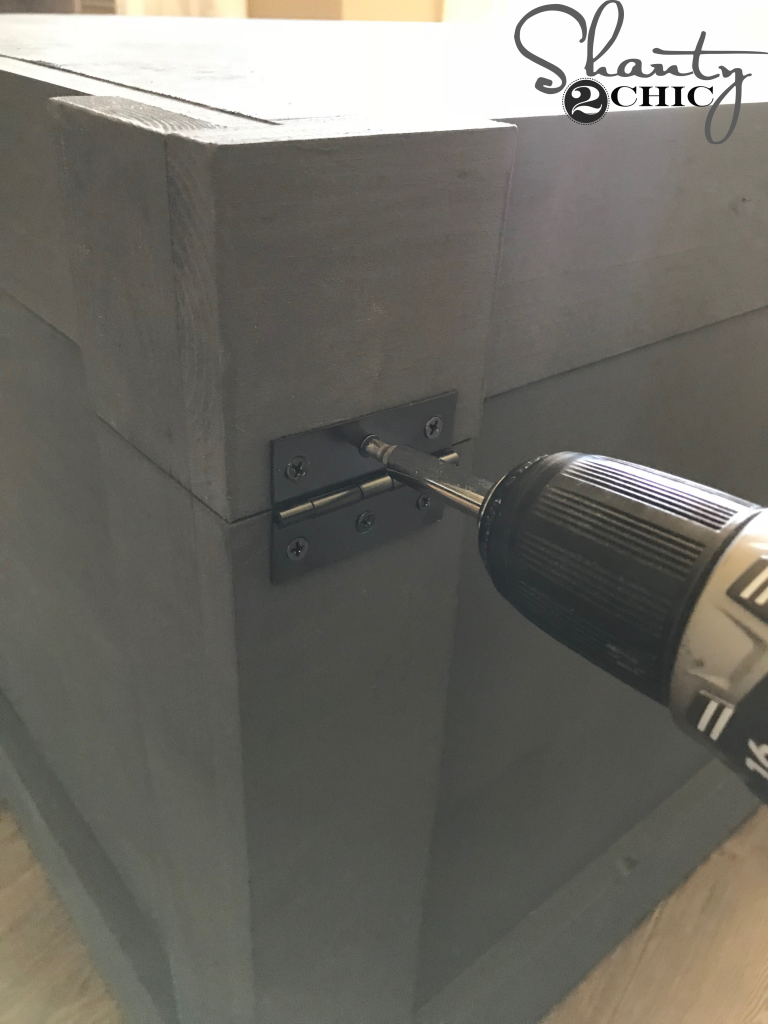
When the paint was dry, I attached the hinges first. The hinge will center over the lid and the trunk.

To attach the lid support, start on the lid. Make sure to note which side (right or left) that you purchased and attach the lid support to the matching side.
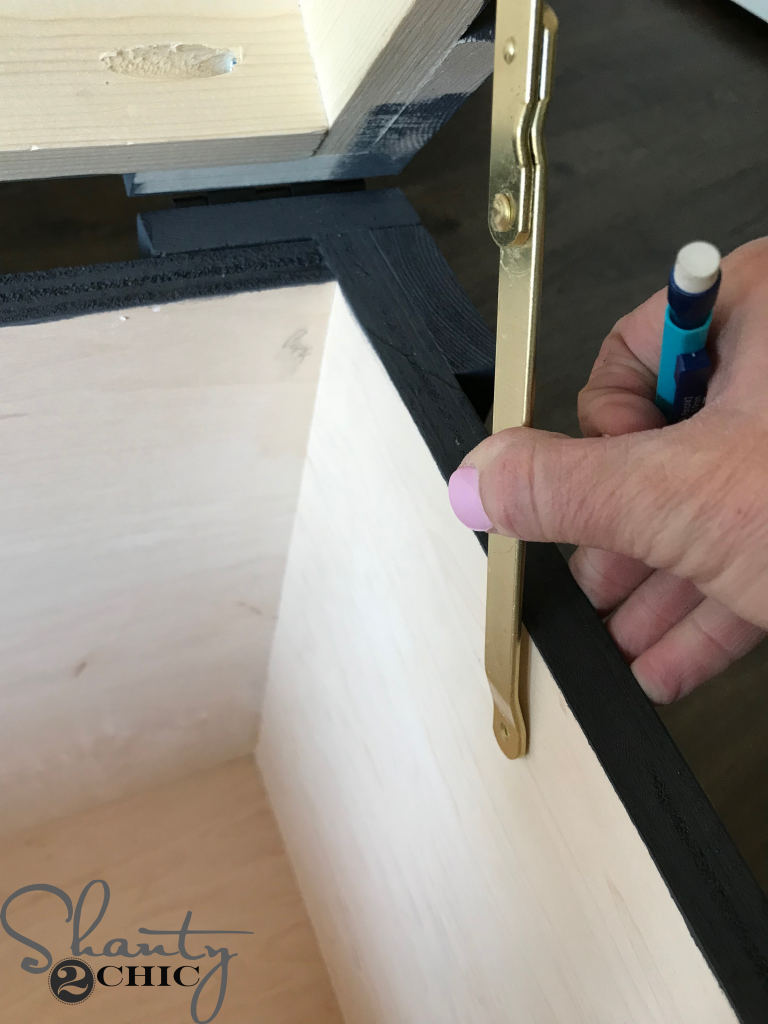
Then, attach the lid support to the trunk.
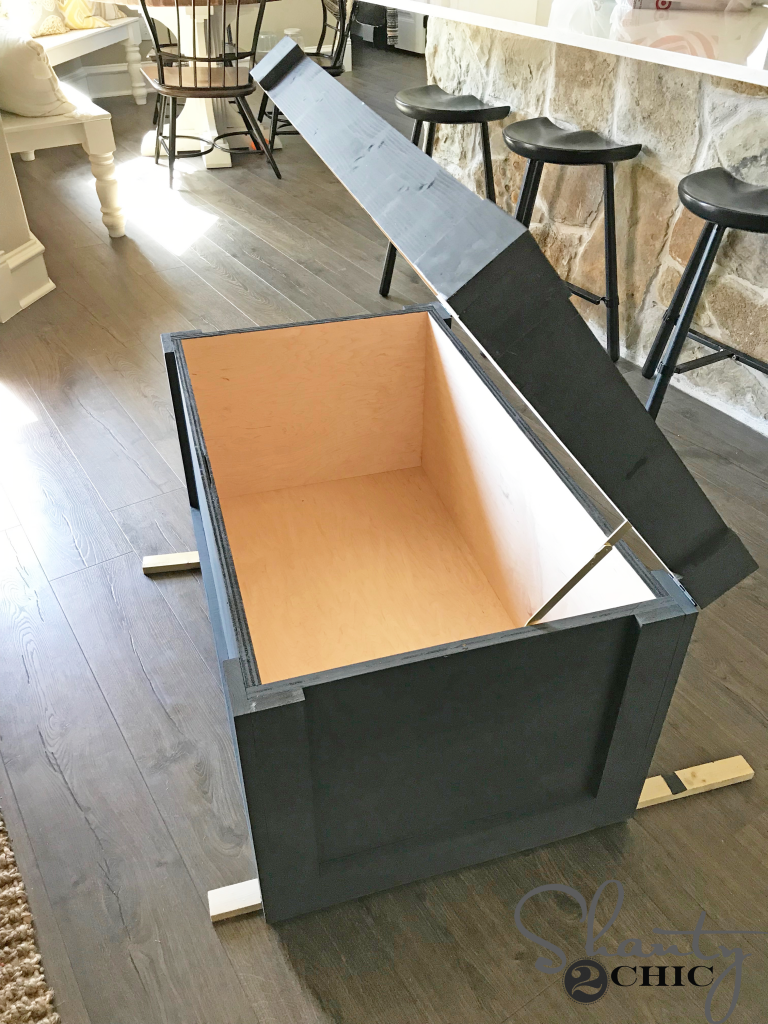
Super EASY!
I found my pulls and clasp at Hobby Lobby. NOTE: Do NOT use this front clasp if you have small children.

That was it! I ended up building two (one for each side of my fireplace) and I am loving all of the extra storage! It helps me keep my house tidy and it looks like a beautiful piece of furniture!
Thanks so much for stopping by!
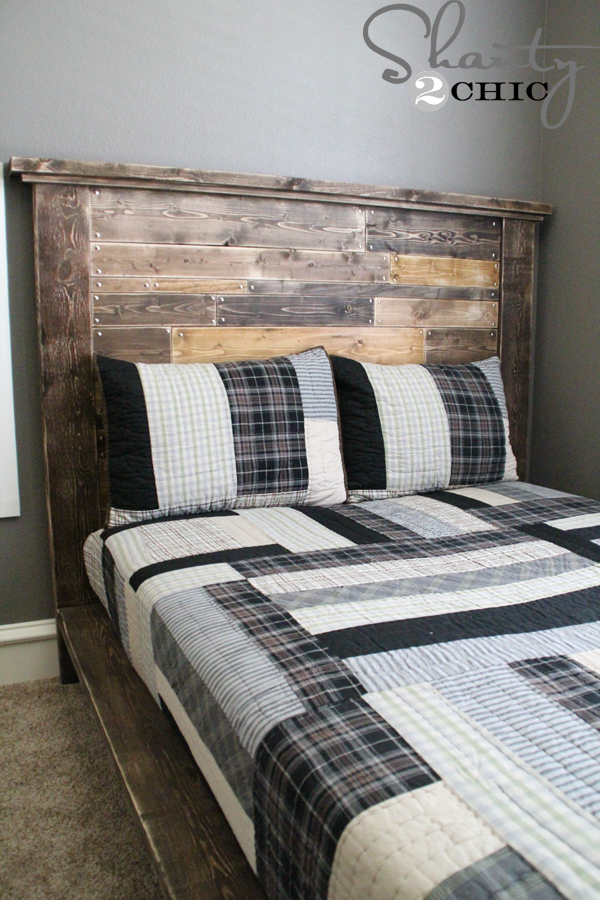
I’ll be sharing plans to those super cuts hanging shelves soon 😉
If you love this project, we would love for you to share it by pinning it and sharing on social media!
Happy Building!


This trunk is absolutely fantastic! I’m totally smitten with its vintage charm. I’ve been racking my brain for weeks, pondering how to squeeze in some extra storage magic into my living room, and voila! Your detailed DIY guide is a game-changer. Super excited to give it a go myself. Thanks a bunch for the inspiration and guidance! Cheers to a stylish and functional living space
Just an idea, maybe you can also add some cushion for sitting.
Love this! It’s the perfect solution for our living room sofa pillows
Did anyone have a problem with the lid night lining up with the trunk? The lady at Home Depot cut one of the sides wrong so I was playing with that but the lid is flush in the front and then at the back it is crooked 🙁 Any tips would be wonderful!
This is great! Would you tell us a little about why the Kreg Jig K5 model is your favorite? I am considering purchasing one and would love to have your perspective to help narrow down the options.
Love this! It’s the perfect solution for our living room sofa pillows. I am going to make this as a Mother’s Day surprise for my wife.
My husband and I just made this yesterday to hide all toys our 3 yr old keeps in the living room. So nice not having to see the toys overflowing the old toy box anymore. Thanks for the easy to follow plans!!!!!!!!!
I’m building this tomorrow and was wondering why are the pocket holes on the outside?
I’ve just about finished this project myself. If I had to guess, I’d say that the pocket holes for the bottom of the box (not the lid) are on the outside because they eventually get covered up by the trim pieces you attach. Although I think putting them on the inside wouldn’t impact the overall design, by putting them on the outside they get concealed.
I’m interested in your wall shelves, where did you get the double j hooks? Length? Love all your projects!
Thanks!
Hobby lobby
This trunk turned out amazing. I love the vintage look so much! For weeks I’m trying to figure out how to add extra storage to my living room and this is the answer. Thank you for the detailed DIY, can’t wait to try it on my own! This trunk