I have been itching to build a new DIY Modern Farmhouse Turned Leg Dining Table! Check out our free woodworking plans and video tutorial to build this beautiful table for under $250! You can grab the free plans for this DIY farmhouse table at the bottom of this post!
I love how she turned out!
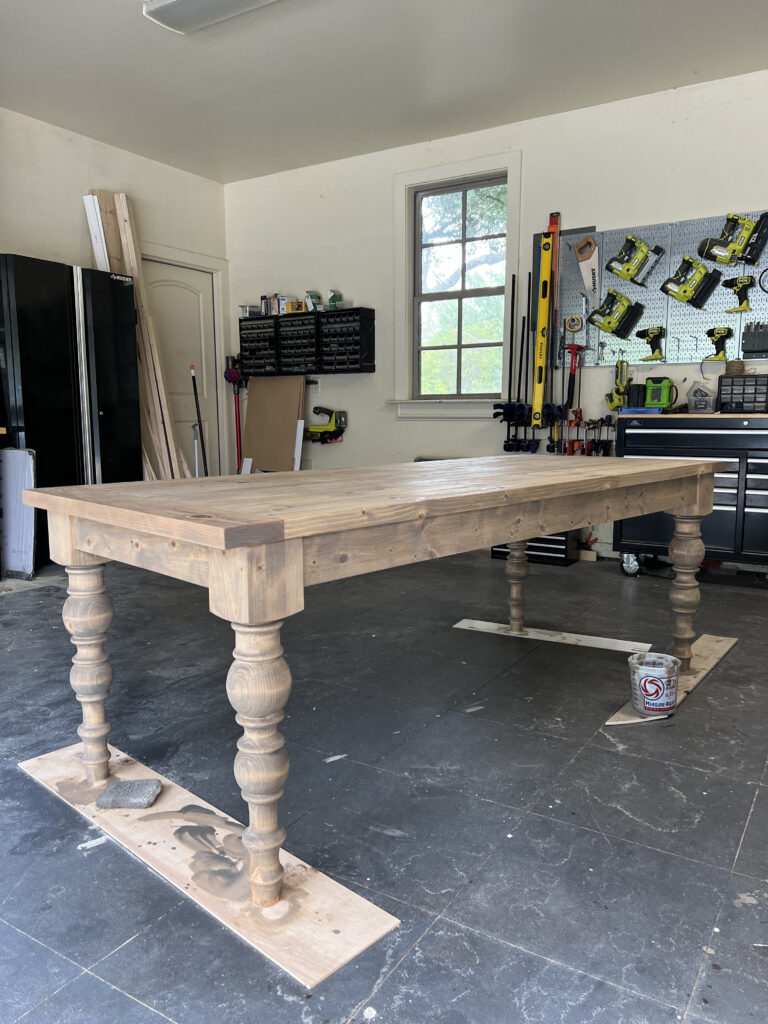
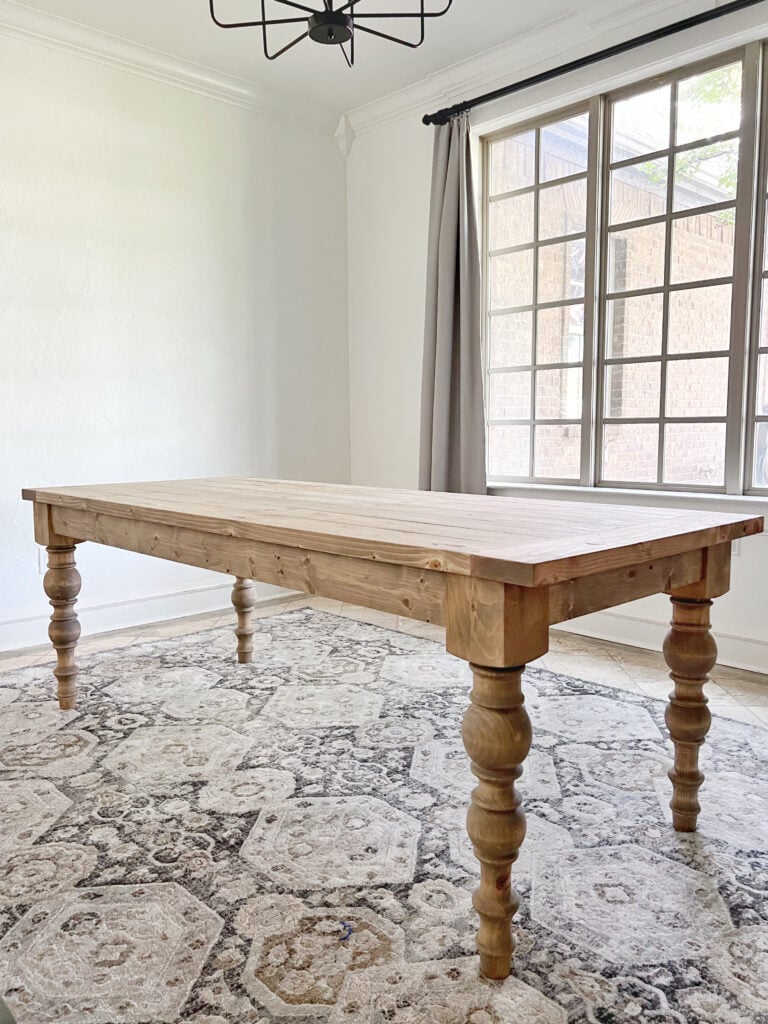
Table of Contents
Ripping the Boards
I designed this entire table with 2×6 framing lumber. This kept the cost low and I LOVE the way this wood finishes! You can definitely use another type of wood, but this is by far my favorite! Before assembly, I ripped all of my 2 x 6 boards to size. All of the boards used to construct the apron are ripped to 4” each, and all of the boards used to plank the top of the table are ripped to 5” each. I find it easiest to make my short cross cuts first and then rip each board down. To me, it makes it easier to push them through the table saw when they are shorter lengths.
Dining Table Turned Legs
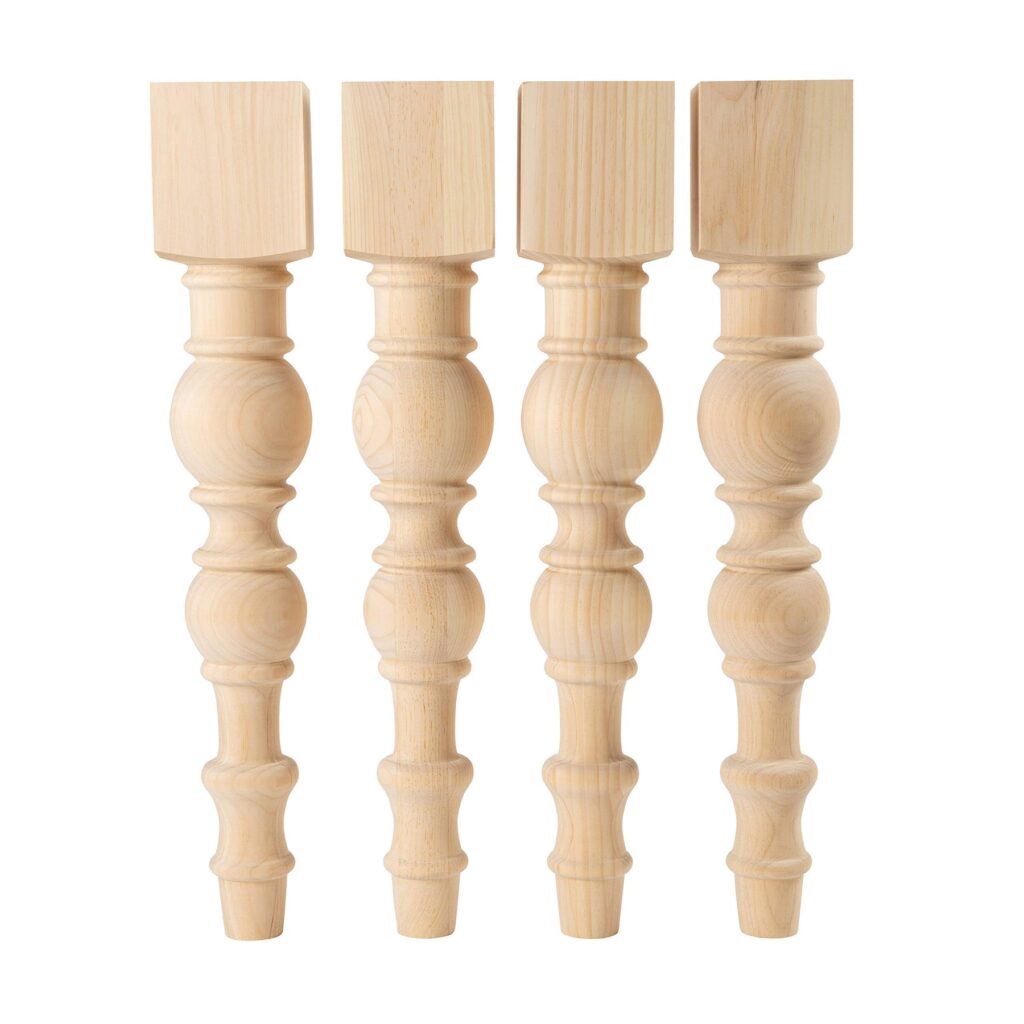
I started my search for the perfect turned dining room table legs that were affordable as well on Amazon. I quickly ran across two or three options that I really loved! After looking closer I discovered they were all created by a brand called Carolina Leg Company. I chose the Modern Chunky Farmhouse Legs. These legs are so pretty! They are also very affordable. I love their classic style, but also love that the tops are 5″ wide giving them a really beefy look. You can check out these legs yourself here on their website! They also have matching bench legs that are so cute!
Kreg Pocket Hole Jig
One question we get asked consistently is, “What tools do I need to start building furniture”, We have always recommended three basic tools for beginners to get started, a miter saw, a drill and a Kreg Jig.
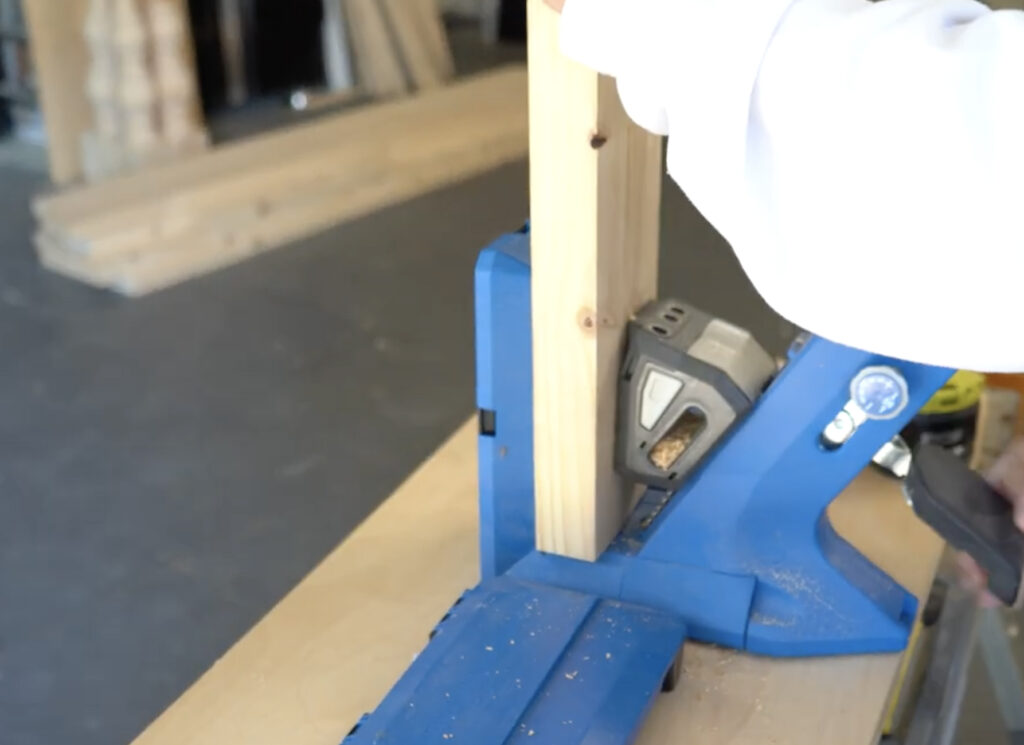
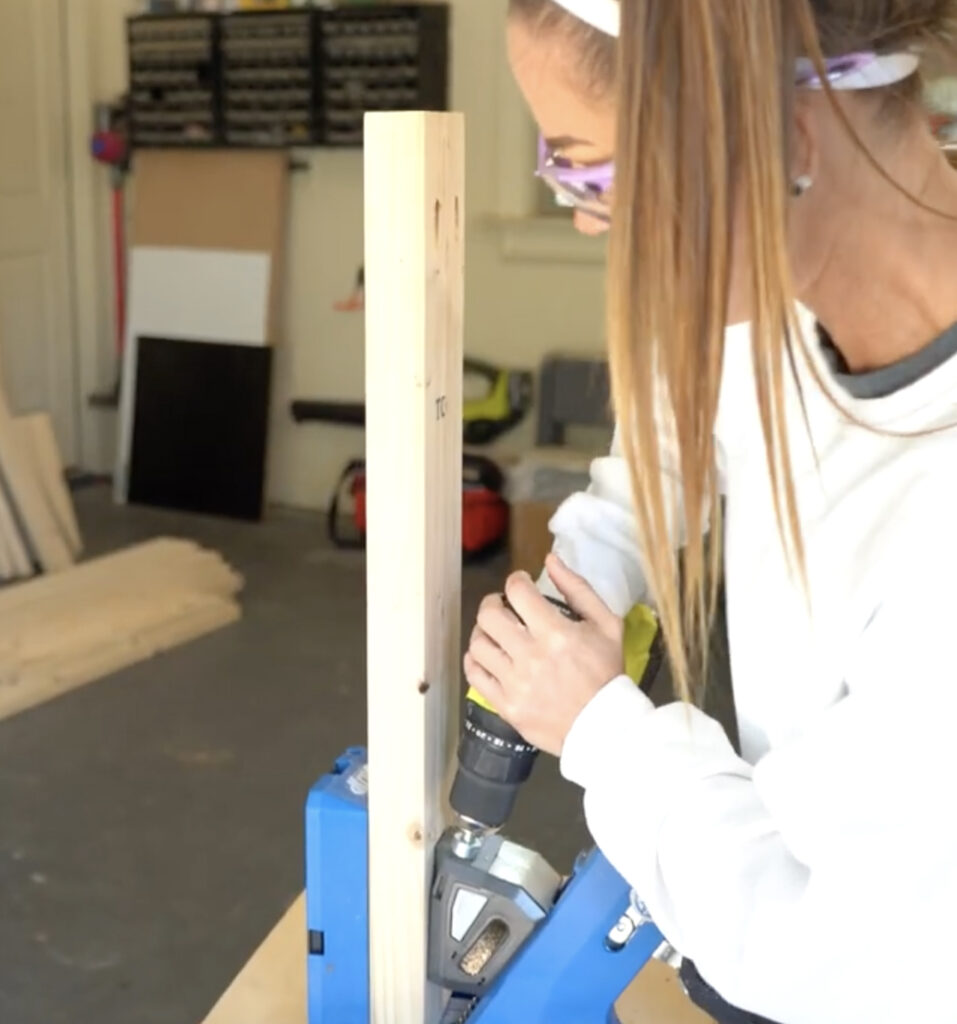
What is a Kreg Jig? A Kreg Jig is a tool that drills pocket-hole joints. It makes joining two boards faster and gives you stronger and cleaner joints than countersinking a wood screw. Whitney and I discovered them shortly after we starting building furniture and it was a HUGE game changer for our furniture building! We were so impressed with how user-friendly they are and the strong joints it gave our builds! For this table, we used two different Kreg Jig models to show you a little bit about both! We used the Kreg 720Pro and the Kreg Foreman!
Kreg 720Pro
720PRO MODEL

The Kreg Jig 720Pro is hands-down our favorite pocket hole jig! The Automaxx dual Clamp self-adjusts to your material thickness making it so fast and efficient for furniture building! It has built-in material support wings on the docking station for large panels like plywood, tons of storage features and includes a clamp to hold it in place to your workbench. Some additional accessories are a dust port with a vacuum adaptor, 160 pocket hole screws, It also folds up compact so it’s perfect for small shops.
WHAT’S INCLUDED WITH THE 720PRO?
- Easy-Set Drill Bit
- 3″ #2 Driver Bit
- 6″ #2 Driver Bit
- Easy-Set Drill Bit Collar
- Material Thickness Gauge
- Dust Collection Vacuum Adapter
- Kreg Docking Station with Material Support Wings
- Kreg Pocket-Hole JigClamp
- 1 Downloadable Plan
- 160 Kreg Pocket-Hole Screws
Check out our video about the 720 pro!
It’s on sale now for $20 off now. Find it on Amazon here!
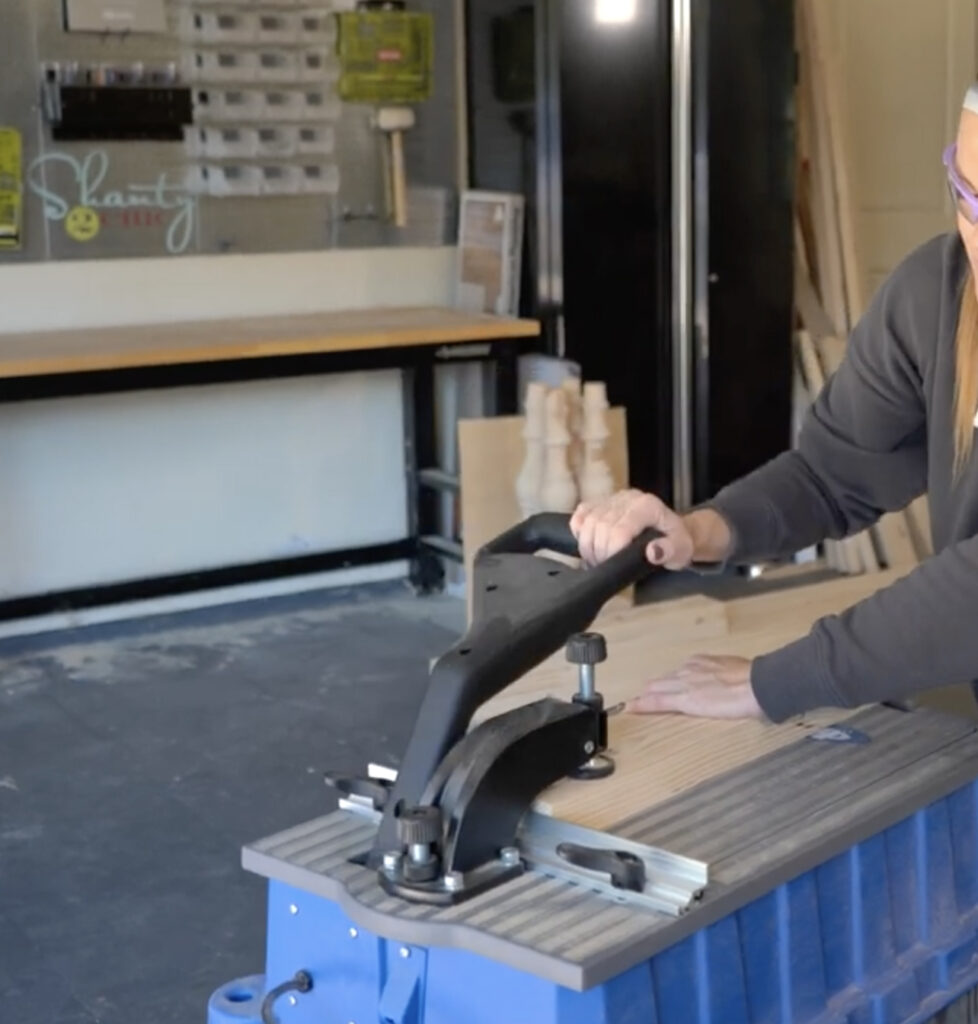
KREG FOREMAN

If you’re drilling lots of pocket holes, whether to sell your pieces or you just build a lot of furniture for your home, the Foreman is an incredible investment! The Foreman works similar to a drill press allowing you to drill pocket holes even faster with very little effort. We use ours for drilling pocket holes into table top planks and other pieces that require a lot of pocket holes.
WHAT’S INCLUDED WITH THE FOREMAN?
- 1 Dust-collection attachment
- 1 Standard Quick-Change Drill Bit and Drill Guide
- 1 Drill Bit Setting Block
- 1 Hex wrench
The Foreman goes on sale November 1! Check it out on Amazon here!
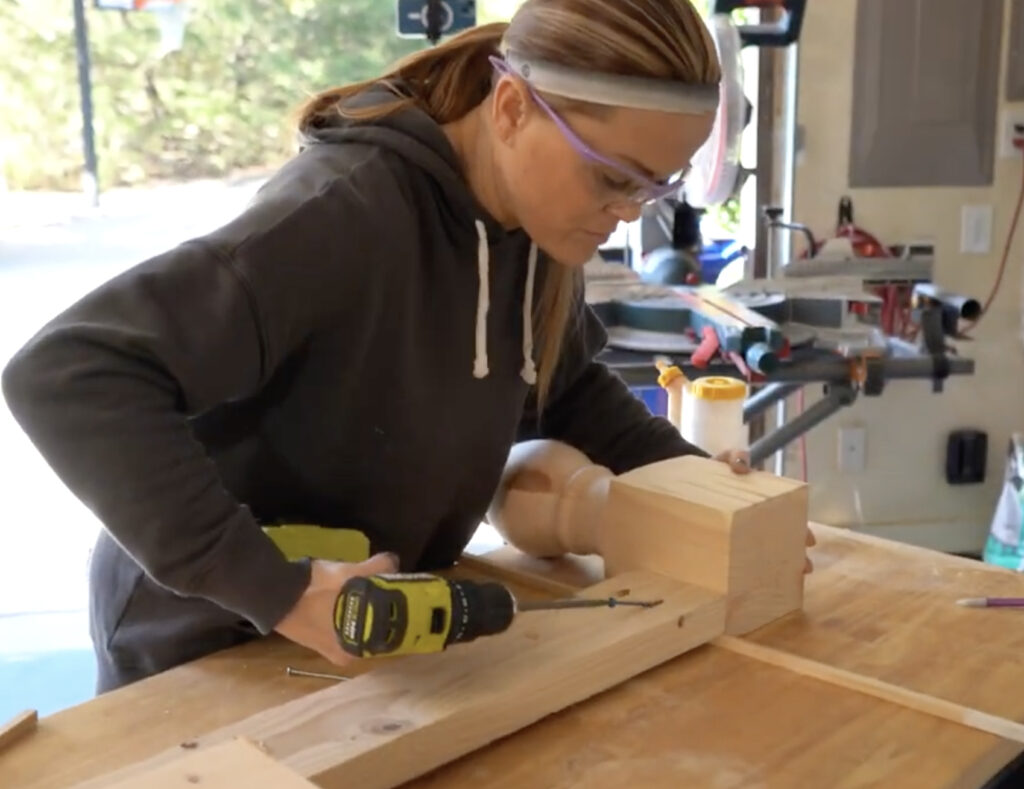
Attach the short apron boards
It’s time to attach the apron pieces! Add 1.5” pocket holes down the long sides of each apron board and also add two 1.5” pocket holes on each short end. Attach the shorter apron boards to the legs using 2.5” pocket hole screws and wood glue. The top of the apron will be flush with the top of each leg and you want a 1/2” inset from the top sides of the legs.
Attach the long apron boards
Now attach the long apron boards to both of your leg assemblies. These will also be flush with the top of the legs and inset 1/2 of an inch from the sides. Make sure your pocket holes that run the length of the apron face up to attach the table top and a later step.
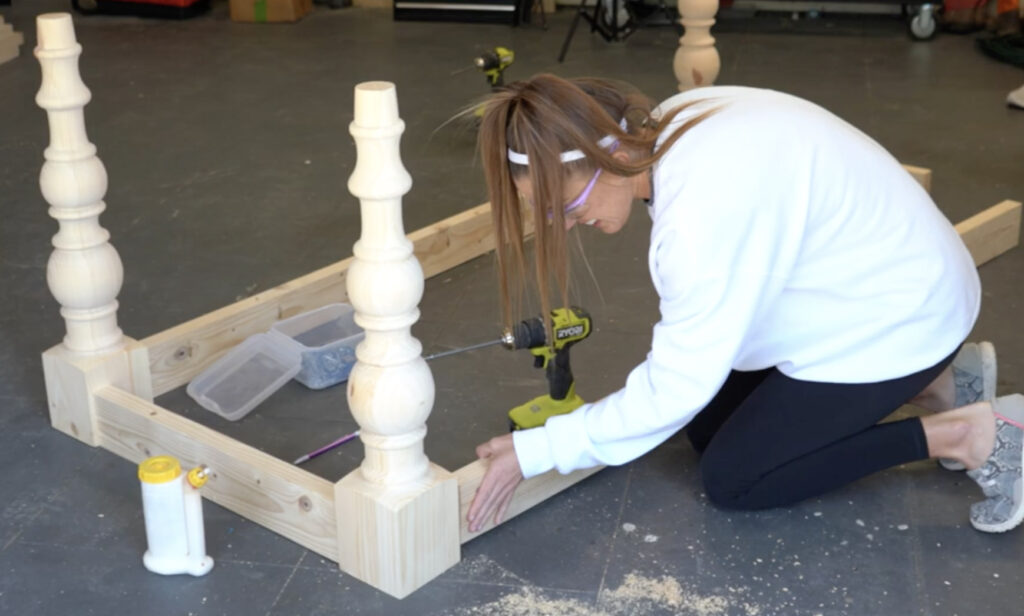
Leg Placement
Note the placement of the apron boards on each leg. The top of the aprons are flush with the top of the legs. The apron boards are each set in by 1/2”.
Middle Support Board
The final step of assembling the base is adding the 2 x 4 in the center of the table. This will run parallel with your short aprons and centered on the long aprons. Attach this board using wood glue in 2 1/2” pocket hole screws. Make sure the pocket holes running the length of this board face up to attach the table top in a later step.
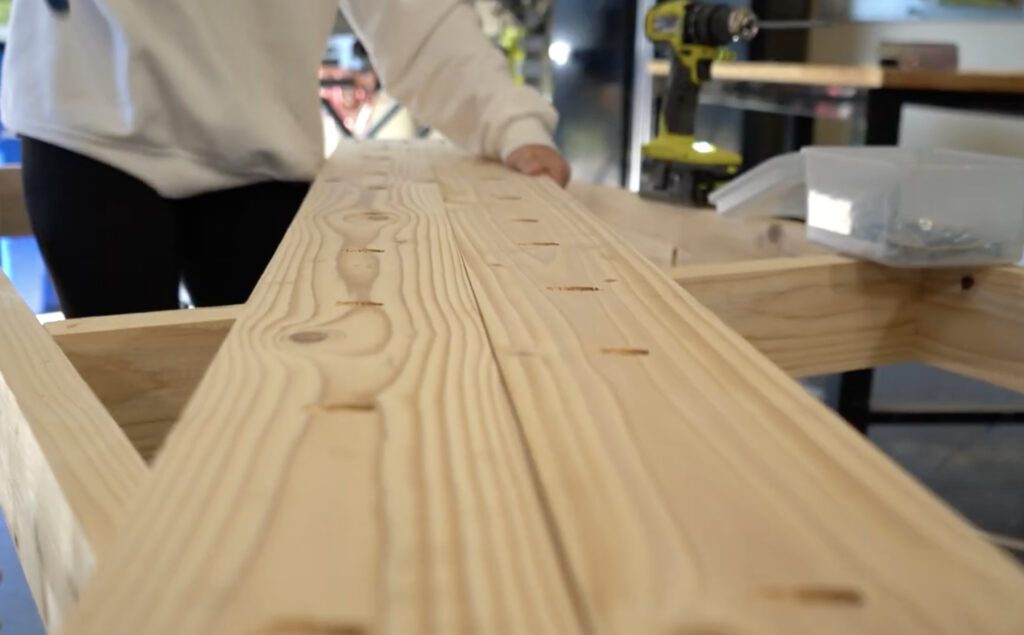
Planked Dining Tabletop
The top of this dining table is built with eight 2 x 6 boards all ripped to 5” each. I decided to make this table more narrow after I got it built because I liked the way that it looked and fit in my dining room. You can definitely add the eighth board for a more traditional width. Add 2 1/2” pocket holes down six of the seven longer boards and also add two pocket holes on each short end of all seven long boards to attach your breadboards. Plank all seven long boards together with 2 1/2” pocket hole screws. Measure and cut your bread boards and attach them through the pocket holes at the end of the longer boards with 2 1/2” pocket hole screws.
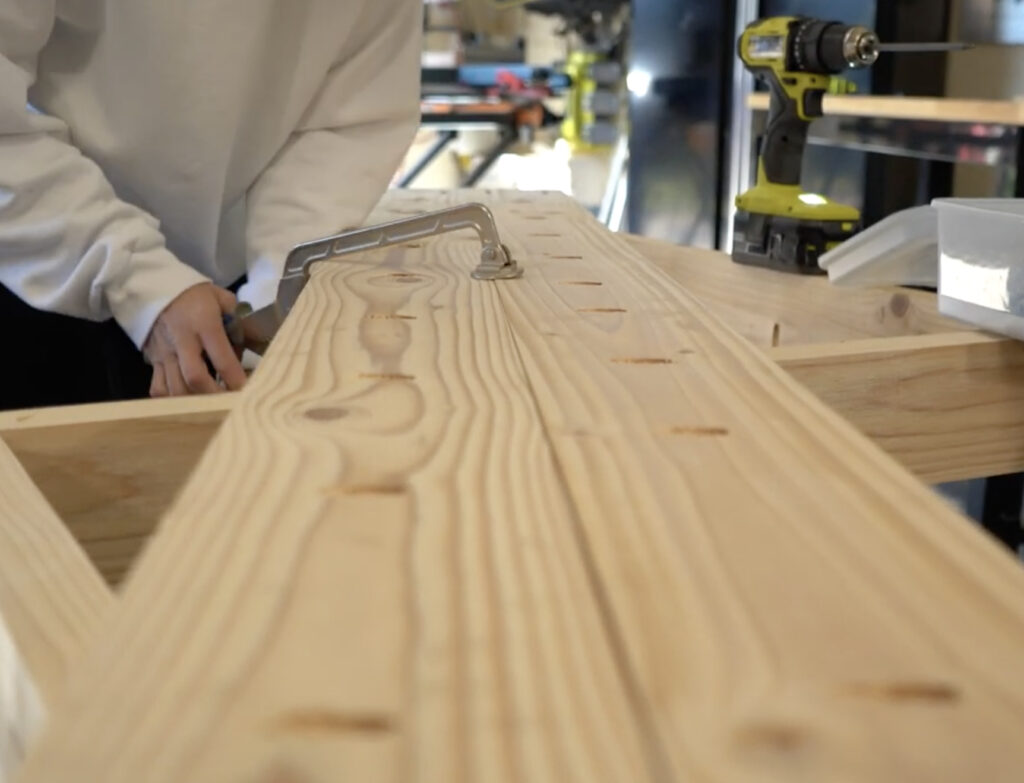
We love using the Kreg Face Clamp on this part! It helps hold the boards flush together… Almost like having an extra set of hands! You can see this bad boy HERE ON AMAZON!
Attach the tabletop
The final step of building the dining table is attaching the table top to the table base. We always wait for this step until after we get it placed in the room where it will stay. We like to stain or finish at this point, and then move the table into the room in two separate pieces. To attach the table top use 2 1/2” pocket hole screws through all of the pocket holes you added on the apron boards and up into the table top. There will be a 2 1/2” overhang on each short end and a 1/2” overhang on the longer sides.
Stain the dining table
I chose to stain my dining table! The legs on this baby are just so pretty and I wanted to really show them off.
I decided to create my own stain color by mixing three different stains. This is a really fun way to give you an even more custom look and it’s super simple! You can check out my reel on how I created this color here!
I used three different Varathane stain colors to create this. I started with an empty tub from the hardware store. These are super inexpensive. You can also use any empty container you have at home! I mixed two parts of Natural stain, one part of Golden Oak, and a splash of Weathered Gray. This gave me the perfect finish that I was looking for. You just put all of that into the bucket and stir it up just a bit and you’re ready to go!
Make sure to sand all the surfaces with medium and fine sandpaper to get an even, beautiful finish. I like to use my Ryobi Corner Cat for this! An orbital sander also works great!
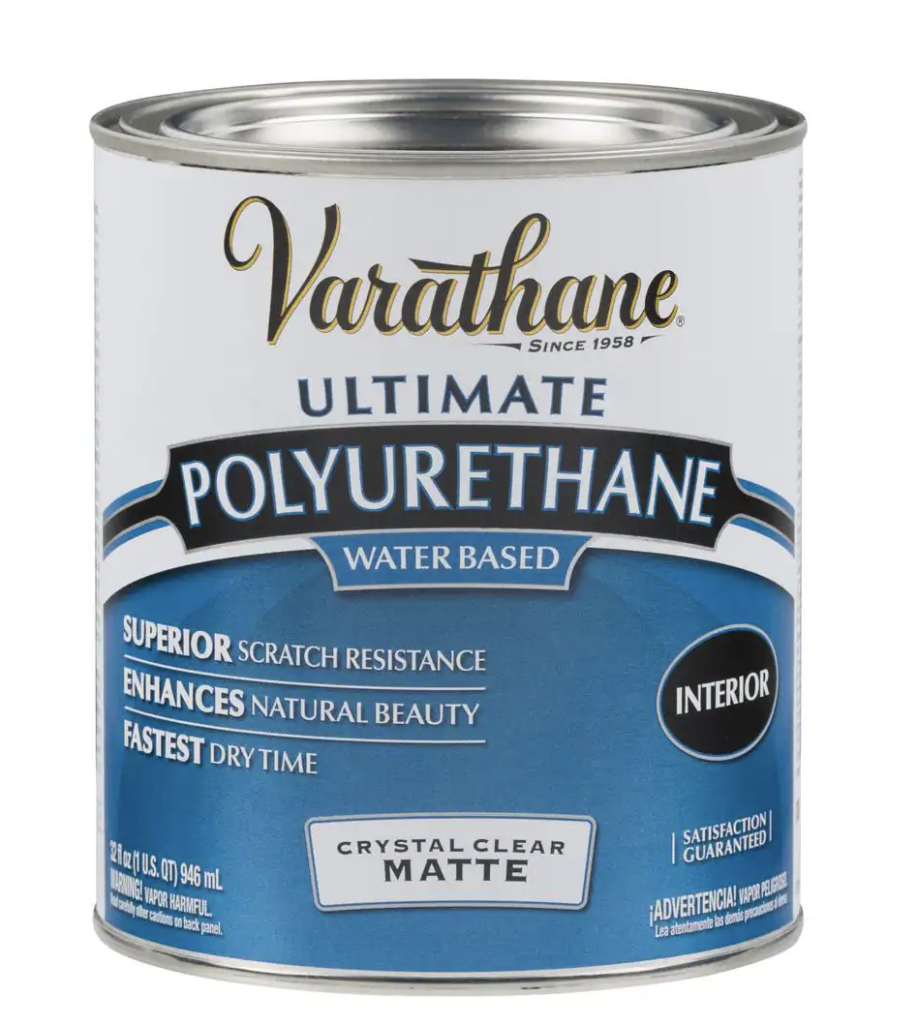
I often get asked what protective coat I like to use on top. My favorite polyurethane is THIS ONE!
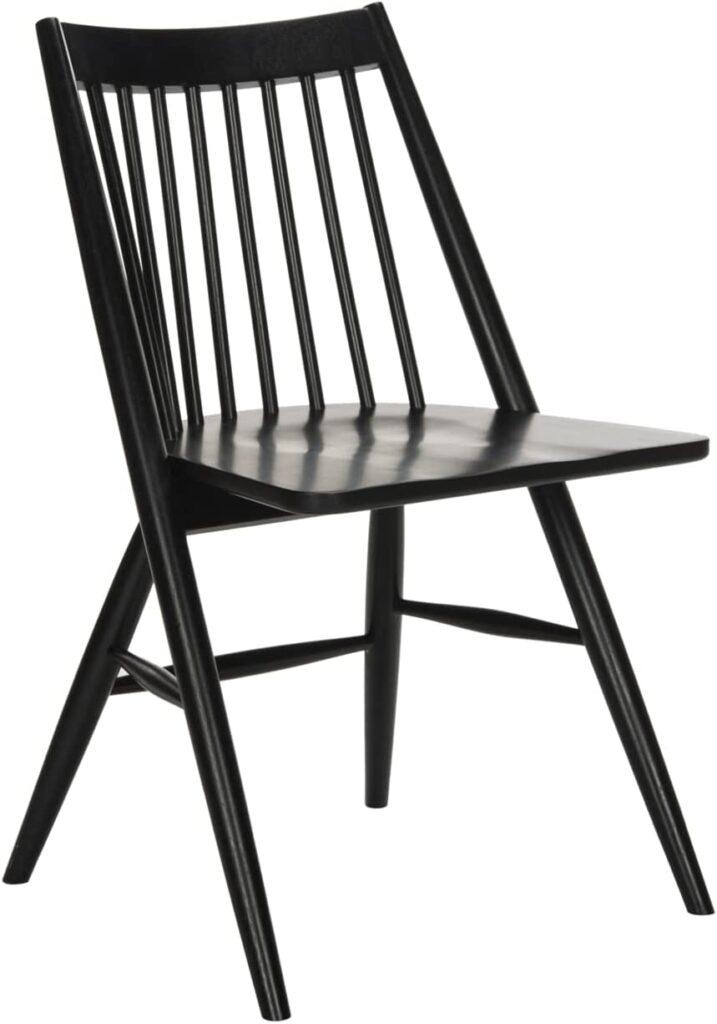
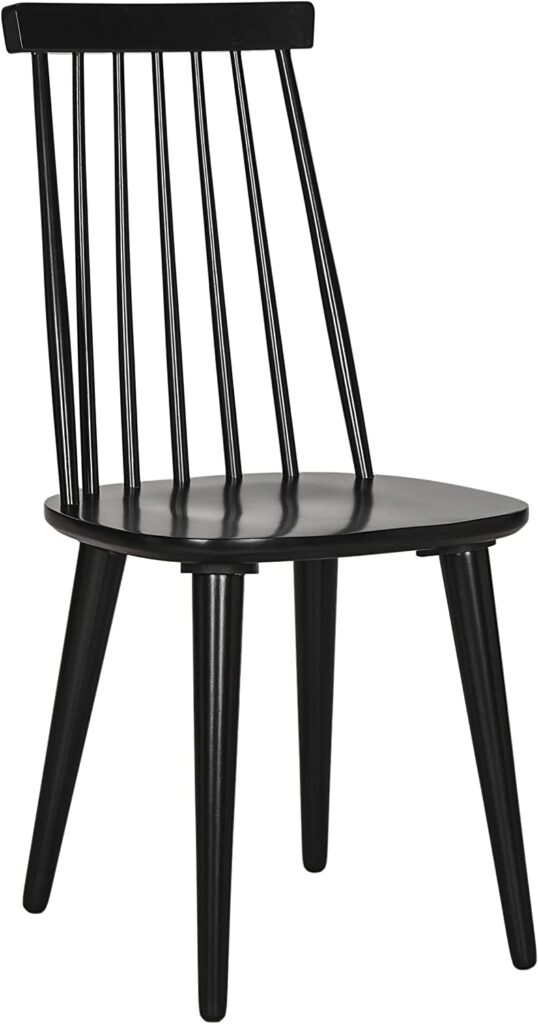
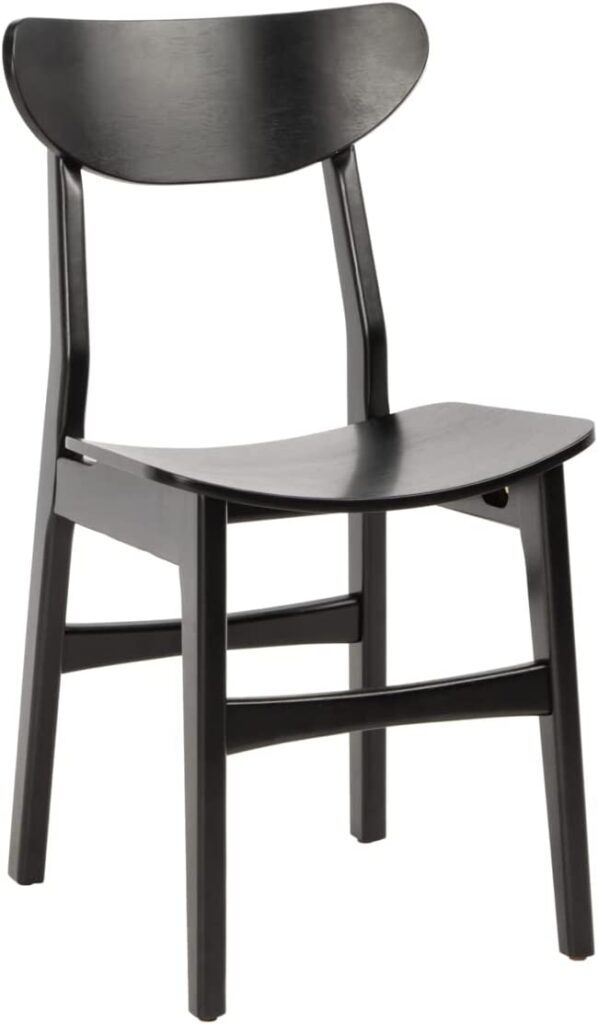
Chairs for the dining table
I am still narrowing down legs for my new DIY farmhouse dining table!
These are the 3 I am considering… Let me know your thoughts!
Modern Farmhouse Table Free Plans
I love how my new modern farmhouse dining table turned out! You can grab the FREE PLANS for this dining table HERE!
Be sure to check out our other table designs with step-by-step instructions below! They are so shanty 😄
- DIY Round Dining Table
- DIY Modern Farmhouse Dining table
- DIY Outdoor Dining Table
- Full List of our Free DIY Dining Table Plans
If you’re looking for even more styles, you can check out our complete list of DIY Dining Table Plans! We have over 25 free tutorials for you to pick from!

I absolutely love this DIY modern farmhouse dining table! The design is so stylish yet functional, and I appreciate the detailed instructions. It’s inspiring to see how you transformed simple materials into such a beautiful piece. Can’t wait to try this project for my own dining room!
I absolutely love this DIY Modern Farmhouse dining table! The design is so beautiful and fits perfectly with my home style. I can’t wait to try this project myself. Thank you for the detailed instructions and inspiration!
I absolutely love this DIY modern farmhouse dining table! The design is both elegant and functional, and I appreciate how you broke down the steps so clearly. I can’t wait to try this project in my own home. Thanks for the inspiration!
Thank you for showing us your plans. We just finished our 10’ 9” long and 51 1/2” wide version of this table. Seats 14 people. Love it.
Jeff, we are building a similarly sized table using these plans. Did you add any extra cross supports under the table top for extra support? I’m concerned about sagging or warping with the extra length and width. Would love your input! Thanks!
Thank you so much for the very detailed plans. This was the first major project I did- and like a crazy person, I modified your plans! I expanded it both in length and width- and added two extra supports to the frame. We needed a table that seats 12, but I couldn’t find a table that I liked both the style and price. You gave me the opportunity to build my dream table!
That’s look very nice. How can I buy some product.
Thank you, Just finishing up my second Farmhouse table. I made the original for our dining room just in time for Thanksgiving as we had 23 for a large meal. I’m working on the second one now for our son and daughter-in-law. The second one is smaller, 38″ deep x 54″ wide.
Hey! How many people does this table seat?
I would love to know the answer to this as well.
Is there a way to make this extendable?
Can you tell me where you got the rug from this post?
Any issues with warping when the breadboard ends expand and contract? Typically need dowels, biscuits, or dominoes on those ends to allow for movement of the wood
What is your definition of a splash of the weathered grey? Thanks!
Love it! Thanks! If i wanted to make it wider could i add antoher board on top (so 5″) the add 5 inches to the cross boards? Thanks!
And please ignore all the typos! Sorry!
This is exactly the type of table I’ve been looking for. Is there a way to make it extendable? I love having the option to make it smaller or larger for different occasions.
How long did this take from start to finish?