Hey friends!
I am sure many of you saw that I posted about Michael’s new line of fabrics! These are so great… Like I said, no waiting in the cutting line with a screaming 2 year old anymore! These bad boys are already cut and wrapped in a perfect little package. They are perfect for quick and easy home decor projects like the one I am sharing today!
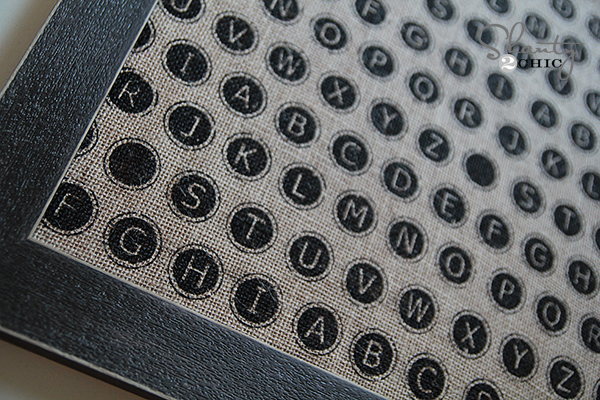
I mentioned how much I loved this printed burlap…

So so cute!
I have been wanting to fill a blank wall in my bedroom and I love this burlap mixed with all of my white bedding… Good combo!
I did these frames in under 30 minutes from start to hangin em up! Let me show you how easy they are!
I found some great frames, also at Michael’s that were already a great color with some distressed edges… Love when they do all the work for me 😉
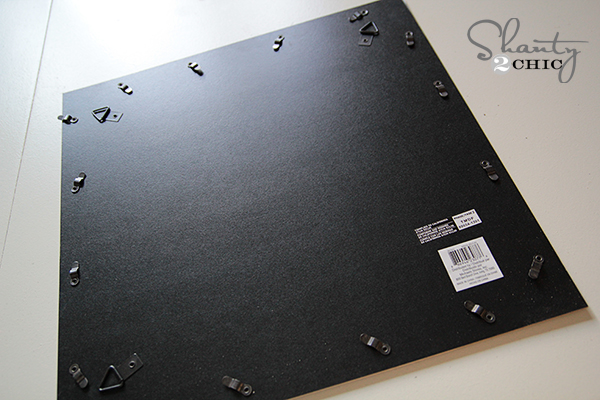
I just removed the back of the frame like this and sprayed the flip side of it with some spray adhesive.
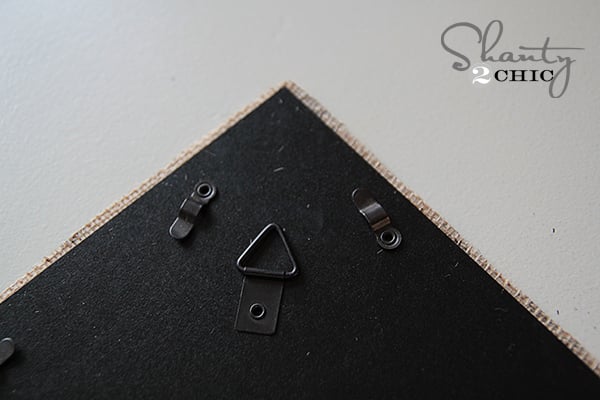
Then, I just laid it on my burlap and cut around the edge with scissors. You can see there is a slight edge where the burlap hangs over.
Then, I just stuck it back into the frame without the glass like this…
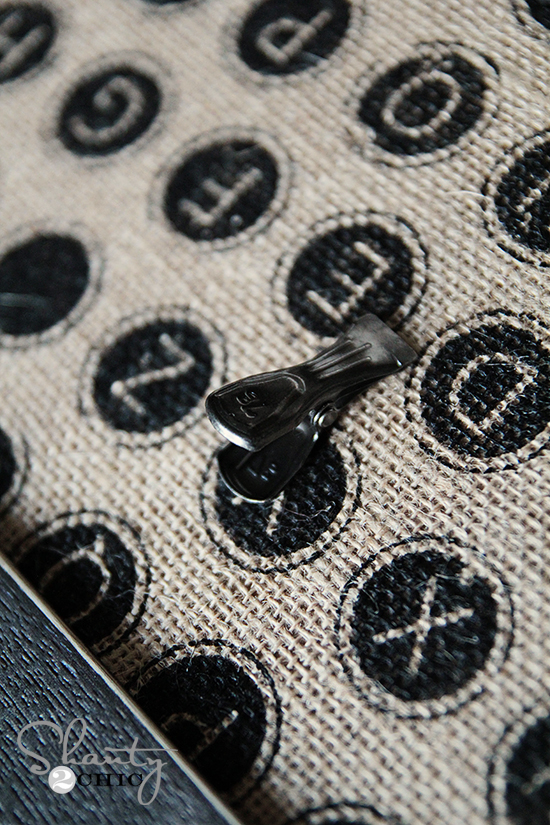
And please look at these clips I found at Michael’s…

I know… Stupid cute. I may have bought 3 packs. I just used some hot glue on them and stuck them on the burlap like this…
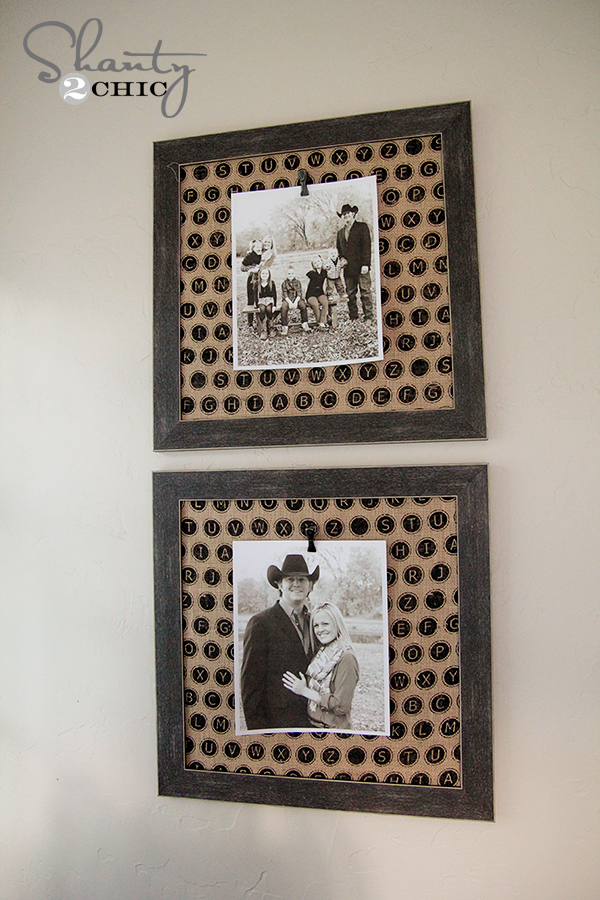
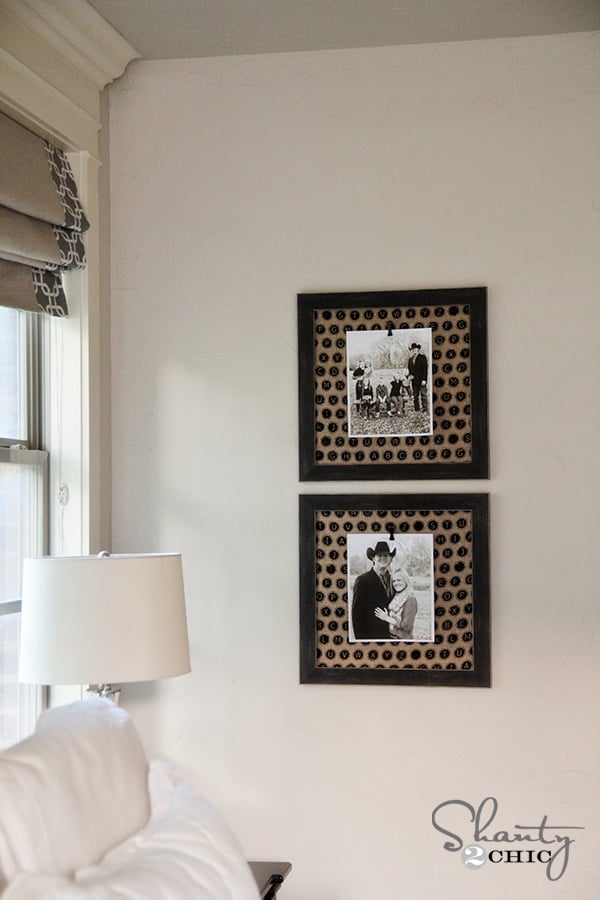
I printed some family pics on our printer and attached them with the clips. This is such a great way to display photos and change them out as you want to! I used some command strips to attach the frames to the wall and I called it a day!
Easy Peasy. For real.
Here they are all finished up!

Thanks to Michael’s new fabric, I was able to get all of these goodies in 1 place. That makes this Mommy really happy!
Be sure to check out all of Michael’s new fabrics! They are super cute and OH so easy to buy!
Thank you so much for stopping by! I would love for you to share this and PIN it for all your peeps!
Have a great day!
~Whitney


I’m a little late to this page, but I just tried this and am having a problem. Wondering if your burlap stayed put on the back of your frame. Mine seems to be raising just a bit. Not sure if I’m doing something wrong. Thanks!
I really love this idea…thanks
I love your blog!!! So many great projects and ideas, just not enough time!
These are great! I love it!!
Ok, the frames are really cute, but the pictures of your family are super adorable!!! Love them! Finding lots of ideas on your site for our new home!
I LOVE this idea- no glass and you can change them whenever!
Love this! I saw those 7Gypsies clips and thought that the red rubber thing would be good to use because they won’t leave a mark on them, but you took those things off. Are they not meant to be used? Just wondering.
I think she took the pads off only because they did not match the project. They would be nice to use otherwise. 🙂
Very nice! I would add some tiny foam adhesive bits under the corners to keep the photo from curling up.
LOVE LOVE LOVE!!!! Do you remember how much the pack of fabric was? 🙂
That is so cute! And looks like it was super easy too (my fave kind of projects!) I’m using your site to decorate my boyfriend and I’s first home that we’re moving to at the end of the summer! Love, love LOVE your style
Thank you Renee!! You are so sweet! I appreciate it and congrats on your first home!!
Awesome!!
Thank you Nancy!! 🙂
Cute project, you have a cute family as well 🙂
Aww… Thank you!! Made me smile! 🙂