Hey guys! I built my youngest little lady some floating shelves for all of her junk important things, and I am sharing the plans for them today. I recently found that my Home Depot started carrying 1×5 pine boards. I decided to build these shelves using those, and the entire construction of these is done with my Kreg Jig. Do you own one? If so, good. If not, what the heck are you waiting for? Ash and I swear by ours. Even if you are brand new to building, I would get one. They make building so much easier, and they will also make your pieces more sturdy and professional. There are several models, but we really recommend the K5 if you are looking to get your first one. Enough of that… Check out how her diy floating shelves turned out!
DIY Floating Shelves
So… Here we go. I will walk you through the steps below, and you can also download and print the FREE PLANS by clicking HERE!
***Check out our How to Build a Floating Shelf Video HERE!***
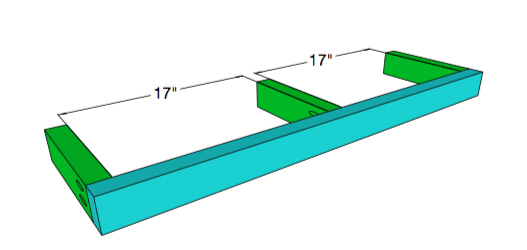
The braces of these shelves are built using 2×3 wood. At my hardware store, those can be found with the other studs and dimensional lumber, but some also have them with landscaping and fencing. Each shelf uses one 2×3. Here are the cuts you will make for each shelf.

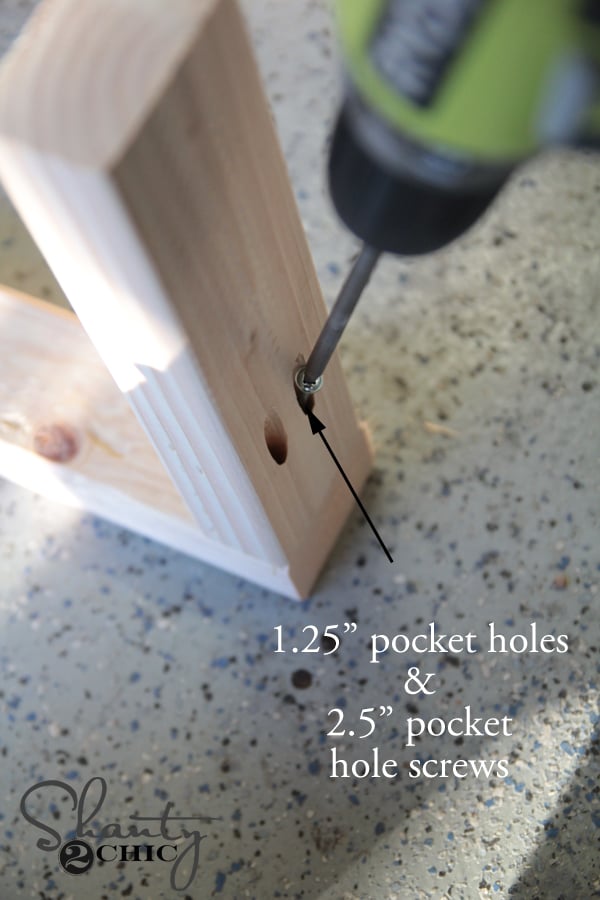
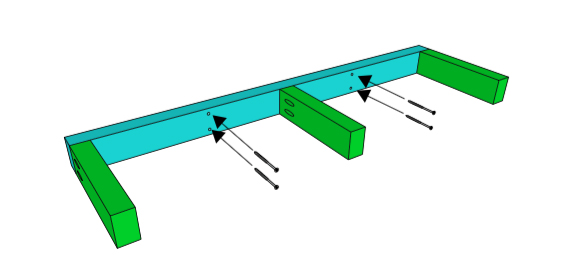
I used my Kreg Jig to make 1.5″ pocket holes on each of my short pieces like this.

Next, I attached my short pieces to the long board using wood glue and 2.5″ pocket hole screws. I used the Kreg driver for this part attached to my Ryobi 18V drill. Love this tool too!
The pieces should be assembled evenly like below.
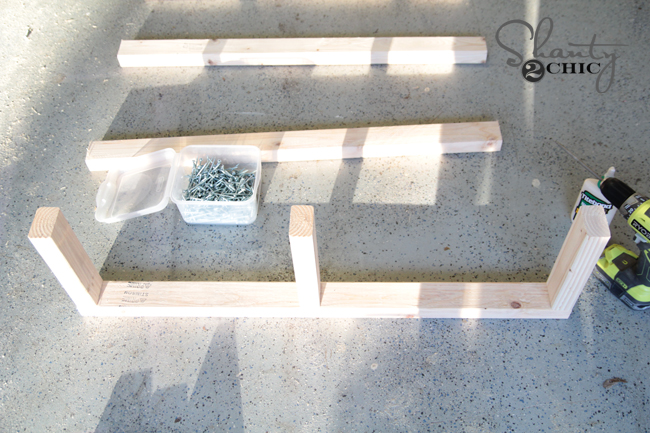
Sometimes I will move that center small piece if the wall stud lines up right behind it. Here is my first brace. I finished up the other 3 before moving on.
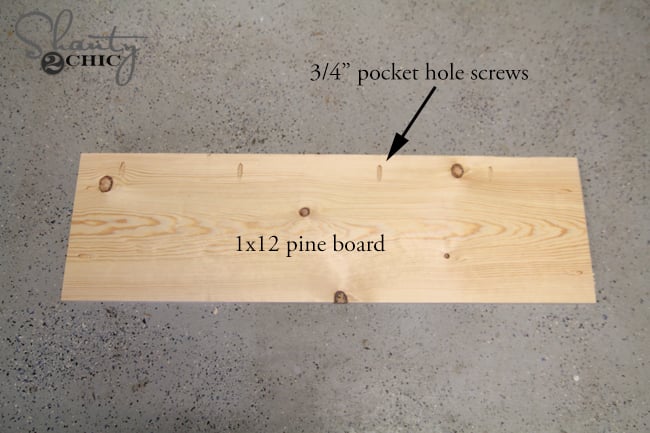
Next, I built the shelf boxes. These will be wider than the braces and easily slide on. I built these this way to make them easy to remove if I ever want them down or moved to a different room. First I cut my 1×12 top and bottom pieces.

I added 3/4″ pocket holes to one long side and both short sides of both boards.
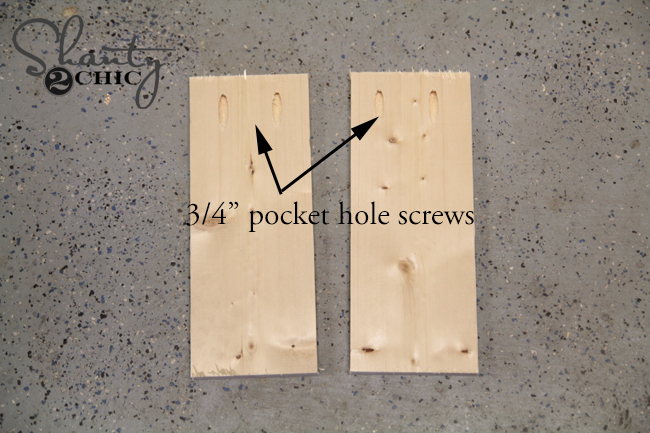
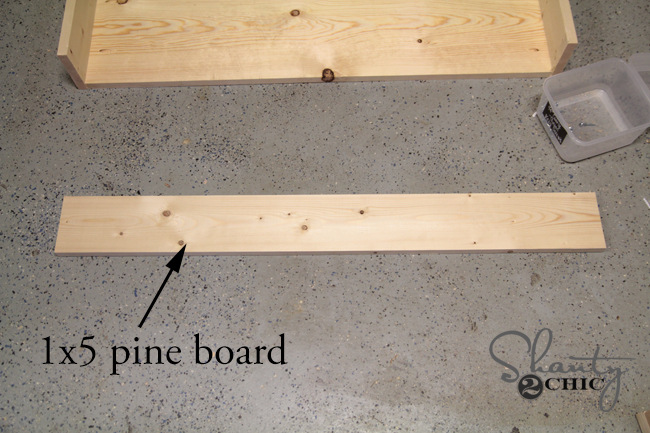
Next, I made the cuts on my 1×5. Here are the length of those cuts.

I added 3/4″ pocket holes to my short pieces to attach them to my long front boards.
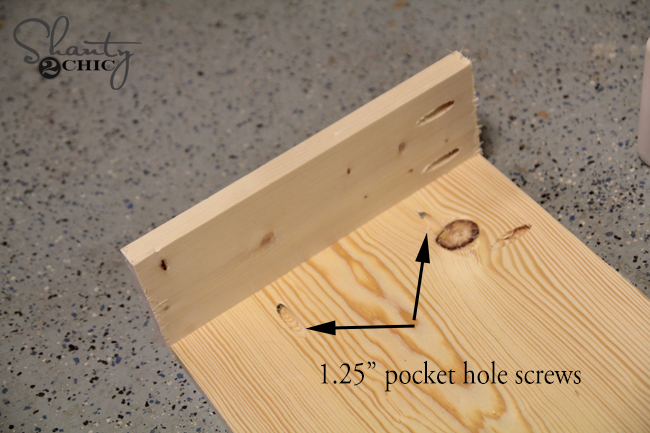
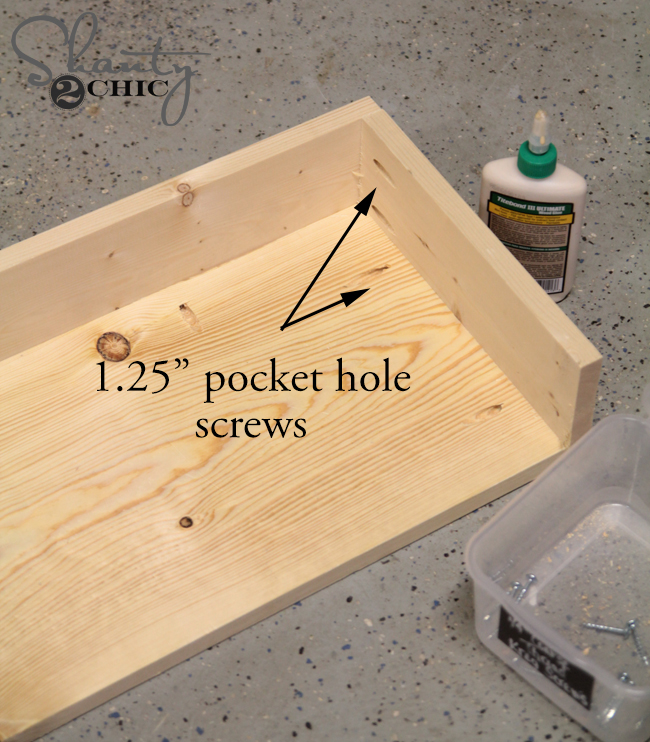
I attached the short boards to my 1×12 first using 1.25″ pocket hole screws.
Next, I attached my front boards the same way.
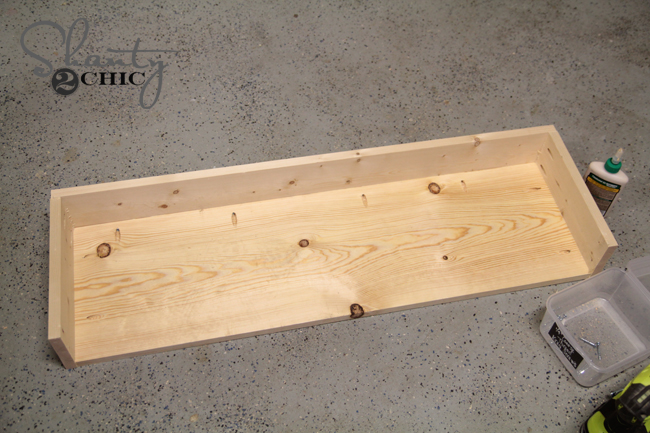
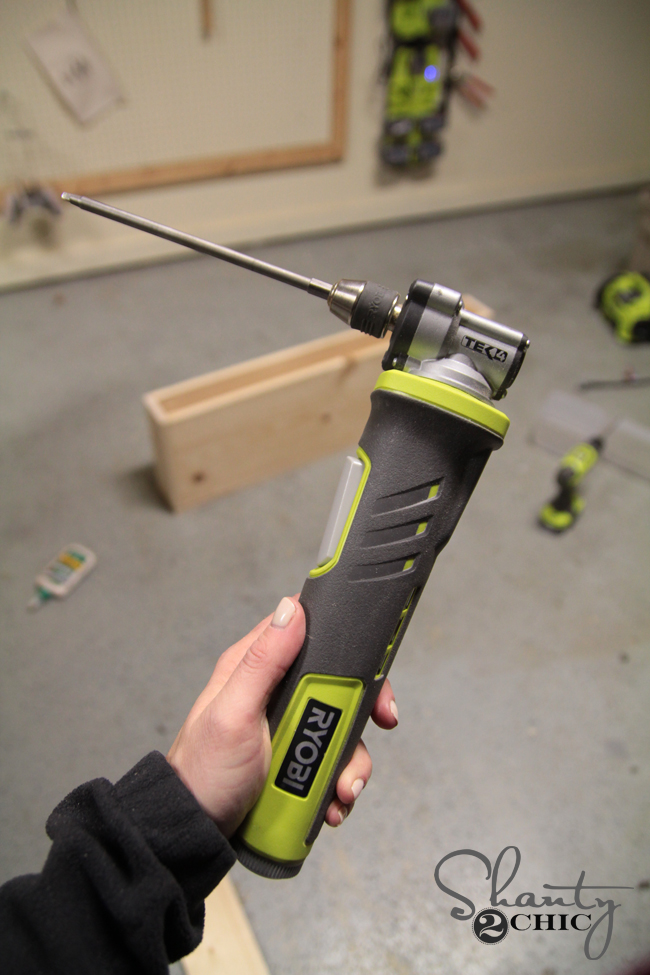
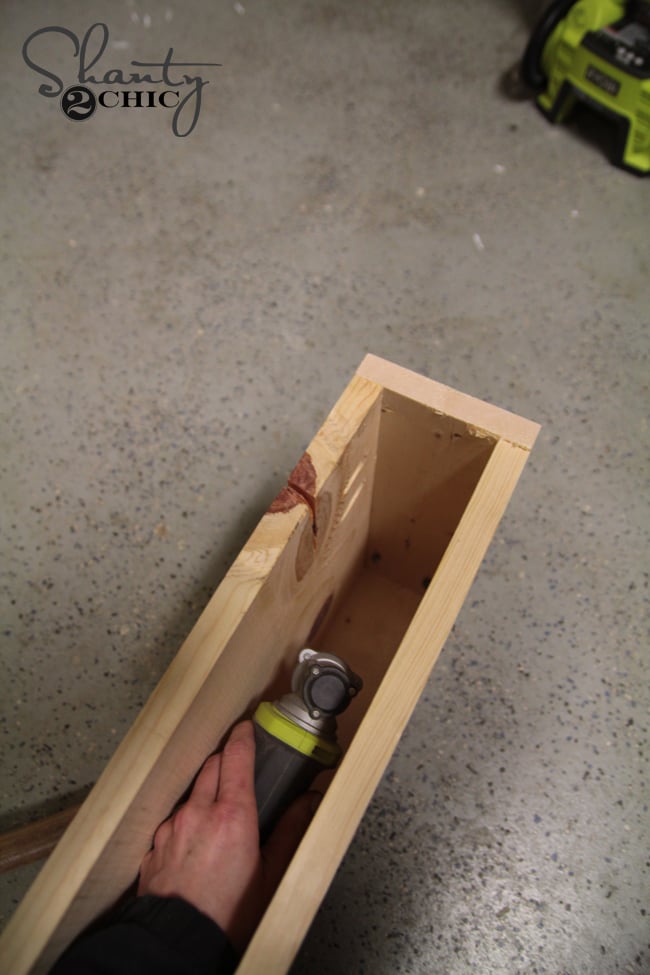
My final step was attaching the other 1×12 board. This one can be a bit of a squeeze, so I used my Ryobi TEK4 screwdriver with my Kreg driver to attach the pocket holes on this part.
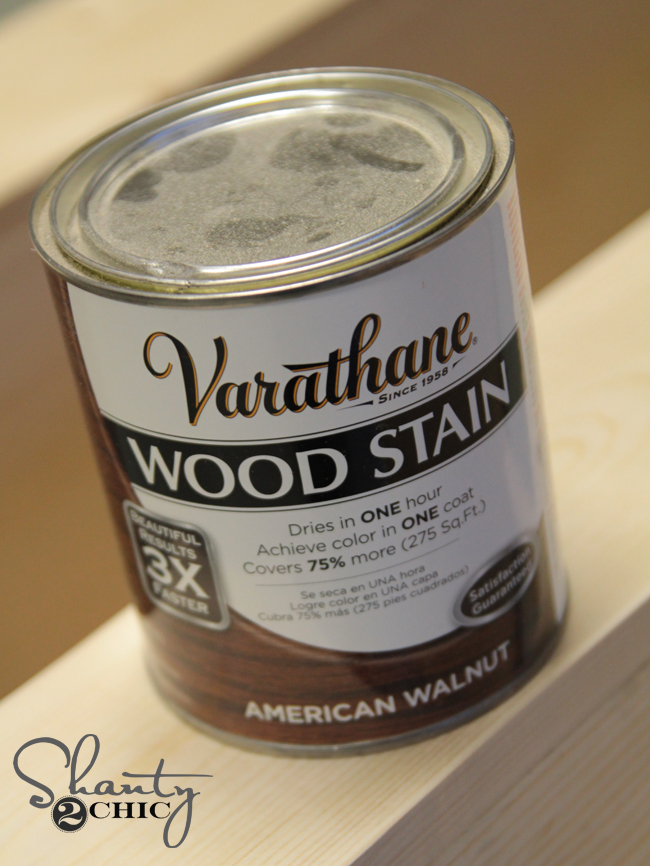
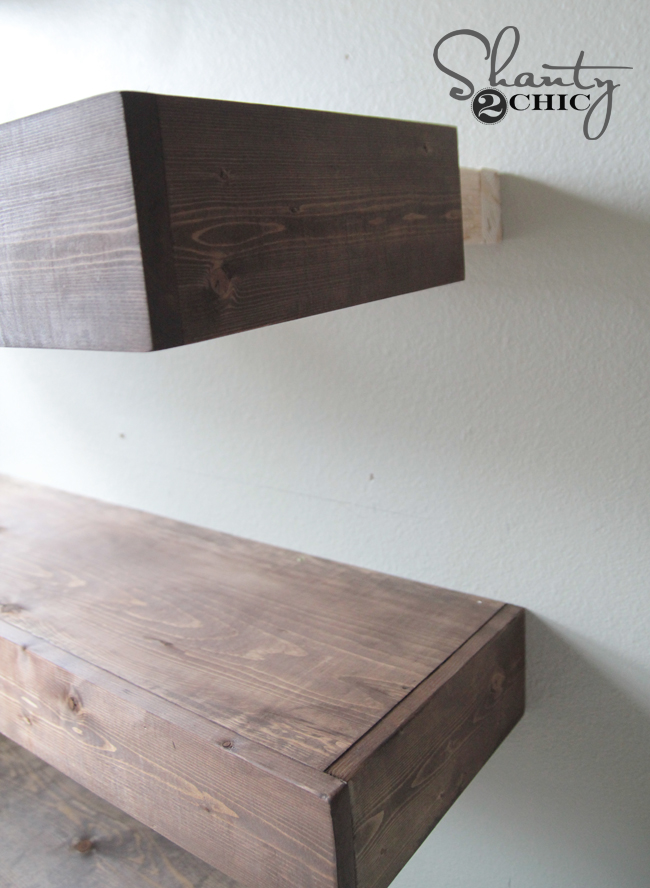
I stained all of the boxes at this point using Varathane Ultimate Wood Stain in American Walnut. This stuff is the bomb. We use this brand on any stain project. It dries in under an hour and only requires one coat.
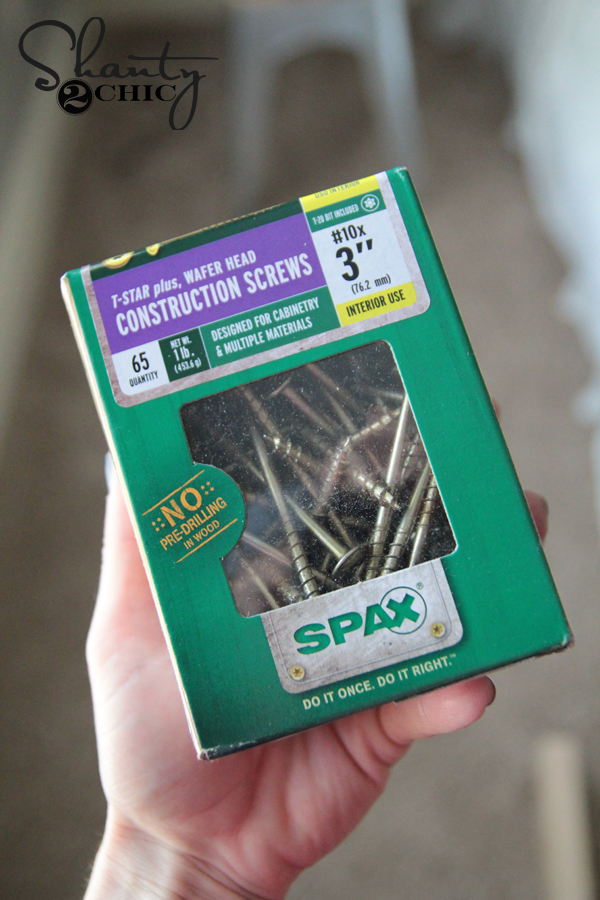
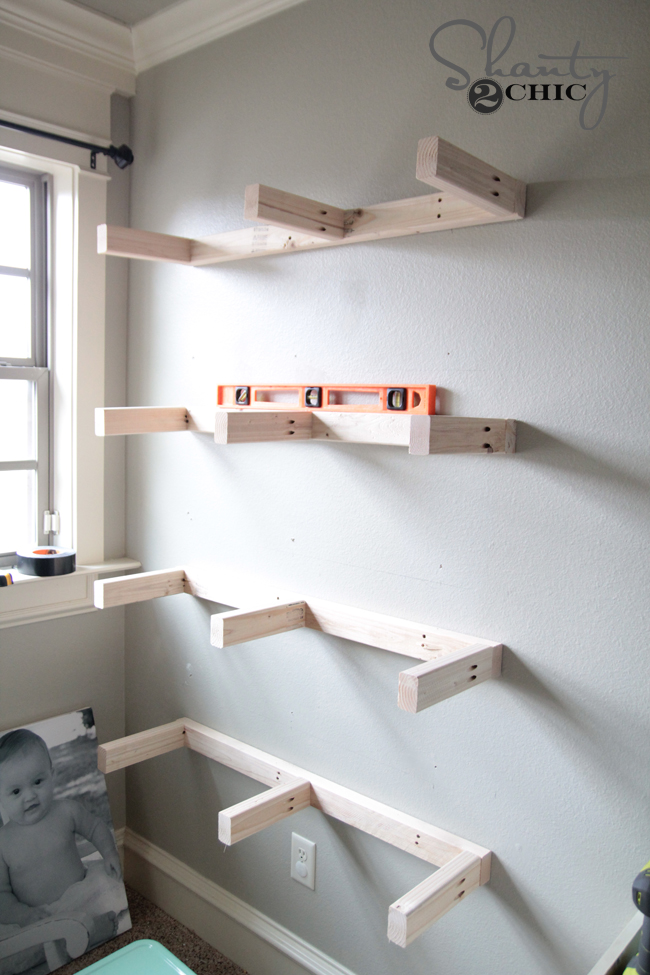
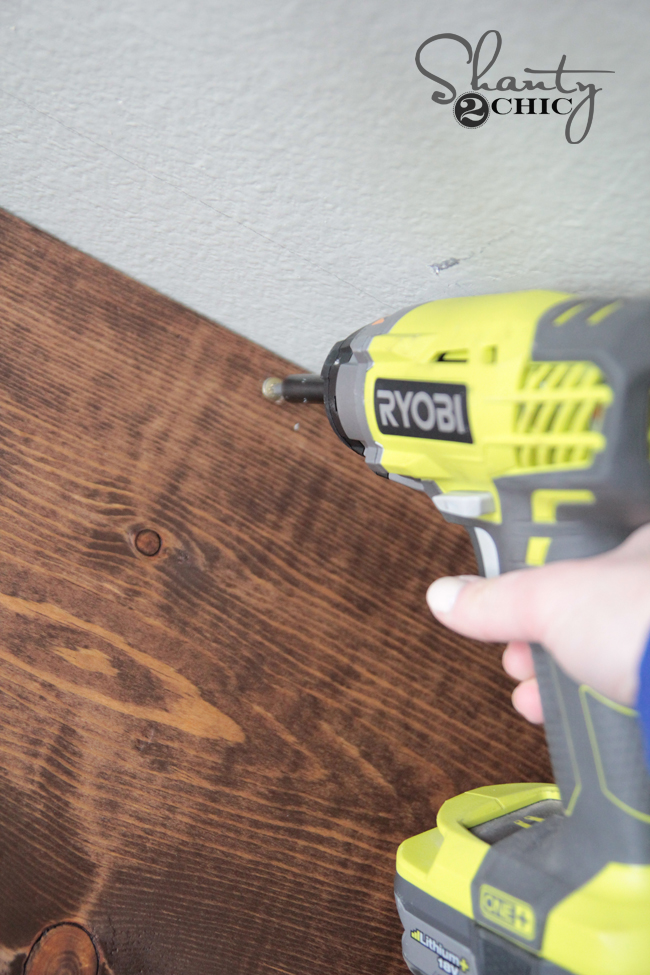
While those were drying, I attached the braces to her wall. I used a stud finder to locate the studs in the wall first. Then I used my Ryobi Impact Driver to drive 3″ Spax screws through the brace and into each stud.

Be sure to check for level on each brace.
After the shelves dried, I placed each one over a brace and drilled a 1.5″ screw through the top of the box and into each brace. I used 2 per shelf, one on each side.
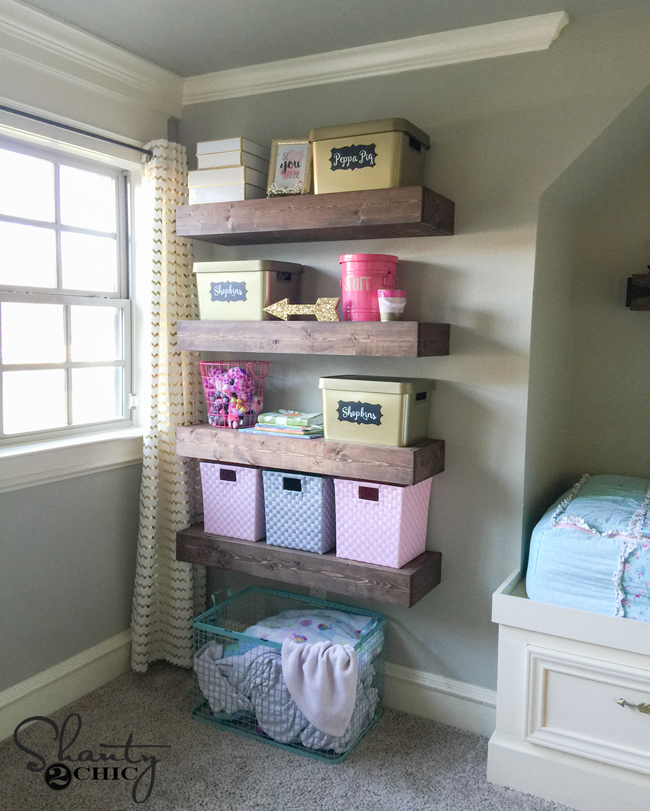
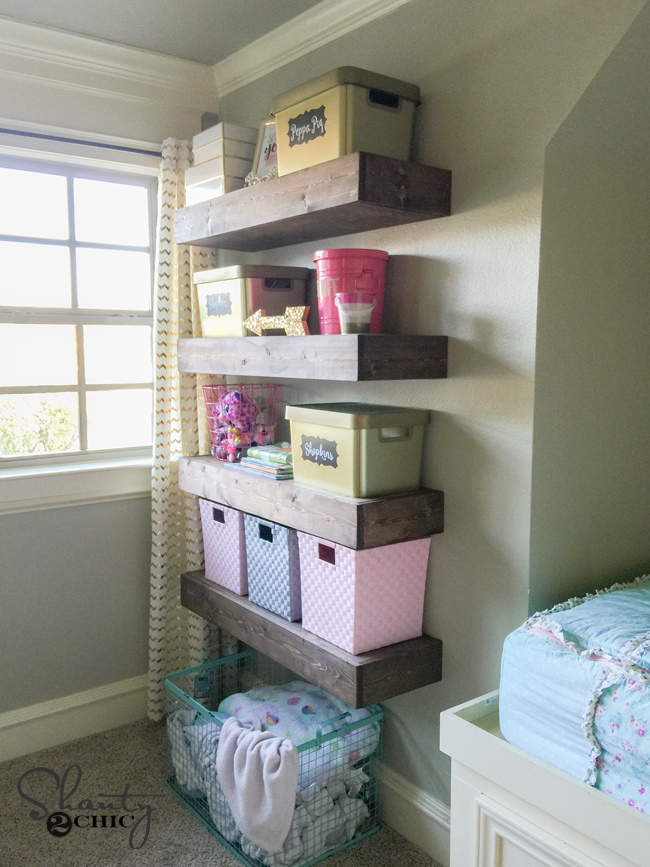
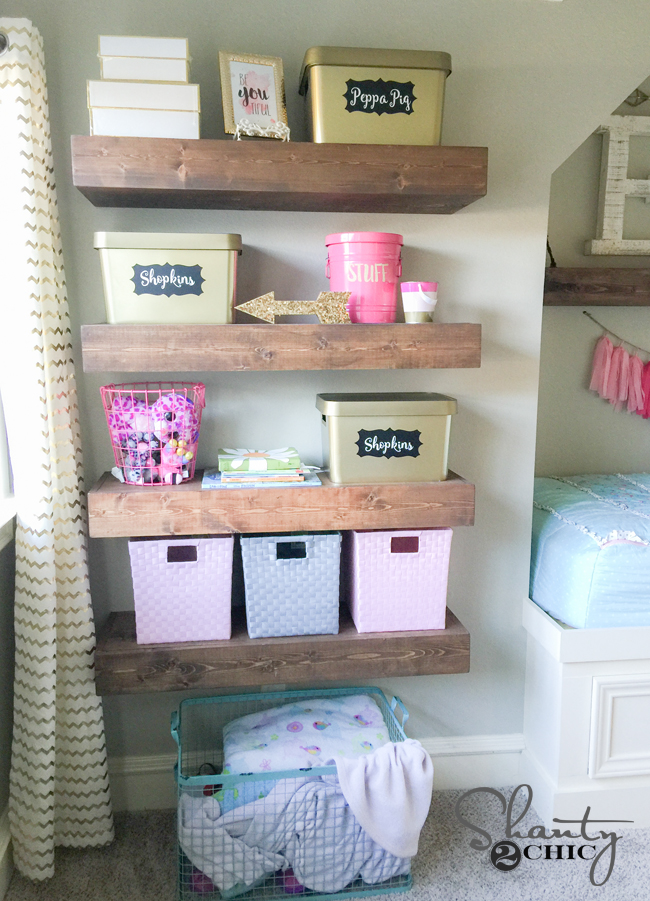
All finished! I LOVE the storage and function that floating shelves give without eating up a ton of space. Her room is already a wonky shape, and these were a perfect solution for that wall. Hope you love them as much as I do 🙂 Here are a few more shots!


Thanks so much for stopping by! I would LOVE for you to share and Pin this post to all your peeps! Have an awesome weekend!
Whitney


I want to make these a little slimmer, can I do that ? thanks, love you ladies
I would also like to make a set that isn’t so thick I guess. What would you recommend?
What was the cost and time involved?
What is the nail gun size?
Thank you for posting, your instructions were easy to understand & gives me the confidence to try this. Sincerely Patricia
I looked for the Tek 4 screwdriver shown but couldn’t find it! Where did you get yours?
The drill she has is by Ryobi & Home Depot has it
Would this hold the weight of a set of china? I am considering these shelves instead of a china cabinet.
I wouldn’t put china on these, this way of hanging shelves is perfect for lighter weight objects, but once you start to load the shelves ie with china , those screws are taking the brunt of the weight, and if they aren’t perfectly aligned into the framing or the right length/width, you risk either them bending or pulling out.
Whwre are the gold bins from? Love the look in its entirety!!
I ended up making 3 of these for our youngest daughters’ shared bedroom. Had some issues with the wood selection because of winter but they’re done, up and any issues I had are no longer noticeable.
Thanks for sharing your amazing talent with us!
Thank you,for explaining the simplest detail it help a lot
Can this be done on thinner shelves? And is pine the best option? I tried with poplar wood board and it was a major fail. The wood warped even after it was nailed. Now, I’m starting all over a gain.
Hi Stacy I know your post was in April last year but try buying the wood in advance and let it sit in your home for a bit. Then pick the pieces that are straight.
Think I’m loving the baseboards! Love the floating shelves. Superior job.
Did you pre-drill holes for the braces to attach to the wall?
Has anyone mounted these another way. I am wanting to ship them to someone and looking for a more economical way to do that.
I just finished my floating shelves, thanks to your instructions! They came out great!
How much weight do you think they could hold?
Great job on the shelves! I see you too have a Shopkin craze going on at your house! I’ve been putting off making some of these, but after seeing how nice yours turned out I have to get to it. Great tutorial!