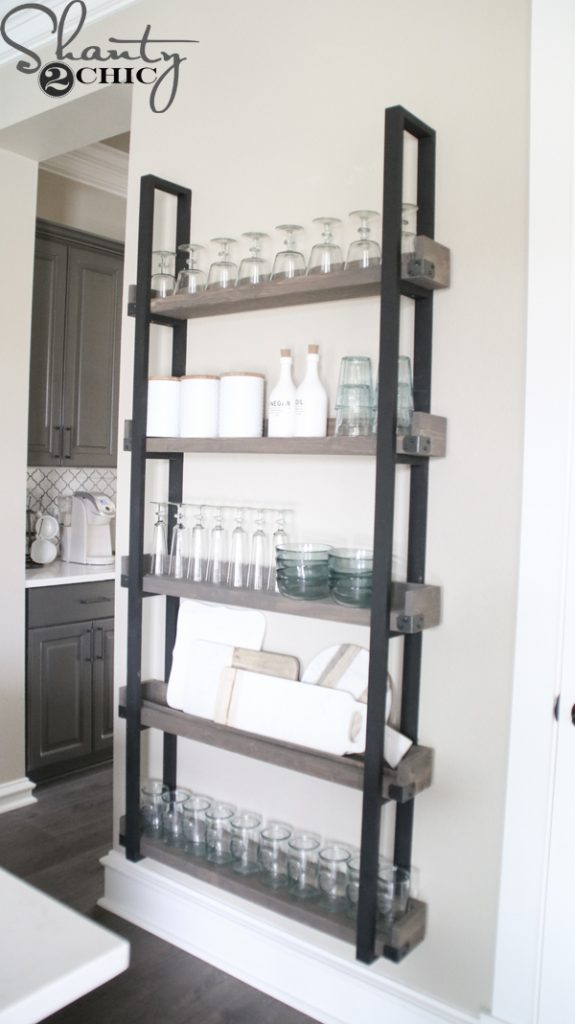
This DIY Floating Plate Rack has to be one of my very favorite projects! It’s an easy build, perfect for beginners and it makes such a huge statement for any boring, blank wall!
Come join us in my shop and see how we built and hung this piece! Just click HERE or the box below to watch!
How easy was that!? Now, download the free printable plans HERE and you can follow along the step-by-step tutorial below! NOTE: The sticks of trim added to the supply list are optional. If you plan to display plates or cutting boards, you will need a piece of trim on each shelf you place them on. Keep this in mind when you are shopping for materials.

I started by ripping all of my 2×6 boards to 4.25″. This is not a necessary step. I did this so that my overall depth of the shelf would be more narrow and to give clean straight edges on the shelves. If you choose not to do this, just make sure to adjust the measurements of the ladder rungs and the side, shelf pieces accordingly.
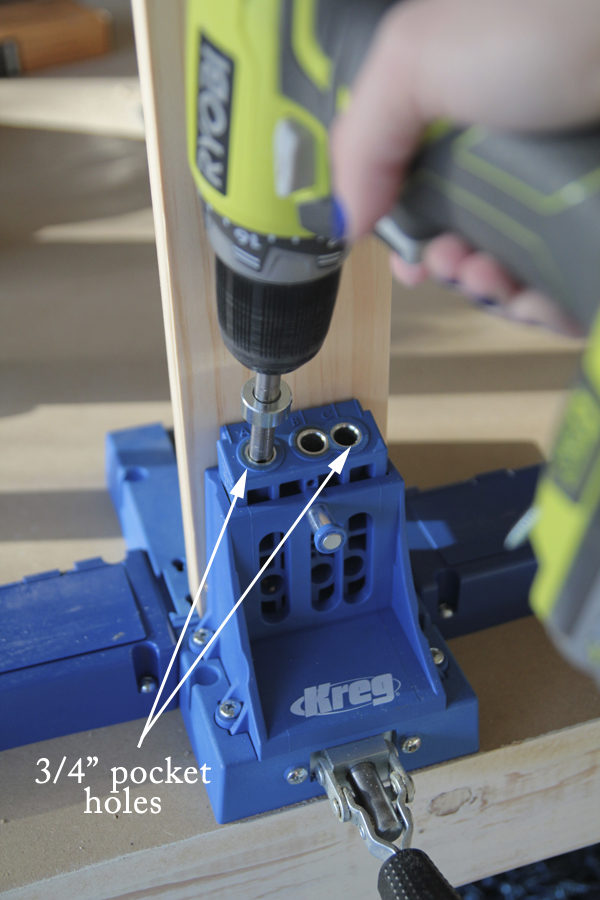
Next, I made all of my cuts and then drilled all of my pocket holes. Refer to the plans for the pocket hole placement. Make sure to watch our How to Use a Kreg Jig video HERE and you can find our favorite model of Kreg Jig HERE on Amazon!
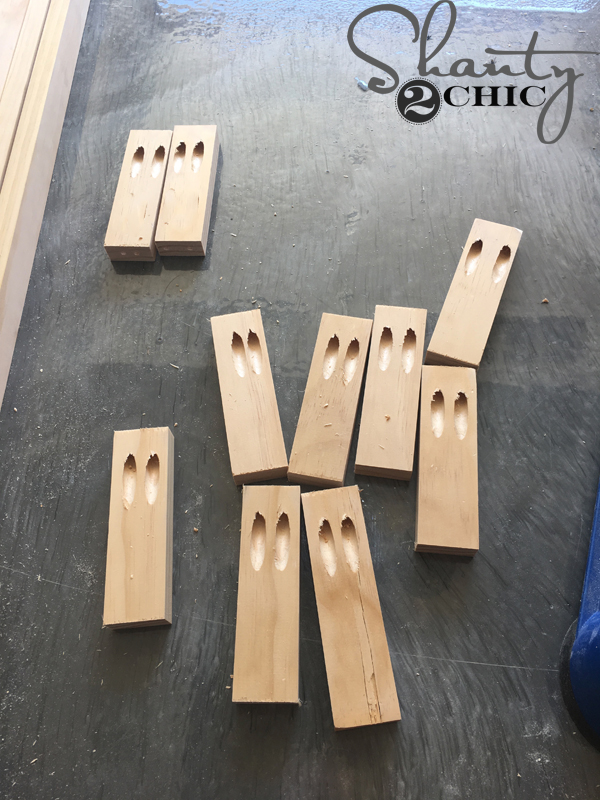
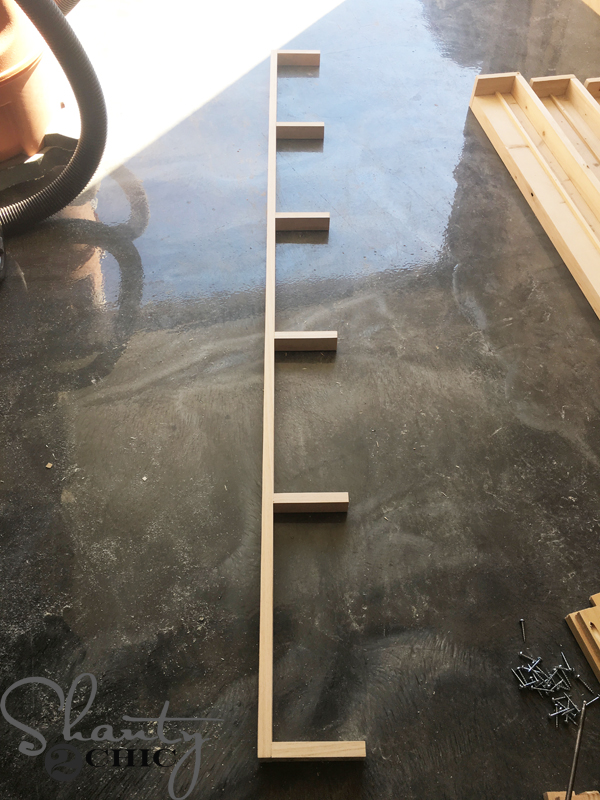
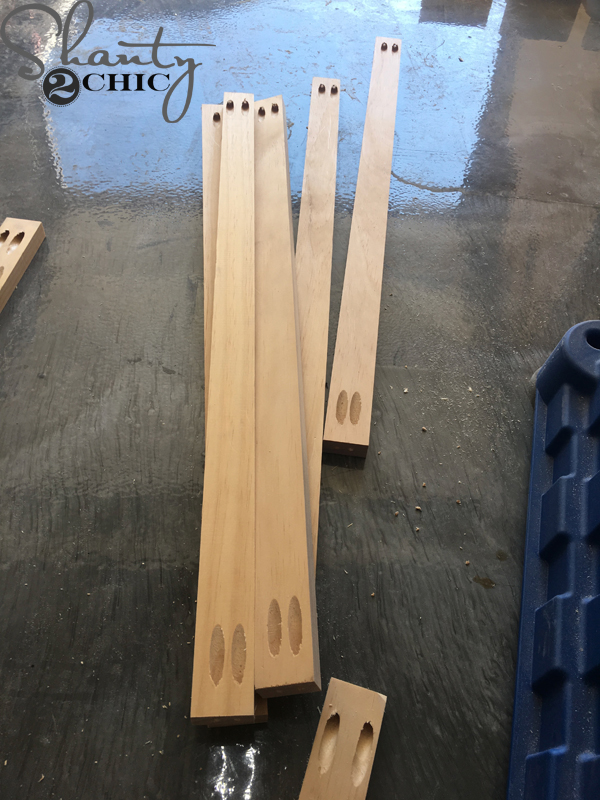
Here are the rung pieces with the pocket holes drilled.
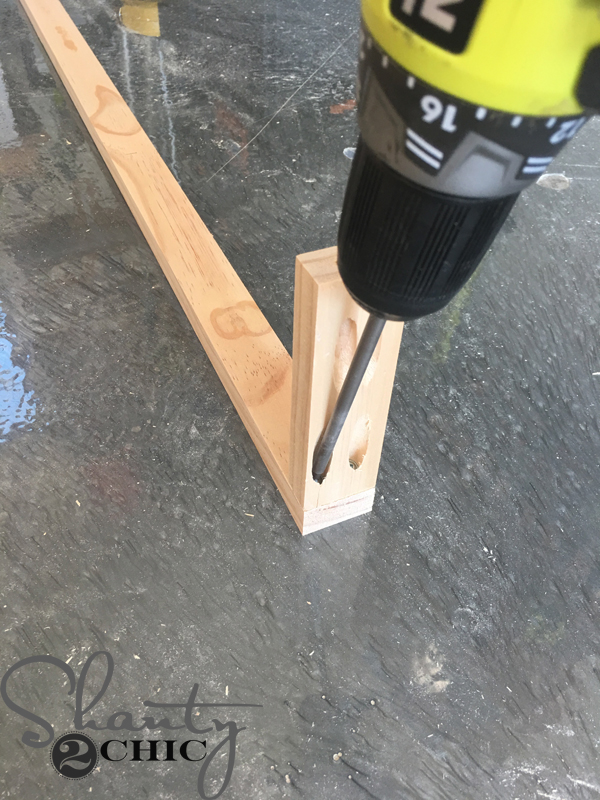
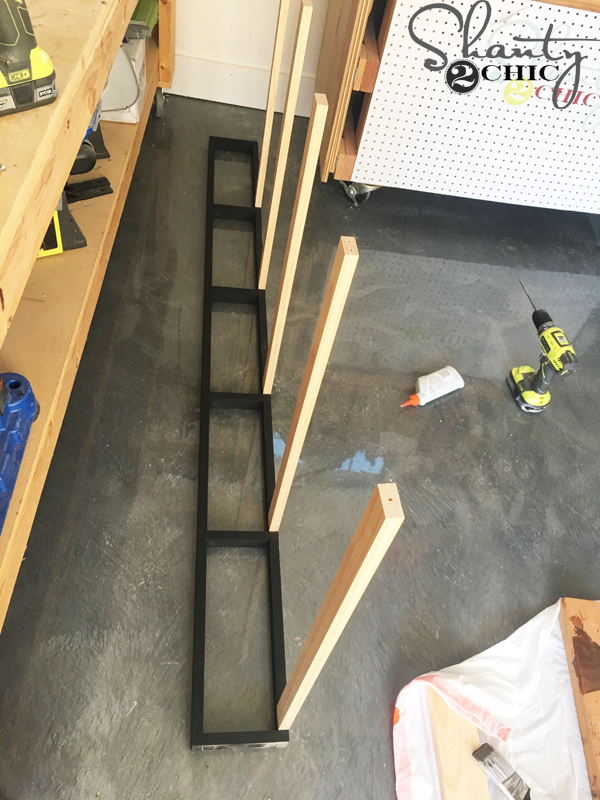
Start by assembling the ladders. Use wood glue and 1 1/4″ pocket hole screws to attach the rungs to the side pieces of the ladder.
Here is a shot of one side complete. Make sure that all of your pocket holes are facing the same direction. The should all face up (towards the ceiling) when they are attached to the wall.
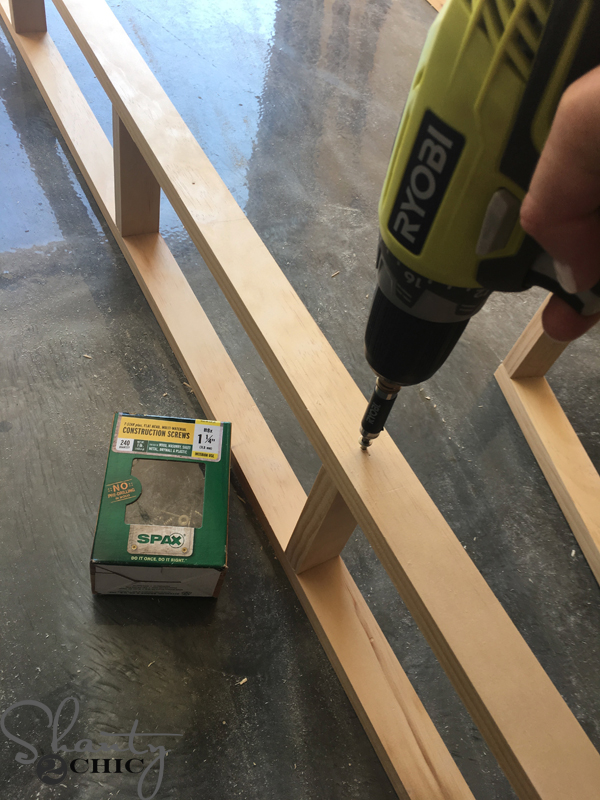
To attach the other side of the ladder, use 1 1/4″ wood screws and wood glue. This will be the back of the ladder and it will be attached to the wall. No need for pocket holes here because the screw holes will be hidden.

Two ladders – done!

At this point, I decided to spray paint the ladders and the strong-ties, that I used for the corner pieces.
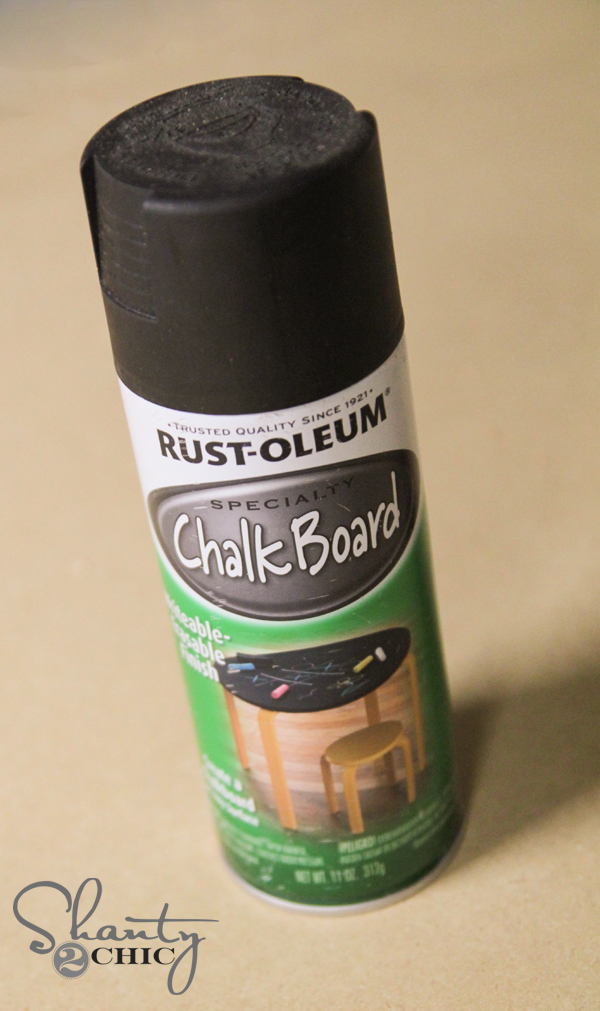
I used Rust-Oleum Chalk Board spray paint, for the ladders, because it is a great flat black spray paint. You can find it HERE on Amazon.
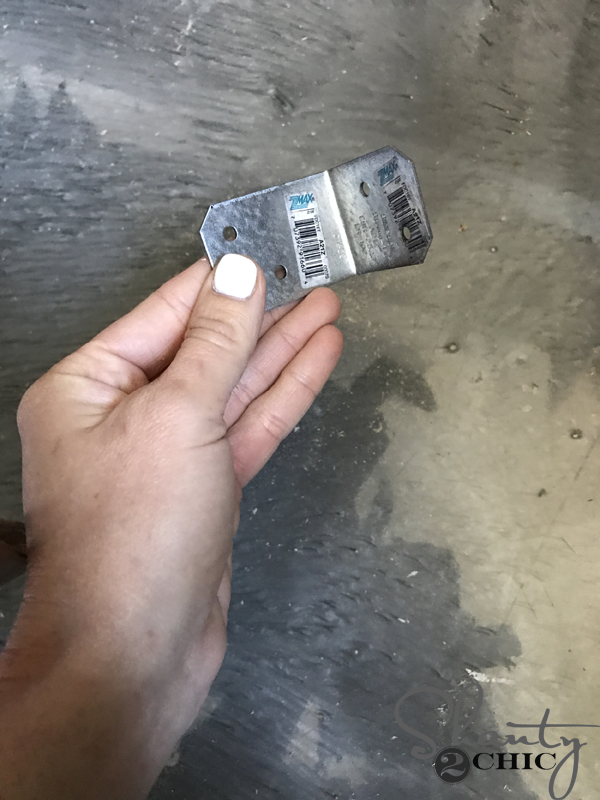
Here are the strong-ties that I used for the corner pieces. You can find them on the framing isle at Home Depot.
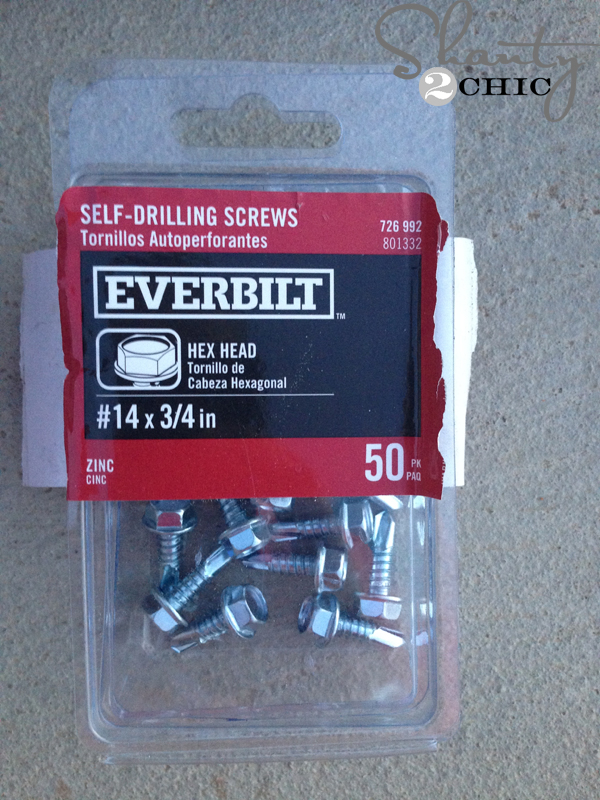
These are the small hex screws that I attached the corner pieces with. They can also be found at Home Depot.
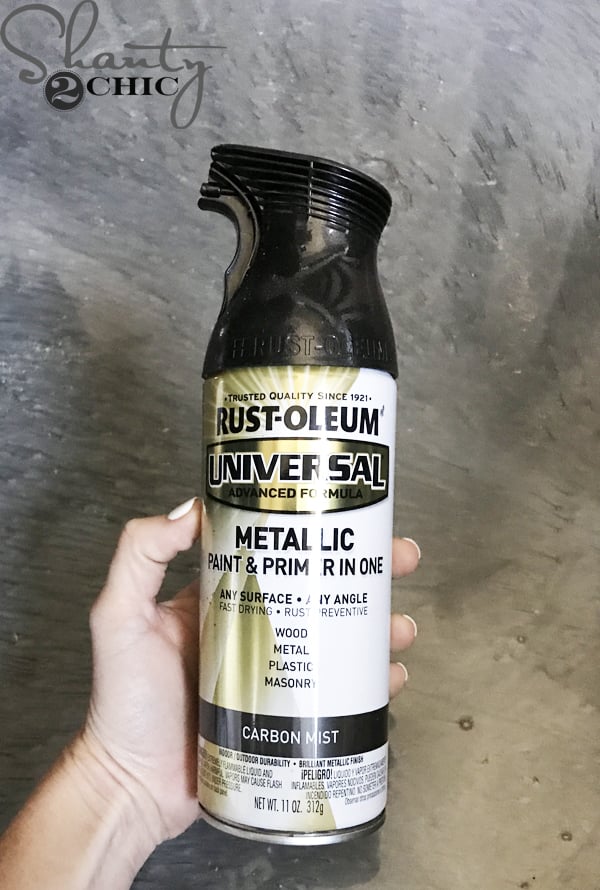
I used Carbon Mist spray paint for the strong ties and hex screws. You can find the Carbon Mist HERE on Amazon.
Now for the back cleats. Drill the 3/4″ pocket holes according to the plans.
Now, attach the cleats to the back side of the ladders, begging at the bottom of the ladders (remember the pocket holes on the rungs should be facing up towards the ceiling). Place each cleat just above the ladder rungs, this way they will be hidden behind the shelves. The pocket holes will face backwards, so that they will be against the wall. Use wood glue and 1 1/4″ pocket hole screws.
Once all of the cleats are attached, you can attach the other ladder.
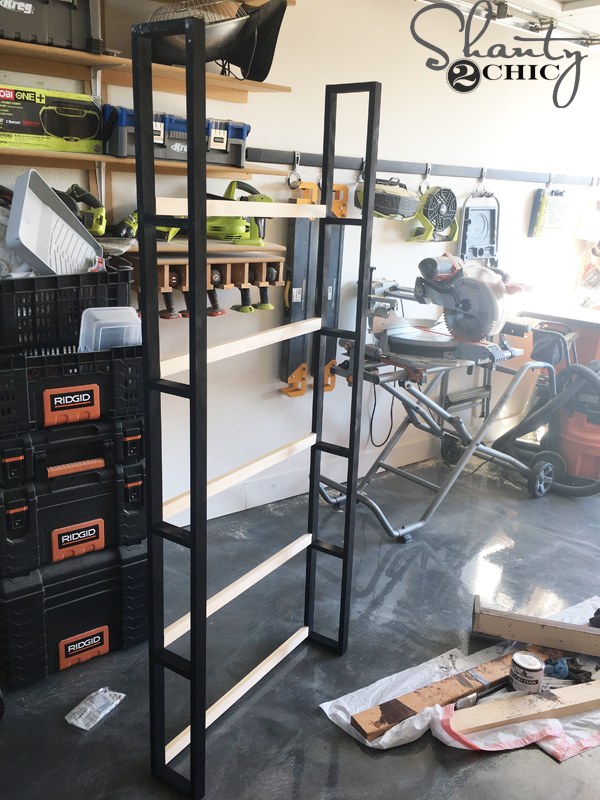
Ladder frame – done! Now for the shelves!
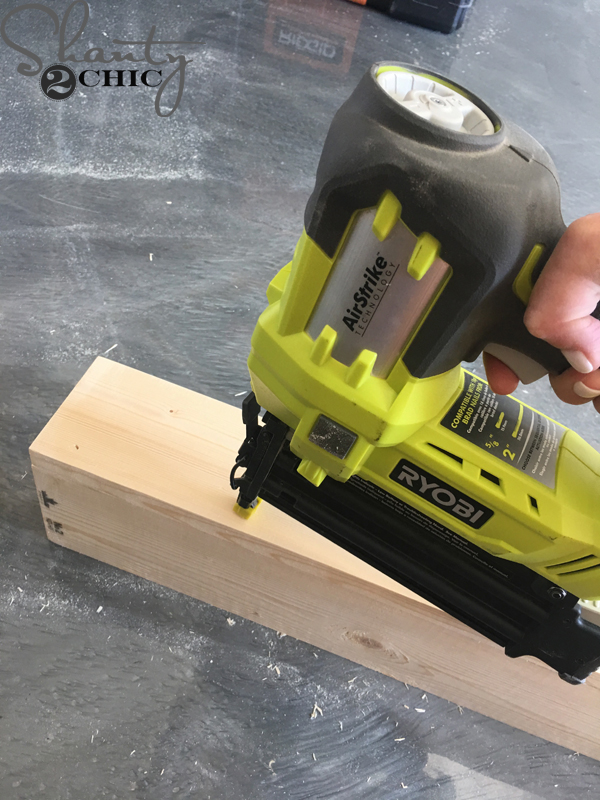
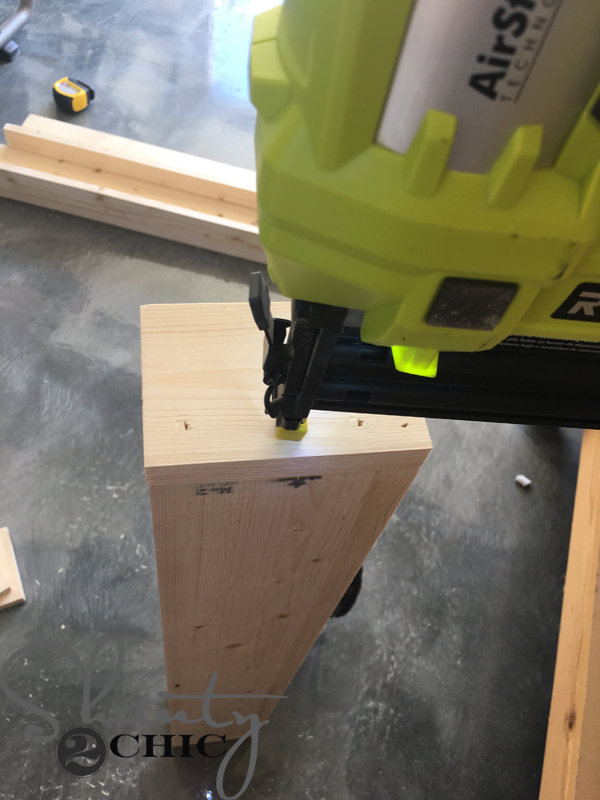
Attach the back shelf pieces to the backs of the shelves with 1 1/4″ brad nails and wood glue. I used my Ryobi 18-volt Airstrike Nailer for this. If you don’t have one, you can use a hammer and finish nails. Make sure the bottom and sides of the back piece are flush with the bottom of the shelf.
This is what the shelf should look like, at this point.
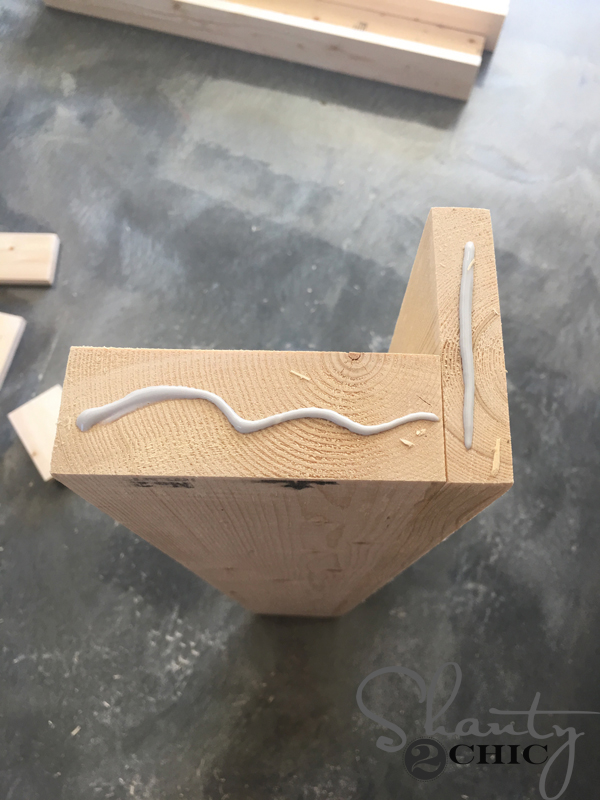
Turn the shelf over on it’s end and apply wood glue to the edges
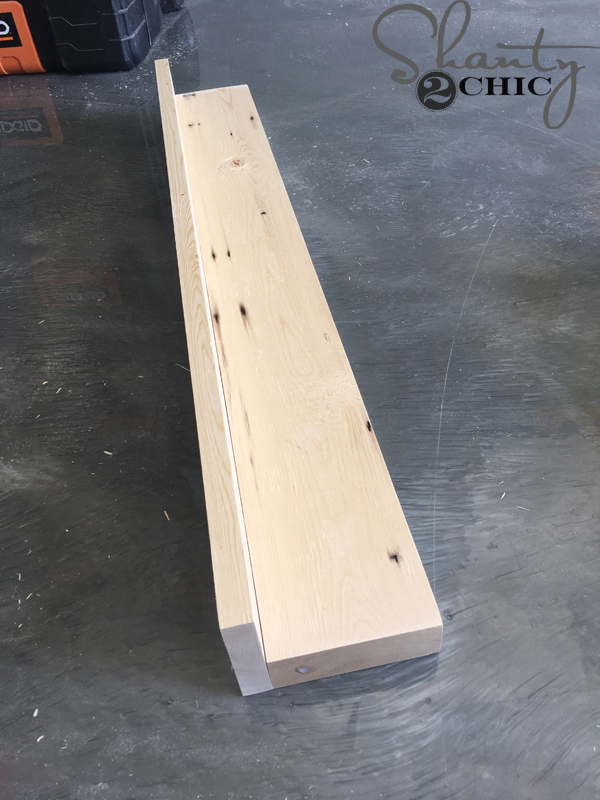
and attach the side pieces with wood glue and 1 1/4″ brad nails. These pieces will cover the side of the shelf and the rough sides of the back piece, to give the shelf a solid, chunky look.
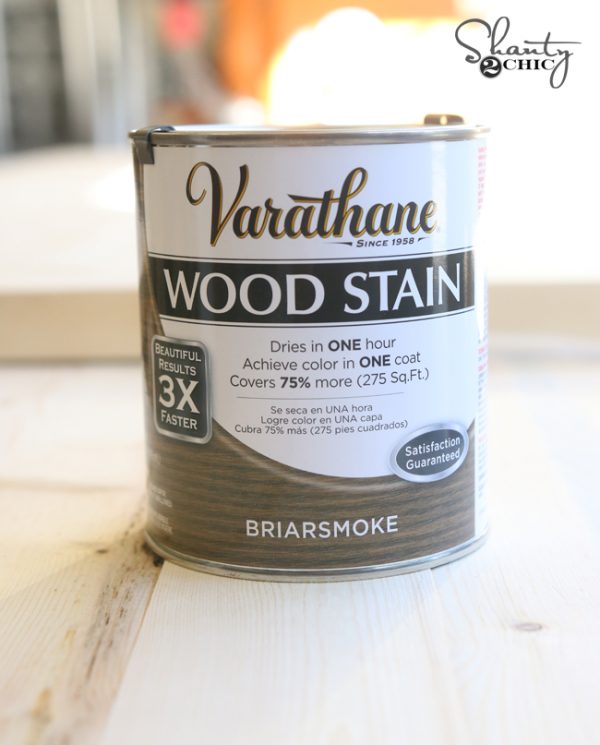
Once the shelves are built, you can give them a finish. We used one coat of Briarsmoke stain by Varathane. You can check out our How to Stain Wood video HERE and you can find the Briarsmoke stain HERE on Amazon!

While the stain is drying, you can hang the ladder frame on your wall. Start by marking where all of the studs are. This piece is wide enough that you should be able to find two studs within the space.

Use 3″ wood screws through the cleats and into the studs, behind the wall, to attach the frame. I used 2 screws for each cleat for extra strength.
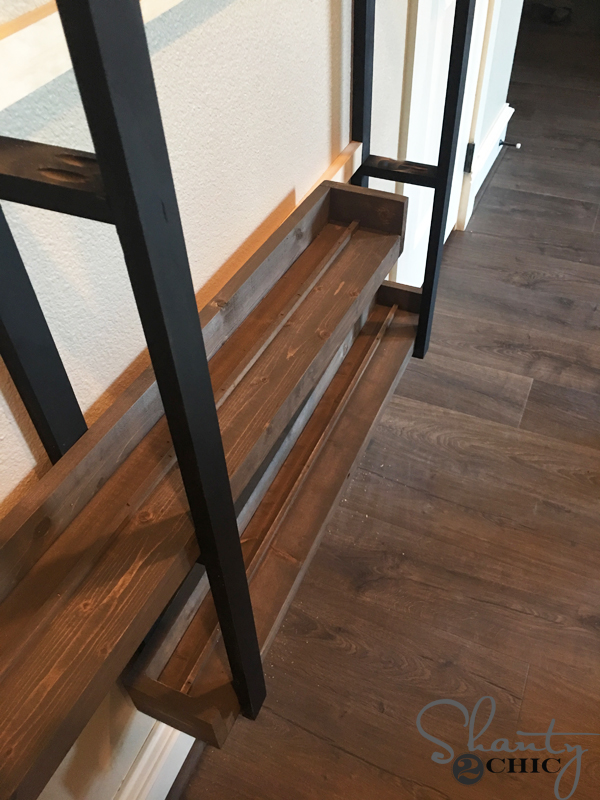
When the shelves are dry, just slide them over the rungs!
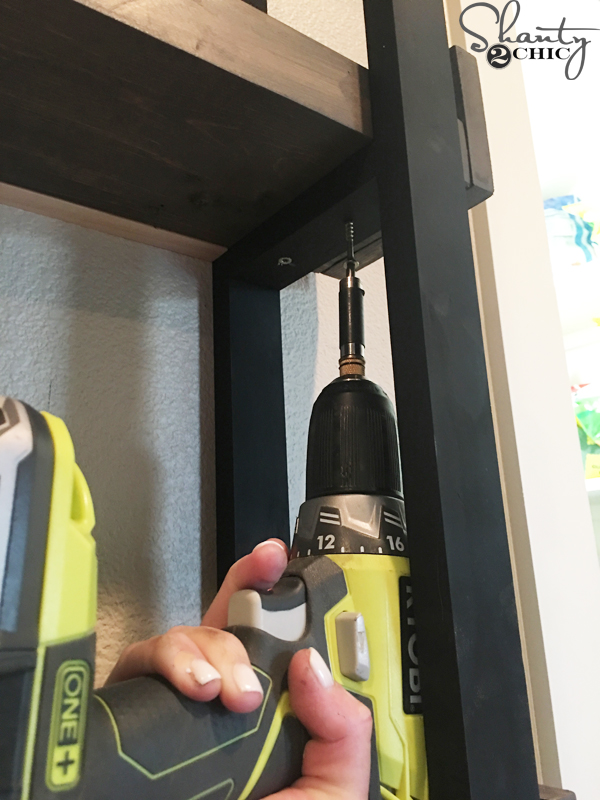
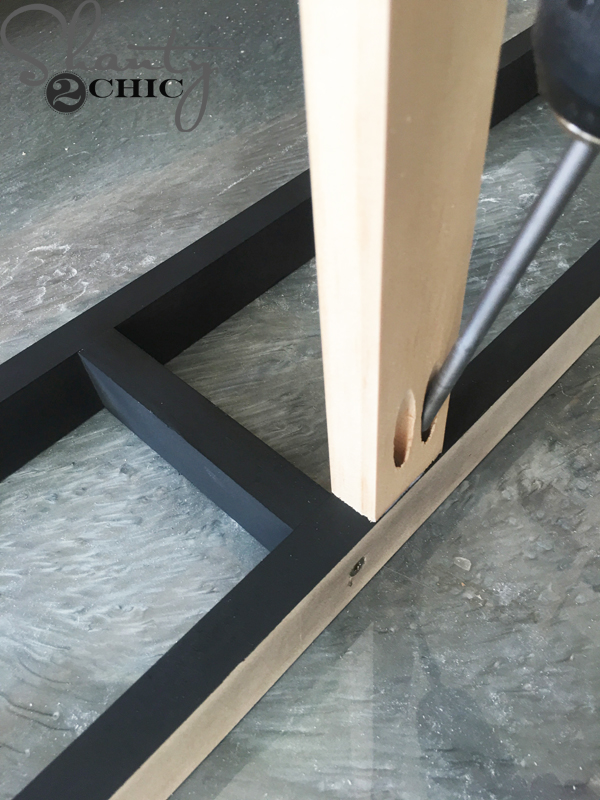
Then, secure each shelf by driving a 1 1/4″ wood screw, from underneath each rung, into each shelf.
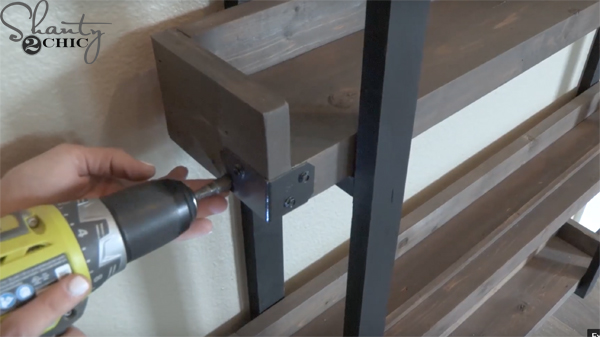
Finally, attach the strong ties to the shelves and that’s it!
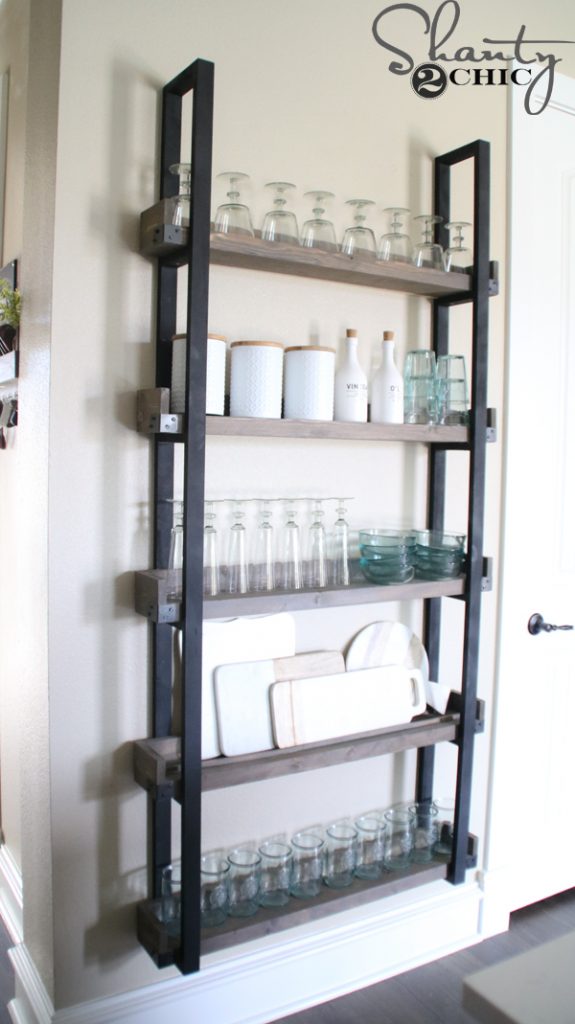
Now, fill it up with your favorite plates, cutting boards, stemware….you name it! *Tip: If you plan to use plates and cutting boards, attach a piece of trim to the shelf, to hold them in place.
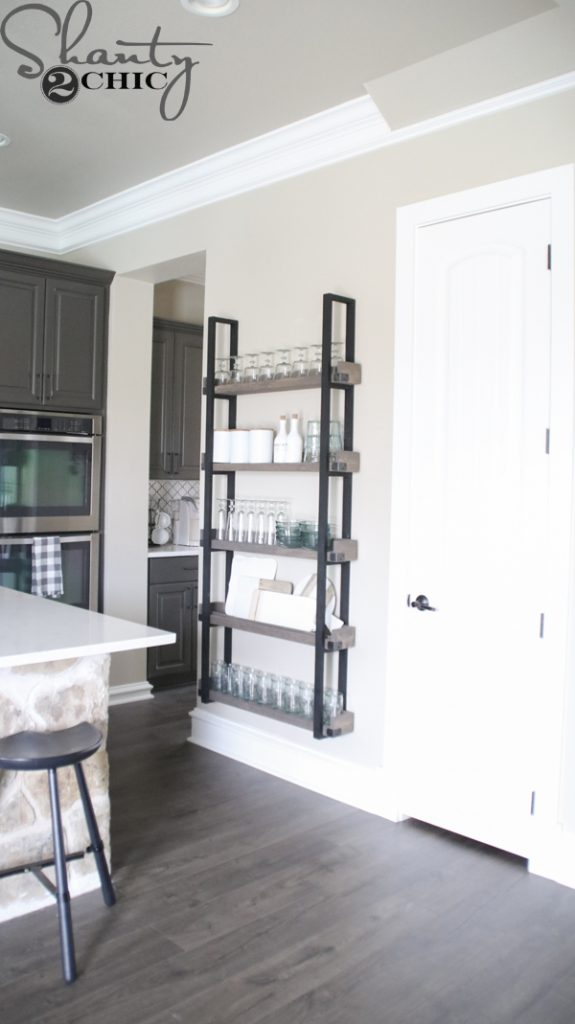

So fun, so easy and what a great way to add character to a blank wall in your home! Want to know where I found everything that I dressed it up with? Check it out below!
Thanks so much for stopping by!
Happy Building!
From top to bottom:
Recycled Glass Red Wine Glasses: HERE
White Canisters: HERE
Oil and Vinegar Set: HERE
Recycled Glass Tumblers: HERE
Recycled Glass Champaign Glasses: HERE
Recycled Glass Bowls: HERE
Marble Cheese Boards: HERE, HERE, Target and HomeGoods
Recycled Drinking Glasses: HomeGoods


How much to make this project?
I have made 4 projects from the website so far, but this one is the only one i found so many errors with. The first, as another commenter mentions is that you need 2 1x3x8 boards, not one, the printed instructions were never updated. The next is that you need 12 5″ pieces, not 10 as is shown on the cut list. Be sure you cut 12 5″ pieces. Third, is the # of pocket holes in the 5″ piece that connects to the longer 1×3….in the video and the pans, 1 pocket hole is shown in the pieces but further down the step by step write up on the website, a picture is shown with two pocket holes in the 5″ pieces. To us, that seemed weak, so we went with two pocket holes. Hopefully you read this prior to building these shelves!
Is this available for purchase? Where and how much?
I want to make this and some of your floating shelves too. So do I have to have the keg jig? I can not afford it right now. I am willing to just fill the screw holes. Will the plans still work without using the jig? Thank you! Love all your stuff, plans, and videos!
Kreg* (dang autocorrect)
Could you expand the entire unit to 13″-15″ deep, and 6′ long, to store craft supplies, including paints? I’m having trouble coming up with a strong, yet economical wall shelf.
When will the floating plate rack be available @ At Home stores and what will the price point be? I thought your video said in June, 2018. Thank you!
Just a heads up for anyone attempting this build, there was an error I found while building the shelf. The plans call for 1 1″x3″x8′ board for the back cleats and say nothing about ripping it down the center to make 2 but it looks like that is what they did in the photos above (either that or they used 2 boards).
So you either need to buy a 2nd 1″x3″x8′ board or rip it down the center. If you plan on ripping it down the center though, it would probably be easier to just buying enough 1″x2″x8′ boards to also do the back cleats with as well. Hope that made sense. It’s nothing major, just a notice for people buying their materials.
Sorry about that. The plans and the cut list are correct. The supply list should show 2 1×3 and not 1. I didn’t rip the 1×3 cleats.
I only have one stud in the wall where I’m hanging this, so is it okay to use wall anchors ?
Yes! Use them for sure!
The plans are still wrong it still says 1 x 3 x 8. 🙁
I am in LOVE with this floating plate rack! It’s gorgeous and it saves so much cupboard space while only taking up wall space. Brilliant!
You all always have such great ideas and I love your videos. I really appreciate how you link to everything you use!!! That is so helpful. I really appreciate it.
*swoon* I am in love with this piece, maybe my favourite project yet – great job as always.