Learn how to build this DIY Dining Table with Industrial Corbels for $170 with just a few basic tools and free plans!
You guys have been so patient in waiting for me to get this DIY Dining Table with Industrial Corbels plans to you! I built it last fall but I have had so many projects that needed to be complete and I haven’t had a chance to sit an work on the plans. But, they are here now!
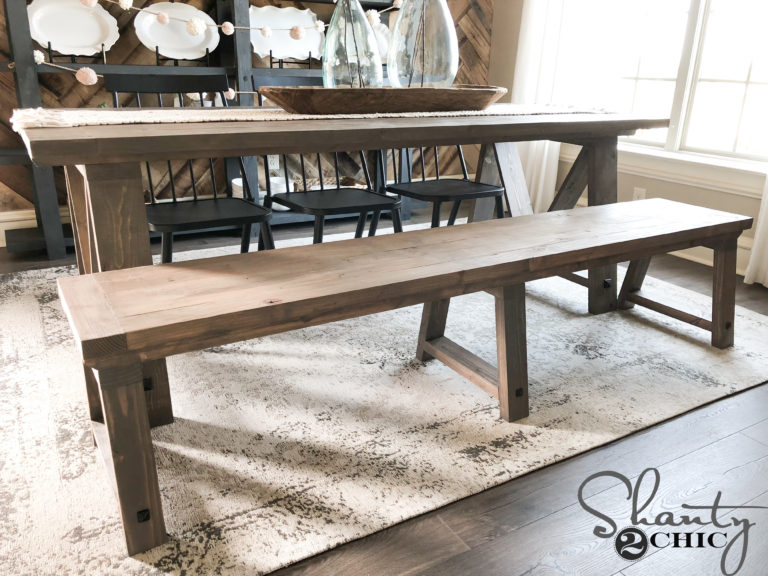
- Get the free plans and how-to instructions for the matching bench HERE!

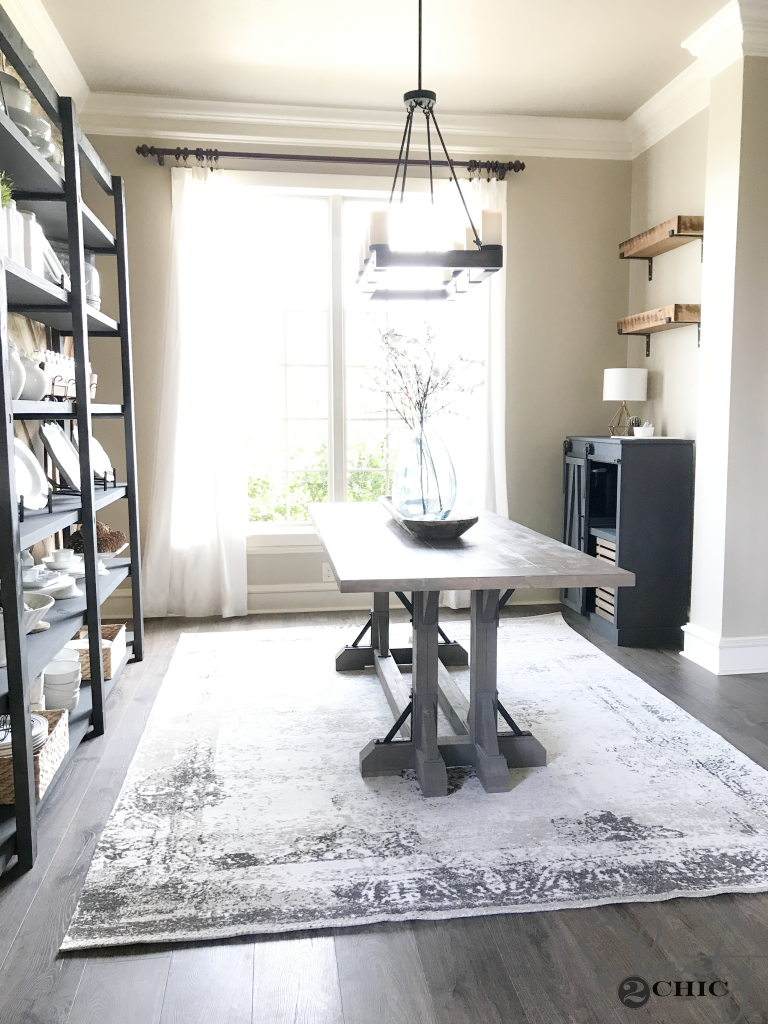
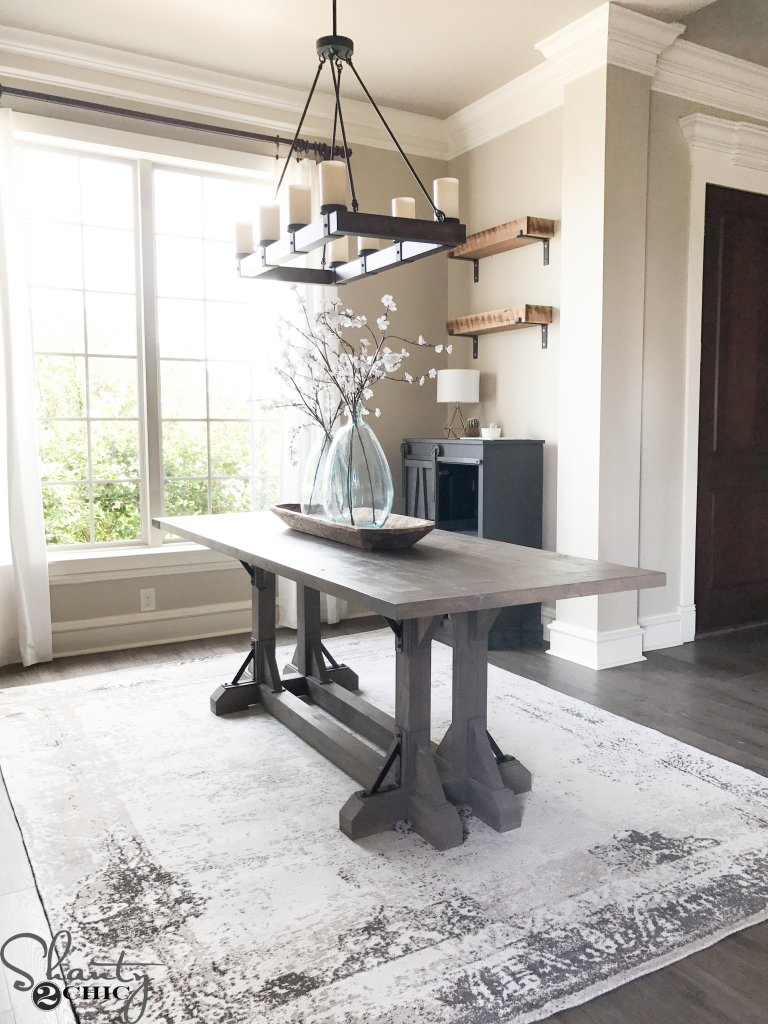
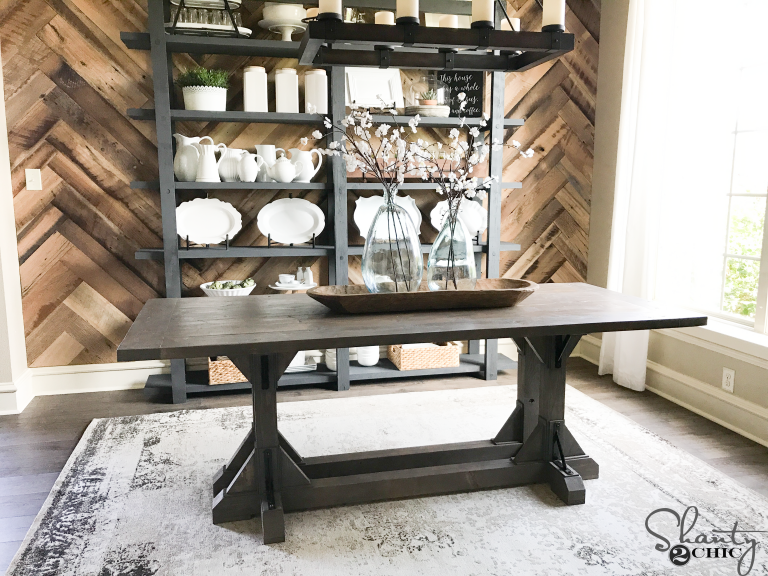
There are a few features that I LOVE about this DIY Dining Table! The first is obviously the mix of wooden and metal corbels. It gives it such a rustic, industrial look but still a farmhouse style table. Another feature, in the design, is that this table is a little more narrow compared to most of our dining tables but it still seats as many people! I designed this table with the goal of opening up my dining room a bit. It’s a narrow space and when you start adding benches and other furniture, my previous table felt cramped. So, this table is only 35″ wide but will still seat 6 people comfortably. The final feature is the price, I spent $166 in lumber and hardware for this table!
Come tour this entire room, with us!
So let’s jump into the build! This is an easy table to build! I highly recommend ripping the round edges off of the 2x boards, to create the seamless chunky legs. It will also give you a smooth table top and the modern style straight lines. We always use our table saws to rip our round edges. If you don’t have a table saw, Ryobi has a great one for $129. The cost of a new table saw plus the cost of materials to build this table would still be under $300 – cheaper than any decent dining table I’ve seen in stores. So, if you need to convince your significant other that you “need” a table saw…you’re welcome 😉
How to Build a DIY Dining Room Table
Table of Contents
Supplies:
- 8 – 2x6x8 Whitewood or Pine
- 9 – 2x4x8 Whitewood or Pine
- 1 – 1x6x6 Whitewood or Pine
- 7 – 1/4″ x 3″ x 4′ Craft Board
- 2 1/2″ Pocket Hole Screws
- HD Pocket Hole Screws
- 1 1/4″ Brad Nails
- 2″ Brad Nails
- 2 1/2″ Wood Screws
- 3″ Wood Screws
- Wood Glue
- Metal Corbels
Tools:
- Miter Saw
- Drill
- Kreg Jig
- Kreg HD
- Brad Nailer
- Table Saw (optional)
You can download the Free Dining Table Plans HERE and follow along in the tutorial below.
Building the DIY Dining Table Base
Step 1: Laminating the 2×4’s to Create the Legs
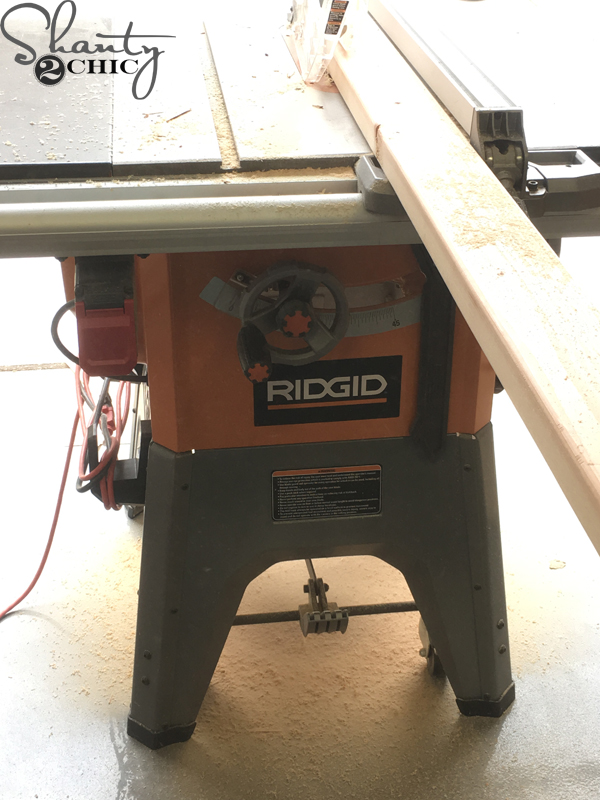
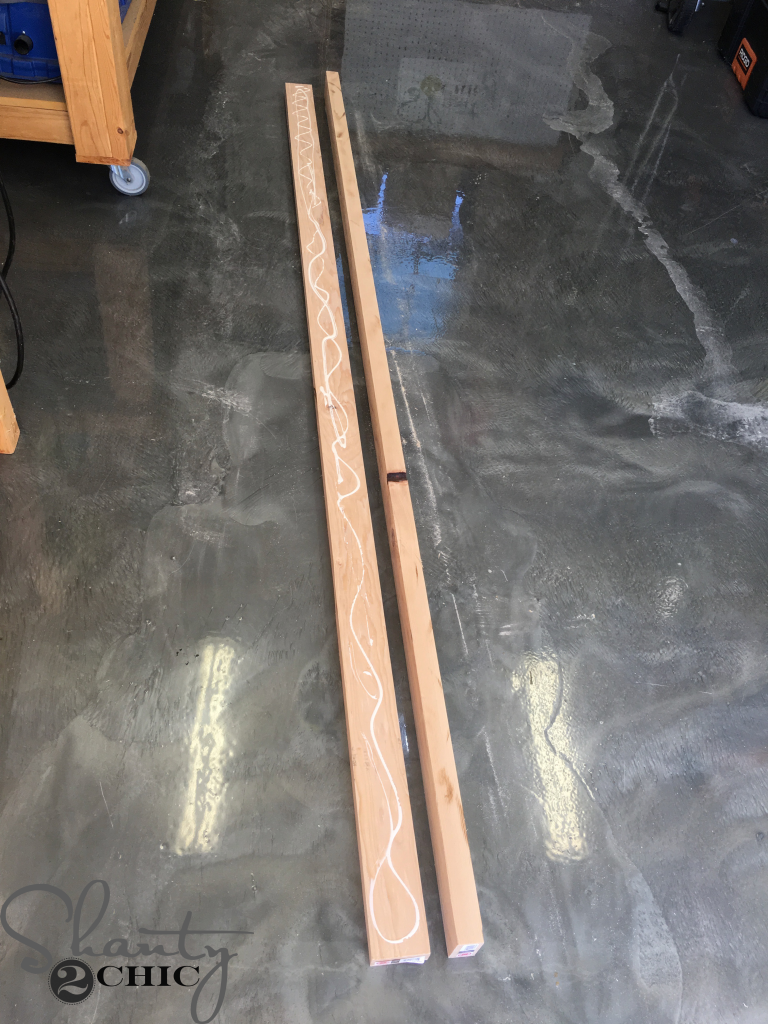
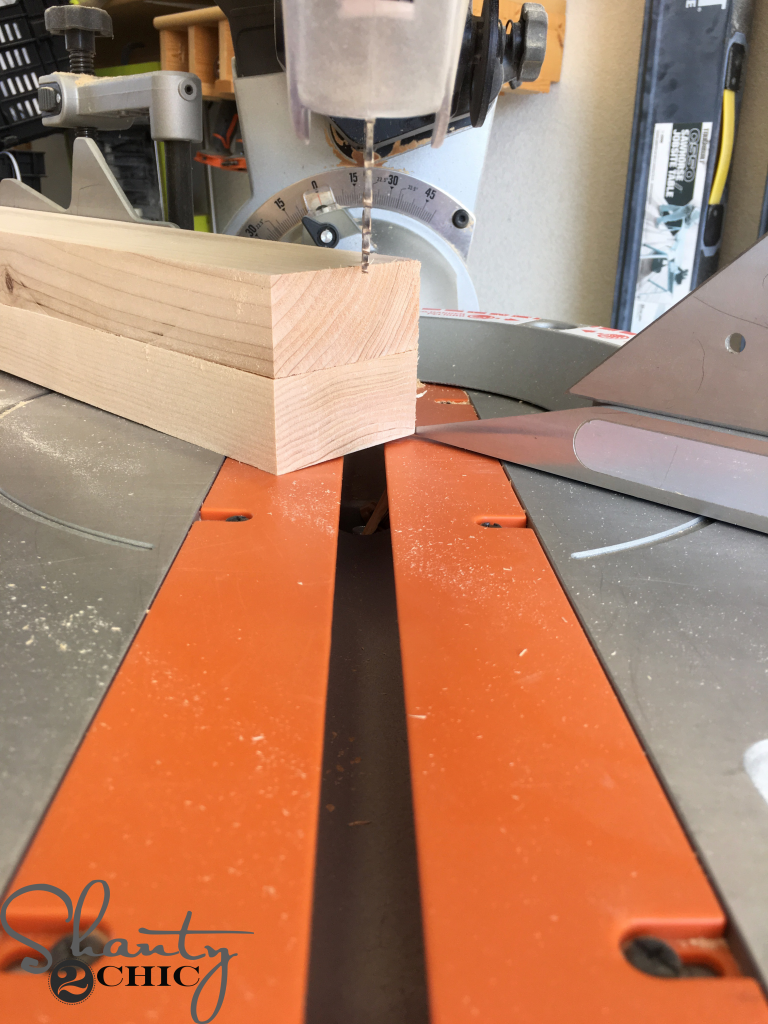
As I mentioned, I started by ripping all of the rounded edges off of the 2x boards. Rip off of both sides. The 2×4’s will become 3″ wide and the 2×6 will become 5″ wide.
To laminate the boards for the chunky legs, I applied glue to one board then laid another board on top of it.
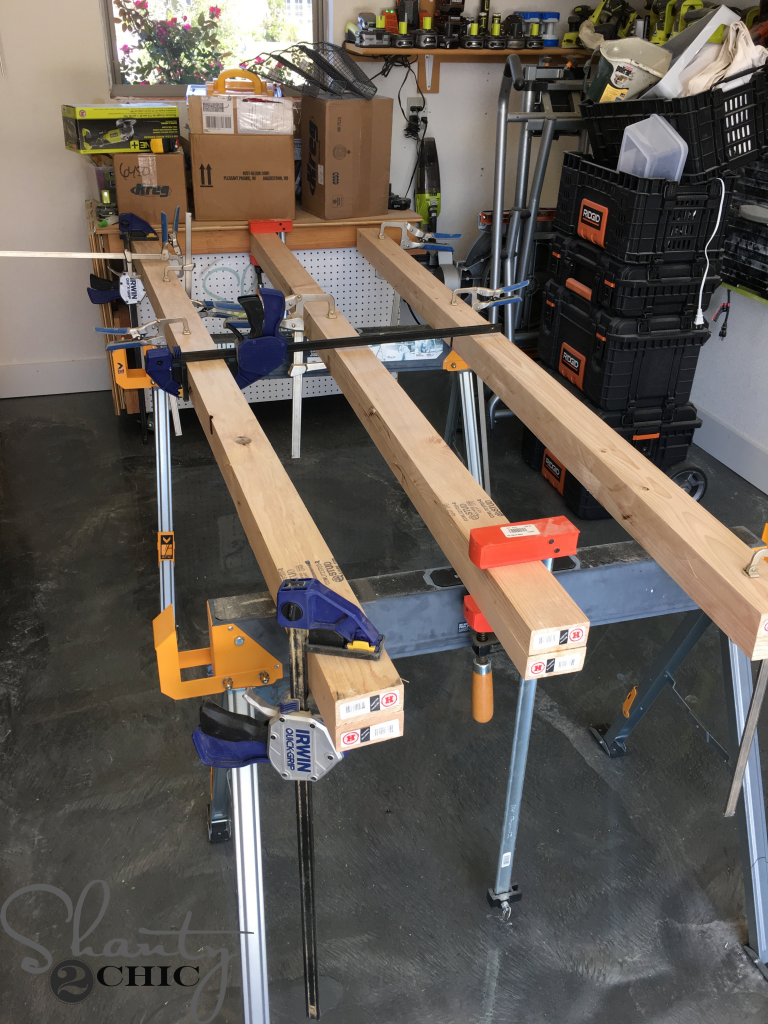
I clamped them together and let them dry overnight.
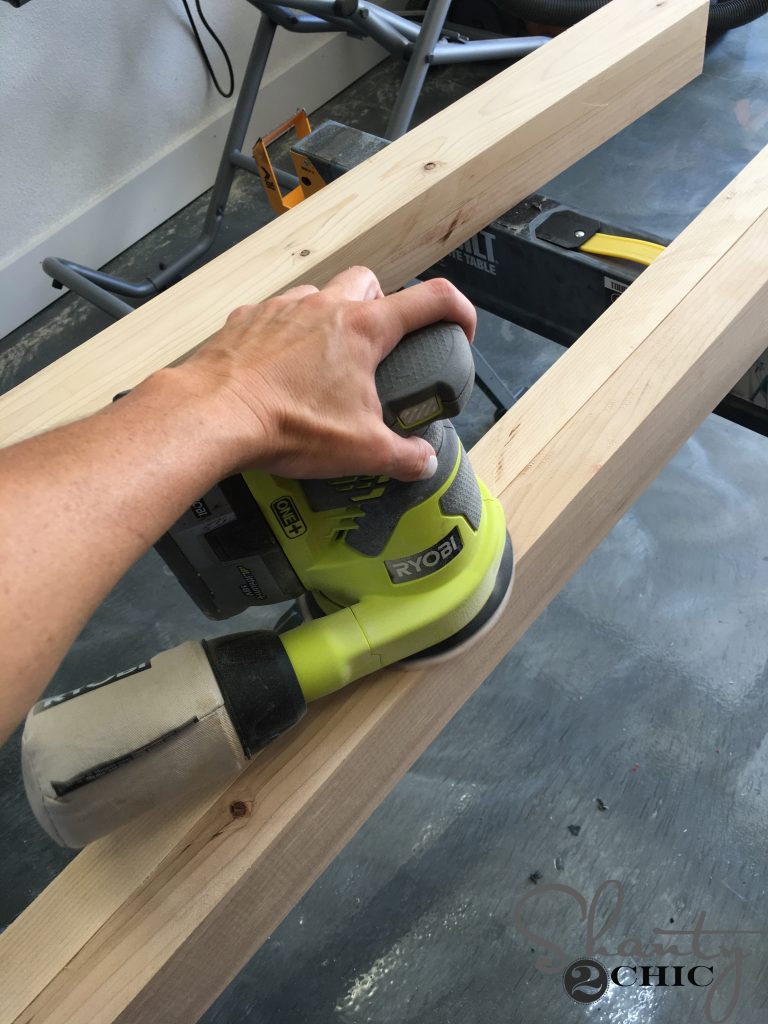
When the glue dried, I sanded the laminate boards so that the joints were smooth.
Step 2: Cutting the Legs
Then, I made my cuts. Follow the cut list diagrams for the exact dimensions.
Step 3: Drilling the Pocket Holes
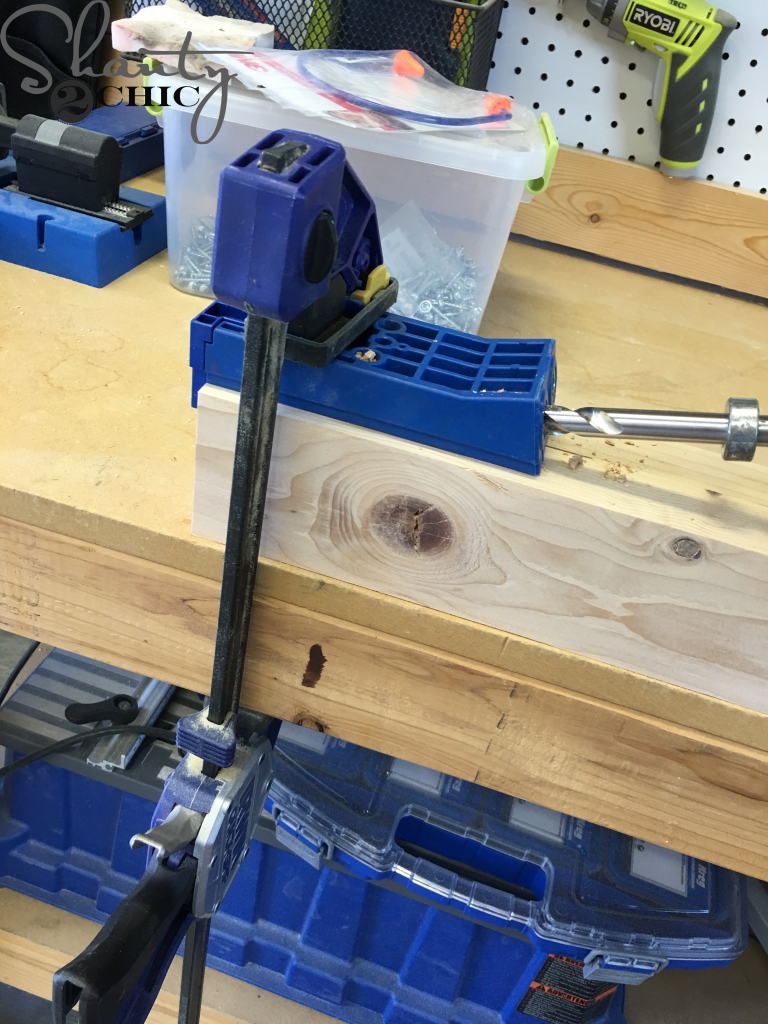
To drill pocket holes into the laminated pieces, I used my KregHD.
This is the jig that we use to drill pocket holes in boards that are more than 1 1/2″ thick.
Step 4: Attaching the Base Pieces Together
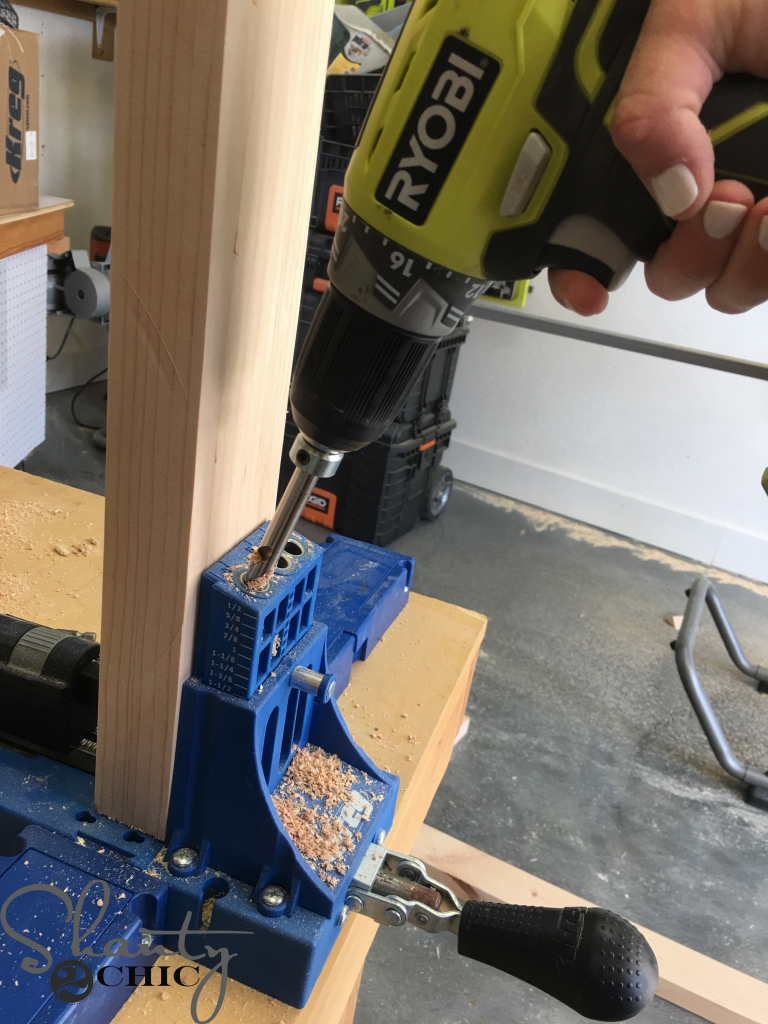
I used my Kreg Jig K5 to drill pocket holes into the other boards.
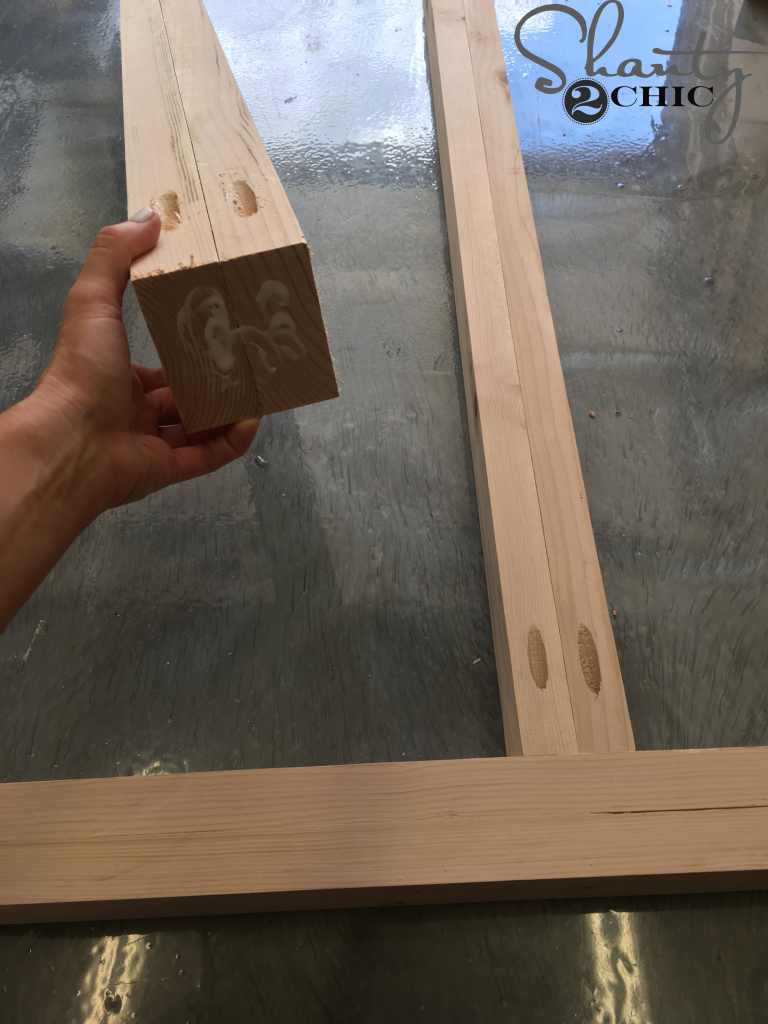
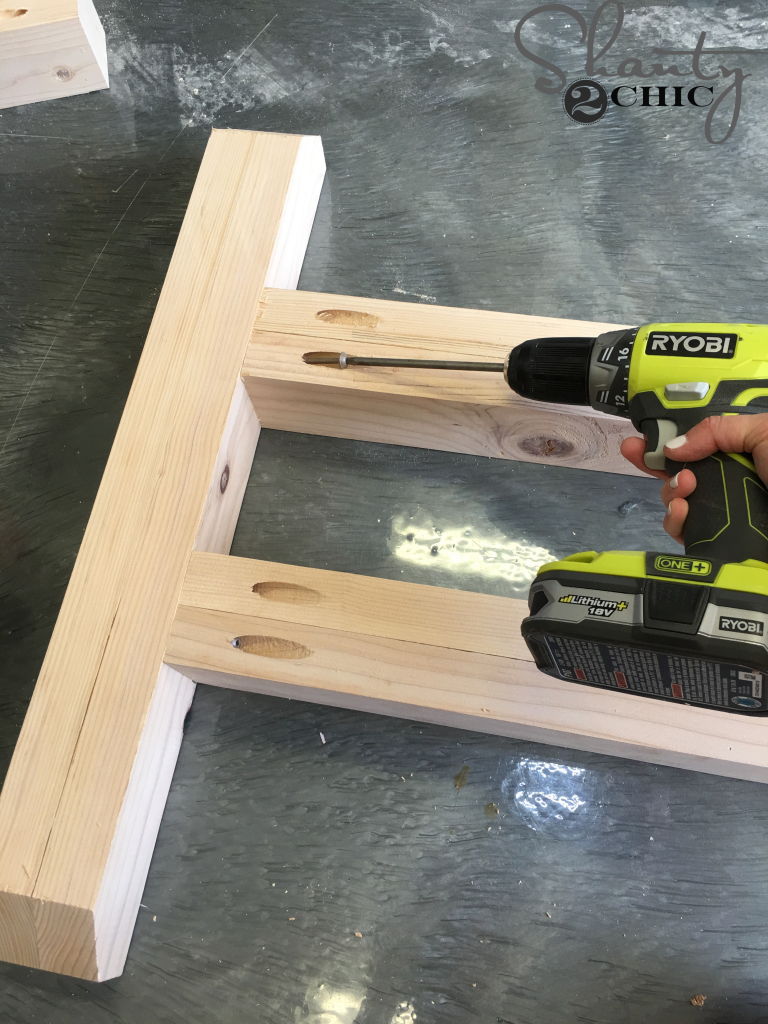
I started by assembling the bottom of the base of the table. To do that, I attached the runners to the feet with HD pocket hole screws and wood glue. I made the pocket holes face up because we will cover them later. Refer to the plans for placement of the runners.
Do this on both ends of the runners. It should look like this now.
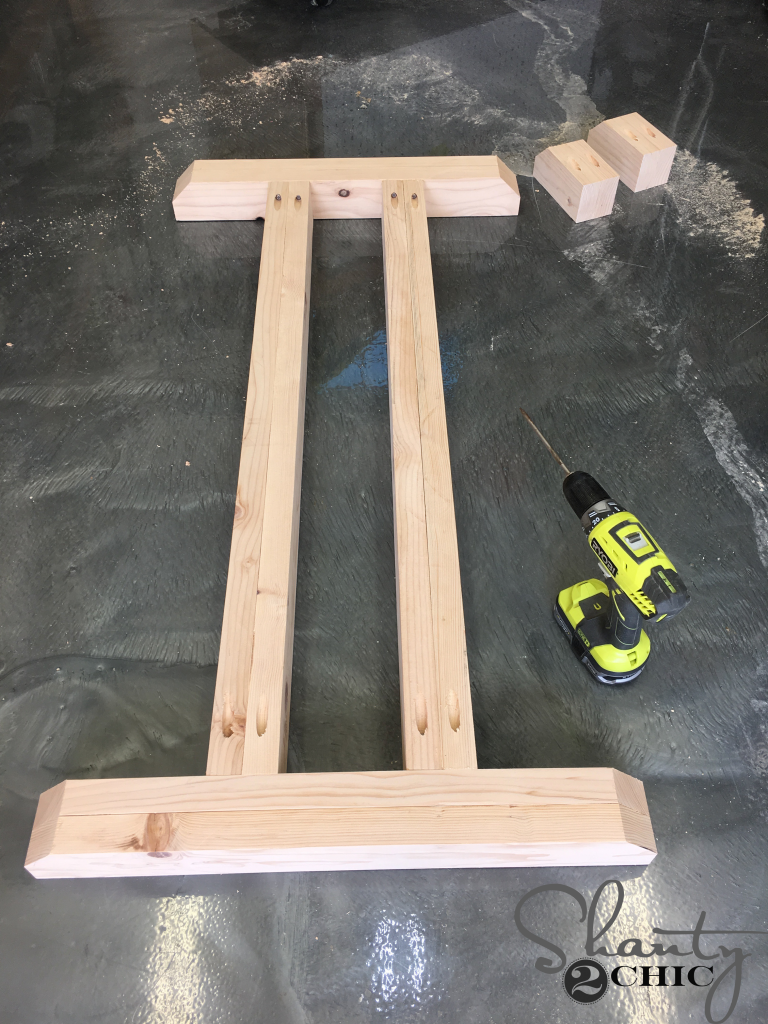
Next, I attached two feet to each end of the base with HD pocket hole screws and wood glue. Refer to the plans for the placement.
The table base should look like this now.
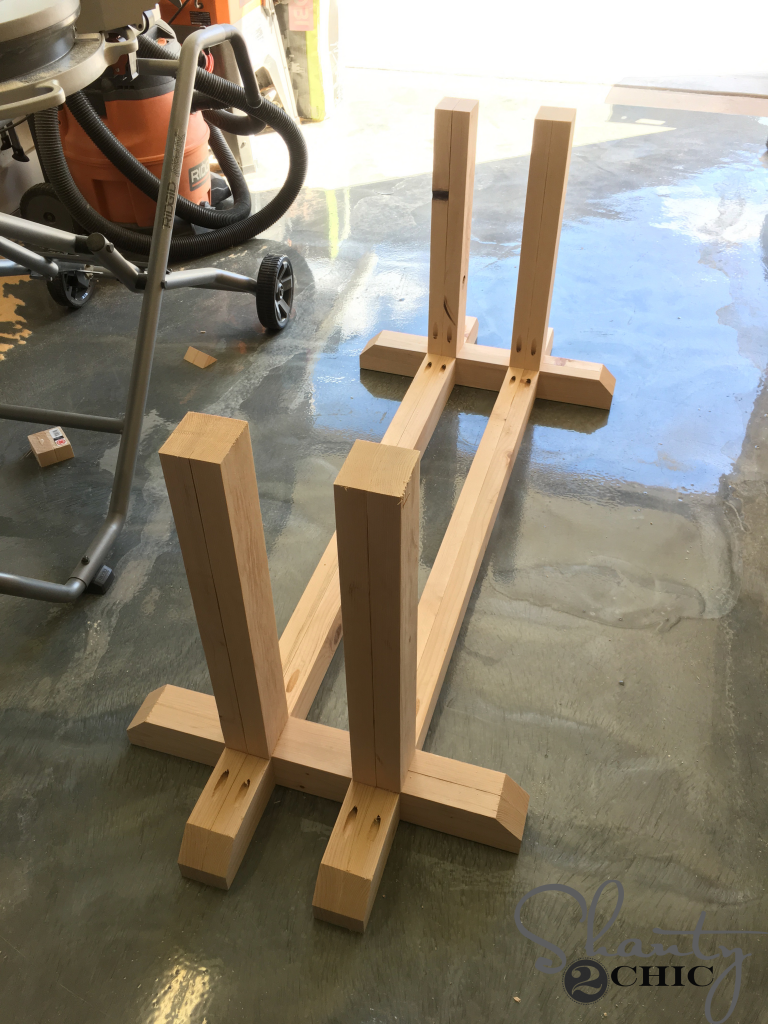
Next, attach the laminated legs to the top of the feet with HD pocket hole screws and wood glue.
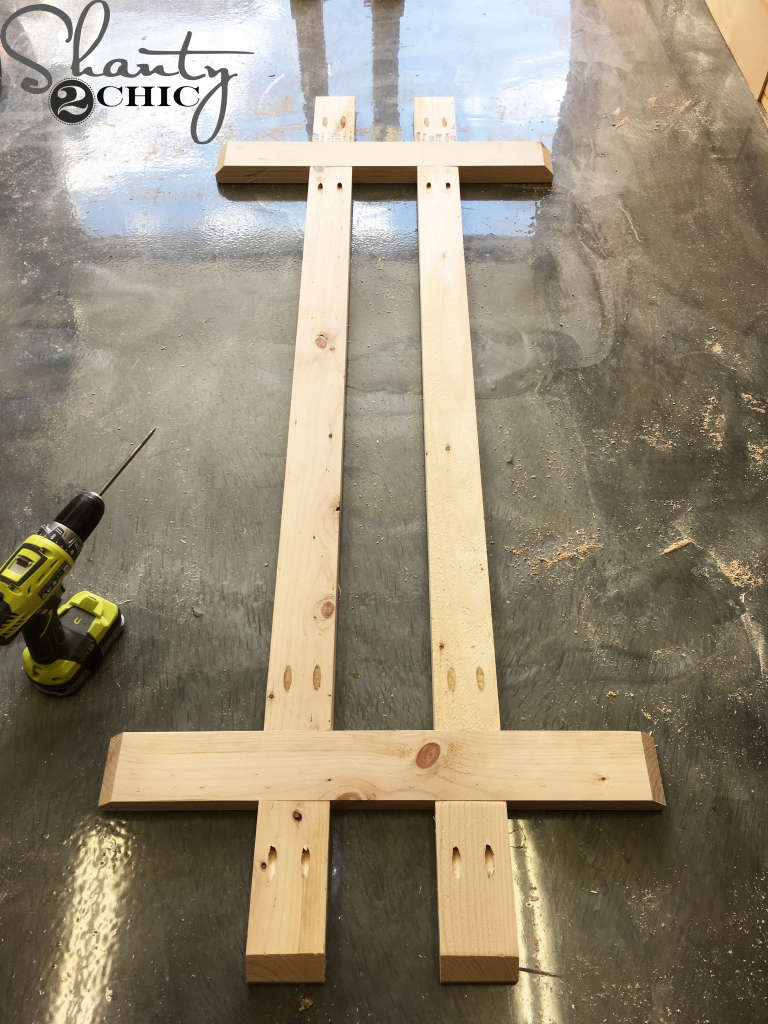
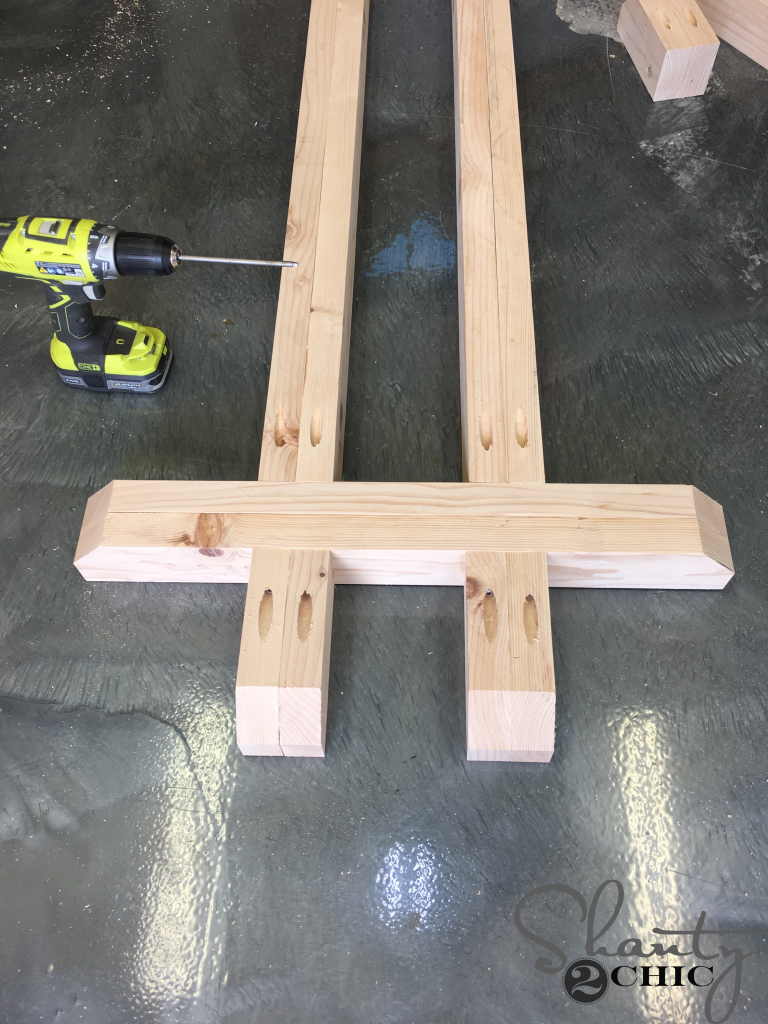
To assemble the top of the table base, attach the runners to the support (arms) with 2 1/2″ pocket hole screws and wood glue. Then, attach the end supports with 2 1/2″ pocket hole screws and wood glue.
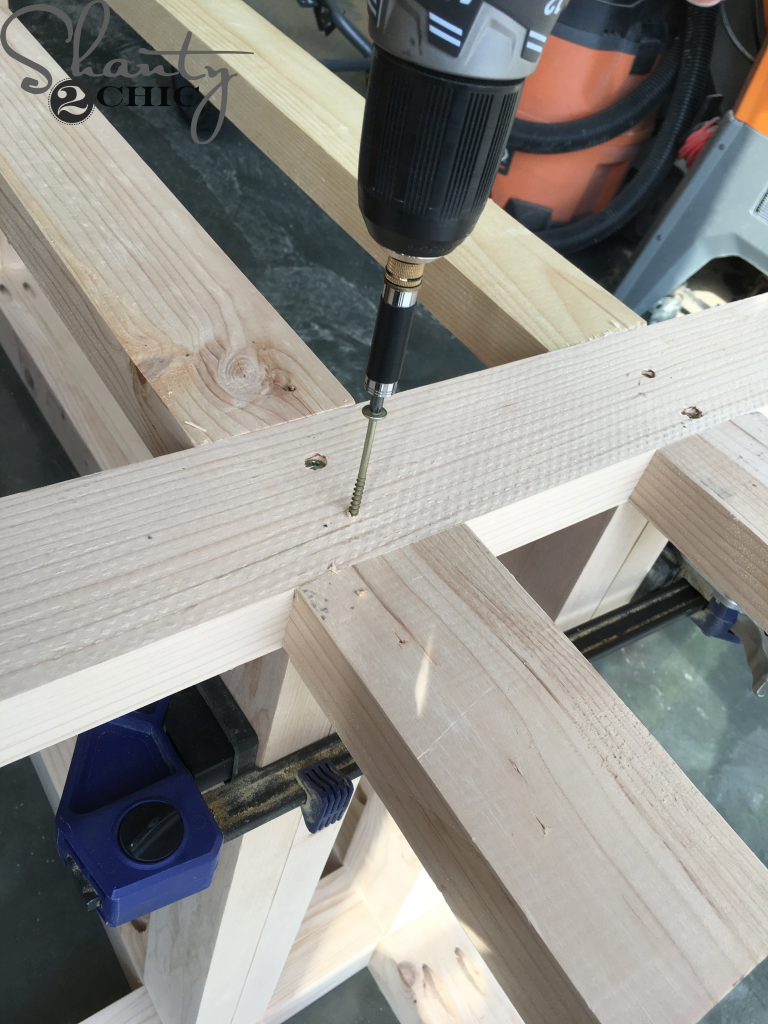
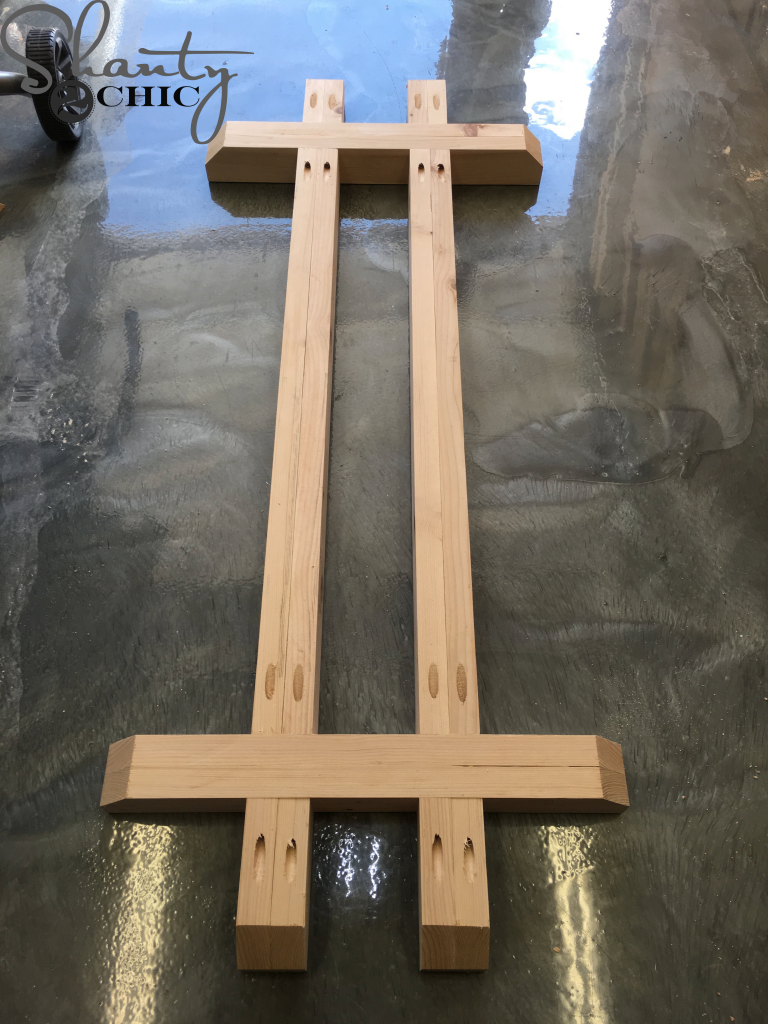
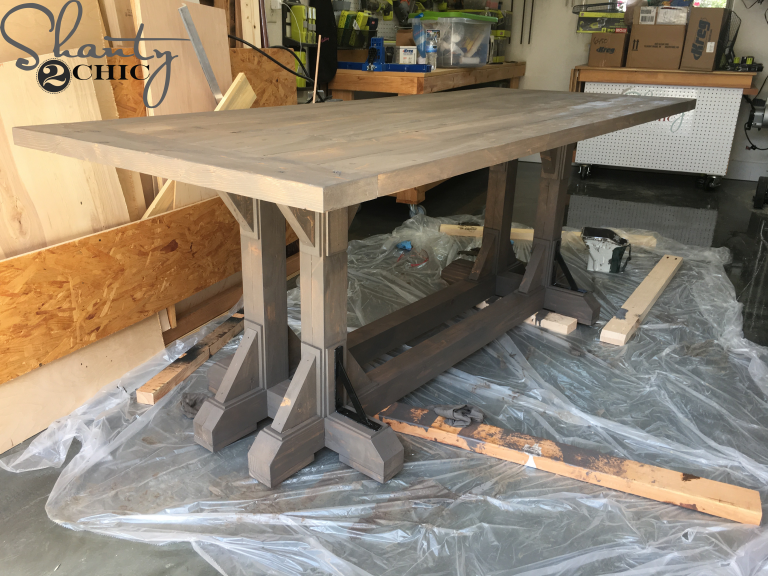
Flip the top frame over and attach it to the legs with 3″ wood screws. Don’t use wood glue here. It will make it easier to disassemble, later.
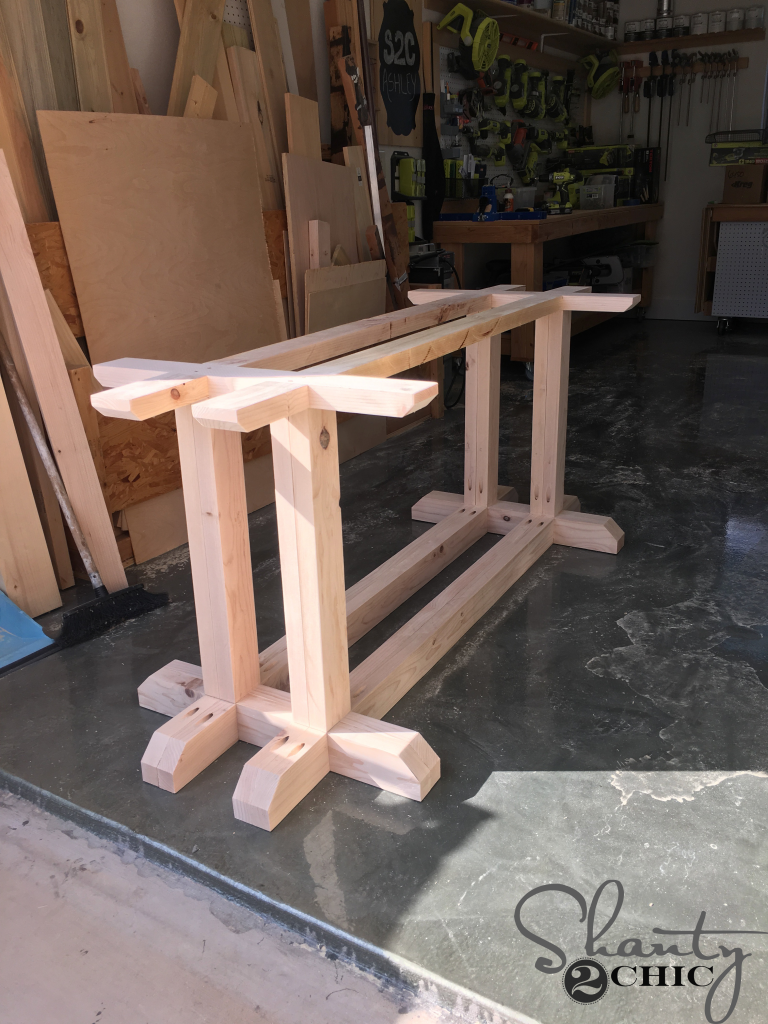
Here is the table base, at this point. Looking pretty chic 😉
Step 5: Attaching the Foot Pads and Trim
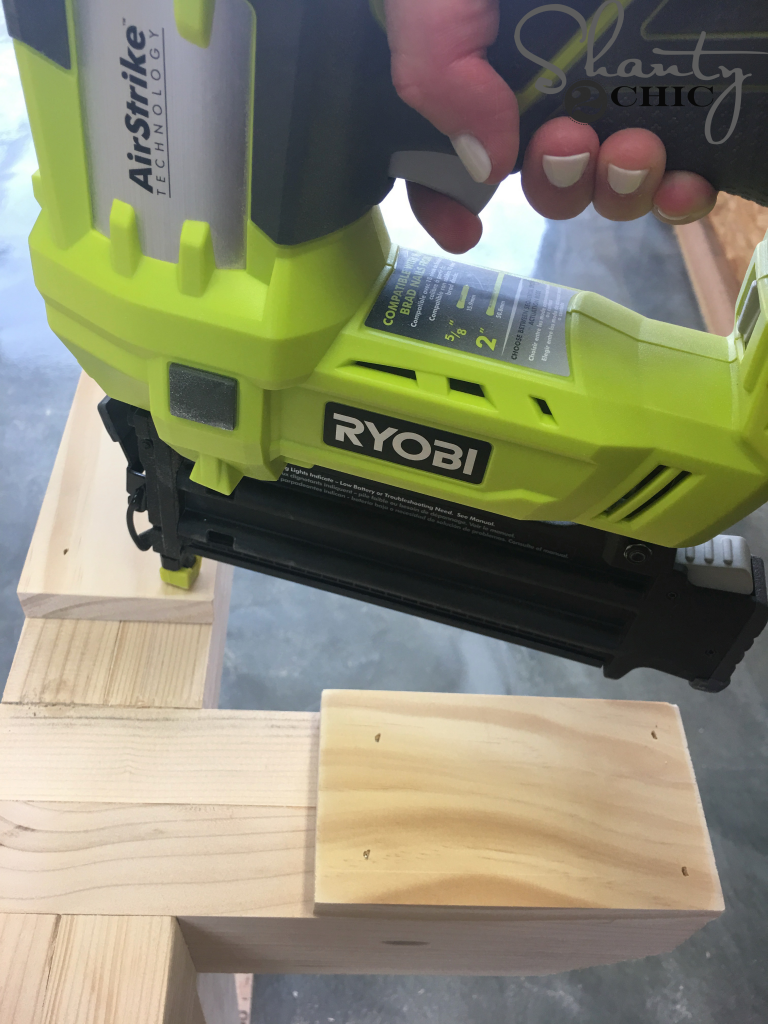
Flip the table upside down and attach the foot pads, to the end of each foot, with 1 1/4″ brad nails and wood glue. I used my Ryobi 18 gauge Airstrike nailer.
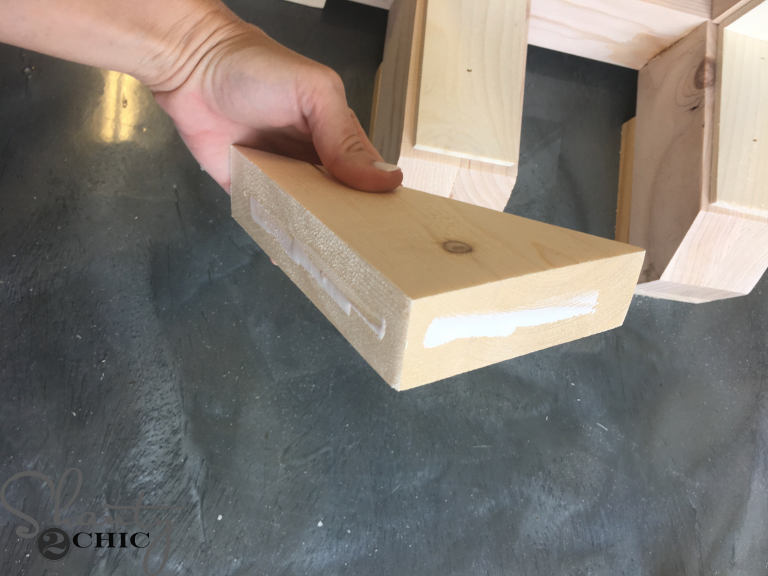
Flip the table back over and cut the short craft board pieces to size. Apply wood glue
and attach them to the base and top frame of the table. Use 1 1/4″ brad nails. The craft boards will be flush with the legs and every side of the legs will have a craft board, except the inside.
Now, cut the long craft board pieces to size. Attach one on top of each short craft board and into the side of each leg. Use 1 1/4″ brad nails and wood glue.
Follow up with the top of the legs, as well.

Next, cut the 16 wooden corbels to size.
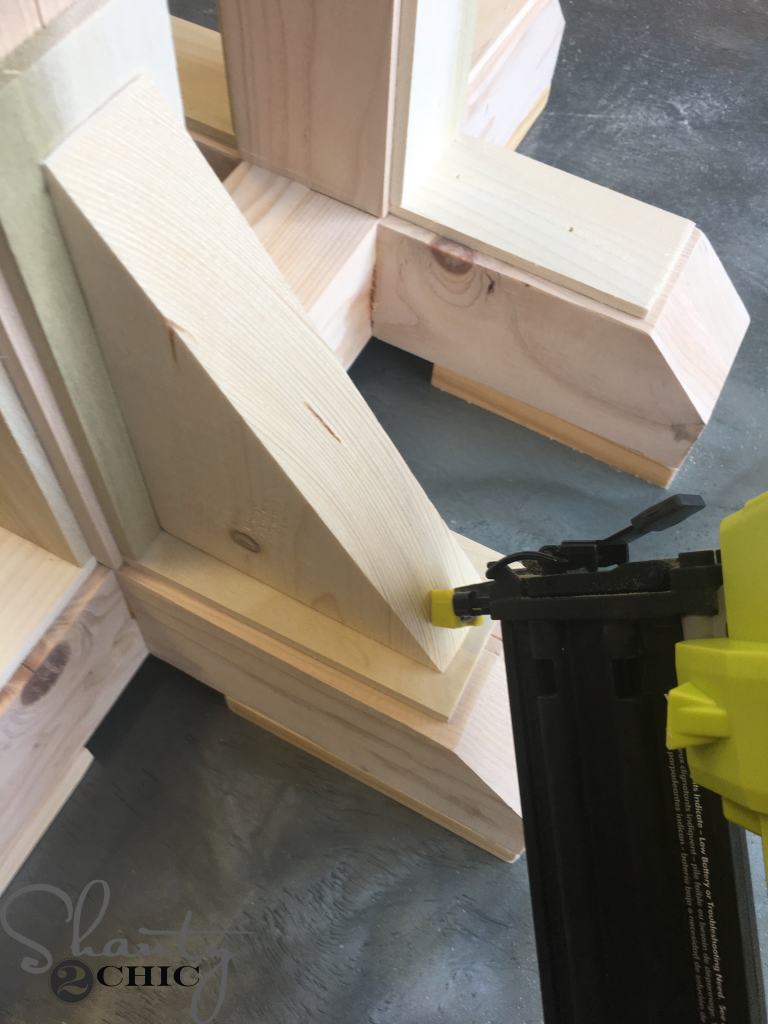
Attach one to the outside end of each leg and underneath the runners. Use 1 1/4″ brad nails and wood glue. Drive the nails in close to the edges of the corbels, so the nails will go through and into the table base.
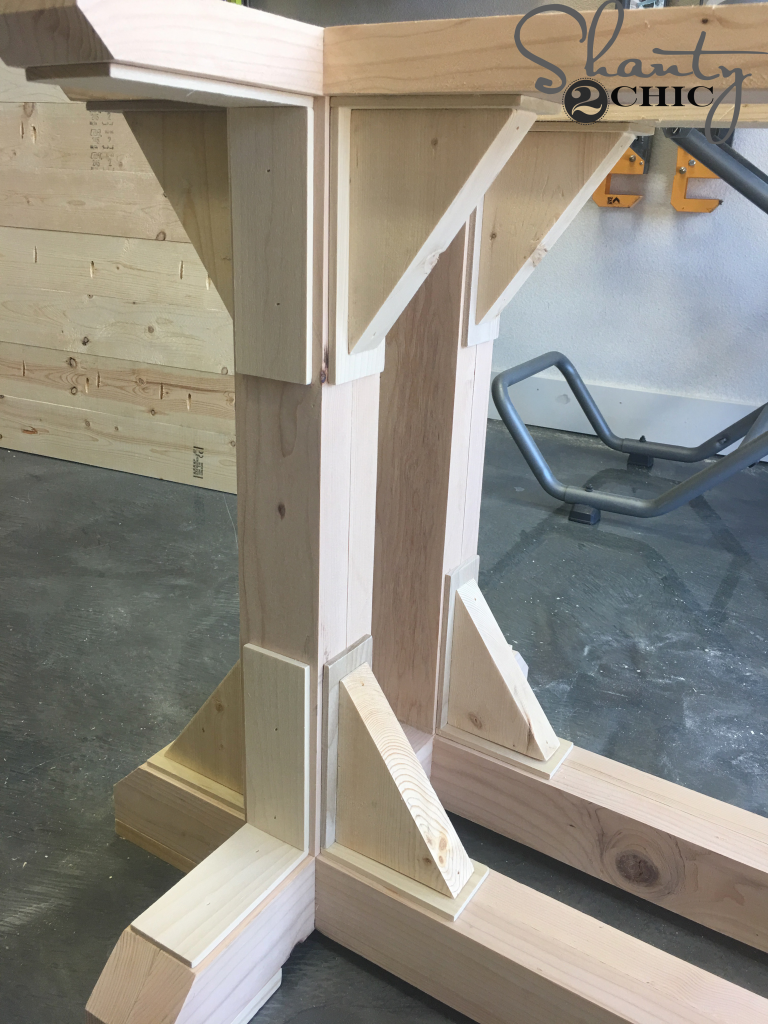
Here is one side, of the table base, with the wooden corbels attached.
Building the Table Top
Step 6: Attach the Table Top Planks

Attach the table planks together with 2 1/2″ pocket hole screws. Tip: when I am attaching table top planks, I use my Kreg Face Clamp at every pocket hole joint to create a smooth table top surface.
Step 7: Attaching the Bread Boards

Once the planks are attached, measure and cut the breadboards to fit. Attach them with 2 1/2″ pocket hole screws, through the pocket holes drilled in the ends of the planks, and into the breadboards.
At this point, you can attach the table top to the base, or you can wait until you bring it inside. I waited until I brought mine inside to make it easier to move.
Applying the Finish
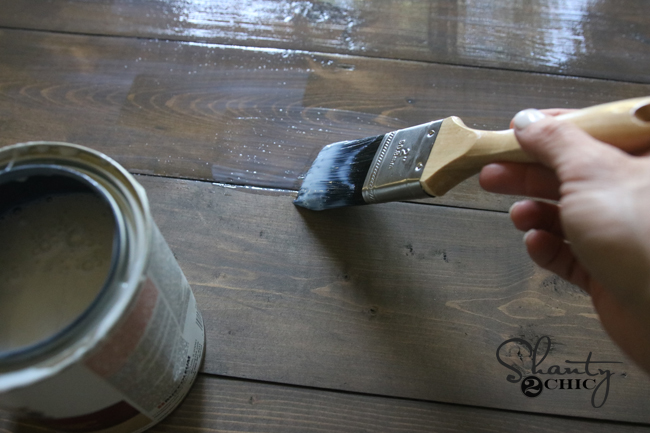
Step 8: Stain
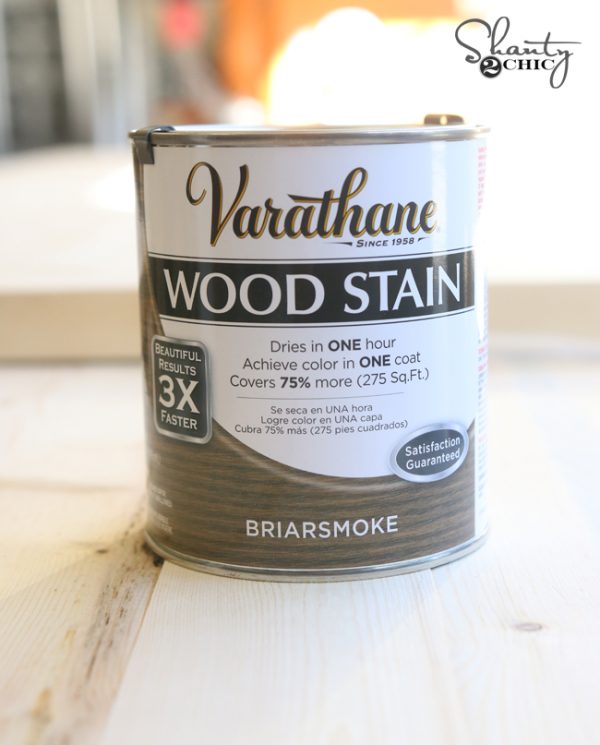
I used one coat of Briarsmoke stain by Varathane!
This is my favorite color of stain right now! It’s the perfect balance of grey and brown 😉 I used a lamb’s wool applicator to apply the stain. These are about $5 each and you can only use them one time. So, I only use them on large pieces but they make staining so much easier! You can find them at Home Depot with the stains.
Check out our How to Stain Wood video for a more detailed tutorial!
Step 9: Applying a Polyurethane
I applied one coat of our favorite Triple Thick Polyurethane by Varathane, in satin finish.
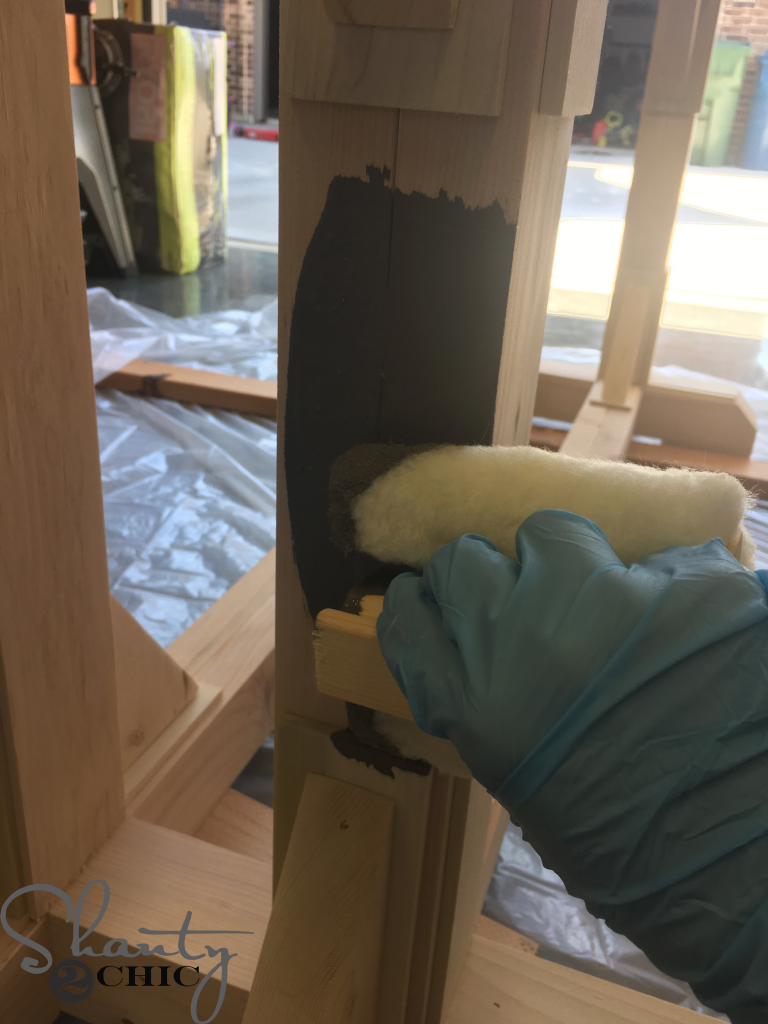
Step 10: Attaching the Metal Corbels
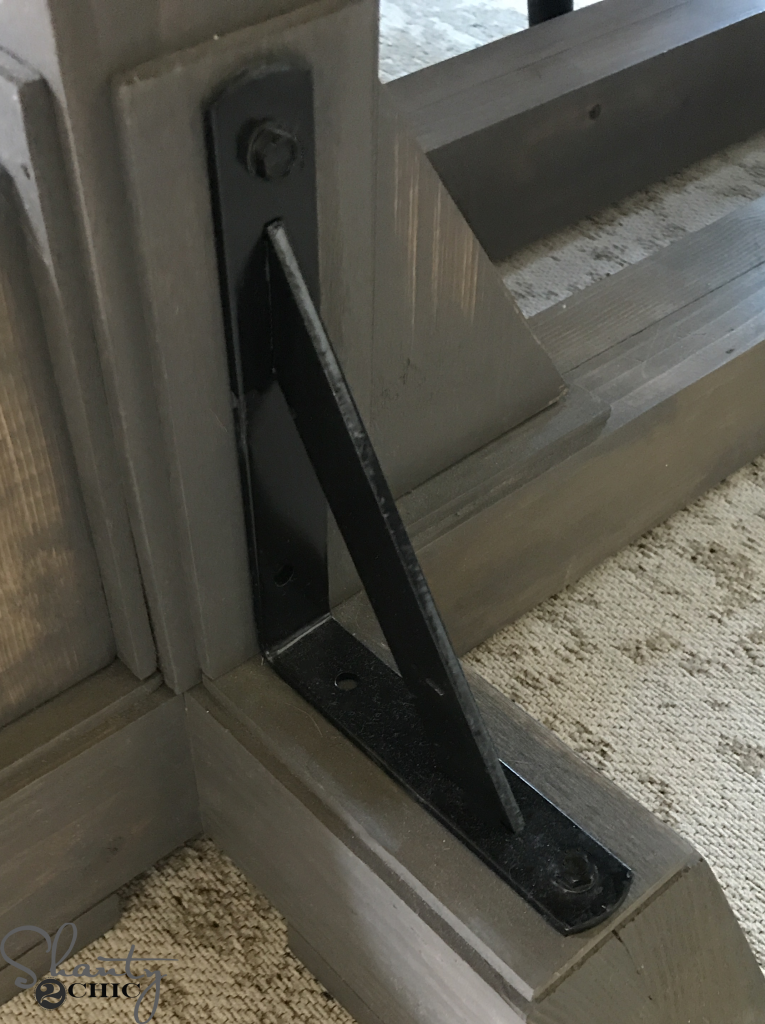
Once the poly was dry, I brought my table inside and attached the top to the base. Then, I attached the 8 metal brackets with hex screws. I purchased these metal brackets on Amazon. I used black acrylic paint to paint the hex screws black.

That was it! I added this cute bread bowl and cute vases and stems!
Want info about the other items in this room? Click the links below for the info!
Vases:HERE
Stems:HERE
Bread Bowl: Vintage shop in Tennessee
Chandelier: HERE
Rug: HERE
Plate Rack: Free Plans Coming Soon!
Items on Plate Rack: sharing details soon!
Herringbone Wall Treatment: HERE
Curtains: HERE
Paint Colors: Wall – Soft Stones by Valspar; Trim – Ivory Lace by Valspar
Flooring: HERE


Can you post the plans for the ladder racks? I love them so much!
How long are the top and bottom runners? They are not listed in the plans. Thank you!
I would love to make this into a hightop/counter height table. Is that possible by simply making the legs taller? Or would it be too top heavy?
What size are the HD pocket holes screws???
What size did you use in the photo? Also what is your color as we can’t figure out if it’s the first photo or the second photo on the link? Thanks!
IS THERE A FREE PLAN FOR THE MATCHING BENCH?
Once I started putting everything together after making the cuts, I think the plans are off. Its says I need 8 of the sky blue boards (for the base) and 4 hot pink boards (for the chunky legs) but in the pictures at the bottom, its the other way around… Is this a mess up with the plans?
Yes. We found the same problem.
Just ran into the same problem today. Wish I would have r we through the comments first. Oh well…it’s good to have the extra 2x4s available for errors. I cannot wait to finish this build!!
Wanting to do this as a 10 ft table. Do you have a set of plans for that? Thanks for your time! ?
Bench plans please!!! Almost done building the table and already LOVE it 🙂
Is the wood stain all that is needed for the table top? Does it need to be polyed? The table will get a lot of use.
What type of wood did you use? I have a hard time finding wood that won’t warp after some time.
I have the same problem when using 2x wood. I use 1×6’s and frame it with 2×4’s for the table tops I build just like shanty2chic did on their restoration hardware dining table. I haven’t had any warping issue’s with that top.
Can you please post the bench tutorial?
I”d like to go longer/wider also, say 8 ft x (one 2 by four wider). Do I need to change anything underneath to support it properly?
I’m looking to do the same. Would love the dimension.
Thanks
Aimee
I may want to make it longer and/or wider. Is it possible? I’m guessing lengthen the runners, widen the base, and widen the top. Anything I’m missing?
Did you use a poly on this?