Learn how to install this DIY Barn Wood Herringbone Wall Treatment in your home with this free how-to video by Shanty2Chic.
What do you get when you combine 2 sisters, 4 hours and some beautiful reclaimed barn wood?
This DIY Barn Wood Herringbone Wall Treatment!
We teamed up with one of our best-kept Shanty secrets, Reclaimed DesignWorks! Whitney and I discovered this place when we were searching for old barn wood, for a project we were working on. After scouring Craigslist ads, we finally found someone that was selling old barn wood, we went to check it out and discovered that, not only was the majority of it falling apart, it was filthy and needed hours of prep before we could possibly put it to use. We threw the wood away and started searching on google for other options.
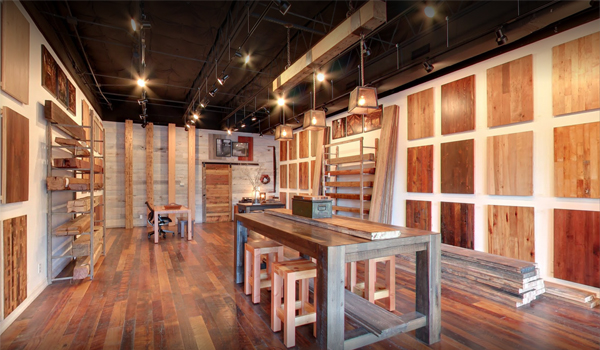
That’s when we discovered Reclaimed DesignWorks! They have old barn wood that has been cleaned, dried, it’s BUG and MOLD-free, it’s been tested for lead-based paint, it’s already been cut and milled and wrapped in bundles, ready to pick-up, take home and install! We had just discovered the mother-load of barn wood and couldn’t wait to get our hands on it!
We visited their showroom in Dallas, drooled over everything in their store, picked the perfect barn wood for this project, loaded it in the car and took it home! They have showrooms nation-wide but if there isn’t one close to you, they also ship bundles directly to your door! You can check out the barn wood that they have in-stock and ready to pick up, at any showroom, HERE!

We picked the Faded Gray/Brown Face Planed Barn Wood for this project. You can see it HERE!

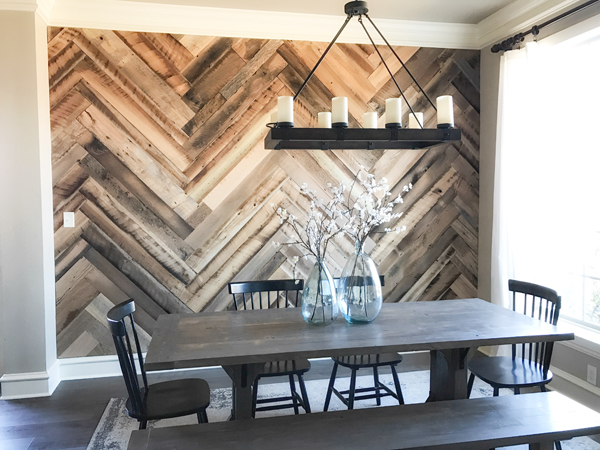
Want to learn how to create your own Herringbone Wall Treatment? Watch the video below and see just how easy it is!
Quick, easy and fun right!?!
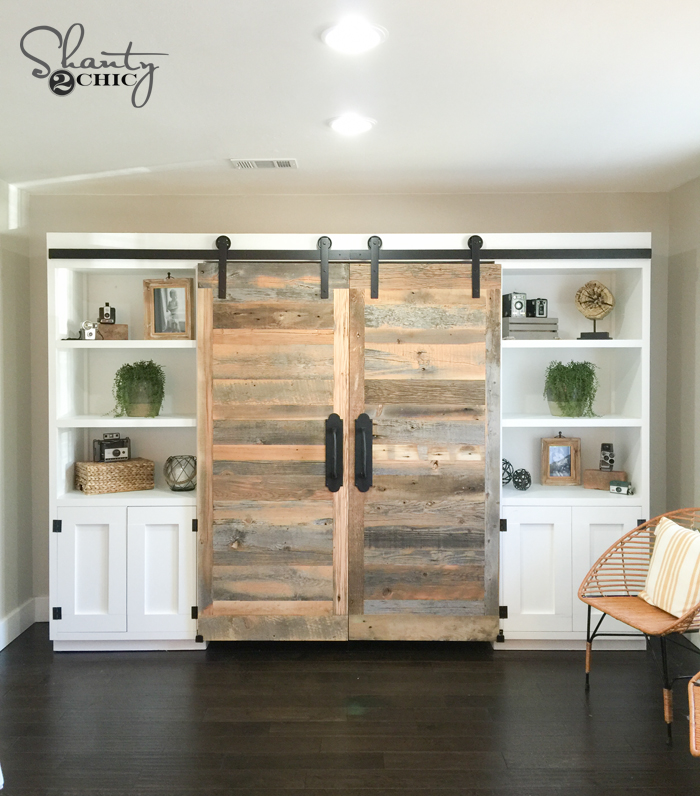
Here are some of the other projects that we have used Reclaimed Design Works barn wood on!


DIY Vent Hood – plans soon
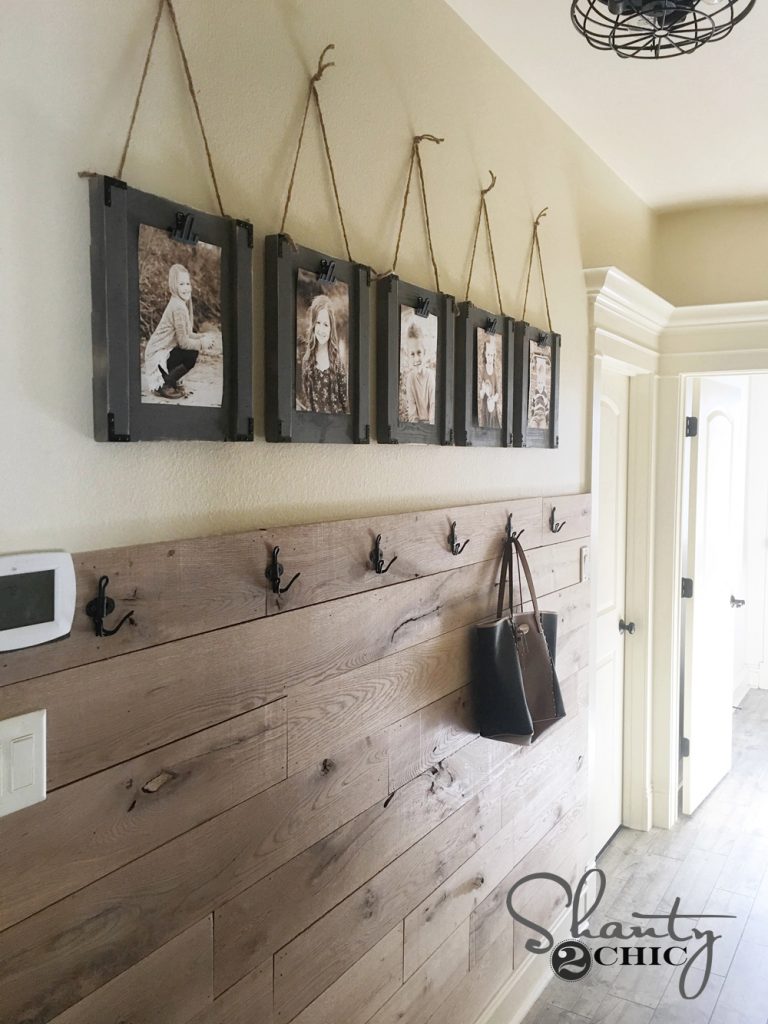
Planked Wall – Tutorial Soon!
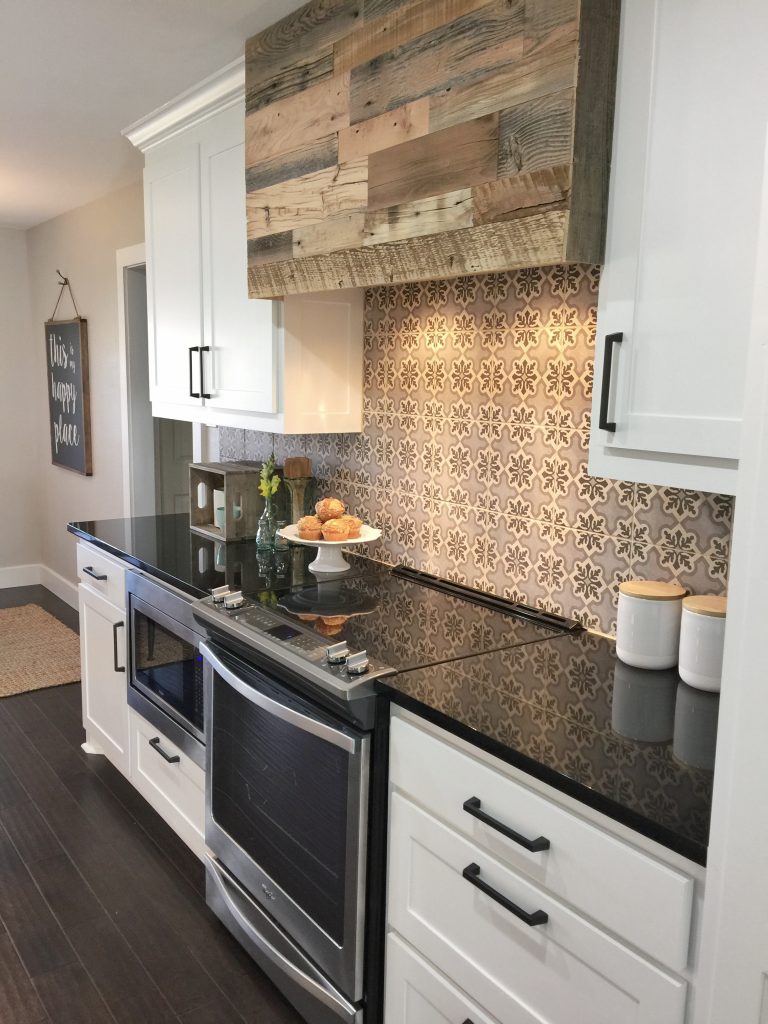
DIY Vent Hood


I tried it I think it came out great
I am going to make a smaller version of this. How do I determine the length that my boards need to be?
Great tutorial!! Would you recommend the herringbone pattern for a vaulted Wall? I tried searching for images and found none. I am looking for ideas on vaulted walls. Thanks!
Hi!! I am looking for the plans for the truss table! I can only seem to find the bench plans! Looking forward to starting this project with my hubby soon! ?
do you teach a tutorial on how to do the cuts on the bottom where it’s not the full piece of wood and you need the miter saw?
So you’re only putting nails in the studs right? ‘cuz long term, that little nail is coming loose of that gypsum. Also, to keep that pattern, everyone should know that before doing this, herringbone is not as simple as taking a zig-zag line vertical; you have to work outward from your start, in all directions, all the time. unless your boards are uniform, you will likely not be able to exactly replicate the varying zigs and zags without having first done a complete horizontal layout. In fact, that’s is probably what everyone should do; lay your herringbone out on the floor first, work out the kinks, then translate it to the wall, piece by piece.
We shared a video on the tutorial and did the entire wall on video. We also explained that the nails are going into the studs that we marked prior to building the wall.
You can buy longer screws and pull the electrical outlet out so that it is resting on the barn wood.
How did you address the light switch plate? It appears to be flush rather than against the back wall…
Love this so much!! Question though….How would you go about estimating how much reclaimed wood you need for a wall? I want to do this so bad! I just don’t know where to start on calculations.
Height X Width = Area
figure in foot dimensions and you will have the sq. footage add approx. 10% for cuts and waste
if various sizes are being used, up it to 15% since some board sizes will likely be unusable towards the end
I love this style
These design ideas are amazing! I don’t know which one I would choose first. Is it possible to cut the angles needed for the wall project without a miter saw?
Yep, you can use the miter gauge on a table saw, or a handsaw with a miter box, or a jigsaw or circular saw and using a straight edge as your fence/guide with a square that you can mark a 45° with, or even with a router if you have a bit that is as long or longer than the width of your wood.
I just saw reclaimed lumber bundles in Home Depot for $26/bundle.
Amazing pics. What a lovely giveaway. Followed the steps. This would be amazing in my home.