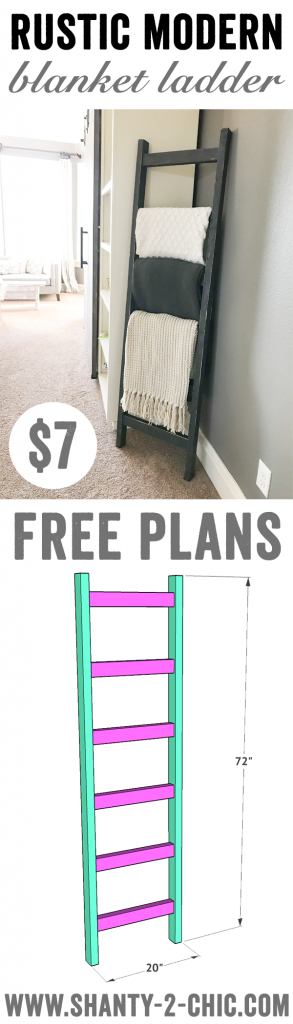
You only need two tools to build this DIY $7 Rustic Blanket Ladder with free plans and a full how-to video!
All you need to build this wooden blanket ladder is 3 boards, 2 tools and less than $10! That’s a lot of bang for your buck and you’ll have those throw blankets off the floor in no time! Grab a coffee and come build this DIY Blanket Ladder with us in our garage!
You can watch us build it below!
You can download the FREE Printable Plans HERE
You can also follow along in the how-to below!
Table of Contents
How to Build a DIY Blanket Ladder
Supplies:
- 3 – 2x3x8 Pine Boards or Framing Lumber
- 2 1/2″ Finish Nails
- Wood Glue
- Paint or Stain
Tools:
- Miter Saw (or Circular Saw)
- Finish Nailer (or Hammer and Nails)
Step 1: Cut the Lumber for the Blanket Ladder

Start by making all of your cuts, based on the cut list in the free plans. I used my miter saw to make the cuts but a circular saw or hand saw would work great for this design because there aren’t any angles to cut.
Step 2: Attaching the Blanket Ladder Rungs
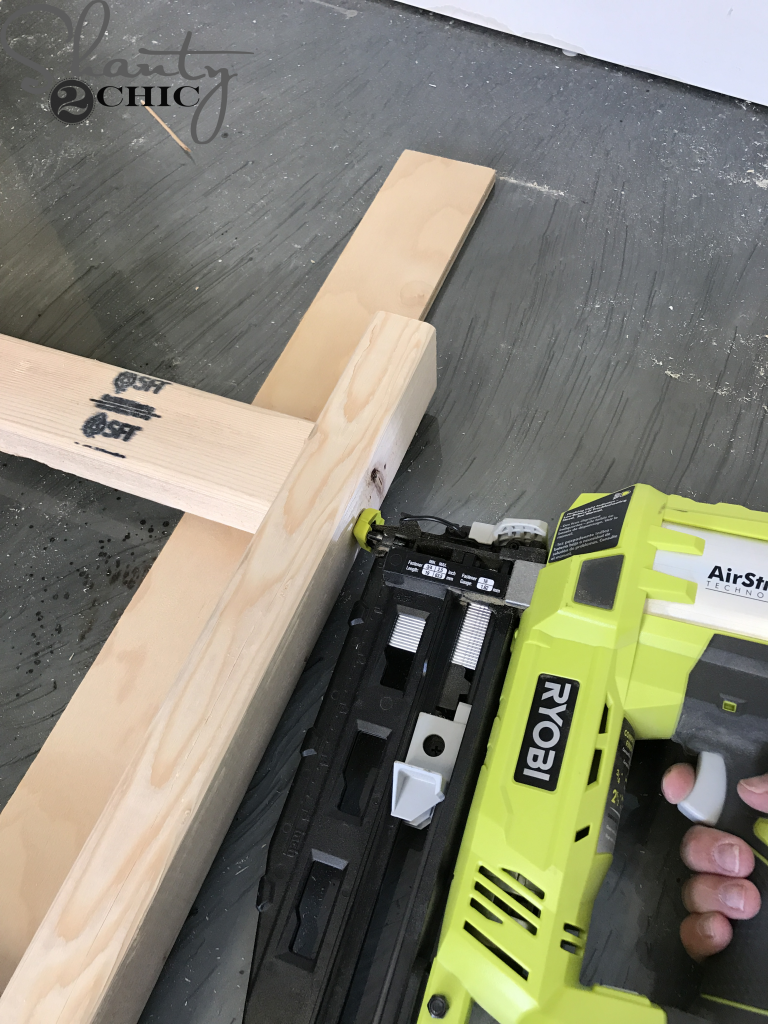
Use a pencil and measuring tape to mark where each ladder rung should be, according to the PDF plans. Start at the top of the ladder and attach a rung with 2 1/2″ finish nails and wood glue. We used our Ryobi 16 gauge finish nailer.
The ladder rungs should be centered on each 2×3 board so adding a scrap piece of 1/2″ wood, under the rungs, will make it easy to center them up.
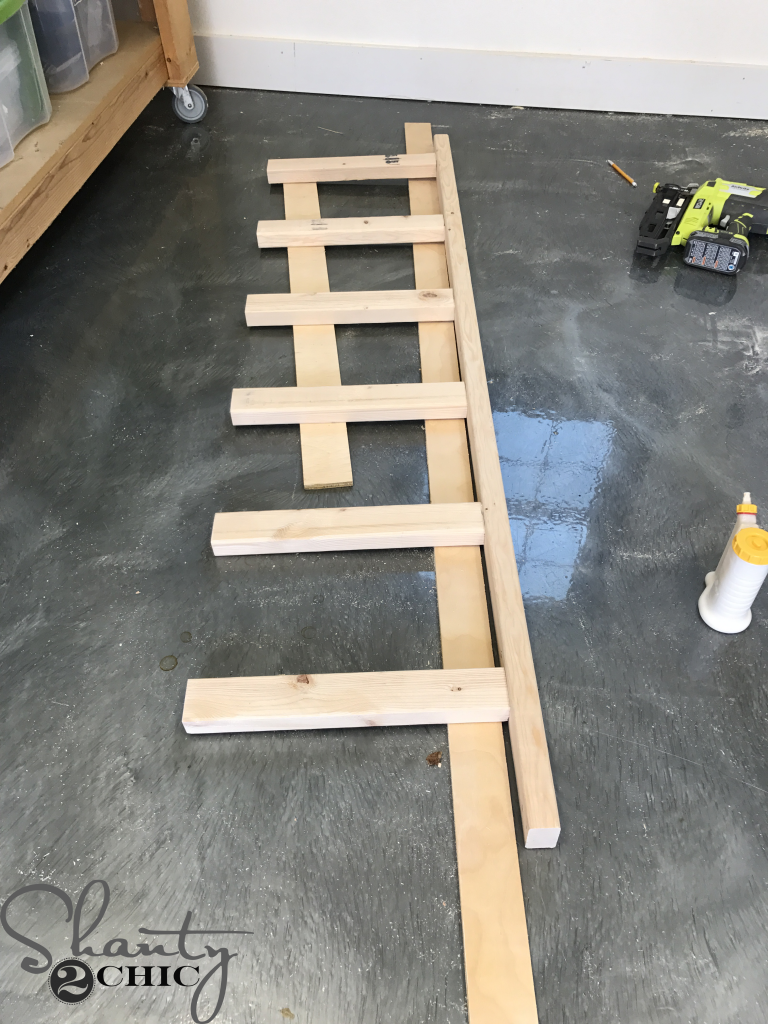
Just work your way down the ladder, then attach the second side piece to the rungs.
Step 3: The Finish
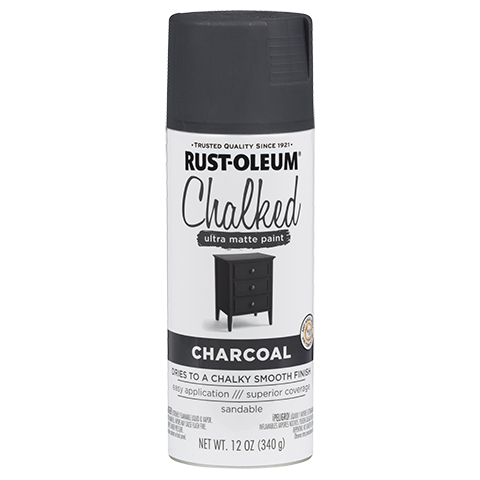
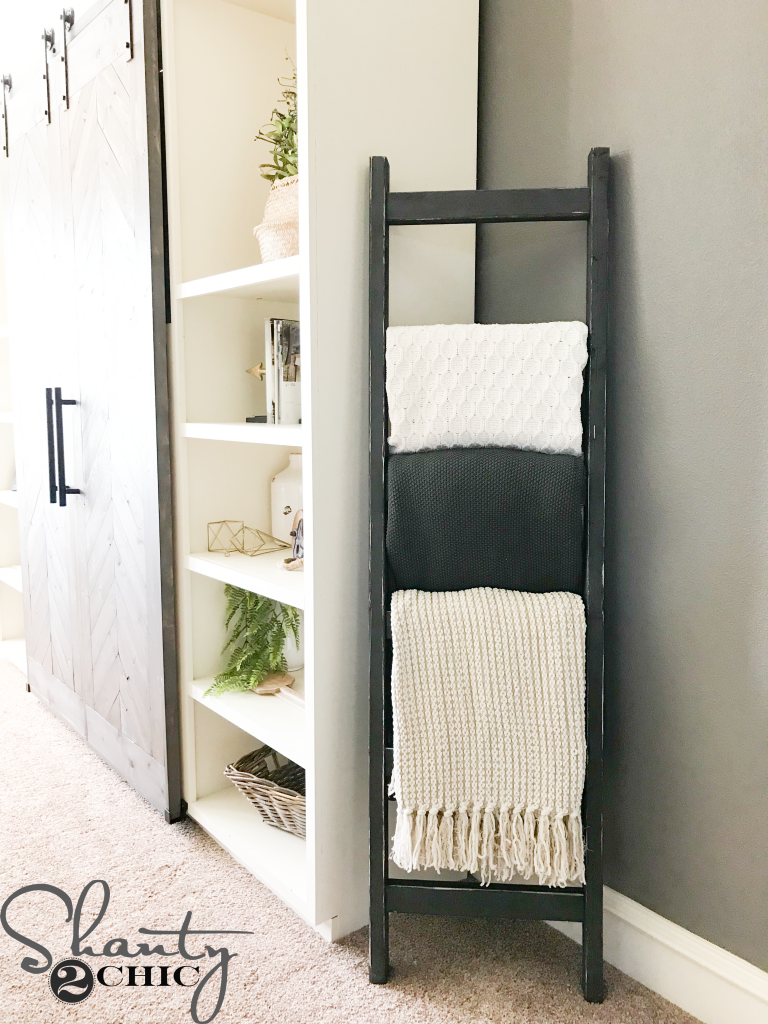
We gave the ladder two good coats of Charcoal Chalked spray paint by Rust-Oleum!
- You can find it in most Home Depot stores or HERE on Amazon!
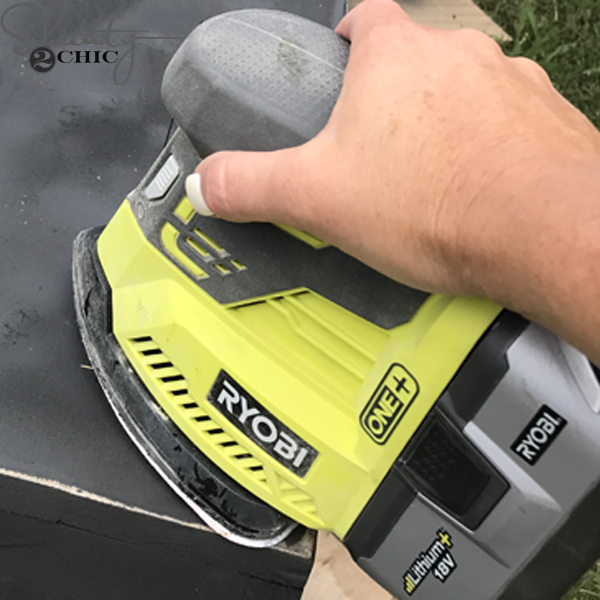
To give the ladder a more rustic look, we used our Ryobi Corner Cat Sander to sand the edges of the ladder, to reveal the wood.
Make sure to use an old rag to remove the dust left behind. You can add a polyurethane if you would like. Rust-oleum makes a Chalked Matte Spray Paint poly.
That was it for the build!
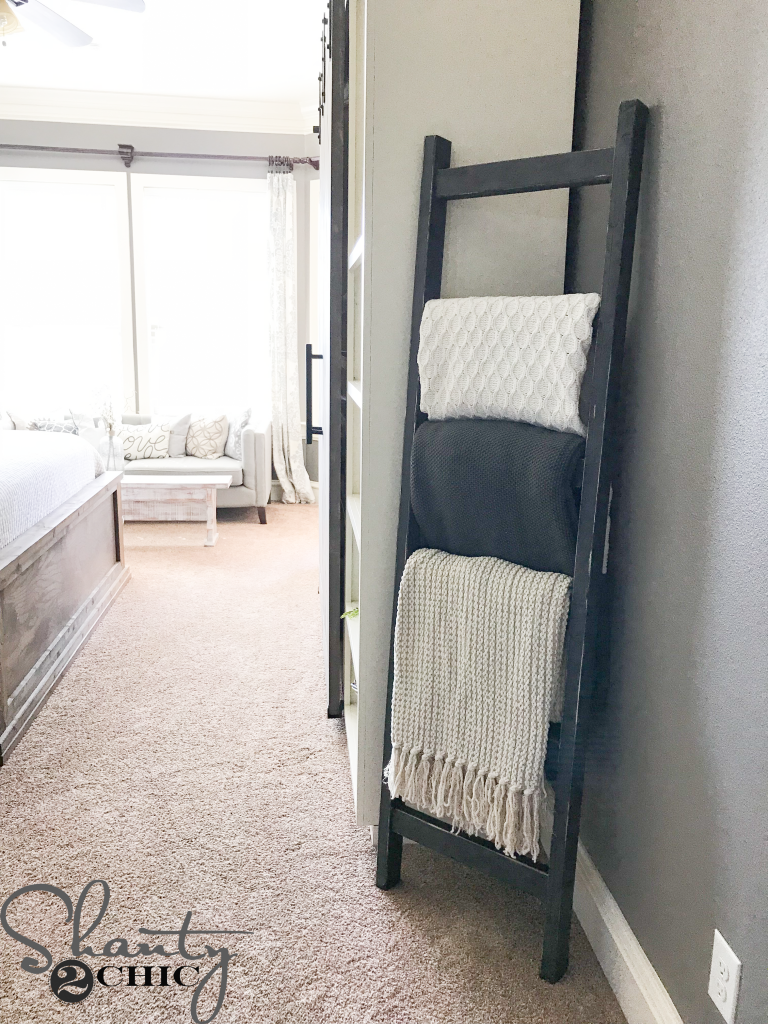
I love the chunky look the 2×3 boards give the ladder!

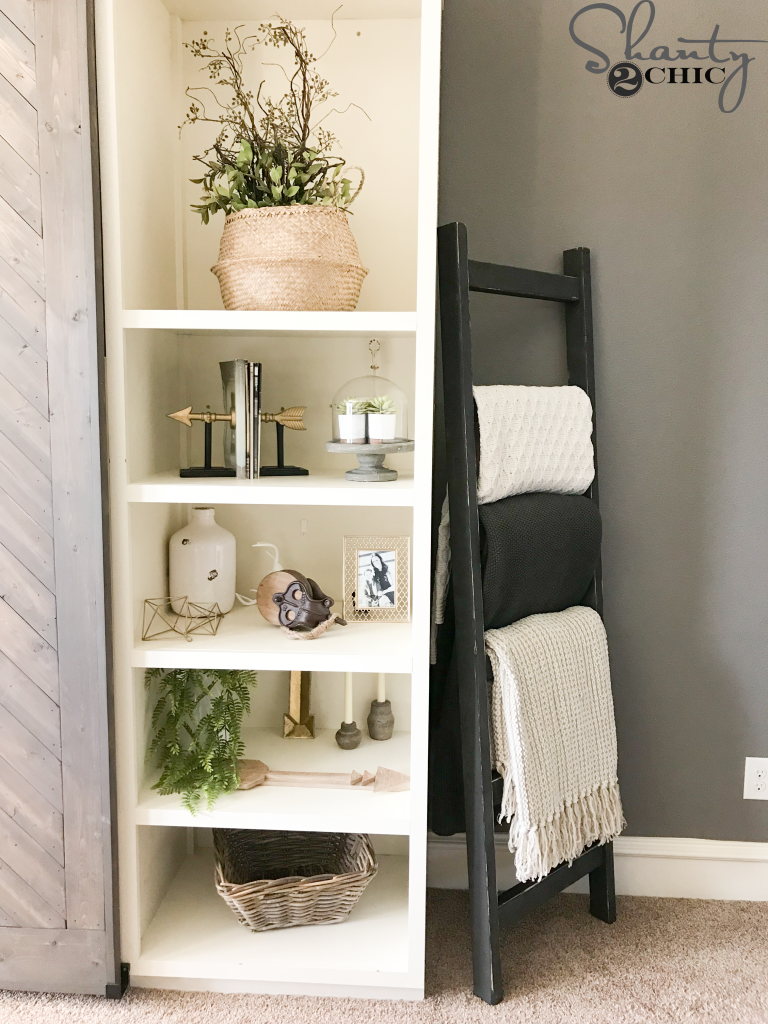

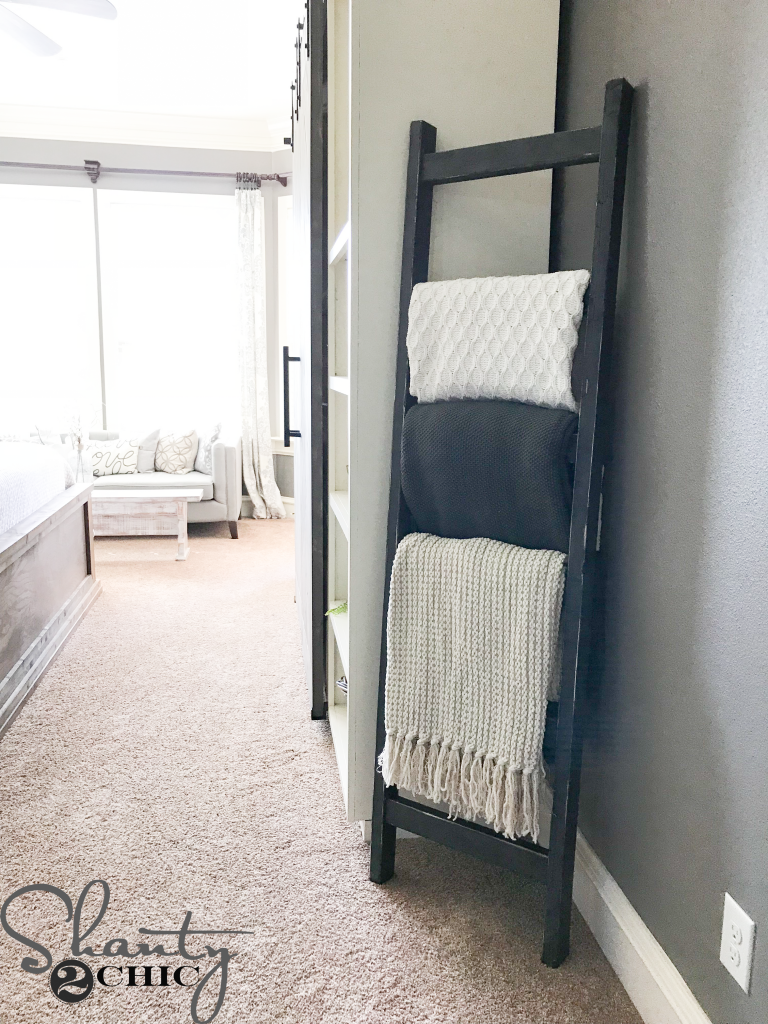
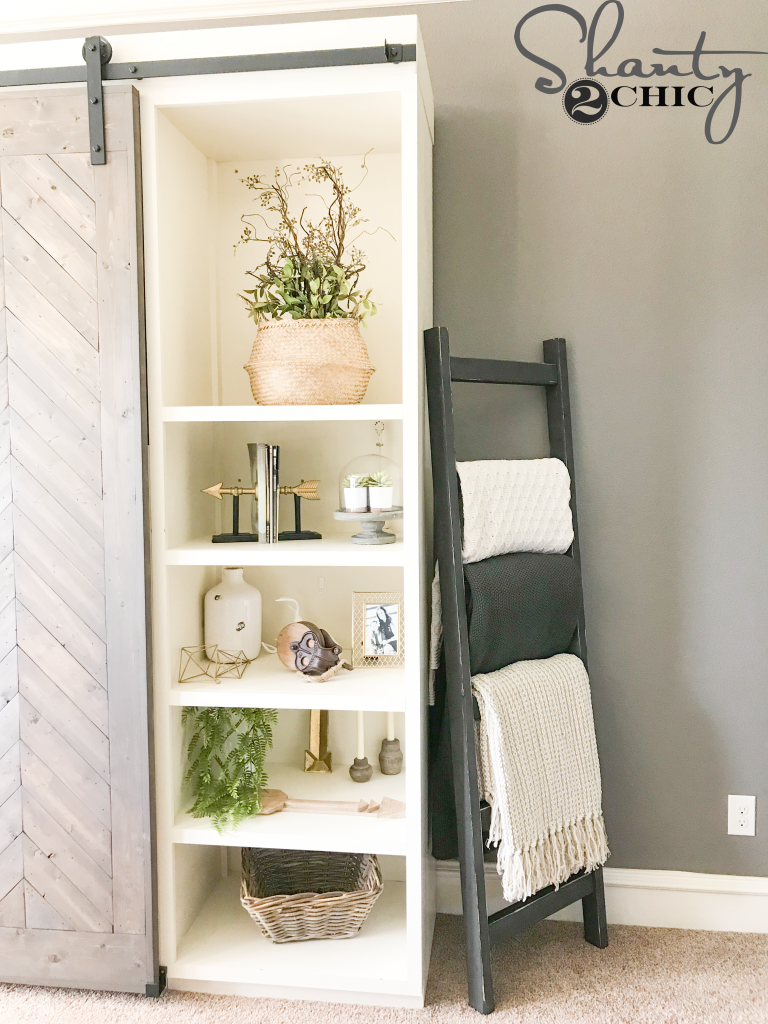
I love blanket ladders because they offer the perfect combination of for and function! They make great storage for towels in bathrooms or outside by the pool. Of course, they’re great for blanket storage and add unique decor to any room! If you’ve got excess blankets or towels this is a great way to show them off!
Thanks so much for stopping by!
Happy Building!
Check Out Our Other Free Blanket Ladder Tutorials!
- Barn Door Pull Blanket Ladder
- $15 Blanket Ladder
- DIY Modern Blanket Ladder
- Blanket Ladder with Wood and Metal Pipe
We always appreciate you pinning and sharing our Free Plans!


Really that is great idea to build a ladder with in only $7. I love it and I must Use it.
In this article, you share more information, resources, and images.
Just awesome!!
Can you share with me how many types of finishing nailer out of market right now?
Keep it up
Hi,
Hope you are doing well.
sorry to say that I don’t want to stay anymore. Can you please, remove my comment and my backlink.
“James Collins on January 9, 2020 at 11:39 pm
In this article, you share more information, resources, and images.
Just awesome!!
Can you share with me how many types of finishing nailer out of market right now?
Keep it up”
Thanks and regards
For the finish, what grit sand paper did you use for the the distressed look?
I recently made a ladder out of 2×2’s to keep in my closet to use for tall shelves. It’s lightweight and doesn’t take up a lot of room. Now I’m concerned that it’s not sturdy enough. Could your ladder be used as an actual ladder? I weigh 125lbs.
If you used finish nails it probably isn’t strong enough. If you use screws or framing nails that would be much sturdier so the rungs don’t fail.
So cute! Where did you get the blankets? The one on the bottom especially.
When building this project, what type of wood did you use, or does it even matter?
When building this project, what type of wood did you use, or does it even matter?
If you have the Ryobi 18volt nail gun and it only allows up to 2 inch brad nails, what other suggestions do you have to attach the rungs?
If you have the Ryobi 18 gauge nail gun and it only allows up to 2 inch brad nails, what other suggestions do you have to attach the rungs?
2″ will work fine!
Doesn’t the airstrike have a maximum of 2 inch nails? Couldn’t find 2.5 inch nails, then realized it has max of 2.
We used the 16 gauge finish nailer and it allows for 2.5” nails!
Doesn’t the airstrike have a maximum of 2 inch nails? Couldn’t find 2.5 inch nails, then realized it has max of 2.
We used the 16 gauge finish nailer and it allows for 2.5” nails!
How far apart are the rungs?
That info is on the printable plans that are linked towards the top of this page ?
The rungs in this plan are spaced 12″ apart, 3″ down from the top and 9″ up from the bottom which makes 12″ then each rung is 12″ from each other which equals 72″ which is 6′ but you can customize it if you wanted to. Not only can you finish it however you want with stain, paint, distressed, etc. but you can also make the ladder taller or shorter. You could space the rungs farther apart or closer together and you could use thicker or thinner wood. That is what is so great about having the plans because you can either build it exactly like the plan calls for or customize it however you like or depending on what materials you may already have!! You can use nails or screws, you can use pocket holes or any type of joinery that you want!! The possibilities are endless!
How far apart are the rungs?
That info is on the printable plans that are linked towards the top of this page ?
It turned out lovely. These ladders are so expensive to buy. Love that this one is so cheap.
It turned out lovely. These ladders are so expensive to buy. Love that this one is so cheap.