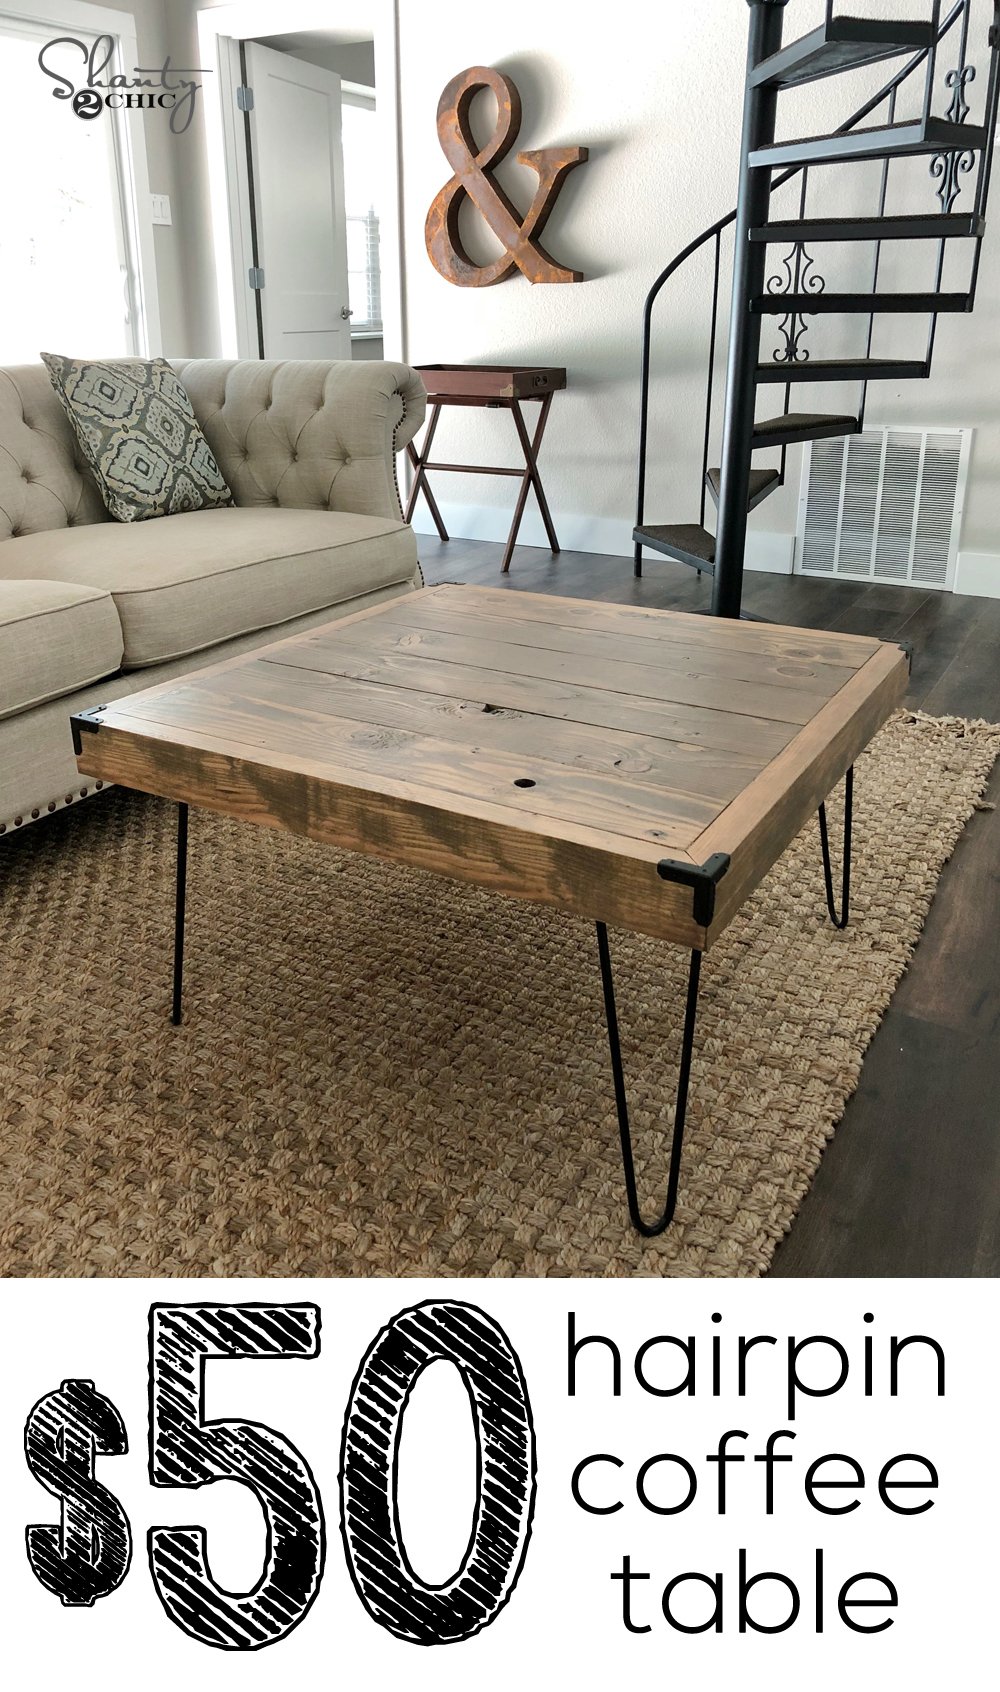
Hey friends! We LOVE how this latest project turned out! We found some really inexpensive and cute legs online, and decided we needed to design a hairpin leg coffee table! Before we get started, be sure to watch our YouTube video tutorial on this build HERE or below!
Check out how cute this square hairpin leg coffee table turned out!

How fun is that?! Now, HERE is the link to purchase the legs!
DIY Hairpin Leg Coffee Table – Free Plans
You can download and print the FREE PLANS HERE!
The first step we did was running our 2×4 and 2×6 boards through the table saw to cut off the rounded edges. You can see a video on how we do that HERE! This is not a required step, but will change the overall dimensions of your table, so make sure to change yours or measure and cut as you go if you don’t rip your boards down.
After doing that, we made all of our pocket holes. We used our fav Kreg Jig for this part! You can check it out HERE! Because this is 2x wood attaching to 2x wood, we created 1.5″ pocket holes.
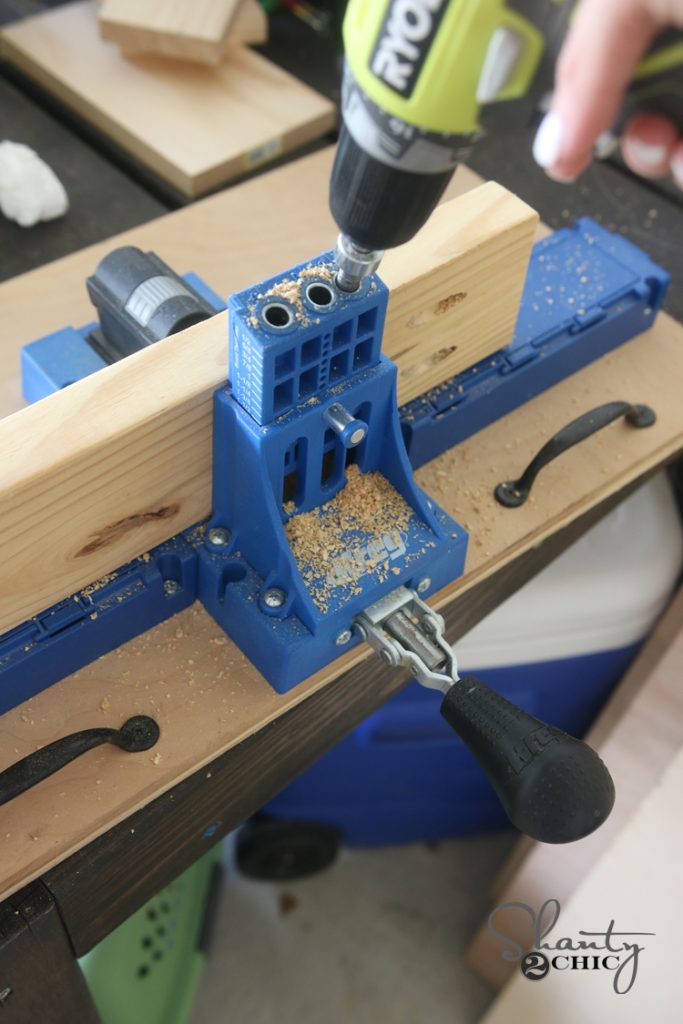
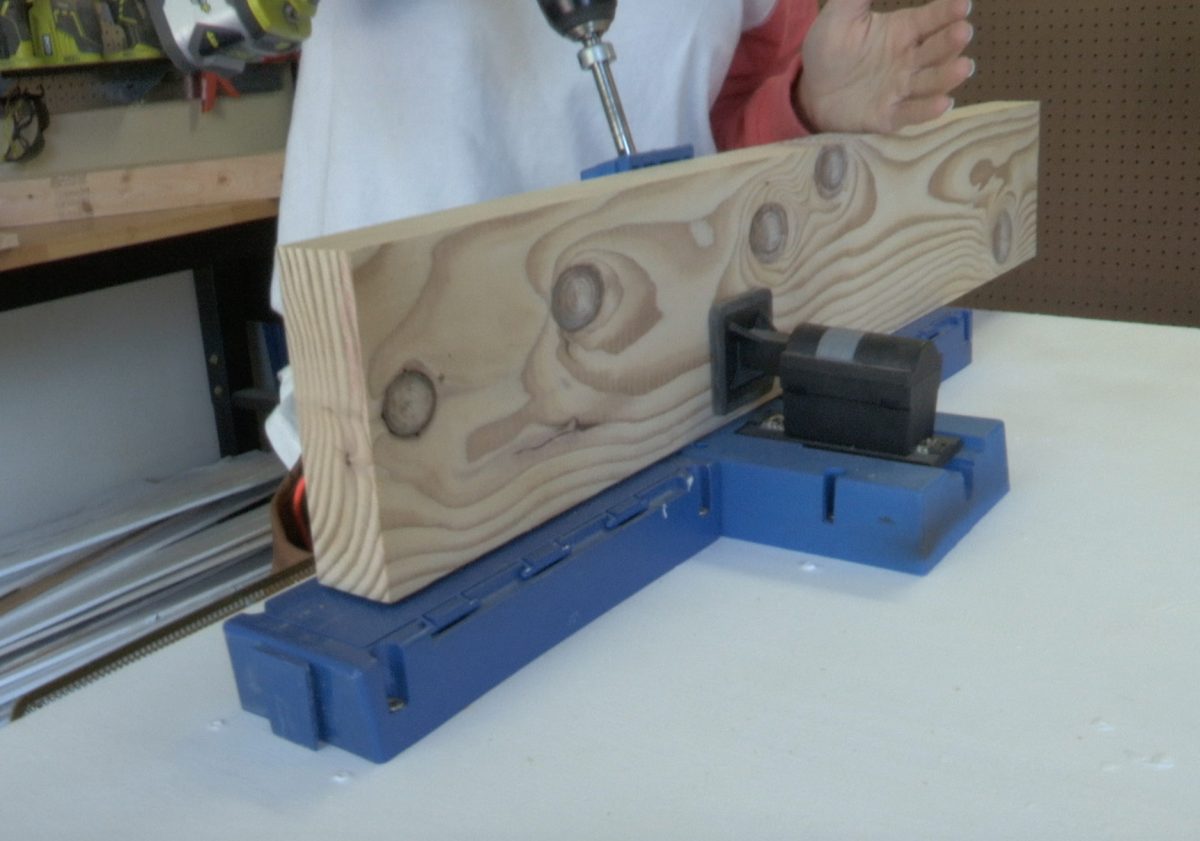
DIY Hairpin Leg Coffee Table – pocket holes
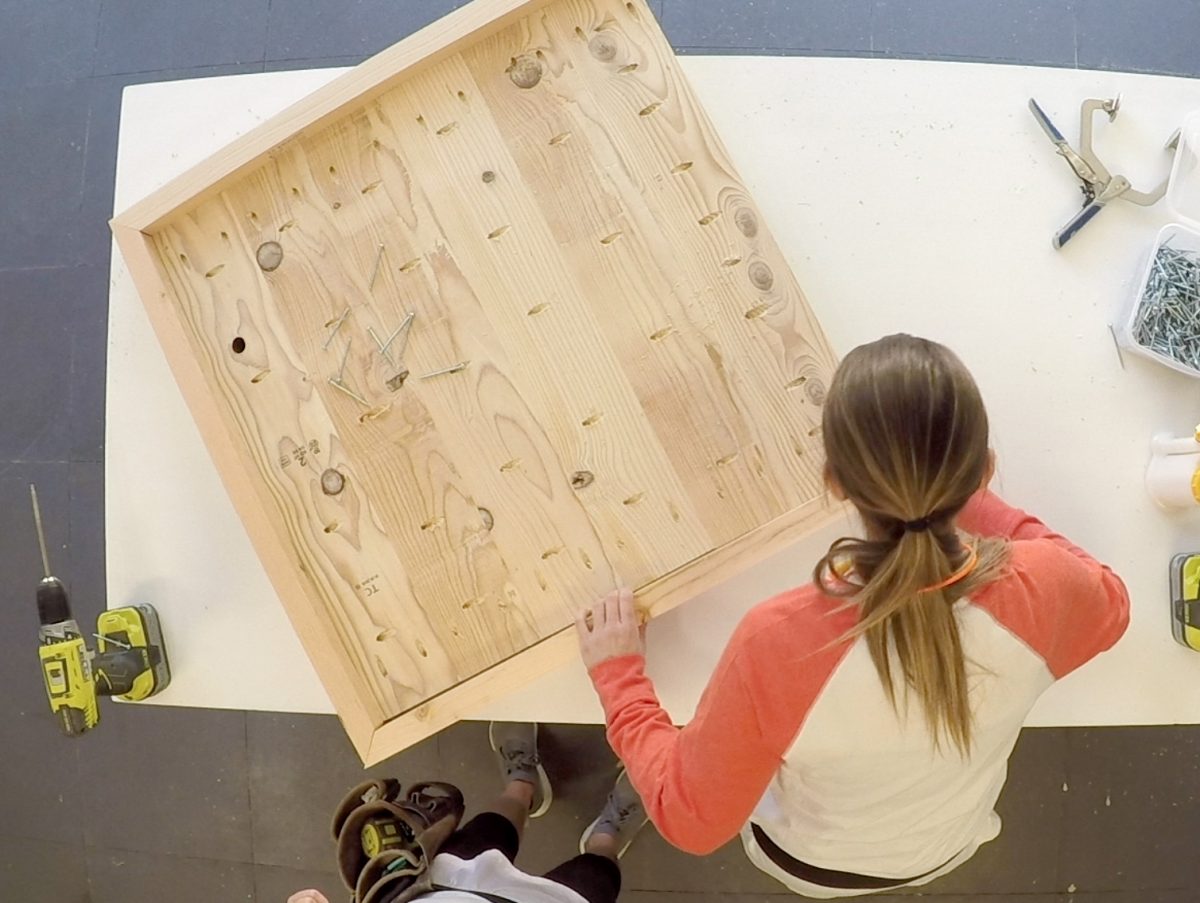
Once all the pocket holes are made, we laid the 6 planks out on the table with the bottom facing up. Make sure all of your pocket holes are facing up and the right direction. We attached these 6 planks using 2.5″ pocket hole screws.
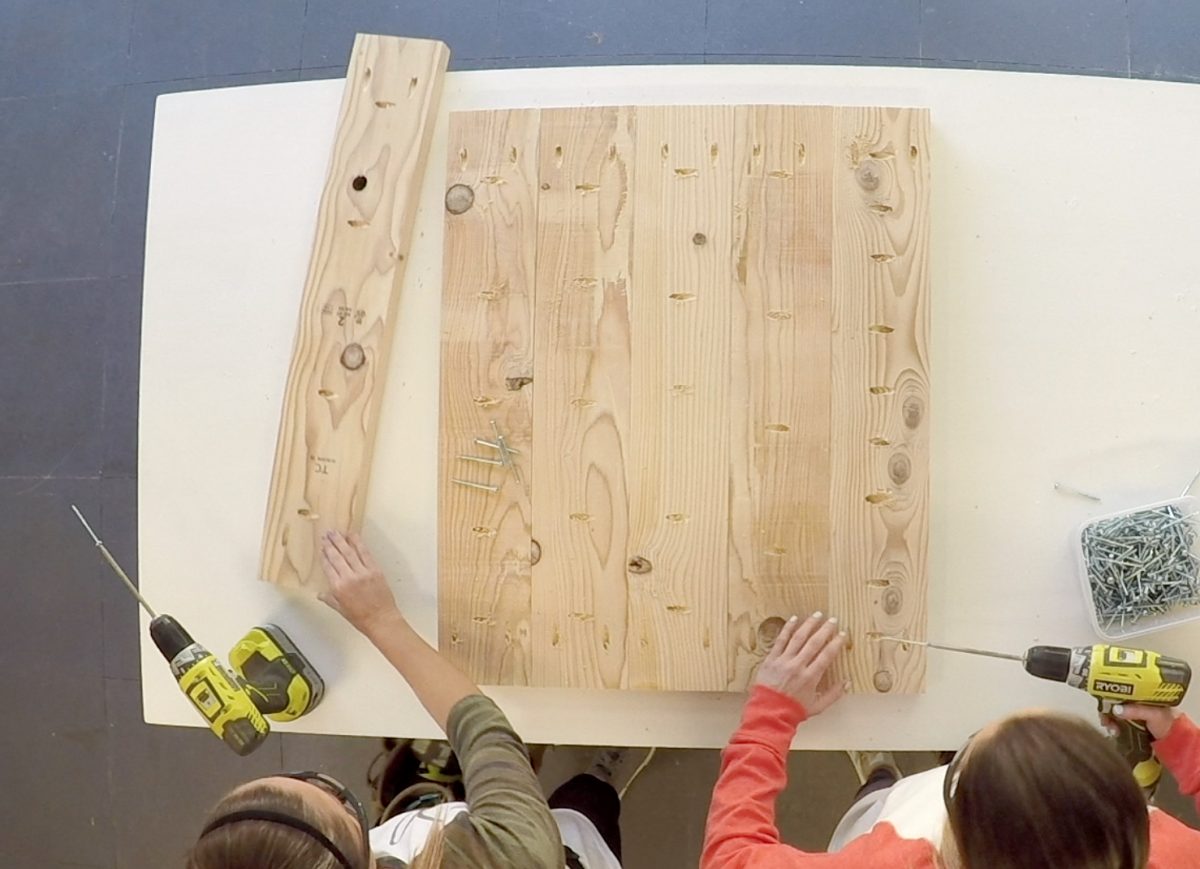
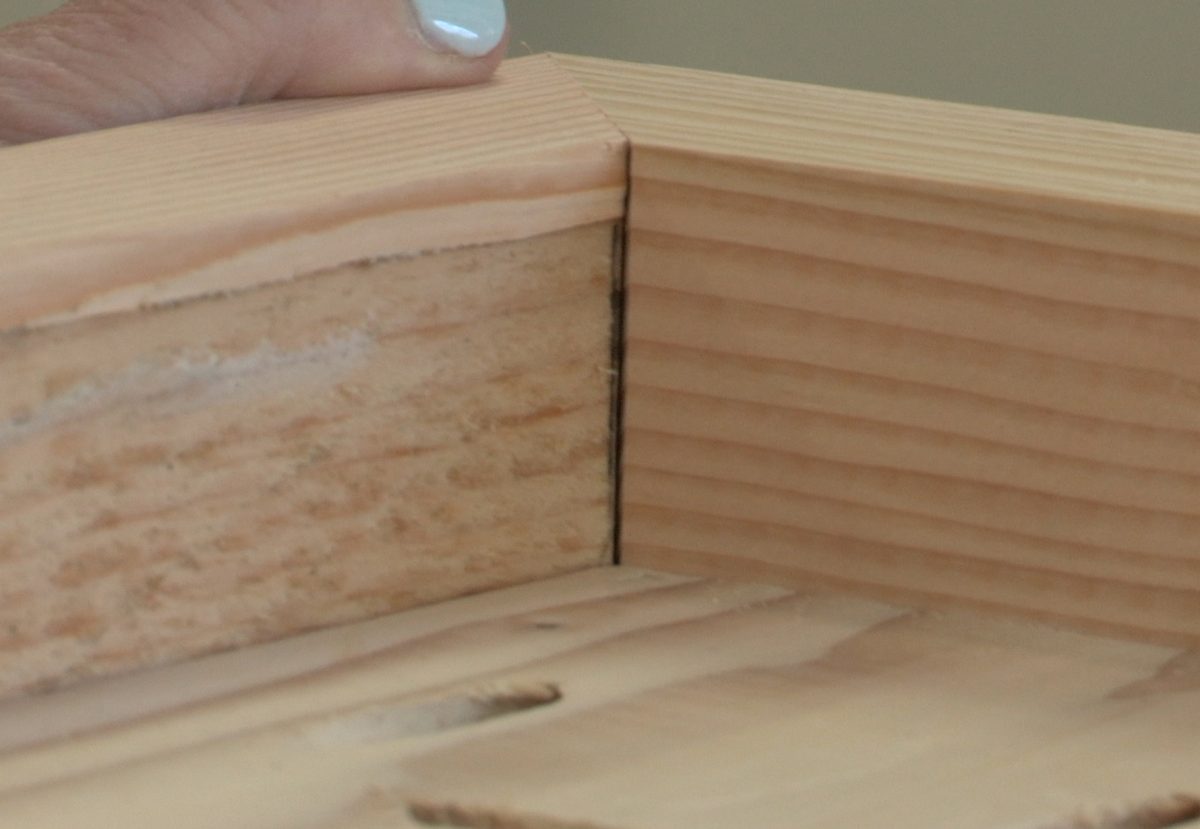
Next, we attached all of the trim pieces. These are 2×4 boards that we ripped to 3″ wide each. Each board is 33″ long and we cut the edges at a 45˚ angle to give the corners of the table a clean, finished look. We attached the apron pieces using wood glue and 2.5″ pocket hole screws.
DIY Hairpin Leg Coffee Table – add the foot pads
The final assembly step was adding the foot pads, or leg pads… Call them what you will! These are 1×6 boards we cut to 5″ each, and we attached one to each corner using wood glue and 1.5″ wood screws.
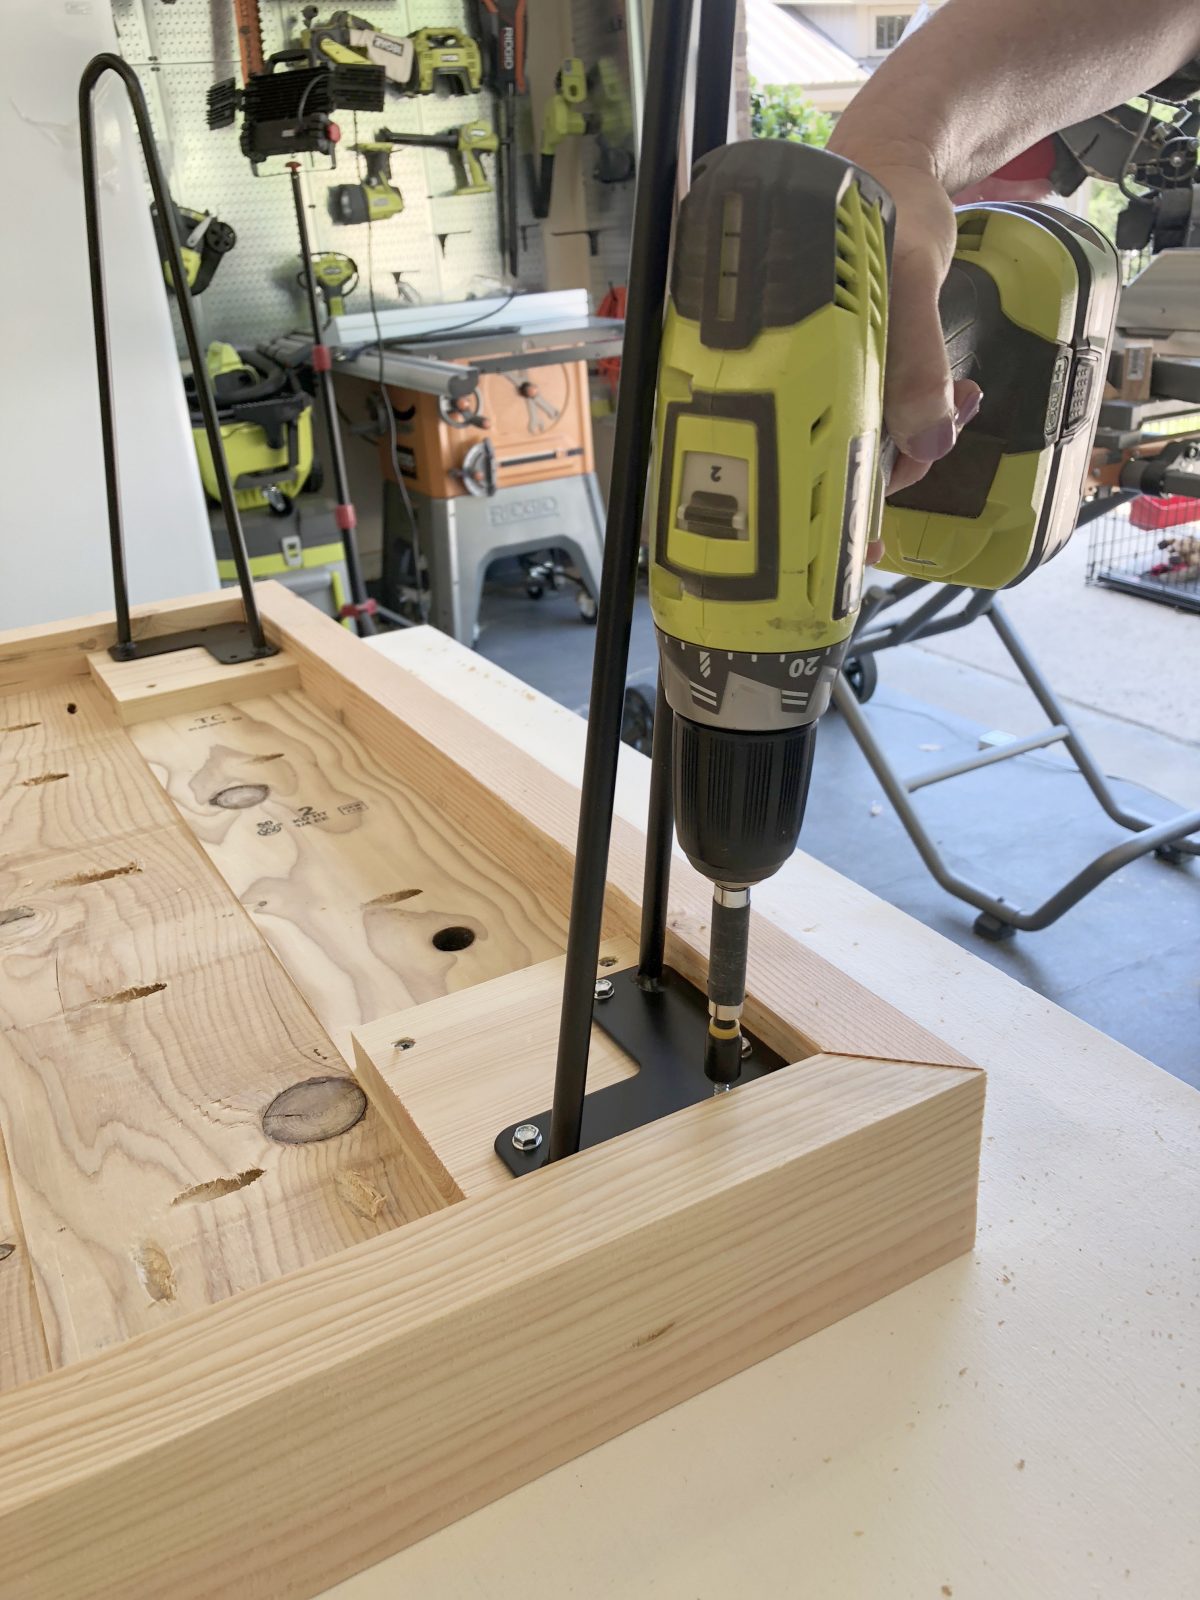
Attaching the hairpin legs was the last step before staining. We attached each of our legs with hex bolts, but any screw with a large enough head will work!
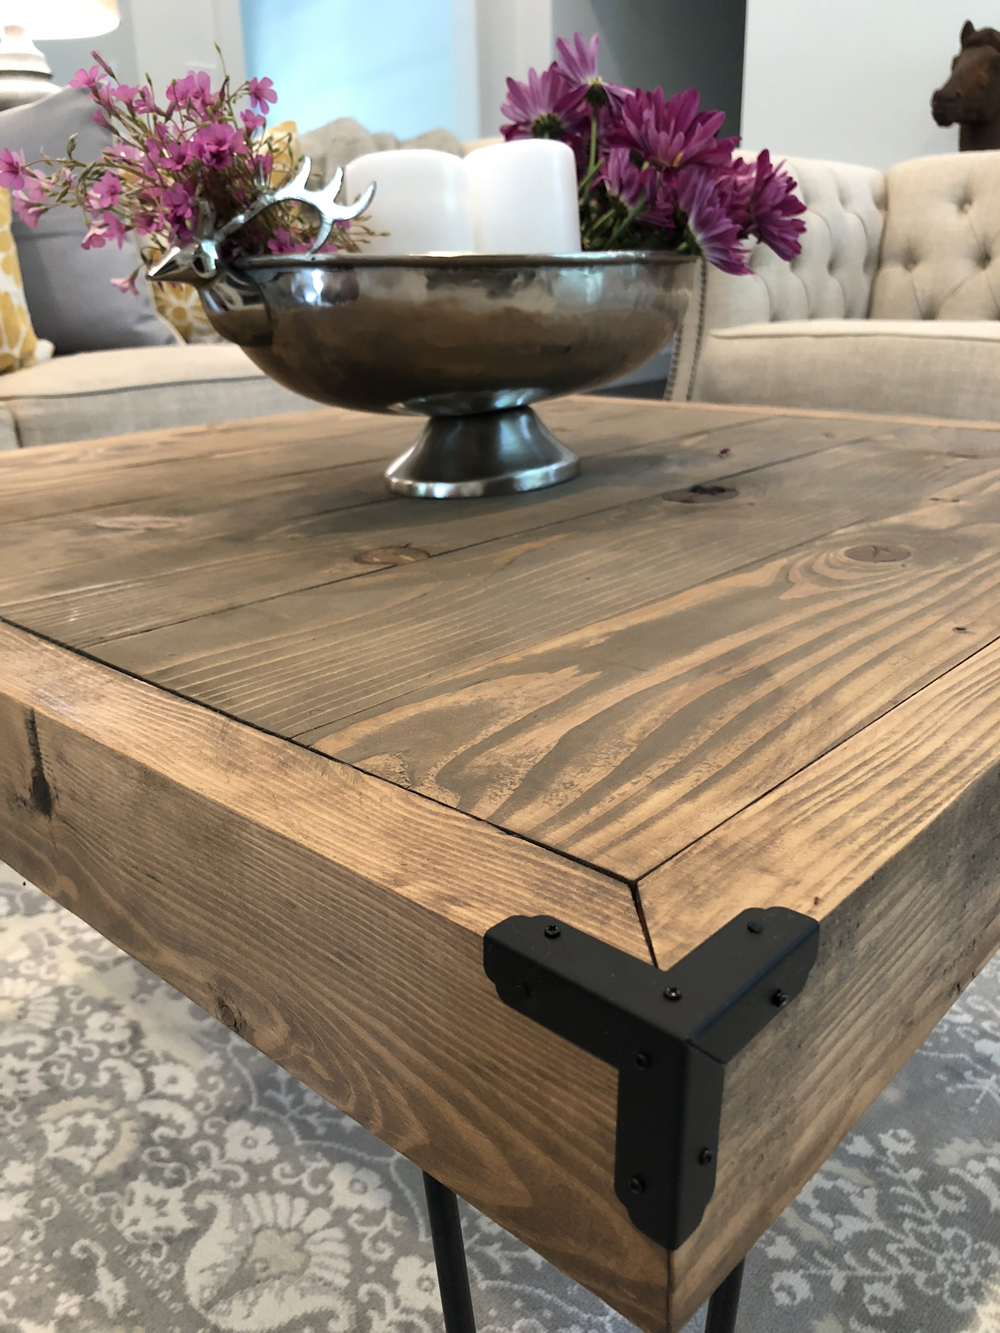
We chose to mix two stains for this table top. I mixed equal parts of THIS stain and THIS stain, and stirred them together. Mixing stains is a great way to get a more custom finish too!
We added the cute corner hardware after the stain dried! I LOVE these… They add the best finishing touch to this table! You can see them HERE!
And here she is all finished up!

What size legs? 16″ or 18″?
Nice table but never forget to finish it with a coat of polyacrylic or some thing similar… Otherwise great project!
what are the length of the boards that you ripped down to 5 in?
Hi! What’s the purpose of the pocket holes running underneath the table?
To keep the boards together, gives it added strength to the applied glue, probably not necessary if clamped and glued, but whatever.
How about plans for side tables
Did you use a poly or paste wax after staining? Thank you!
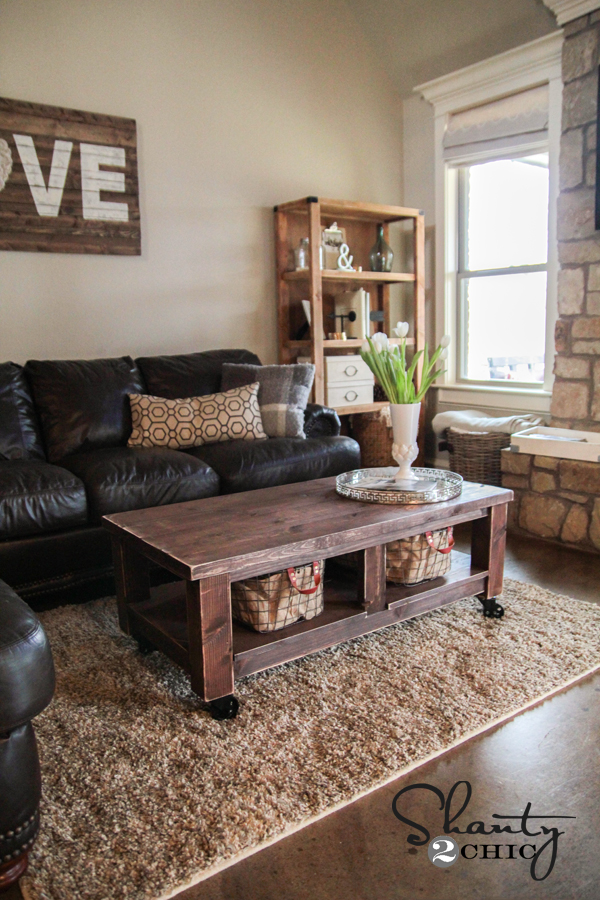
Love the table! Do you mind sharing where the wooden ampersand is from?
Are those the 12 inch or 16 inch legs? What length do you use. Thanks.
Hi Ladies! I made a dining room table just like this but the boards have started separating. I used pocket holes and glue. Could this be happening because of the temperature changes here in Texas or maybe the wood was wet when I built it and now that it’s had time to dry it’s separating? How do I fix it? HELP!!
Where did you find your hardware to be able to keep the cost under $50.00? I checked out the link you provided and it’s over $52.00.
Instead of ripping the wood could I use 1x6s and 1x3s for the more squares look? If so what size pocket holes do I use? New to Kreg Jig.
Thanks!
Do you sand your projects and what sander do you recommend?
The video showed them sanding the table with a ryobi orbital sander. Im sure any orbital sander will do but Ryobi, DeWalt, Ridgid and Tacklife make excellent ones.
Love the simple modern look!! I’m thinking we may have just found the perfect Lego table! LOVE your oversized ampersand too!! May I ask where you purchased it?
Love the modern look. It’s a nice change from the usual chunky farmhouse designs. Thank you.
Hi! Poly or paste wax to finish the table?