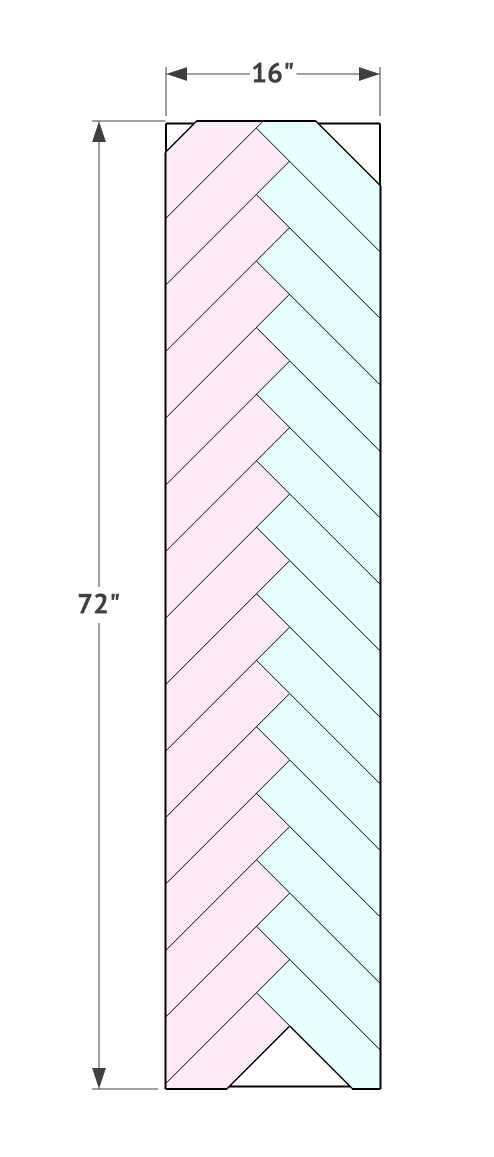
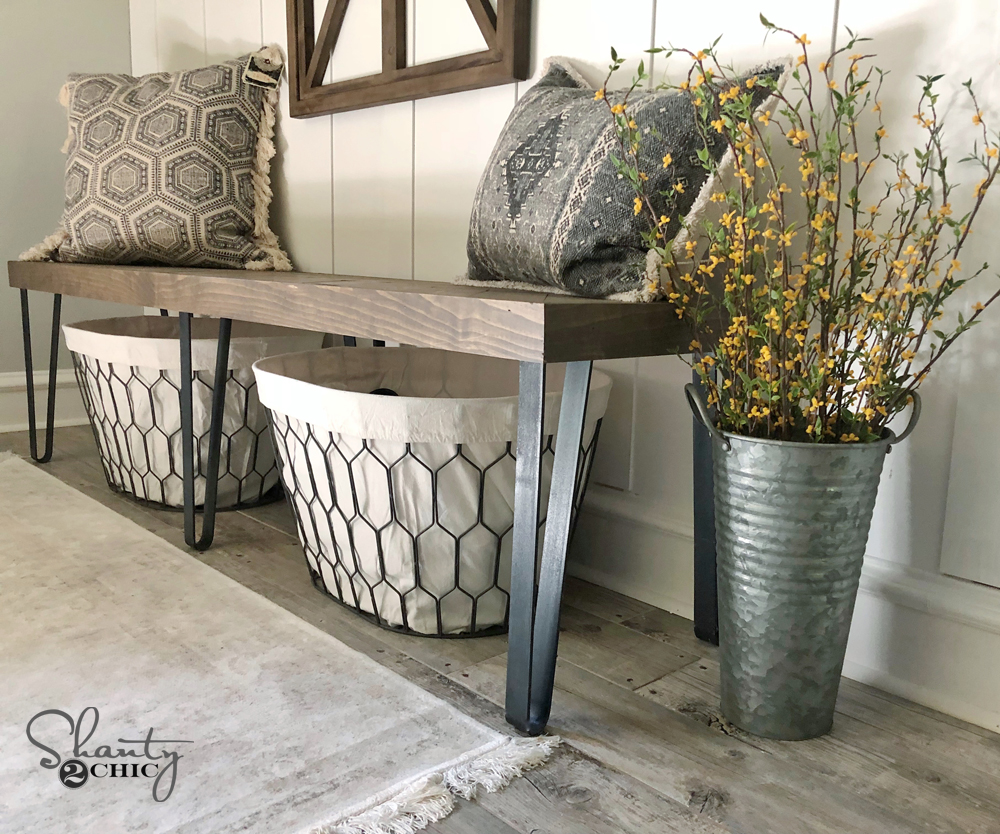
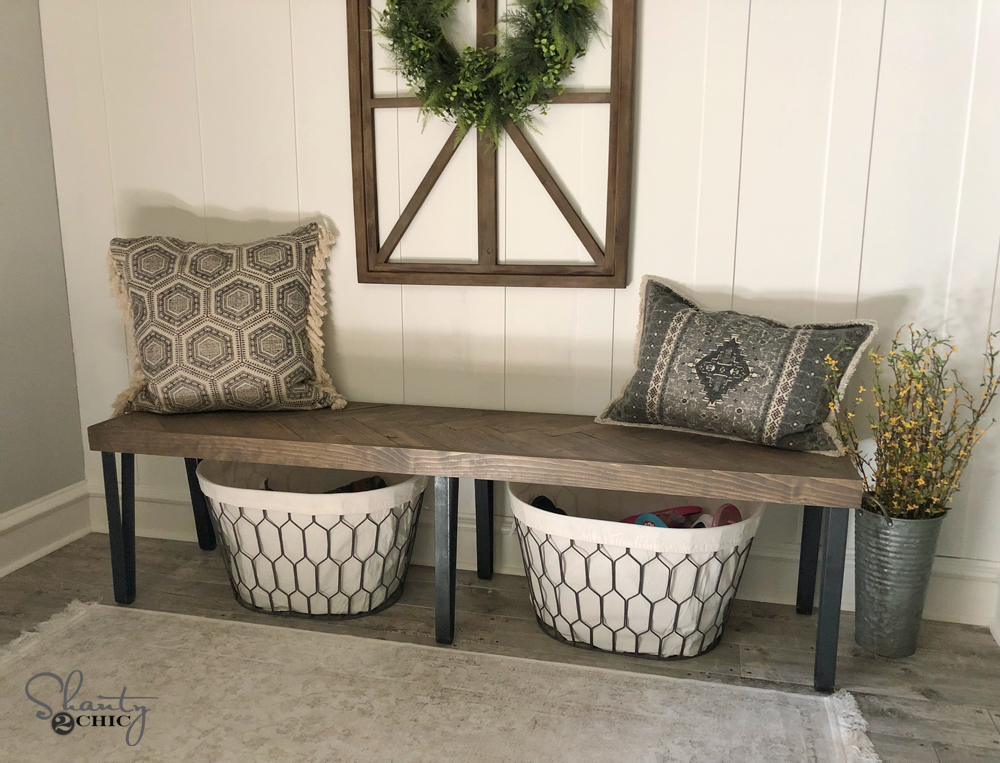
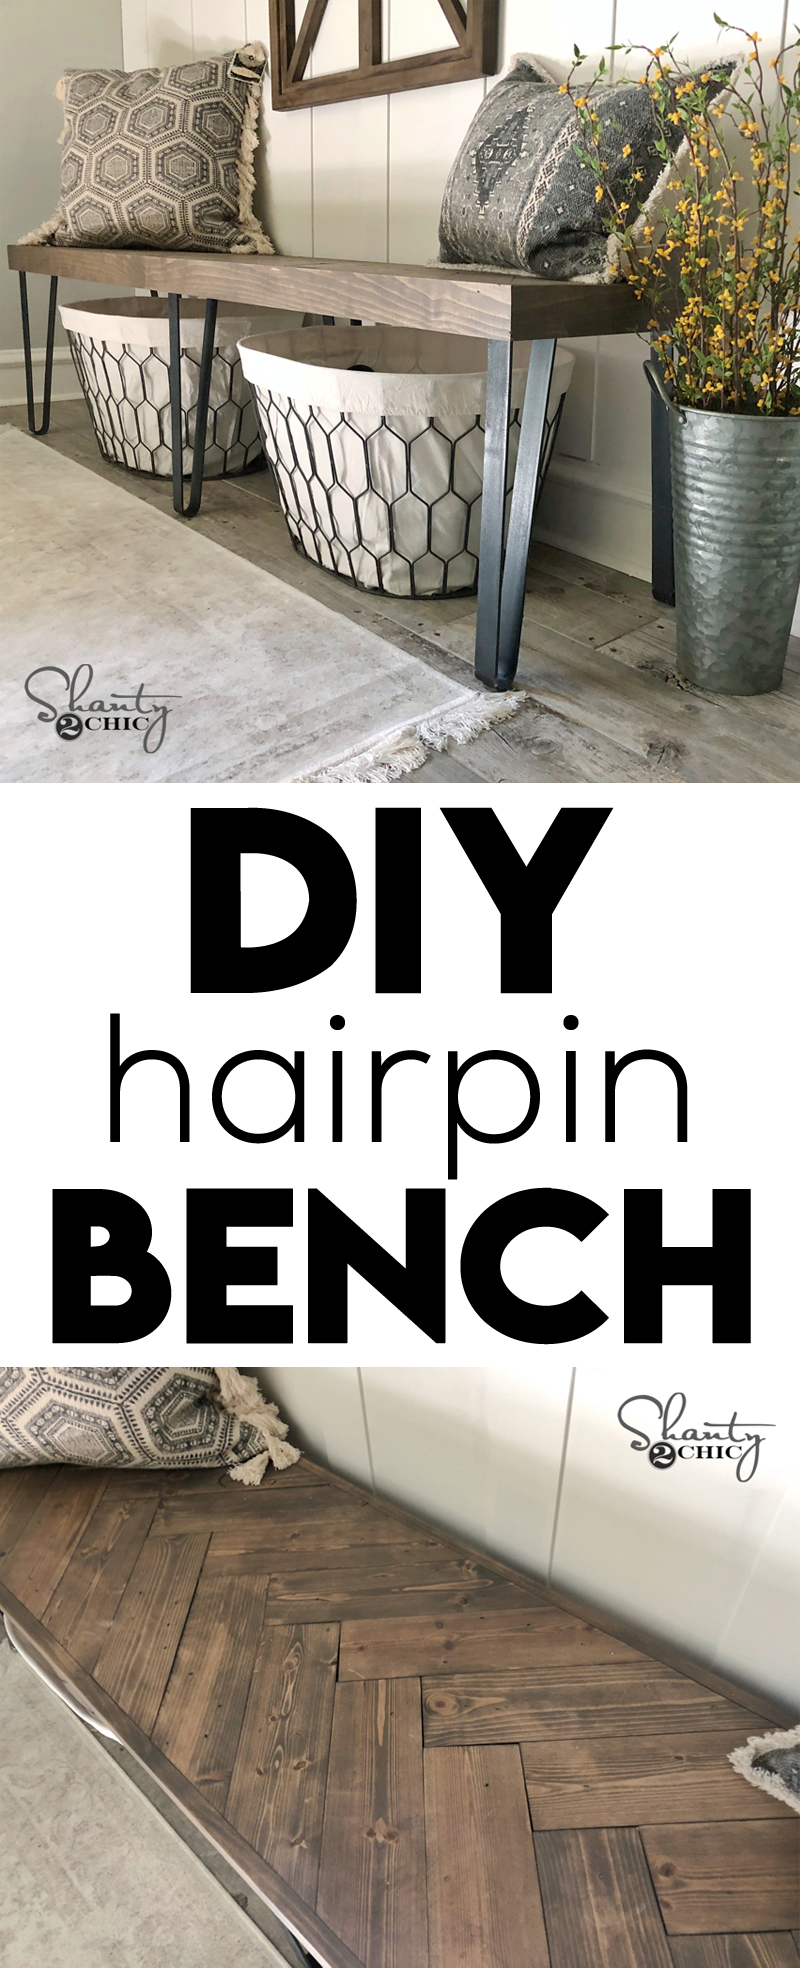
Hey guys! We have the cutest and most simple DIY Herringbone Hairpin Bench to share today! I built this one for my entryway, and I couldn’t be more pleased with how cute it turned out! Before we get started, be sure to check out our DIY YouTube video HERE or below!
You can get the FREE PLANS BY CLICKING HERE!
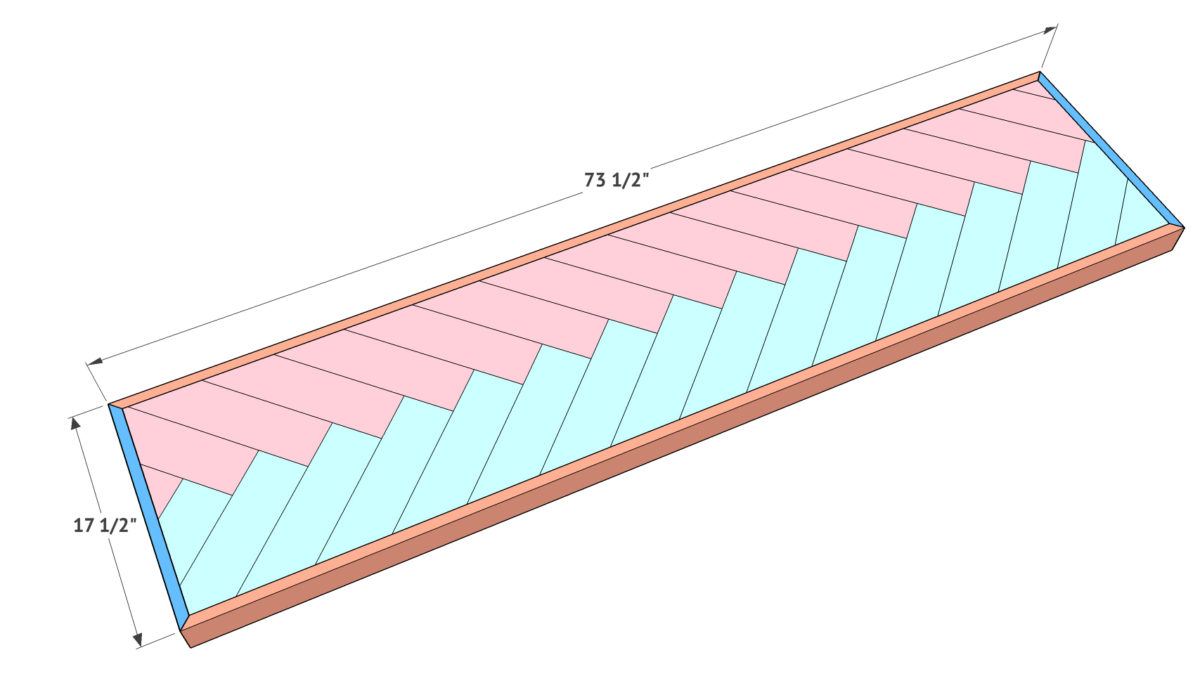
First, you will need to draw a line down the center of your project panel. I am showing it on top of the wood here to give you a better visual.
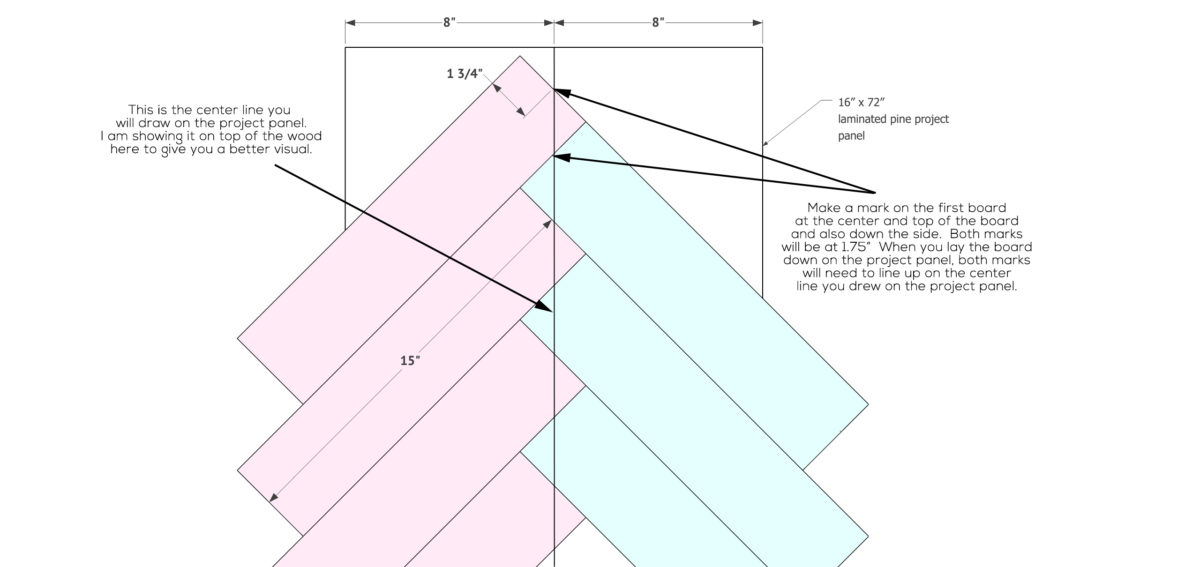
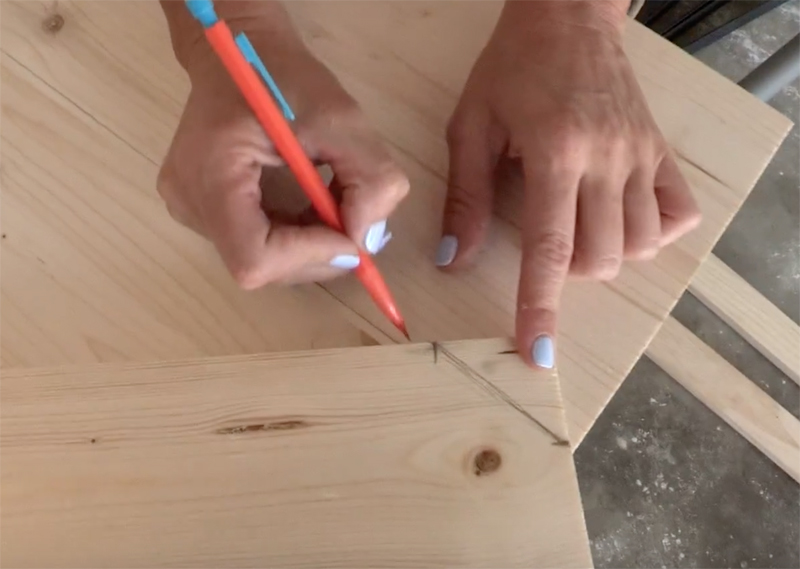
Make a mark on the first board at the center and top of the board and also down the side. Both marks will be at 1.75” When you lay the board down on the project panel, both marks will need to line up on the center line you drew on the project panel.
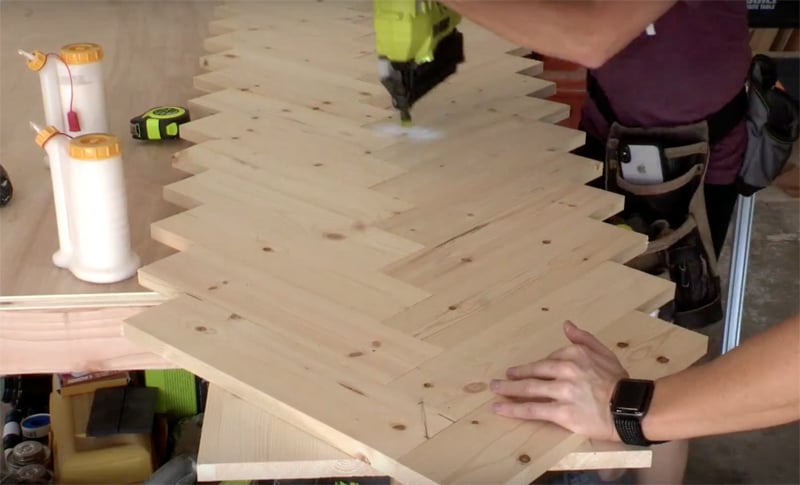
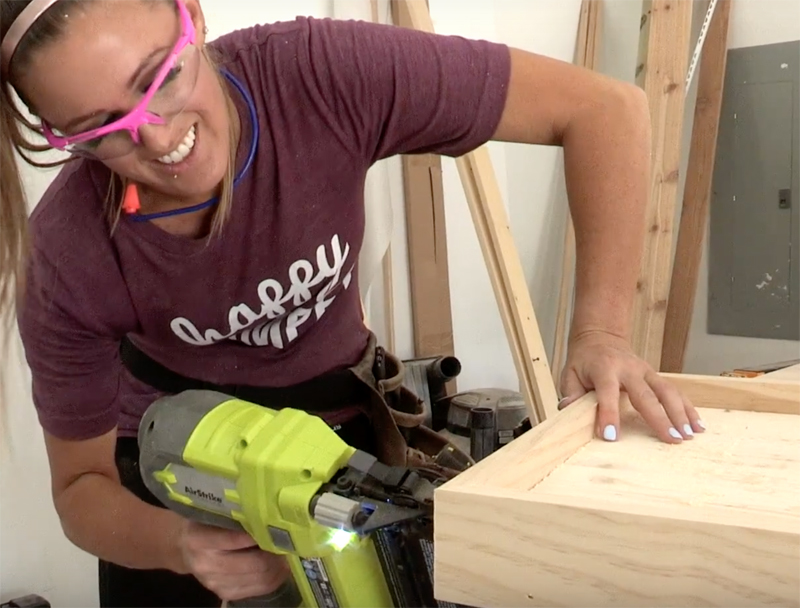
Work your way down the project panel until you have placed as many pieces as you can. Attach all of the boards to the project panel using wood glue and 1.25” brad nails.

Flip the whole thing over and use a circular saw to cut the first edge of the bench. Be sure to check out our video on this part! We show you a great tip to make this part really fast and easy.
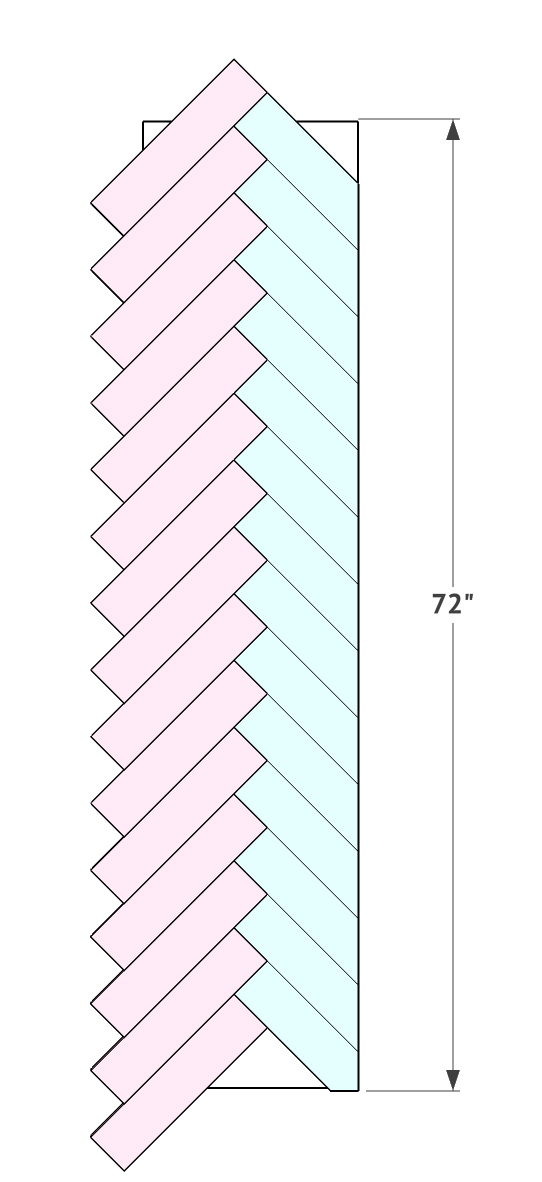
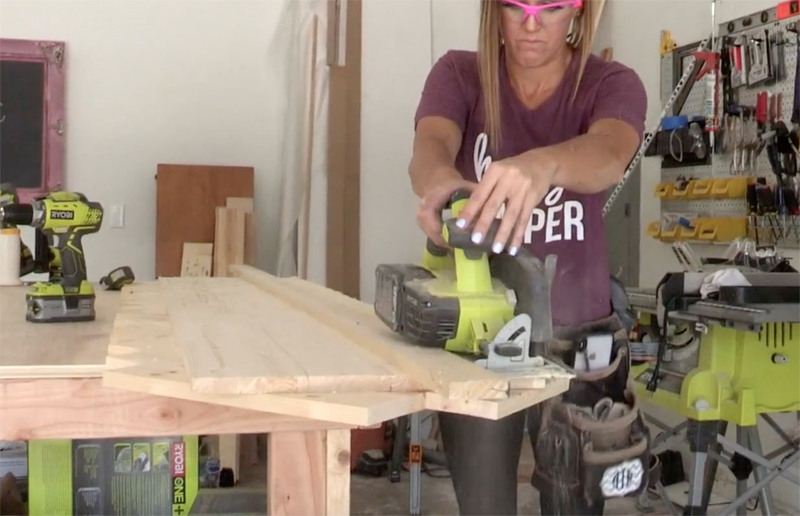
Next, do the same thing to the other side of the bench. Use the circular saw to make this cut. When you are finished, you will have a rectangle with a herringbone pattern and a few pieces missing on each end.
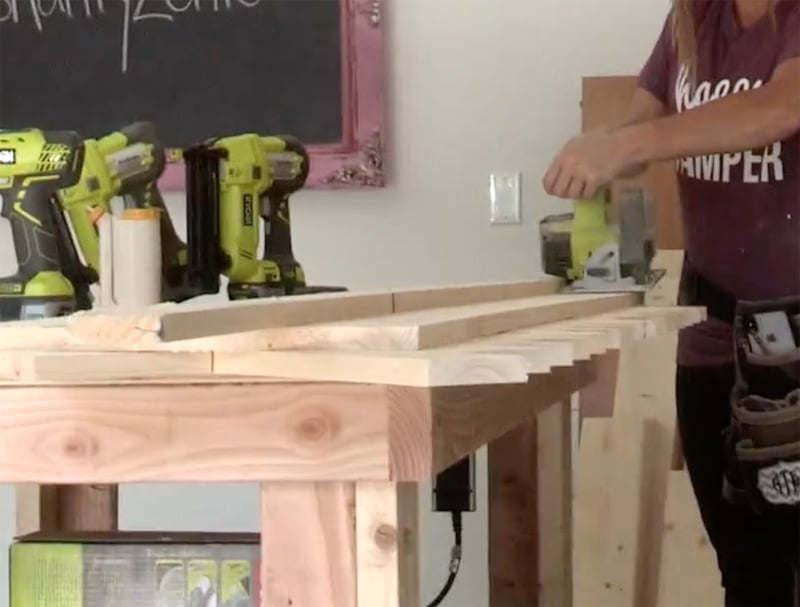
Now use some of the scraps from the edges you just cut to fill in the blank spaces on the bench. You can cut the excess with the circular saw just as you did on the longer sides.
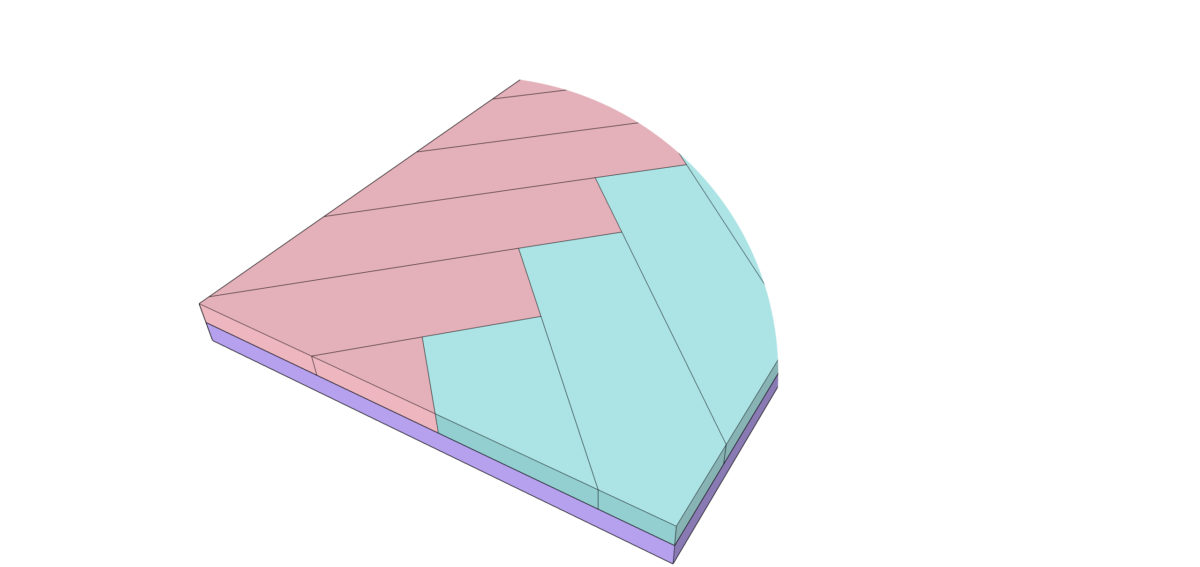

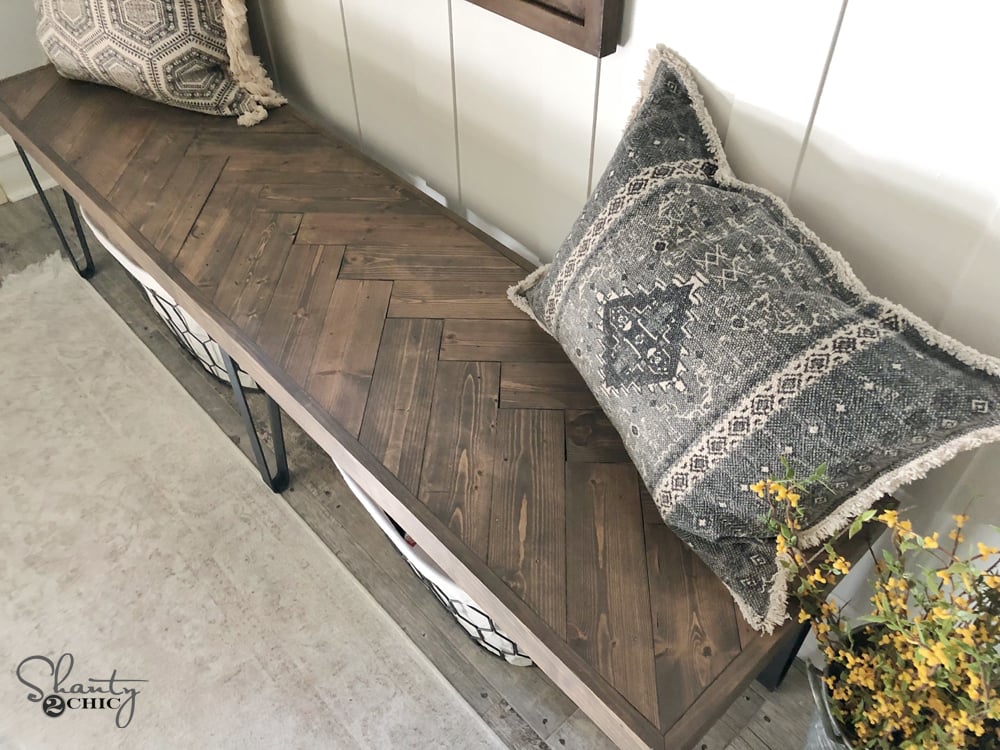
Add the longer trim boards first. These are 1×3 boards that we cut to size. We did miter each edge at a 45˚ angle to give the bench top a more finished edge. This is optional! You can also do straight cuts on the corners.

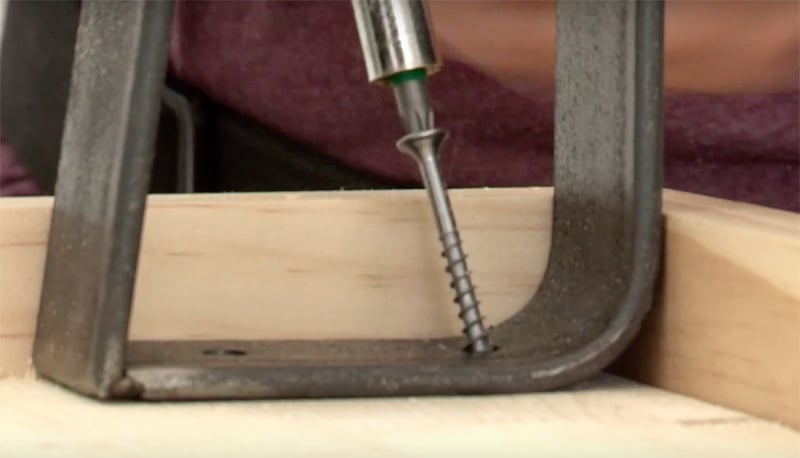
Now cut your smaller trim boards to fit. Attach all trim using wood glue and 1.25” brad nails. Be sure to line up the top of the trim with the top of the herringbone boards so you have a nice smooth surface to sit on!
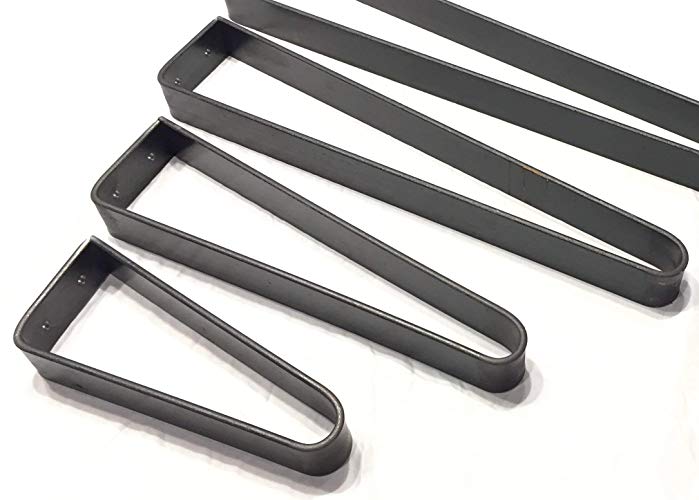
The final step is attaching the legs. CLICK HERE for a link to the legs we used! They are so cute!
Also, be sure to share your build on social using #shanty2chic so we can see and share!
And look how cute it turned out!


Did you guys rip the edges off the 1×4’s like you do with most of your projects? or is it not required?
Love what you do! Love those pillows! I’ve been looking for pillows like these forever!!! Can u please tell me where u got then? Thanks 🙂
Where did u find baskets for under the bench
Wondering where you got the window frame in background? Super cute!
Love the bench, and really love the baskets underneath! Could you share where you got them?
How did you build it for under $100? 18 inch legs are $62 for 4. I would need to order 2 4-packs.
The Amazon seller probably raised their price after they had all the people coming and trying to buy them after seeing this video.
She means because in the bench DIY project, there are 6 legs. Not 4.
Can you provide a link to the stain you used?
they replied to a comment on their youtube page. It’s briarsmoke by varathane
17 or 18inch legs maybe
Absolutely love this bench what size were the legs?
they replied to a comment on their youtube page. 18inch
I also can’t find what size legs you purchased. Would love to know bc this is so cute!
Hi what color stain did u use?
Very nice! What stain did you use?
Love this bench and love you guys!!! Thanks for another great project! !
What color stain did you ladies use?
Beautiful! What size legs did you order? The height looks perfect
This!!!!!!
I’m wondering too! I scoured the plans and everything and can’t see that they included the size to order anywhere!
Love it !