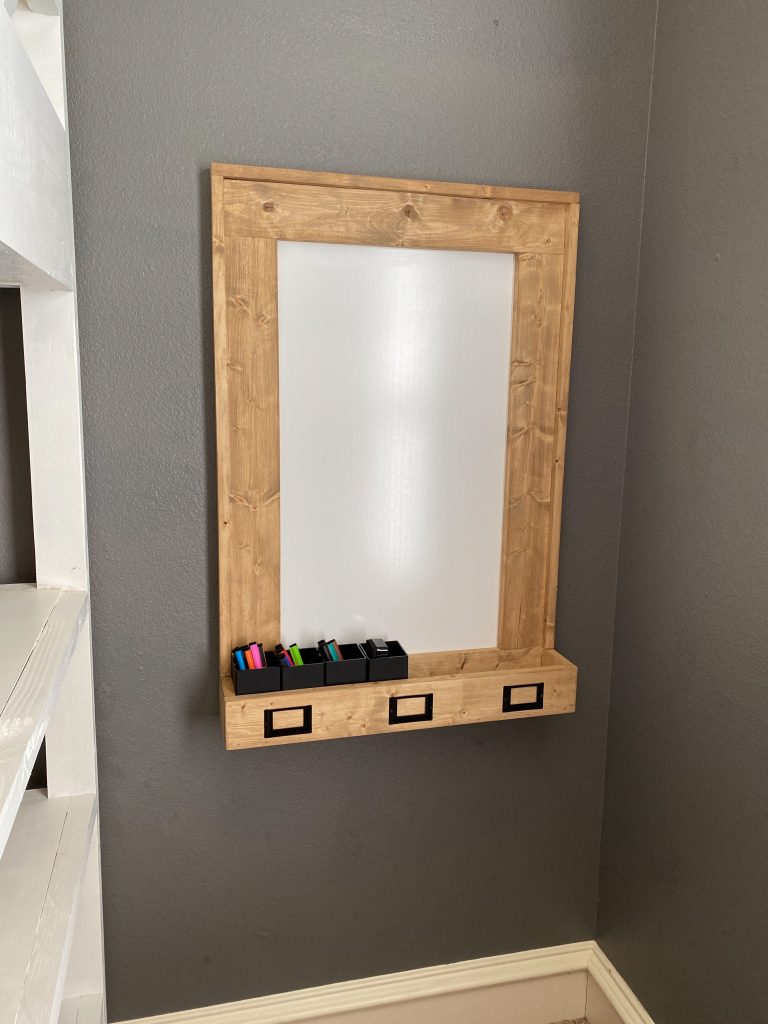
We are back with an easy, inexpensive and oh, so needed project! This DIY Easel Mirror is not only easy to build, it’s cute and functional! What more could you need 😉
Grab your favorite cup of coffee and come build this cutie with us! Just click HERE or the image below to watch!
How fun is that?! Make sure to download the FREE Printable Plans HERE and follow along in the tutorial below, to build your own!
We designed this mirror to fit an inexpensive, frameless wall mirror! You can find it HERE!
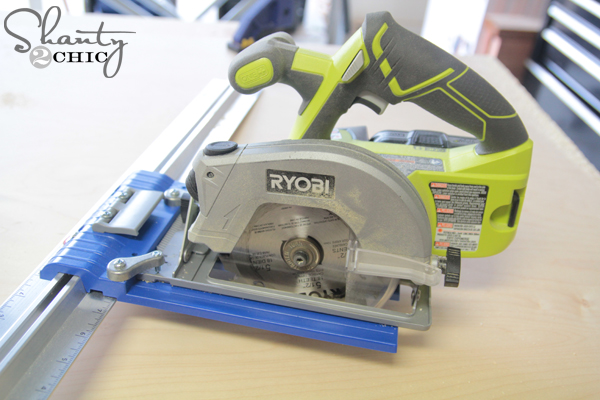
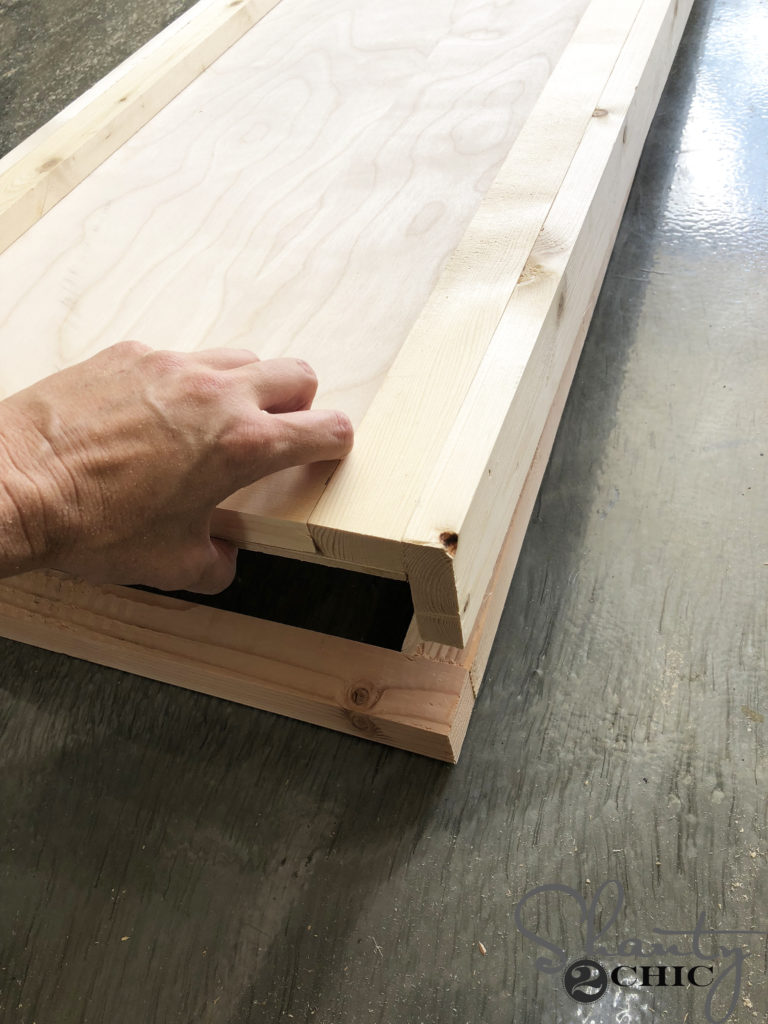
The first step was to cut the 1/4″ plywood and side frame pieces to size. We used our Kreg Jig Rip Cut to cut our plywood to size. You can also have the hardware store rip the plywood sheet for you. You can find the Rip Cut HERE!
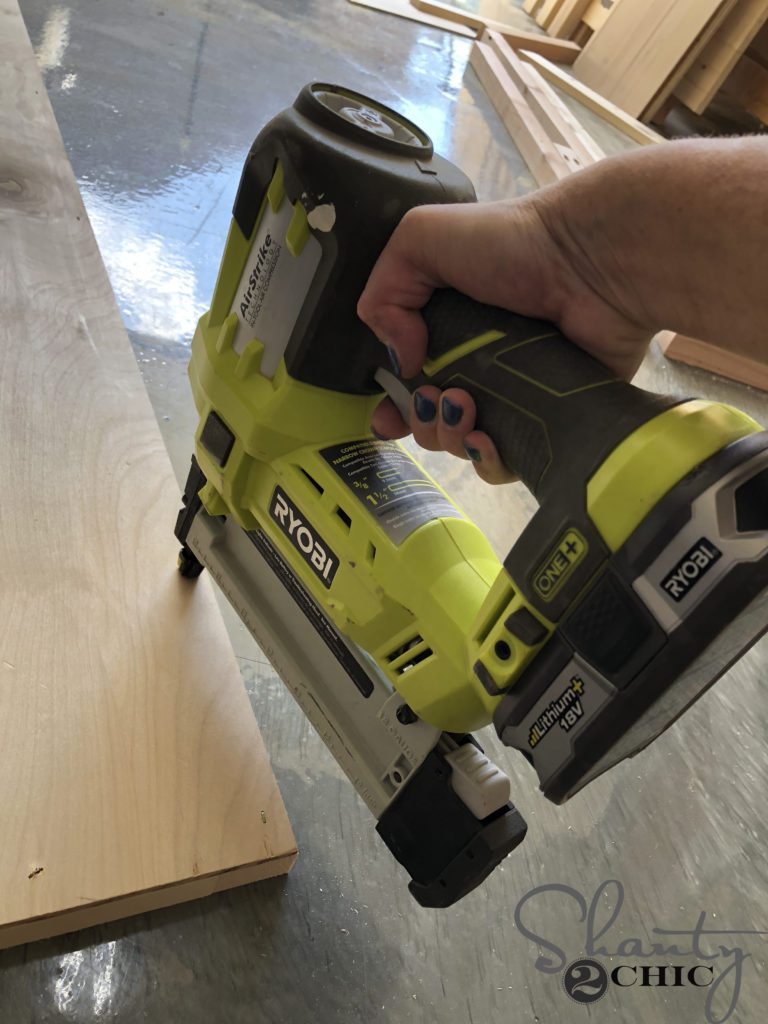
Then, we laid the plywood over the back of the side trim pieces and used our Ryobi 18 gauge Narrow Crown Stapler, with 3/4″ staples and wood glue, to attach. You can find our favorite stapler HERE!
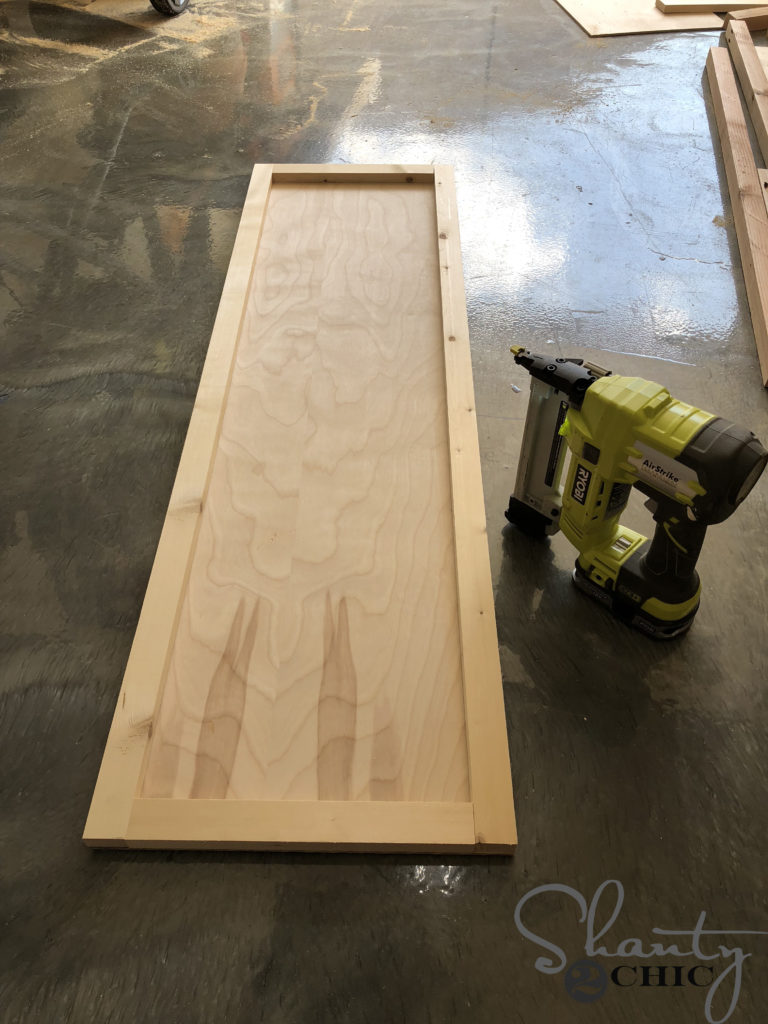
We cut the top and bottom frame pieces to size. With the piece still upside down, we attached the top and bottom trim pieces with wood glue and 3/4″ staples. When you turn it over, it will look like this!
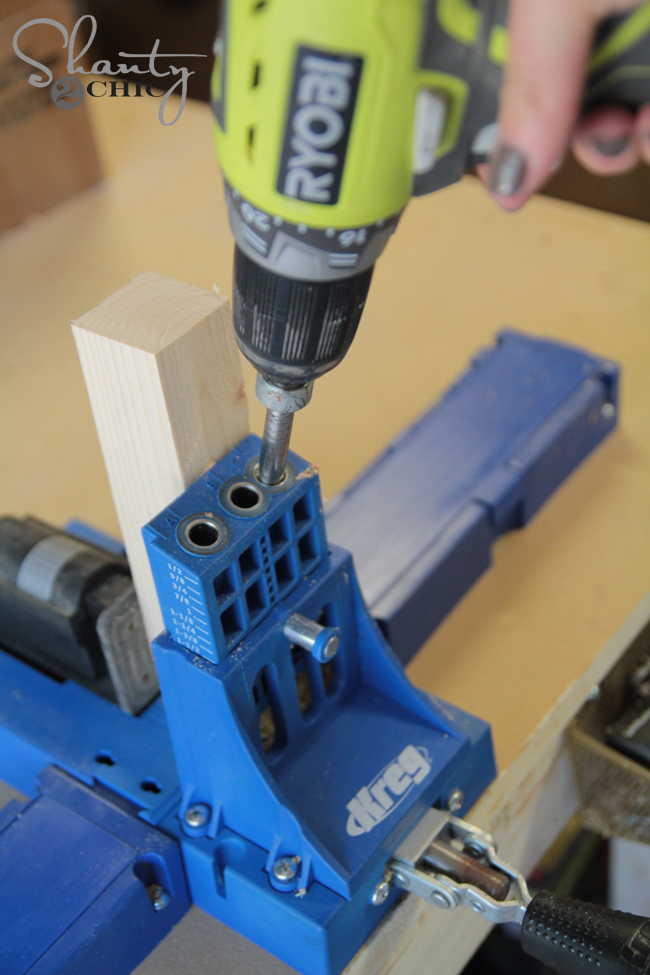
We cut the ladder frame pieces to size and used our Kreg Jig to drill 1 1/2″ pocket holes at the ends of both of the long pieces and the center support piece. You can find our favorite Kreg Jig model HERE!
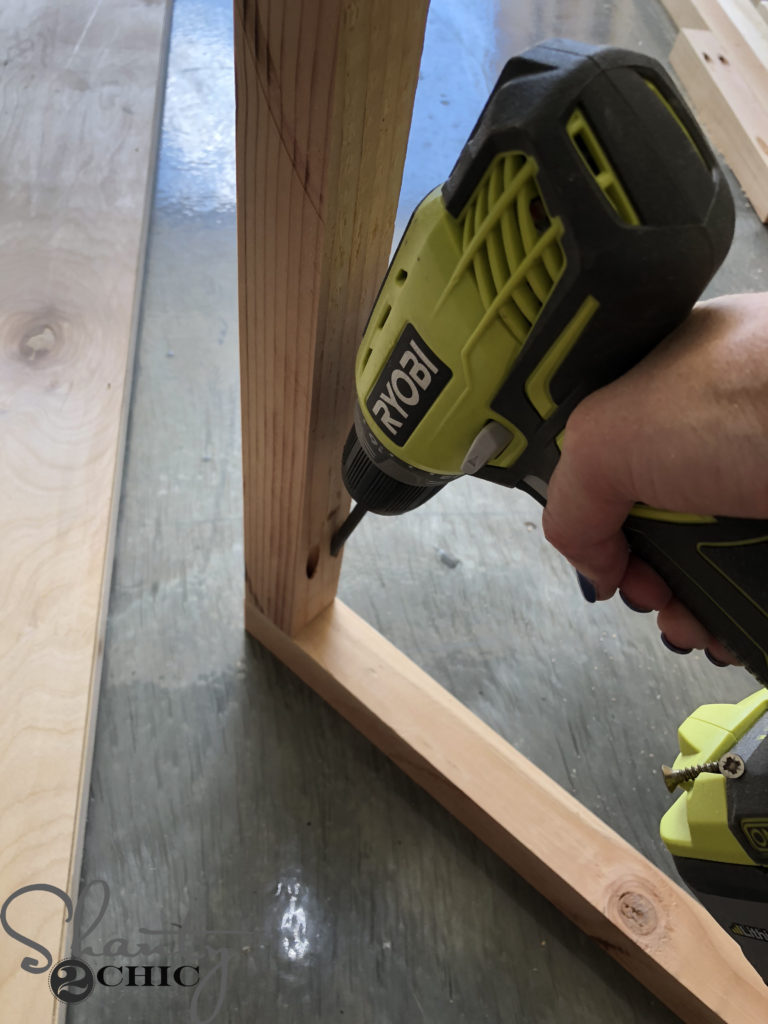
We attached the long pieces to the top and bottom, short pieces with 2 1/2″ pocket hole screws and wood glue. You can find our favorite drill HERE!
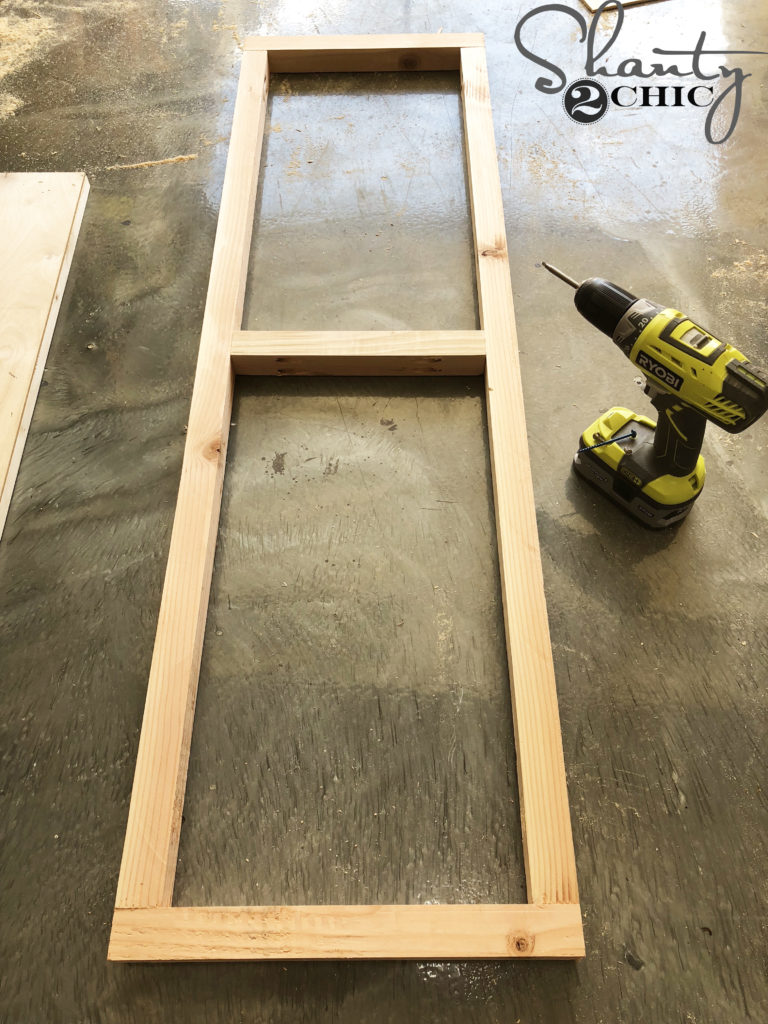
Then, we centered the middle support and attached it to the long frame pieces with 2 1/2″ pocket hole screws and wood glue.
To attach the side trim to the mirror frame, we laid the mirror frame on top of the ladder frame to act as a spacer.

We cut the side trim pieces to size and used our Ryobi 18 gauge Brad Nailer with 1 1/4″ brad nails and wood glue to attach them to the mirror frame. The front of the side trim pieces should be flush with the top of the mirror frame. You can find our favorite brad nailer HERE!
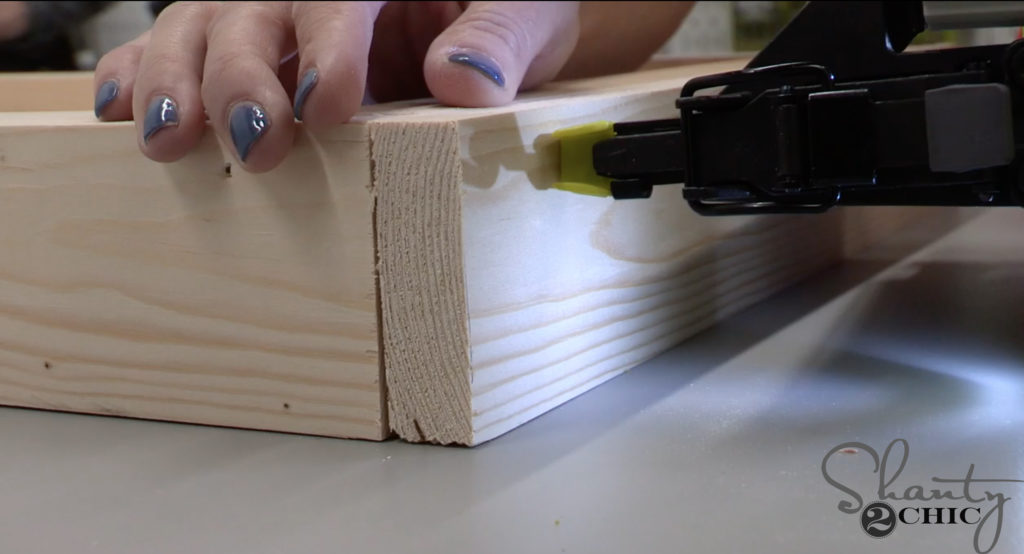
We cut the top and bottom trim pieces to size and attached them to the top and bottom of the mirror frame with 1 1/4″ brad nails and wood glue.
NOW IS A GREAT TIME TO ADD A FINISH! You can find the finish that we used HERE!
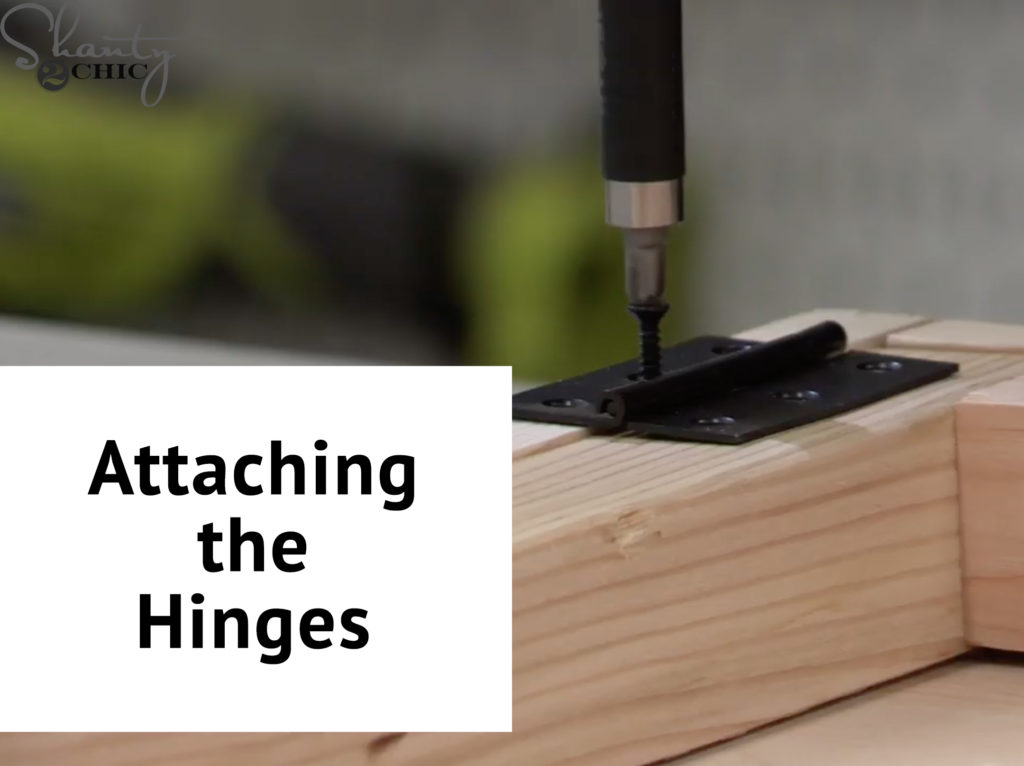
Once the finish was dry, we flipped the easel upside down and attached the hinges to the top of the trim and the top of the ladder frame. You can find the hinges that we used HERE!
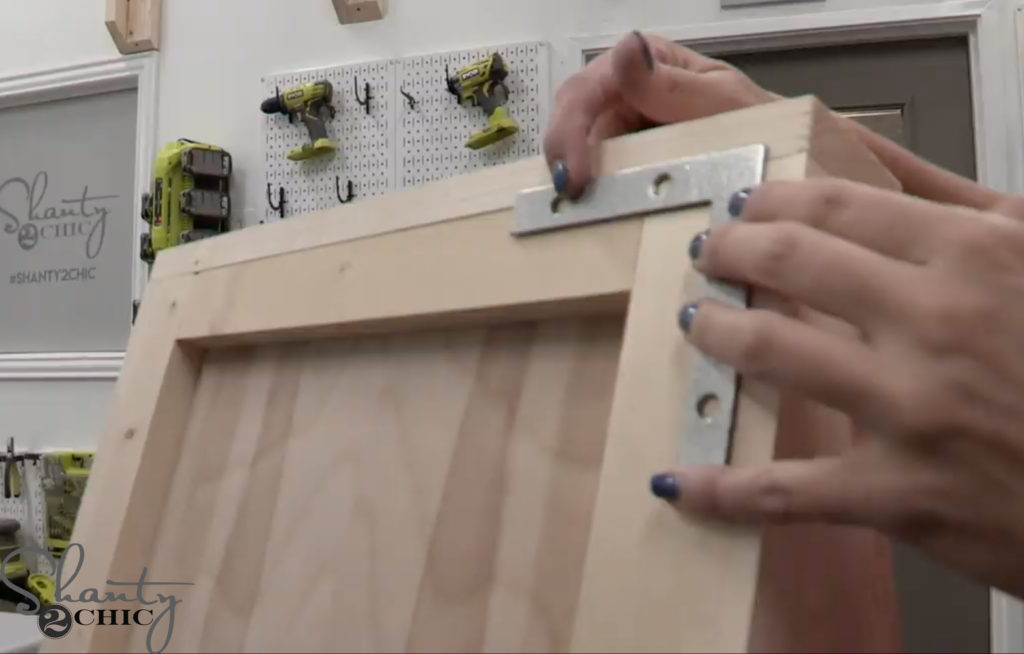
We added the optional corner pieces – you can find them HERE!
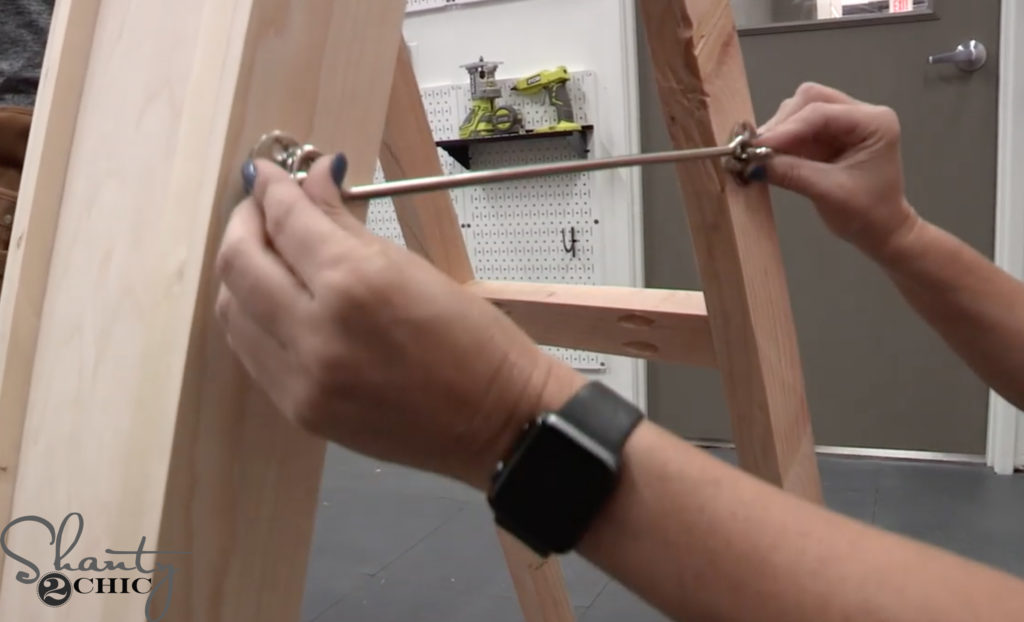
and you can use this Hook and Eye Latch to lock the easel in the open position!
You can find the Hook and Eye Latch HERE!

We spray painted all of our hardware with spray paint! You can find what we used HERE!
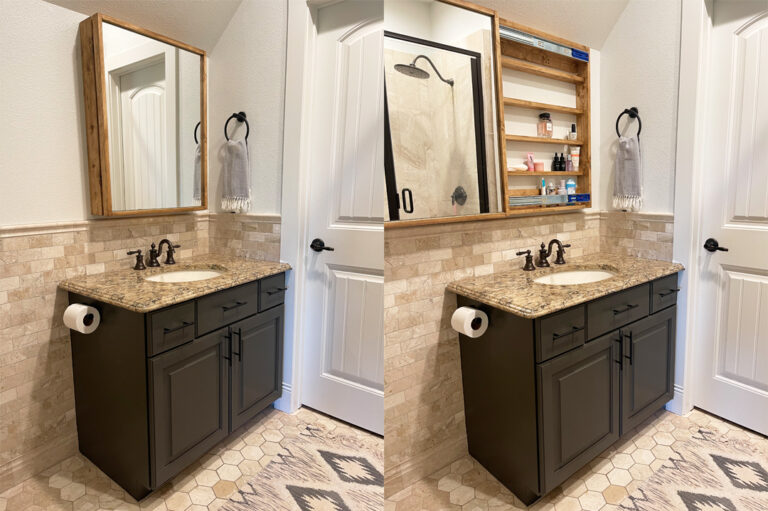
We love that this mirror can go anywhere in your house! You can fold it open, hang it on the wall, move it around….the possibilities are ENDLESS! Have fun with it and make it your own 😉
Here’s a list of everything we used to build this! Happy Building!
Mirror
Hinges
Corner Hardware
Hook and Eye Latch
Paint for Hardware
Paint for Mirror Frame
Kreg Jig
Stapler
Nailer
Drill

It was so useful video , i hope to can apply this ..but i need to know the measurements with cm for ” playwood , 4 frames , and the mirror ” . And may be i’ll try to make it easier , i will do it without easel , it will be with like 2 flat legs , i saw another photos but i can’t describe it , sorry for my bad english ?