Hey there! We are so excited about our new site makeover! Our goal is to help you navigate through our projects more efficiently and we hope that you enjoy it as much as we do!
I’m happy to kick-off our new look with this very easy and inexpensive “WELCOME SIGN” that I created in about an hour!
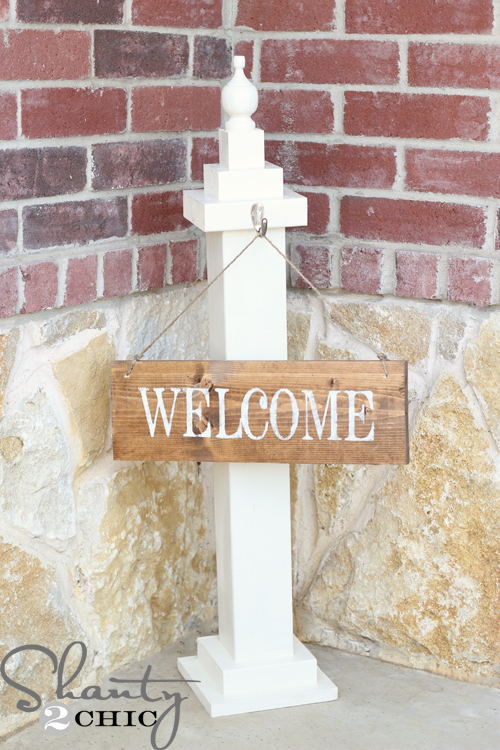
I was inspired by my neighbor/awesome friend, who asked me if I would create a “Welcome Sign” for her front porch that resembled the DIY Pillars I created not to long ago. Well, of course I said yes and had to make one for myself;)
These are so EASY, they require very little in the tool department and are the perfect starter project if you have the itch to begin building!
Make your own following these easy steps!
 I was able to use scraps that I had in my garage but if you need to purchase the wood, you will be able to make several of these cuties with just a few boards.
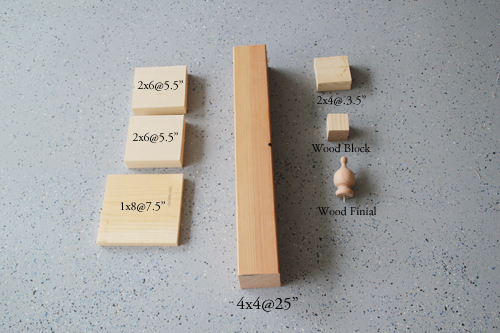
Cuts:
2 -2×6@ 5.5″
1-1×8@ 7.5″
1-4×4@ 25″
1-2×4@ 3.5″
1 wooden block purchased at Hobby Lobby
1 wooden finial purchased at Lowe’s
If you do not own a saw, this hand saw is the perfect inexpensive tool for this project!

To begin, pre drill a hole into the middle of the wooden block… I use my Ryobi 18-Volt Lithium drill for all of my building projects and LOVE IT!
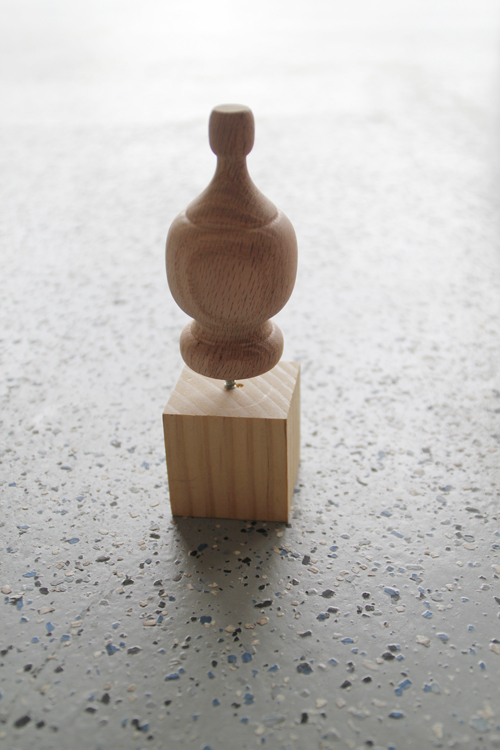
and screw the final in the hole.
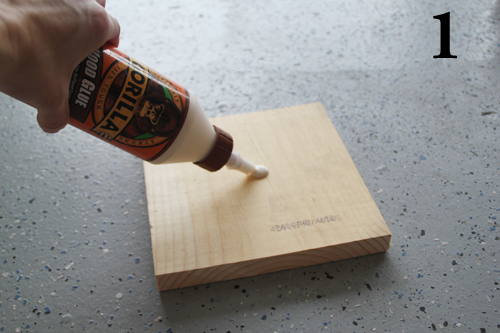
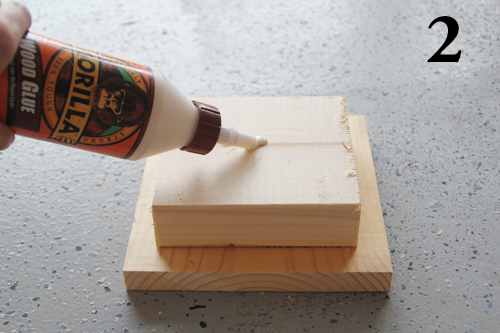
Now it’s time to stack blocks:) I did not use any screws to assemble….just Gorilla Glue and it is sturdy!! Start with a 1×8 and apply glue to the center.
Top that with a 2×6 and apply another dab of glue.

Follow with the 4×4 applying a dab of glue at the top.
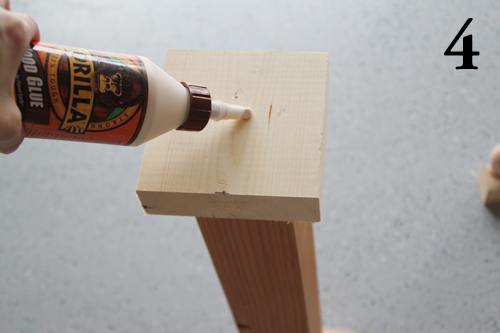
Now top that with another 2×6 and glue.
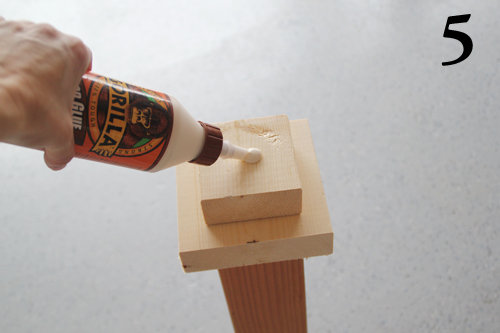
Follow with a 2×4 and glue…
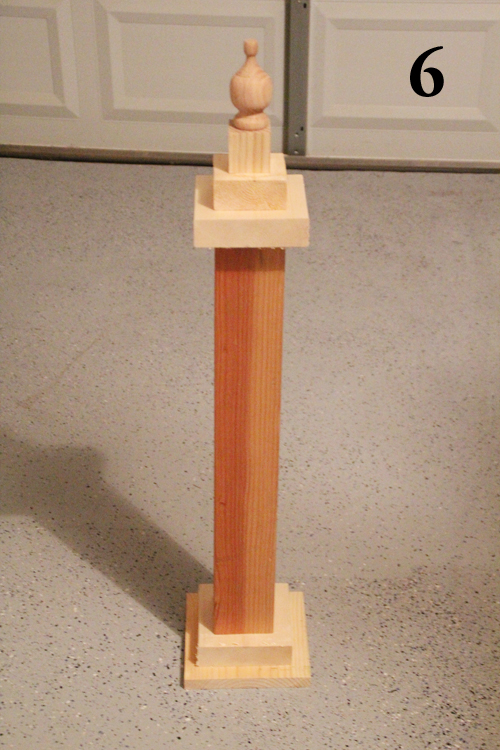 Top the entire piece with the assembled finial top and that’s it!
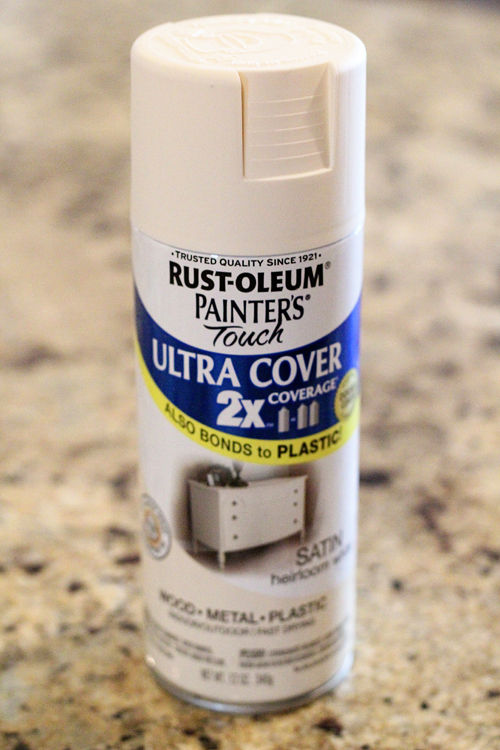 I spray painted this piece with a favorite Rust-Oleum Heirloom White in satin. It took about 2 coats!
Now, while this is drying, it’s time to make the sign:)
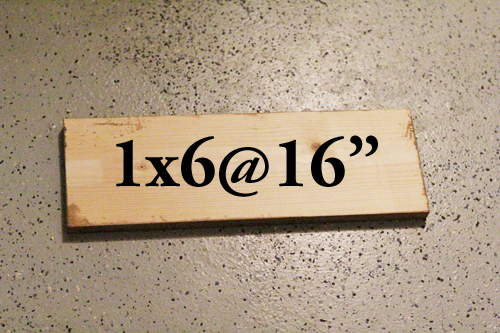 I cut a 1×6@16″
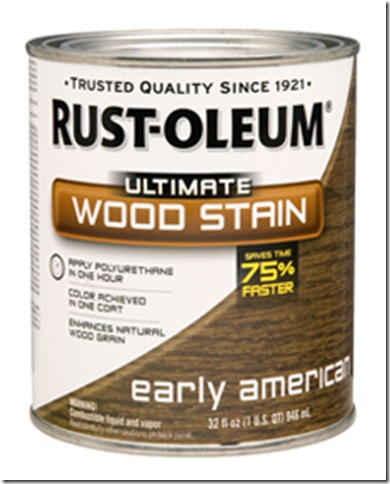 and stained it with another favorite Rust-Oleum Early American stain! Just apply one coat, let it dry for 5-10 minutes and wipe with a clean cloth to even everything out.
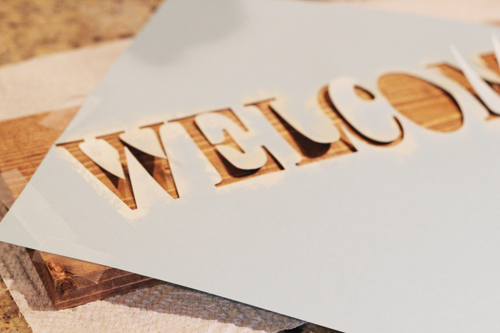 I used my Silhouette to create a stencil but you can find great stencils at your local craft store if you don’t have one! I used a foam brush to dab a cream-colored paint all over the stencil.
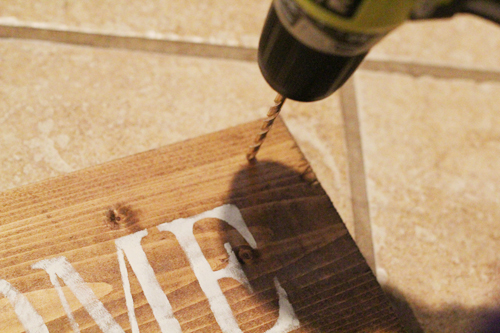
Now pre drill a hole in each corner at the top of the sign…
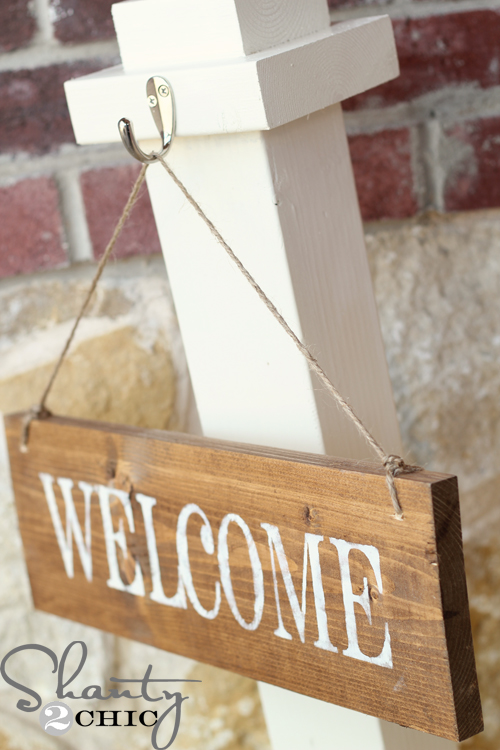
 and slide a strand of jute twine through each hole, secure with a knot and cut away the excess.
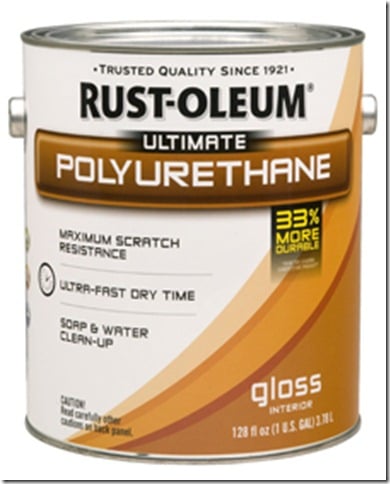
I added one coat of Rust-Oleum Polyurethane to the entire piece to protect the finish!
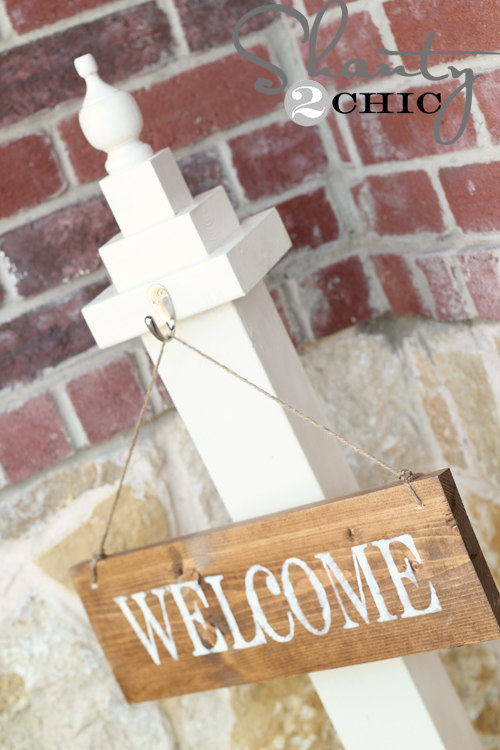 Now just add a cute hook to the top 2×6 🙂 I purchased my hook at Lowe’s for about $3.

Now how easy was that?!?! Using scraps, I was able to create this for only $3 but if you do need to buy your boards, it would cost around $15 but you would be able to make several;) Don’t forget to check the scrap bins at your local hardware store too!
As always, we appreciate your pins and any other ways that you share our creations!
Thanks so much for stopping by!
~Ashley


I am looking to make these for a church craft night. How long does it take the glue to cure? They are adorable. Thanks for the instructions!
???????
?I built my own using the plans at www. WoodworkPlans.info – highly recommended you check those out too. They are detailed and super easy to read and understand unlike several others I found online. The amount of plans there is mind-boggling… there’s like 16,000 plans or something like that for tons of different projects. Definitely enough to keep me busy with projects for many more years to come haha
? Head on over to www. WoodworkPlans.info if you want to learn more – click the pink link above for some more plans! Best of luck on your building adventures! ?
✌✌✌✌✌✌✌✌✌✌✌
Hi, what font was used for this sign?
So cute…gonna have to try this next!
First of all let me say that I truly enjoy your site. That being said I have tried several of your projects and I love the detailed instructions, cut list and the pictures describing each step.
I wanted to point out however that your price quotes on projects are pretty far off from being correct. I realize that you usually have several scraps that you use on projects but for someone who doesn’t these projects can get fairly expensive.
This sign project was quoted at $15 and I just made my trip to Lowe’s here in IA and I walked out with $35 worth of product. I didn’t even purchase the 4×4 or 2×4 or (wooden blocks) because they would not make those cuts for me in the store, and I don’t have the saw to handle a project like that.
I know that $35 isn’t a huge amount but when you quote it at $15 that’s a big difference. I just thought I would let you know and I appreciate all the great projects you come up with!
Thanks!
I’m sorry. It cost me $15. Prices vary by state and we are always upfront when we have used scraps. Also, when you purchase an 8 ft. Piece for example, and Only need 4 ft. You have the left over for another project. When you purchase a can of stain, you have plenty left over for multiple projects. I do suggest price quoting online before purchasing if you aren’t doing exactly as the tutorial describes. It is never our intent to mislead.
It must be the State you are in. I was able to complete two of them for less than $20 each
This is a Beautiful sign, and looks easy to do!
Thank You soooo much!
Firstly, LOVE the new look for the site! Secondly this is so cute! We just moved in here two weeks ago and i think it’ll b perfect. Thanku yet again for sharing!
I love this! It brightens up a porch so much more than just a sign hanging on a door.
Love this!
Do you guys use spray primer or just 2 coats of painters touch?
Ooo i have wondered that too!
it looksd so easy when you explain….. i love it !!tks!
Wow, now I want to make a new welcome sign!!
I LOVE this! It’s so inexpensive and makes such a cute statement for your front porch. I made one just like it here: http://www.roubinek.net/a-pinteresting-welcome/
Love it! So making one tomorrow. I have a ton of scraps. This will look awesome on my porch. Thanks for all y’all do. This is the first blog I chec everyday – y’all never disappoint.