Remember my craft table I shared in my last post?
I got it all finished up!!
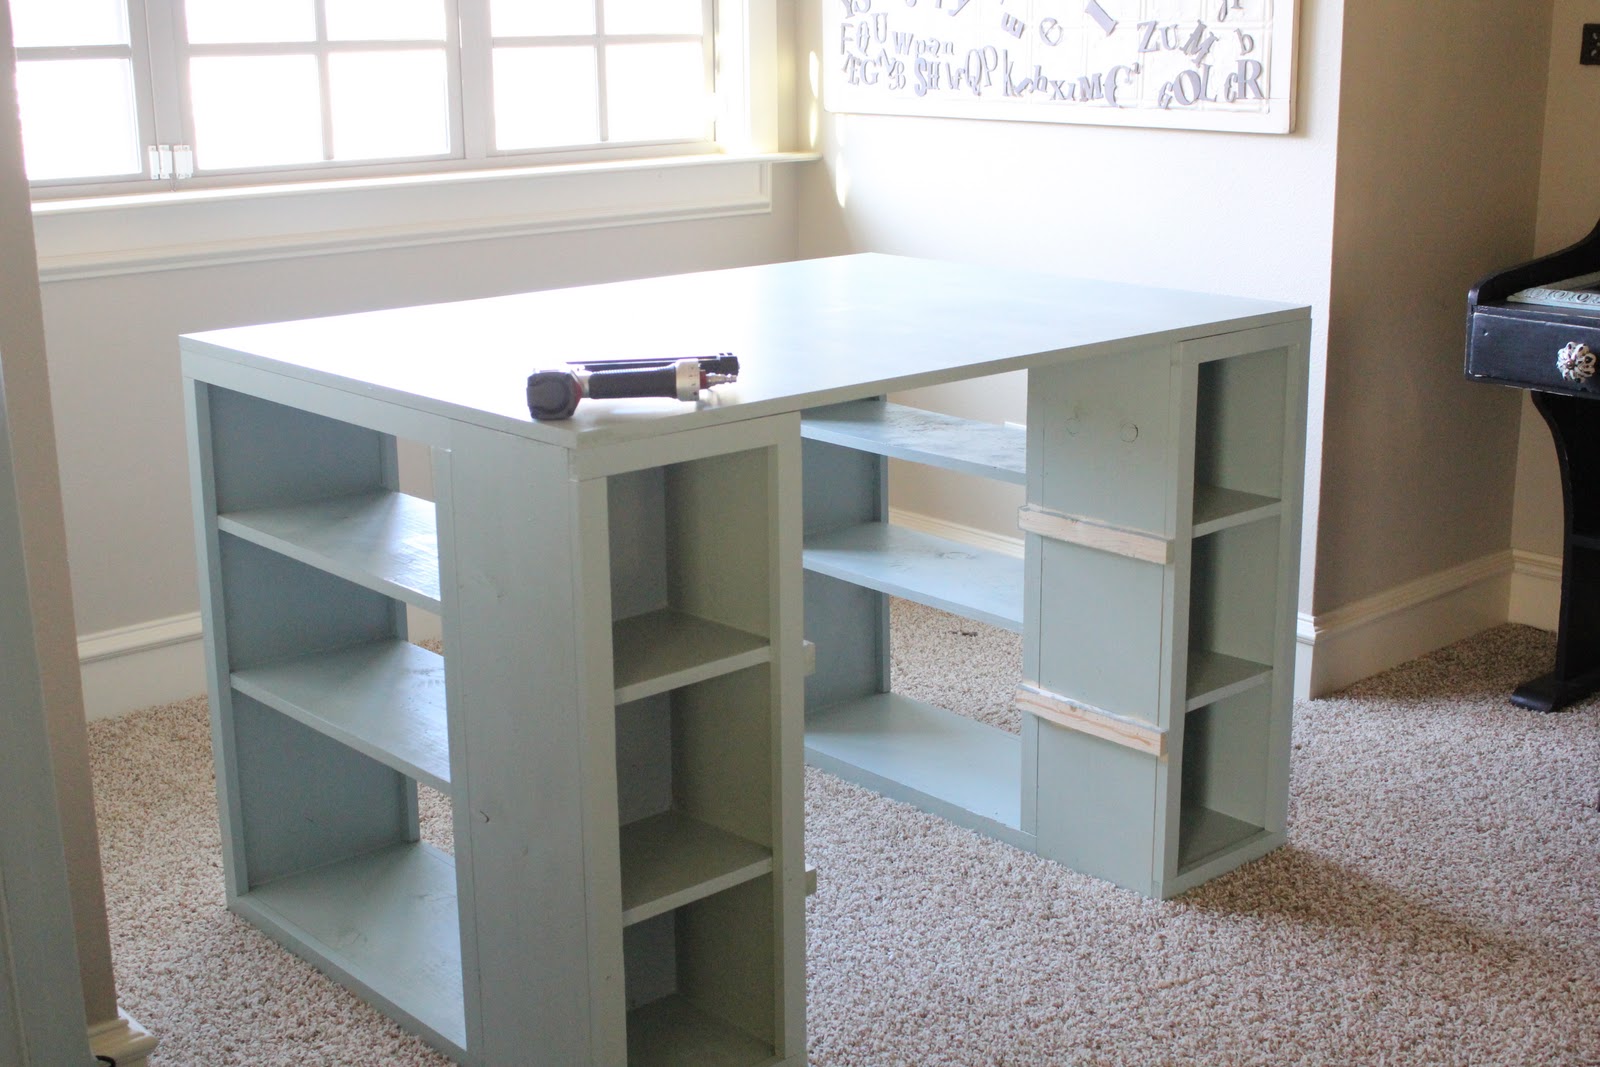
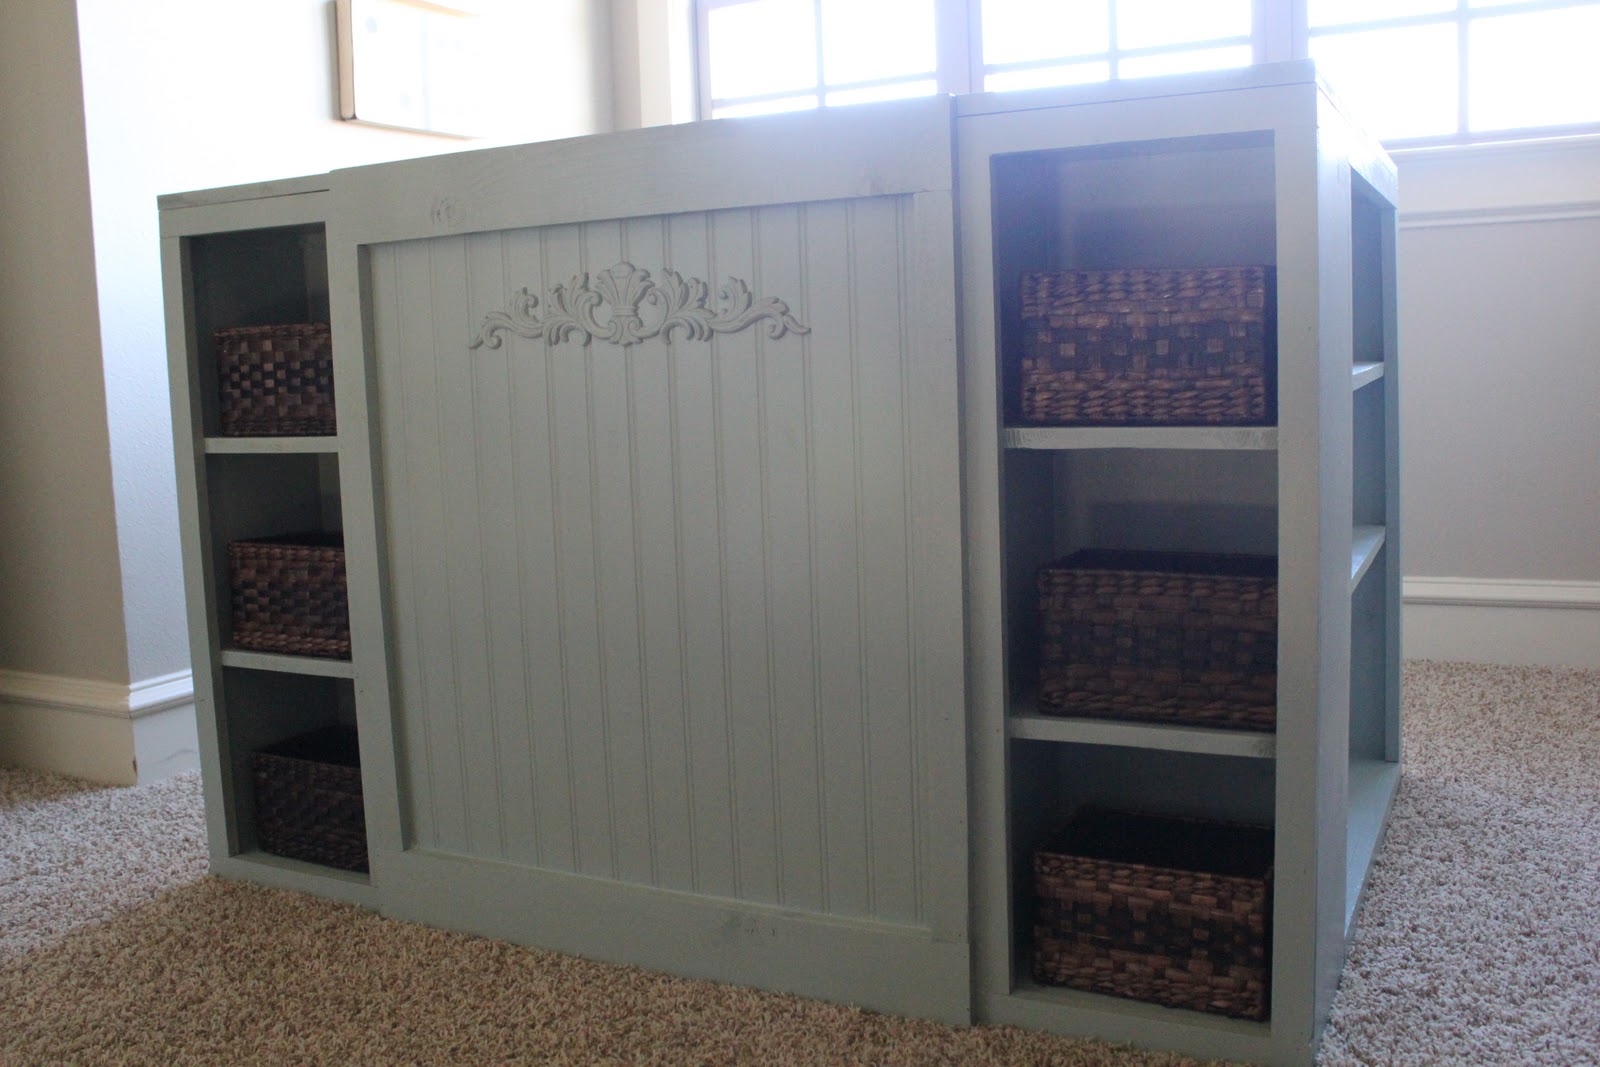
Here it is…

Here is how I finished it all up!!
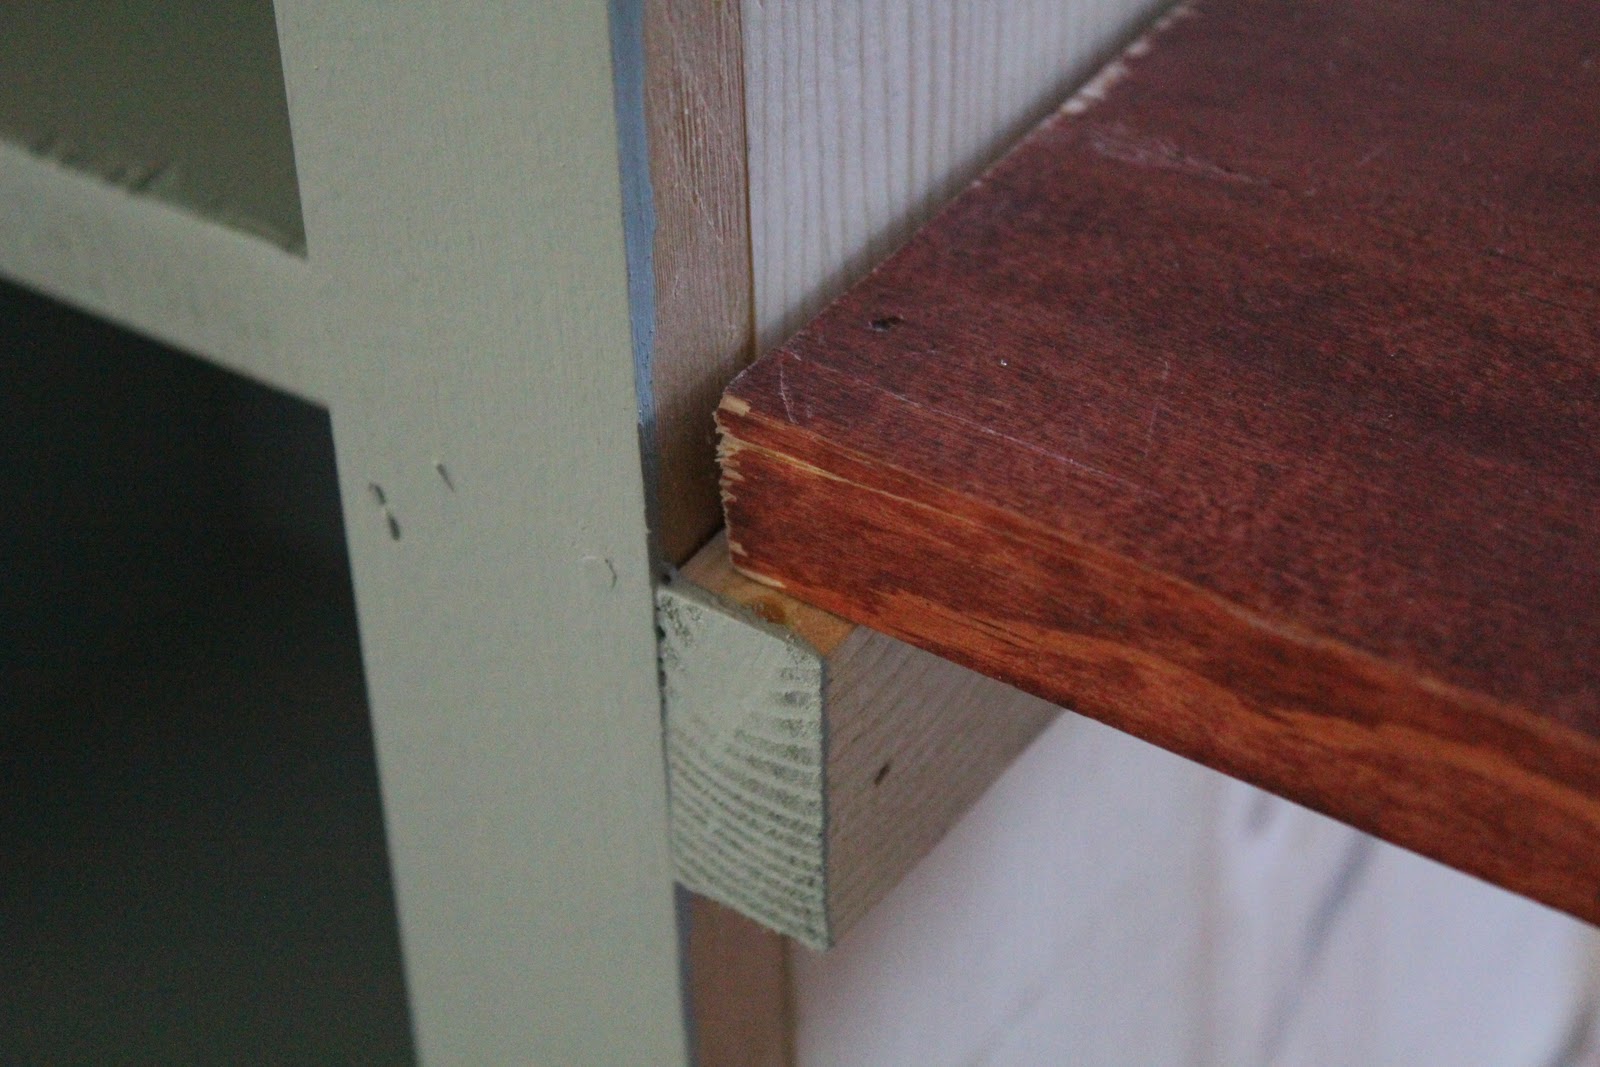
I took my three separate pieces up into my loft where my table will be and put the top piece of mdf on my two bases. I go everything lined up perfectly and then used a 1 1/4″ wood screw on each corner to secure the top. I attached the screws from the underside of my bases so you wouldn’t see them on the top.
I then added my hidden shelves by attaching 1×2 to the sides of my bases. I did two on each side to build 2 shelves.
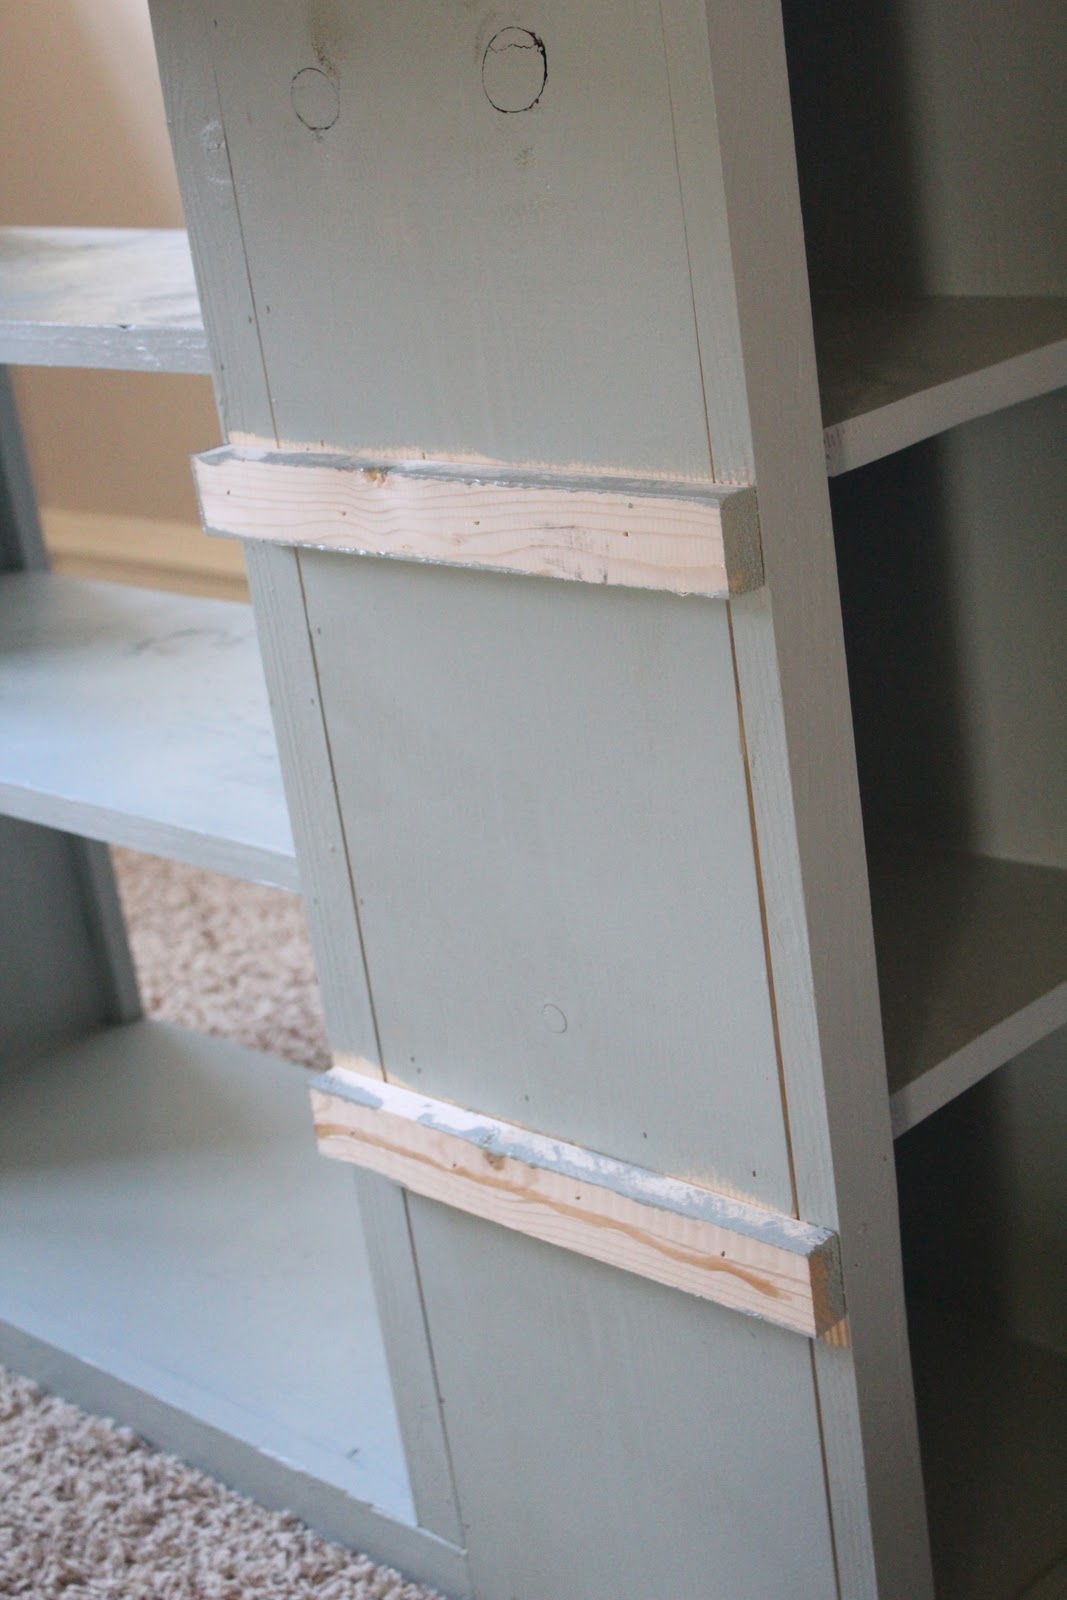
From the front…
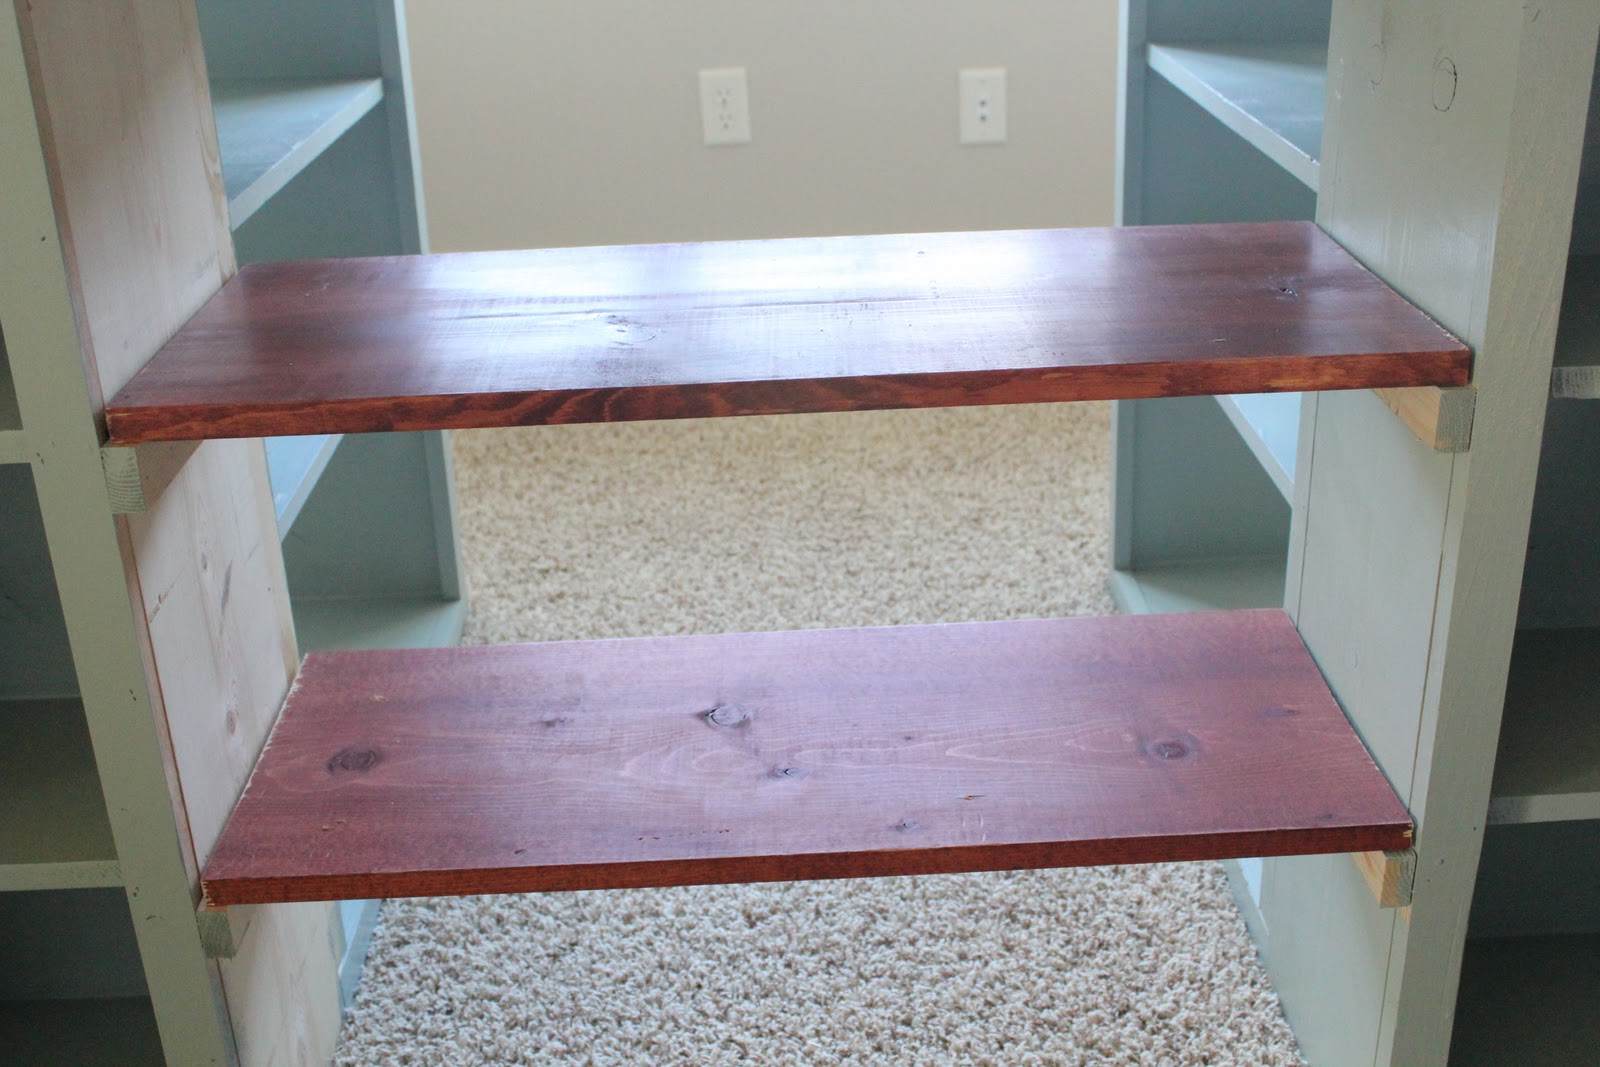
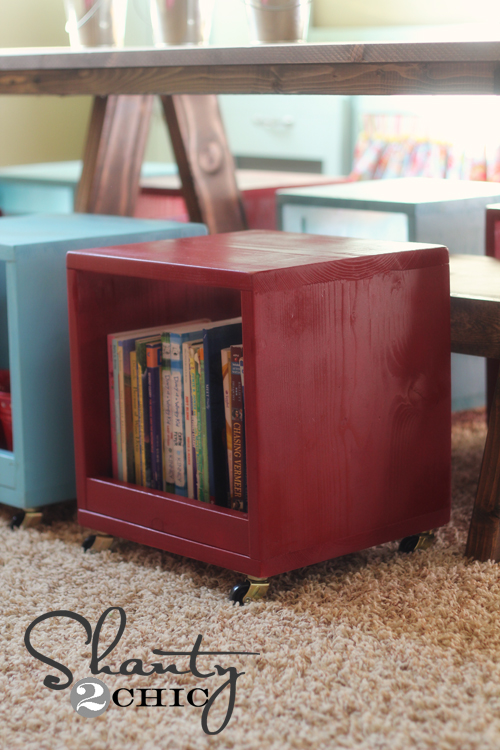
Then I added my shelves. I had some scrap wood for these and did not bother painting it because nobody but me will see it… Whoop!
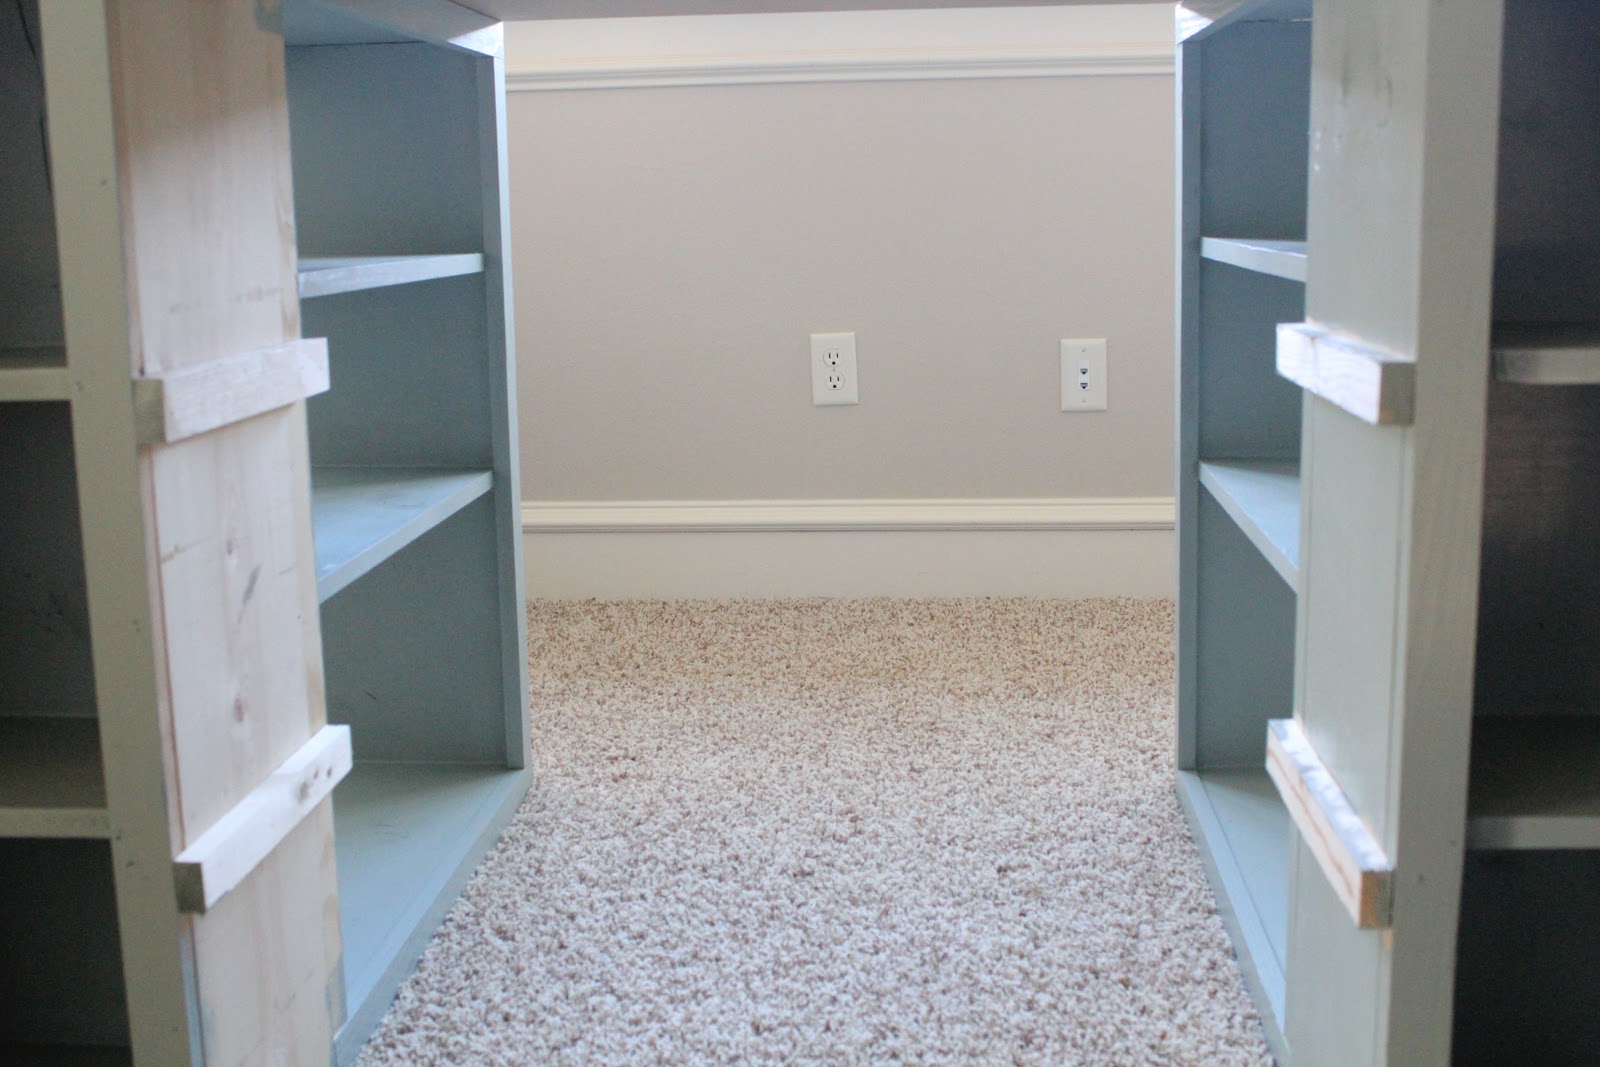
When I attached my shelves I placed them 1/4″ back from the front of the table. I did this for my next step.
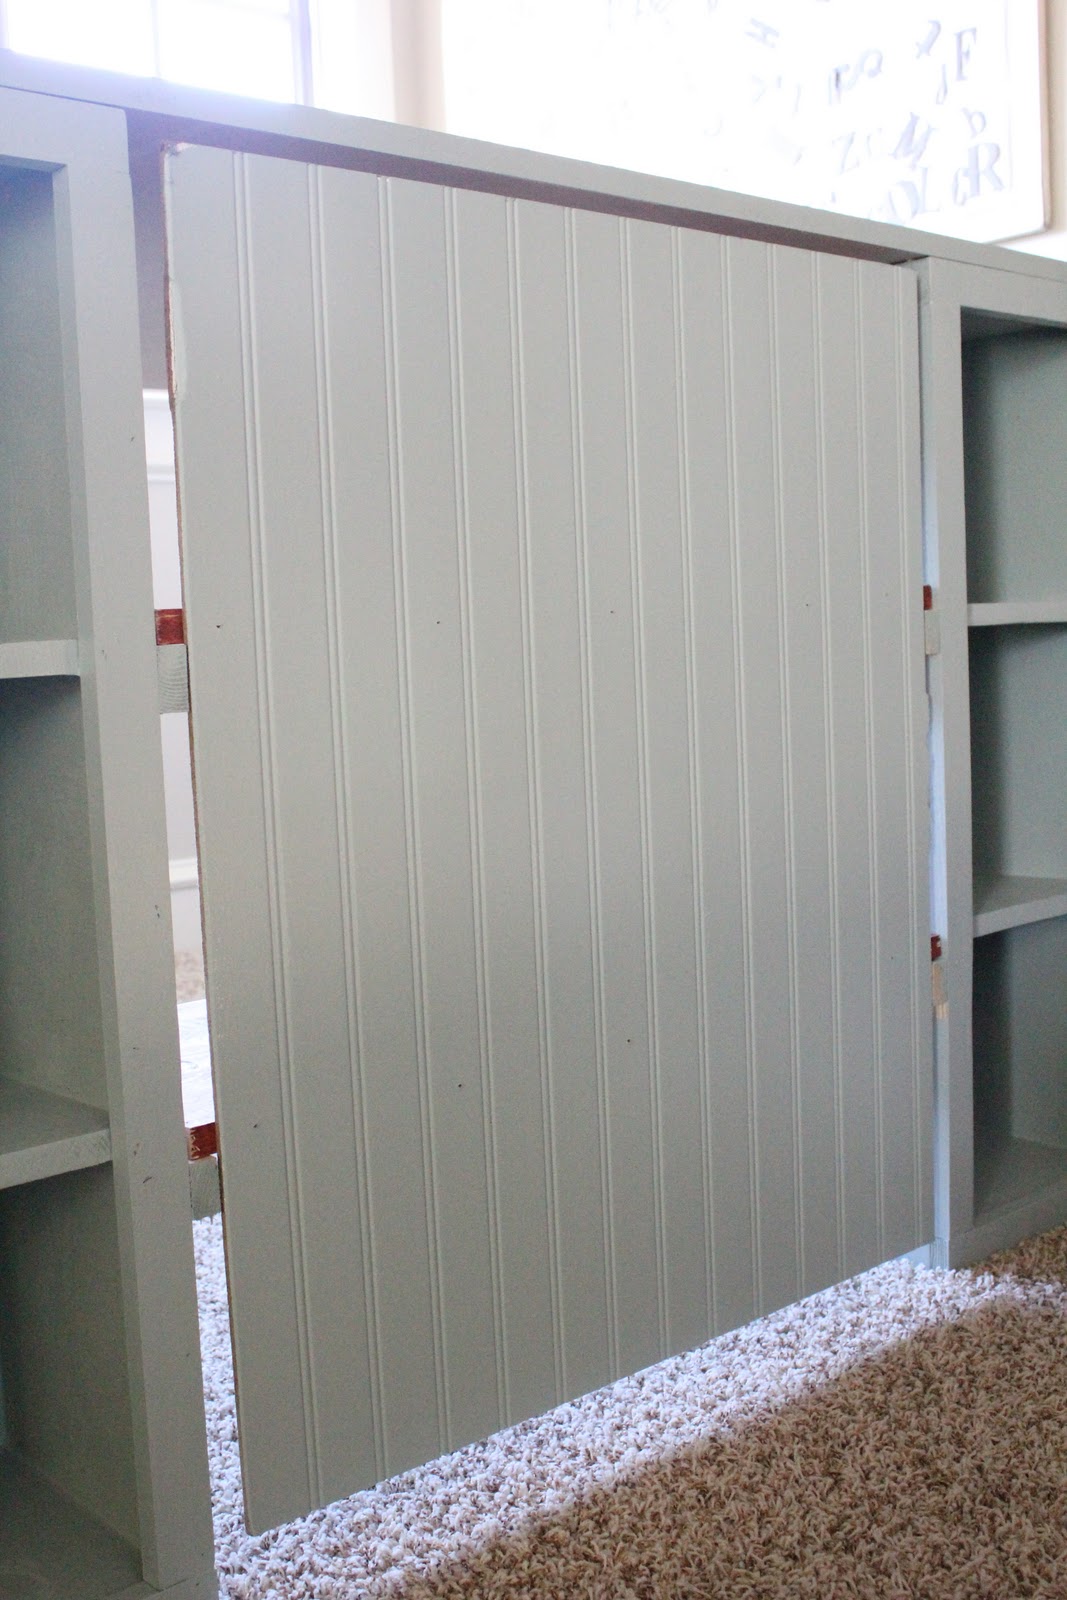
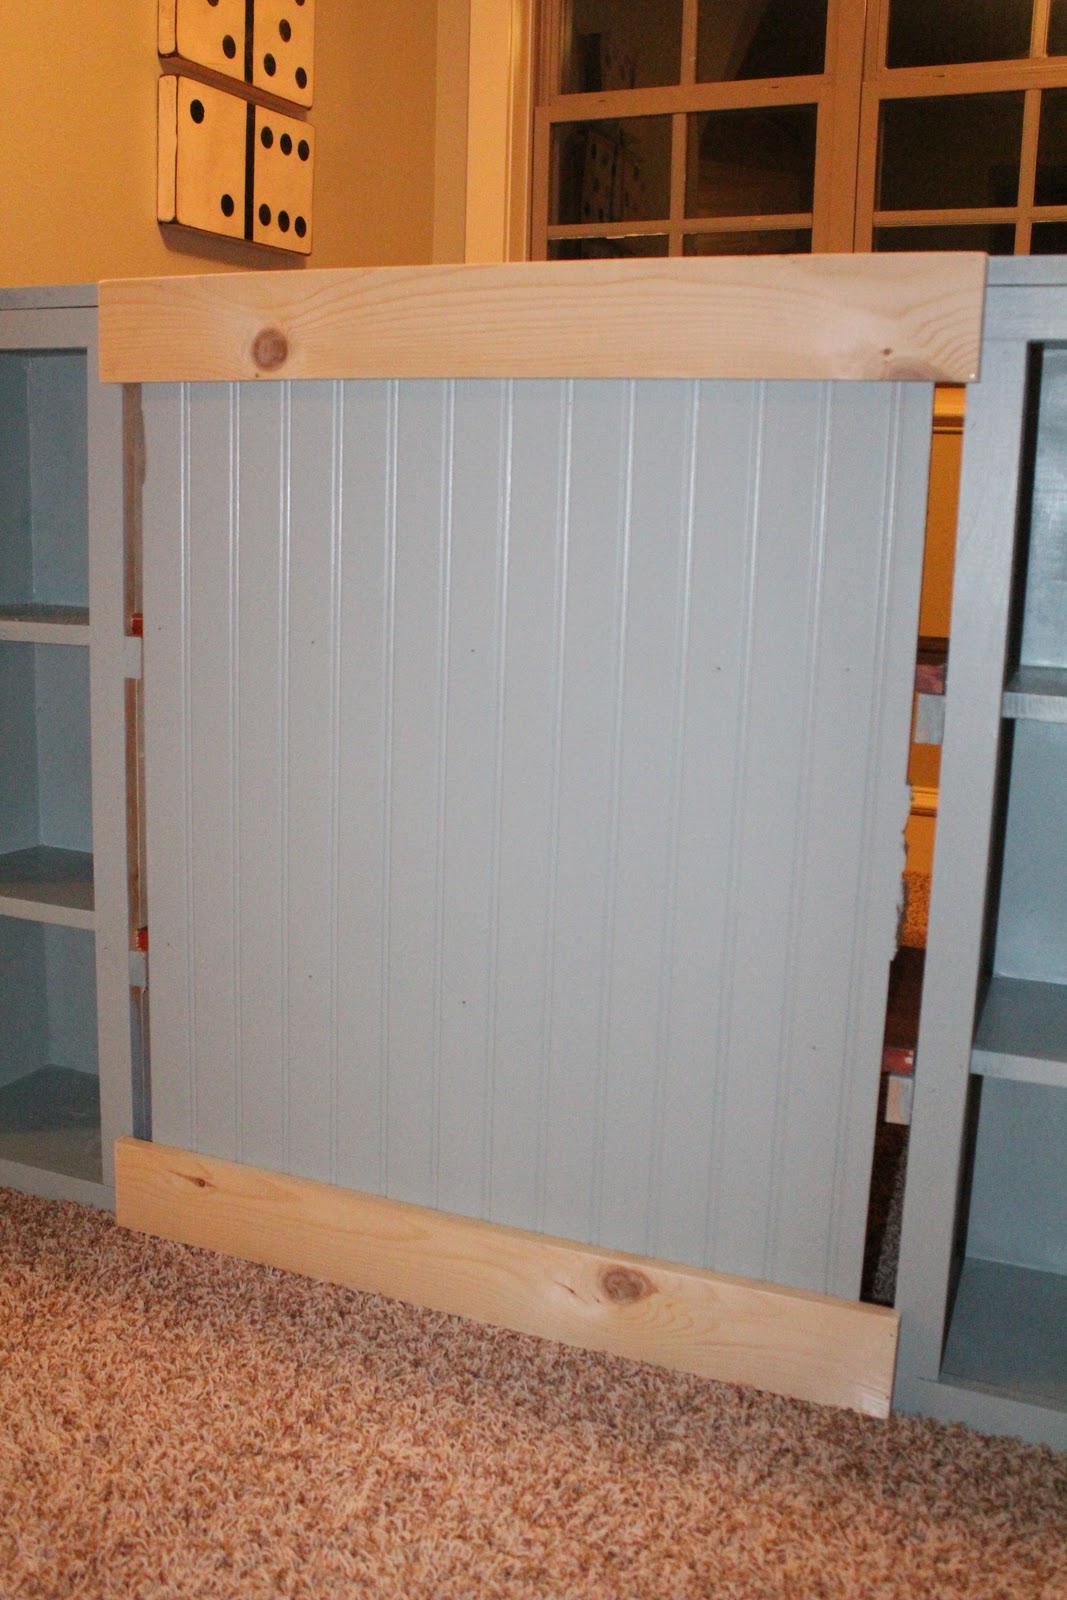
Next I added my bead board. I had leftover from my last table project and I painted it in the garage before attaching it. I cut mine to fit just into my open space and attached it with my nailer to the back of the shelves.
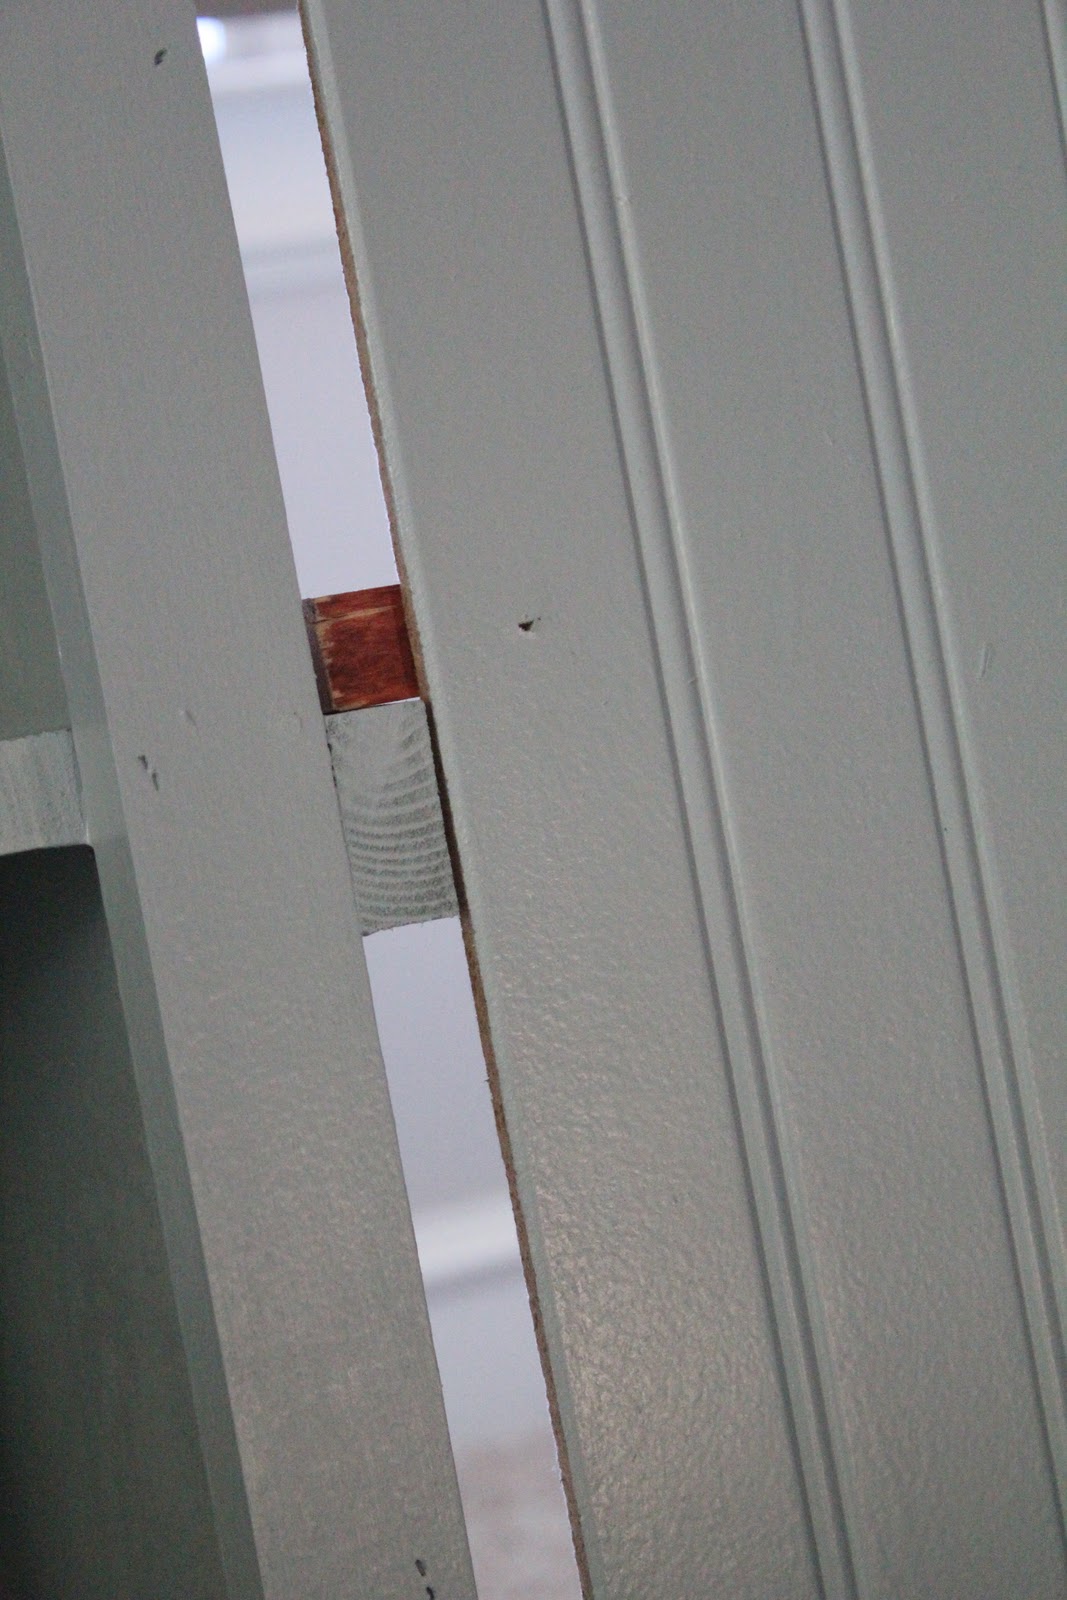
Bigger Pic…
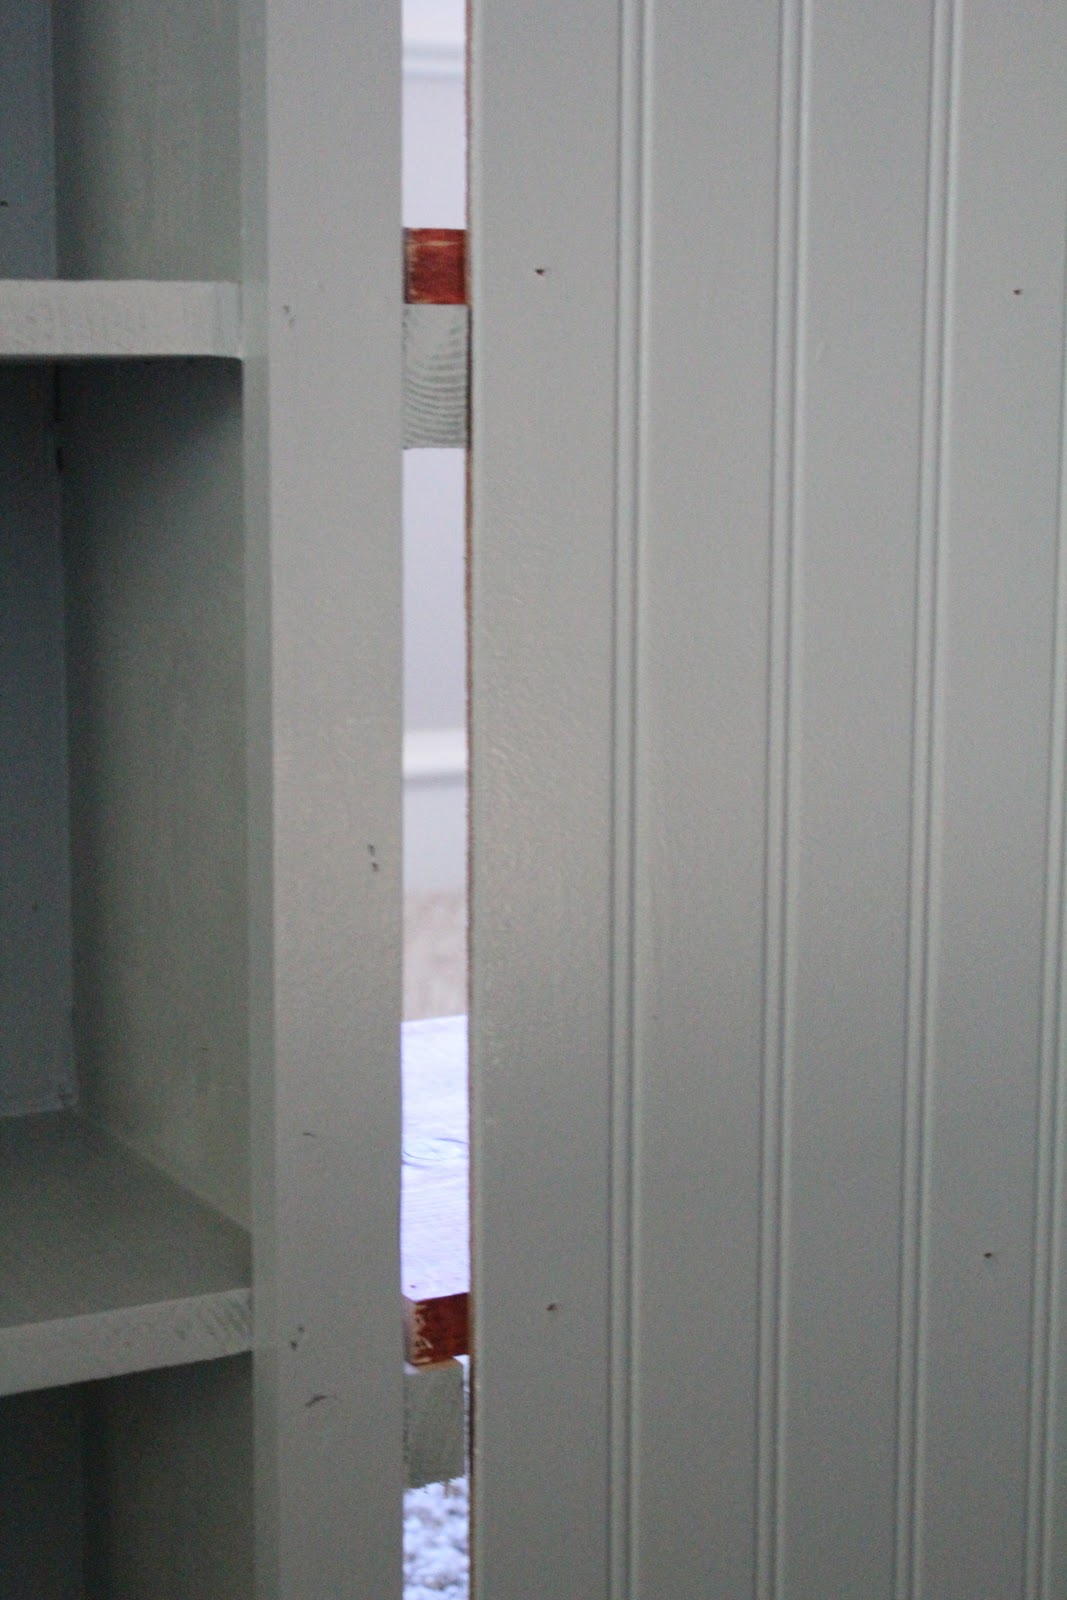
And a look from the backside…

I then added a 1×3 to both the top and the bottom to trim it out. I had scraps in my garage I used.
After attaching my top and bottom I added my sides using 1×2.

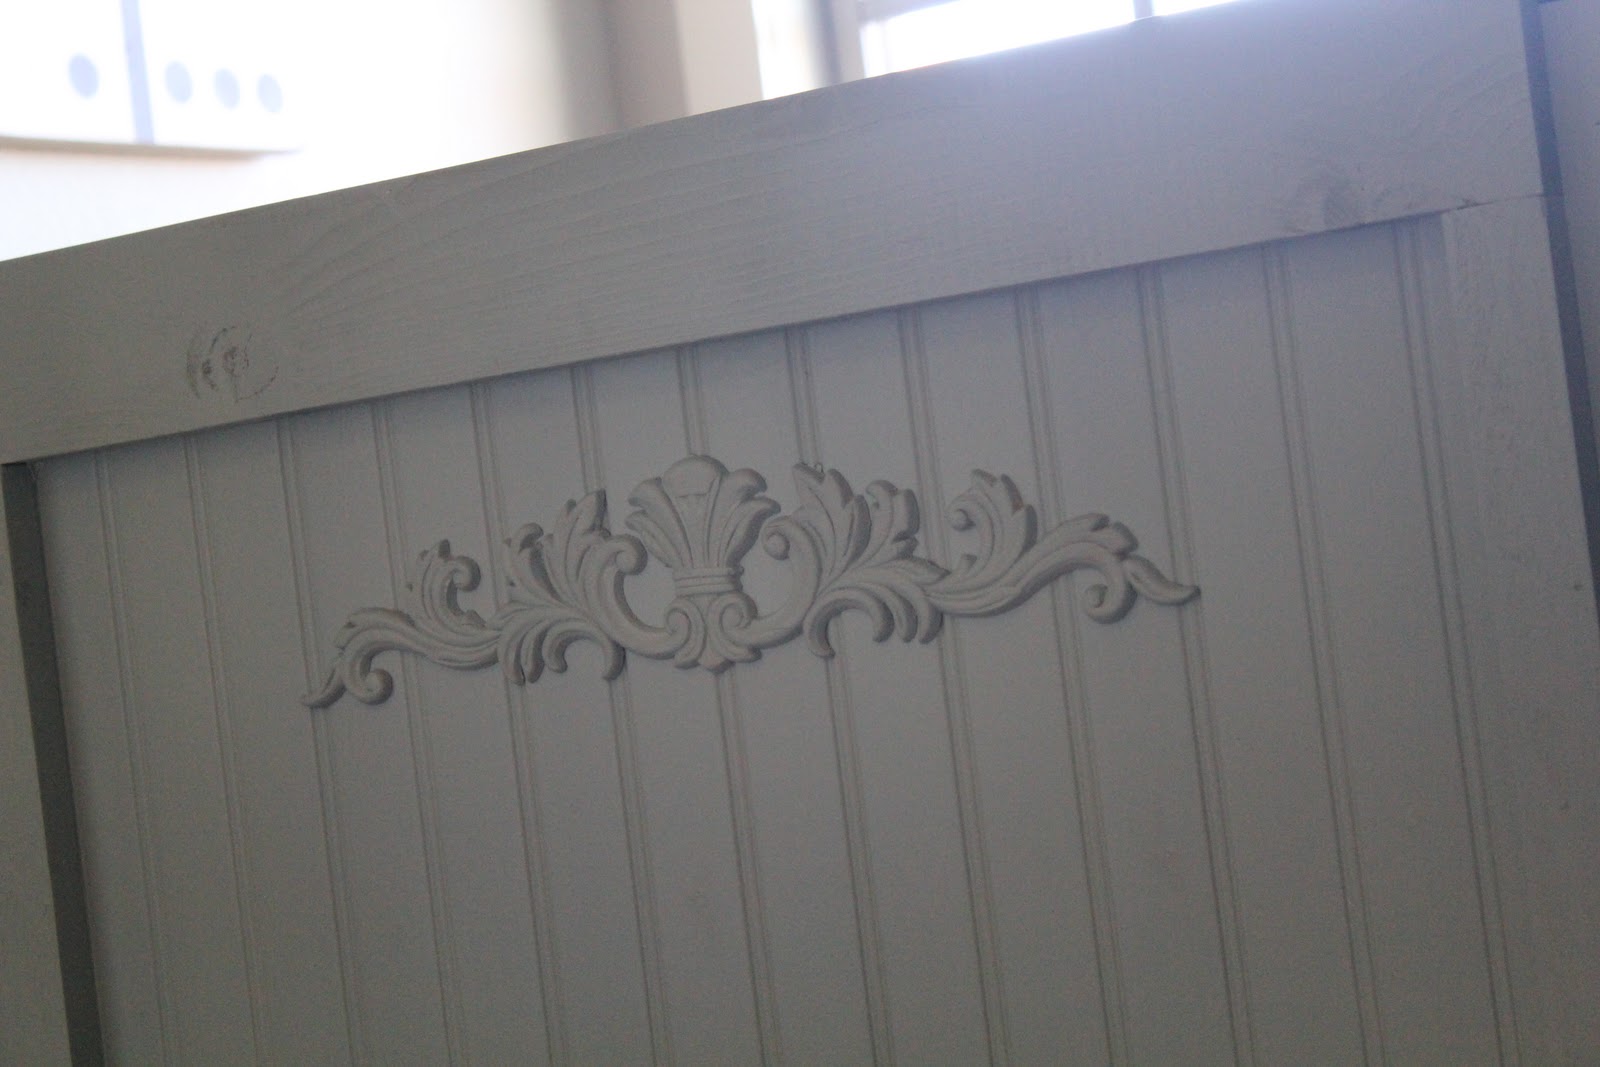
I then caulked the trim and painted it to match the blue of the table. I loved it at this point but thought I could chic it up just a bit more!
I bought a $7 wood scroll from Lowe’s and painted it.
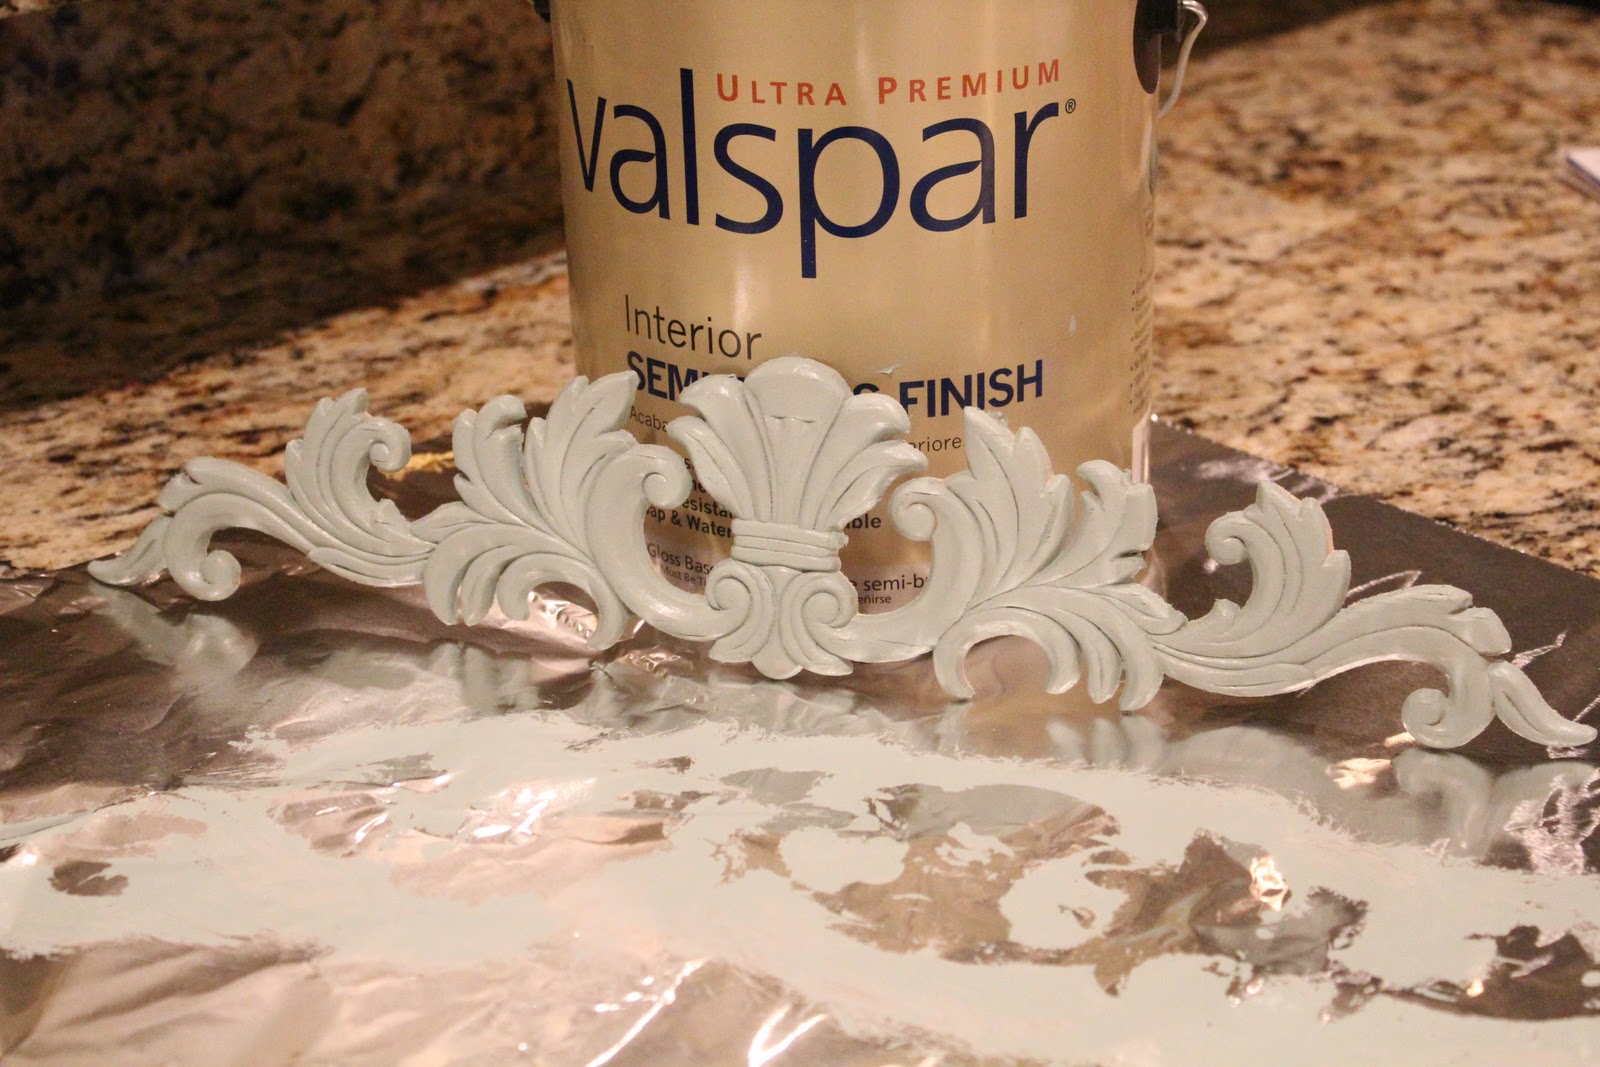
After it dried I used my hot glue gun (don’t tell) to attach it to my bead board.
I found baskets at Michael’s 40% off and added them. Now I am ready to add all my junk important crafting supplies 🙂
What do you think?!?
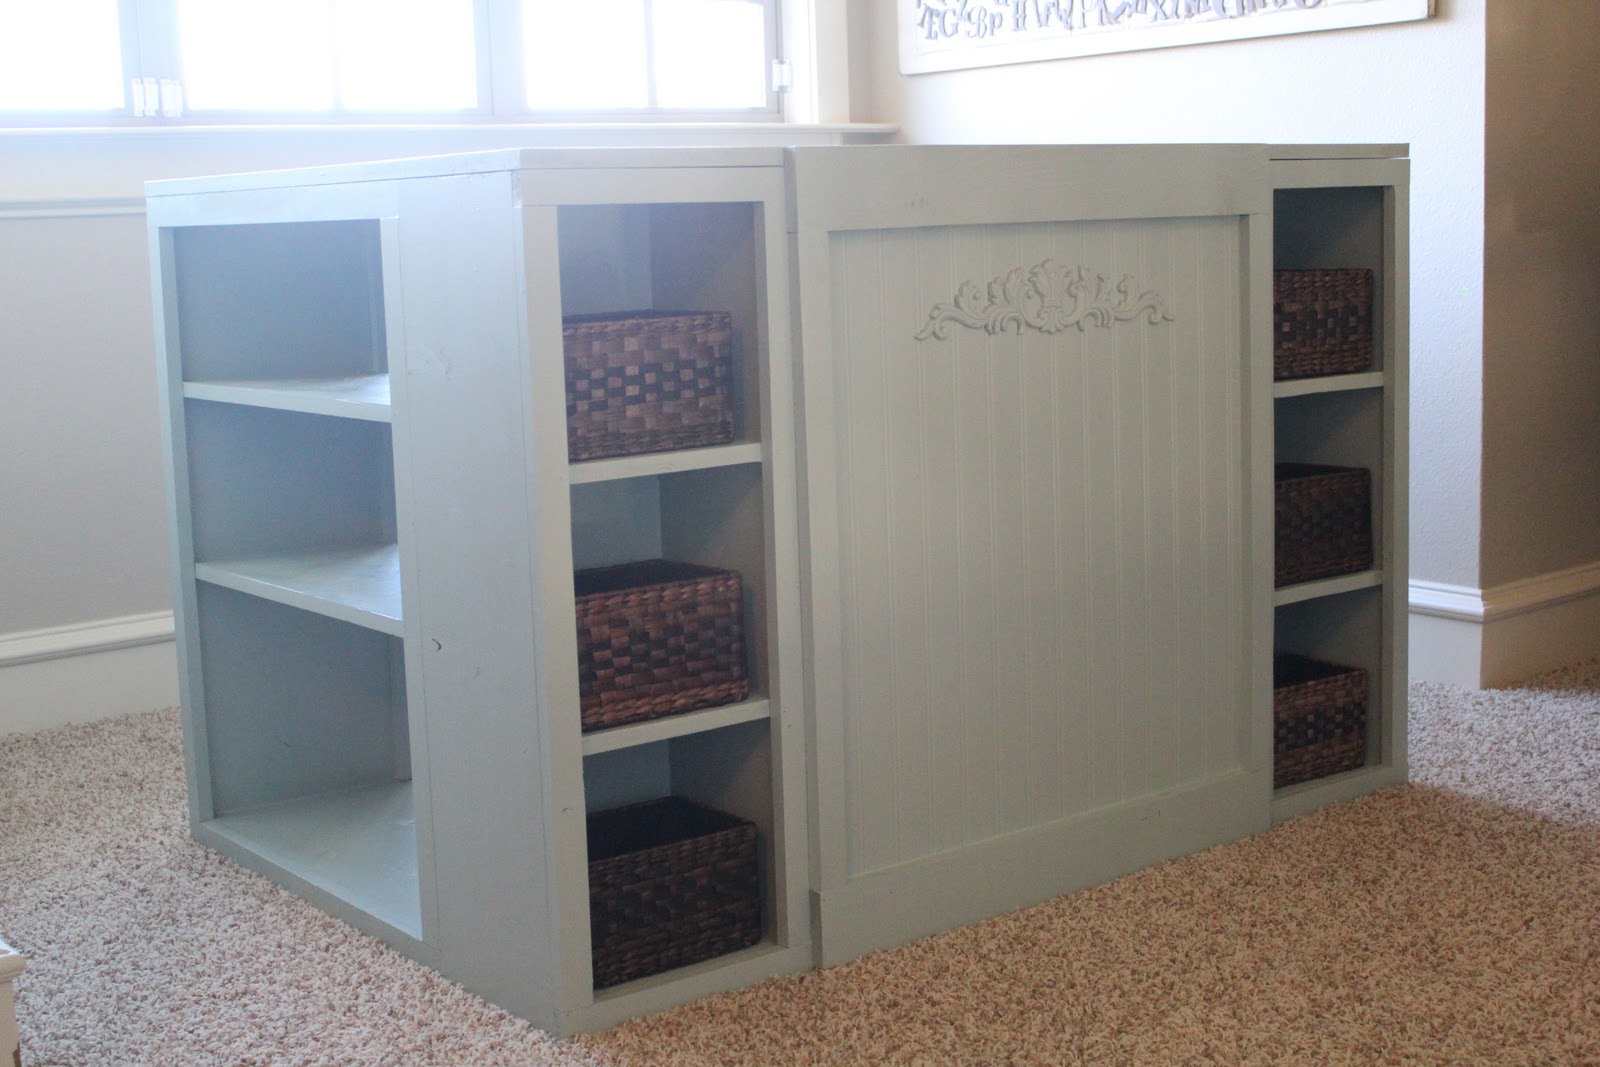
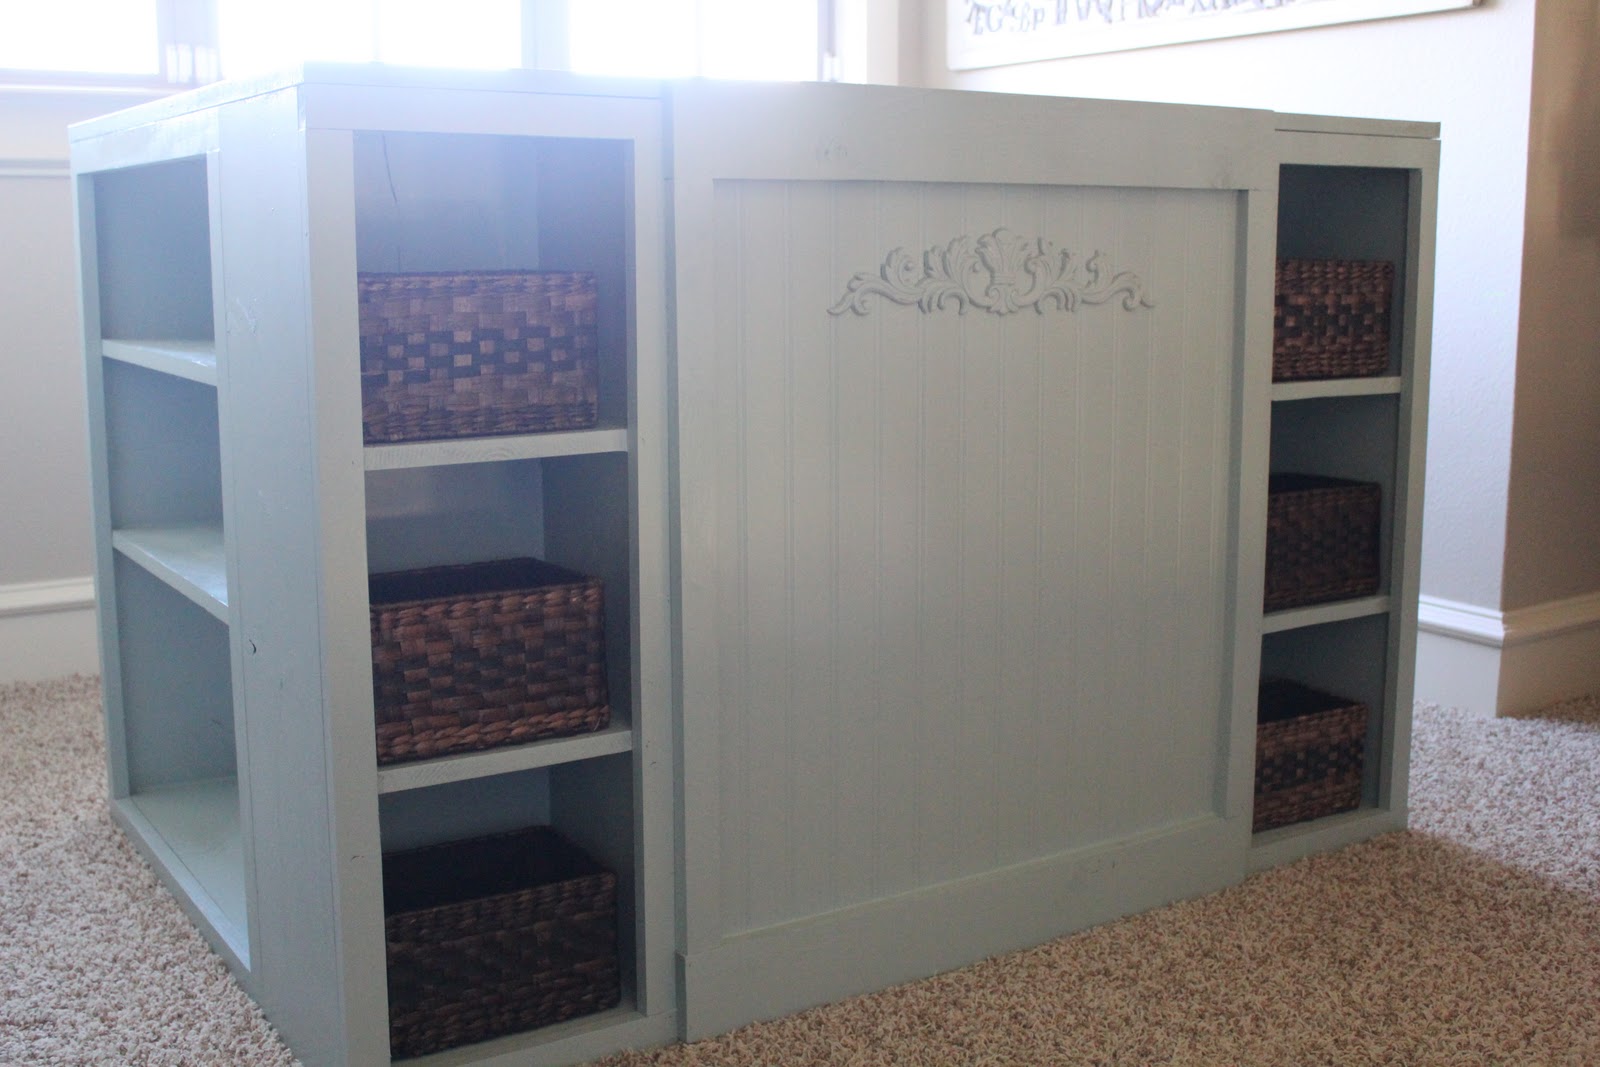
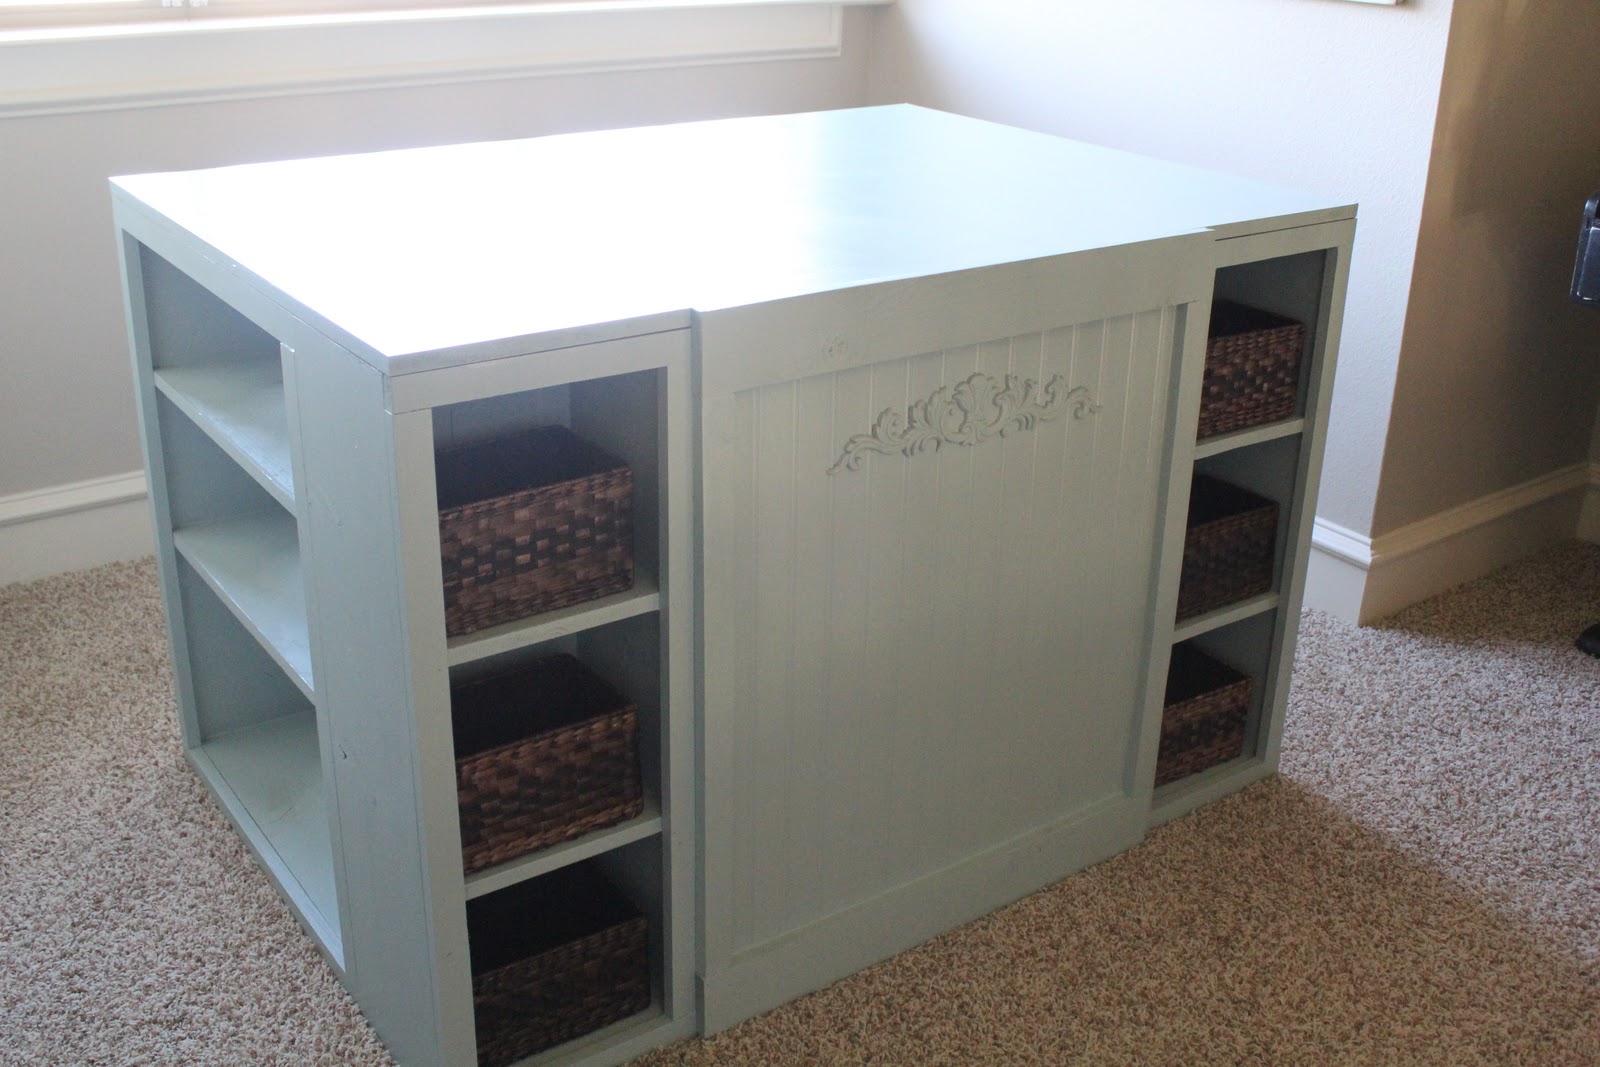
I love it!! I made my bottom side shelves just a bit taller than the plans to fit both my sewing machines. It will be so nice to finally get my stuff out of my kitchen, dining room, bedroom and closet 🙂
Want to build you own??
Check out Ana White’s site and get inspired!!
There are so many great ideas and fun pieces for your home!


This is beautiful! I love the color you chose and the scroll work! I would also love to see it once you get everything put away on it!
Love love love love love love… ah! I'm so jealous. I have had my eye on this table for awhile now, but I think it would just be too overwhelming in our office/craft room. I LOVE that you added the secret shelves, with the beadboard. Looks fantastic! I'm sure Ana is proud!
We're working on a couple desks from her site, for my new craft tables, and I'm hoping mine turn out even half as good as yours!
I love this! I've been eyeing the one from PB for awhile, but yours takes it to a whole new level. I'm so coping this for my own craftroom! thanks for sharing 😀
Nice…you did a fantastic job. Love it.
Very nice! It looks great! You are lucky to have room for such a big craft desk!
It looks great!!! Did I miss the name of the paint color? It looks like the perfect color!!!
It looks fabulous! I LOVE it! Great job!
I'm super impressed – great job! I need to build *something* to don't have room for a whole desk… I'm sure Ana will have something for me though!
What a great table! You did an awesome job!!! I'm SO impressed! WOW!! I want one 😉
I <3 it! I have this plan on my list but might modify it now. Hmm…
I LOVE your craft table! I'm making one! I love the front and under the table storage too- briliant!
Very inspiring! I just "found" your blog as well as Ann White's site… I'm getting excited about building again!
Love it….will you show us another picture once you have all your stuff in place? Love to see how others organize themselves!
Think I might have to make this. How cute and functional! Love it 🙂
WOW!!! That is awesome!!! I NEED one, BAD!!! LOL!!! Thanks for sharing!!!