Hi all! Hope you are all fantastic! I haven’t posted much in the past week because I have been pouring my blood, sweat and tears into this piece!!! 

It may be hard to believe but it once looked like this!
This is a piece from our game room. There is nothing wrong with it but my boys are getting older and I really want the room to have a more mature look. This hutch fits great in the corner however, the yellow, blue and sports decor didn’t fit with the picture I had in my mind…
I started by taking the cabinet doors off and cutting the wooden sport decals out of the doors. I used my Ryobi battery powered circular saw to start, then Whit’s hand saw to tackle the hard-to-reach spots and finished off with a good sanding to smooth the edges.
Enough of the elbow grease….let’s paint!
I used a Shanty Sisters fav ~ Rustoleum American Accents Canyon Black spray paint all over ~ 2 coats and quickly moved on to the detailing.
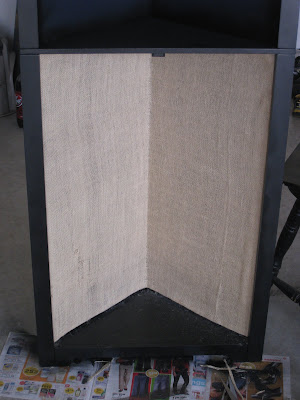
I measured and cut pieces of burlap to fit on the inside walls of the hutch. Next, I hot glued the edges down to form nice seams on all sides (my hot glue gun is my best friend seeing as I do not know how to sew ~ she gets’er done!!!!
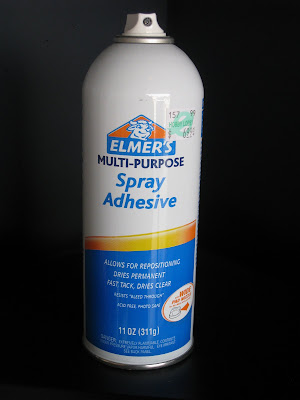
When the burlap was ready, I sprayed Elmer’s Spray Adhesive on the inside corner of the hutch and used a ruler to smooth the center of the burlap all the way down the corner.
I then pulled the burlap tight to the edges and placed several small tacks behind the outer edges.
Nice…
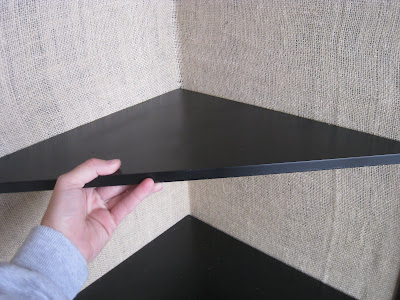
Next, I pushed the pegs through the burlap into the holes…
and placed the newly painted shelves back in their spots.
Now she’s starting to come around…
I continued the same steps all the way up to the top.
Now for the impact detailing!
I used my 3M sanding block to distress all of the edges and corners…
and hot glued 4ply jute twine on the bottom edges of each shelf to give a more finished touch to the burlap!
One final important piece!
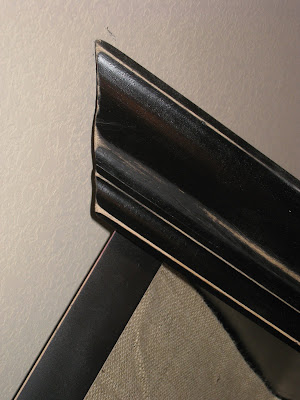
I cut down a piece of molding to fit the top of the hutch…
gave it a good spray down with our fav Canyon Black…
turned the hutch on her belly and attached the molding to the front using Gorilla Glue Epoxy!
Next, I attached the cabinet doors and finished her off with a cute set of knobs that I purchased at Hobby Lobby!
What was once this….
Is now a chic piece of furniture that I can display in any part of our home!
I’ll leave her in the gameroom for now but who knows….she may make it around the house a few times! I’m so happy with my new corner hutch and it has given me just the motivation I need to start decorating our gameroom!!!!










great idea!
beautiful!!!
Wow! That turned out awesome!
Magic, just magic!
I especially like the molding on top. I have a billy bookcase from Ikea that I want to give a makeover adding some molding like that might just be it. Thanks for the inspiration. Again….
What a fantastic makeover!! It turned out great! 🙂
just in case you need this…
Jan at [email protected]
Much appreciated!!
I love all the creations on this blog!!! Amazing! I've been searching all over for a post on making roman shades… is that one of your posts?? I can't find it – can you help?
Thanks for all the inspiration! – Jan
Wowzers. Looks great! What a difference! Okay seriously…I'm 4 hours away. Come play at my house!!
Ohhh I love it! It looks so good. I love the burlap in the back.
yowza, you really gave this piece the sophistication it was clearly lacking before. nice transformation!
I'm loving this what an awesome transformation!
Dena
sweetpicklesandchocolate
Another "hit" from the lovely, creative sisters.
I love the burlap.
Rhonda
you did a great job, that seems like a lot of work, but the transformation is so amazing, you are right, this hutch would look great in any room!
I love that you have such great vision for a piece of furniture. Thanks for sharing the process.
Great job. I really like the burlap on the back – great idea.