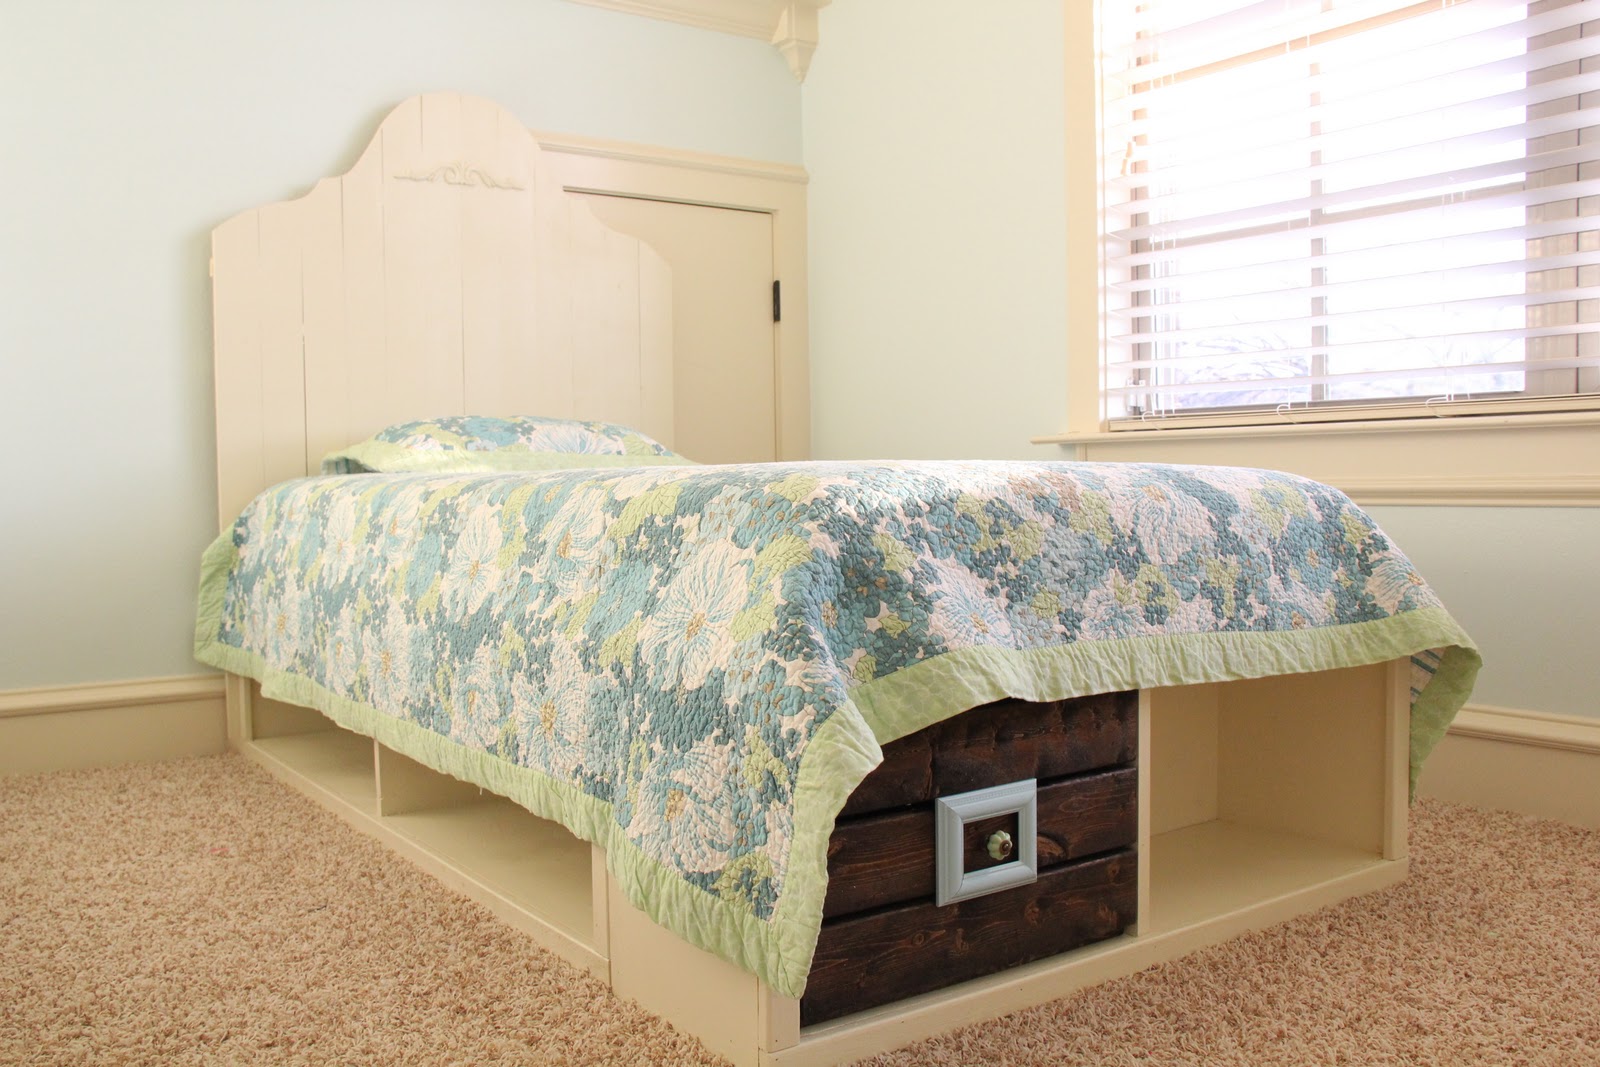
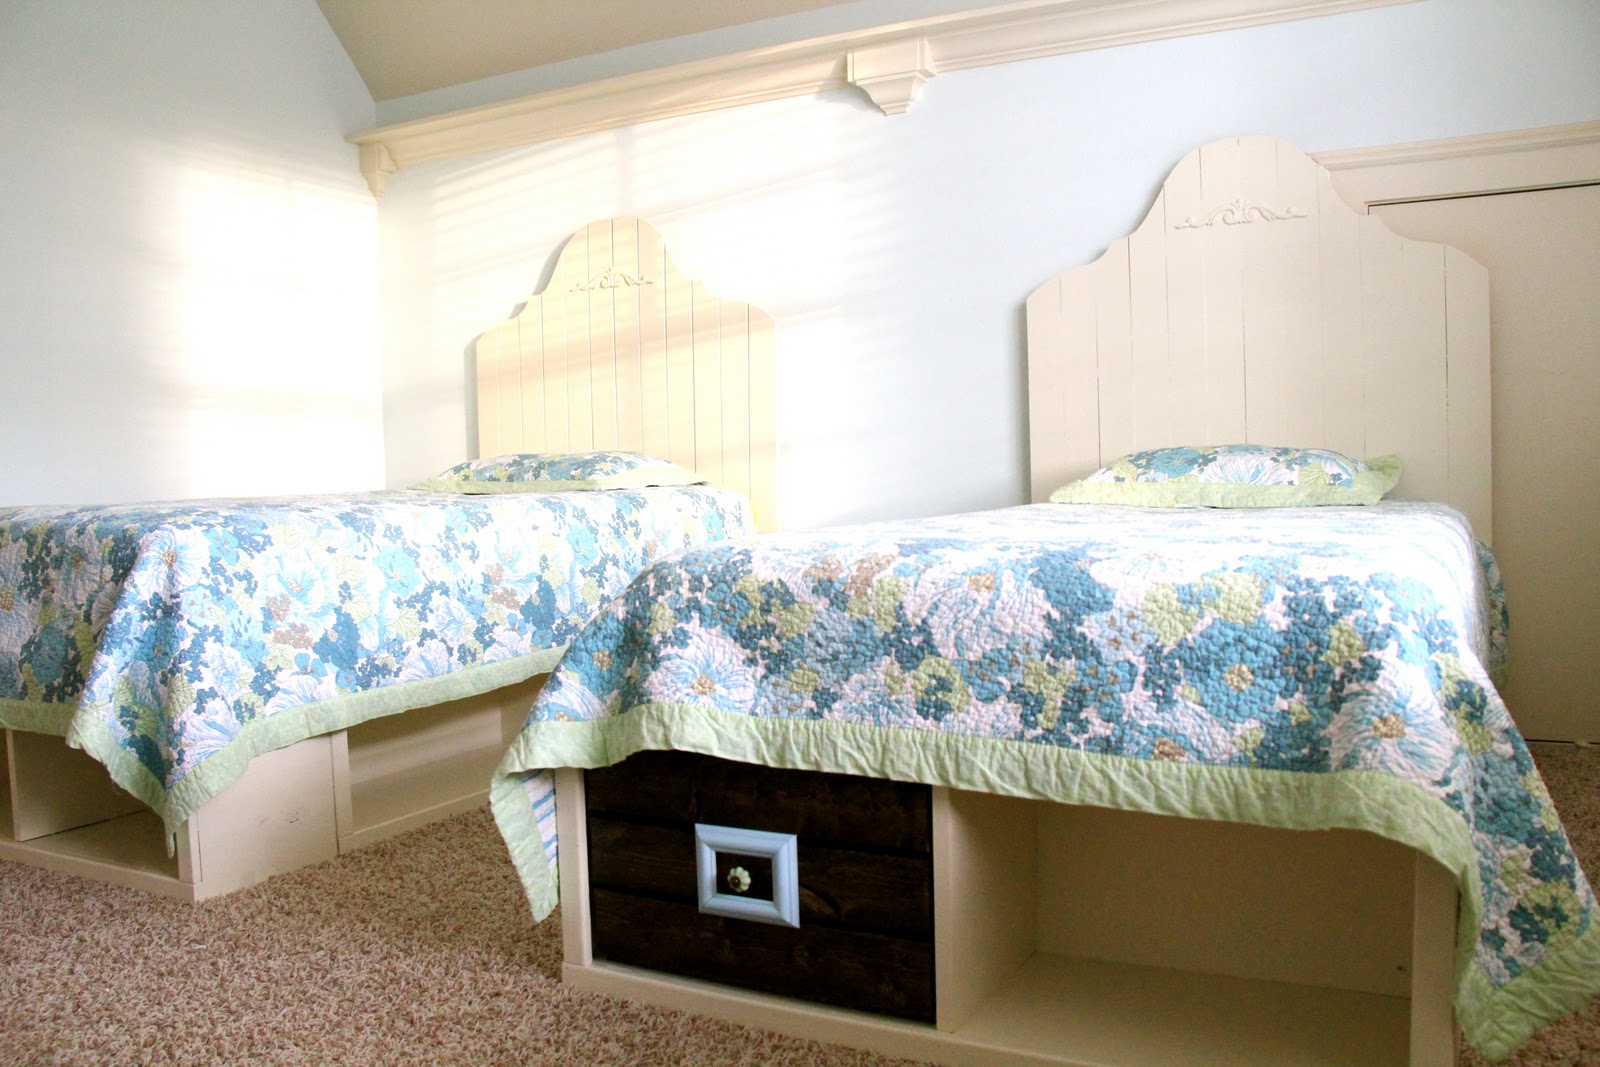
So, I thought I would share the girls’ beds finished… Almost.
I love them! The only thing I still have to finish is the storage underneath. Here is one…
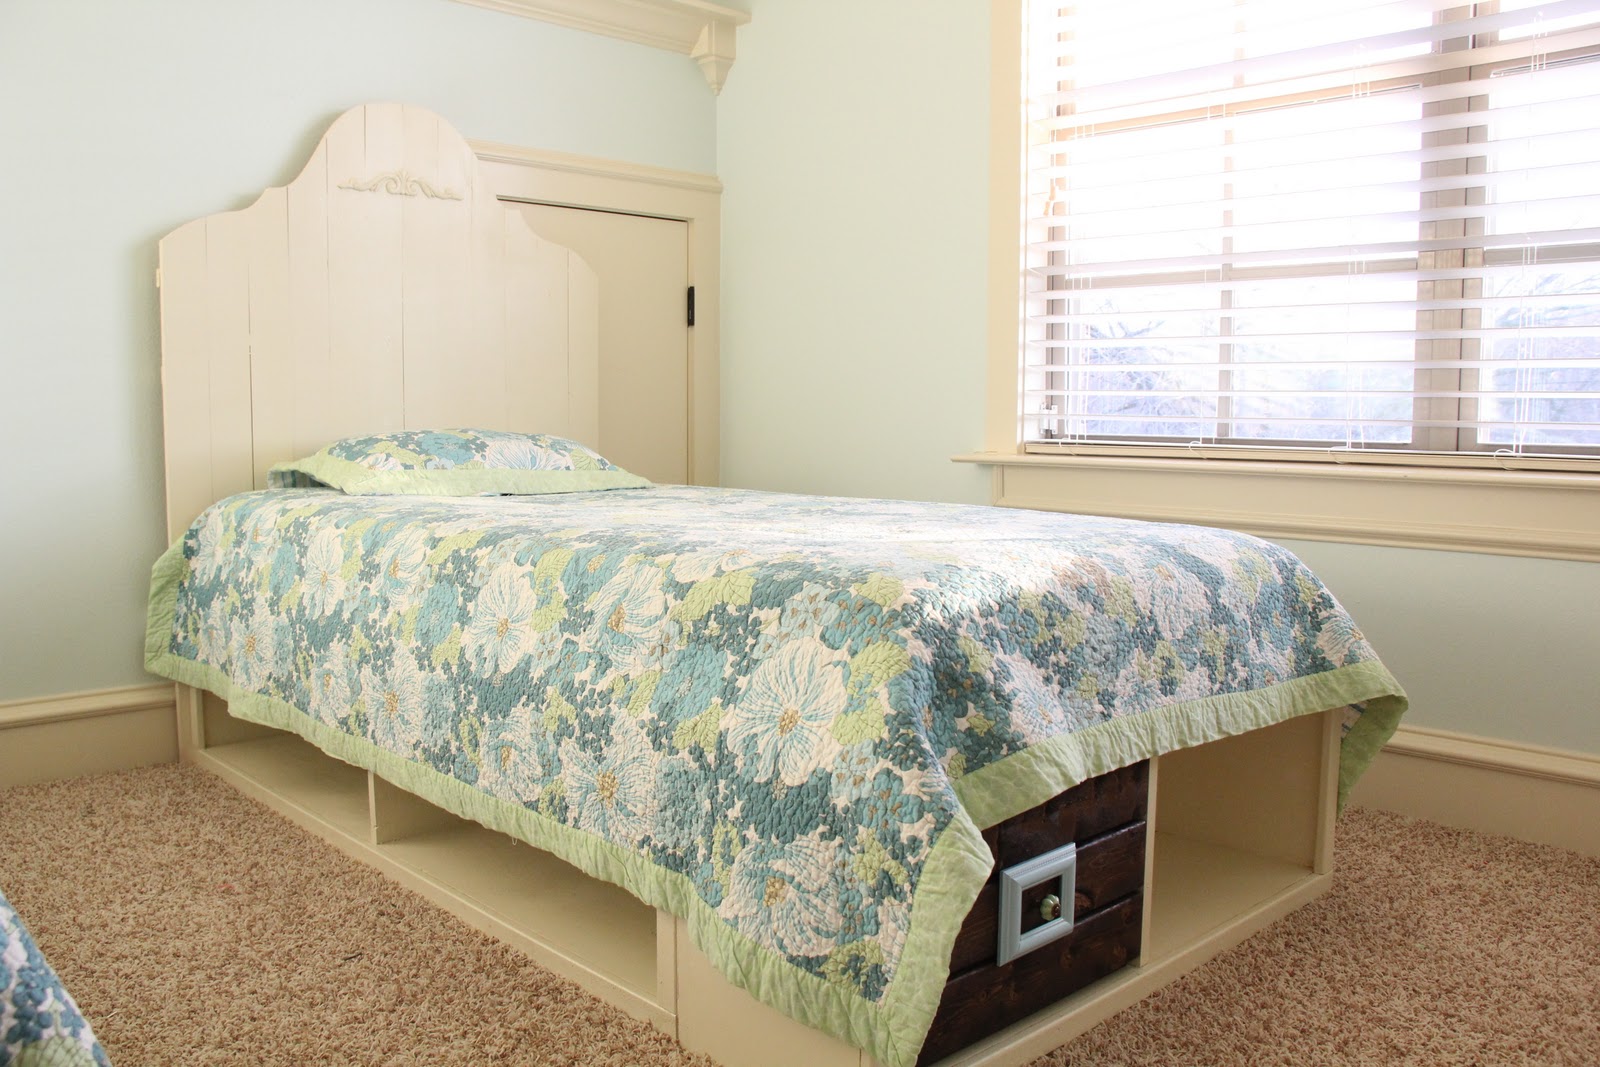
I wanted a functional storage bed with a fancy headboard.
HERE is the inspiration for my headboard!!
HERE are the instructions I followed for my twin storage beds!!
I spent right around $110 on each bed not including paint. I thought that was a steal for the function and cuteness I get from them 🙂
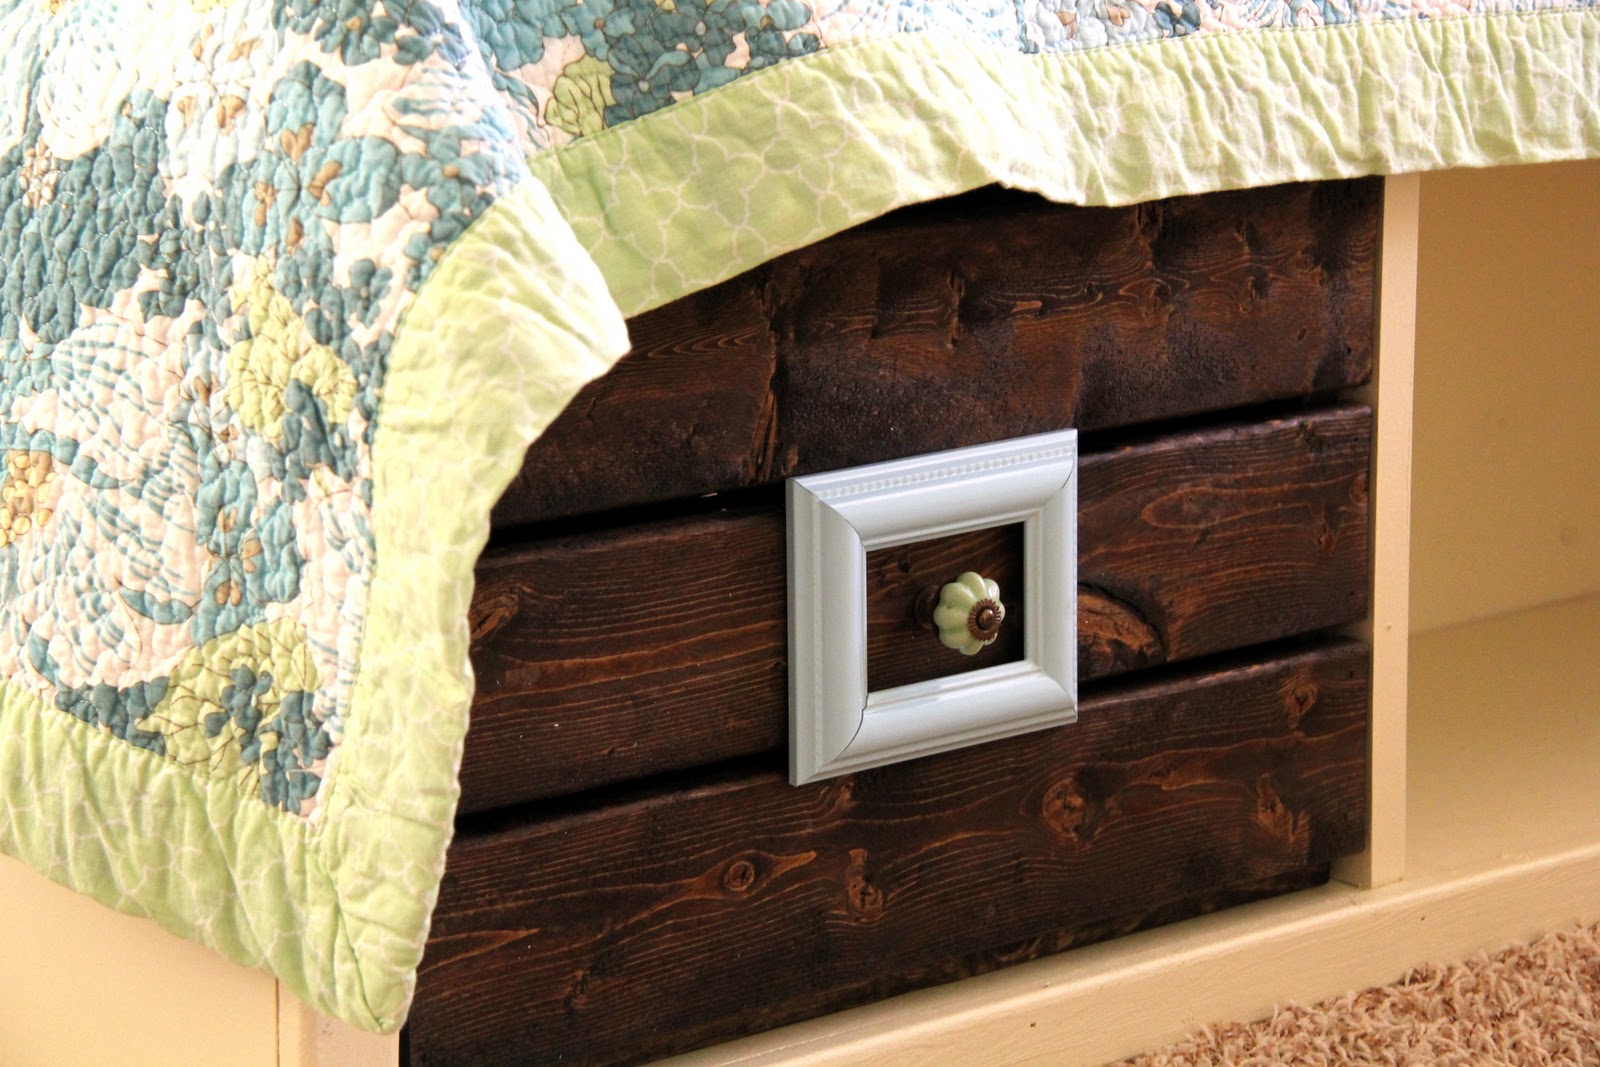
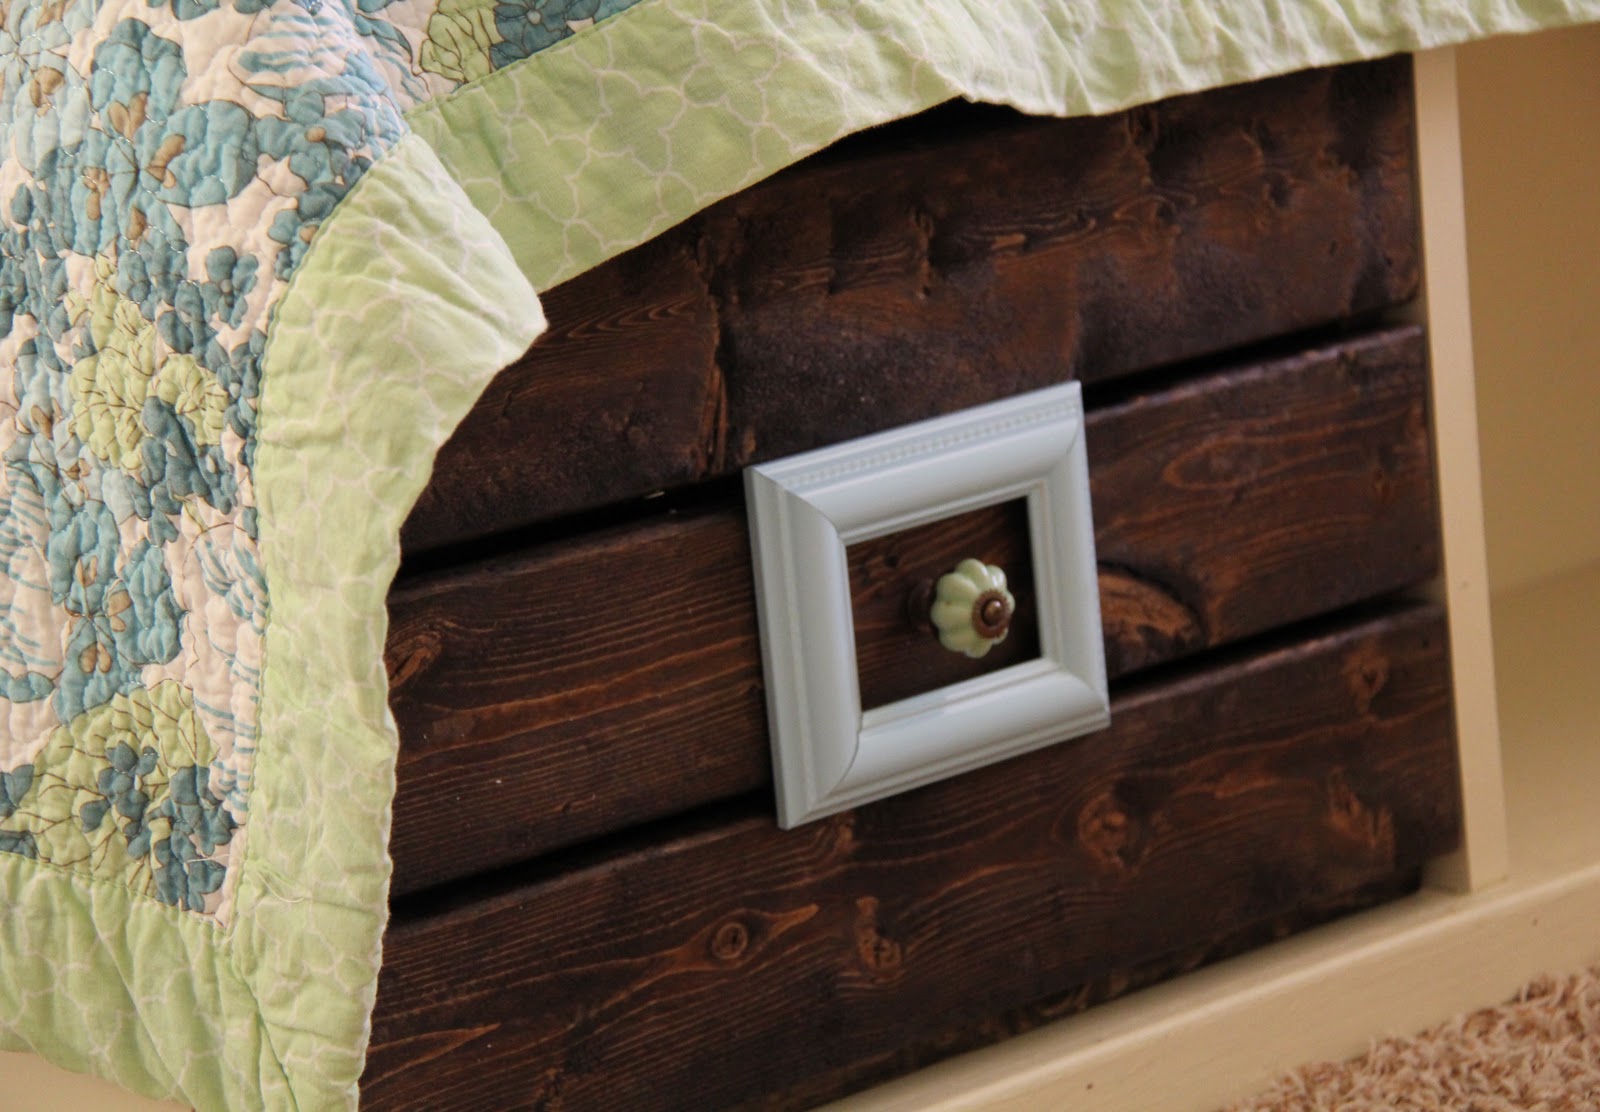
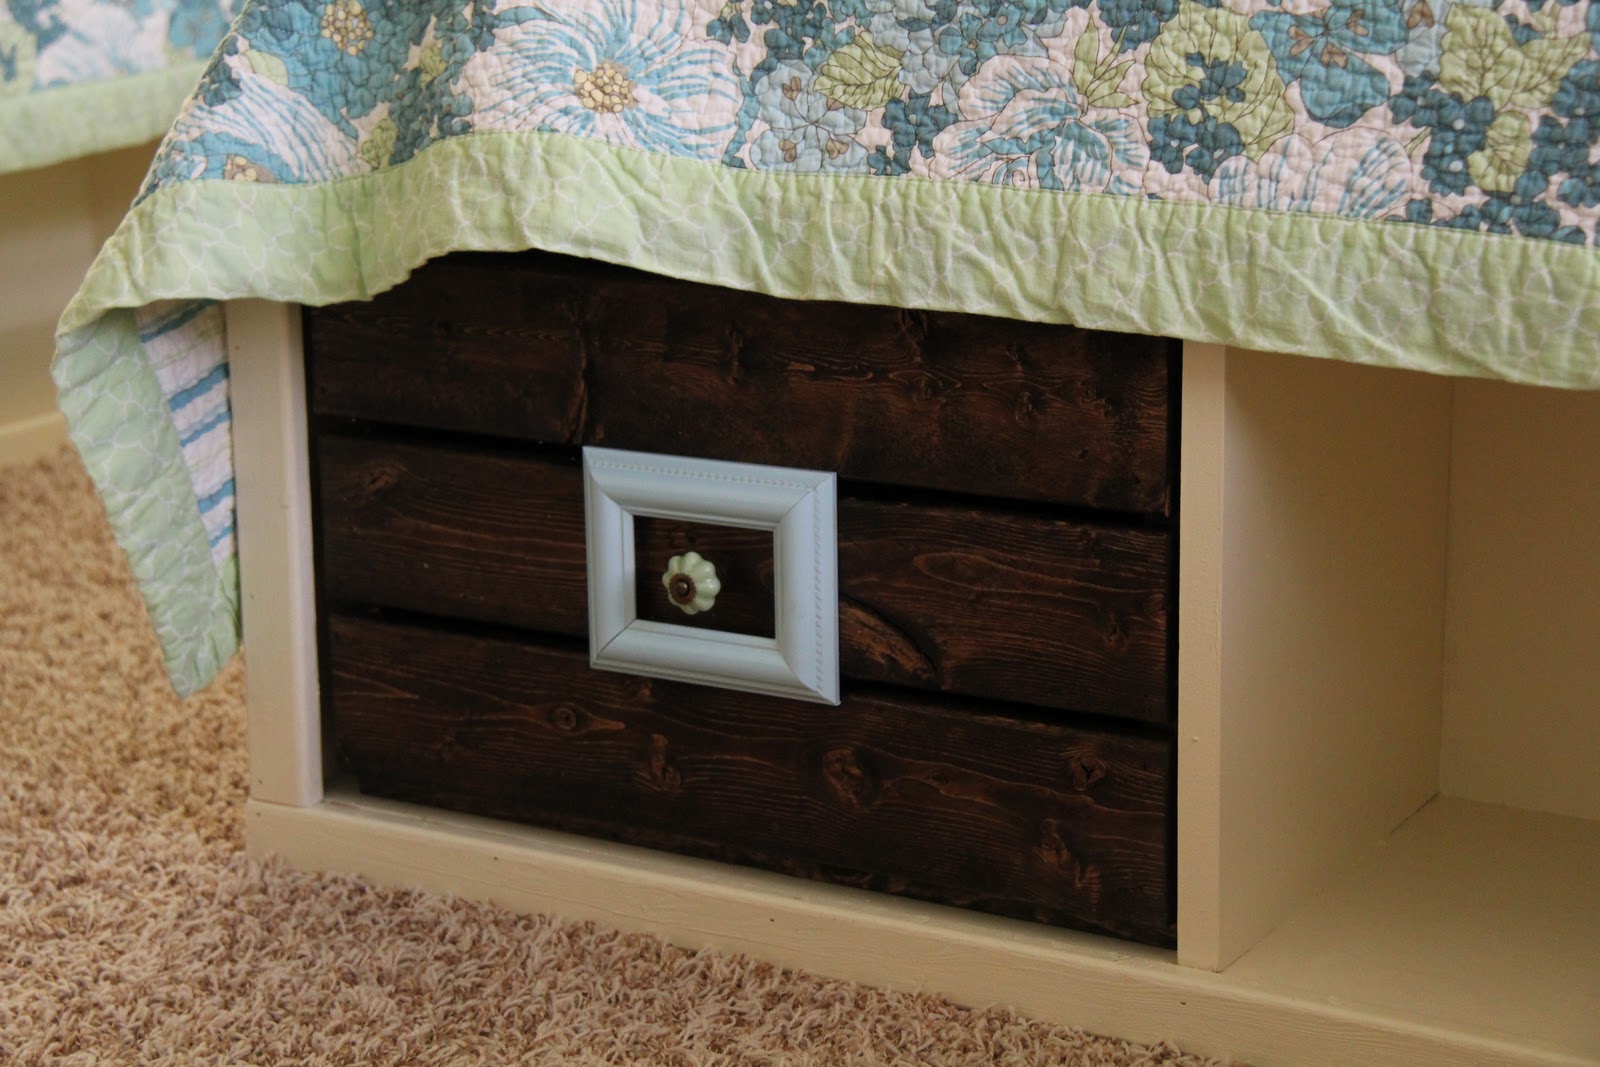
As I went looking for baskets on Sunday I had an epiphany. I was having trouble finding baskets that made me happy at a decent price and I saw some unfinished wood crates at Joann’s. I knew I could recreate them and that they would make the perfect storage. I made one to show you in this picture and I will show you in my next post how I did them. They were super easy and cheaper than any basket I found.

Hard to get them both in the picture with good lighting but I gave it a go anyway!

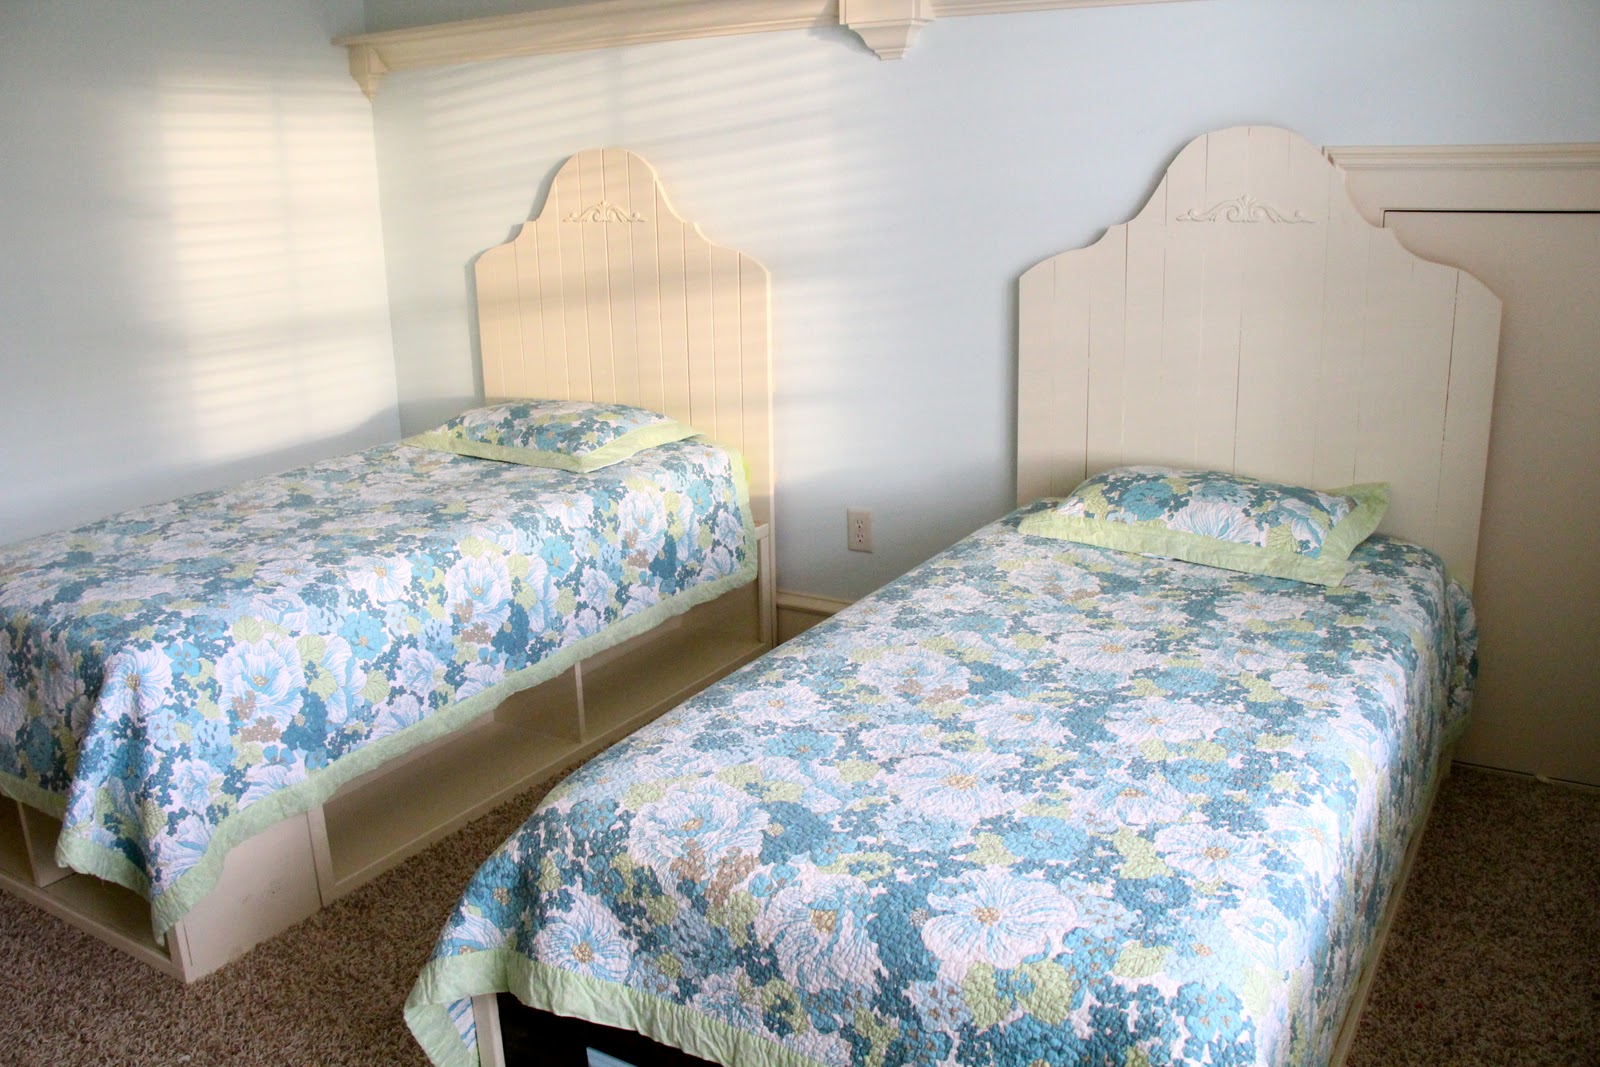
I’m pretty sure after now making two of these babies I could build one with my eyes closed. The building part was easy but I was kind of over the whole painting thing after one bed! However… I am so pleased with the results!!
These beds are the same color as their dresser.

I probably had 50 or so of you ask about that great Valspar paint color. I used semi-gloss with the primer mixed in the paint and these are the codes for those that still want it.
The number above the barcode is
107-35, 101-3.5
The number below the barcode is
2440-A-5483
Not sure which one the paint guy needs 🙂
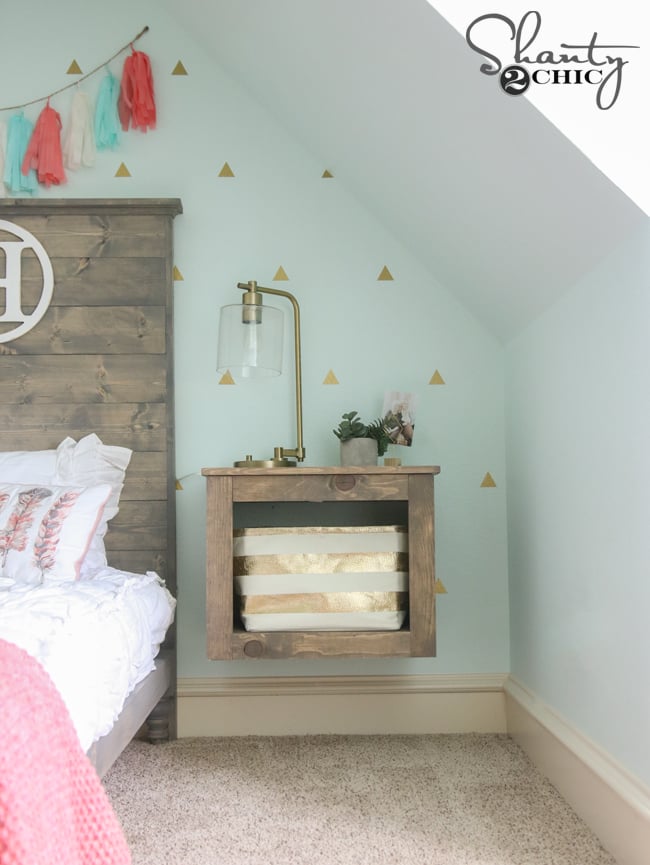
Next up… Finishing 576 or so storage crates for under the beds and then deciding on a nightstand to go in between the beds.
Hope you like them!! My girls do… And now they can’t shove junk under the bedskirt… Whoop!
Finally… Thanks so much to all of you who leave sweet comments! I reply to those that I have a return email for but if you leave me a question in a comment and don’t leave your email I can’t return it. I’m not ignoring you… I promise 🙂
~Whitney


The link for the plans is not working. How do I get them? Thanks!
The links no longer work ?. Is there anyway you could please update the links.
Thank you
Love the beds! I am going to attempt to make one for my daughter. I was wondering if you used wood conditioner for your project before you painted. Also, I noticed your paint has the primer mixed in so then you don’t have to do two steps. Prime then paint, right? This will be a new endeavor for me and I don’t want to mess it up. I would appreciate any input you may have. Thanks
to Jane above… try adding some self-stick felt to the bottom of the crates… i did this years ago with some baskets and it worked beautifully.
to shanty-chic… just found your blog and can't wait to browse through your projects! i hope you plan to show the finished girls' bedroom… i'd love to see the layout of furniture. it looks similar to my sons' room layout and i've been thinking about putting the beds the same way. (they're up against the wall right now)
🙂 Laura B.
Love Love it…Just found your blog. it's wonderful…so many Fab ideas…
I will be getting the paint color…I have been looking for the perfect color….thanks so much
julie from
lifeatfirelakecamp.blogspot.com
I can't believe I'm just now finding your blog!
I love these beds! I converted the Ana-White Plans to a King size and built them, however I changed my mind and now I'm turning the king headboard into a daybed!
http://domesticjenny.blogspot.com/2010/09/build-bed-i-think-so.html
uhm… you gals are AMAZING!! I hope to be as creative as you some day 🙂
these turned out darling! tfs! love the little shelf above the beds too!
What adorable beds-they will be able to use these forever-amazing what you can do!-Claire
you have got skillz!!! and i'm glad you posted that color info, cause it's perfect for a sidetable I have here on the neverending todo list.
They look amazing! And the storage boxes are adorable!
Hi! I'm a new follower and I love the beds and your creative storage containers!
Can't wait to see the finished room!