With the new school year starting, our main focus is always on organization! There are so many notes coming home, forms due, appointments to remember… We have designed and built this Custom DIY Wall Organizer that will (hopefully) give us the head start we need, to get our schedules organized!
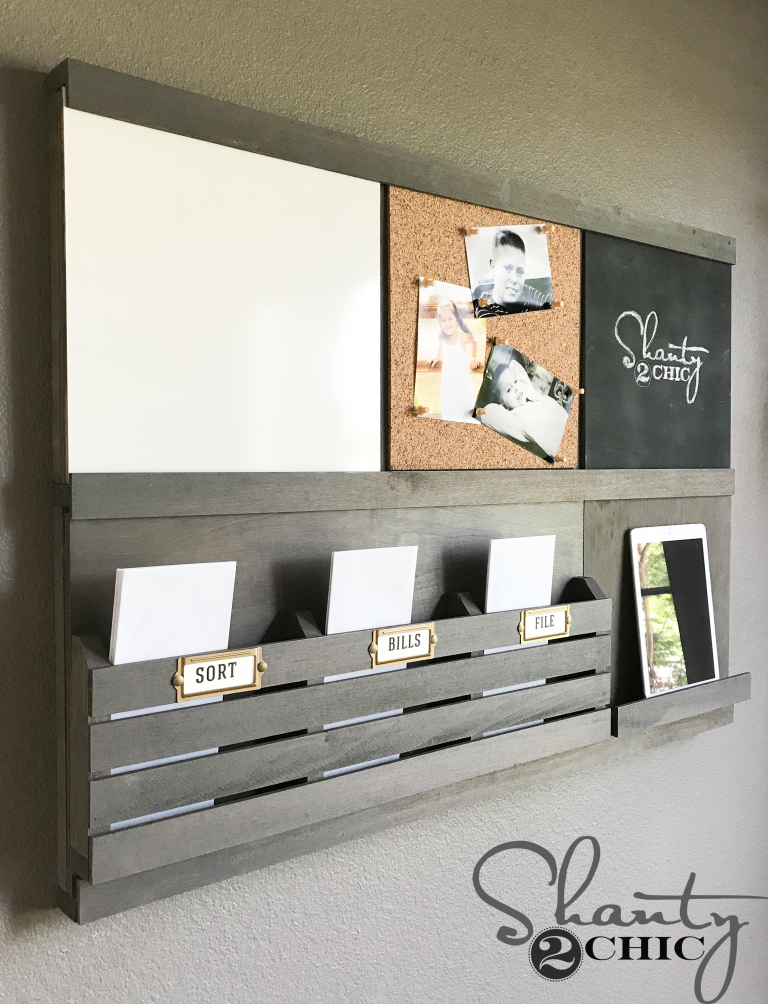
Custom DIY Wall Organizer – Affordable and Easy To Build
This is an easy, beginner build, it’s inexpensive and it will give you tons of organization without taking up any floor space! The best part is that each component, to this system, slides in and out making it 100% customizable! You can double up on a component or invent your own!
Download the FREE Printable Plans HERE!
Here’s how easy it is to build!
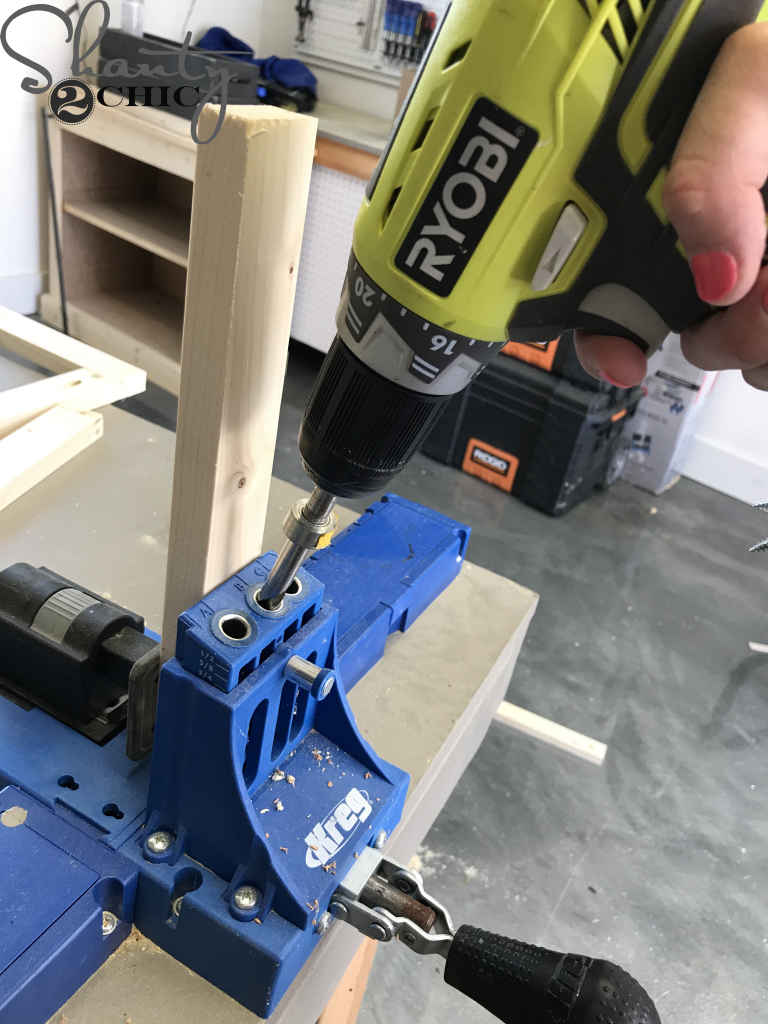
First, I cut the boards for the back frame and used my Kreg Jig to drill 3/4” pocket holes into each of the short pieces. You can find our favorite Kreg Jig model HERE on Amazon.
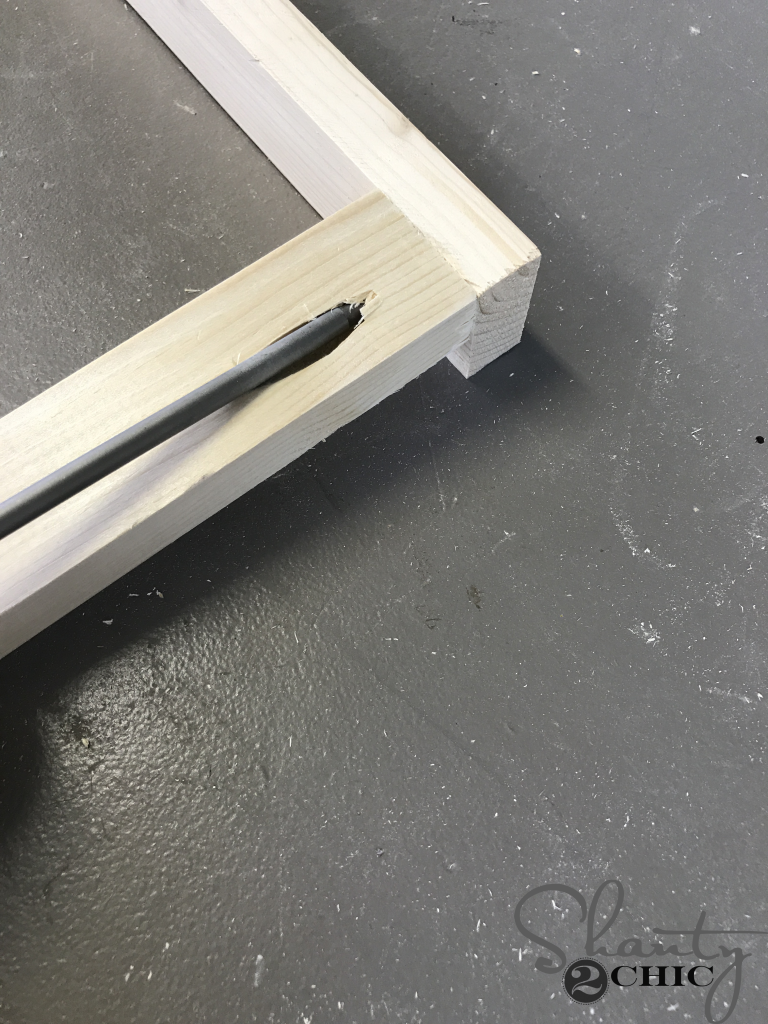
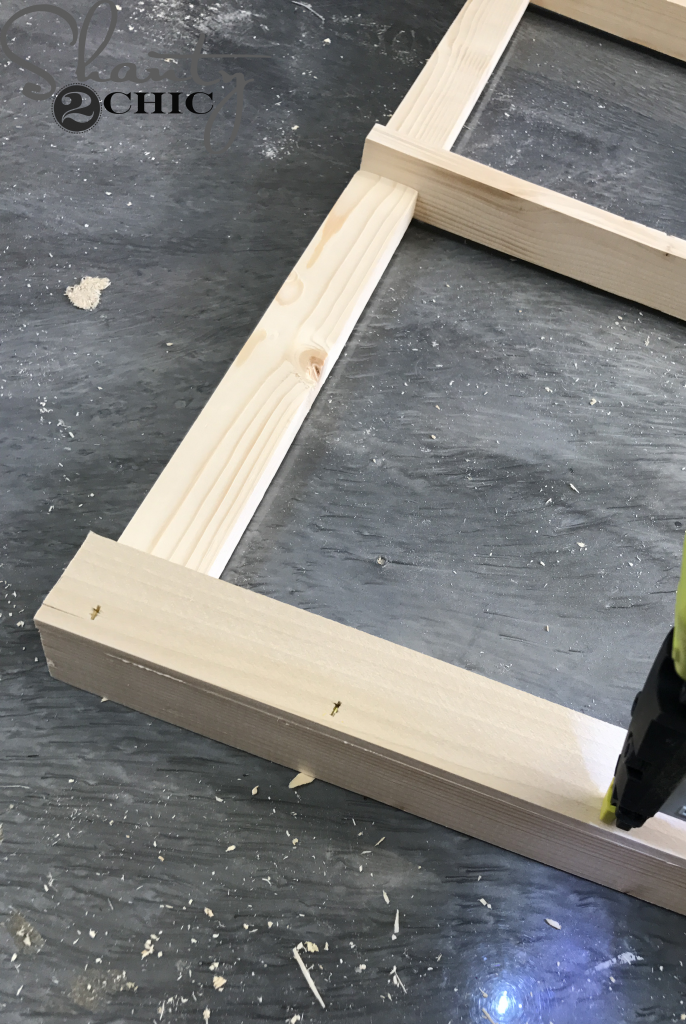
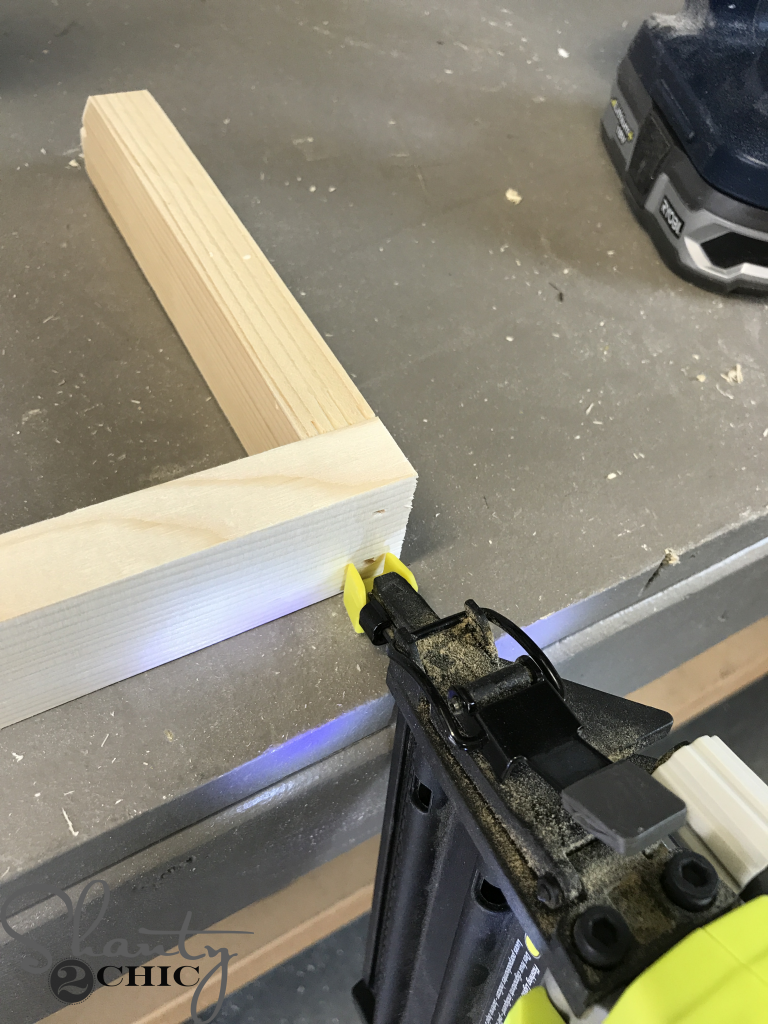
Then, I attached the short pieces to the long pieces with 1 1/4” pocket hole screws and wood glue.
The back of the short pieces should be flush with the back of the long pieces. Use a scrap board underneath the short pieces to make attachment easy.
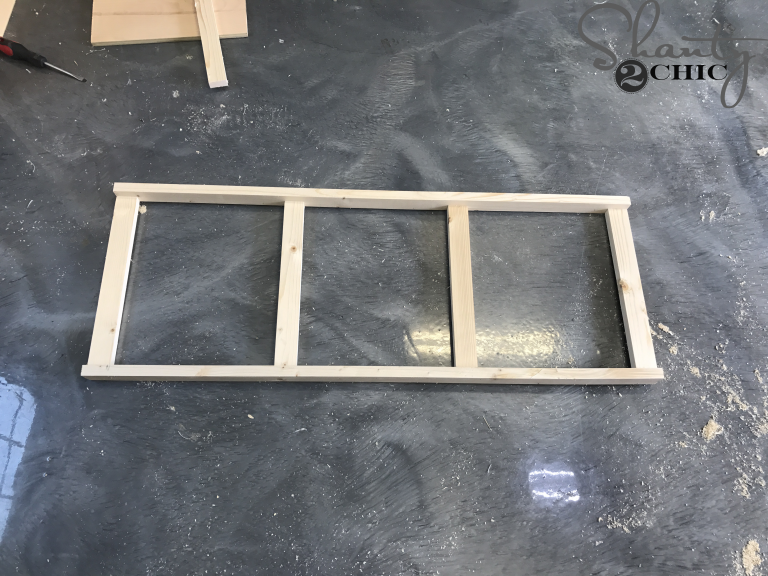
Custom DIY Wall Organizer – Frame Assembly
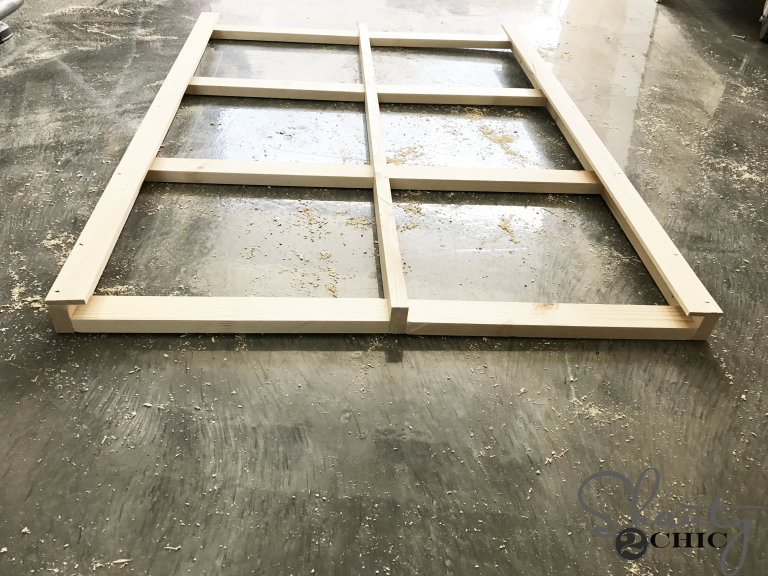
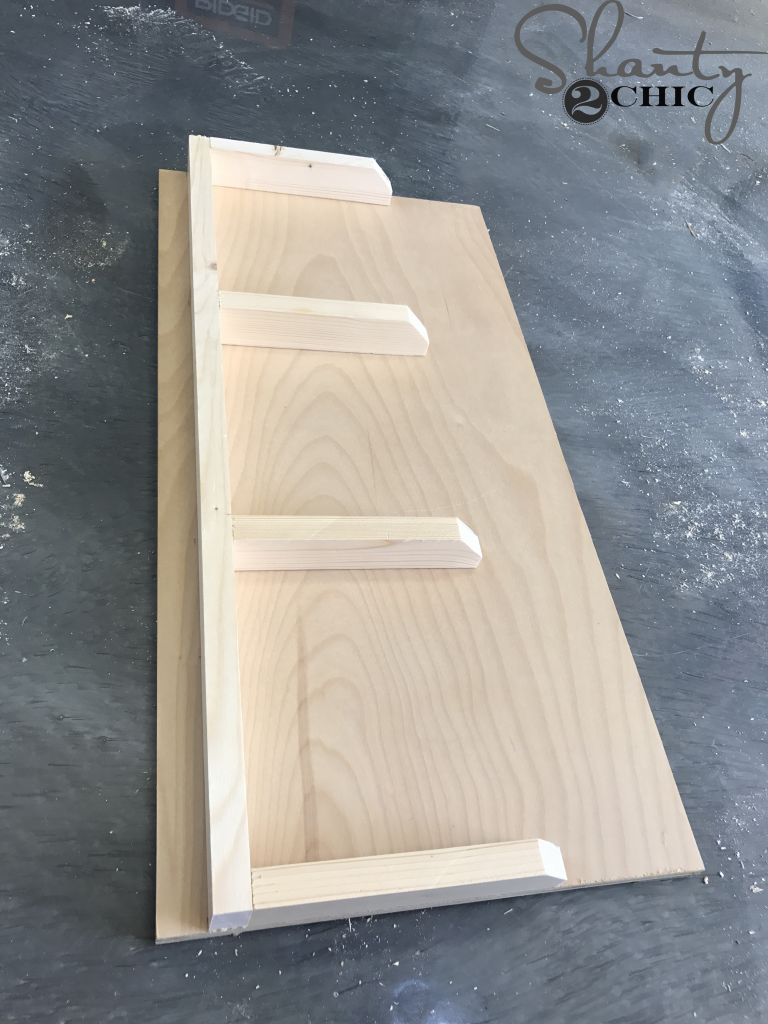
This is what the first half of the frame assembly should look like. (front view)
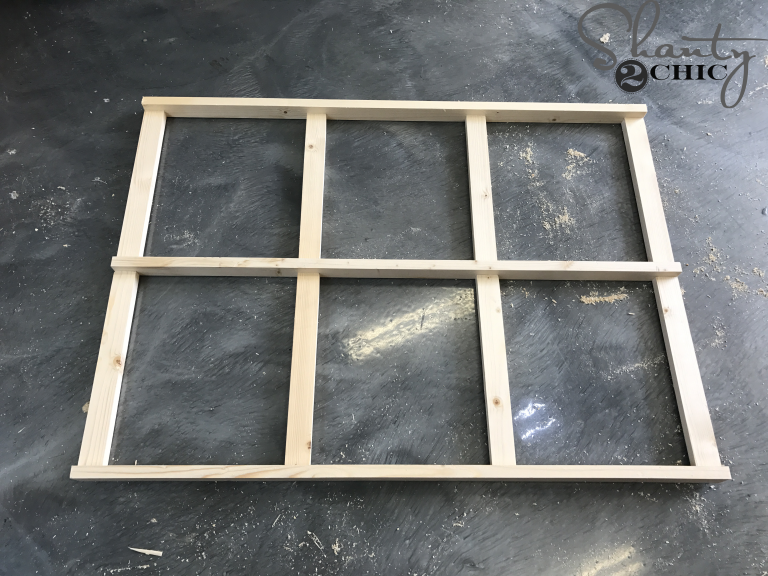
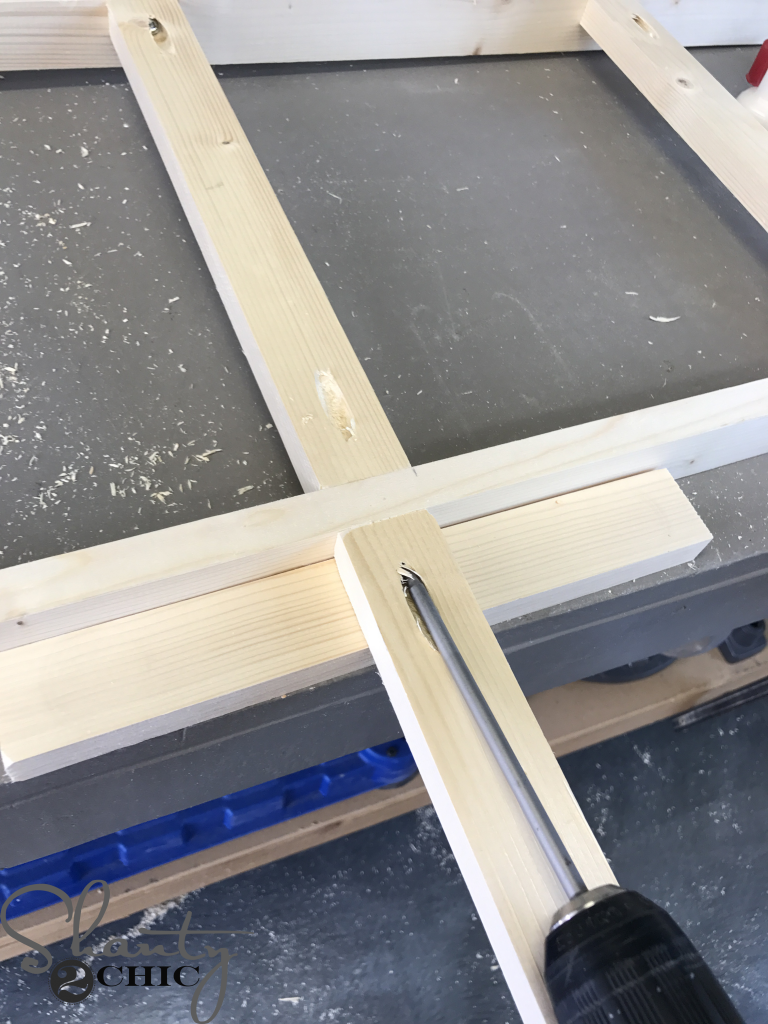
This is the front of the frame, completely assembled.
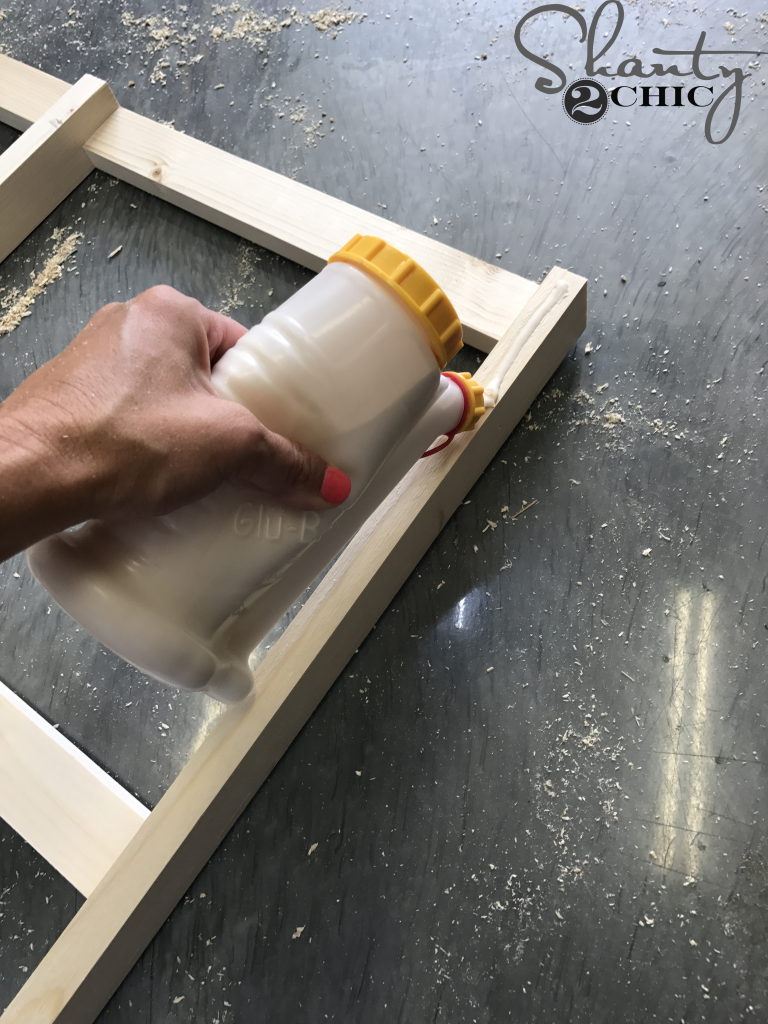
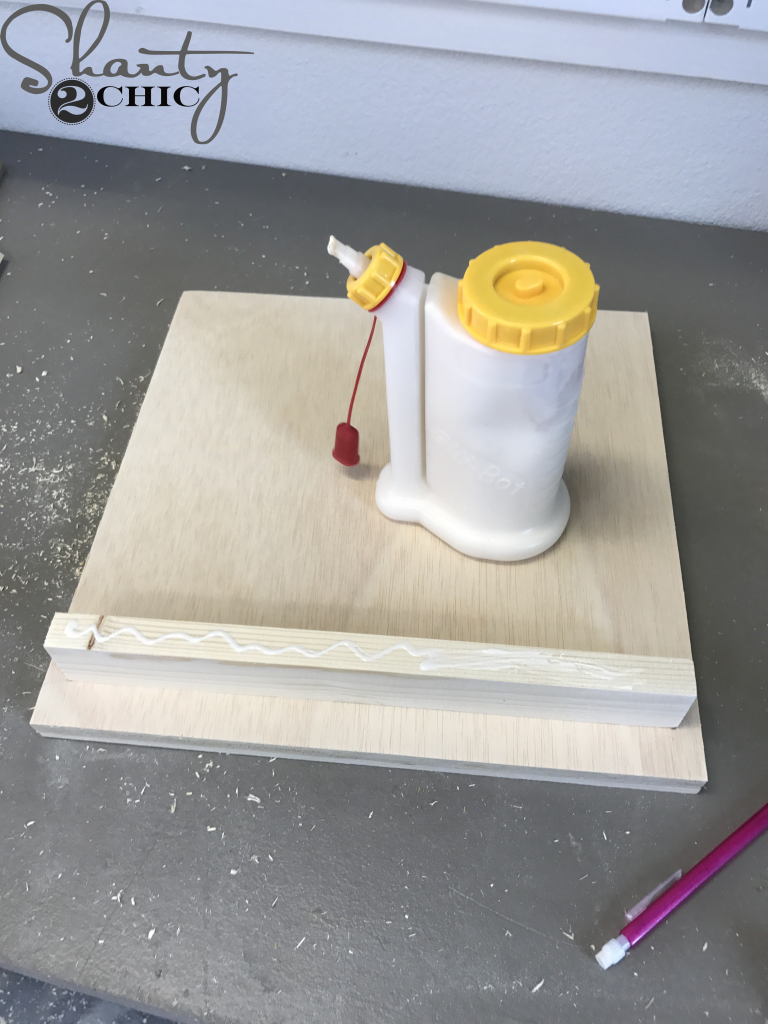
Once the frame was built, I cut the front slats to size and used my 18-volt Ryobi Airstrike Brad Nailer to attach them to each of the three 1×2 slides. I used 5/8” brad nails and wood glue. We LOVE this glue bottle and you can find it HERE on Amazon!
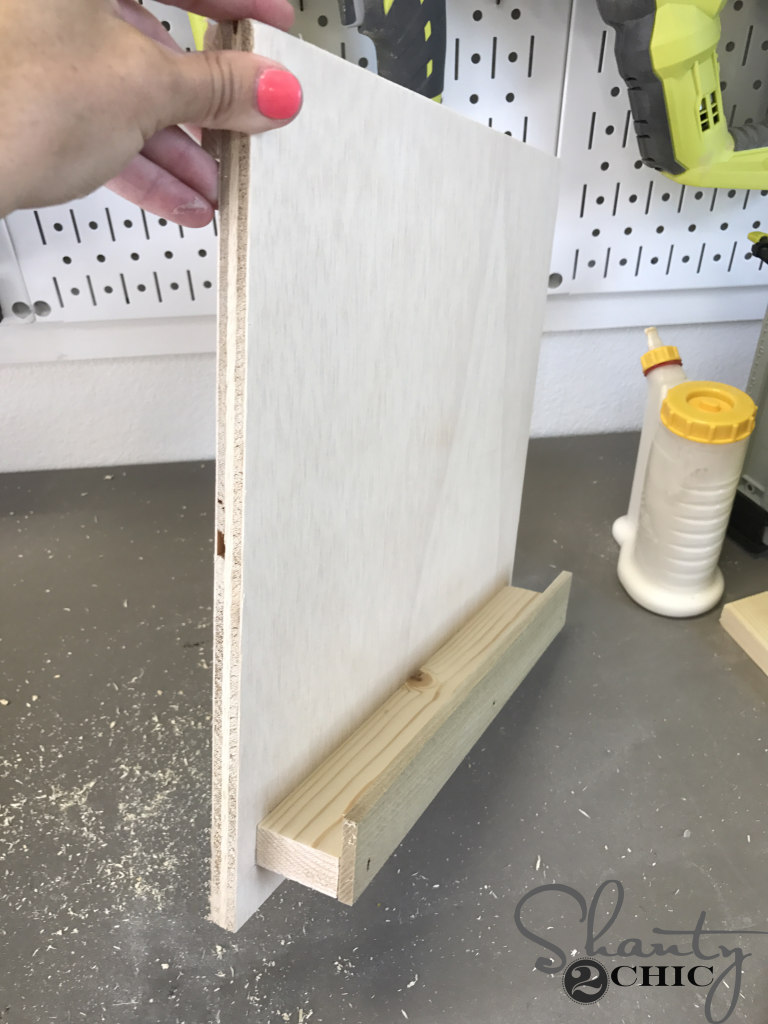
The top and bottom slats should be flush with the top and bottom of the frame.
The middle slat should center over the middle slide, so that there is a 3/8” overhang on each side. Here is the frame with the top and bottom slats attached.
Custom DIY Wall Organizer – The Mailbox
Next, I cut the bottom mailbox piece and the dividers to size. I attached the dividers to the mailbox bottom with 1 1/4” brad nails and wood glue.
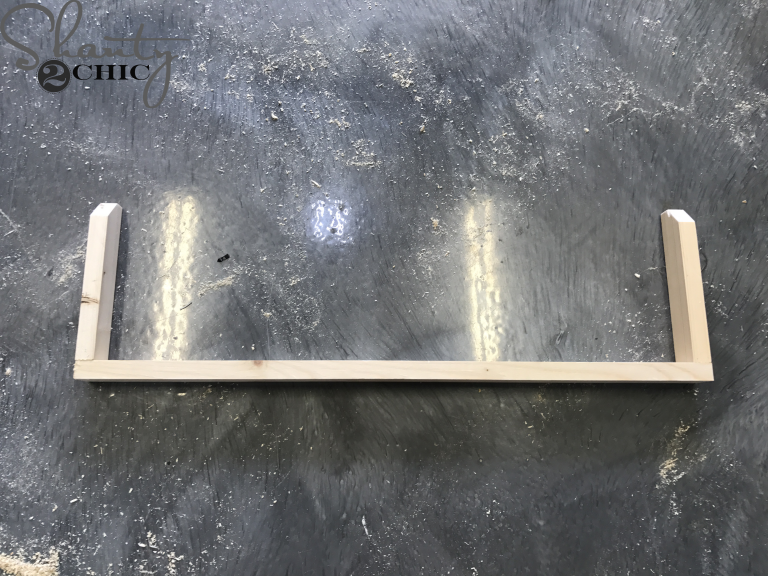
Start by attaching the outside pieces
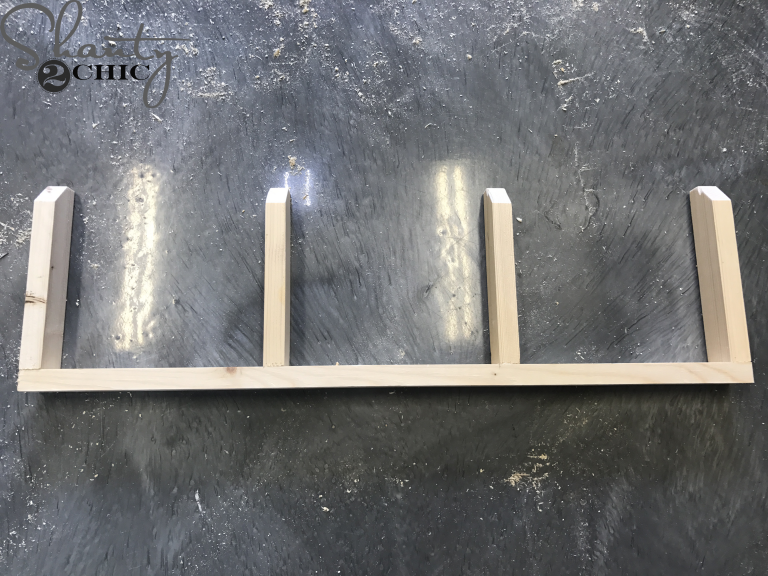
and then attach the middle dividers. Refer to the plans for placement!
Next, I attached the mail divider to the mailbox tile, 1” from the bottom. I used 1 1/4” brad nails and wood glue, through the back of the mailbox tile, into the mail dividers and mailbox bottom.
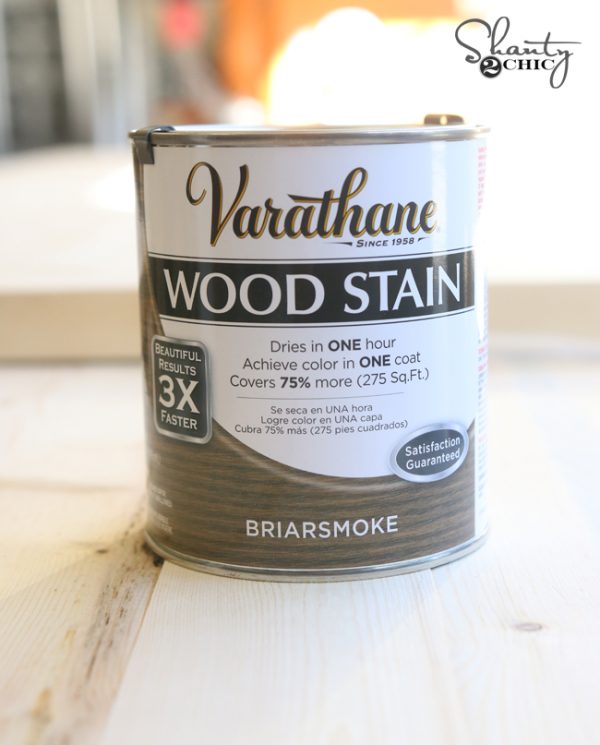
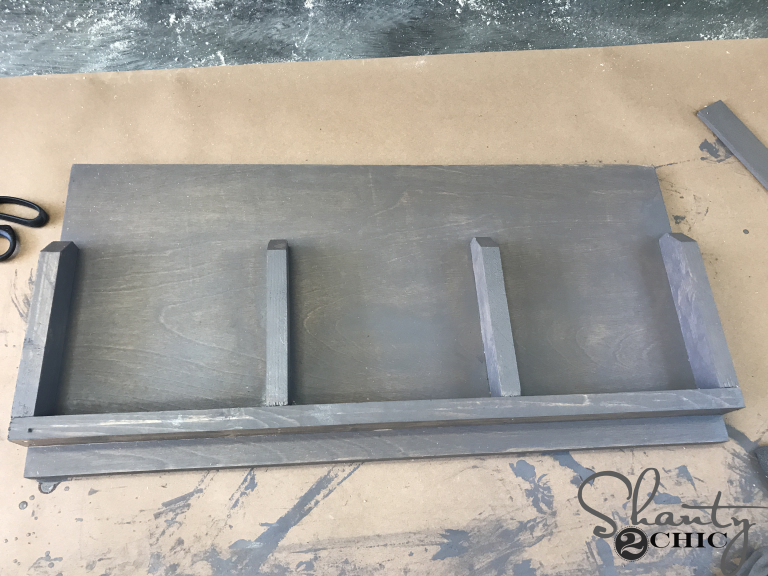
Before attaching the front slats to the mail sorter, I added a finish to the mail sorter. I chose Briarsmoke stain by Varathane. You can find it HERE on Amazon.
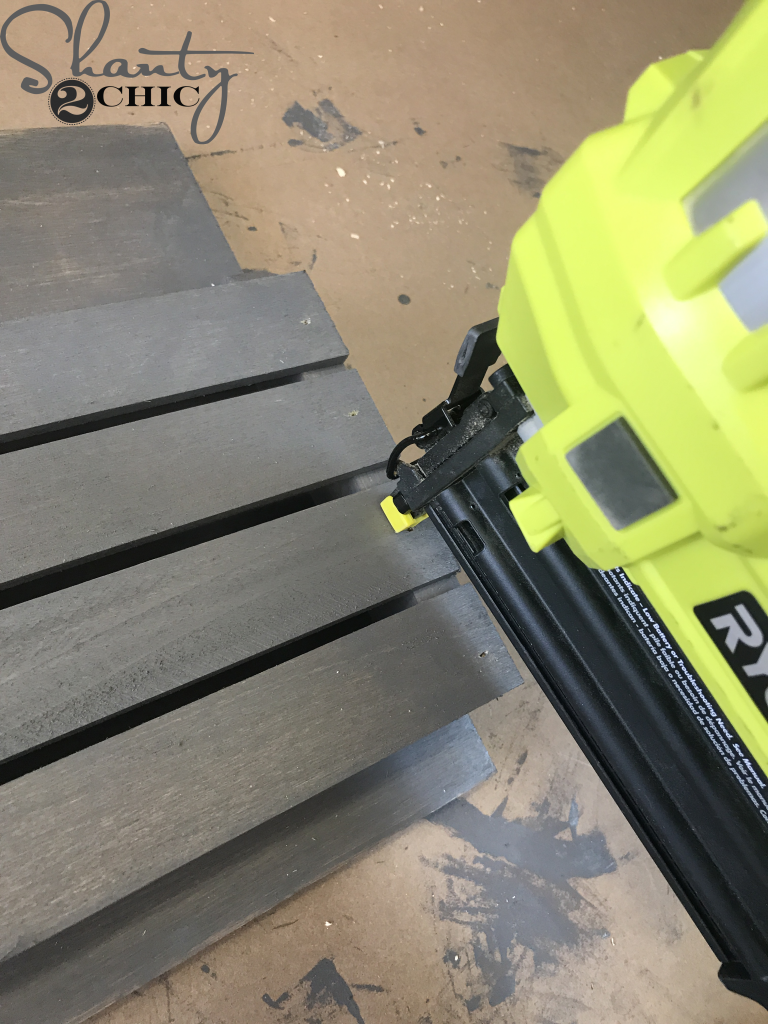
When the stain dried, I attached the front slats to the mail dividers with 5/8” brad nails and wood glue.

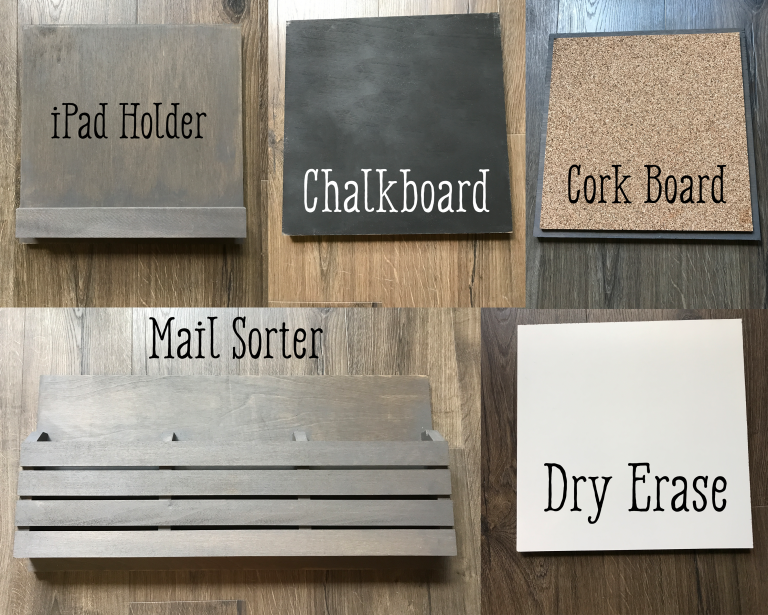
Custom DIY Wall Organizer – Custom Inserts
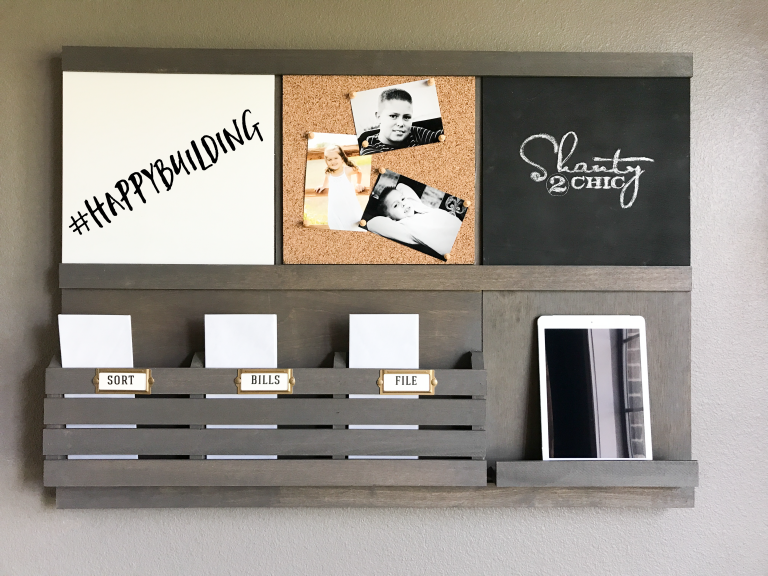
To create the dry erase, chalk and cork boards, I cut the three wood tiles to size. Then, I spray painted the chalkboard tile with chalkboard paint.
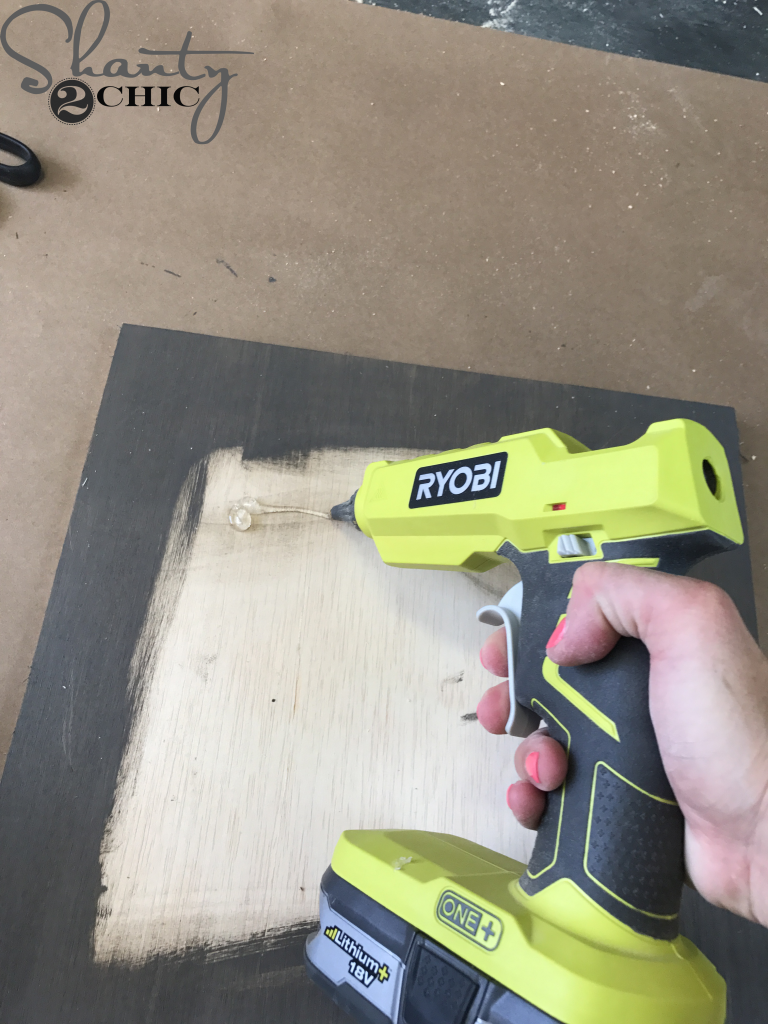
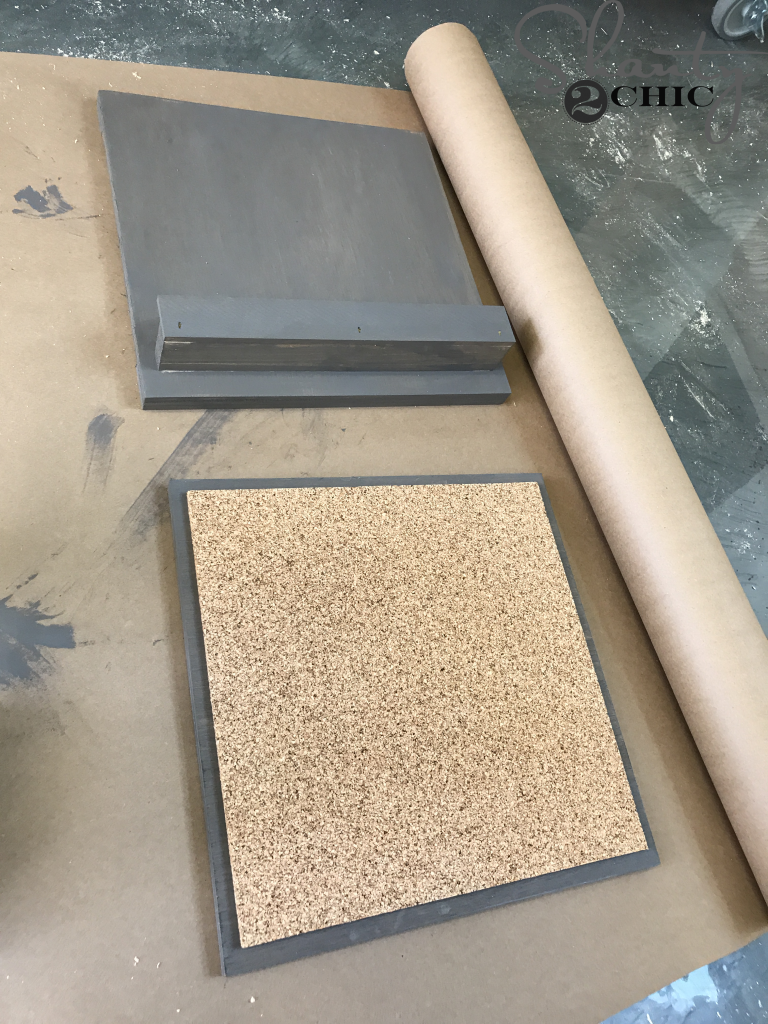
I cut the dry erase board and attached it to the wood tile with wood glue. Then I used my 18-volt hot glue gun to attach the cork tile. Tip: I added a finish to the cork board wood tile before attaching the cork. You can find the cork tile that I used HERE.
Next, I cut the iPad tile to size. Then, I cut the bottom piece for the iPad holder and attached it to the iPad tile, 1” from the bottom. I used 1 1/4” brad nails and wood glue from the back of the iPad tile. There should be a 1/2” gap on both sides of the bottom piece.
I cut the front piece, of the iPad holder, to size and attached it to the bottom piece. I used 5/8” brad nails and wood glue.
Finally, I added a finish to the frame and each of the components.
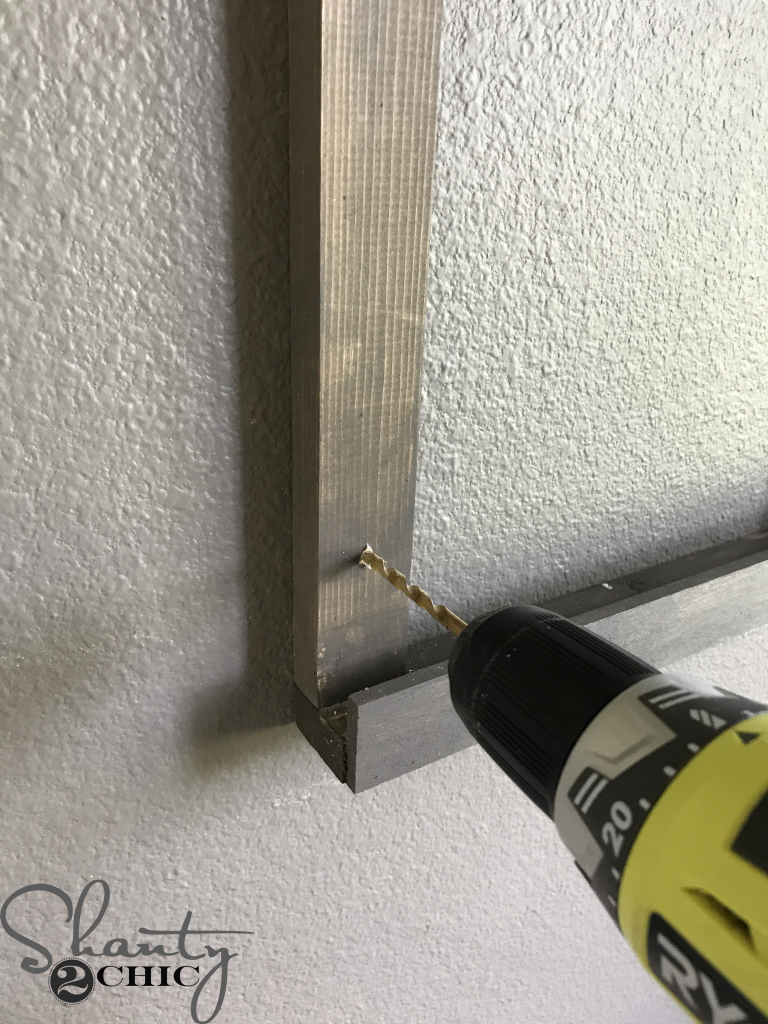
When the finish was dry, I began to attach the frame to the wall. Because I didn’t have studs to drill into, I used anchors to secure the frame to the wall. To do this, I held the frame where I wanted it to hang on the wall. Then, I used a drill bit to predrill a hole into the frame and the wall. I did this close to all four of the corners and one in the middle.
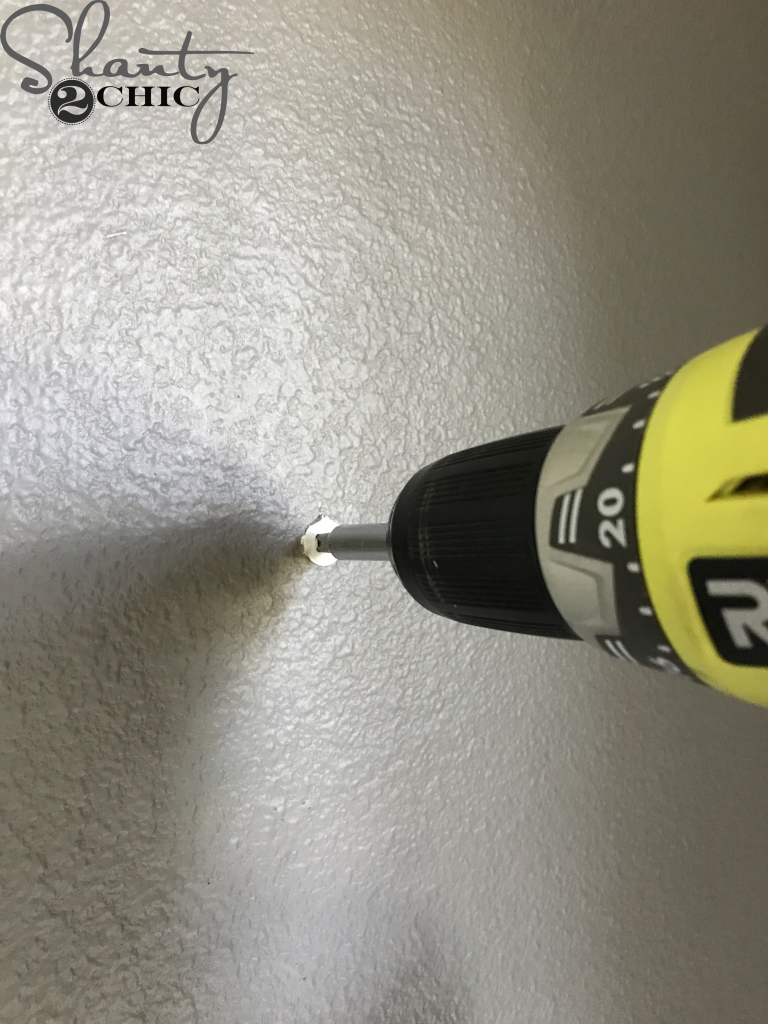
Next, I drilled an anchor into each of the five holes. You can find the anchors I use HERE on Amazon.
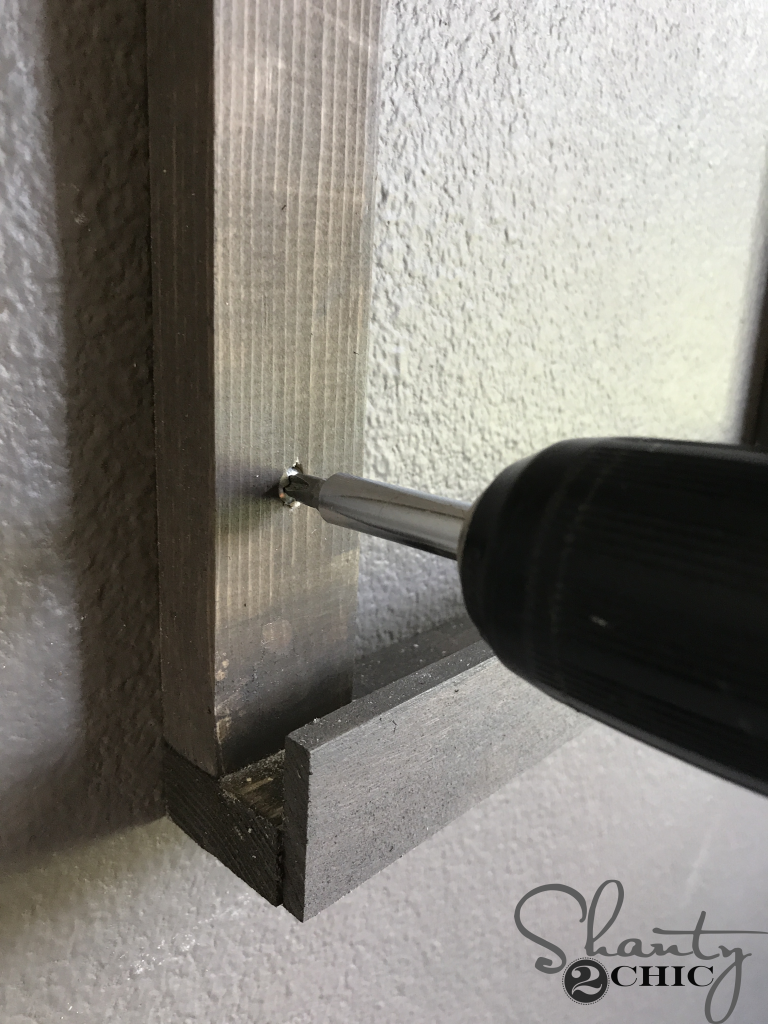
Then, I drilled a screw (comes with anchor) into each hole in the frame and into the anchors in the wall.
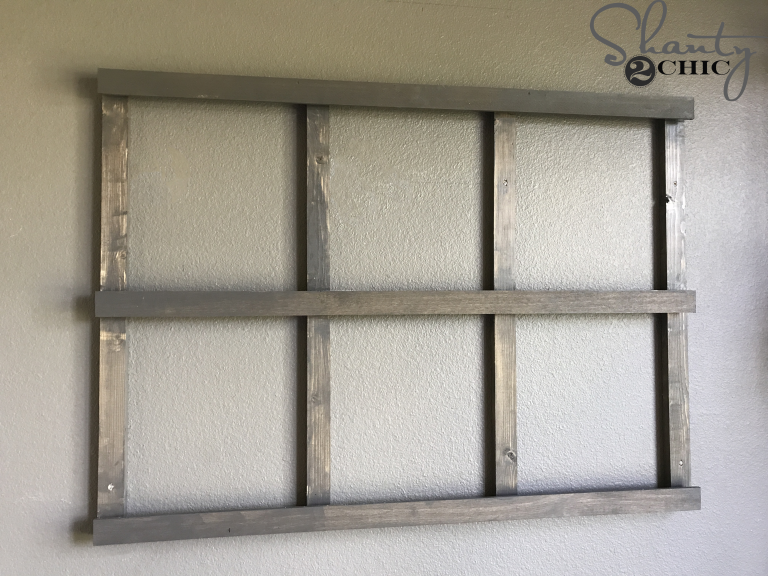
Frame’s up and it won’t budge!
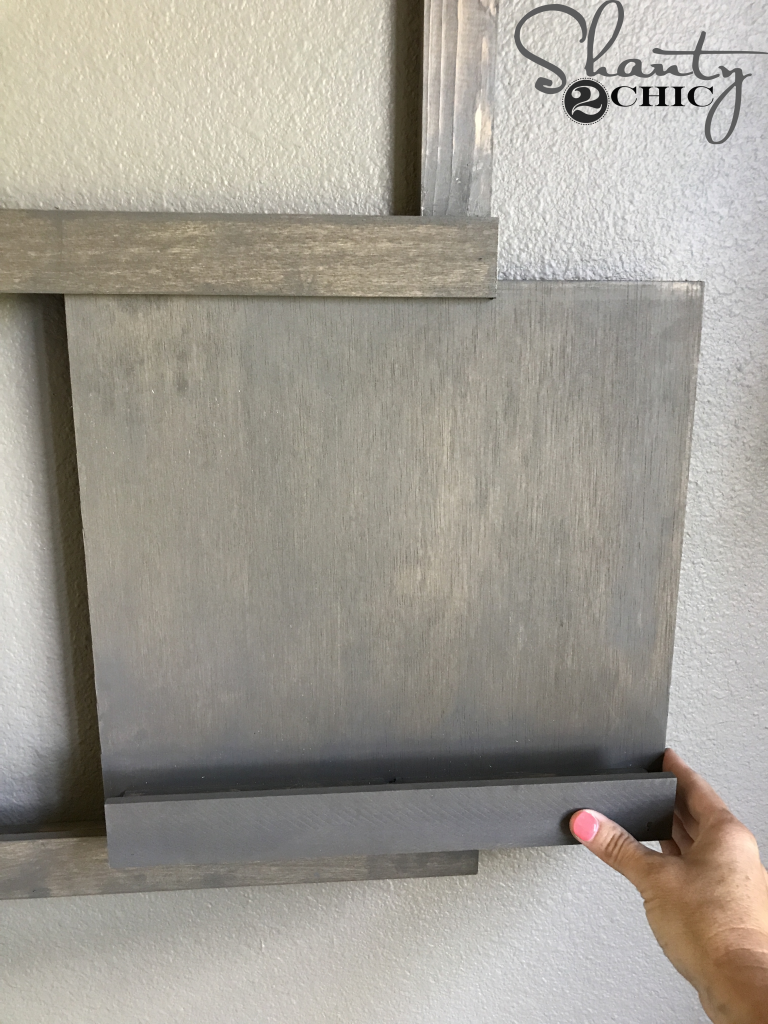

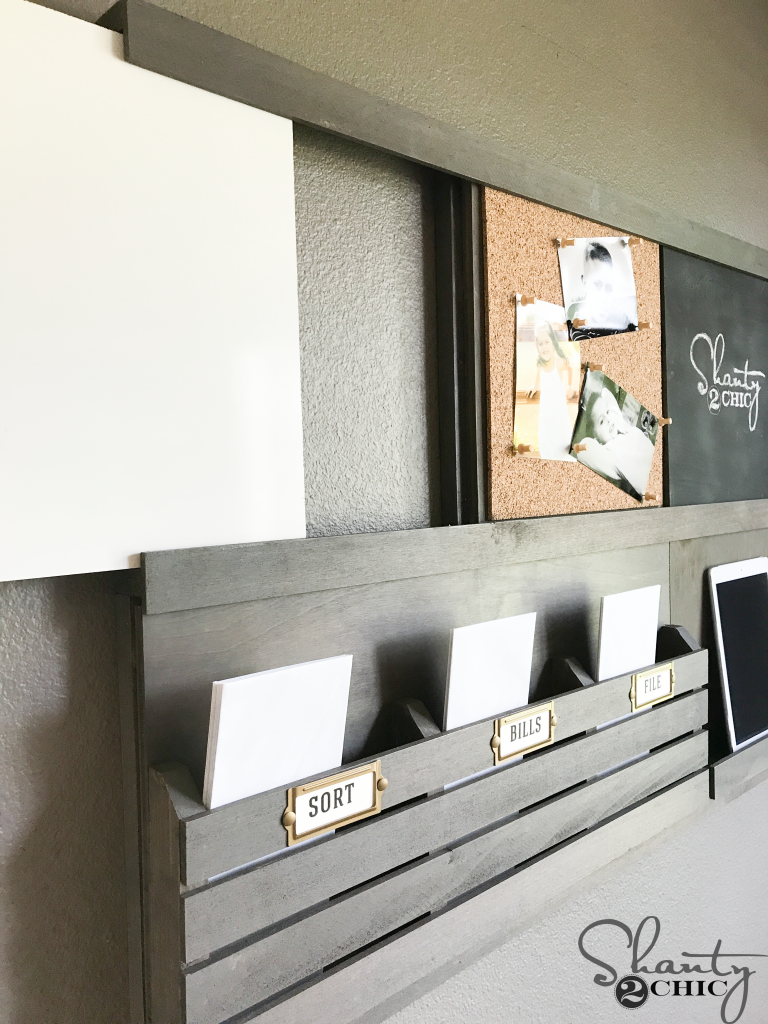
Once the frame was up, I slid the components where I wanted them,
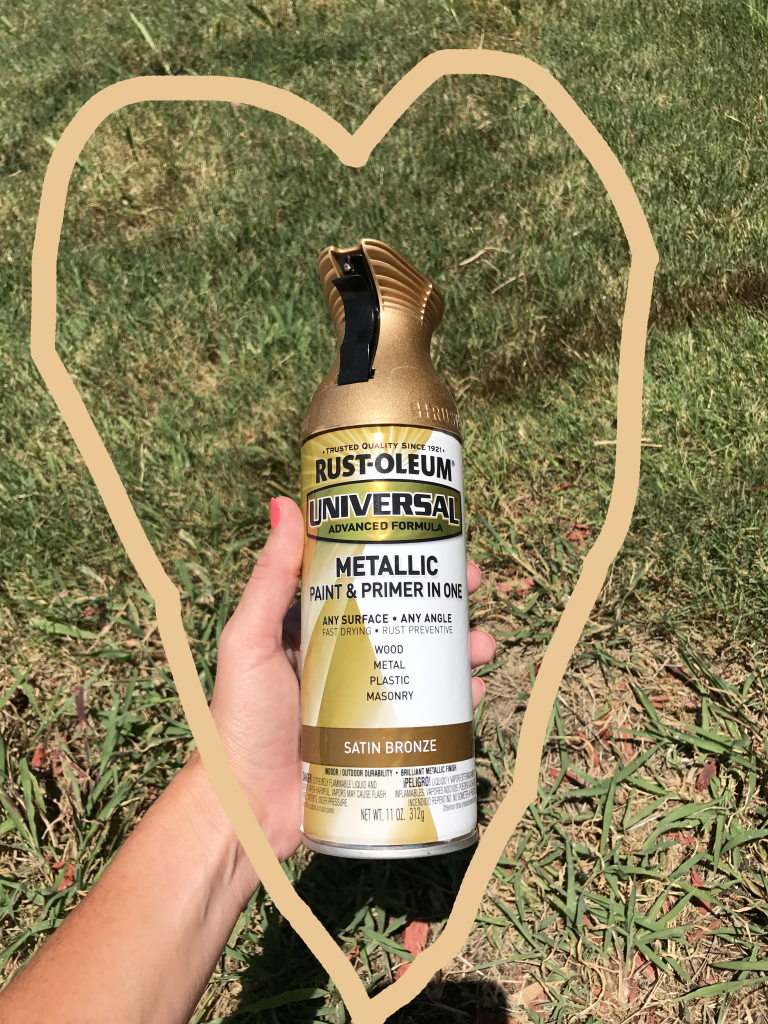
spray painted label holders with Satin Bronze by Rust-Oleum,
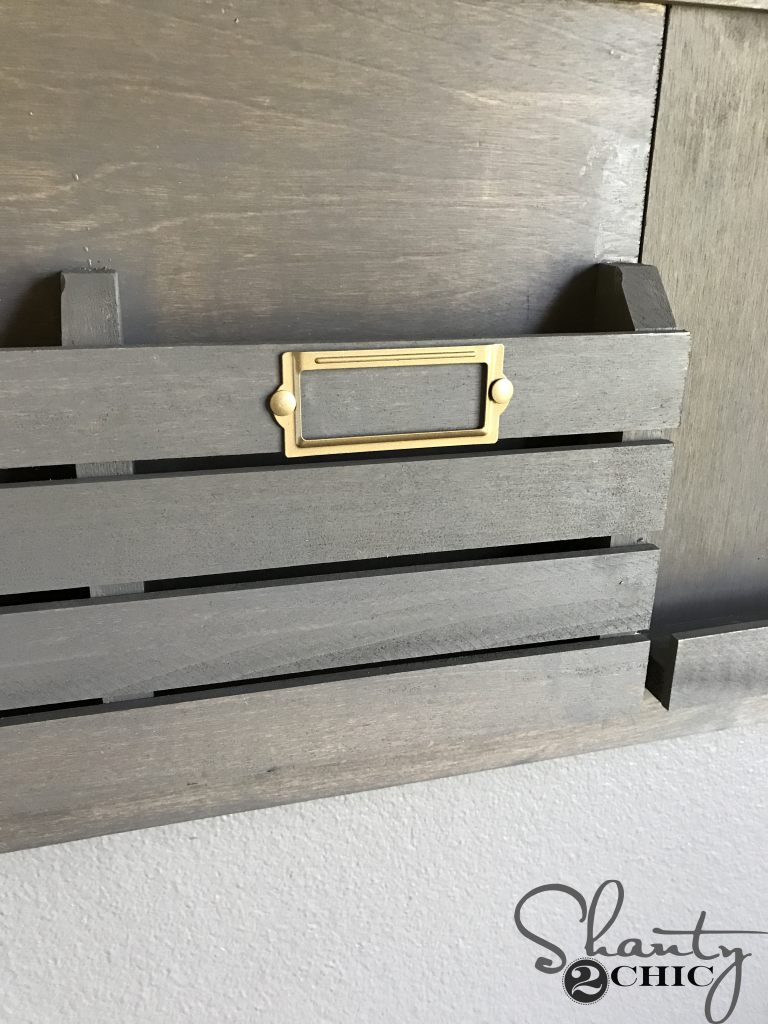
attached label holders to the mail sorter and that was it! You can find the label holders HERE on Amazon.
I am ready for the school year to start! Fingers crossed, that this guy gives me the organization that my family and I, so desperately need, this time of year 😉
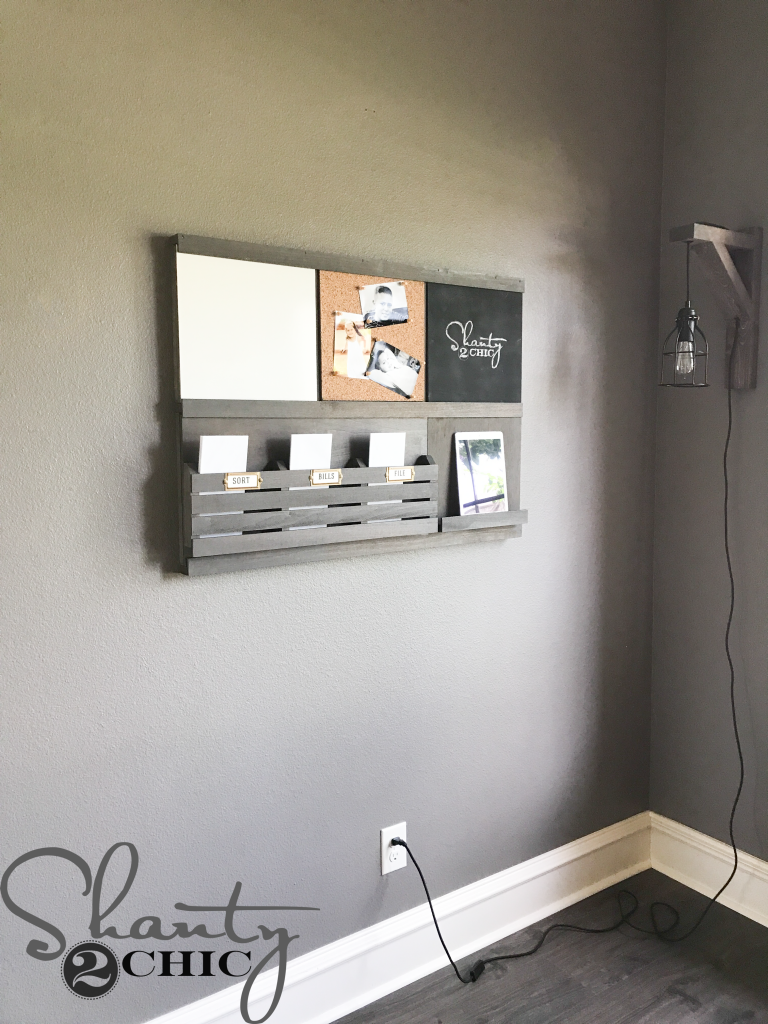
Obviously, I have more planned for this space 😉 But, I wanted to give you all an idea of how big this piece is! So much storage!
Make sure to share your builds with us and use #shanty2chic on social media, so we can share them too!
Happy Building!


This wall organizer is a great example of combining functionality with clean design—perfect for keeping spaces efficient without adding clutter. Projects like this really depend on the quality of the base material and finishing, especially for long-term use and weight support. Using stable, well-finished plywood or engineered boards can help maintain structure and durability over time. We’ve come across useful material insights on platforms like https://plywoodbazar.com/
for similar interior and storage applications. Very practical and well-executed build!
Hello! The Briarsmoke stain looks really gray here. Is there something different you did to get it to look more gray?
Very cool, but what are the measurements of the pieces of wood? Hard to guess.
Never mind. I see the download planes now. Hard to see on your phone due to an ad. Thanks!
Can I buy this exact organizer already made? I recently had shoulder surgery and am unable to make it but am looking for something exactly like this for my office.
what did this cost in materials?
Thanks so much! I love your website. I’m a single mom to five kiddos and I’ve furnished almost all my furniture in our whole house by using your site. Keep up the good job!!
Wow!!! Such an awesome story! We would love for you to email us some pics shanty2chic@gmail.com
Ok. Thanks. Did you cut it with a utility knife?
I used my saw.
Where did you get the dry erase board?
I bought a 2×4 sheet of it at Home Depot and cut it down 🙂
Looks amazing, as always! Question: I have tried to find long lengths of those slats in the past. Where do you find yours? Thank you.
Thank you! Home Depot has them. They are called 1/4 poplar or pine!