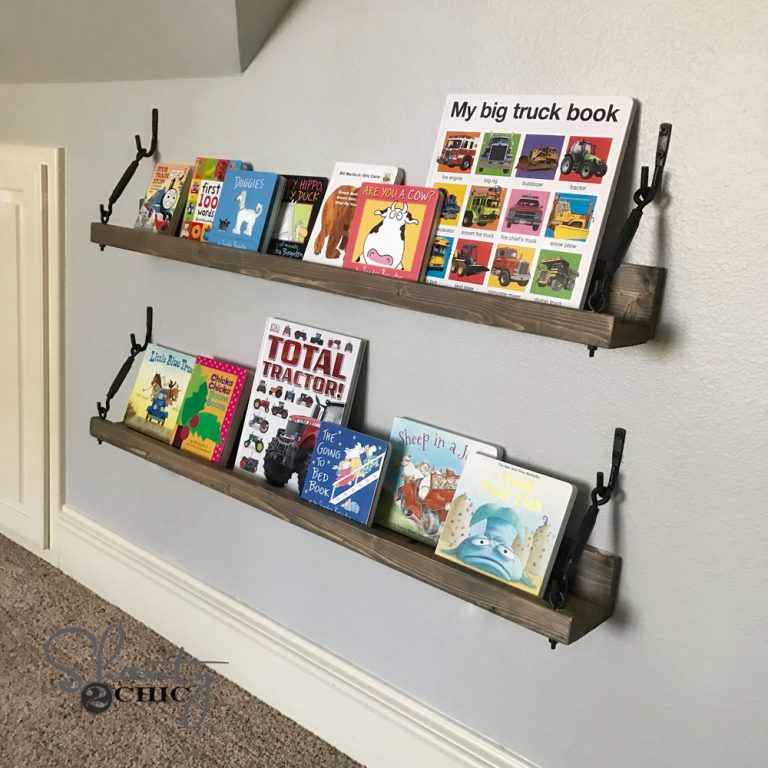
Hey friends! Happy Wednesday! Today we are sharing our latest YouTube video where we show y’all how we built these super cute (and even simpler) DIY $10 turnbuckle shelf!
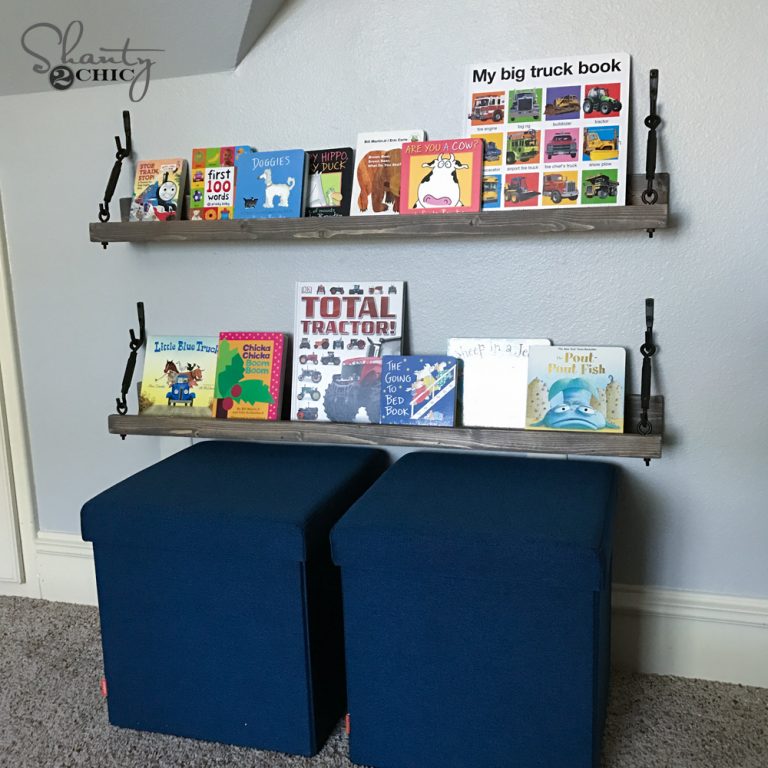
How fun are those? I built these for my boys’ new shared room. I am currently 30 weeks pregnant and counting down the days people… You mamas totally understand I know! I can’t wait to squeeze him, and walk normal again 😉 ! So, before we get started, check out our video HERE or below!
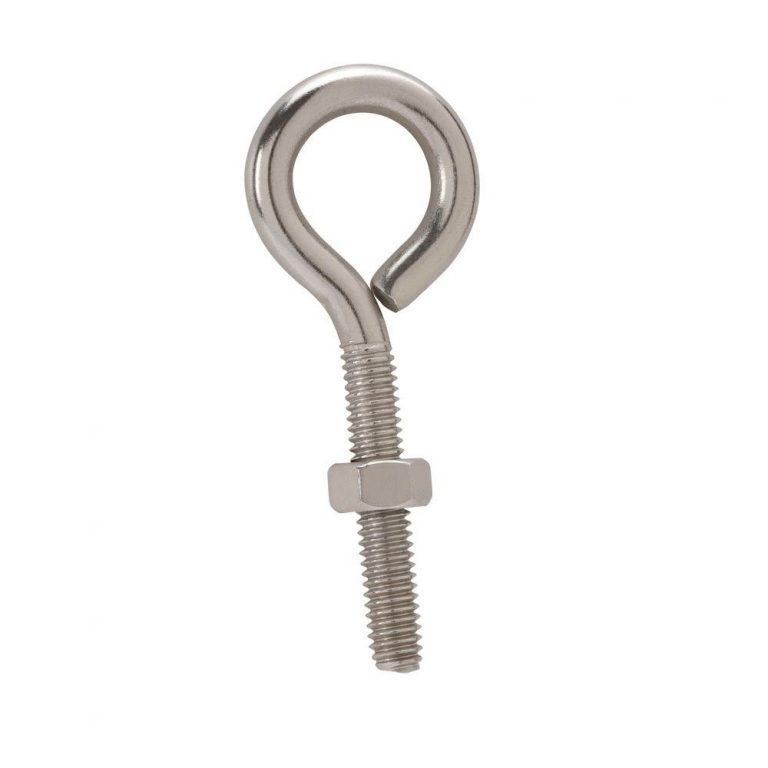
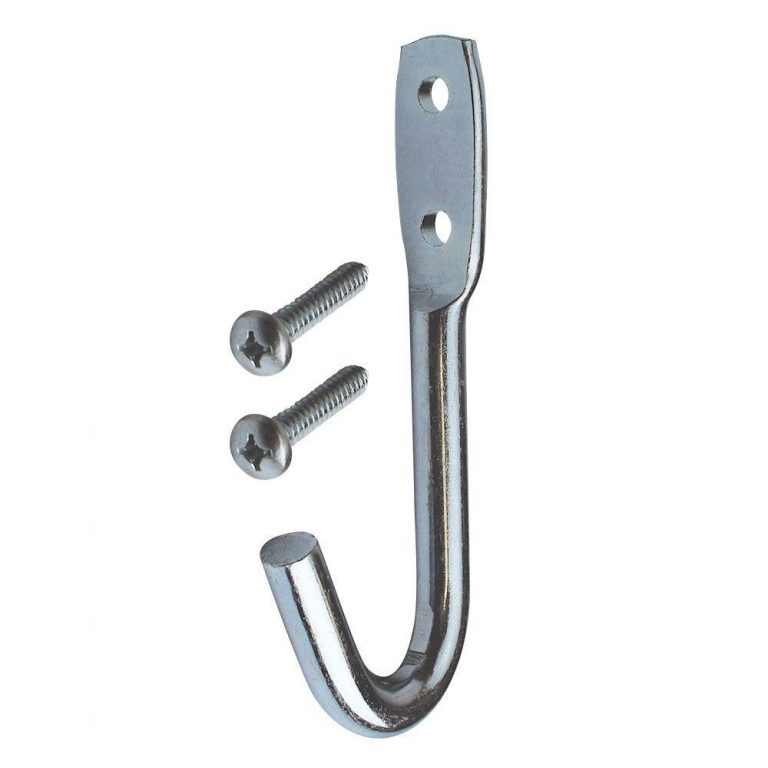
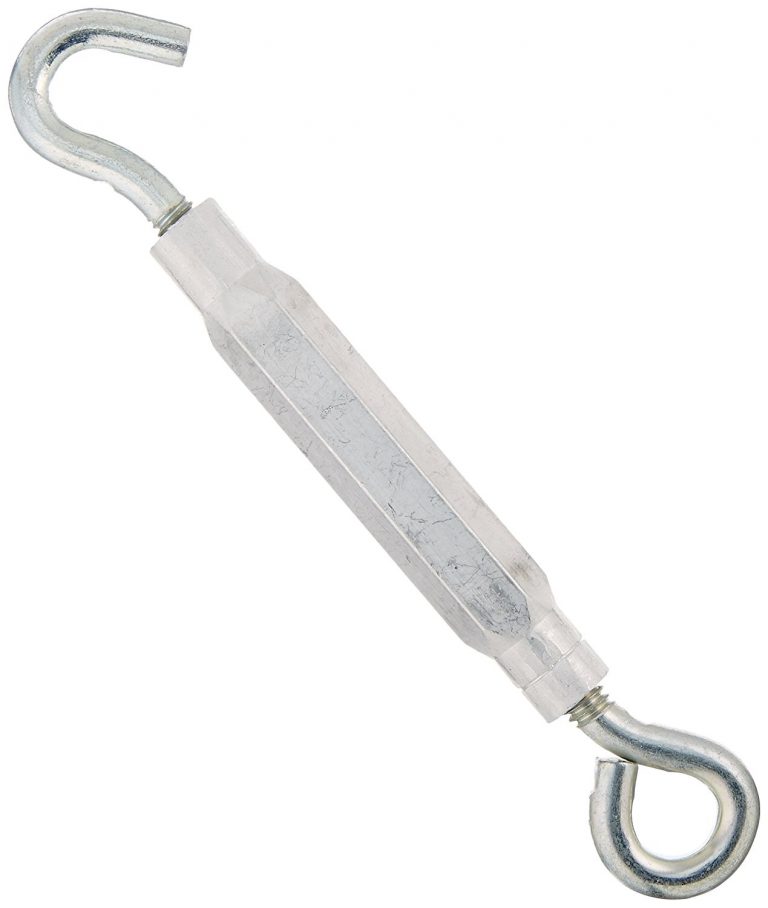
DIY $10 turnbuckle shelf – Hardware
Now these shelves are ALL about the hardware. You can find everything you need to make yours at the hardware store, and I am linking to everything on Amazon too below, because who doesn’t love Prime and free shipping?
Hardware Pieces!
DIY $10 turnbuckle shelf – Assembly
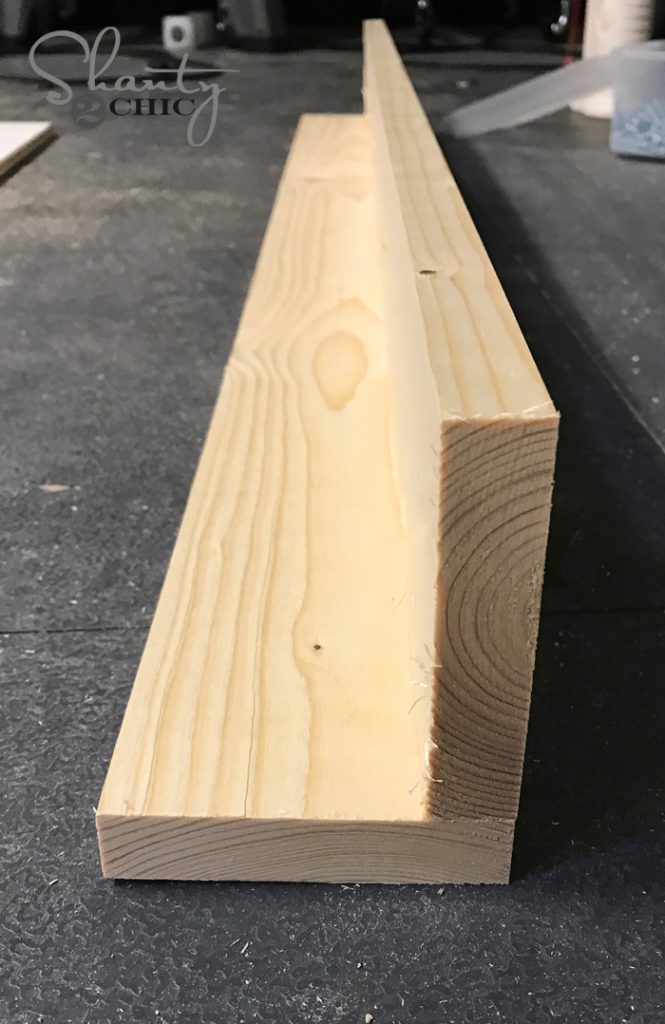
The assembly of this shelf is crazy easy guys! First step is forming your “L” with the two 1×4 boards. I chose to connect mine with pocket holes, but you can glue and nail yours and it will work just fine! You want all of these pieces cut to the size you want your shelves to be.
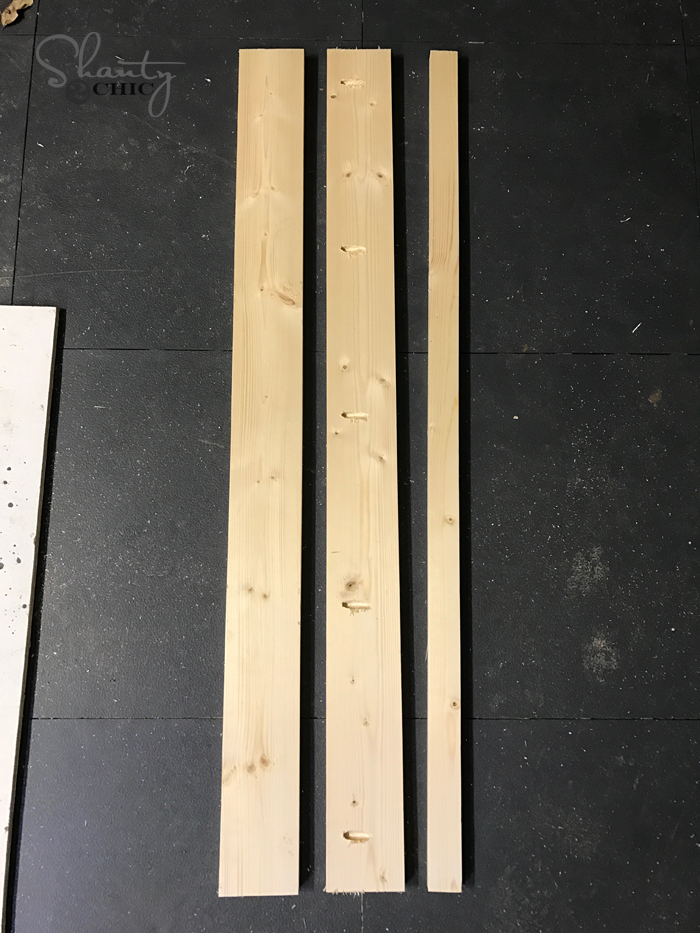
You can see I added 3/4″ pocket holes down one side of one of my 1×4, and these will attach to the other 1×4 to create my “L”, and I will nail and glue the 1×2 lip.
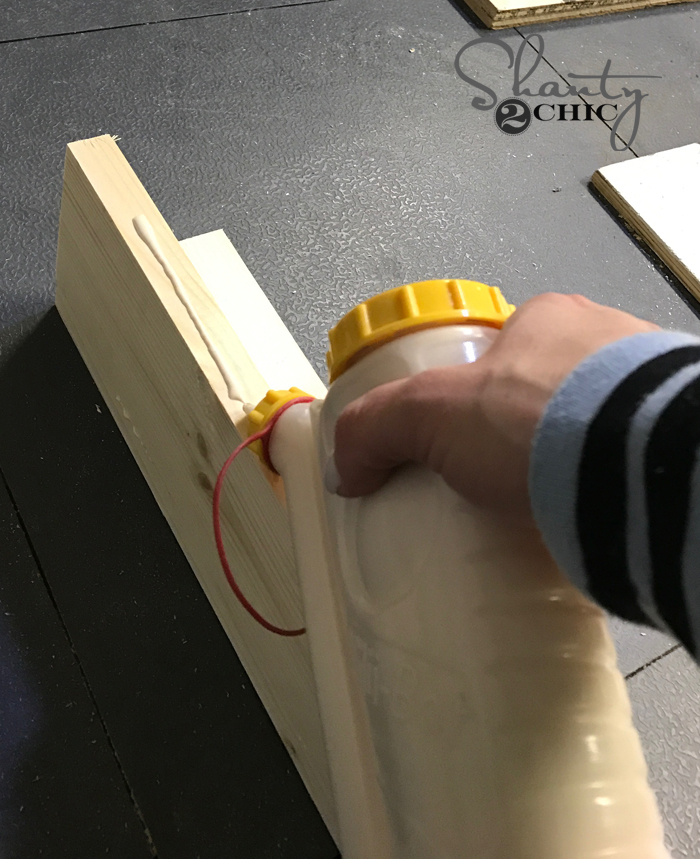
Make sure to add a line of wood glue between all your joints on these.
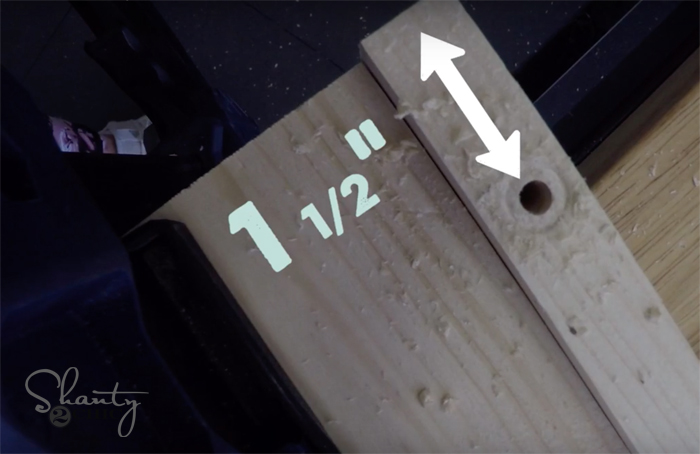
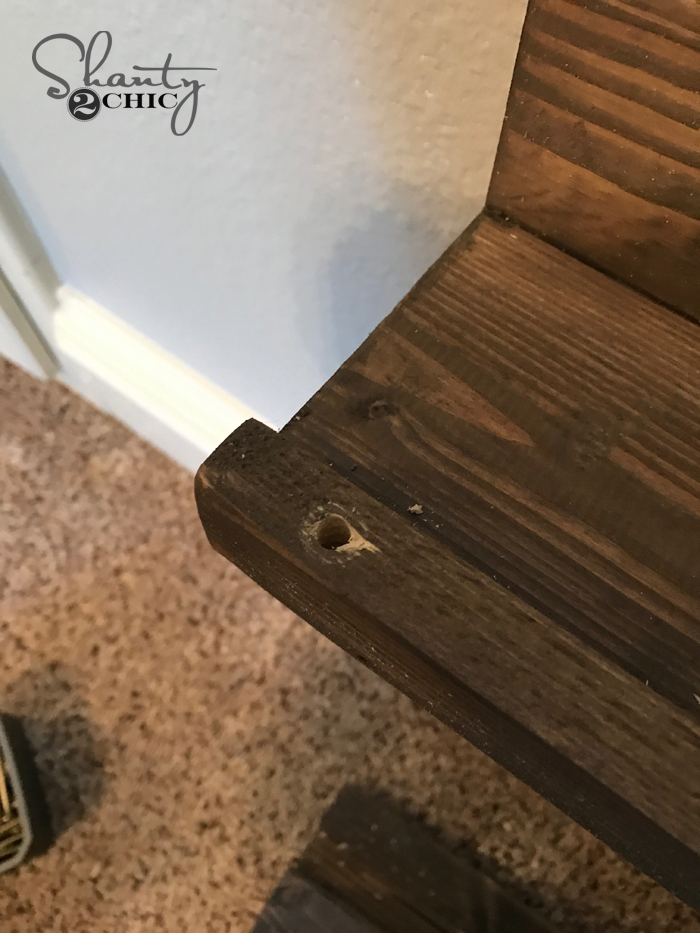
At this point, you add your holes to the 1×2 board just as we did in the video. Remember, you want them about 1.5″ from each side.
DIY $10 turnbuckle shelf – Paint and Stain
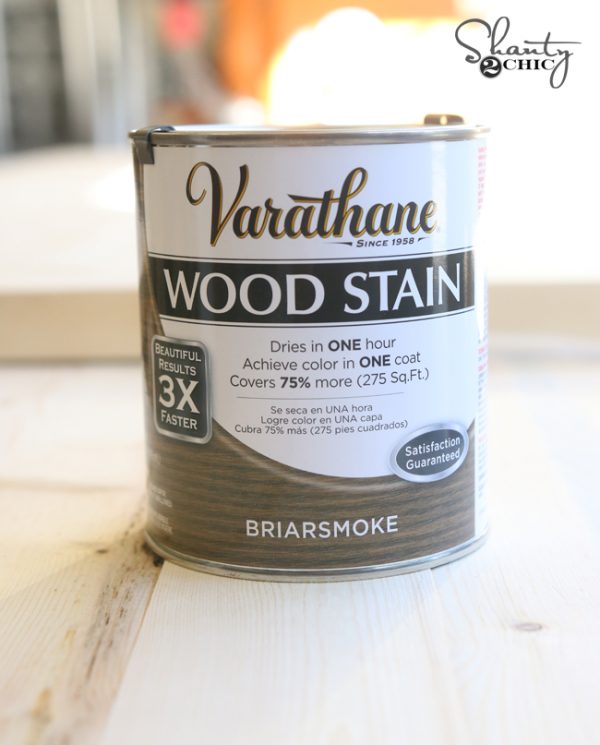
Believe it or not, you are done with assembly and ready for stain and paint! We stained the shelves using Varathane Briarsmoke.
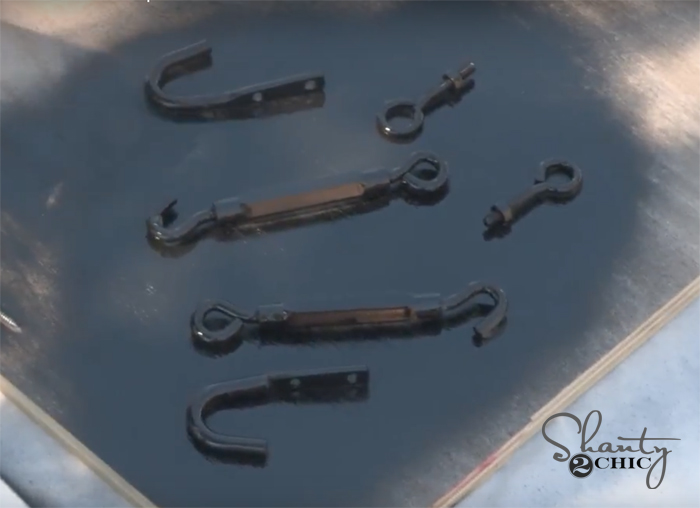
We also spray painted all of our metal hardware using a flat black spray paint by Rust-Oleum.
Once everything dries, you are ready to hang it up!
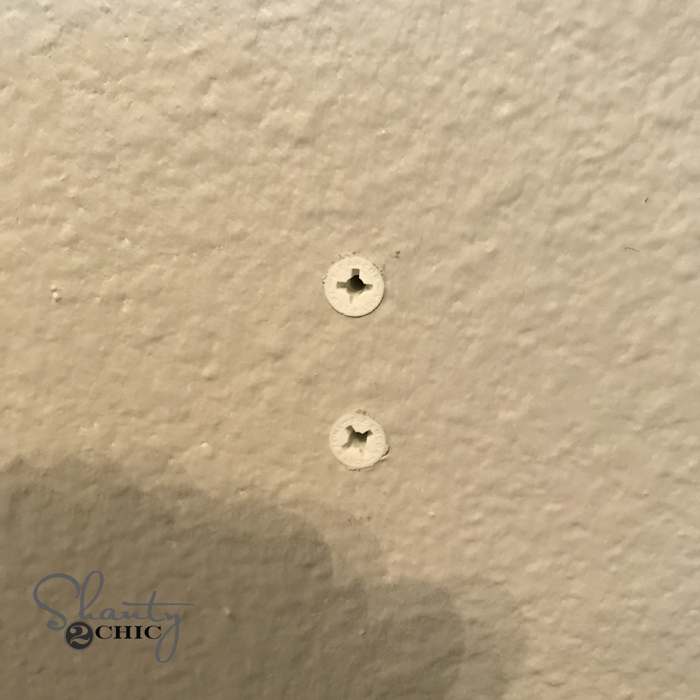
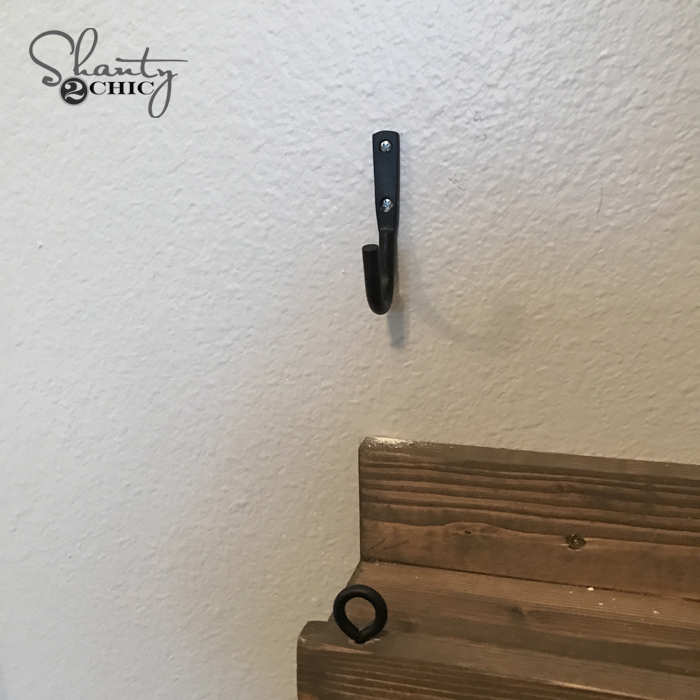
Be sure to use anchors if you aren’t attaching your hardware or shelf to a stud. I used speed anchors (which I love so much) to anchor my hardware since it wasn’t going to be attached to a stud. I marked on the wall where the holes of the rope hooks would line up and used my drill to insert the speed anchors.
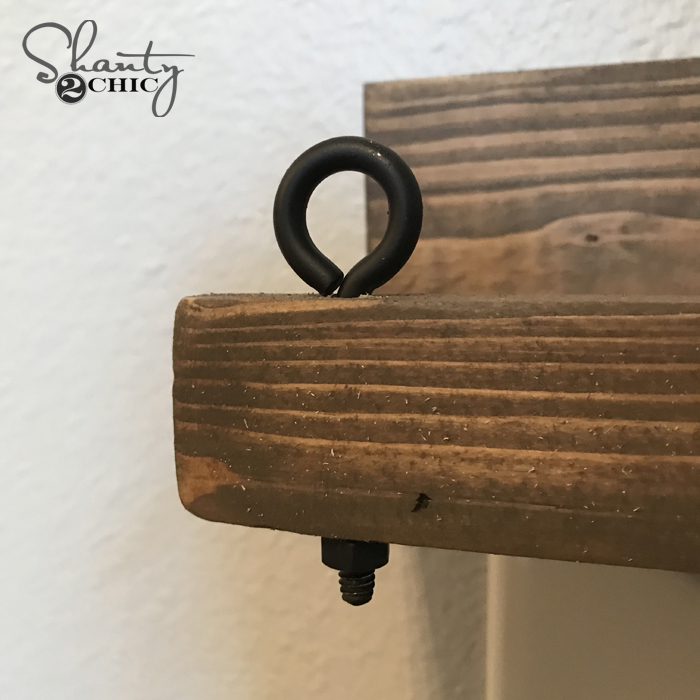
To attach my shelves, I marked my studs and used 2.5″ Spaz screws to drill through the back of the shelf and into the stud on the wall. Once the shelf and rope hooks were attached, I added the eye bolts.
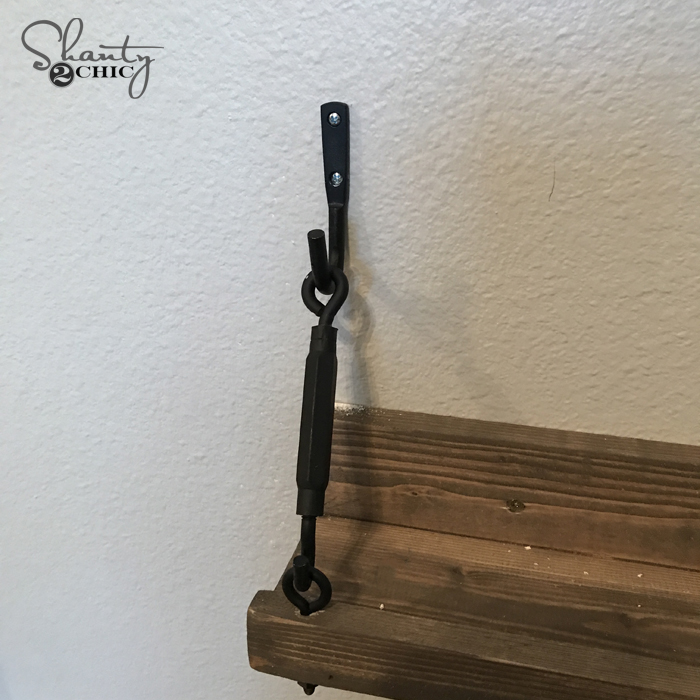
Now I added both turnbuckles!
Don’t worry about any chips on the black hardware! You can use a small paint brush to go back over them with flat black acrylic paint and you won’t ever know you did!
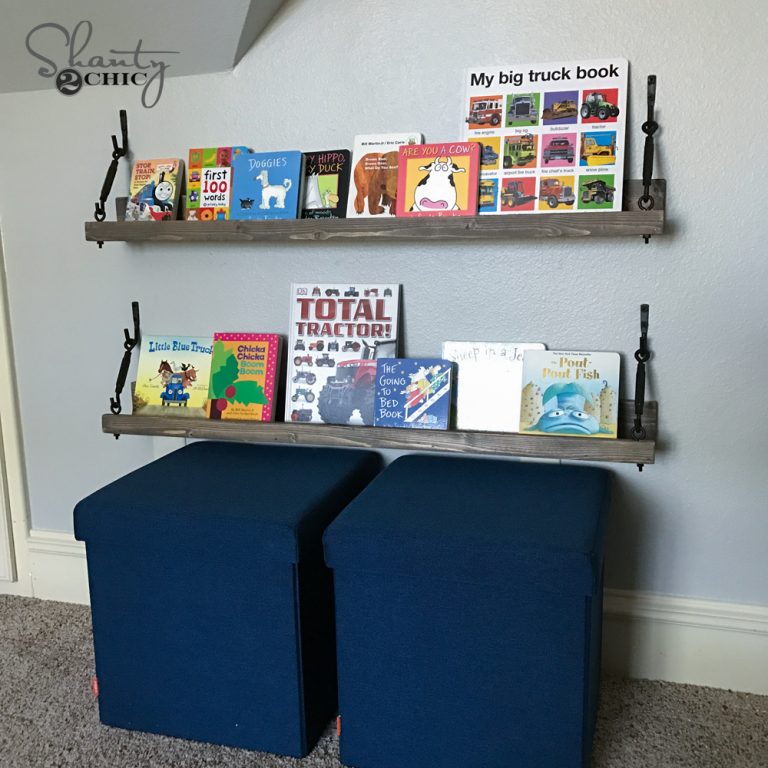
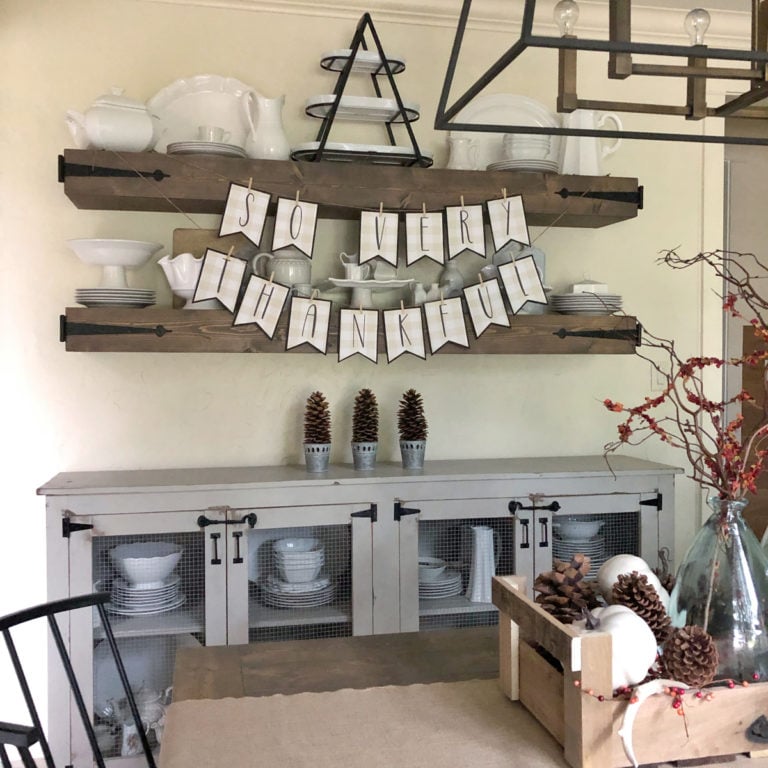
They are all finished! I love them so much!

I found the storage seats at Container Store HERE and love, love, love them. They are so sturdy and my boys can put their toy inside of them, and they come in lots of colors!
Thanks again for stopping by guys! Hope you love them, and build them! Let us know if you have any questions at all!


This is such a clever DIY project! I love how budget-friendly it is at just $10, and the turnbuckle detail adds a unique touch. Can’t wait to try it out! Thanks for sharing the step-by-step video too, it makes it so much easier to follow along!
I love this DIY turnbuckle shelf idea! It’s such a creative way to add some rustic charm to my space without breaking the bank. The video was super helpful too—thanks for sharing! Can’t wait to try this out!
I absolutely love this DIY project! The turnbuckle shelf is such a creative idea, and the $10 price point makes it even more appealing. Thanks for the detailed instructions and the YouTube video! Can’t wait to try this out in my own home.
I absolutely love this DIY turnbuckle shelf idea! It’s such a unique way to add some character to my space without breaking the bank. The step-by-step video made it super easy to follow along. Can’t wait to try this out – thanks for the inspiration, Shanty 2 Chic!
I absolutely love this DIY project! The $10 turnbuckle shelf is such a clever idea, and it looks fantastic. The step-by-step video was super helpful too. I can’t wait to try this in my own home – thanks for the inspiration, Shanty 2 Chic!
I absolutely love this DIY turnbuckle shelf idea! It’s such a creative way to add character to any room without breaking the bank. The step-by-step video was super helpful too! Can’t wait to try this out myself. Thanks, Shanty 2 Chic!
I absolutely love this DIY turnbuckle shelf idea! It’s such a creative way to add some character to my space while staying budget-friendly. Can’t wait to try it out and check out the YouTube video for more tips. Thank you, Shanty 2 Chic!
I absolutely love this DIY turnbuckle shelf idea! It’s both stylish and budget-friendly. The detailed instructions and accompanying video made it so easy to follow along. I can’t wait to try this out in my own home—thanks for the inspiration, Shanty 2 Chic!
I love this DIY turnbuckle shelf idea! It’s such a clever way to add a unique touch to my space without breaking the bank. Can’t wait to try it out! Thanks for the detailed instructions and the video—super helpful!
I absolutely love this DIY turnbuckle shelf idea! The combination of style and functionality is perfect for any space. The tutorial is super clear and easy to follow. Can’t wait to try this out in my living room! Thanks, Shanty 2 Chic!
I love this DIY idea! It’s so creative and budget-friendly. The turnbuckle adds such a unique touch to the shelf. Can’t wait to try this out in my own space—thanks for the inspiration!
I absolutely love this DIY project! The $10 turnbuckle shelf is such a creative and budget-friendly idea. Your step-by-step instructions were super helpful, and I can’t wait to try this in my own home. The video was a nice addition too—great job!
I love this DIY turnbuckle shelf idea! The design is so unique and stylish, and I can’t believe how affordable it is to make. The detailed instructions in your post and the YouTube video made it super easy to follow along. I can’t wait to try this in my own space—thanks for the inspiration!