You read it right! $20 DIY Barn Door Hardware 🙂 We love adding barn doors to just about anything, lately, and I have been determined to figure out how to make a DIY version of hardware for you guys. The hardware can be so pricey and when you are trying to build budget-friendly pieces, sometimes it just can’t be done. It took me a full two days of work and four trips to Home Depot to get this hardware just right! And, I’m so excited to finally be able to share it with you!
This is a project that is better taught in a video so, Whitney and I made a how-to video for you! Just click PLAY below to watch how easy it is to DIY your own Barn Door Hardware!
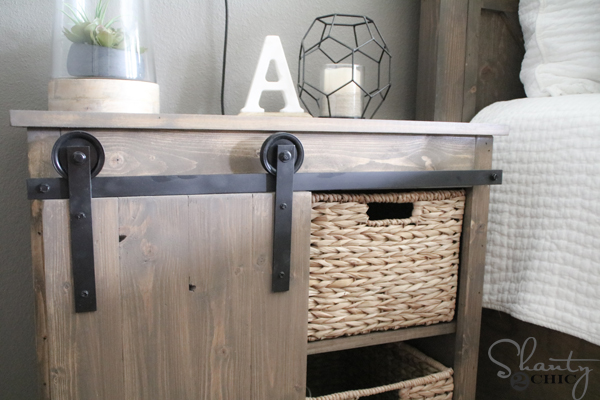
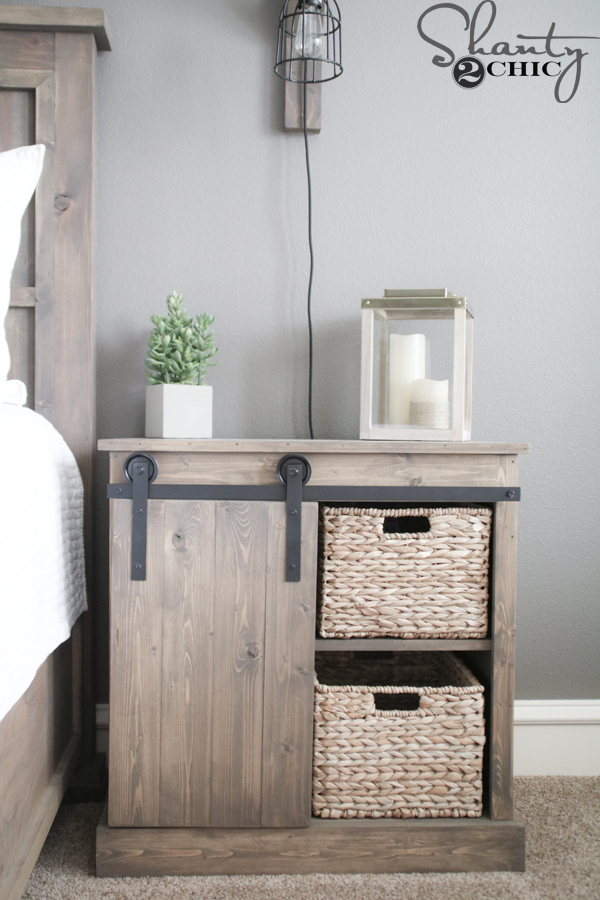
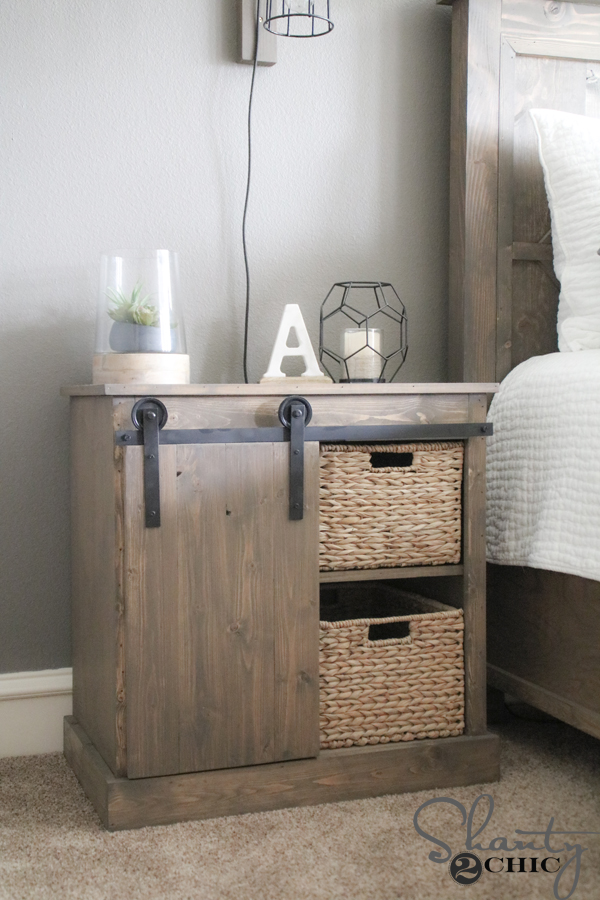
Isn’t it gorgeous! And, they are totally customizable! Make them for any piece of furniture you want (even a full door). All you have to do is make the track piece longer or shorter. If you make it longer, just add a few more spacers with hex screws, along the track for added support.
So, let’s build it!
DIY Barn Door Hardware – The Supplies
The supplies can be a little bit overwhelming so, I’m listing them below, with links, so that you can find them in hardware store.
Here are the supplies you’ll need for ONE barn door. If you are building two barn doors, double the supplies.
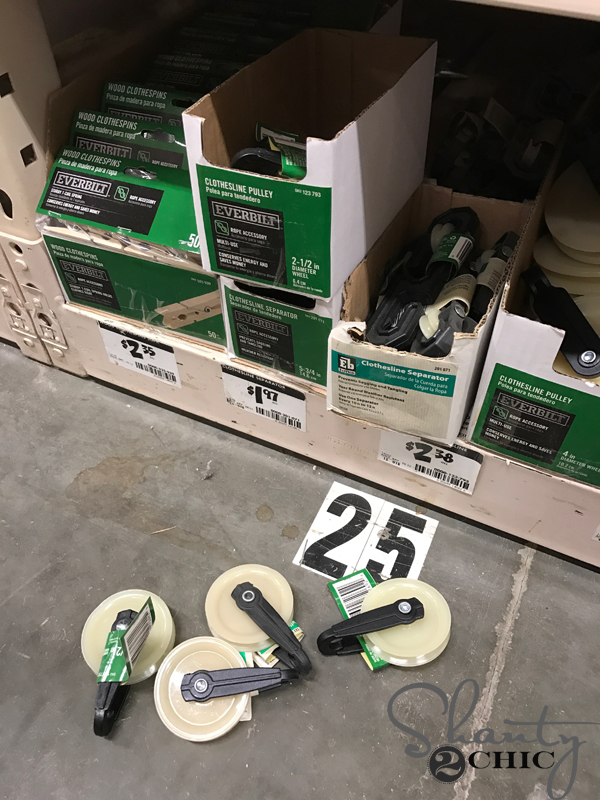
The star of the show are these Clothesline Pulleys. You will need two and you can find them HERE. These babies are only $2.38 at Home Depot. Just take them apart (watch the video to see exactly how) and you’ve got yourself a barn door wheel! *Note: These pulleys are from Home Depot. We tried to take apart the pulley’s at Lowe’s and had no luck. They are made differently so if you can, try to get them at Depot.

Next up, you will need one package of these 2″ hex screws. Find them HERE.
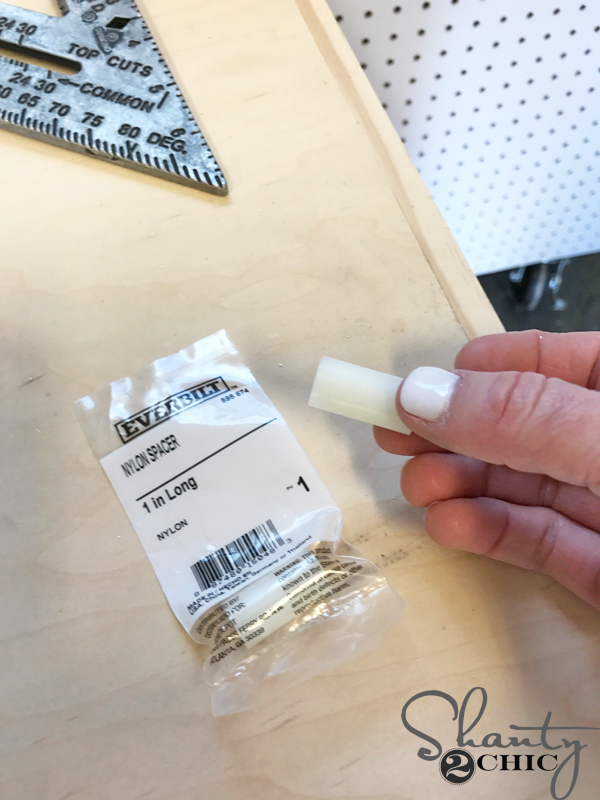
You’ll need two 1″ spacers. These can be metal also. My Home Depot only had nylon material but it’s going to get spray painted, so it doesn’t matter. You can find them HERE.
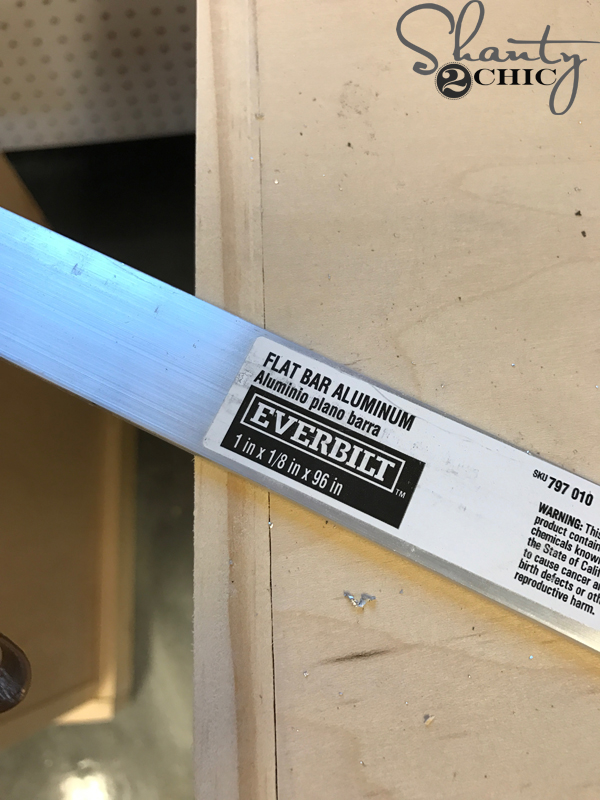
Next, you’ll need a 1″x1/8″x96″ Aluminum Flat Bar. You can find it HERE. If you are building two of these, you still only need one flat bar.
DIY Barn Door Hardware – Wheel Assembly
For the wheel assembly, you’ll need:
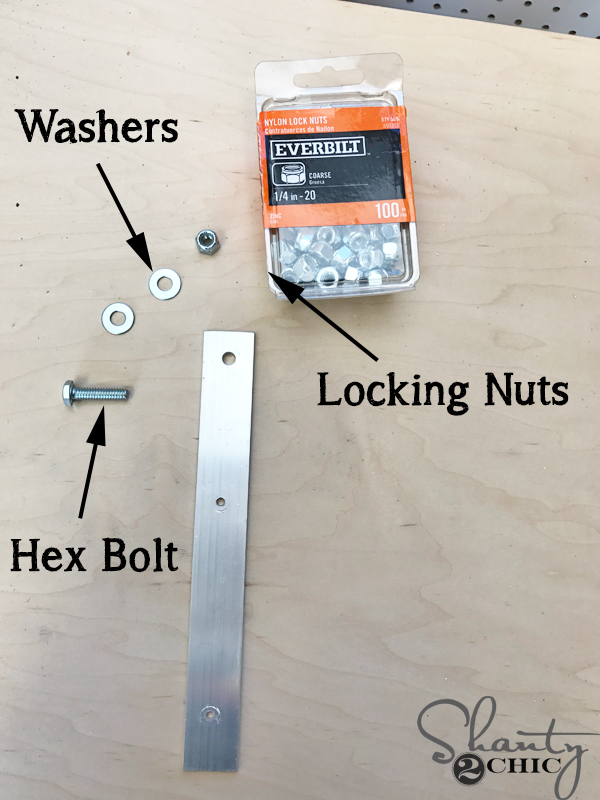
2 – 1/4″ x 1″ hex bolts: find them HERE
1 package of – 1/4″ washers: find them HERE
1 package of 1/4″ locking nuts: find them HERE
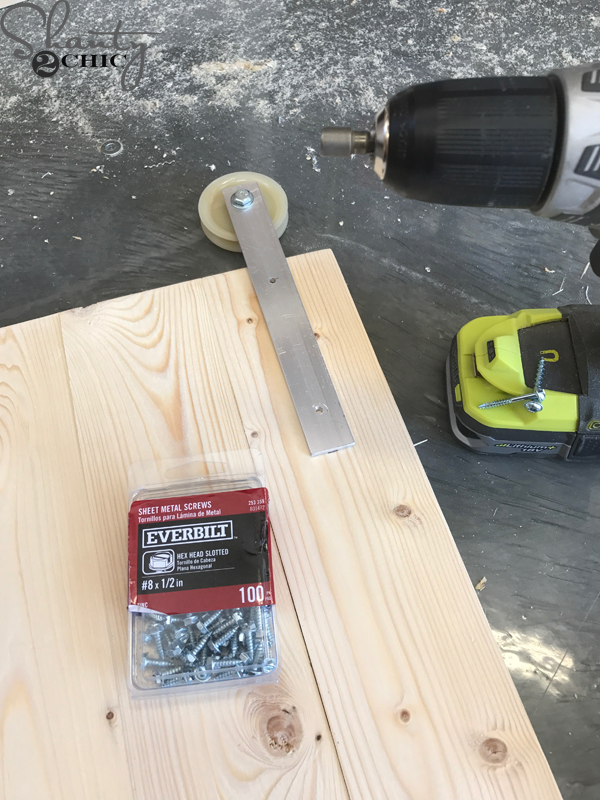
You’ll also need a few baby hex screws. You can find the box HERE
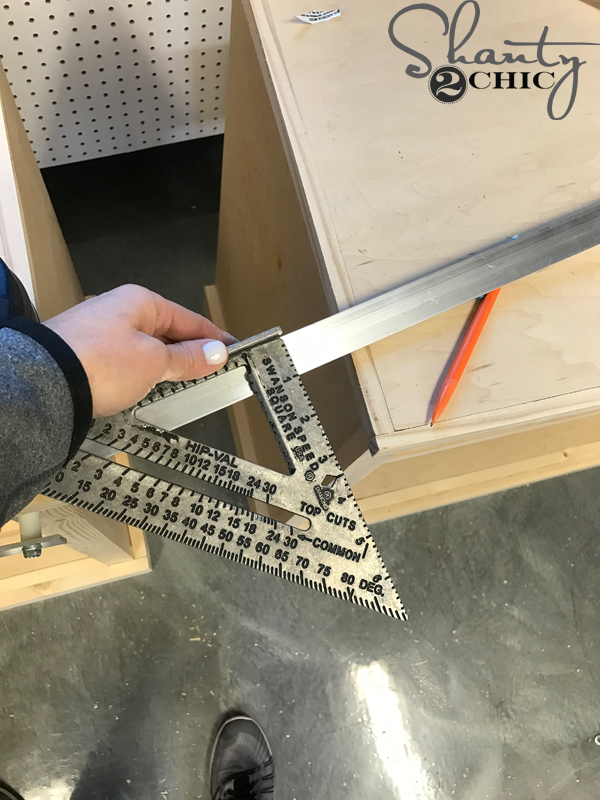
We used a speed square and a pencil to mark for our cuts. You can find the speed square we use HERE on Amazon.
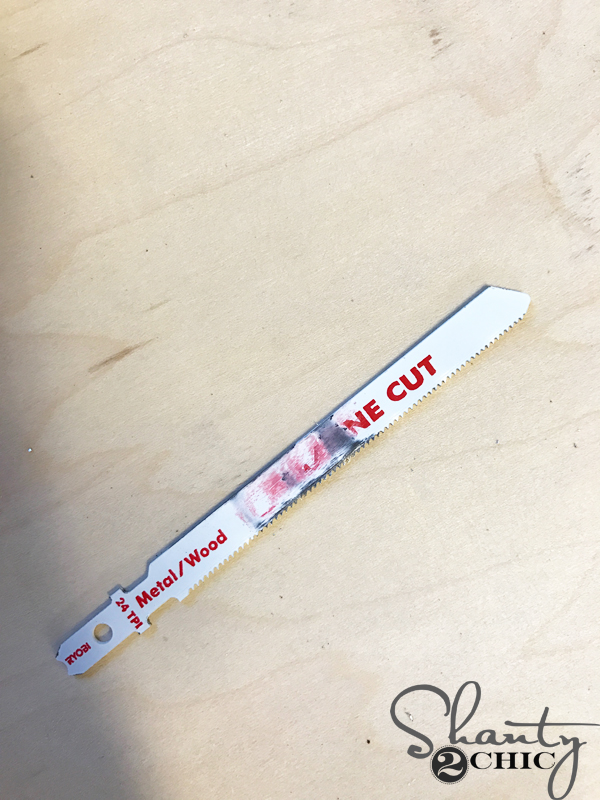
You’ll need a jigsaw blade that will cut metal. You can find one HERE.
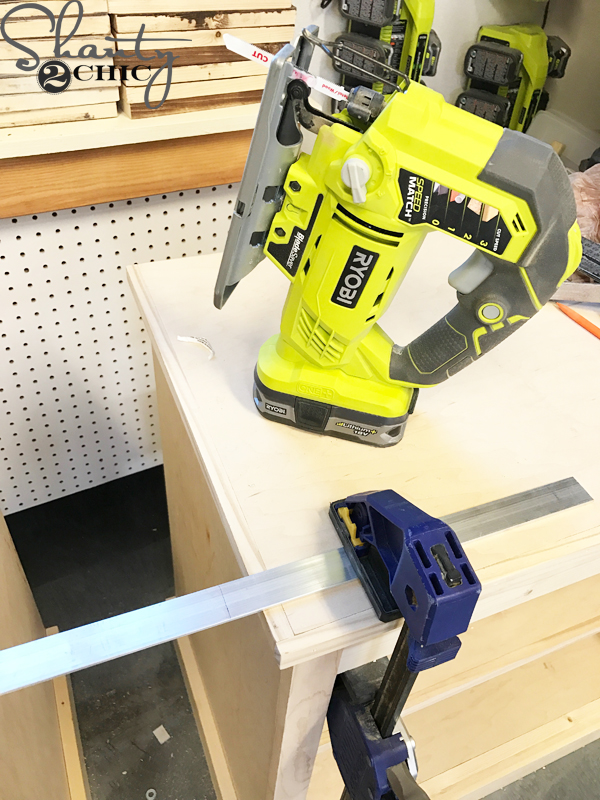
Clamp the flat bar down to cut it.
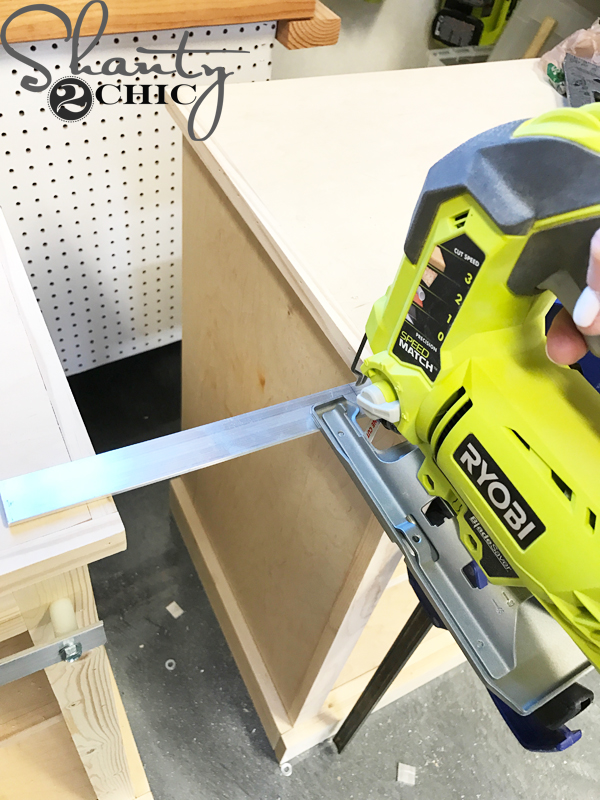
It cuts through the flat bar like butta!
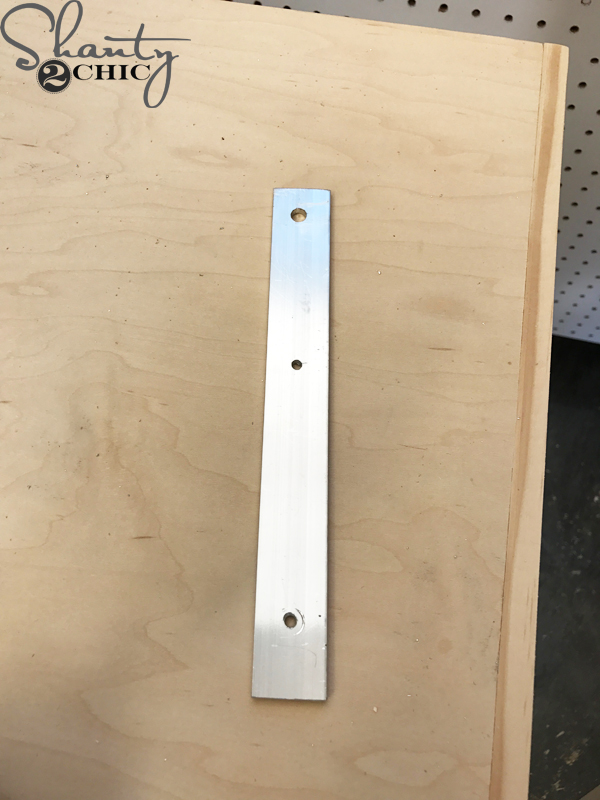
Use metal drilling drill bits to predrill your holes in the flat bar. You can find the drill bits HERE. Refer to the video for the placement of the holes!
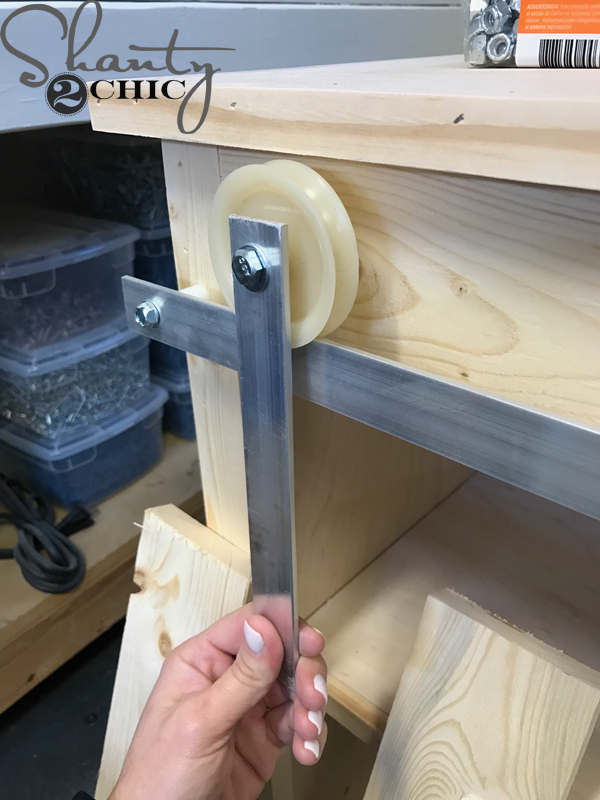
Now you can assemble the wheels.
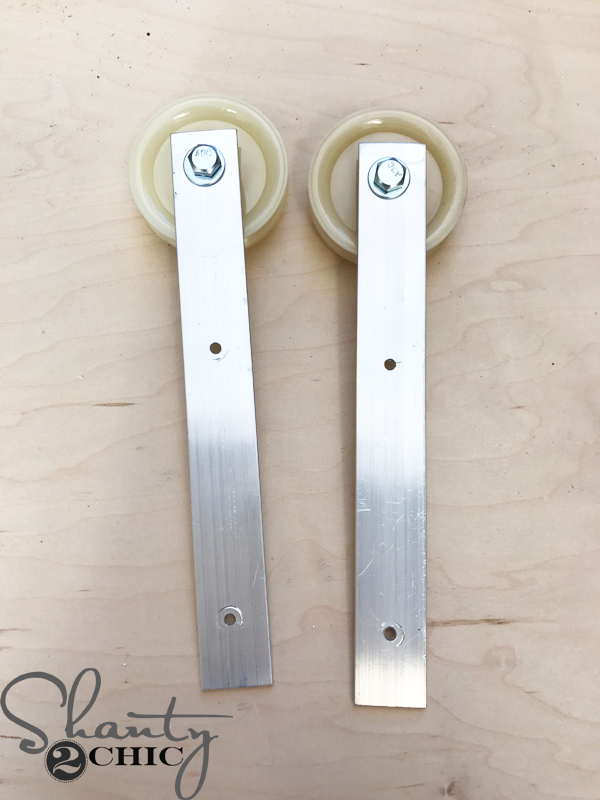
Refer to the video for the wheel assembly.
DIY Barn Door Hardware – The Track
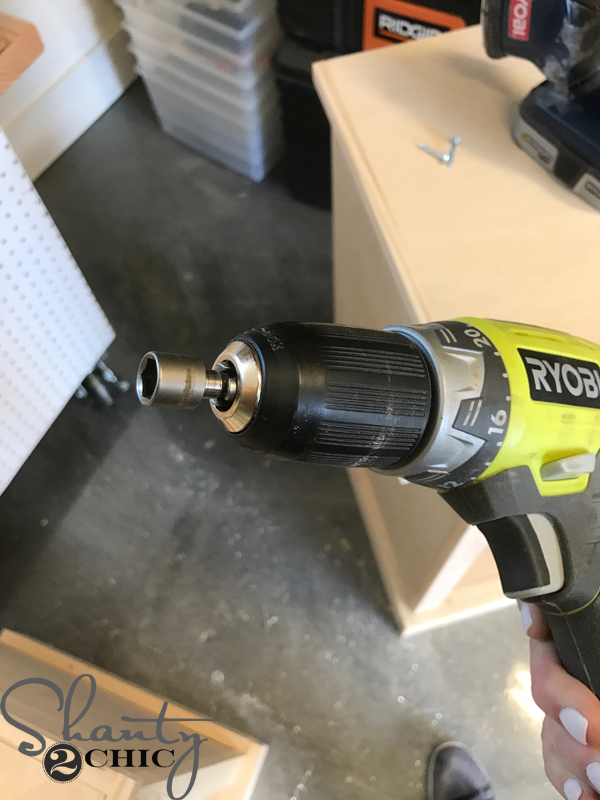
You’ll also need a nut driver bit to drill the hex screws into the barn door track. You can find a set of bits HERE.
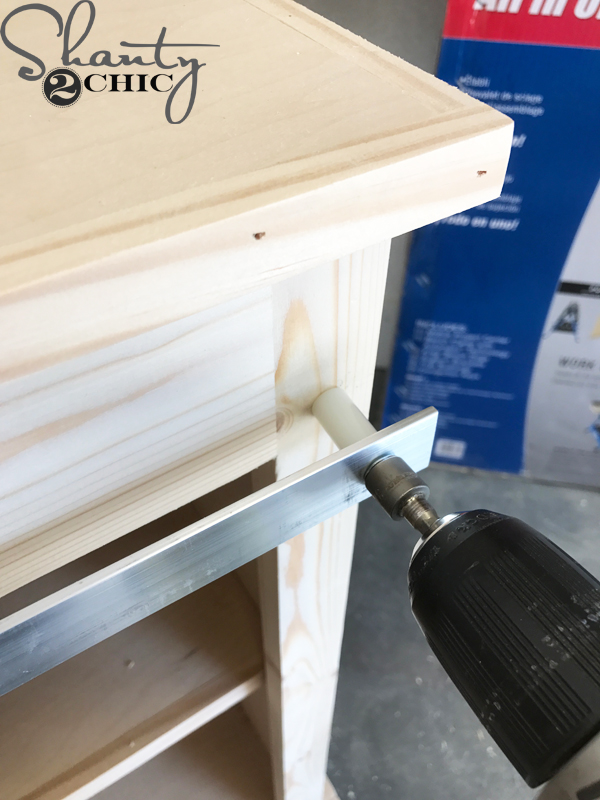
Once all of the holes are predrilled and the wheels are assembled you can attach the barn door track to the piece of furniture.
DIY Barn Door Hardware – Painting
Test it out! We made sure everything fit, just right, before taking the track down to paint all of the hardware.
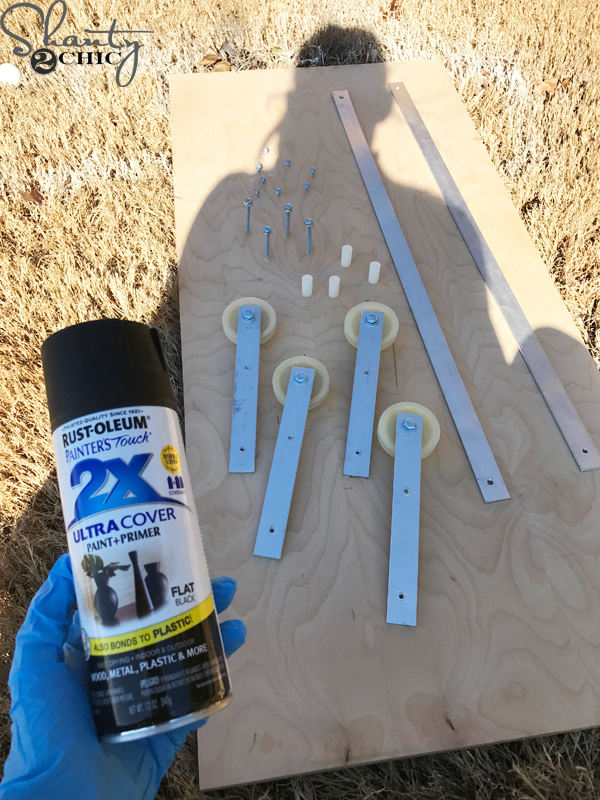
We used two coats of Rust-Oleum Flat Black Spray paint. You can find it HERE on Amazon. *Tip: make sure you spin the wheels around, as they dry, to get full coverage!
Once the spray paint dried, we mounted the track back on the furniture and attached the barn door (refer to the video for that, too)!
That was it! Custom DIY Barn Door Hardware and we didn’t break the bank 😉
Make sure to subscribe to our Youtube channel so you don’t miss our next video: How to build this awesome Barn Door followed by the light sconce!
Thanks so much for stopping by!
Happy Building!


I absolutely love this DIY barn door hardware idea! It’s amazing how something so simple and affordable can transform a space. Can’t wait to try it out in my home! Thanks for sharing!
I absolutely love this DIY barn door hardware project! It’s amazing how you were able to create such stylish hardware for only $20. I can’t wait to try this out for my own barn door. Thanks for sharing the detailed instructions!
This is such a fantastic idea! I love how you made custom barn door hardware for just $20. It really adds a unique touch to the space without breaking the bank. Can’t wait to try this out for my own home! Thank you for sharing such an inspiring project!
This is such a fantastic project! I love how affordable the custom hardware is, and the step-by-step instructions make it feel doable for anyone. Can’t wait to try this out in my own home! Thanks for sharing your creativity!
I love this DIY barn door hardware idea! It’s so budget-friendly and looks amazing. Can’t wait to try it out on my next project! Thanks for sharing such a creative solution!
I love this DIY barn door hardware idea! It’s amazing how you can achieve such a custom look for just $20. Can’t wait to try this on my next project—thanks for sharing the step-by-step guide!
This is such a fantastic idea! I love how you made custom barn door hardware for only $20. It’s inspiring to see how you can achieve that high-end look without breaking the bank. Can’t wait to try this DIY for my own home! Thank you for sharing this project!
What a fantastic idea! I love how you’ve made custom barn door hardware so affordable and DIY-friendly. Can’t wait to try this in my own home! Thank you for the inspiration!
I almost forgot its been so long, For heavier doors i made my own roller wheels using 2″Fender washers with 1/4″ hole in center. First started with 2x- 8″ piece flat bar and drilled 3 holes in each bar. One at top to attatch roller wheel and 2 bottom to attach door. The roller wheel is made with 2× 2″ Fender washers. In-between the larger fender washers are smaller 1 1/2″ Fender washers. I used 3. I also placed washers on the outside of the larger fender washers to prevent wheel from rubbing on the 8″ flat bar scratching the paint off. Finally a 1/4″ bolt, 1 1/4″ long is the “axel” all the parts are placed on the bolt and a locking nut holds it all on but remember to leave locking nut loose enough so wheel rolls freely on the track. Then using bottom 2 holes attach “wheel” to door and then mount on track.
You can use skateboard or skooter wheels for heavier door and to keep the door from pulling back install a section of galvanized or aluminum angle iron at the bottom of the door. You could also install L brackets on the floor placed on the right and left side of the door frame to keep the door from swinging out when open or closed.
Thank you for this great tutorial. I appreciate all the links to make shopping for supplies much easier. I’m going to use your tutorial for mirrors covering my built-in medicine cabinets. The mirrors weigh about 45 lbs each. Should I go with metal wheels?
I had a rough time with these. They did not turn out well. The wheels don’t move very well, and when they don’t they can damage the paint you have on the bar. They also want to unscrew the nut at the back side as they turn. Not sure if I didn’t something wrong.
In the end I decided to buy some hardware off of Amazon. 2.5 feet kit for 30 bucks, which is pretty good considering the quality over this diy solution and you get rubber bumpers at the end.
How do you keep the pulleys from getting knocked off the track? They appear to be just resting there by force of gravity.
Are the steps written out anywhere, or just have to watch the youtube?
My wheels don’t spin and the locking kit is falling off… send help ??♀️