
Hi guys! Just 7 weeks until I pop and I can’t wait! I can’t wait to squeeze this new little guy, and I can’t wait to not be pregnant 😉 I know lots of you relate! After sleeping in my room for the first few months, he will be sharing with his bigger brother, and I have been working on creating them a shared room. One of the things I decided to tackle for this space was his changing table. I wanted something that A) didn’t look like a changing table, and B) could double as something different down the road. So, here is what I came up with! Check out my DIY Changing Table!
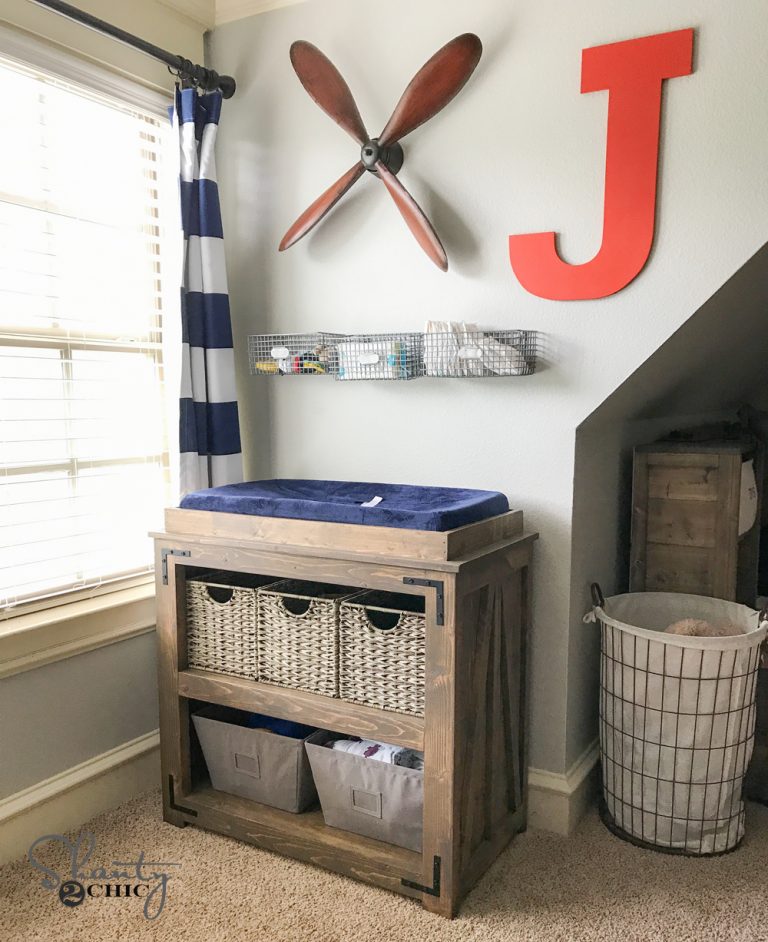
How fun is that?? I love that you can remove the topper, or never add it to begin with and you have a great side or console table, or even a cute coffee bar. Before we get started be sure to check out our How-To Video on YouTube to build this changing table. You can find it HERE or click the link below!
DIY Changing Table – Free Plans
You will also want to download and print the FREE PLANS to build this bad boy by clicking HERE!
First step is making all your cuts. One thing I chose to do is rip the rounded edges off my 2x boards. What does this do?? It gives the 2x a straight edge appearance, which I believe makes the entire piece look more polished when finished. Sometimes doing this will affect lots of dimensions when building. In this case, it will only affect your top dimensions. If you choose not to round yours, be sure not to cut the top board until you have the bottom assembled so you can decide exactly how long you want it to be. I used my Ridgid miter saw to make all my shorter cuts and I used my Ridgid table saw to rip those edges like I mentioned.
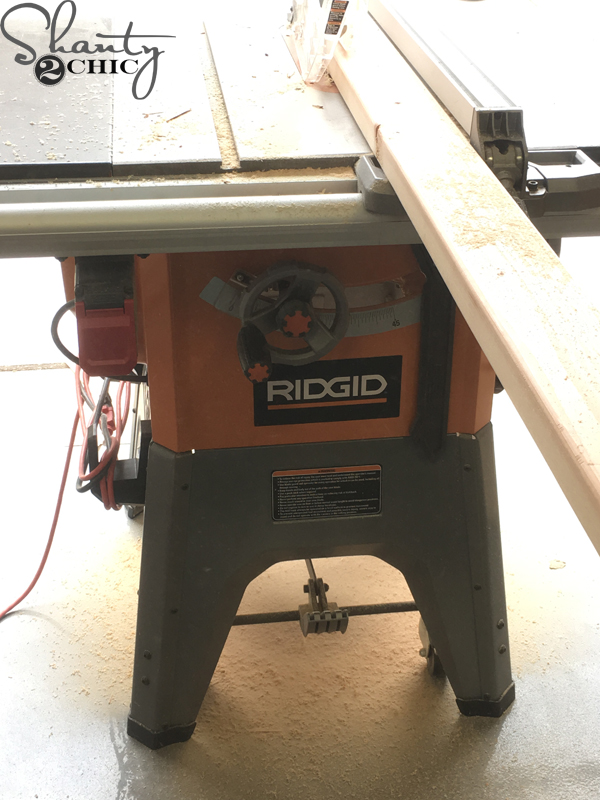
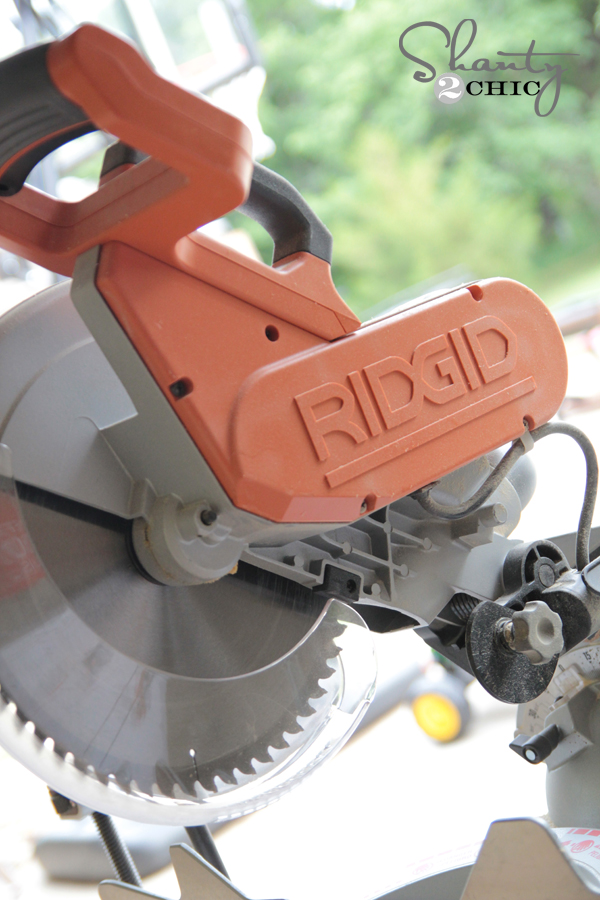
DIY Changing Table – Miter Saw Tutorial
You can check out our HOW TO USE A MITER SAW Video HERE!
First step in assembly is making one side of this changing table. To join these boards, I used 1.5″ pocket holes and 2.5″ pocket hole screws. I used my Kreg K5 for this. You can see our HOW TO USE A KREG JIG video here!
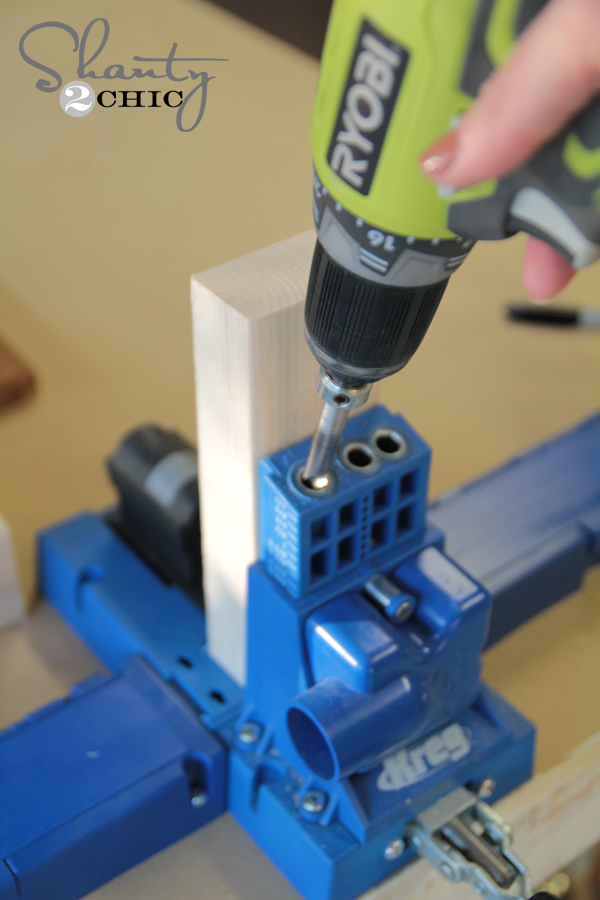
Your two bottom horizontal runners will have pocket holes one each side like this.

Your top runner will also have them running down the length of the board, and you will use those in a later step to attach the changing table base to the top.
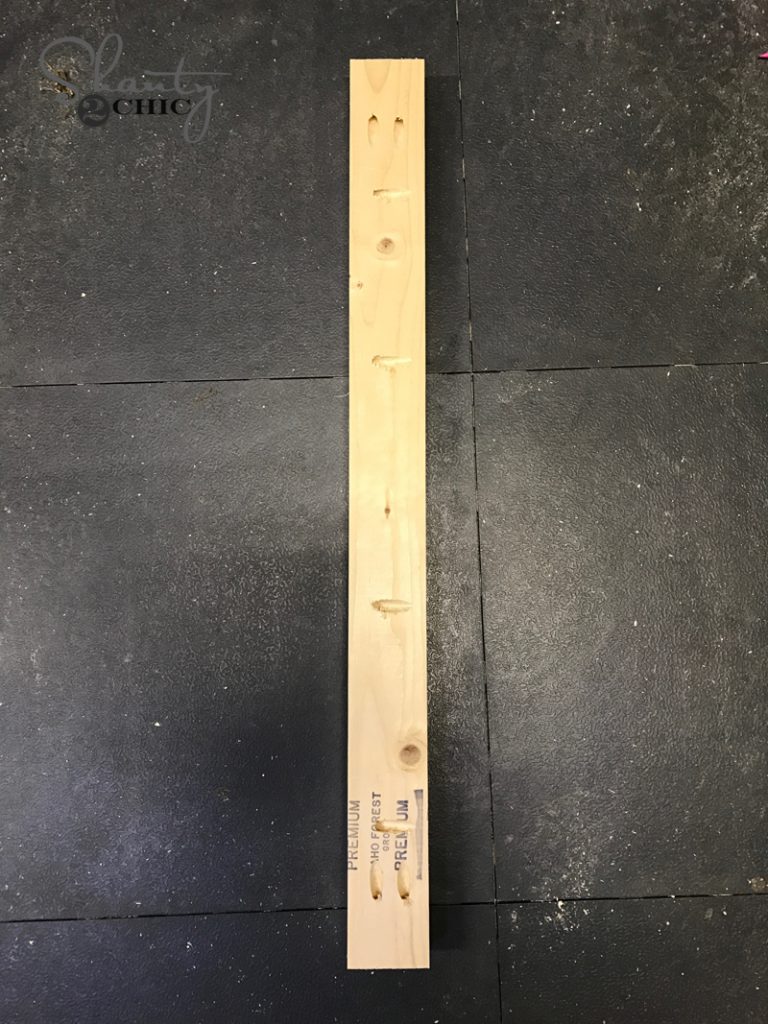
DIY Changing Table – Frame Assembly
Now build the frame assembly by attaching those runners to the legs. You only want to build one of the sides at this point and it should look like this…
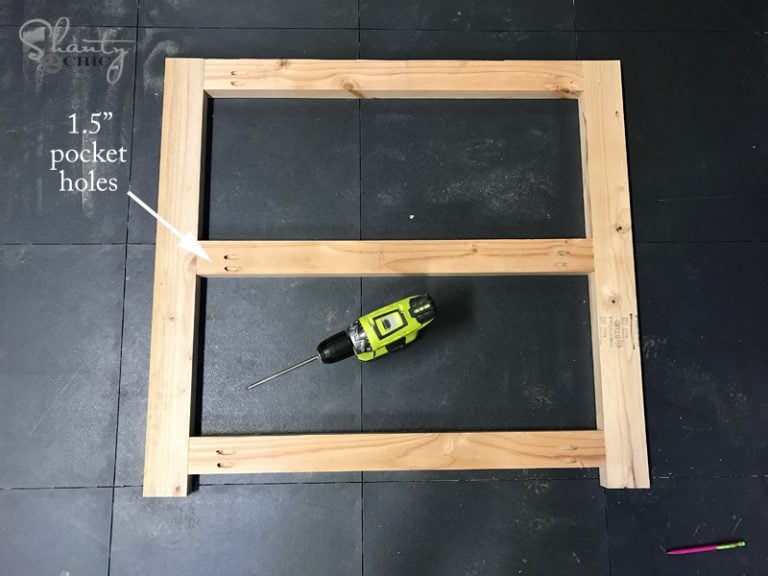
Next, add the runners that go on each short end. These will be attached with wood glue and 1.5″ pocket hole screws. Make sure the pocket holes are facing the inside, and these will line up flush with the edge of the legs.
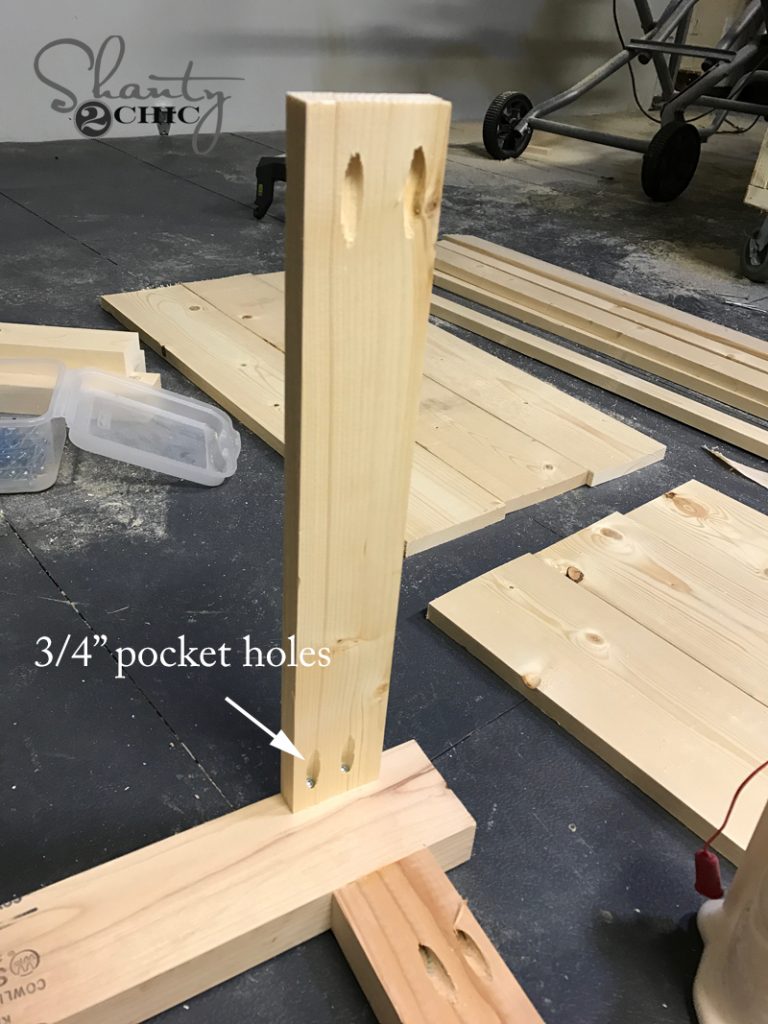
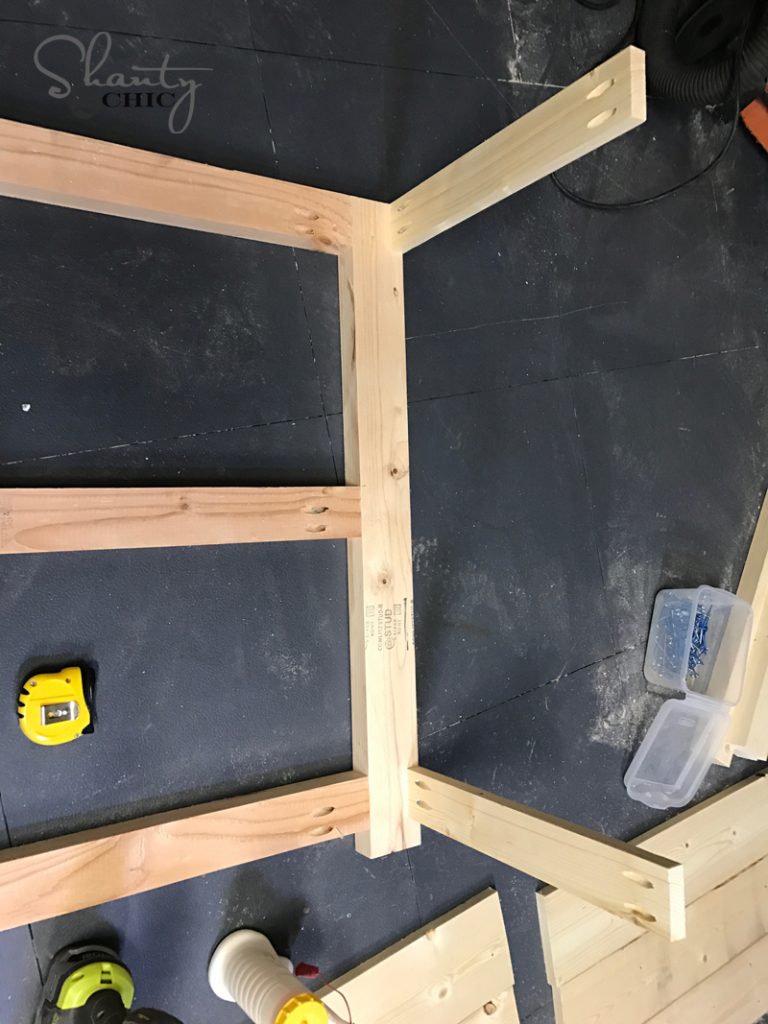
Attach the next two legs at this point. These will also attach with wood glue and pocket hole screws through the pocket holes on the runners and into the legs.
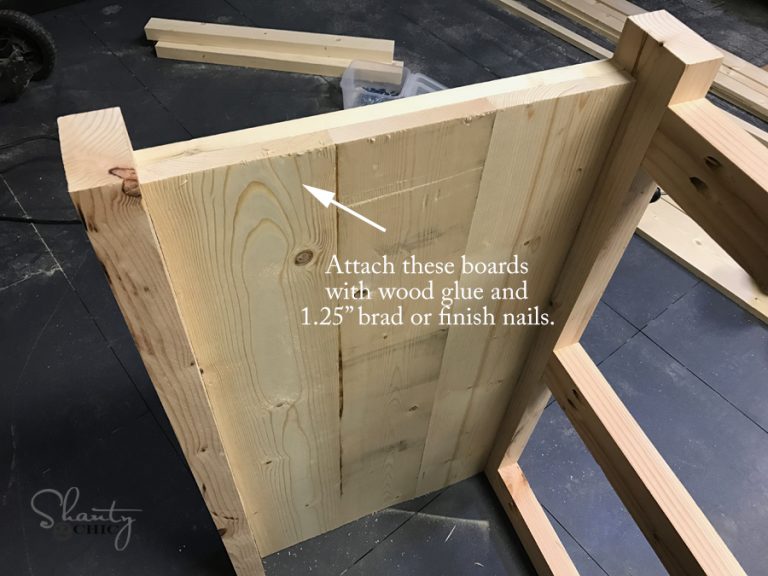
After attaching these, add the 1×6 plank pieces. These will attach with wood glue and nails to the inside of the runners attaching the side assembly to the second set of legs. ** I made a booboo here that I didn’t get to photograph. I call for 3/4″ pocket holes at the top of each of these 6 planks. I forgot to add them and had to go back with my R3 and add them and it was a pain in the booty. Be sure to make the pocket holes and then attach the planks. I have shown that in the plans. Thanks**
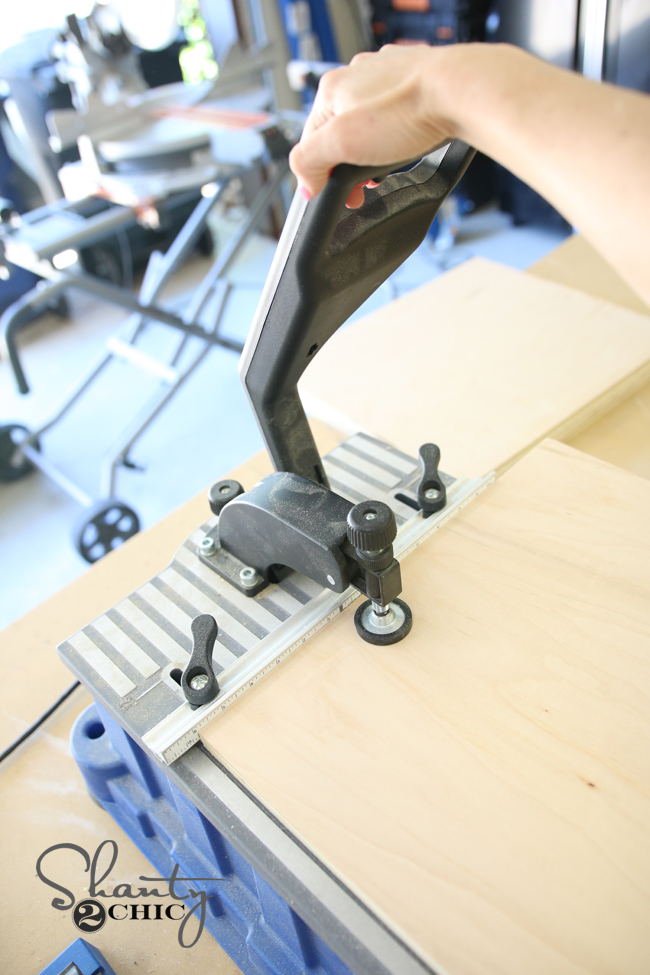
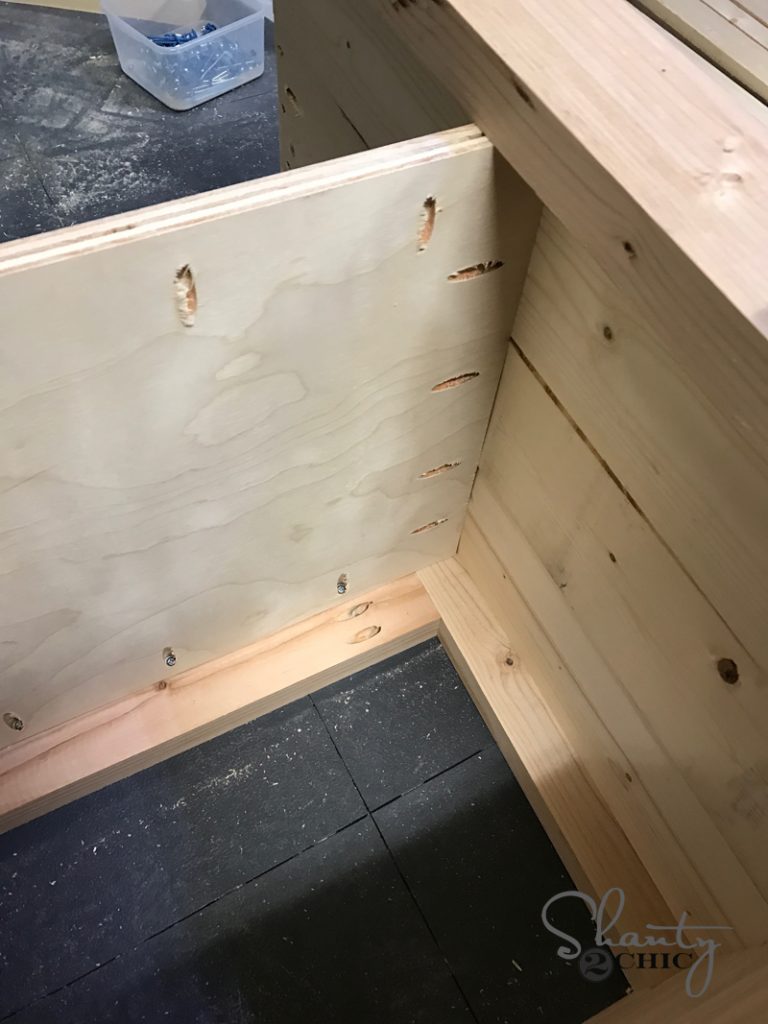
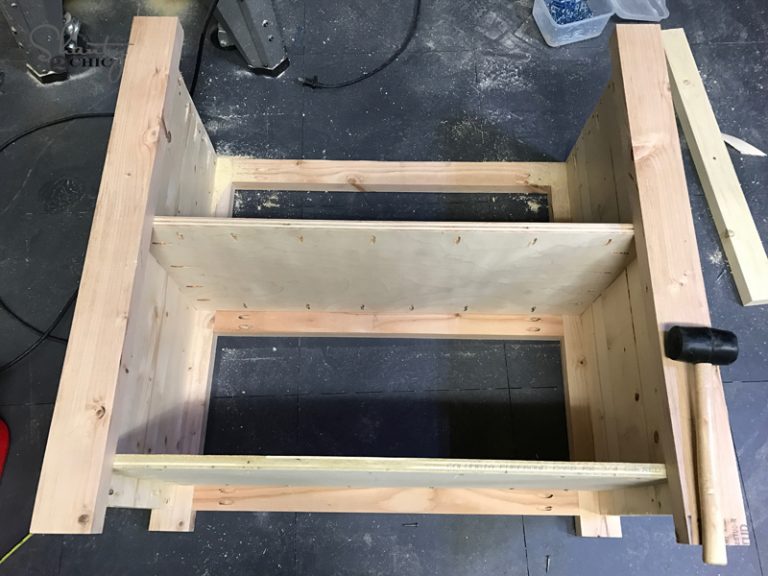
Once both sides are planked, you are ready to add the shelf boards. I used 3/4″ Purebond Plywood in Birch for mine. I always have the guys at Home Depot rip it down to the right width or about an inch more, and then I make the smaller cuts on my table and miter saw at home. I added 3/4″ pocket holes around the bottom of both shelf boards. I will use these to attach the boards to the runners. I used my Kreg Foreman for this part, but you can use any model Kreg Jig you have! The Foreman is one of my fav time savers and is basically a Kreg Jig on steroids 🙂
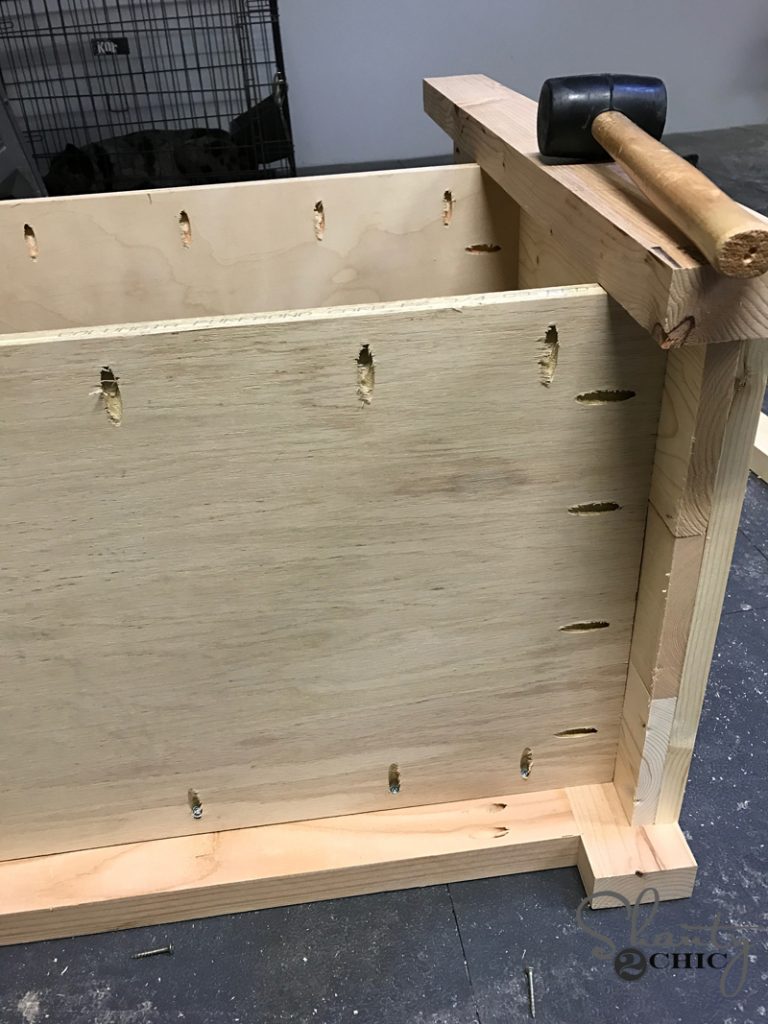
It might be helpful to use a mallet to get these shelves perfectly into place. I use mine a lot, and Ash and I like to think when you have to use one that it’s a good sign of a great cut 😉 I used 1.25″ pocket hole screws to attach both shelves through the bottom of the shelf and into the runners and planks. You want these shelves to line up flush with the top of the runners on both.
DIY Changing Table – Time for runners
Both shelves done… Ready to add the next runners!
Be sure to add glue in between joints before adding the runners to help hold everything in place.
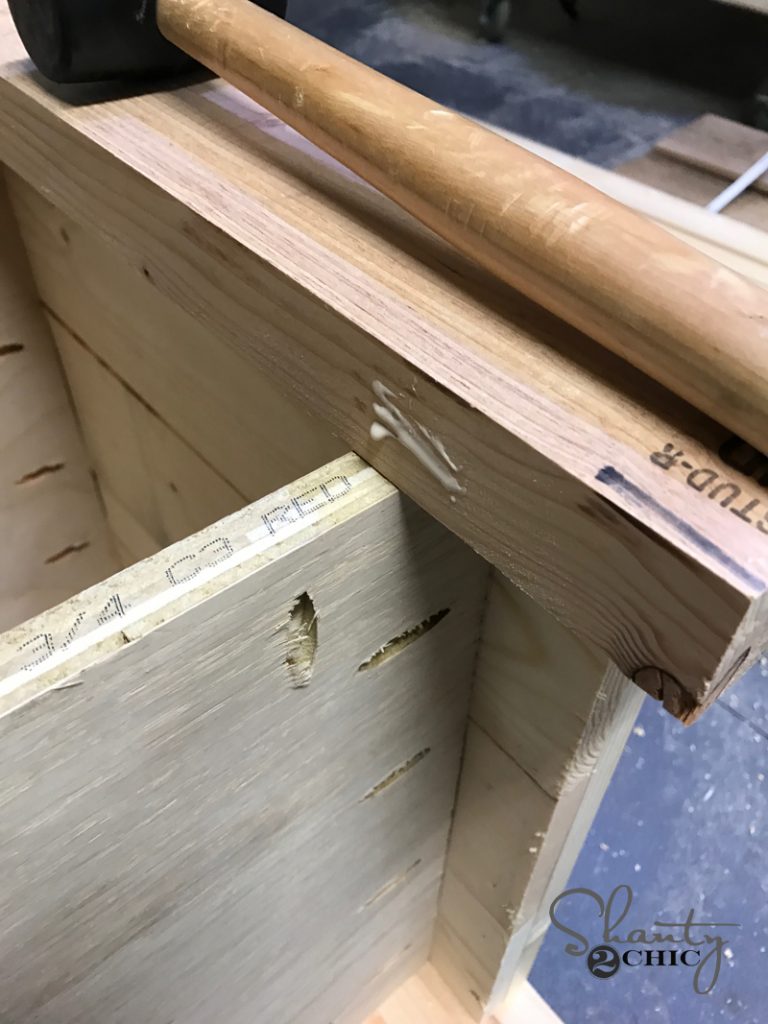
Also, once you have attached the runners to the legs, attach the shelf to that runner through the pocket holes on the bottom.
Now onto the side trim. This will give it that farmhouse look! Use wood glue and 1.25″ brad or finish nails to attach the trim once you have cut it to size.
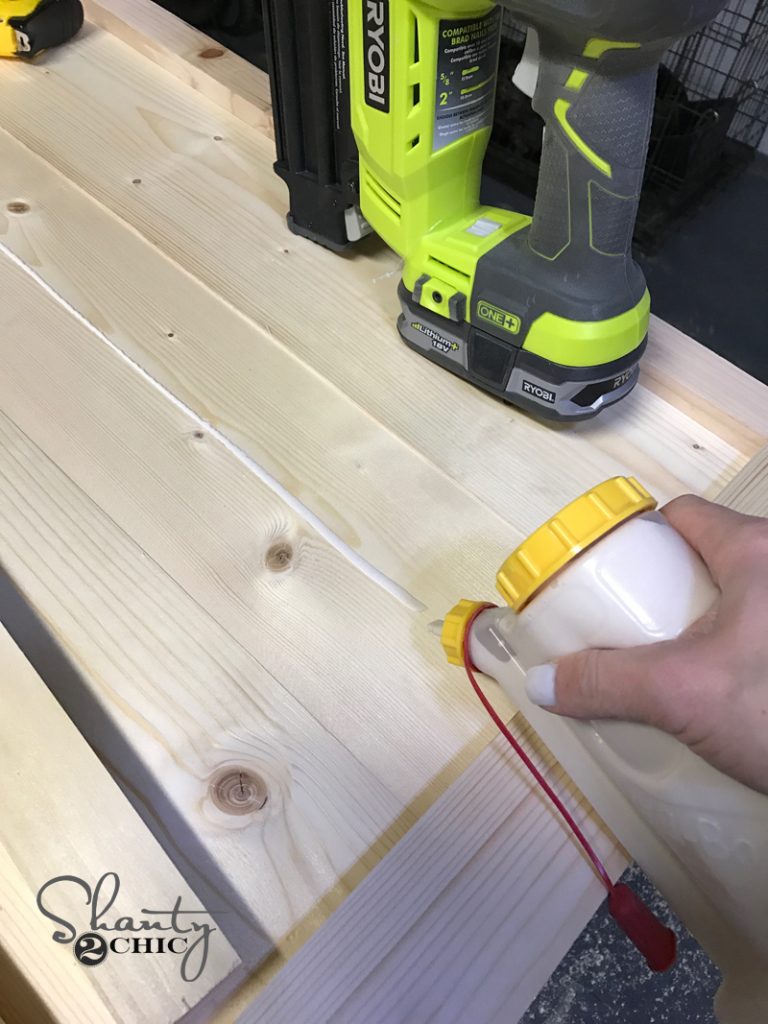

The top of the changing table is made from a pine project panel. These come in different sizes at the hardware store. I cut mine to size and sanded down the edges really good.
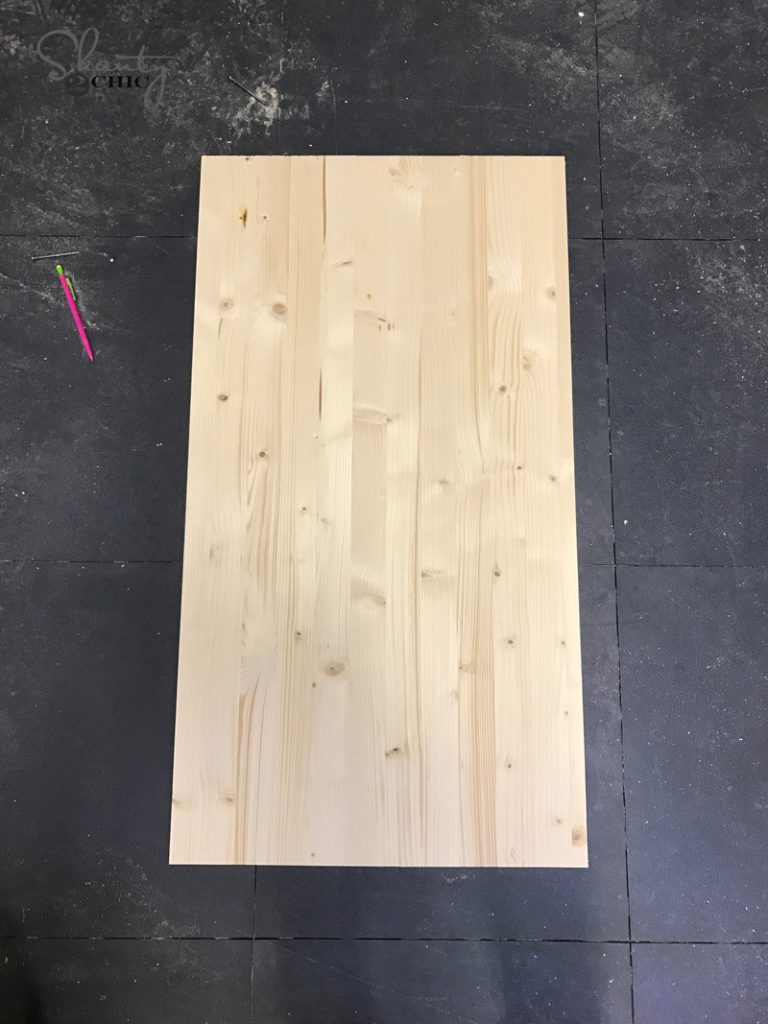
Now flip the entire table base upside down on the top and line it up on the project panel. Attach the base to the top using 1.25″ pocket hole screws through the holes on both the side planks and the long runners.
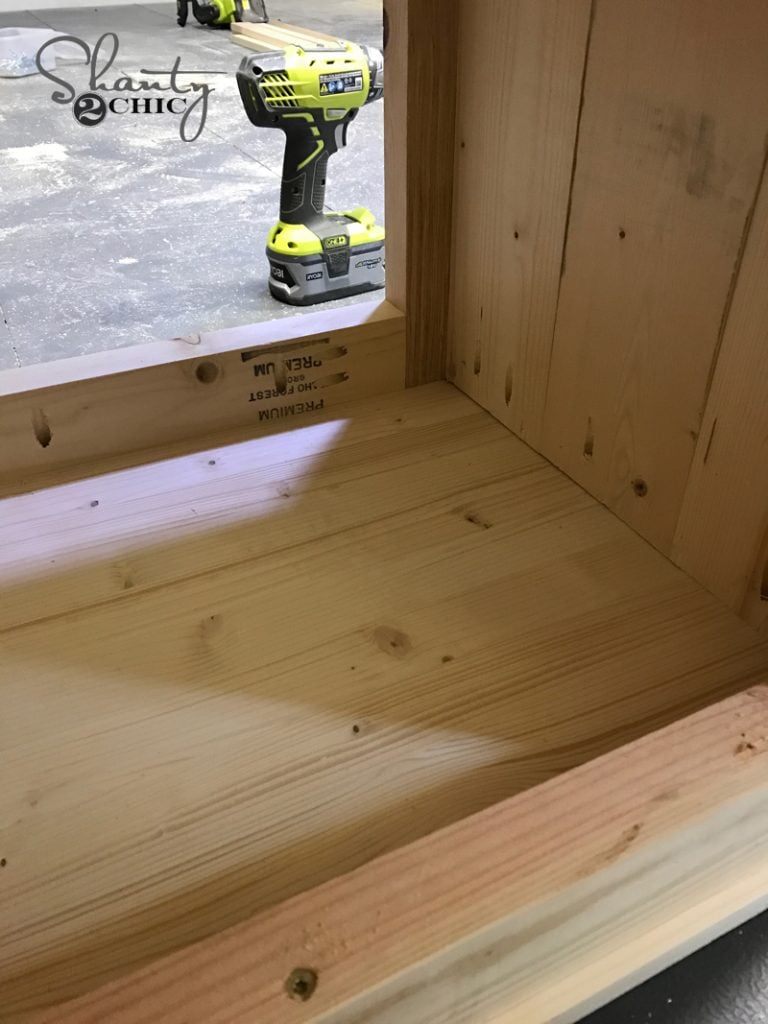
DIY Changing Table – the topper
You can stop here at this point if you plan to use this as a console or different kind of table. If you plan to make use it as a changing table, make the cuts for the topper. Those are 45 degree angles at each corner.
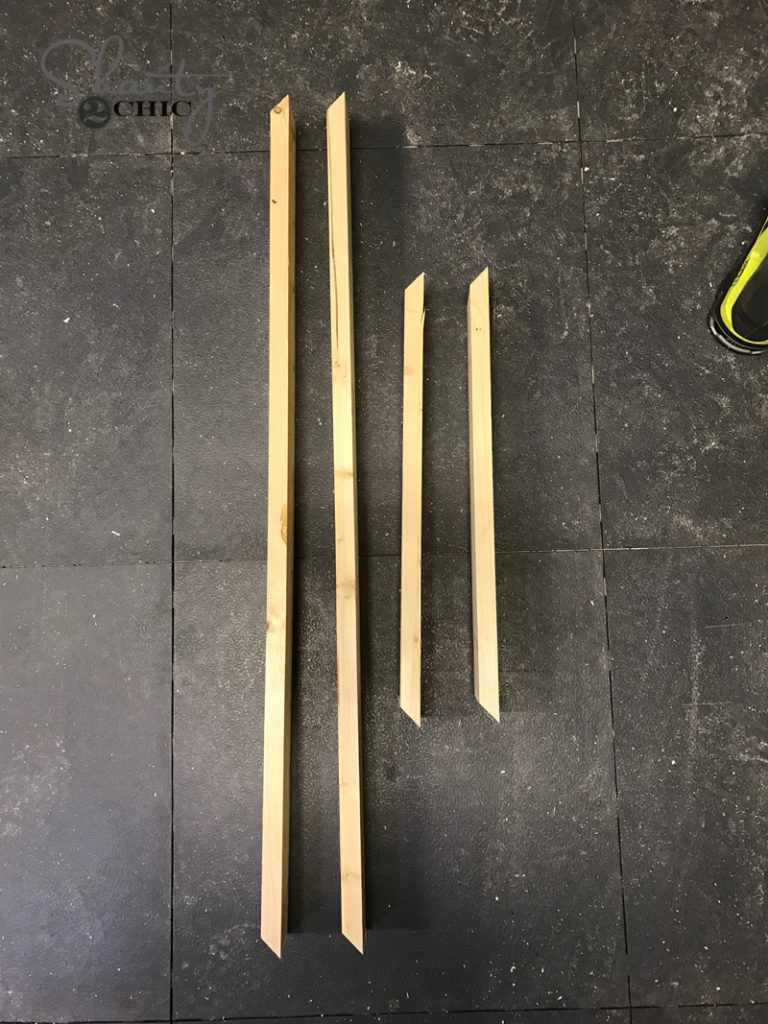
I added two 3/4″ pocket holes to each long board and attached the changing table topper frame to the top of the table with 1.25″ pocket hole screws. I know this will leave screw holes in the future when I do remove the topper, but I will just fill those, as I see this as the safest way to attach it. All finished!

Here is the changing table pad I bought on Amazon as well as the cover!
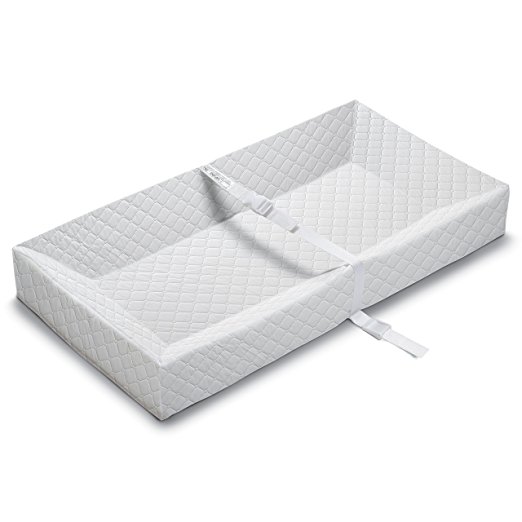
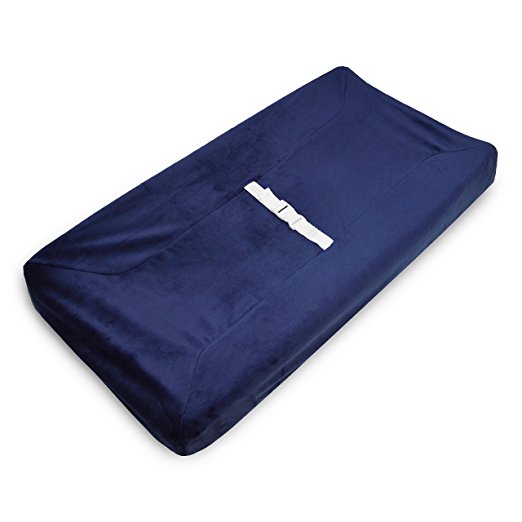
The baskets are a perfect fit and a great find from The Container Store.
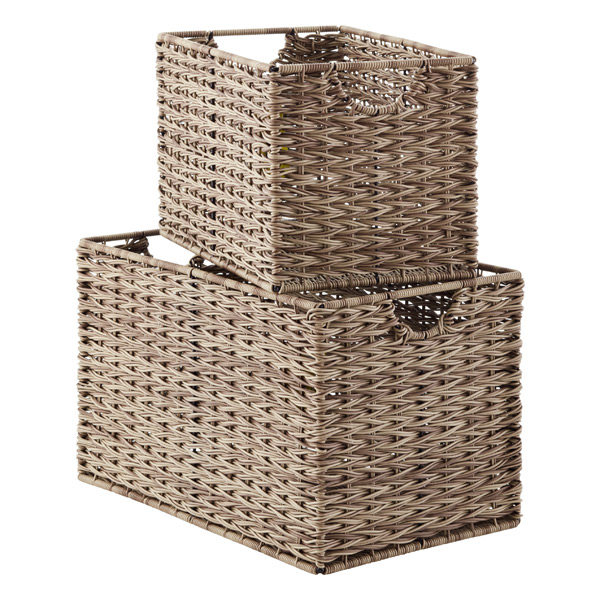
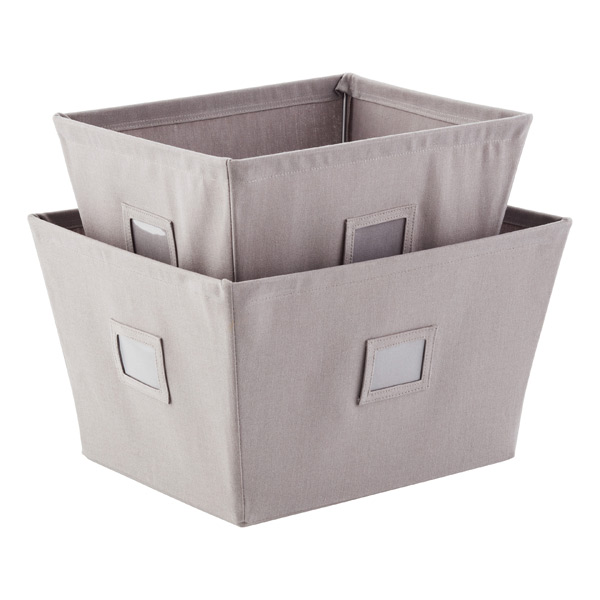
This got a coat of Varathane Stain in Briarsmoke and I LOVE the way it turned out!

Here it is ready for dirty diapers… I can’t wait to see his little booty up here…


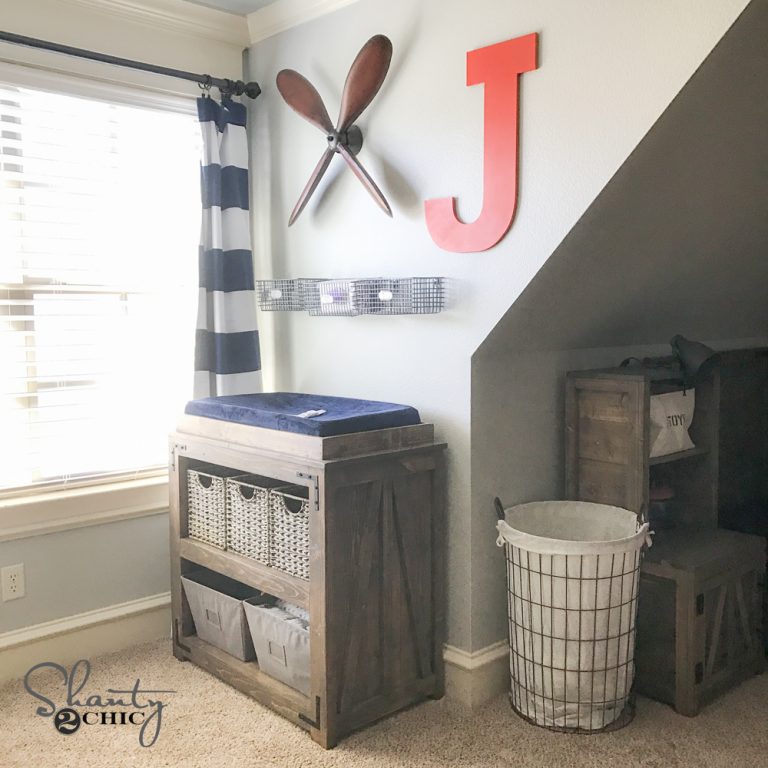
You can check out some of the other goodies I have shared from their room, like the DIY Turnbuckle Shelves…
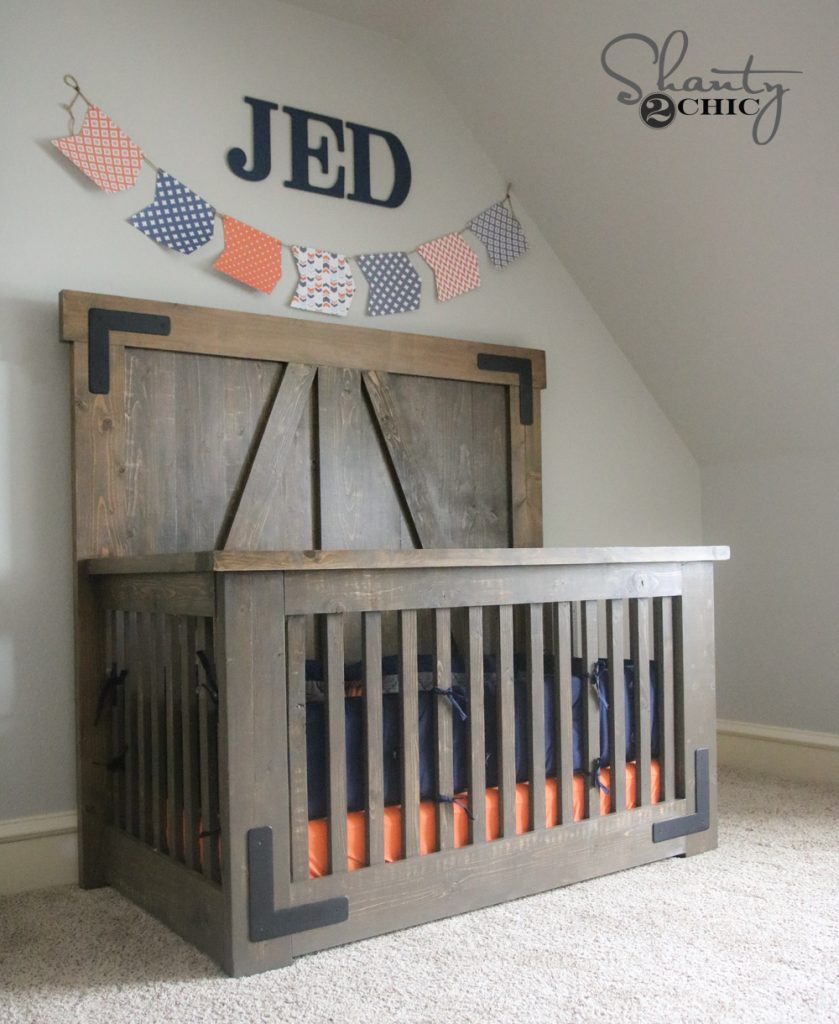
And some sneak peeks I have shared on Instagram… Don’t worry! Plans are coming soon!
https://www.instagram.com/p/BPXqMn-htXY/?taken-by=shanty2chic https://www.instagram.com/p/BPOIc9fBPl6/?taken-by=shanty2chic https://www.instagram.com/p/BSKBL5th40o/?taken-by=shanty2chicThanks so much for stopping by guys! Let me know if you have any questions at all!

I absolutely love this DIY changing table plan! The step-by-step instructions and video are super helpful. I can’t wait to get started on this project for my nursery. Thank you, Shanty2Chic, for sharing such fantastic plans!
This changing table design is both practical and thoughtfully built—great use of space and functionality. For furniture like this, especially in daily-use scenarios, the strength of the structure and the quality of the materials are really important for safety and durability. Using well-finished plywood or engineered boards can help ensure stability while keeping the build consistent over time. We’ve come across useful material insights on platforms like https://plywoodbazar.com/
for similar furniture and interior applications. Very well-designed and executed project!
I absolutely love this DIY changing table! The free plans and video made it so easy to follow along. I can’t wait to give this a try for my nursery. Thanks for sharing such a useful project!
I absolutely love this DIY changing table idea! The plans are so easy to follow, and I appreciate the video tutorial – it really helps to see the process in action. Can’t wait to get started on my own! Thank you, Shanty2Chic!