I’m so excited to share this coffee table with you guys today! I love, love, love factory cart coffee tables but they aren’t exactly budget friendly.

I had a specific design in mind for a special place so I hit-up our friend Jamison, a.k.a Rogue Engineer, to whip some printable plans up so we could share this easy and affordable build with you guys!
You can find the plans HERE and we’ve got the step-by-step tutorial for you to follow along with as well!
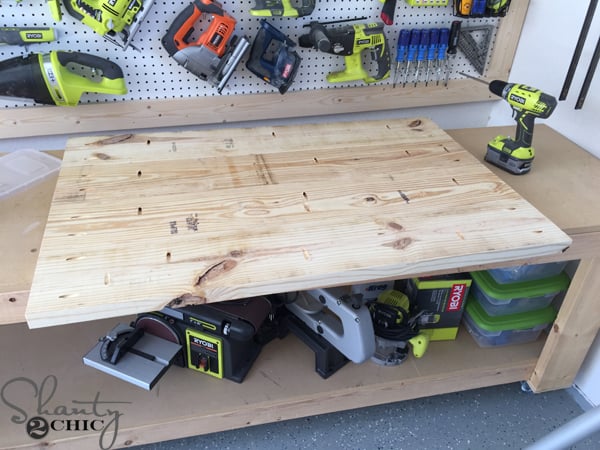
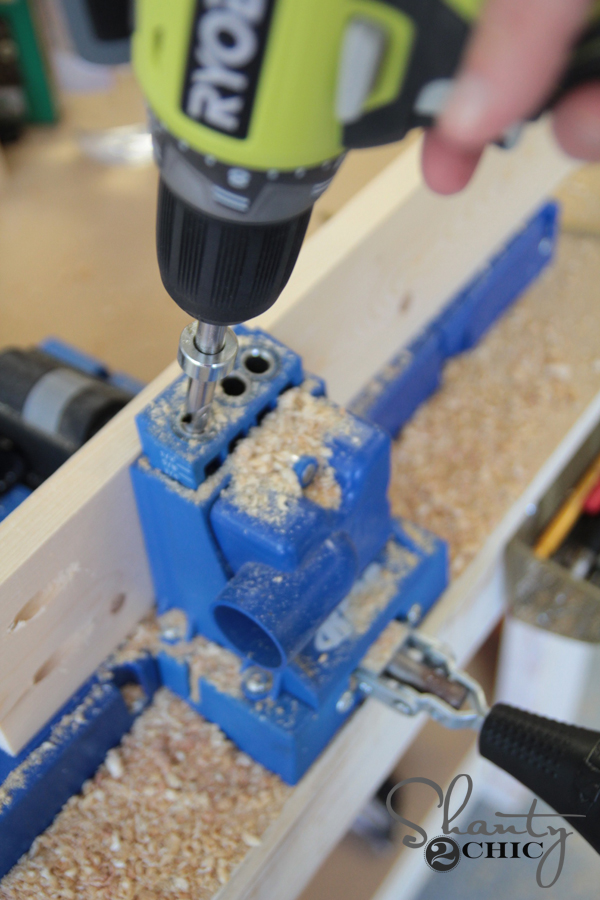
After I cut the boards for the planked top, I drilled 1 1/2″ pocket holes and attached them with 2 1/2″ pocket hole screws.
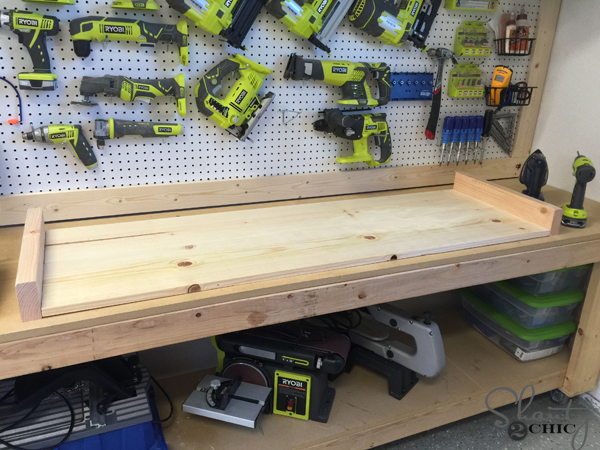
Then, I attached the short side pieces with pocket holes screws and wood glue. (I lost several of my tutorial pictures so this is not the exact table top but it is assembled the same way). Short sides first, then I attached the long pieces.
I flipped it over and attached the first 2×4 braces to each end with 2 1/2″ wood screws. I like to use the Spax multi-material star head screws. They are a bit pricey but oh.so.worth.it. They are self tapping, so you don’t have to predrill and the star head doesn’t strip as easily!
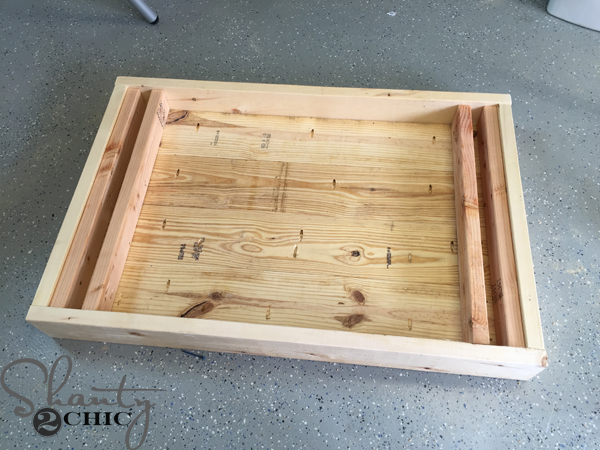
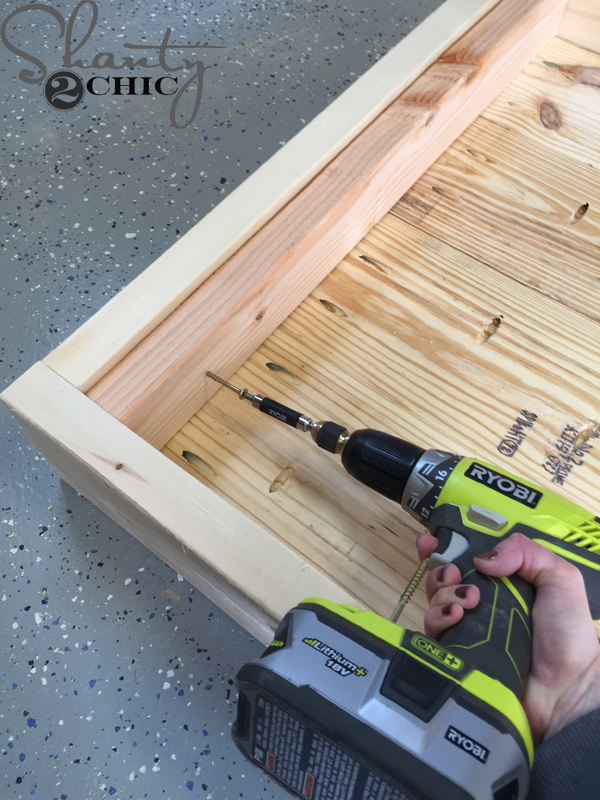
Next, I added the second set of 2×4 braces. You attach these with pocket hole screws.
That was IT for building 🙂 Now for the finish!
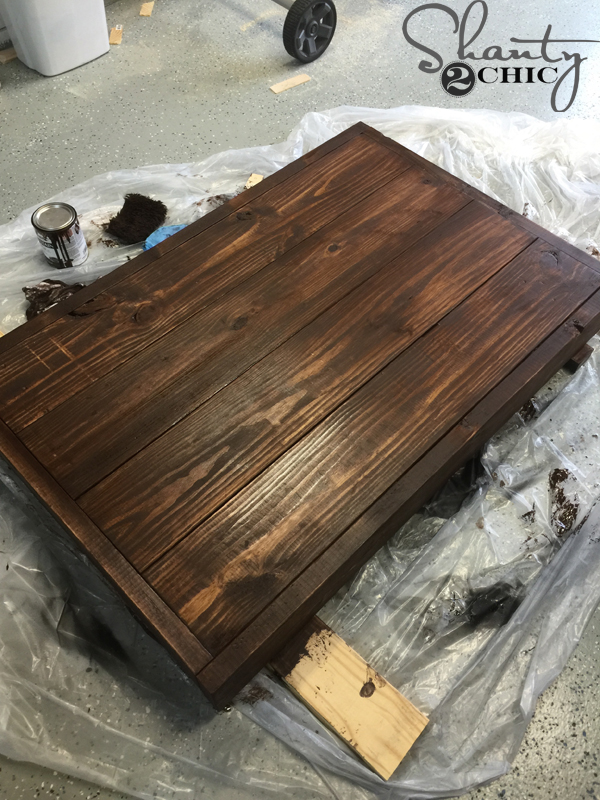
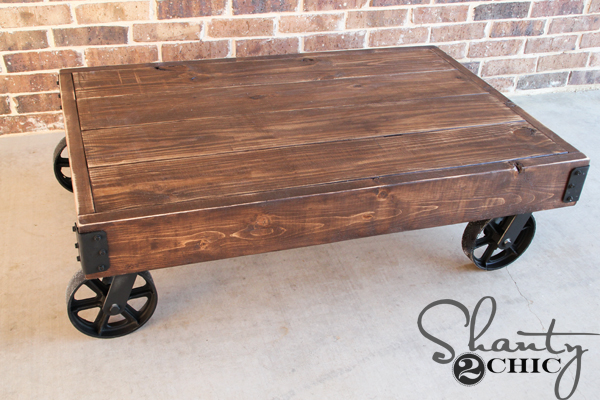
I applied one coat of Varathane Dark Walnut stain. Just wipe it on with a clean cloth, wait about 5 minutes, then wipe it with a new clean cloth. Don’t wipe the stain off, just blend it with the cloth so that the stain is even.
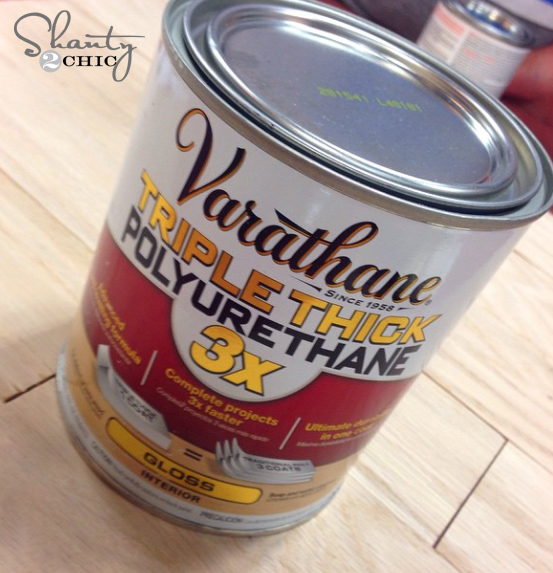
After the stain dried (about 1 hour later), I applied one coat of Varathane Triple Thick Polyurethane. Just apply it with a bristle brush. You can put it on thick, it is self leveling and will all spread out evenly. I use a bristle brush – it will look like glue until it dries.
Now for the fun part 🙂
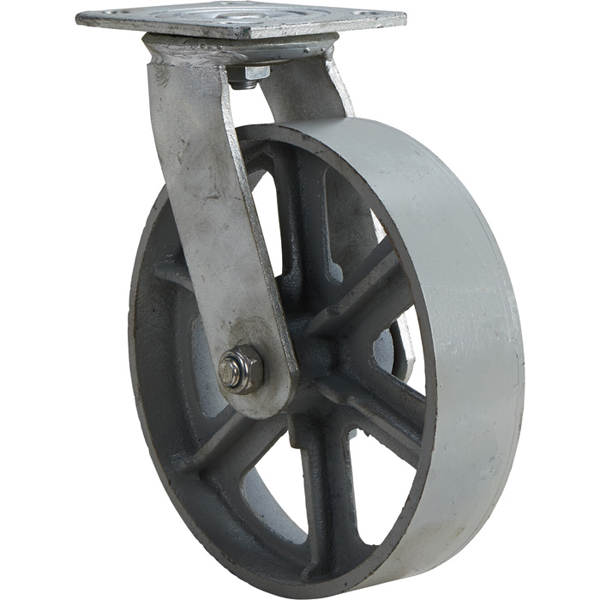
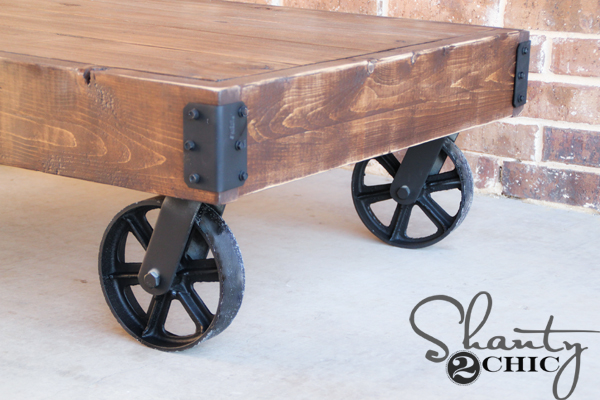
I purchased these 8″ casters from Northern Tool. You can see them HERE! These were the closest thing to budget-friendly, factory cart wheels that I could find and I think they are just perfect!
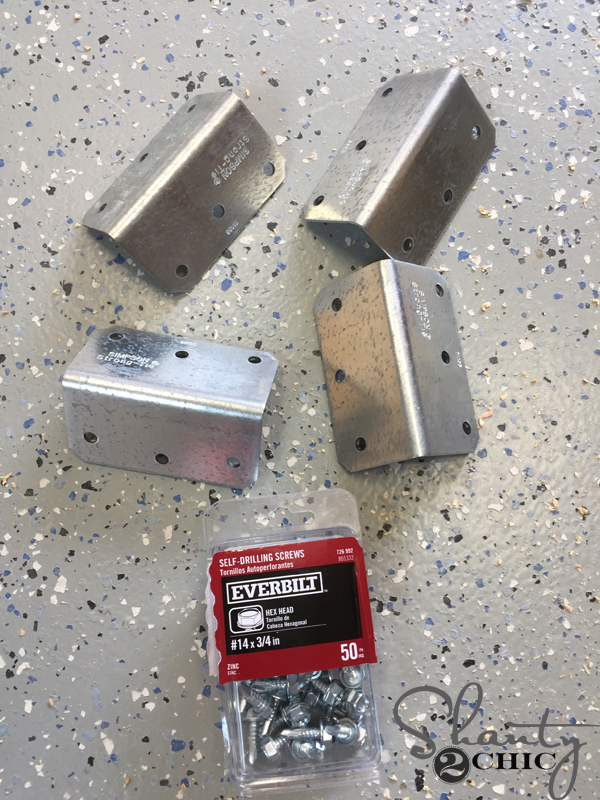
I also picked up these little hex screws and 6″ Simpson Strong Ties from Home Depot – super inexpensive! You can see the Strong Ties HERE. I spray painted the casters, screws and Strong Ties with Rust-oleum, satin black, spray paint and that was it!
I attached the Strong Ties with the little hex screws.
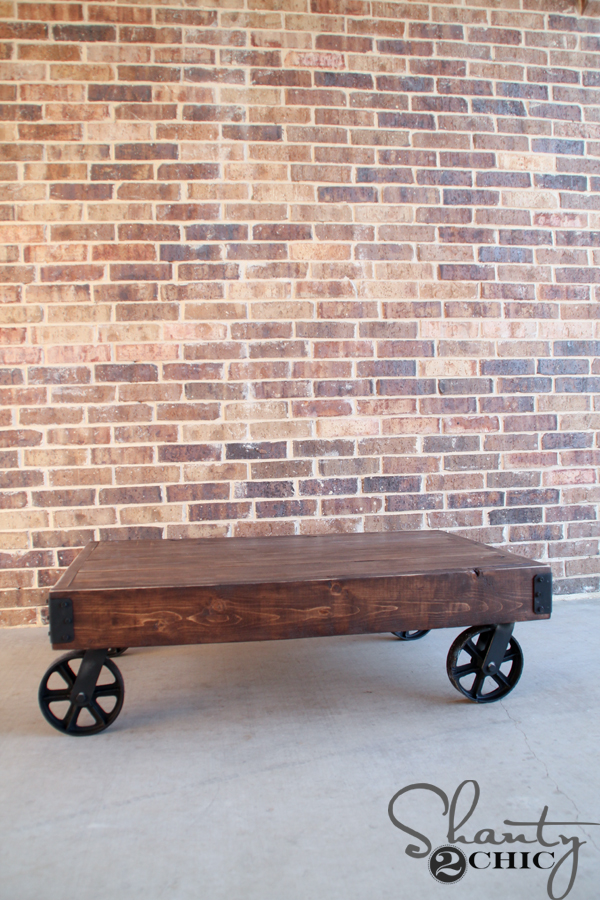
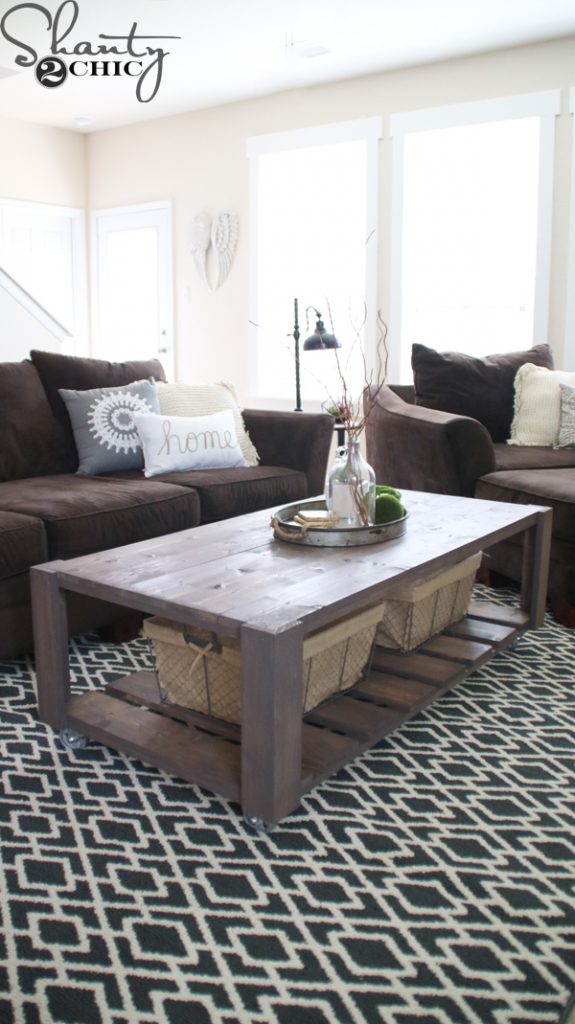
Lumber, hardware and casters totaled about $100! Can’t beat that!!! I can’t wait to show you where this cutie is going – but that will have to wait for now 😉 Thanks again to Rogue Engineer for the FREE Printable Plans! Check him out! He has a ton of awesome DIY’s he’s been up to 🙂
Thanks so much for stopping by 🙂
~Ashley
Check out this video to build this DIY Rolling Storage Coffee Table!


My husband used these plans from WoodPrix’s plans and he’s very satisfied. However. I love Yours !
We built the table last wknd! It’s perfect! The wheels are awesome – thanks for the link. More builds using your plans in the near future. Thank you ?
We have a factory cart that I restored and have been using it for a coffee table. We are moving to a smaller house and would like to make it into a desk/table. Do you think that it would work. I do not have a picture now but will be able to take one next week. Guess I would have to remove wheels. I hate to sell it as it is neat. Thanks, Terry Mckay
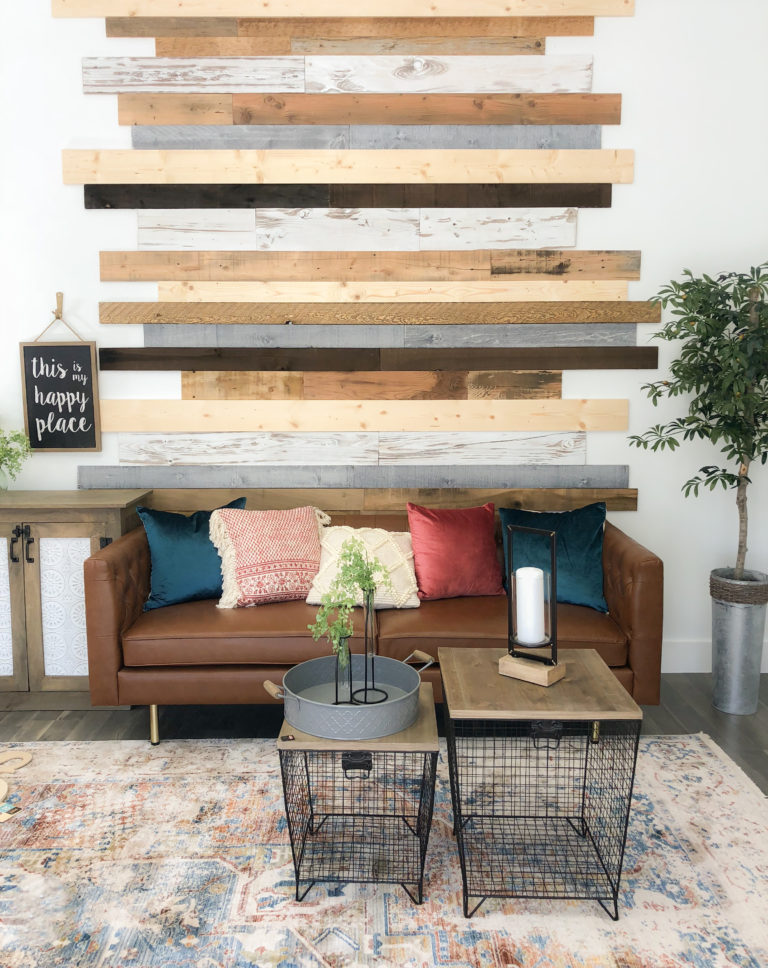
That table in the background, can you tell me if you ladies made this too? Or if it was purchased, where it came from? Thank you!!
Am in need of a whl for the end of my table. Where can I get one? If I have to I will purchase 2.f
LOVE!
How could you make this a taller table and not so low to the ground?
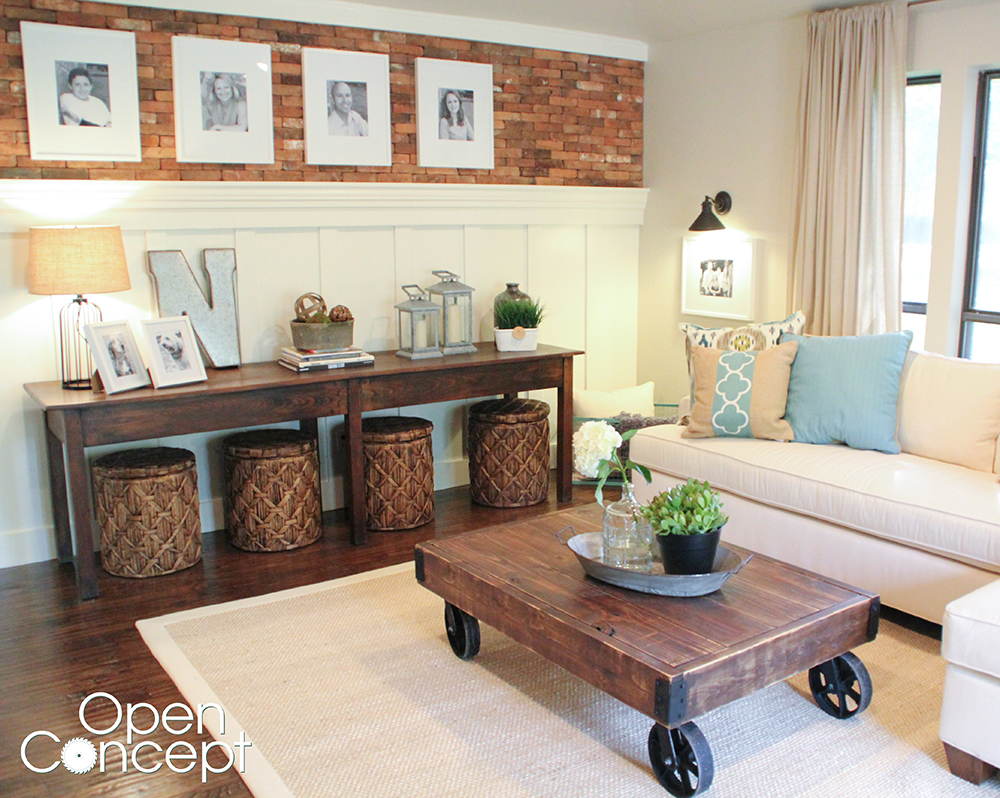
I love your work! Absolutely love the cart table but I am actually wondering about the console table in the first picture with the cart in your living room. The table with the round baskets underneath. Do you have plans for that table? I have been searching on your site and can’t seem to find it, hoping I missed it because I really want to make that one! Thanks!
Do you find that you have to sometimes apply a second coat of the Triple Thick? I just finished my table and it seems that the wood just soaked up the poly. Maybe I’m doing something wrong. Thanks.
My husband built me a coffee table using these plans, but added some customization to it. This is how it turned out and I LOVE it! Thanks for the idea and the instructions!. 🙂
I have finished my factory cart table and would like to share this with you. How do I go about doing that?
I use the plans at WoodPrix’s plans to build my own DIY projects – I highly recommend you visit that website and check their plans out too. They are detailed and super easy to read and understand unlike several others I found online. The amount of plans there is mind-boggling… there’s like 16,000 plans or something like that for tons of different projects. Definitely enough to keep me busy with projects for many more years to come haha. Get WoodPrix’s instructions if you want some additional plans. ? ? ? ? ? ? ? ? ? ? ? ? ? ? ? ? ? ?
First off I love these carts and have been wanting to make one for months! So excited!! But have you had any problems with the spray paint on the wheels rubbing off at all. I have a white rug that the cart would be placed on. Worried it might get ruined?!
The spray paint will chip off if you roll it around on a hard surface, like concrete. I have the table on my carpet and it isn’t rubbing off at all. Hope this helps!
Hi I was wondering if you could tell me if you used a “gloss” or “satin” on the poly? Thank you! I love this project! I love a lot of your plans and can’t wait to make more!
Thank you! Satin 😉
Best project I’ve built this year by Shanty 2 Chic! These ladies are awesome, and to think I didn’t own a single tool this time last year!
I like how your coloring came out. How did you achieve that look?
It looks like she stained the wood then sanded the middle, lighter areas before applying the poly.
Does the polyurethane make it smooth? I have kids and dogs and I need to be able to wipe it off.
Yes! Use the Triple Thick poly. I use it on all of my table tops and I can wipe them clean 🙂