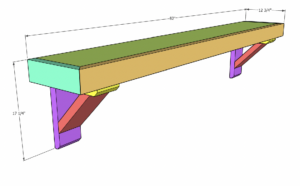
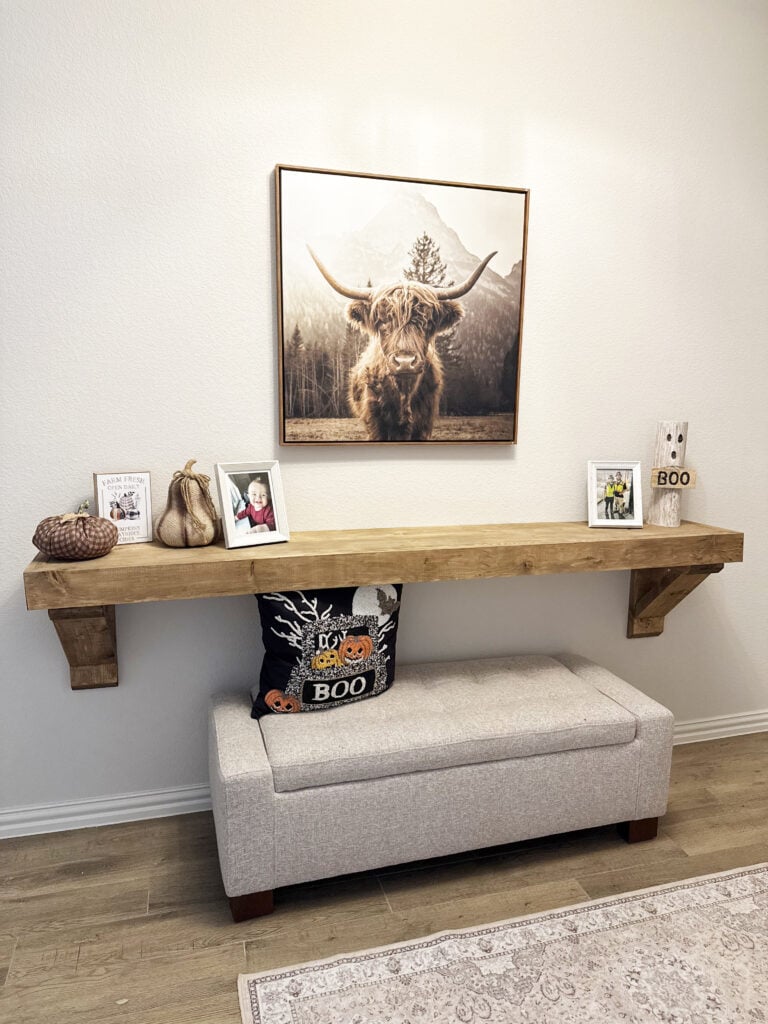
My mother-in-law moved back to Texas this year and bought a home, and she asked me to build a couple of custom pieces she couldn’t find in stores. First on her list was a console table for her entryway, so I designed this DIY floating console table with a chunky wood top and decorative corbels.
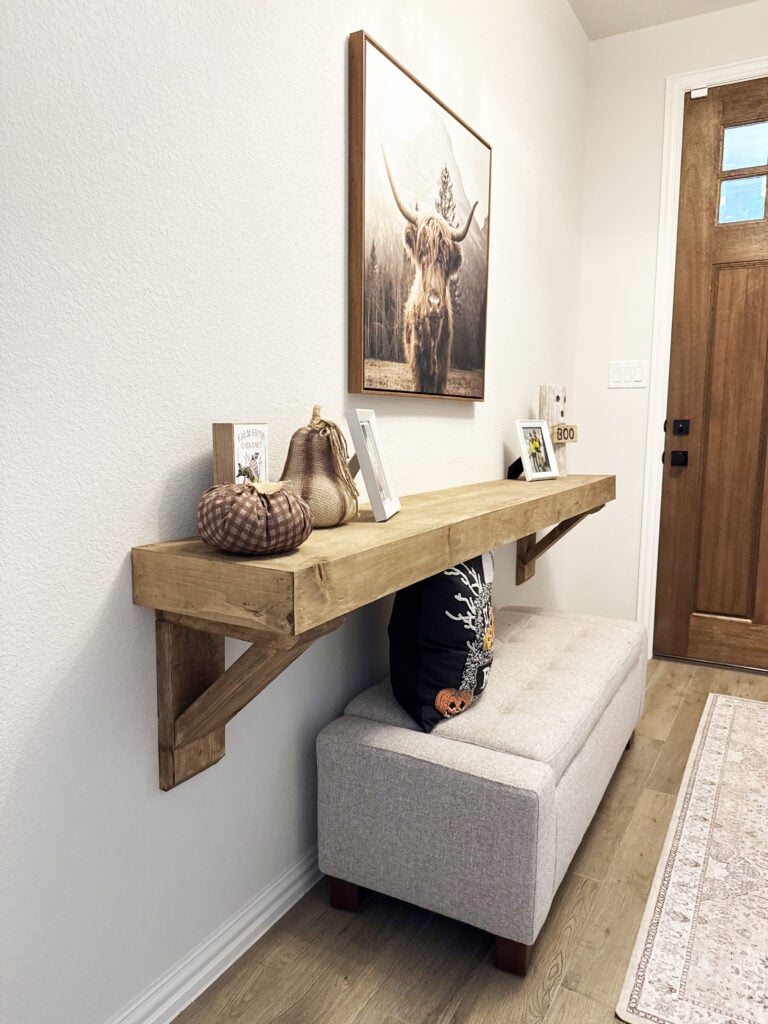
I’m love how it turned out, and I’m sharing the free printable plans, build video, and installation steps so you can make your own!
The console mounts to the wall with a hidden wood cleat that the top slides over. Corbels add the detail underneath, while the cleat supports the console, giving her the look of a table with the floor completely open below.
Table of Contents
Why I Love This Entryway Console
This was such a fun piece to build for her new home, and there are several reasons I love this design.
- No table legs: The wall-mounted design leaves room underneath for baskets and makes cleaning around it easier.
- Chunky wood details: The thick trim and angled corbels give the console plenty of character.
- Five boards: The lumber list uses one 1×12, three 2×6 boards, and one 2×4.
- A finish you can customize: Choose a stain or paint color to coordinate with your home.
- Free printable plans: Follow the cut list and assembly diagrams along with the tutorial below.
The finished piece measures 82″ long × 12¾″ deep, with 17¼″ from the top of the console to the bottom of the corbels. The installation height is up to you and your space.
Lumber And Supplies
Lumber
Follow the printable cut list for the ripped board widths, lengths, and angled cuts.
Hardware and Finishing Supplies
- 1¼″ pocket-hole screws
- 2½″ pocket-hole screws
- 1¼″ brad nails or finish nails
- 3″ wood screws for installation
- EZ anchors for installing the decorative corbels (if needed)
- Wood glue
- Wood filler
- 120-grit sanding pad
- 180-grit sanding pad
- Stain or Paint
Tools
- Miter saw
- Kreg Rebel and/or Kreg 720 Pro pocket-hole jig
- Kreg 20V Ionic Drive Drill
- Brad nailer, or a hammer and finish nails
- Kreg 20V Ionic Drive Sander
- Kreg Project Blocks
- Tape measure and pencil
- Level
- Stud finder
What I Used for This Build
I used my Kreg 720 Pro and my Kreg Rebel to drill the pocket holes for the console top, corbels, and wall cleat. With two material thicknesses in this project, so you’ll switch between the ¾″ and 1½″ settings as you build. I’ve included the setting and screw length in each step below. Check out our video comparing all three Kreg Pocket Hole Jig models.
The trim and diagonal corbel pieces attach with wood glue and 1¼″ brad nails. A brad nailer makes those connections convenient, but you can also use a hammer and finish nails.
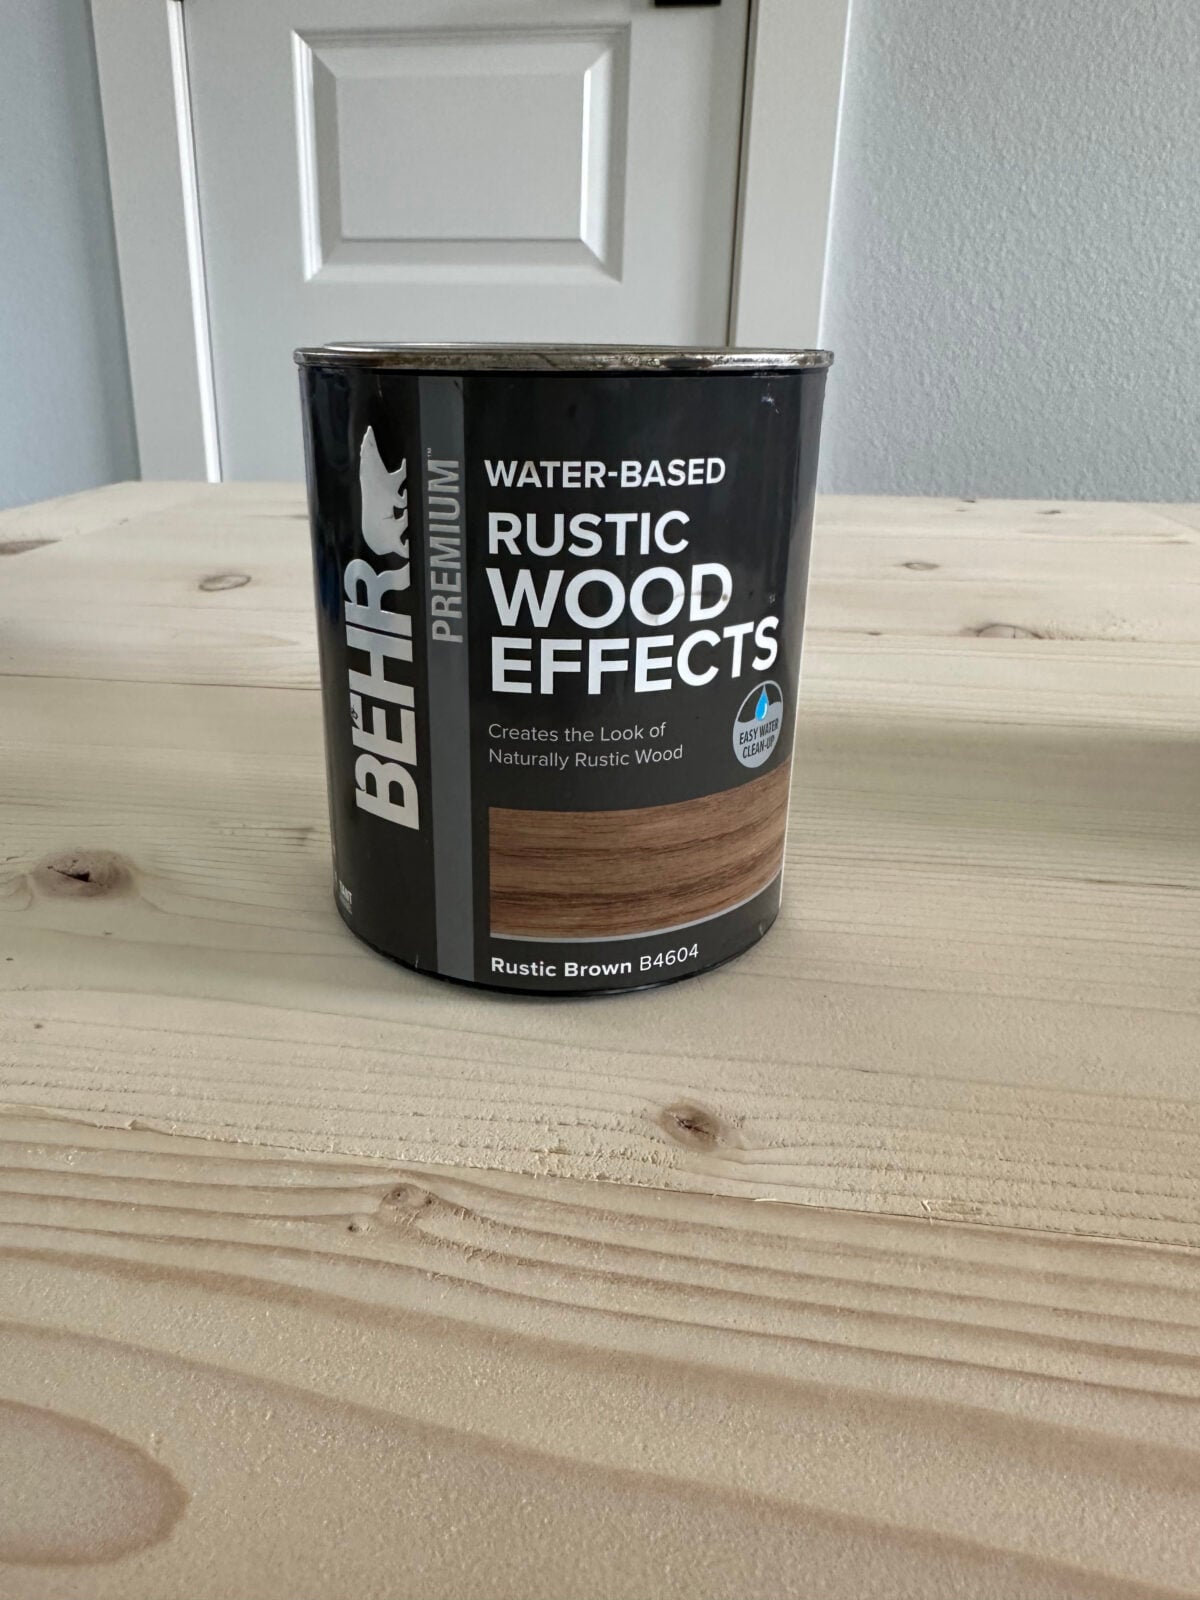
Behr Rustic Brown stain was the choice for this console and applied one coat before installation. Having the top and corbels off the wall made it much easier to finish the edges and corners.
How to Build a DIY Floating Console Table
Download the free printable plans for the measurements and assembly diagrams, then follow along here for the build and installation. The accompanying video shows the process, too!
Click here to jump to the free printable plans.Watch the build on our Instagram here!
The hidden cleat uses a similar mounting idea to our DIY floating shelves, with short pieces extending from a long board attached to the wall.
Making the Cuts
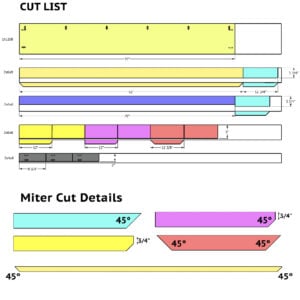
Start with the printable cut list. Some of the boards need to be ripped to width before assembly:
- Front and side trim: 3¾″ wide
- Corbel pieces: 5″ wide
- Short cleat pieces: 3″ wide
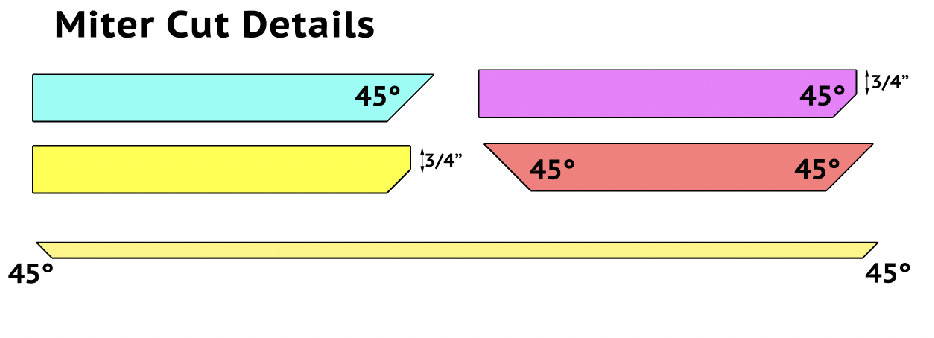
Use the miter details on the cut sheet when cutting the angled ends. The front trim has a 45-degree cut at both ends, and each side trim piece has a mitered front end and a square back end.
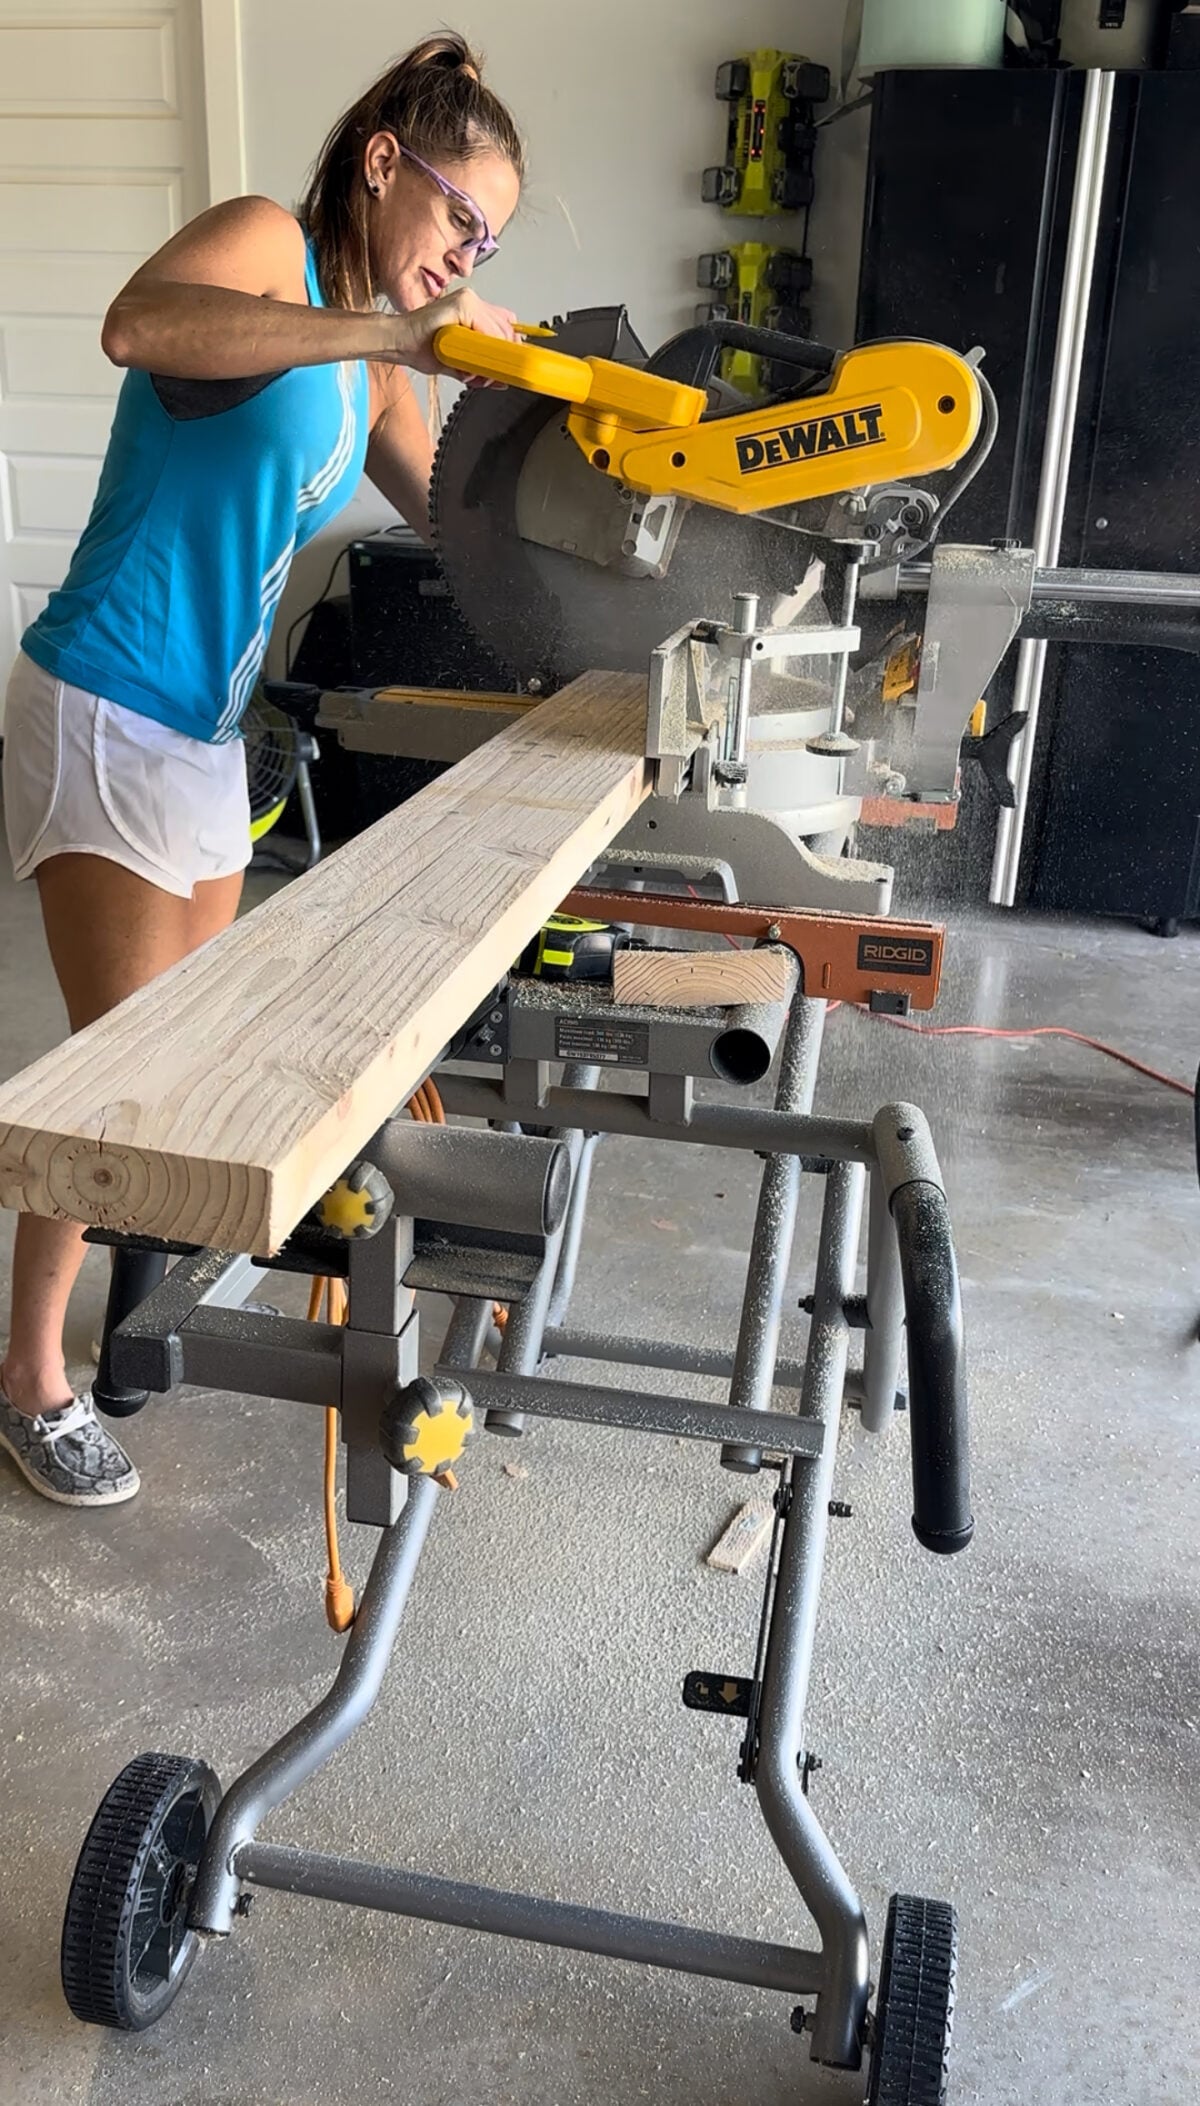
The top and back corbel pieces have a clipped corner with ¾″ remaining at the end, as shown in the plans. The diagonal corbel pieces have 45-degree cuts at both ends.
Check the pieces as you go rather than cutting everything without checking the fit. This is especially helpful for getting the mitered trim corners to meet neatly around the top plank.
Build the Corbel Frames
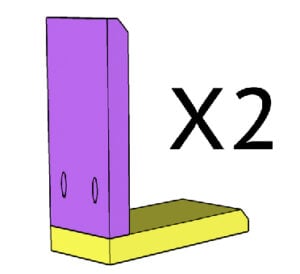
First, I assembled the top and back pieces of each corbel.
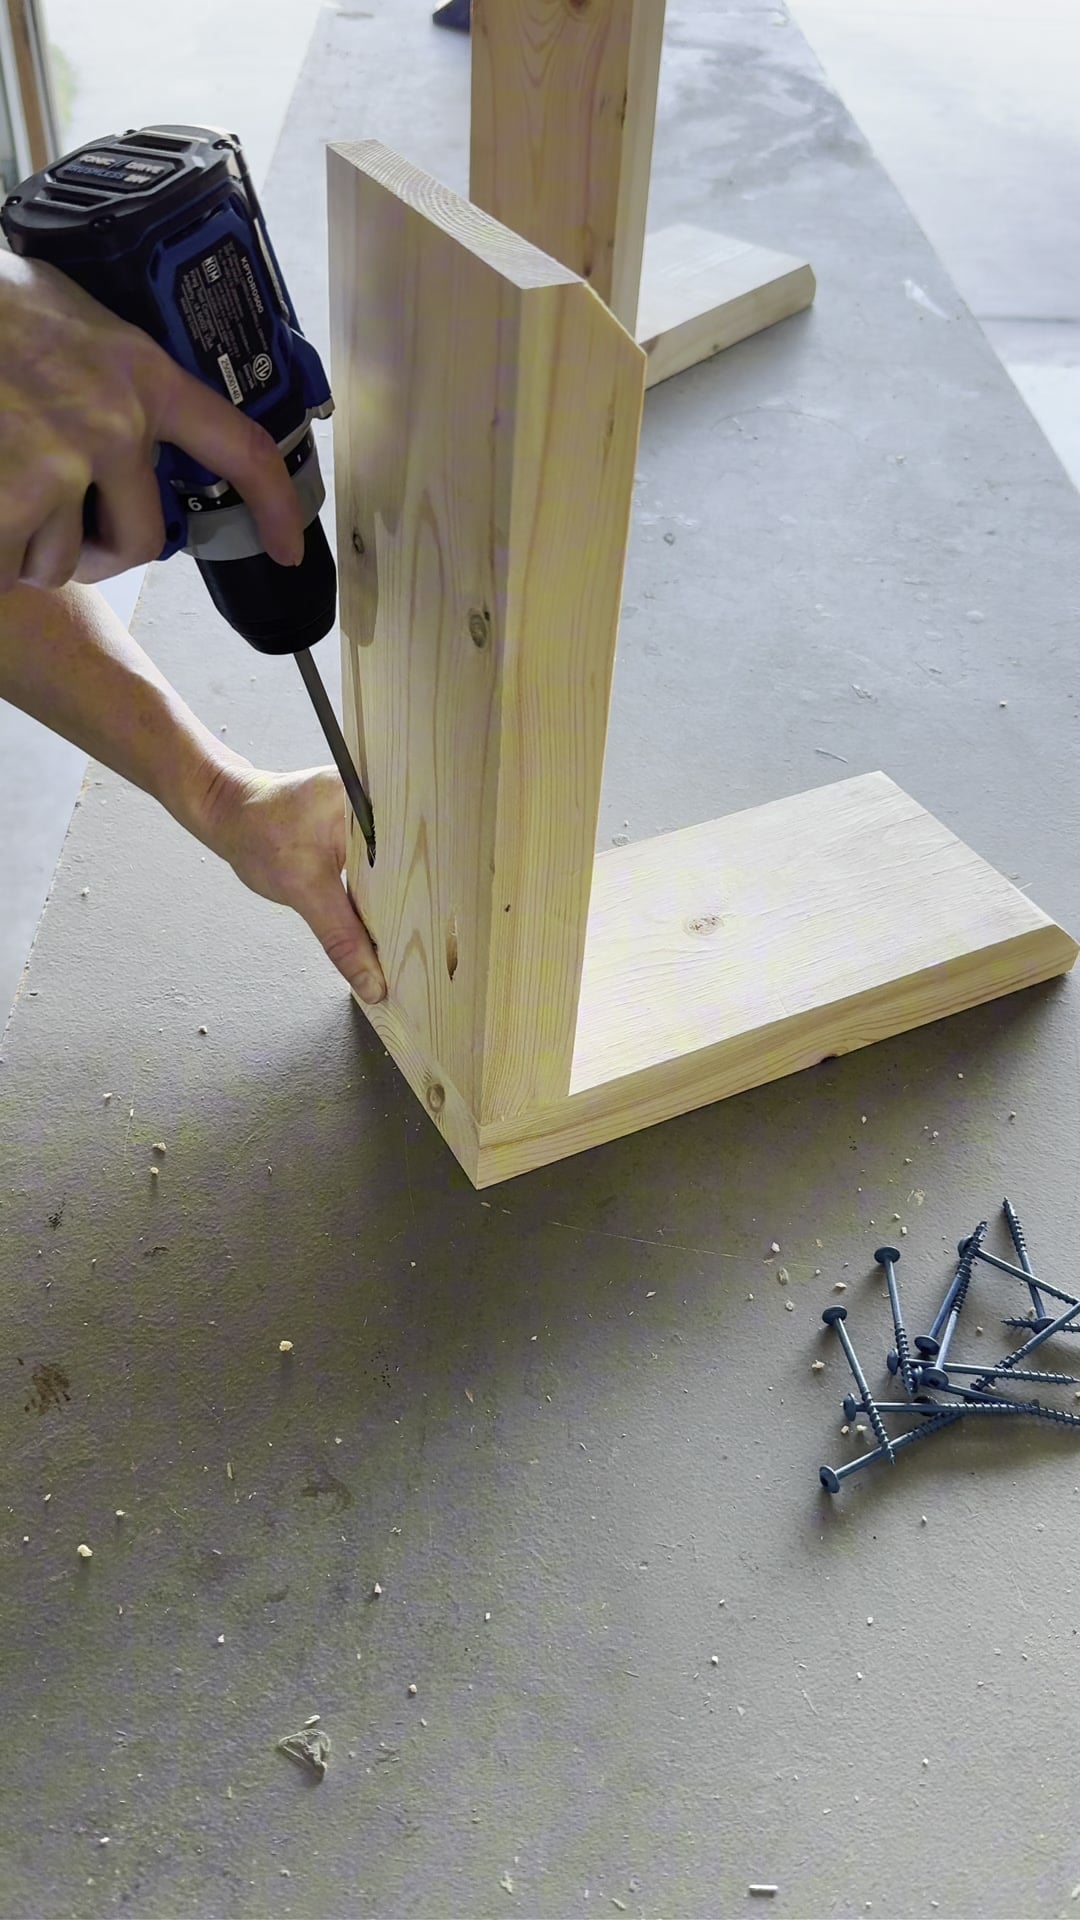
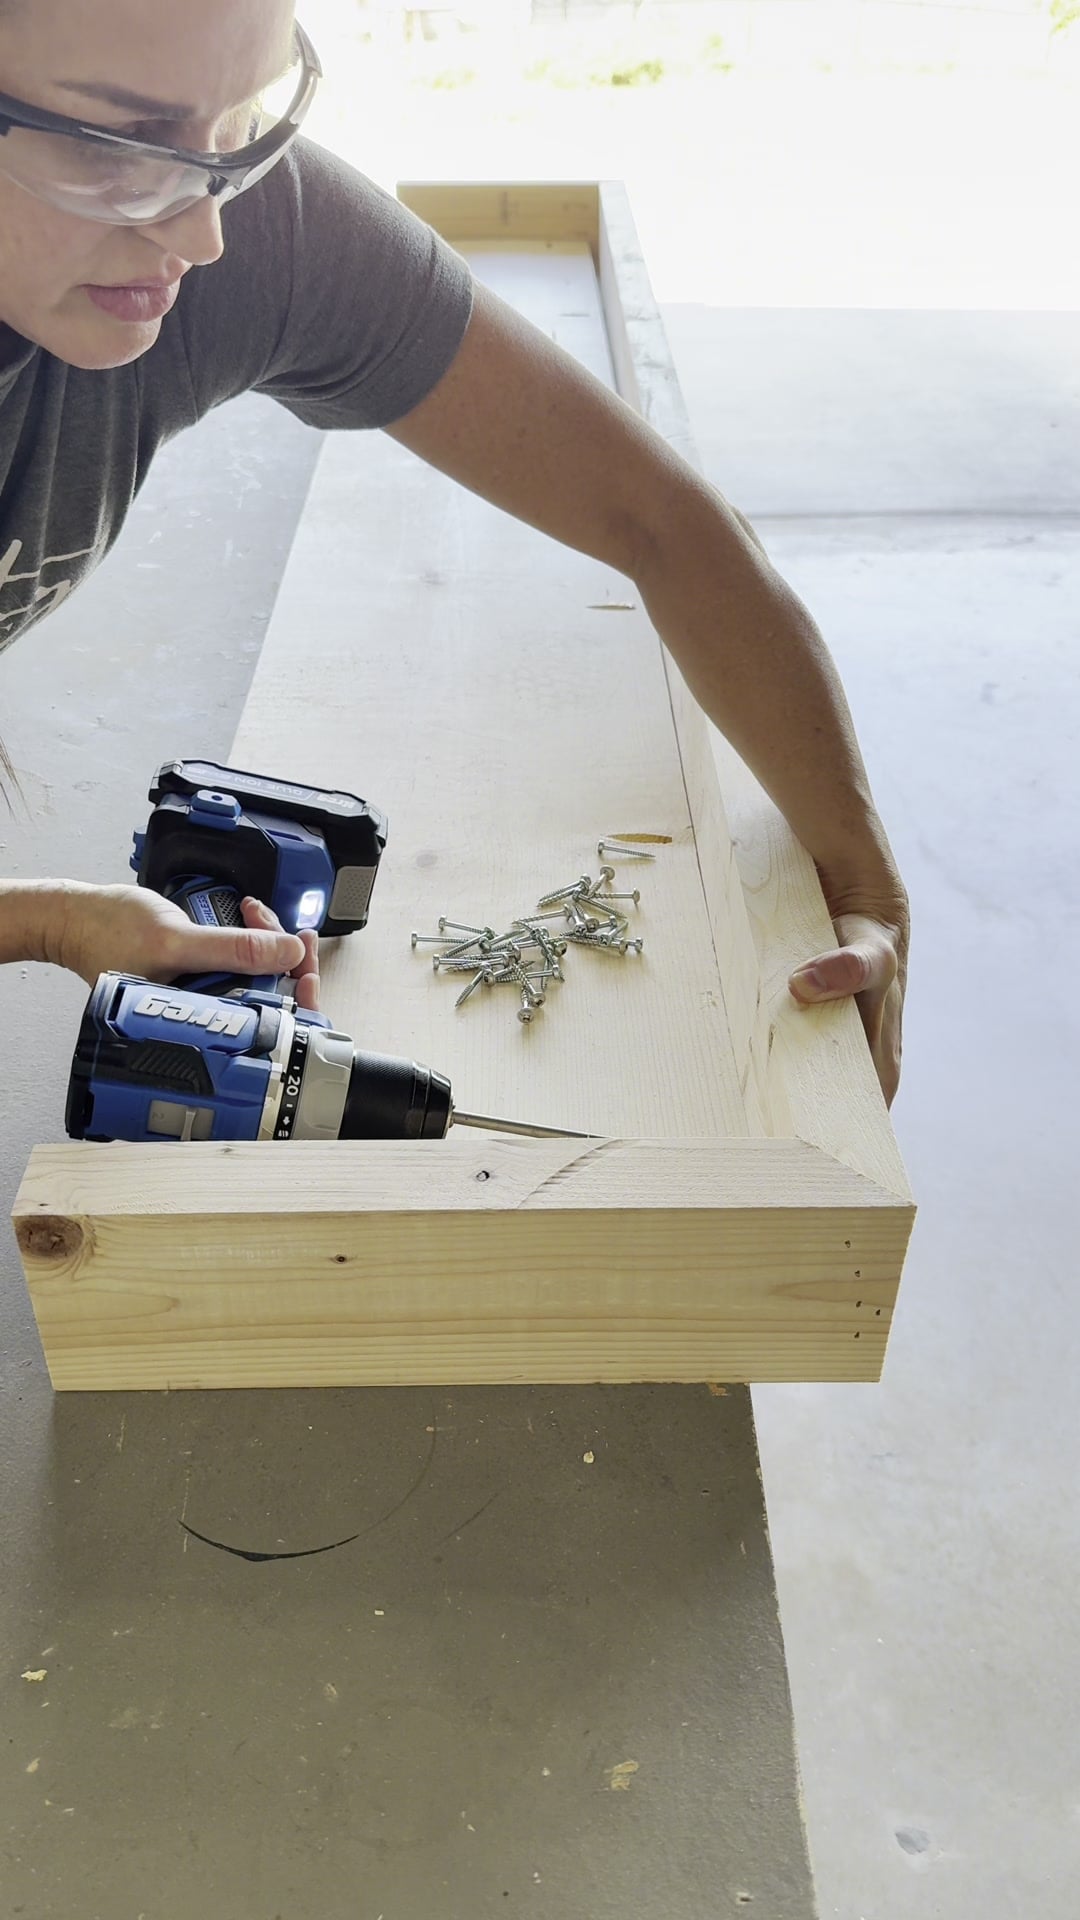
Set the pocket-hole jig for 1½″ material and drill pocket holes at the straight end of each back corbel piece. Attach the back piece to the top piece with 2½″ pocket-hole screws and wood glue.
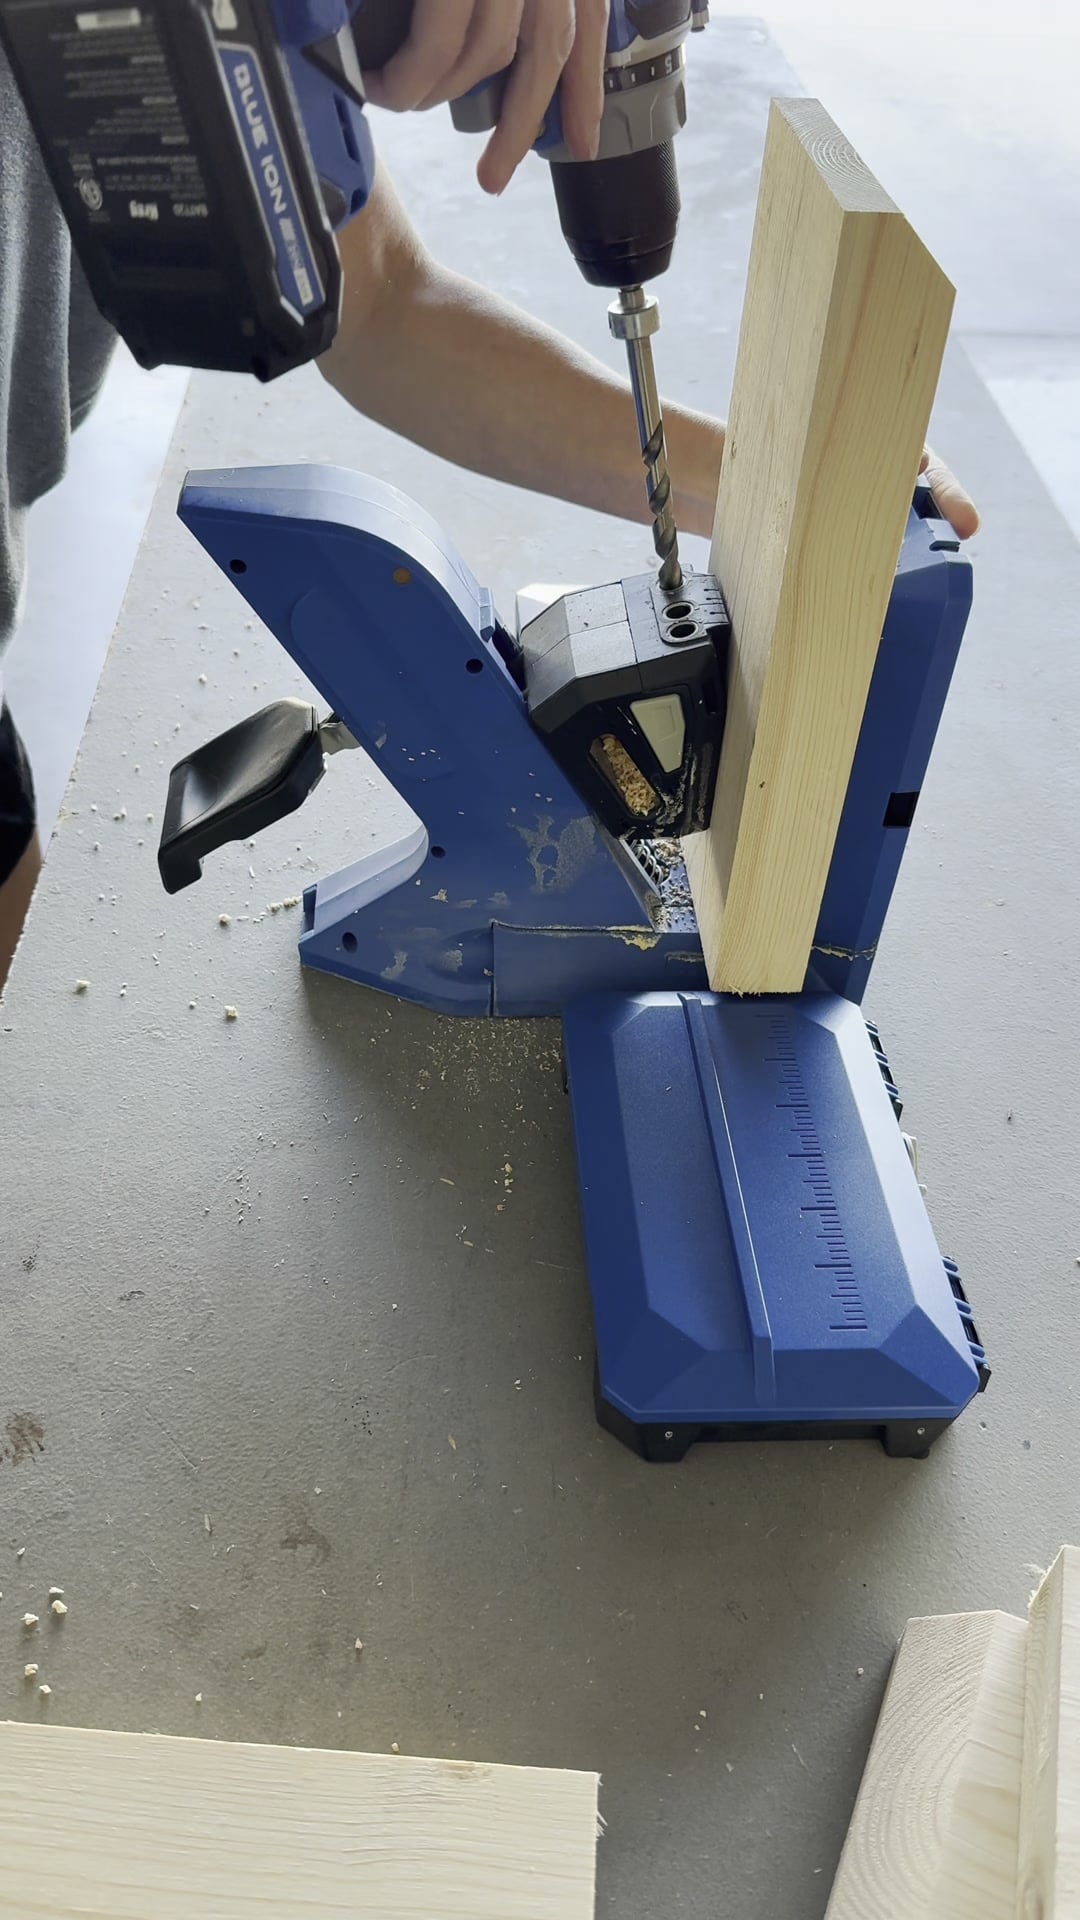
Attach the back piece to the top piece with 2½″ pocket-hole screws and wood glue.
Check each assembly for square before tightening the screws. Repeat this step to build two matching corbel frames.
Attach the Diagonal Corbel Pieces
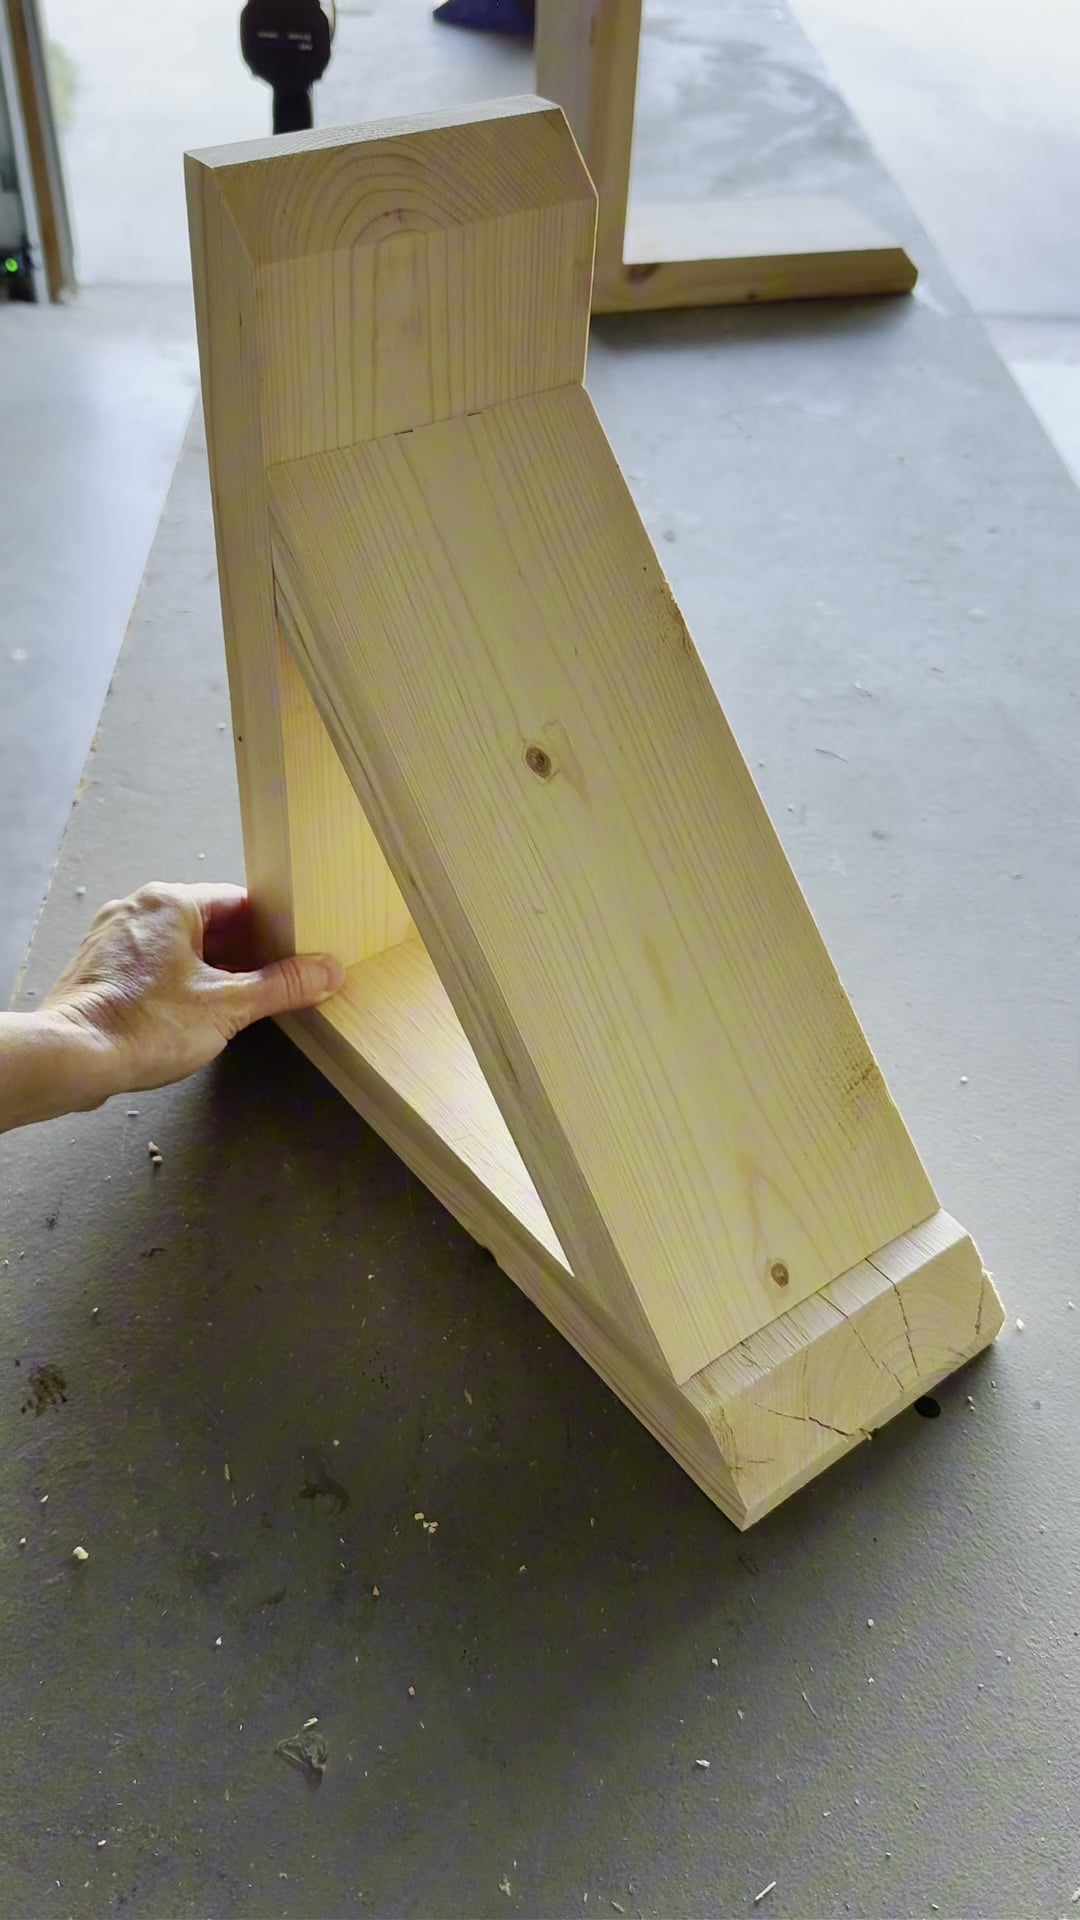
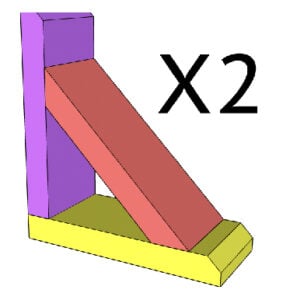
Cut the diagonal corbel pieces according to the plans, with a 45-degree cut at each end.
Fit one diagonal between the top and back pieces of each corbel. These attach with 1¼″ brad nails and wood glue.
My installation tip: Leave the diagonal pieces off until the corbels are mounted if you want more room to reach the installation screws. Sand and stain those pieces with the rest of the build, then attach them after the corbel frames are secured.
Build the Wall Cleat
Next, build the cleat that holds the console on the wall.
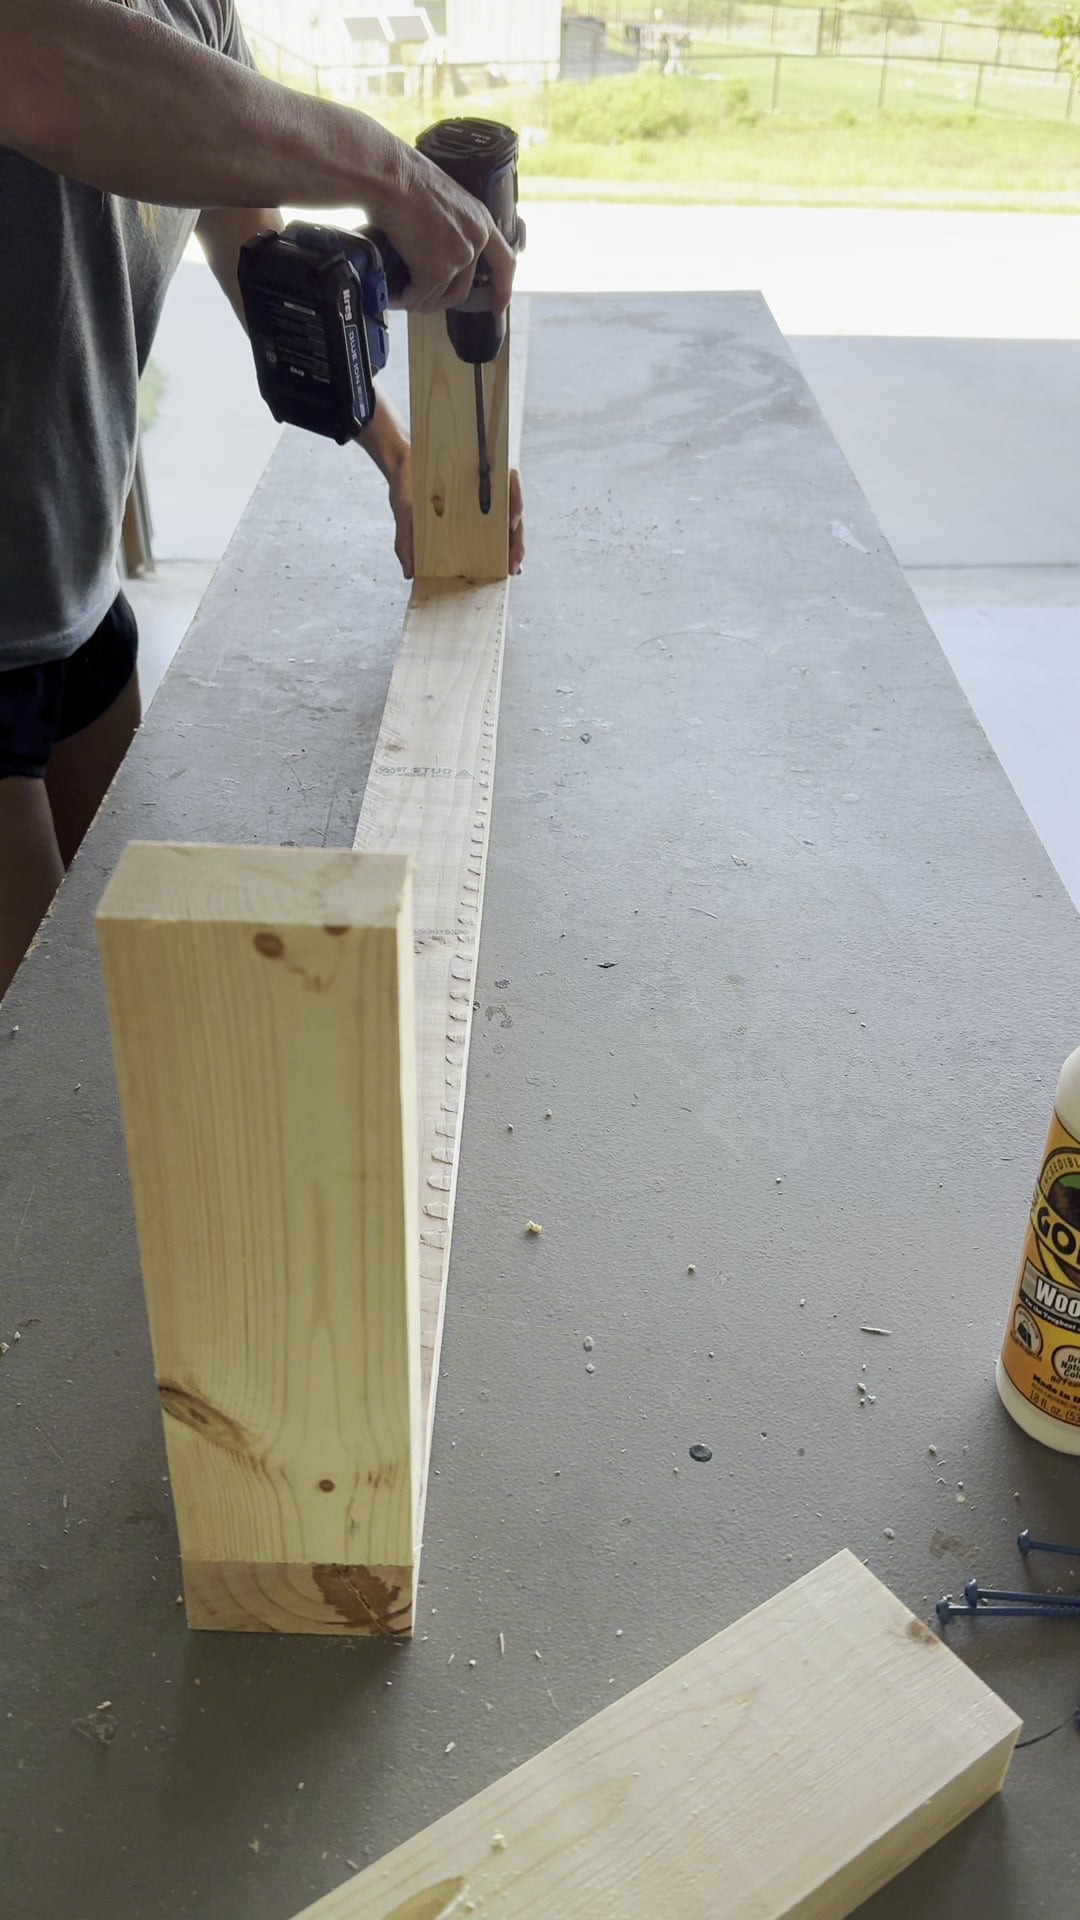
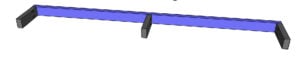
Cut the long back cleat and the three short pieces to size. The short cleats are 9¾″ long.
Using the 1½″ material setting, drill pocket holes at one end of each short piece. Attach one at each end of the back cleat and the third in the middle with 2½″ pocket-hole screws and wood glue.
Keep the short pieces square to the back cleat as you attach them. This assembly needs to fit inside the console top, so check its fit before finishing the build.
Attach the Top Plank
Cut the 1×12 top plank to 79″ long.
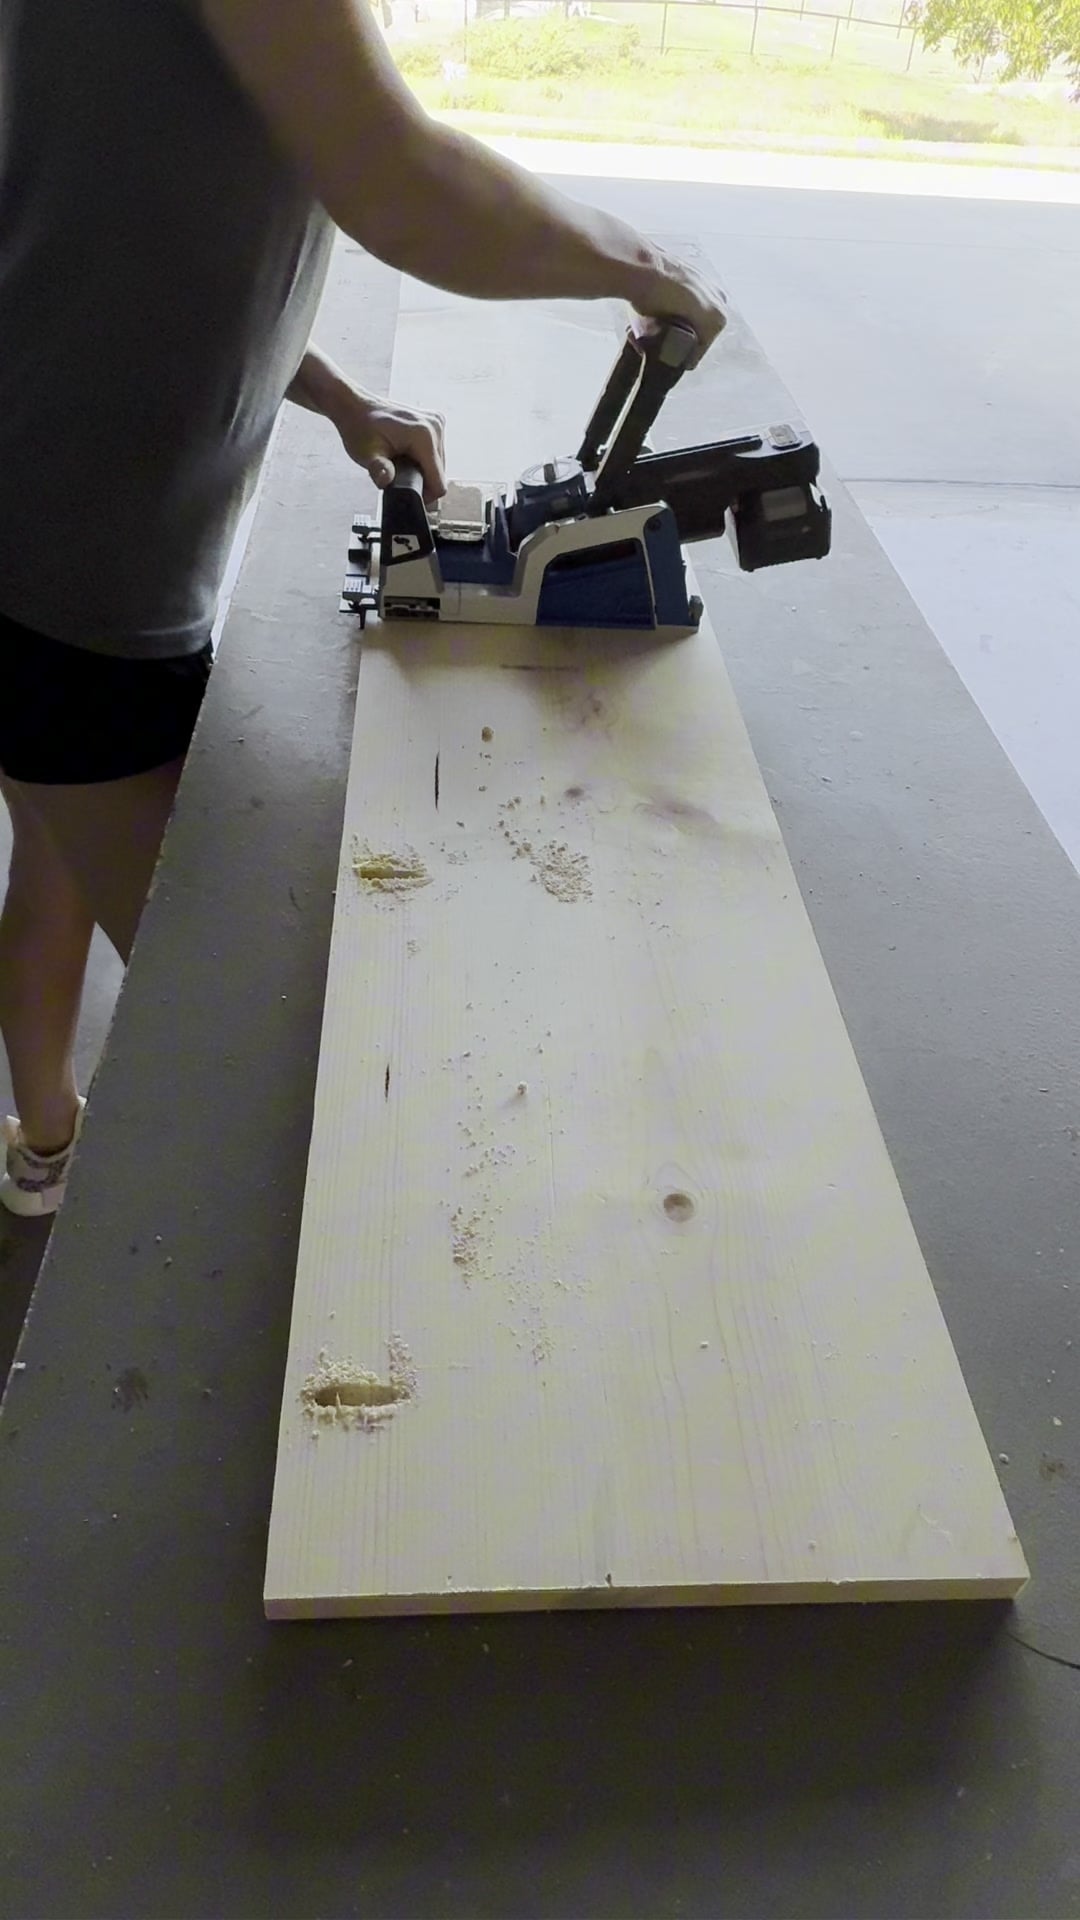
Switch the pocket-hole jig to the ¾″ material setting and drill pocket holes along one long edge and both ends. The pocket holes belong on the underside, with the long-edge holes facing the front trim.
Attach the plank to the trim with 1¼″ pocket-hole screws and wood glue. Keep the top face of the plank flush with the top edges of the trim as you secure it.
Now, test-fit the console top over the cleat. Make sure it slides into position before moving on to sanding and stain.
Sand and Fill the Nail Holes
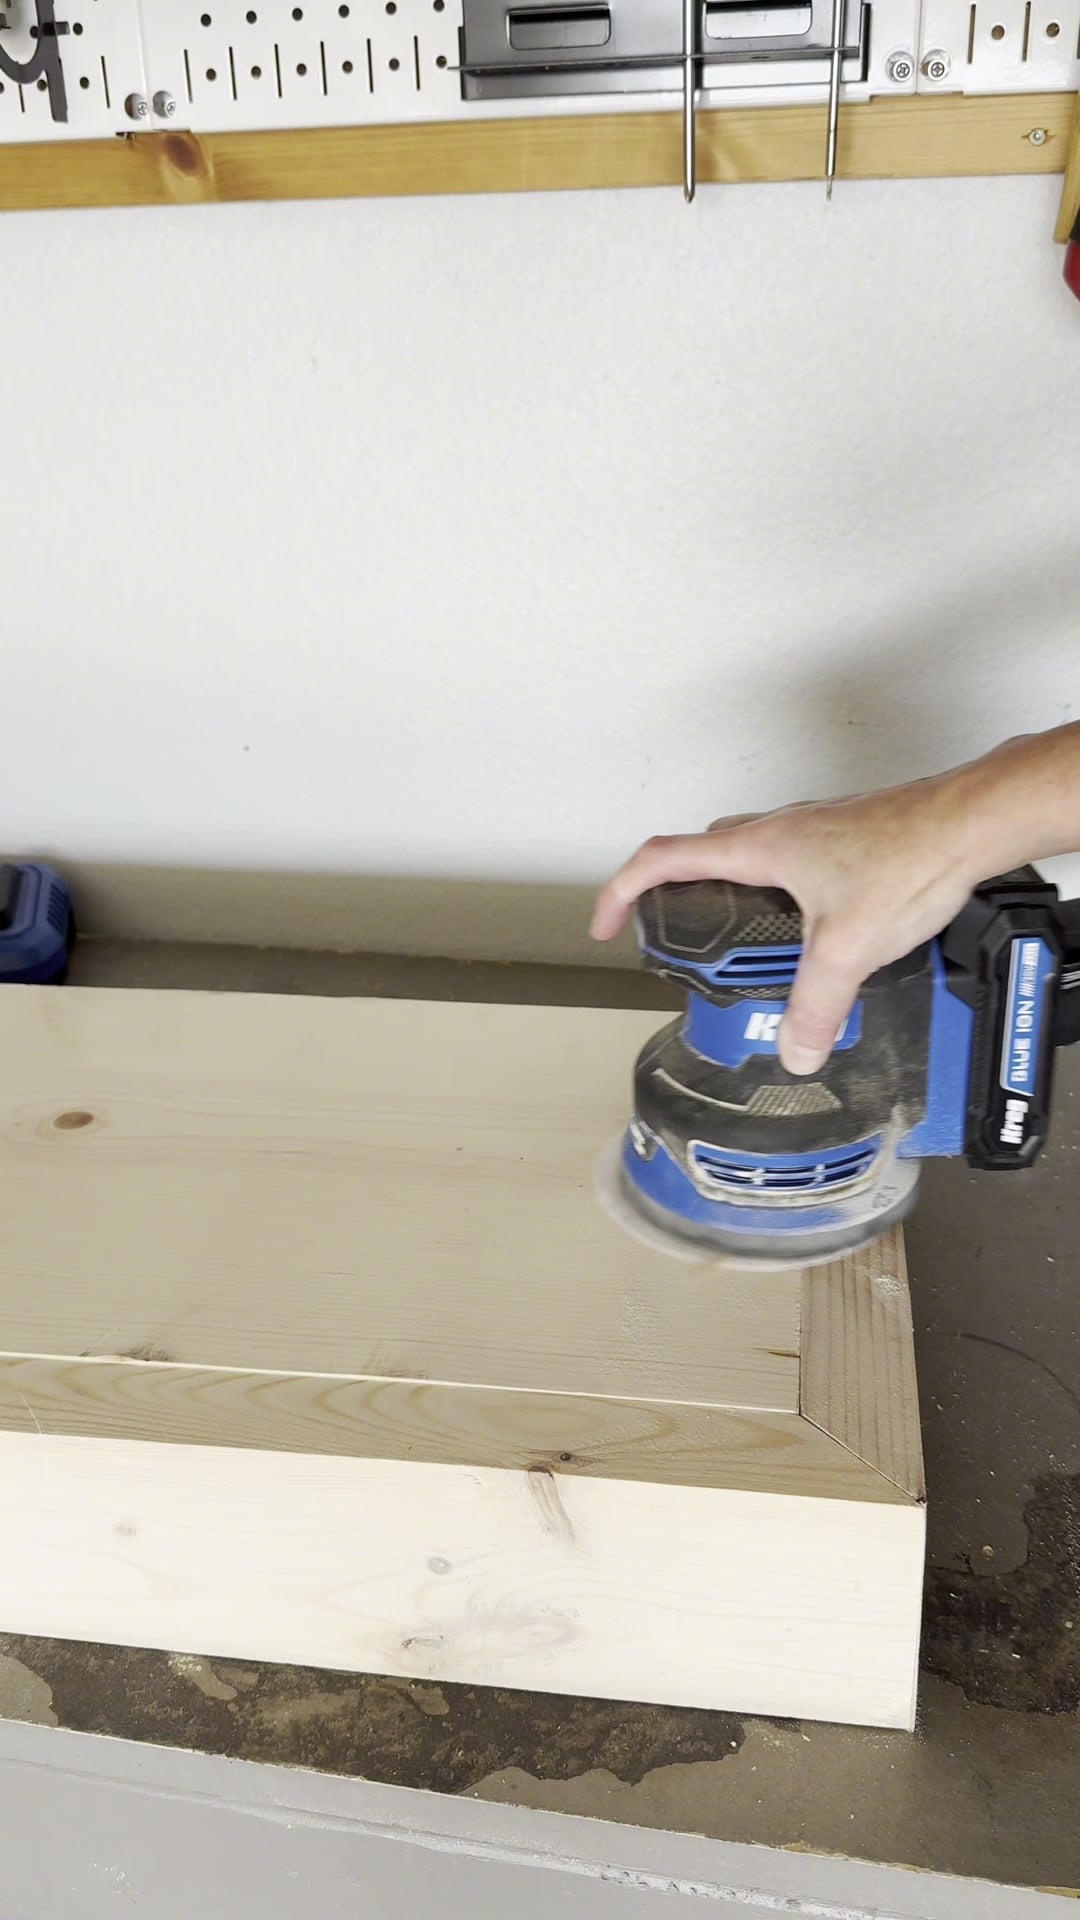
Once the assemblies were built, I filled the exposed nail holes with stainable wood filler. Let the filler dry according to its directions.
Then, I sanded the entire console and corbels with 120-grit sandpaper, followed by 180-grit.
If you’re leaving the diagonal corbel pieces off until installation, prepare those now, too.
Apply the Stain
Finishing first lets you reach the back edges and inside corners without trying to work around the installed console. Let the stain dry completely according to the product directions before handling the pieces.
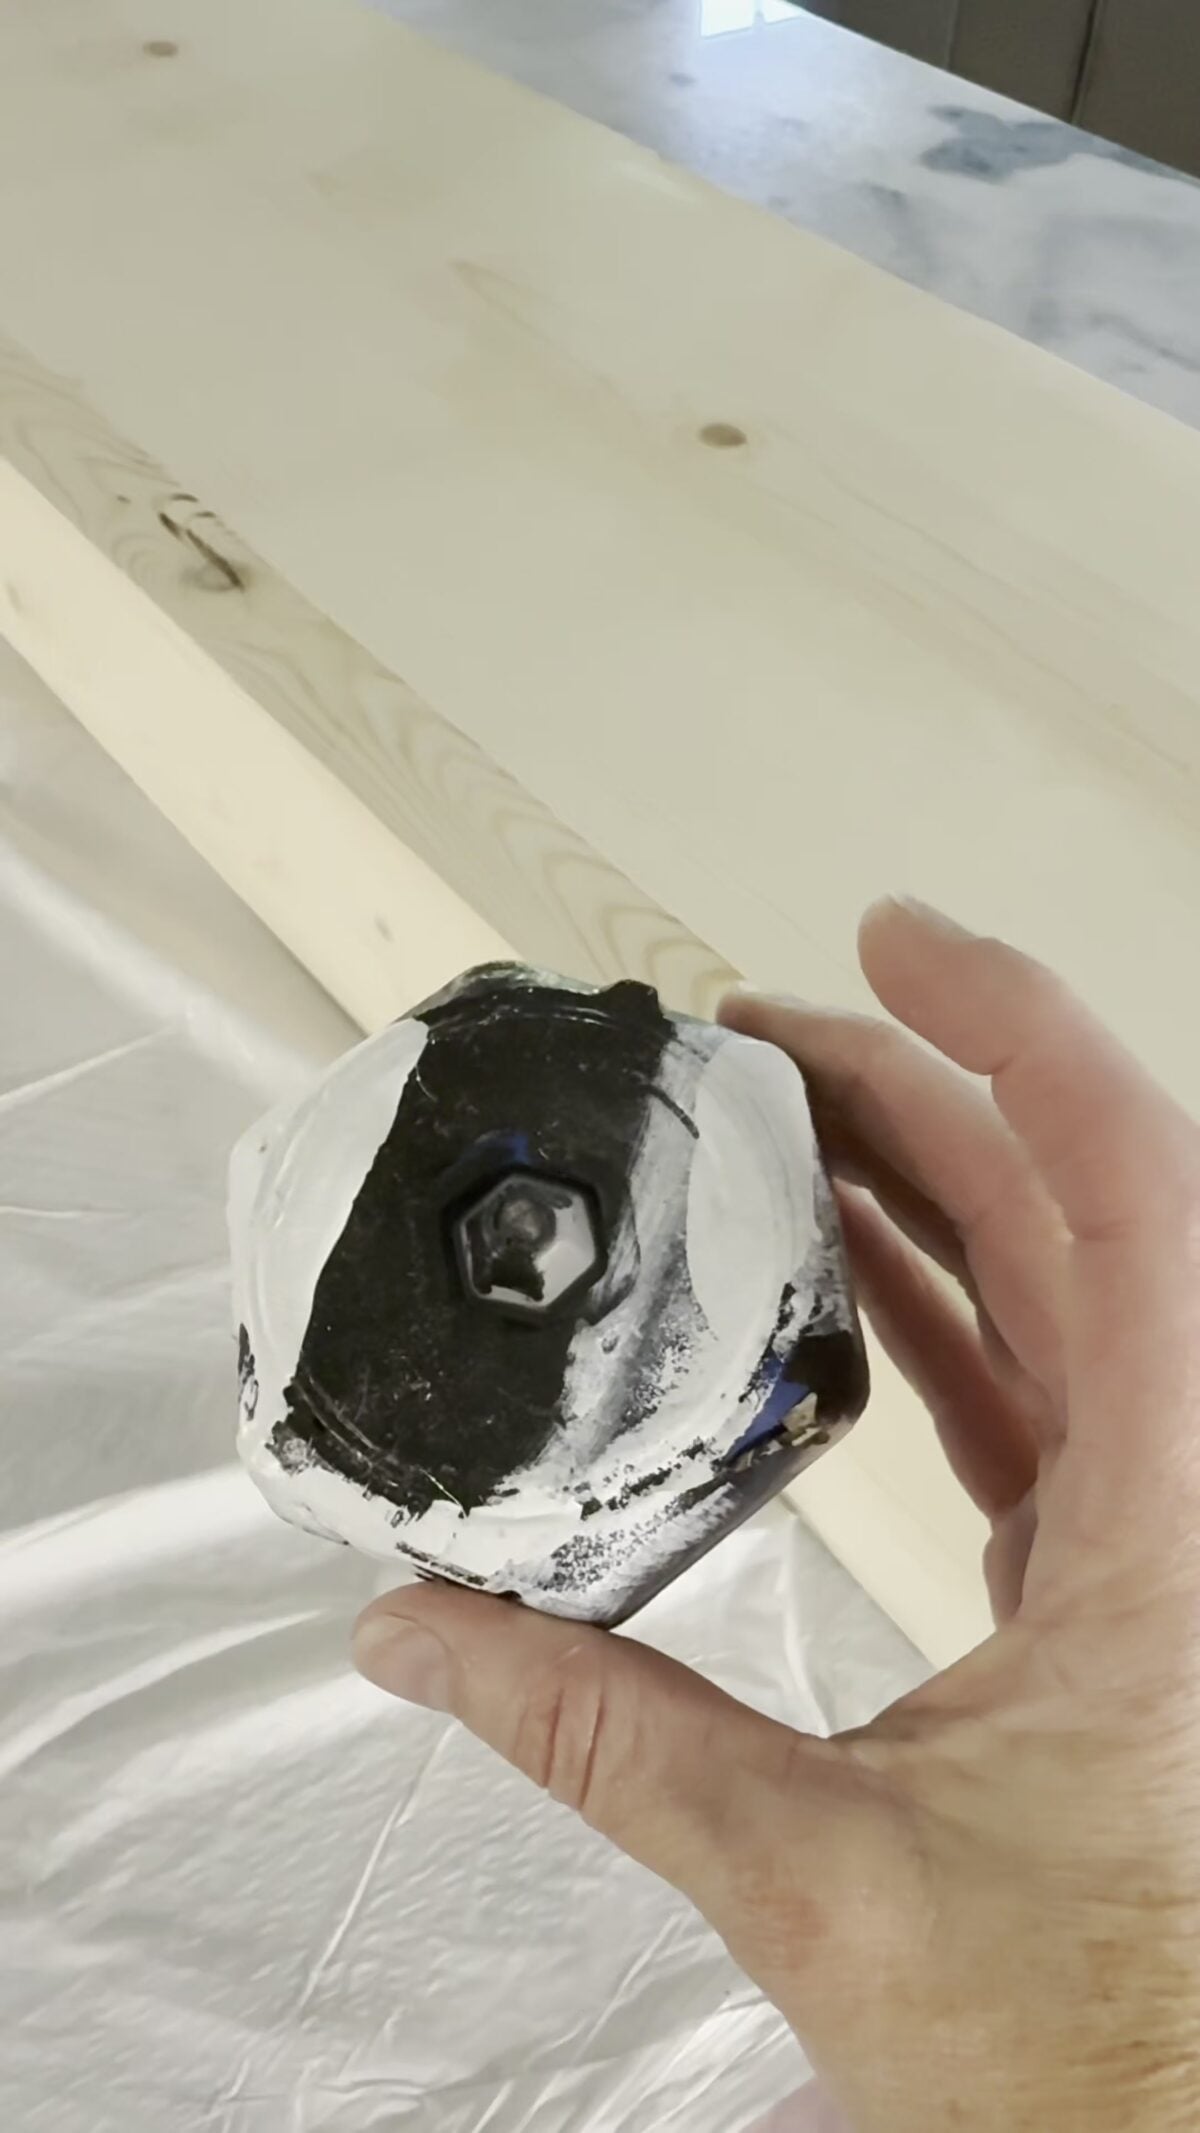
I used my Kreg Project Blocks to life the console off the prep surface. Project Blocks make finishing a piece so much easier. You’re able to fully reach the sides and it avoids the drips from puddling on the bottom of the piece.
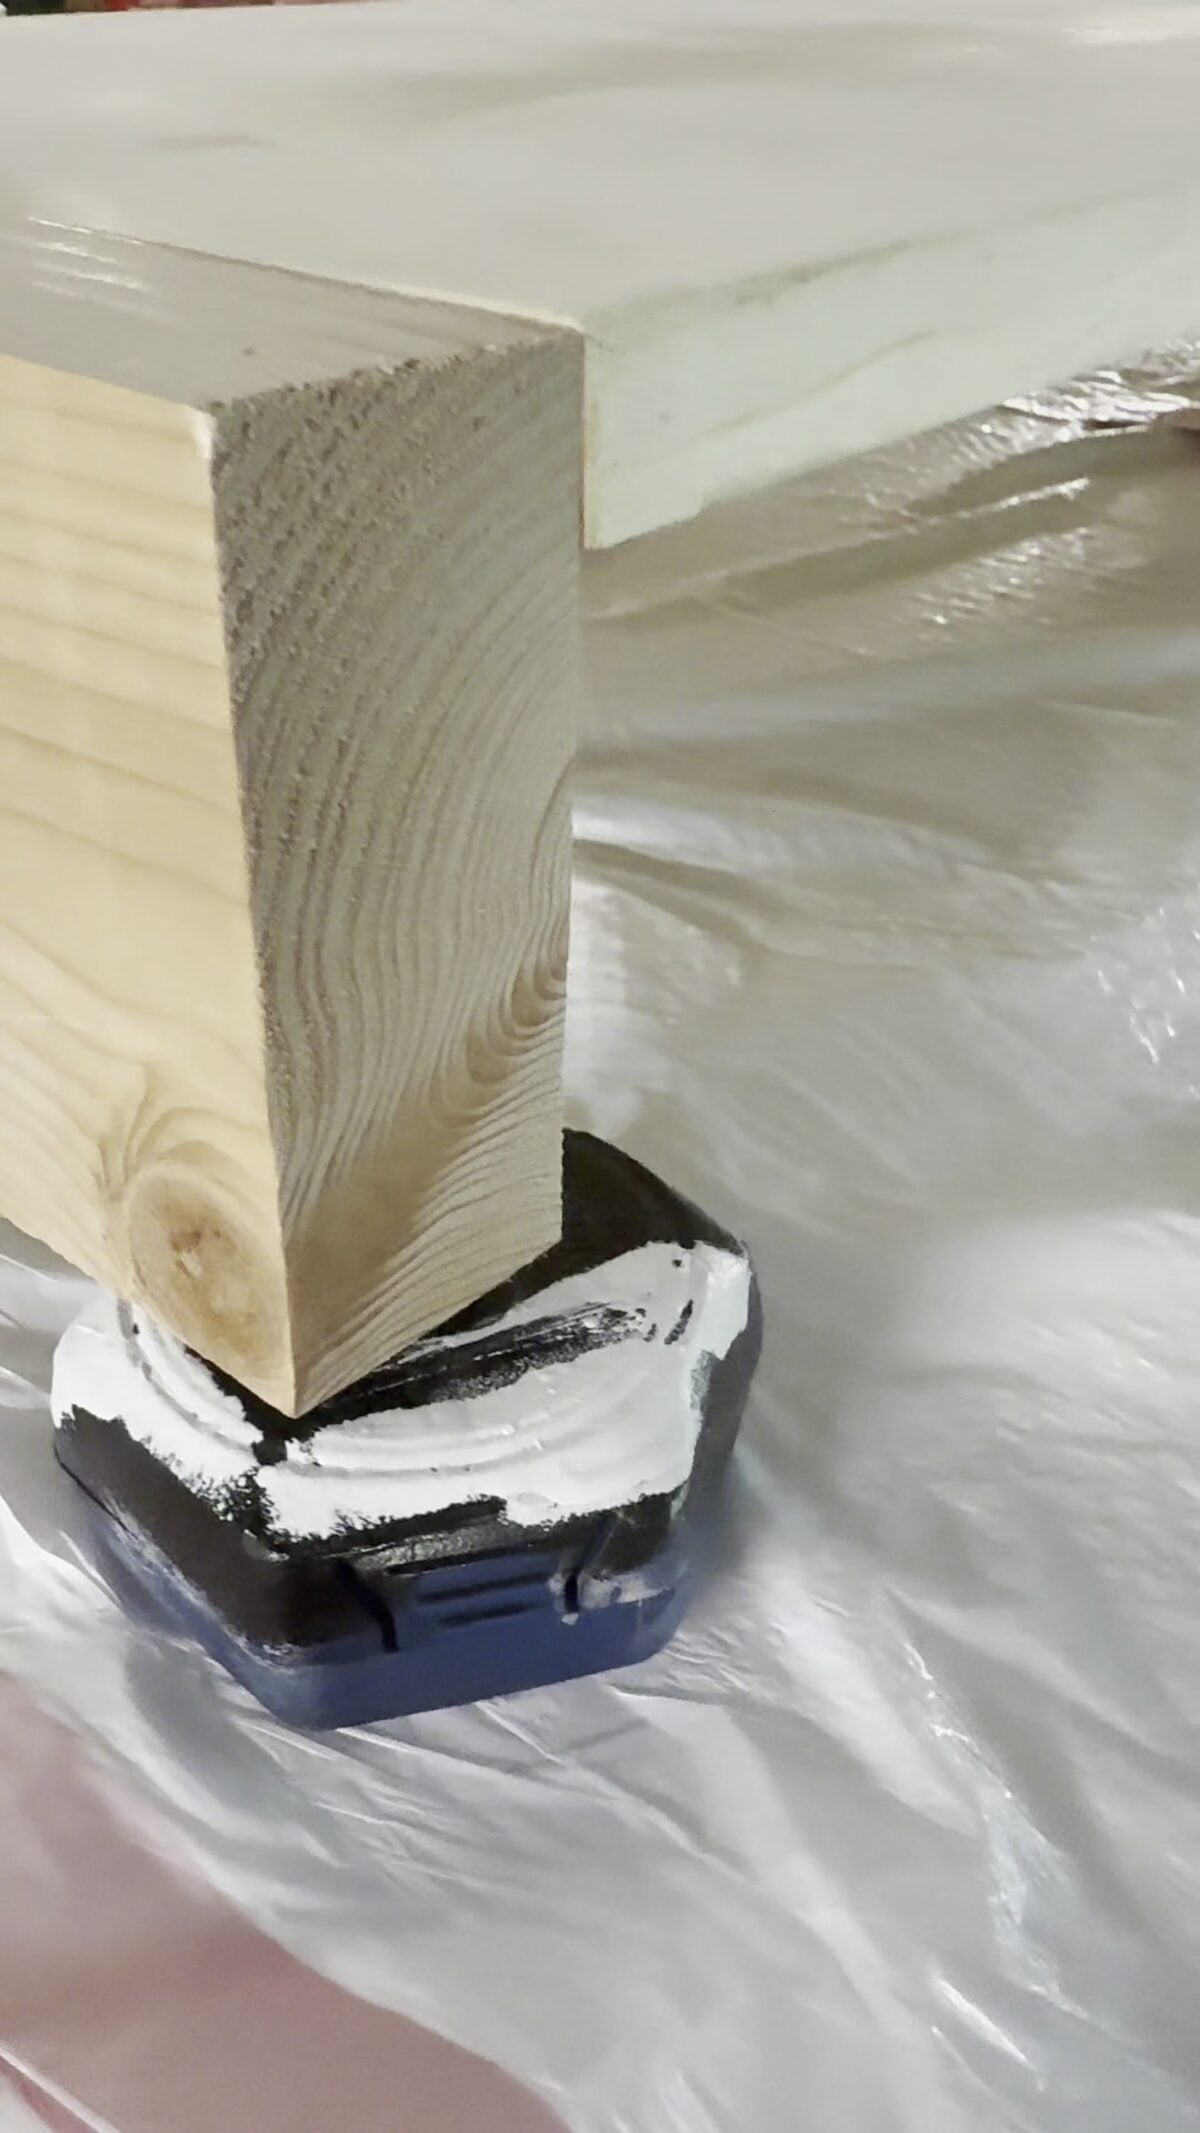
Next, I applied one coat of Behr Rustic Brown stain to the console top and corbels before putting anything on the wall.
installing the Top of the Console Table
With everything finished and dry, it’s time to install! Start with the wall cleat, slide the console top into place, and then attach the decorative corbels.
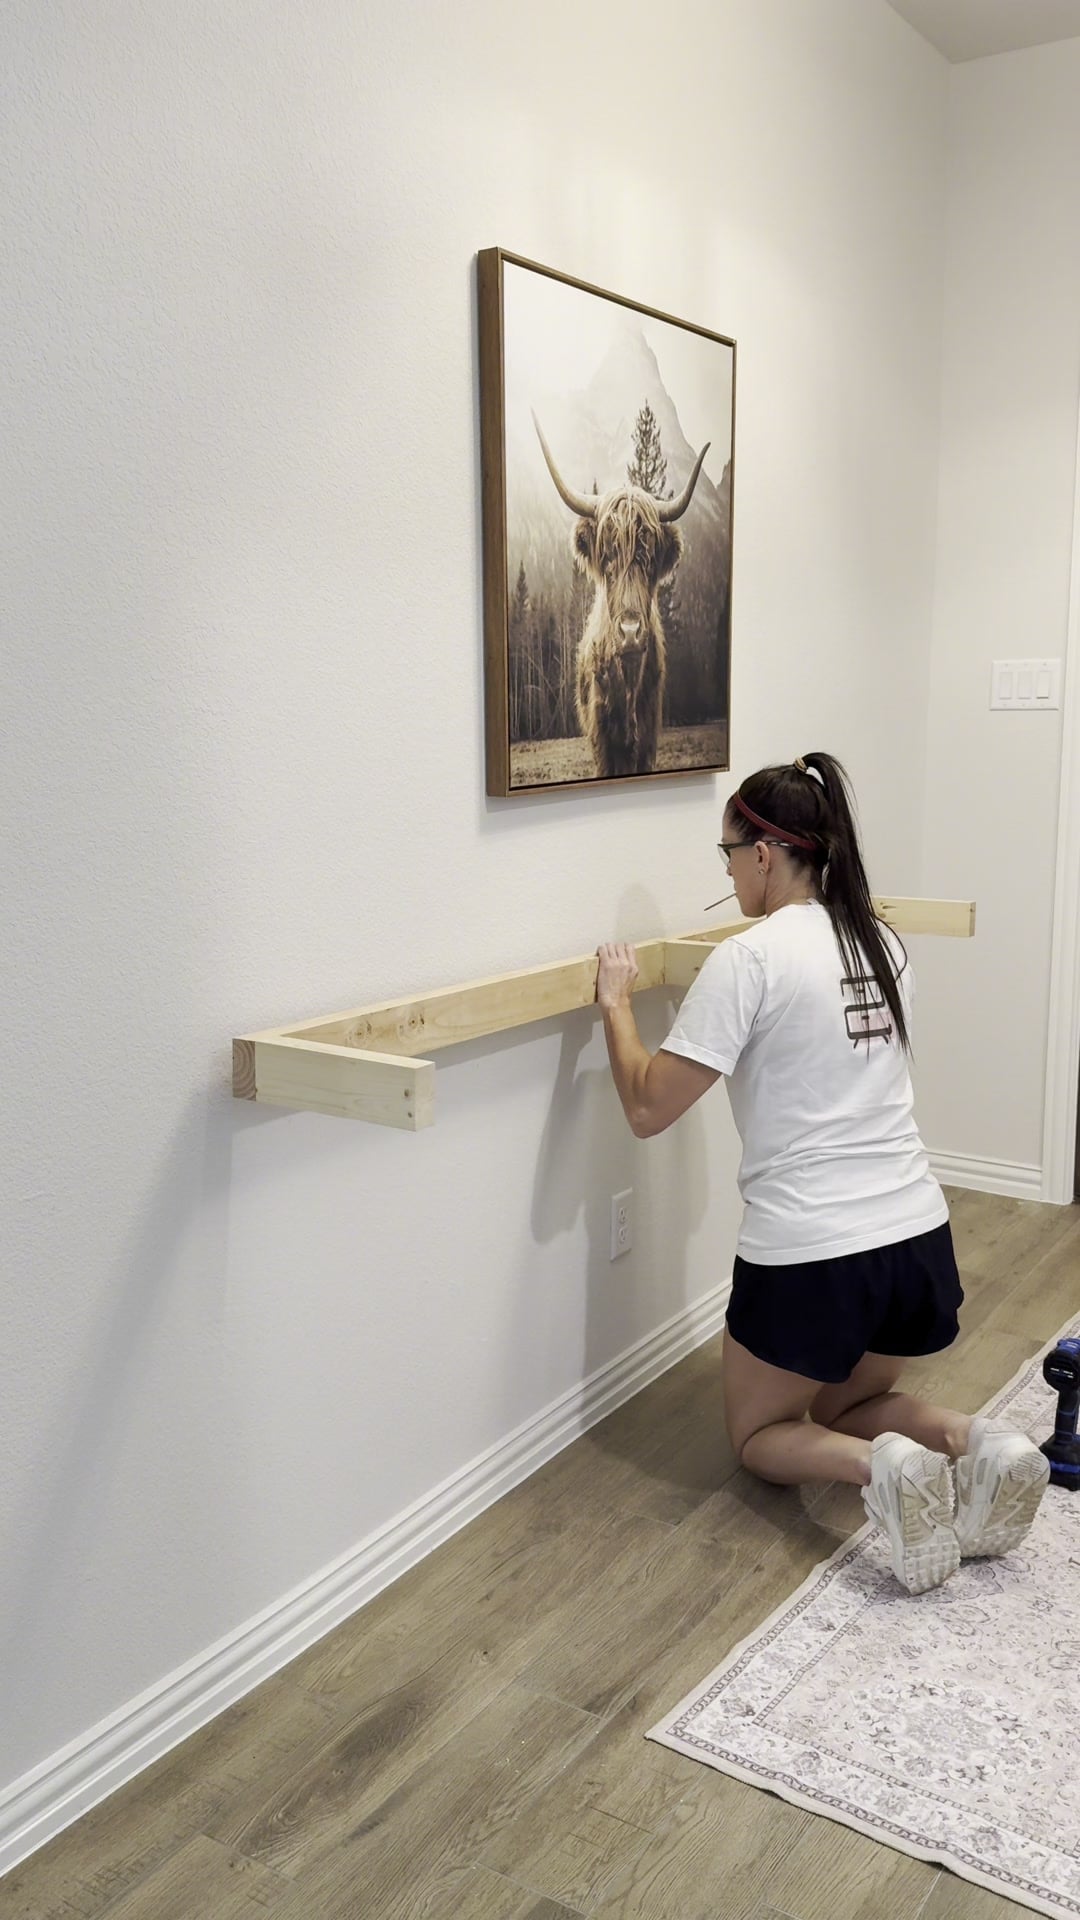
First, Choose the height for your console, allowing for the thickness of the top plank when positioning the cleat.
I a stud finder to locate and mark the studs along its length of the console table. I found center of the wall and worked my way out the length of the table and marked on the wall where each stud was located, with a pencil.
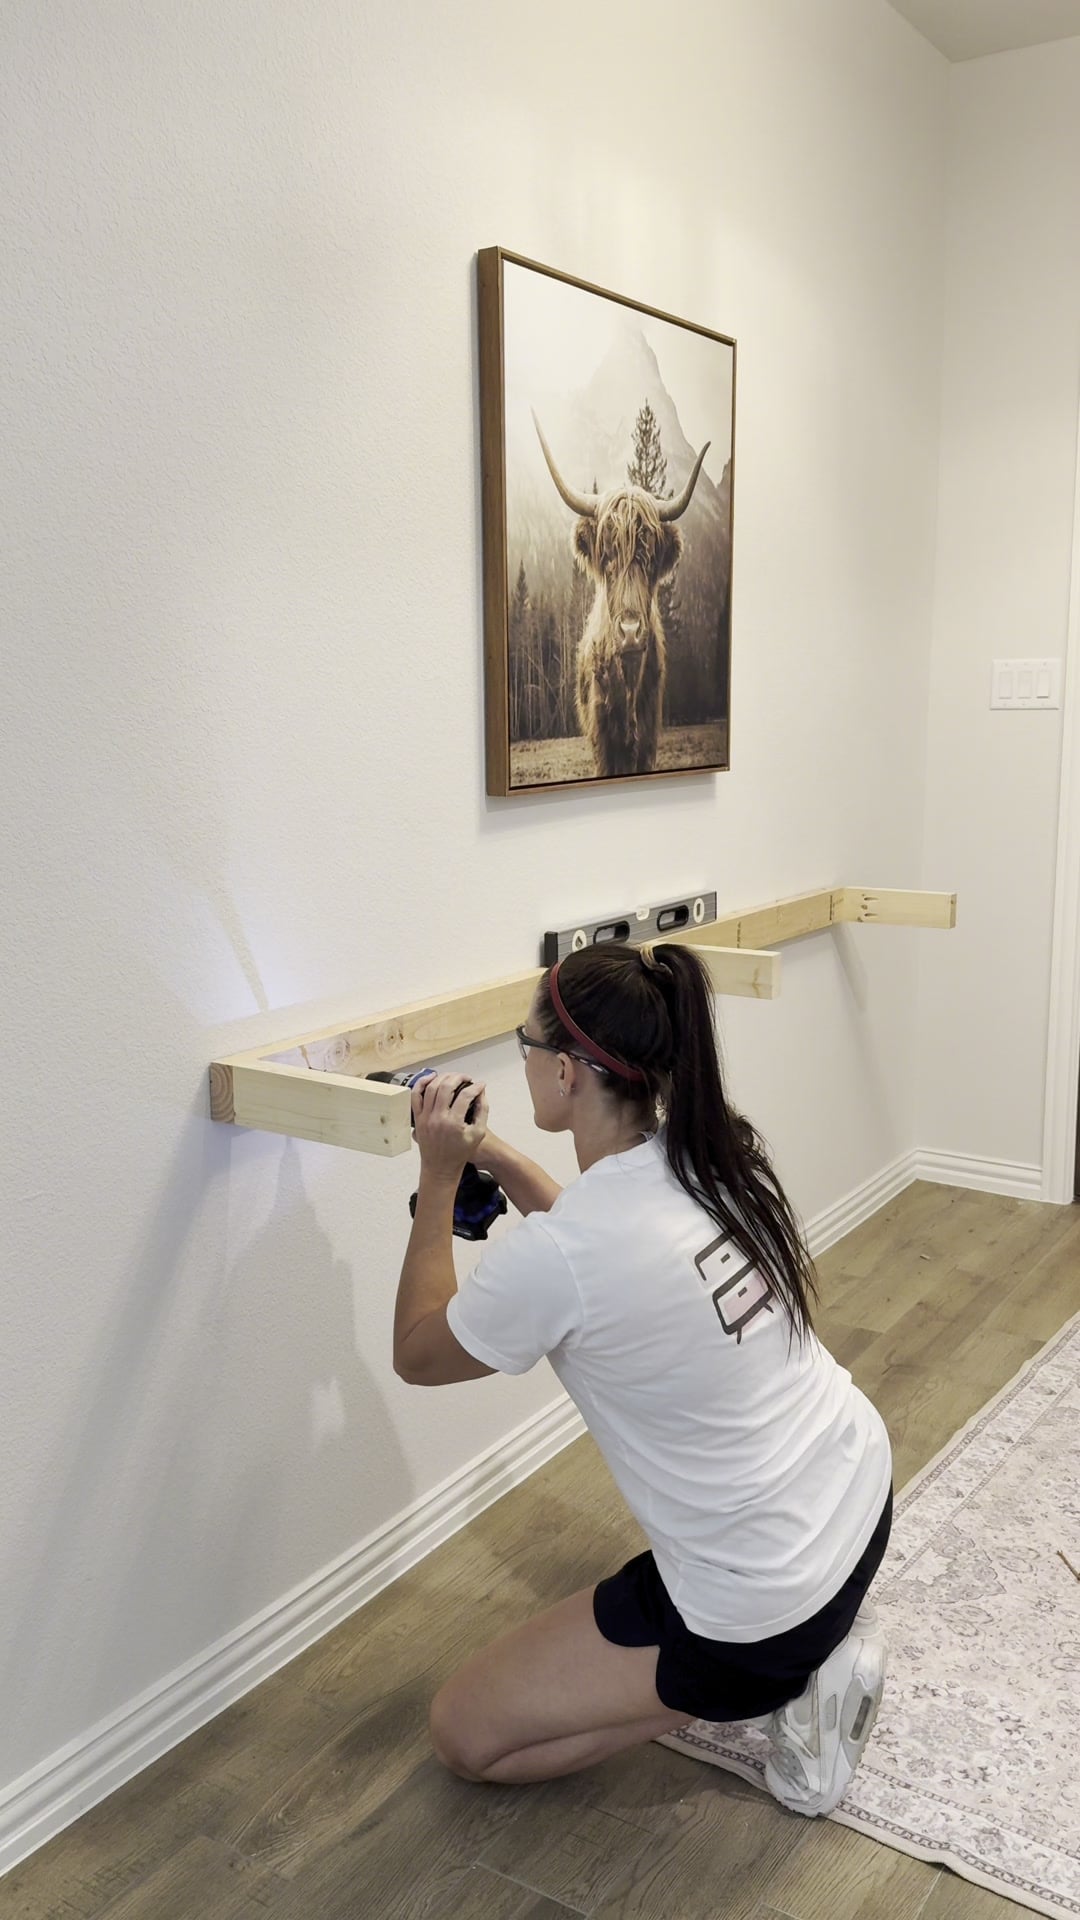
Drill one 3″ screw through the back cleat and into one of the most center studs. Now,Hold the cleat in position and check it with a level then follow up with the remaining screws at each stud. The cleat attachment to the studs in the wall is the support for this table.
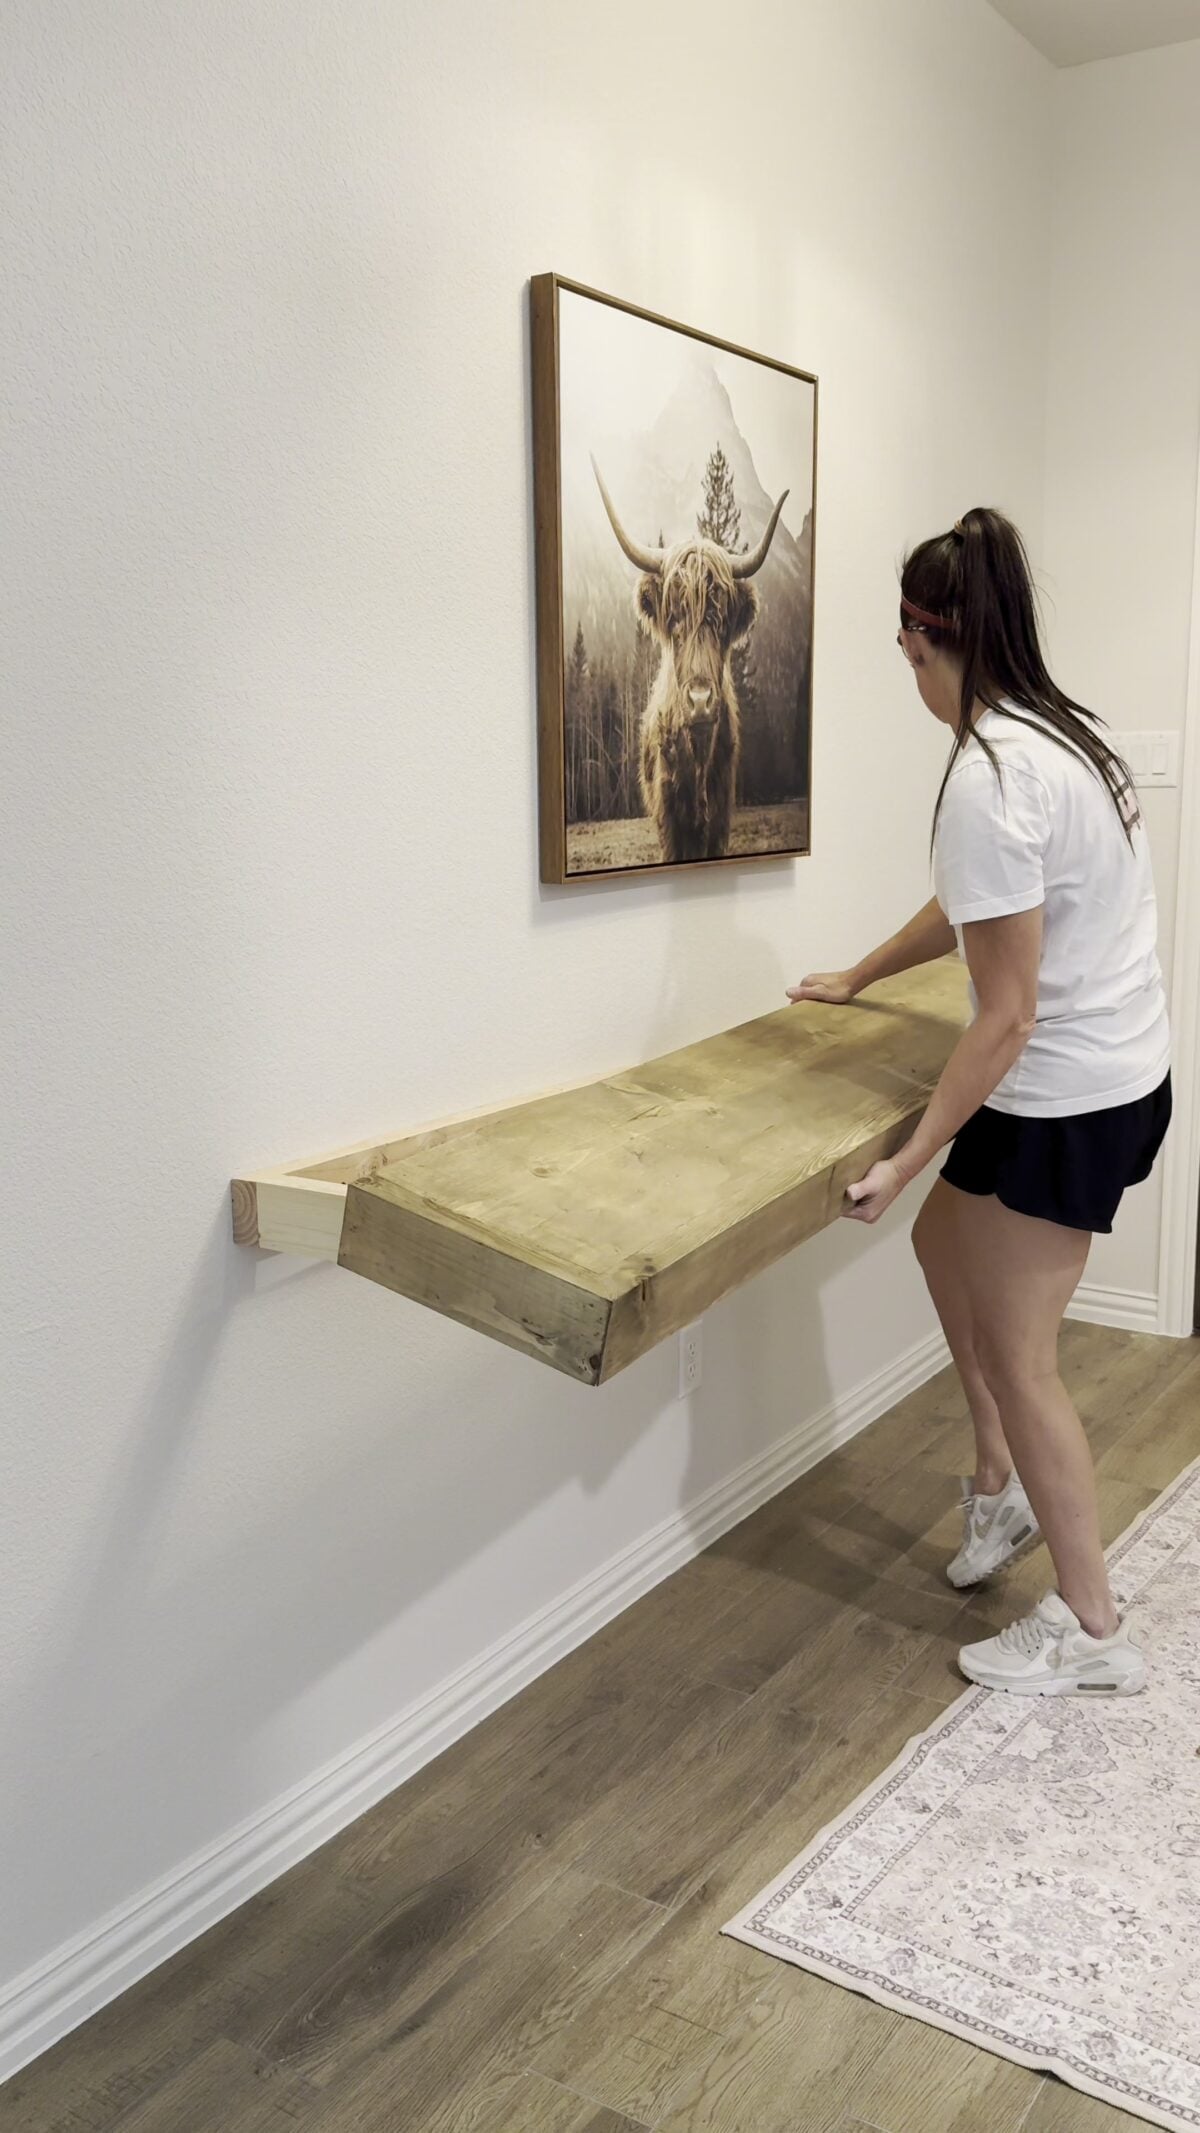
Slide the finished console top over the cleat until the back edges meet the wall.
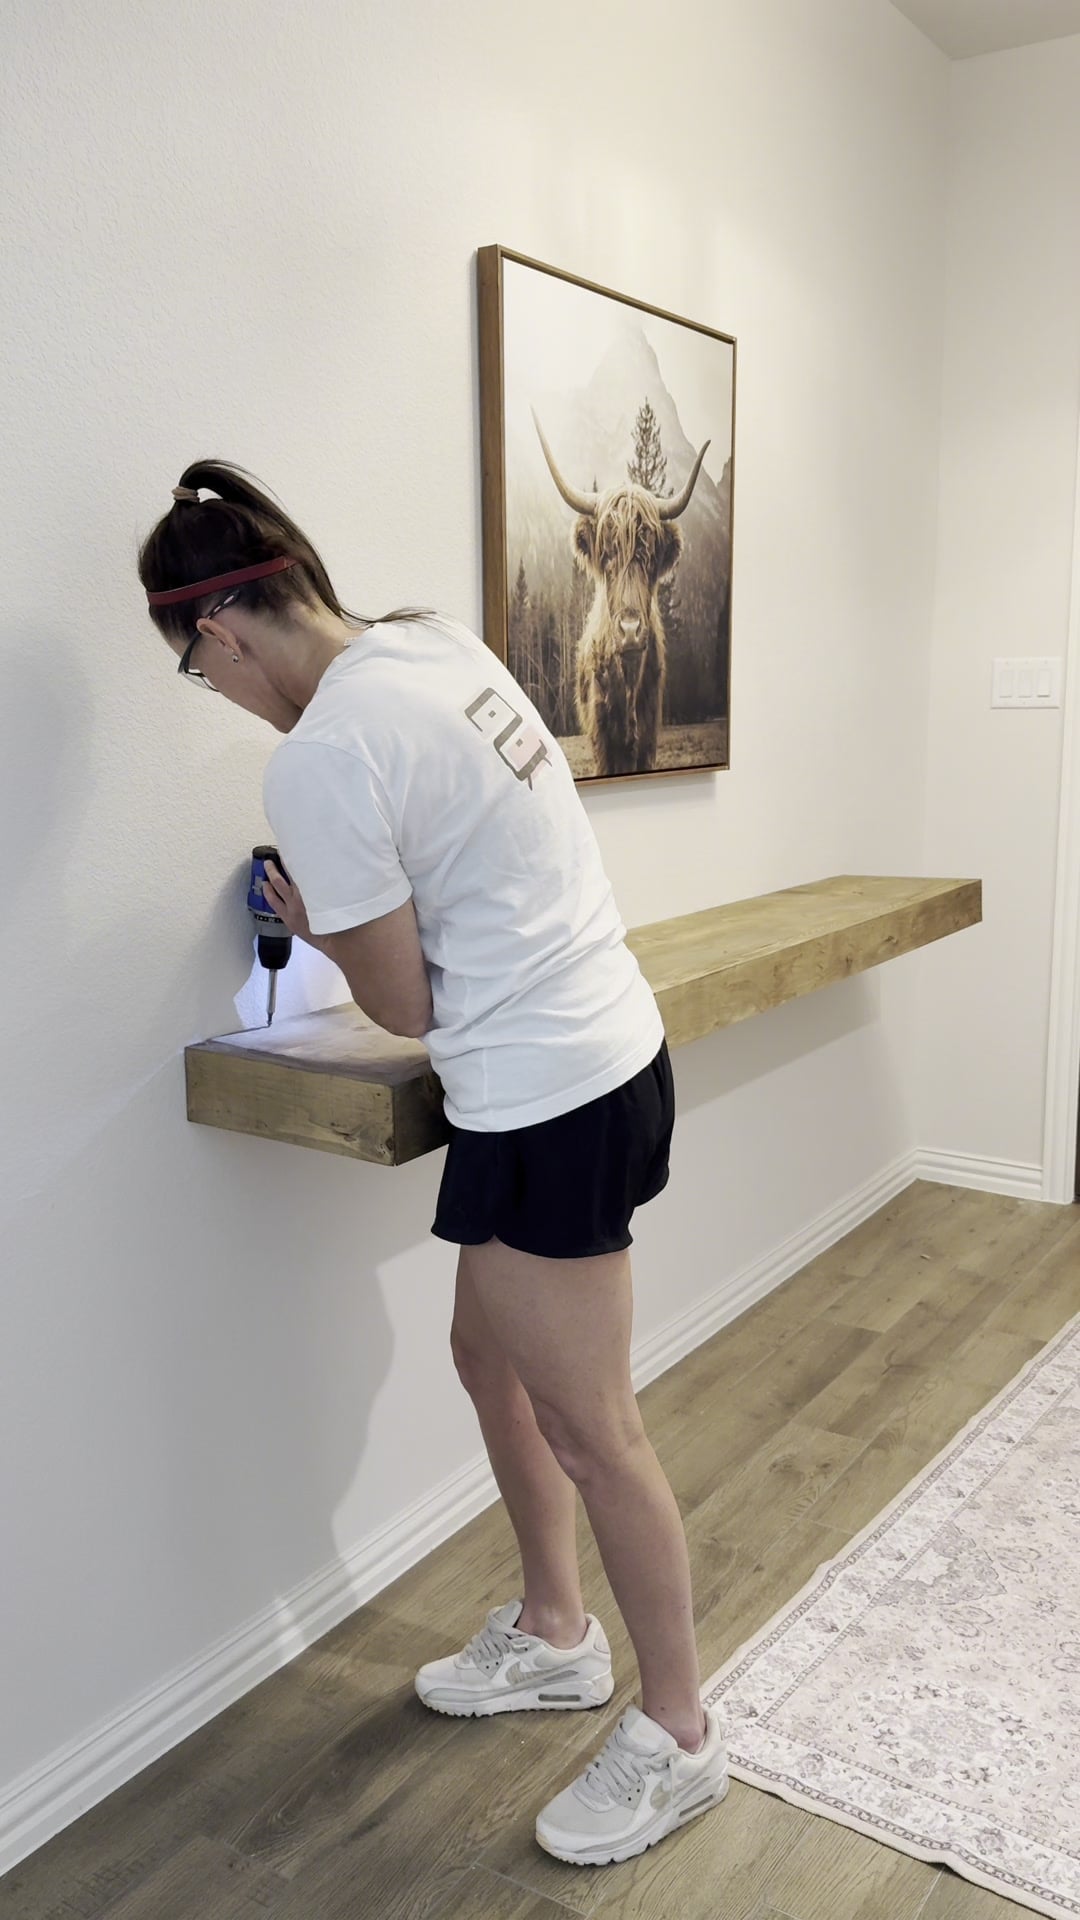
I secured the top with 3″ wood screws driven down through the top near its back edge and into the long back cleat.
corbel installation
Hold the first corbel underneath the console, directly below one of the outside short cleat pieces. The top of the corbel should sit against the underside of the console assembly, with its back against the wall.
Neither corbel lined up with a stud in this installation, so I used an EZ anchor to secure the lower part of each back corbel piece to the wall.
With the corbel in position, drill a pilot hole through the lower part of its back piece and into the wall to mark the anchor location.
Remove the corbel and install the anchor at that mark according to its directions.
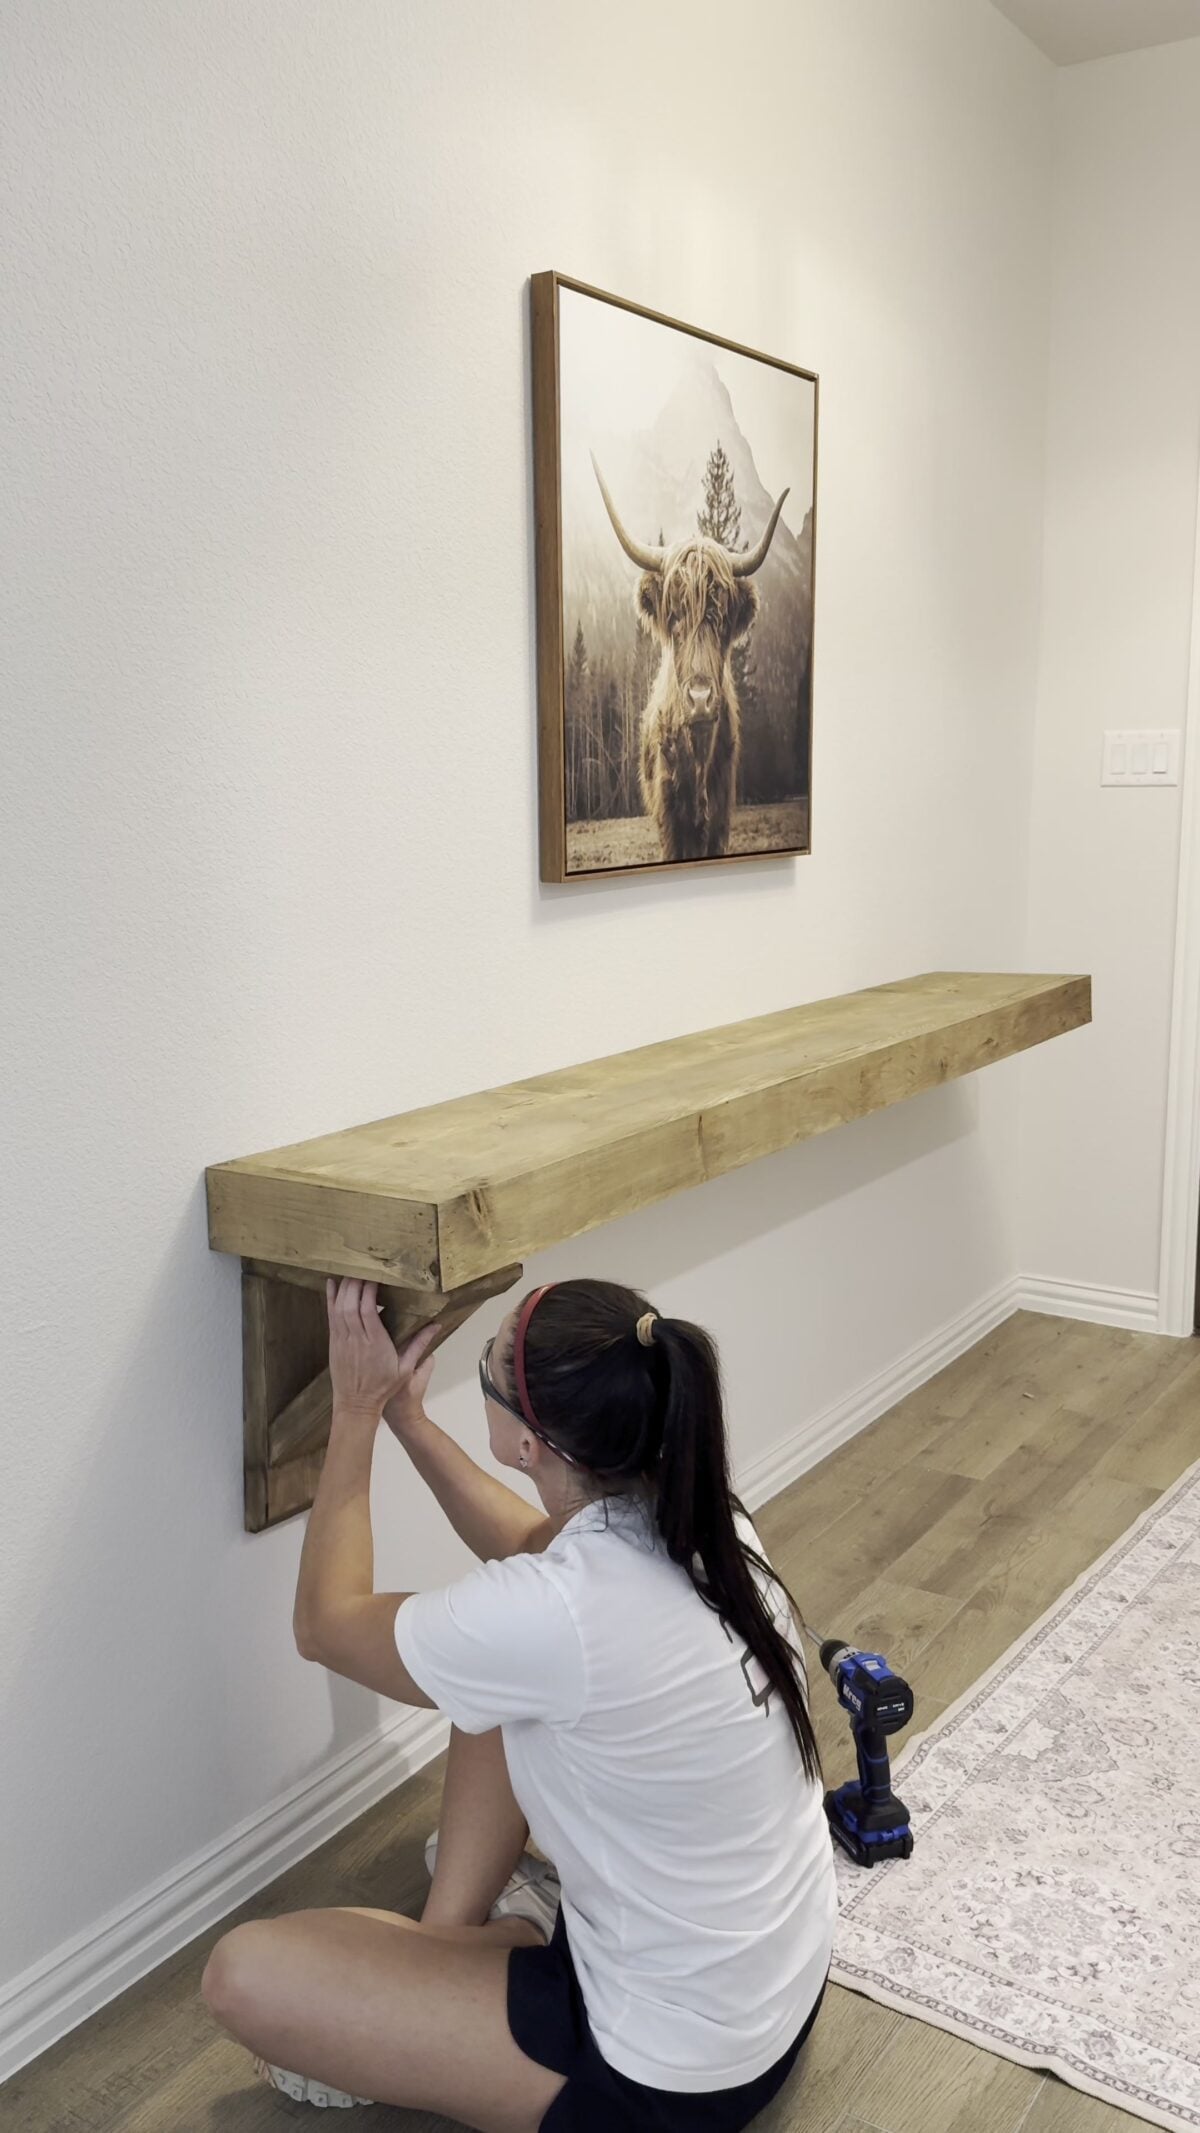
Hold the first corbel underneath the console, directly below one of the outside short cleat pieces. The top of the corbel should sit against the underside of the console assembly, with its back against the wall.
Neither corbel lined up with a stud in this installation, so I used an EZ anchor to secure the lower part of each back corbel piece to the wall.
With the corbel in position, drill a pilot hole through the lower part of its back piece and into the wall to mark the anchor location (I used the 3″ screw to drill the pilot hole).
Remove the corbel and install the anchor at that mark according to its directions.
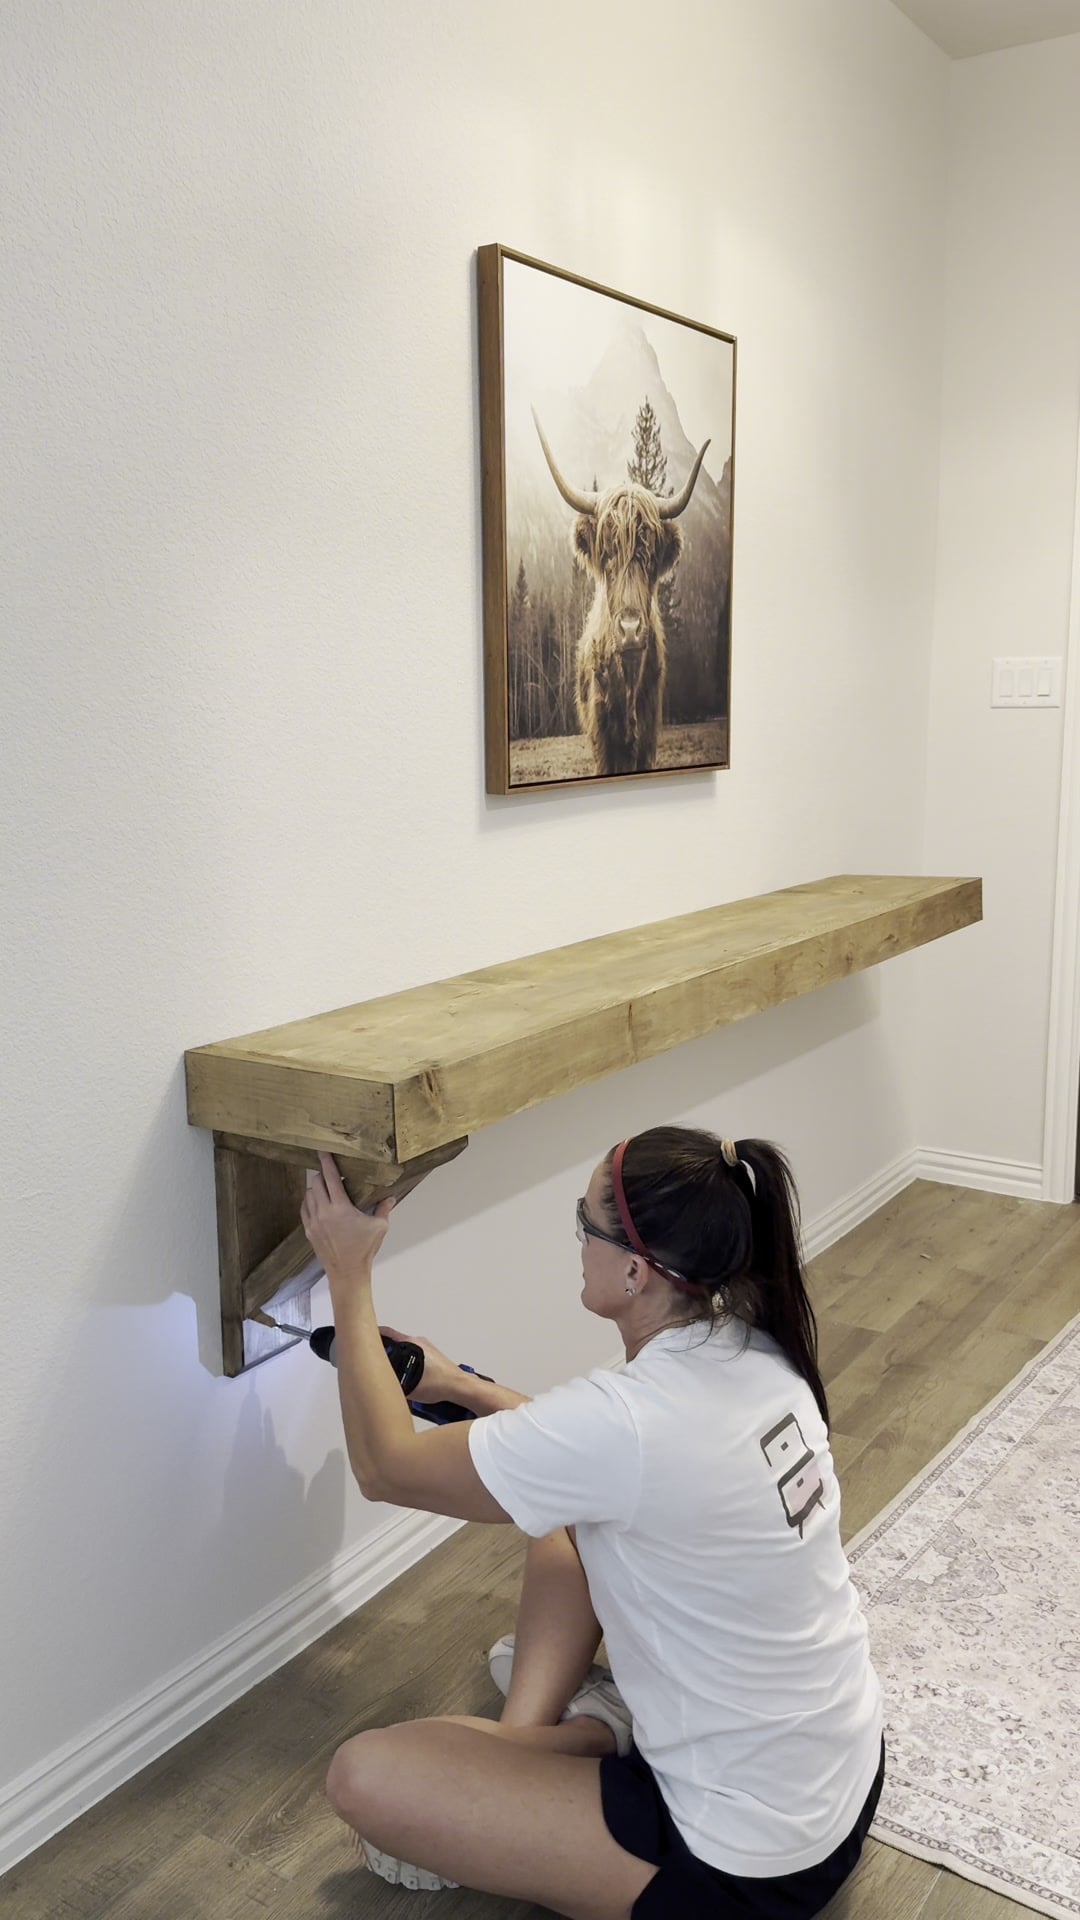
Put the corbel back in place and line up its pilot hole with the anchor (I did this by drilling the 3″ screw into the pilot hole until it stuck out of the backside about 1/4″ and moved the corbel until the screw slipped into the anchor).
I drove a 3″ screw through the back corbel piece and into the wall anchor. Make sure the anchor you choose accepts the screw diameter and length being used.
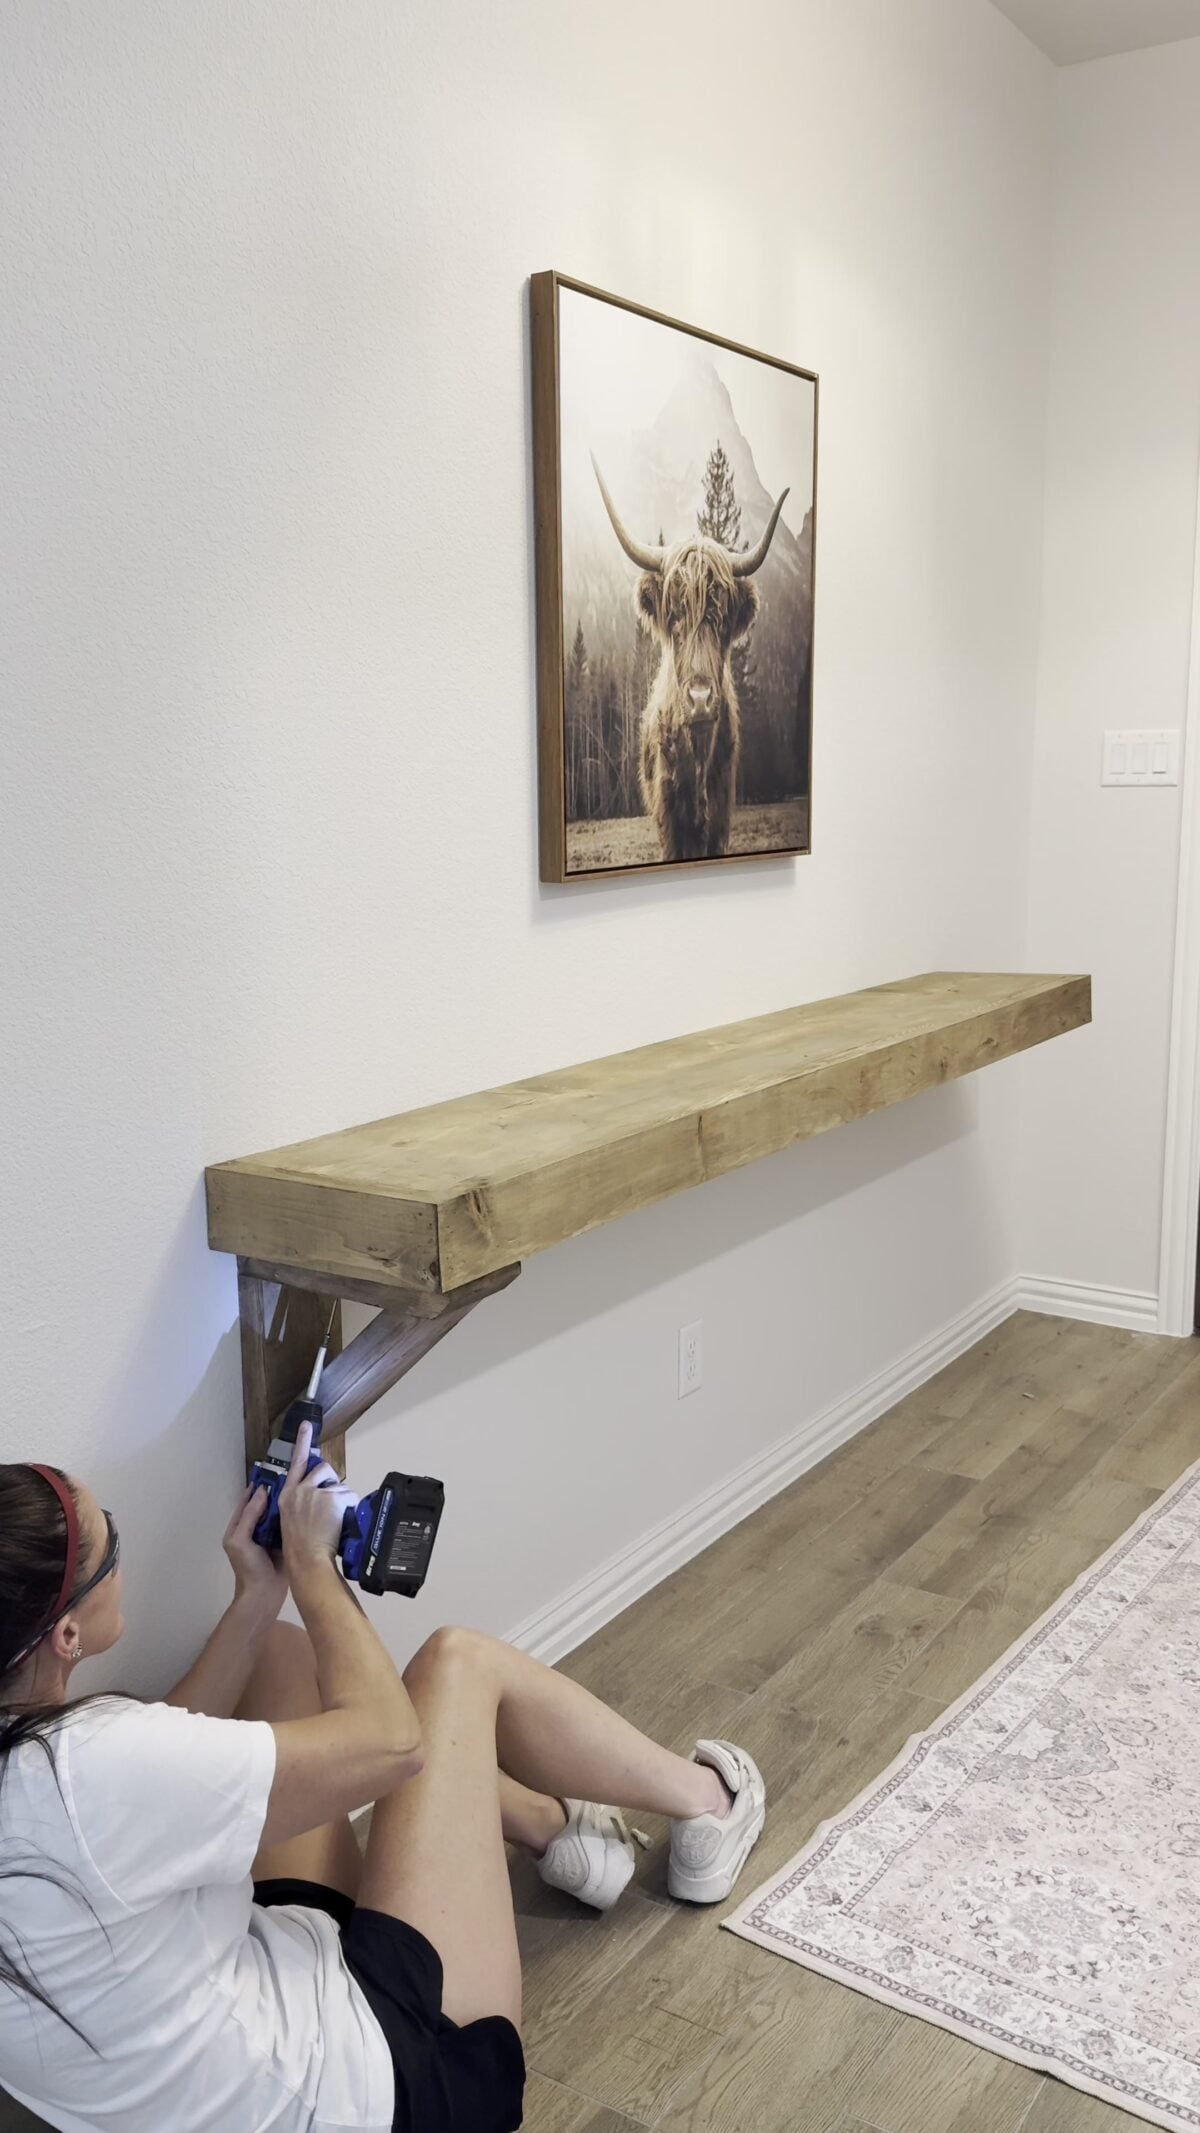
Next, secure the top corbel piece to the underside of the outside short cleat. Drill a pilot hole and use a screw long enough to secure the connection without coming through the finished console surface.
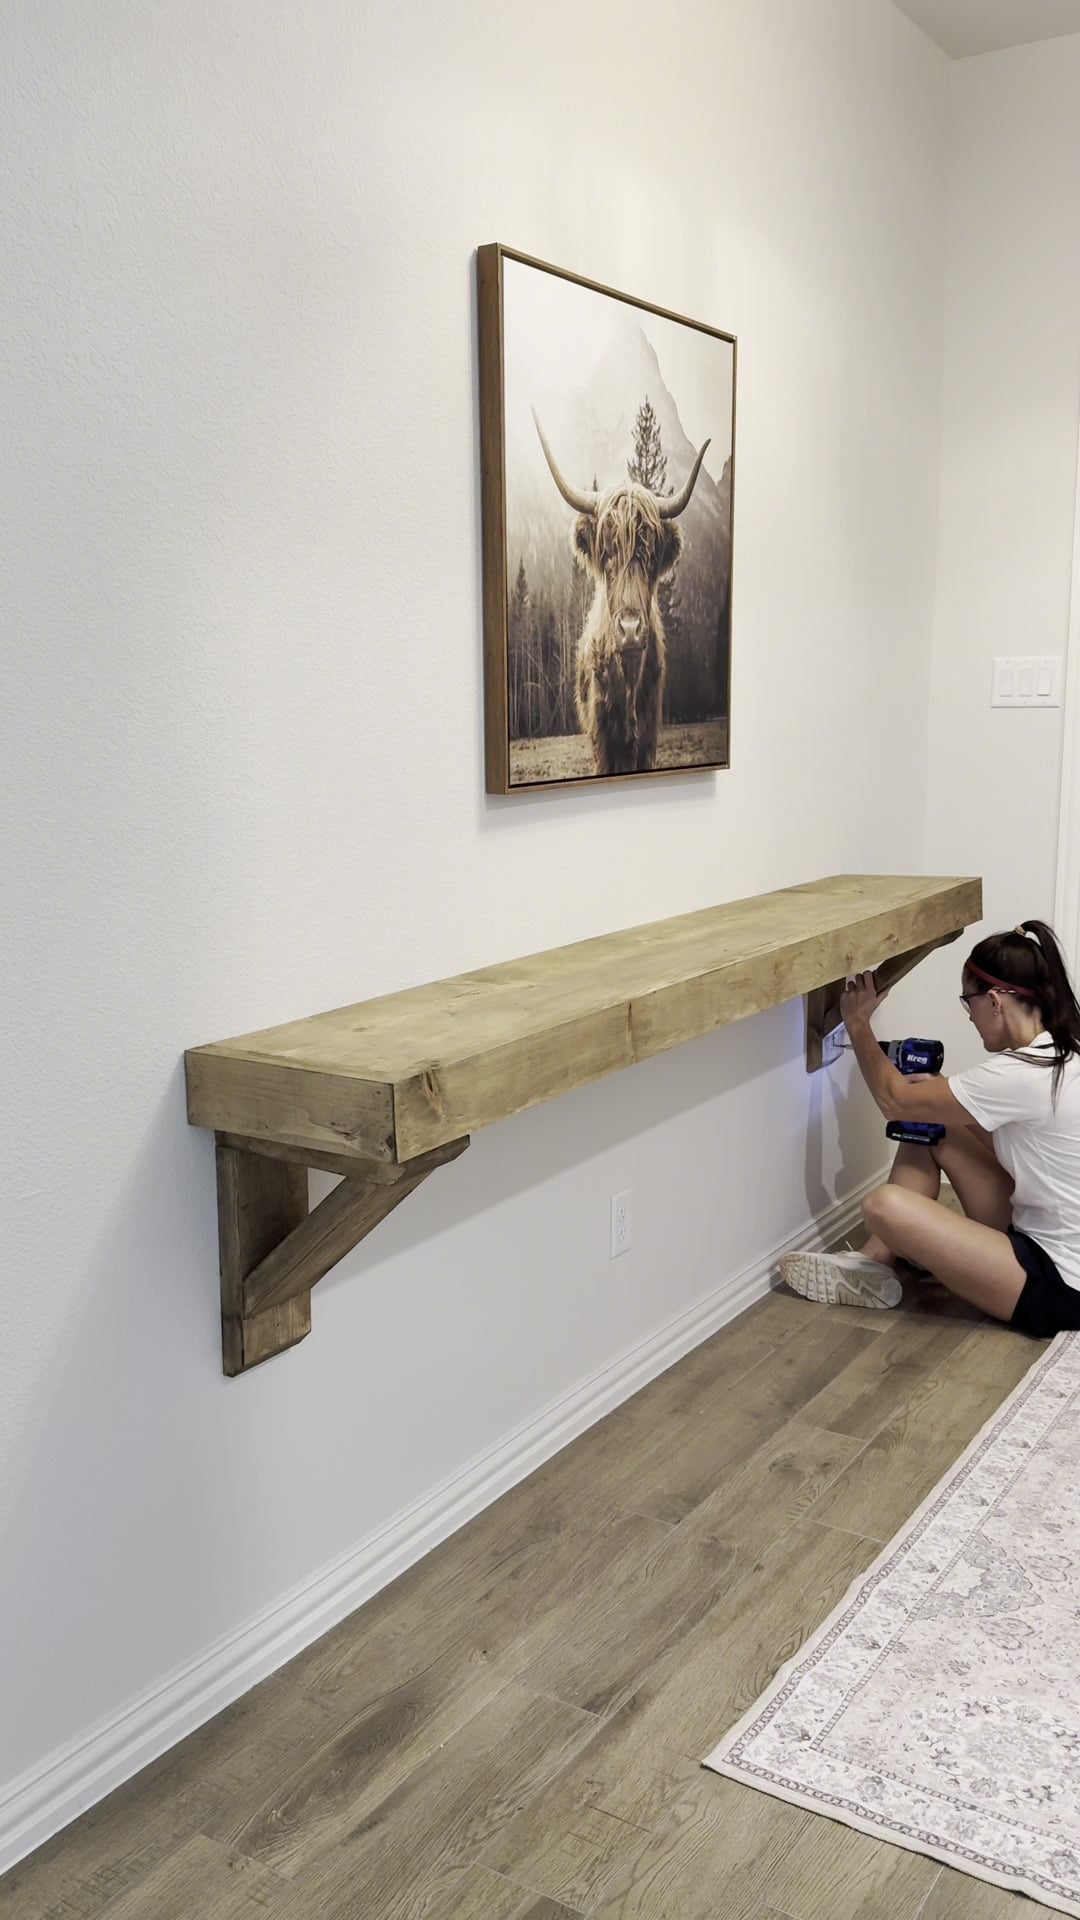
Repeat for the second corbel.
If you left the diagonal pieces off for access, attach them now with 1¼″ brad nails and wood glue, then touch up the nail holes and finish as needed.
And that’s it!
Make It Your Own
The finish is a simple way to give this console a different look.
- Use a lighter or darker stain to coordinate with your other furniture.
- Paint the console and corbels for a solid-color finish.
- Try a two-tone look with a stained top and painted corbels.
If you need a different size, adjust the cut list and cleat layout together. The finished top still needs to fit over the cleat, with the corbels positioned beneath the outside short cleat pieces.
Frequently Asked Questions
This build doesn’t have a tested weight rating. The capacity depends on the wall construction, lumber, fasteners, and installation, so I can’t give it a specific weight limit.
Check which cutting services your store offers. This project requires lengthwise rip cuts and angled cuts in addition to cutting boards to length, so rough cuts at the store won’t complete all the cuts needed for assembly. Plans will need to be modified if you choose not to rip your lumber.
Yes, modifying the length is easy. Just add or subtract the length for each board that runs horizontal.
Consoles tables are generally 28″ to 32″ tall. I installed this console at 32″ tall.
No, both pocket hole jigs will get the job done. You can check out the video linked at the top of the post to compare models and see which one is best for you.
More Projects for Your Home
If you’re looking for another entryway build, take a look at our DIY Narrow Console Table. And if you love the corbel detail, our DIY Corbel Sconce Light is another project to add to your list!
I love getting to build pieces for family, and making something custom for my mother-in-law’s new home made this one extra fun. The chunky top and corbels give her entryway the detail I wanted, and her first custom piece is checked off the list!
If you build one, share a photo and tag @shanty2chic on Instagram or use #shanty2chic so we can see it. Leave any questions in the comments below!
Happy Building! – Ashley
🛠️ Printable Tutorial
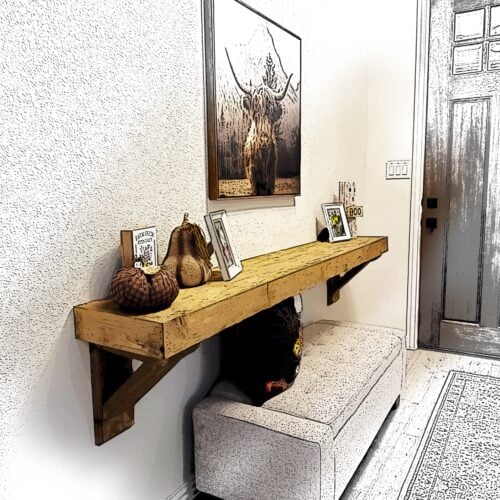
DIY Floating Console Table
Tools
- Miter Saw
- Kreg Jig
- Drill
- Sander
- Table Saw (optional)
- Brad Nailer (optional)
- Kreg Project Blocks (optional)
- Kreg Stud Finder (optional)
- Tape Measure
Supplies
- 1 1x12x8
- 3 2x6x8
- 1 2x4x8
- 1 1/4" Pocket Hole Screws
- 2 1/2" Pocket Hole Screws
- 1 1/4" Brad or Finish Nails
- 3" Wood Screws
- EZ Anchors (if needed)
- Finish (stain or paint)
- Wood Filler
- Wood Glue
- 120-grit and 180-grit sanding pad
Instructions
Cut List
- Cut List

Building the Corbels
- Cut the top and back corbel pieces to size. Drill 1 1/2" pocket holes at the straight end of the back corbel. Attach the back corbel to the top corbel with 2 1/2" pocket hole screws and wood glue. Build 2 corbel assemblies.

- Cut the diagonal piece to size and attach to the corbel with 1 1/4" brad nails and wood glue. Do this for both corbel assemblies. Note: Waiting to attach this piece until installation will make for an easy install.

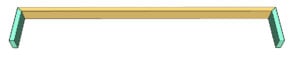
Building the Console Top
- Cut the cleat pieces to size and drill 1 1/2" pocket holes at oneend of each of the short cleats. Attach a short cleat to each end of the back cleat and one in the middle with 2 1/2" pocket hole screws and wood glue.

- Cut the trim pieces to size and attach them together with 1 1/4" brad nails and wood glue.

- Cut the top plank to size and drill 3/4" pocket holes on one edge and both ends. Attach the plank to the trim with 1 1/4" pocket hole screws and wood glue.


The Finish
- We recommend sanding down, flling nail holes and adding a finish before install. You can find the full installation instructions on this post on our website! Make it your own! Make sure to share your builds with us on social media and use #shanty2chic so we can share them too!Happy Building!