
DIY Outdoor Plant Stand with Free Plans
Funny how our lives have changed from building furniture for our kids to building furniture for our plant babies 😂 We have become completely plant obsessed over the last few months, and I officially ran out of real estate inside my house. Obviously, the logical solution was to build an outdoor plant stand so I could move some plants outside…and buy more plants for inside.
I designed this DIY outdoor plant stand using only seven 2×6 boards, and the lumber cost me under $65. It has three large slatted shelves, plenty of room for some of my bigger plants, and it’s cute enough that I can bring it inside when Texas decides it’s winter.
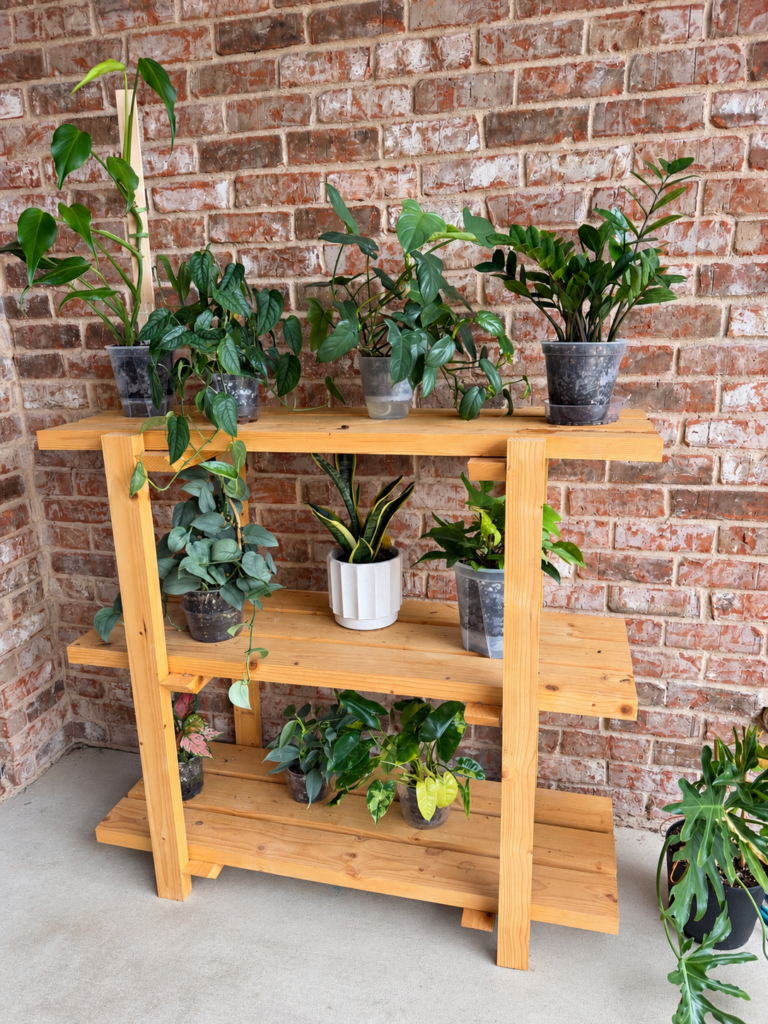
Make sure to check out the full build video below, and you can download the FREE printable plans at the bottom of this post!
Check out the YouTube Video HERE!
Table of Contents
Why I Love This DIY Plant Stand
I really wanted something functional that would give me a lot of plant space without taking up a huge footprint.
- It only cost about $65 in lumber.
- The entire stand is built from seven 2×6 boards that we ripped down to size.
- It has three large shelves with room for plants of different heights.
- The slatted shelves allow water to drain through instead of puddling on the wood.
- It works as an outdoor plant stand, but it’s cute enough to use inside too.
- You could also use it for extra storage, potting supplies or even in a pantry.
- And, most importantly, it frees up room for more plant babies. Priorities.
Tools and Supplies
You can find the complete materials and cut lists in the free printable plans below, but here are a few of the main tools and supplies we used for this build.
- Seven 2×6 boards
- Kreg Jig 720PRO
- Kreg Quick-Flip
- Drill/driver
- Miter saw
- Table saw for ripping the 2×6 boards
- Wood glue
- 2 1/2″ Kreg Blue-Kote Pocket-Hole Screws
- Kreg 20V Ionic Drive Wet/Dry Shop Vac
- Exterior sealant or finish
Kreg Jig 720PRO
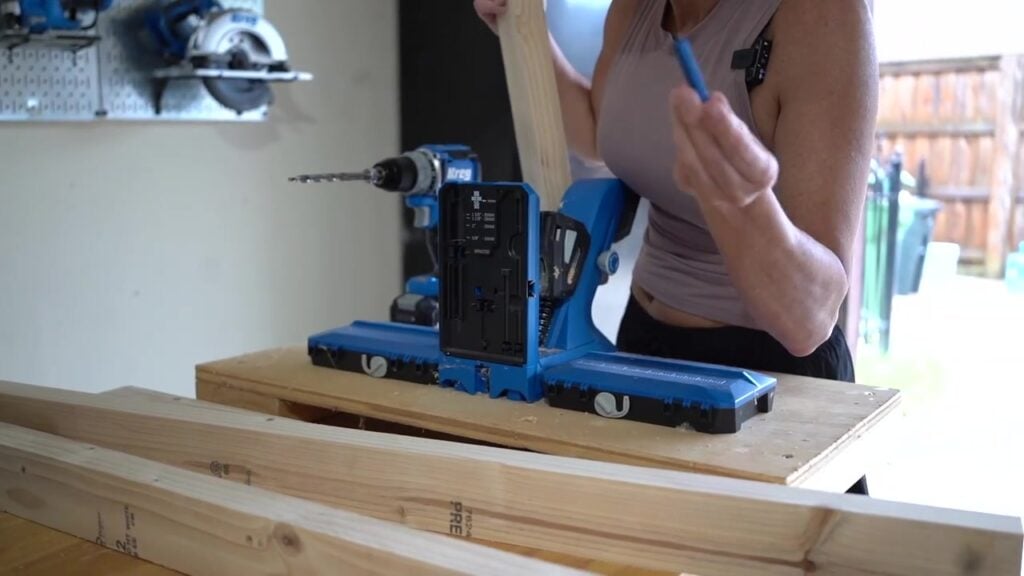
We used our Kreg Jig 720PRO to build the two side assemblies for this plant stand. If you’ve followed us for any amount of time, you know this is one of those tools we use ALL the time.
For this build, we drilled 1 1/2″ pocket holes into the ends of the rungs. One of my favorite features on the 720PRO is the self-adjusting clamp. You can put your board into the jig and it automatically adjusts to the thickness of the material, so switching between different stock sizes is super simple.
It also has onboard storage for the bits and accessories, which is one of those little things that makes a big difference when you’re building.
How to Build a DIY Outdoor Plant Stand
The complete measurements, cut list and printable plans are below, but I’ll walk you through how we built it first.
Step 1: Rip the 2×6 Boards
I designed this plant stand using seven 2×6 boards. We ripped the boards down to the widths shown in the plans before beginning assembly.
Using 2×6 boards kept the lumber cost for the entire stand at about $65 while still giving us plenty of material to create the legs, shelf slats, rungs and supports.

Step 2: Drill the Pocket Holes
The first assemblies we built were the two sides of the plant stand. They basically look like ladders, so we started by making the rungs.
We used the Kreg Jig 720PRO to drill 1 1/2″ pocket holes into each end of the rungs.
I set the depth collar to 1 1/2″ for the pocket holes.
Once all of the pocket holes were drilled, I marked the placement of each rung on the side pieces according to the plans.
Step 3: Build the Two Side Assemblies
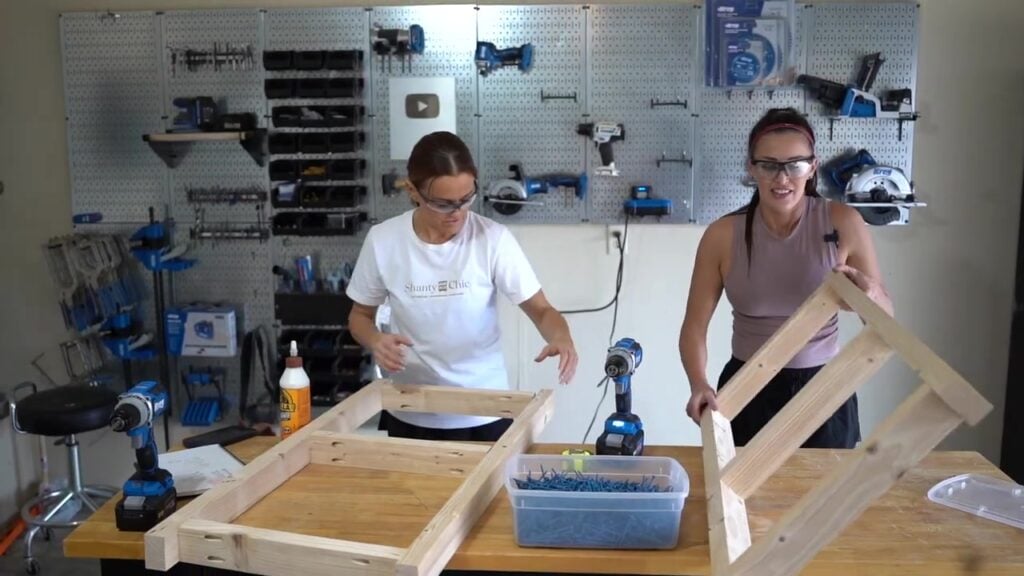
Next, we attached the rungs between the two long side pieces to create our ladder-style assemblies.
Add wood glue to the ends of each rung and attach them with 2 1/2″ Kreg Blue-Kote Pocket-Hole Screws.
We chose Blue-Kote screws because I designed this plant stand to live outside. They have three anti-corrosion layers, making them a great choice for an outdoor project like this.
Build two identical side assemblies and set them aside while you work on the shelves.
Step 4: Cut the Angled Shelf Supports
Each shelf has angled support pieces underneath it. These add support, but I also added them because they give the stand a little more detail.
Because if we’re building furniture for our emotional support plants, their furniture needs a little flair too 😉
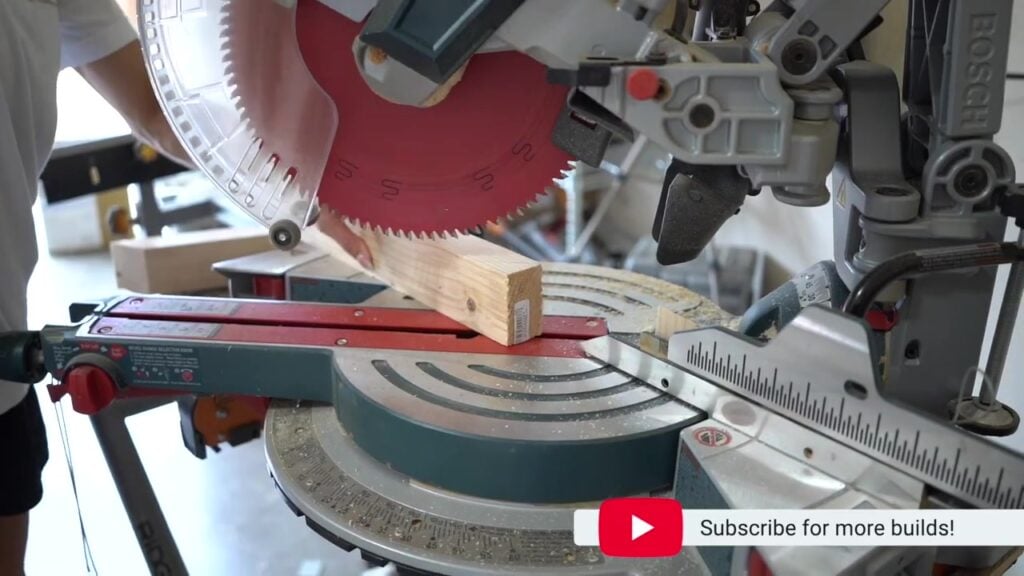
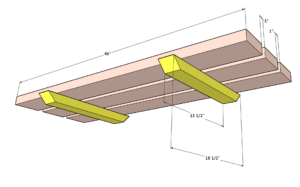
I cut the shelf support boards from the ripped 2×6 material. Each support is 18 1/2″ long from long point to long point, with a 45° angle cut on each end.
Once I had the first support cut, I used it as a template to mark the remaining pieces so they would all match.
Step 5: Build the Three Slatted Shelves
Now it’s time to build the three shelf assemblies.
I designed each shelf with slats rather than creating one solid wood surface. I knew I would be watering plants on this stand, and the spaces between the boards allow excess water to drain through instead of sitting and puddling on top of the wood.
We spaced the shelf boards approximately 3/4″ apart. The exact spacing isn’t as important as making sure the gaps are consistent across each shelf.
A scrap piece of 3/4″ material makes a great spacer here if you have one.
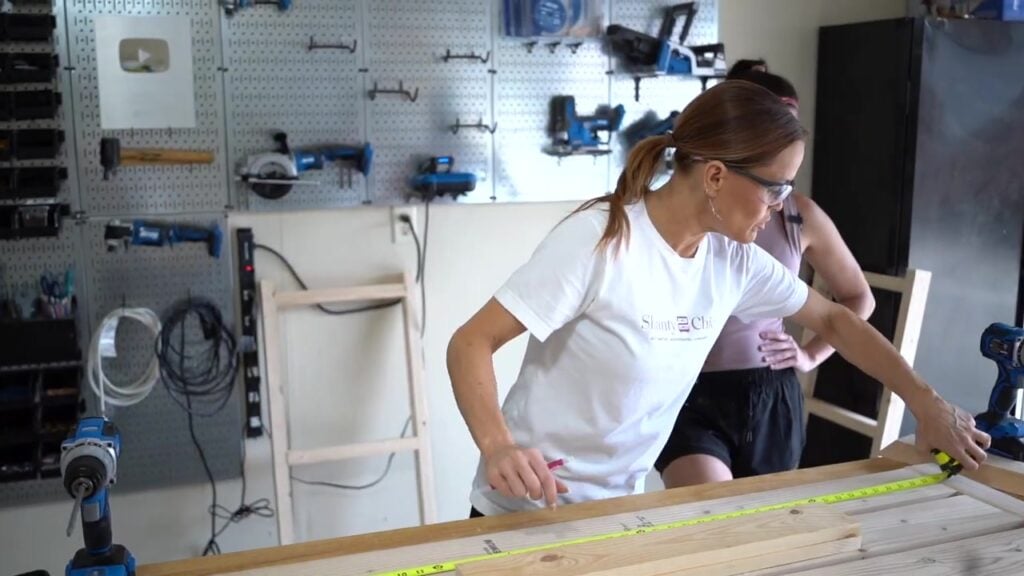
Step 6: Attach the Shelf Supports
To make assembly easier, we marked the center of the shelf and the center of the support pieces and lined those marks up.
For our shelf assembly, the shelf measured 46″, so we marked the center at 23″. The support was 22″, so its center was 11″.
This gave us an easy guide for getting everything centered before attaching it.
Add wood glue to the support pieces and position them under the shelf slats.
We used the Kreg Quick-Flip to predrill and countersink the screw holes. The Quick-Flip has a countersink bit on one end; slide the collar, flip the bit around and the other end is ready to drive the screw. This allowed us to countersink the screws so they wouldn’t be visible from the top of the shelf.
Attach the support pieces with 2 1/2″ screws.
Repeat these steps to build all three shelf assemblies.
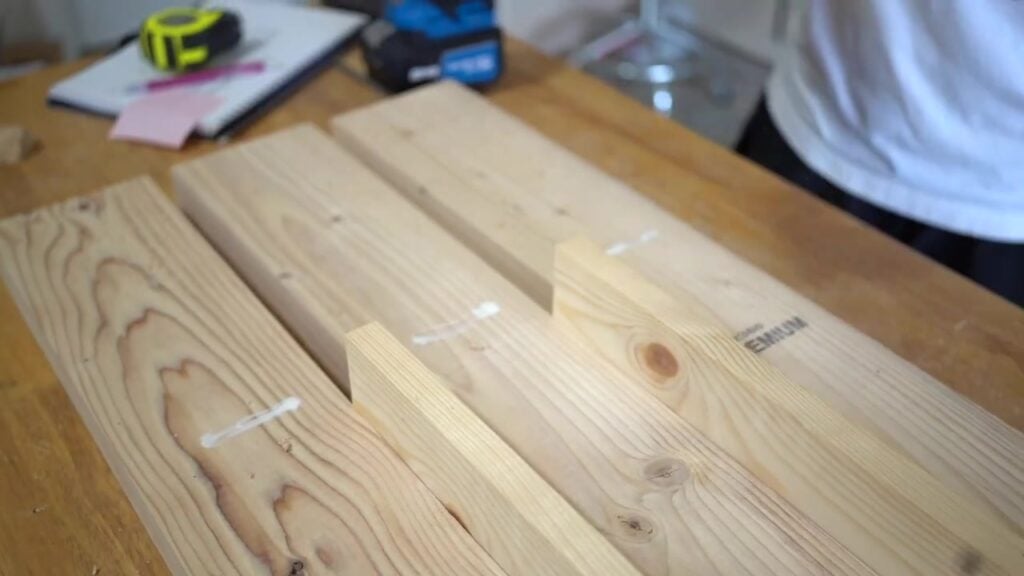
Step 7: Attach the Top Shelf
Now we can put everything together!
Add wood glue where the top shelf meets the side assemblies. Position the shelf between the two ladder sides according to the plans.
We used the Quick-Flip again to countersink the screws before attaching the shelf. This keeps the screw heads tucked away underneath.
Attach the shelf to the side assemblies with 2 1/2″ screws.
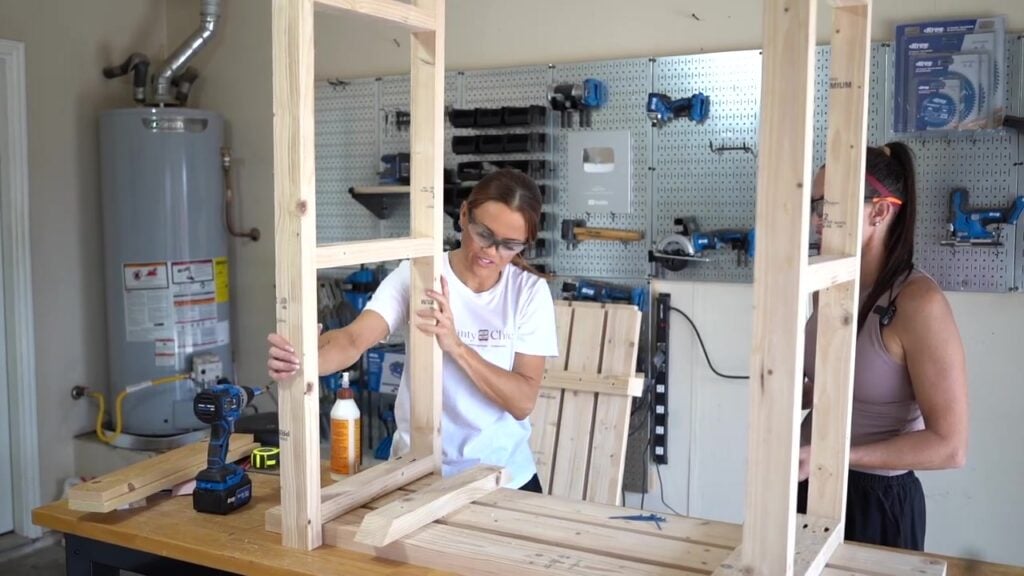
Step 8: Attach the Middle Shelf
Flip the stand over so you can position the middle shelf between the two sides.
Add wood glue where the shelf meets the supports, slide it into place and attach it the same way we attached the top shelf.
Make sure everything is sitting correctly before driving all of your screws.
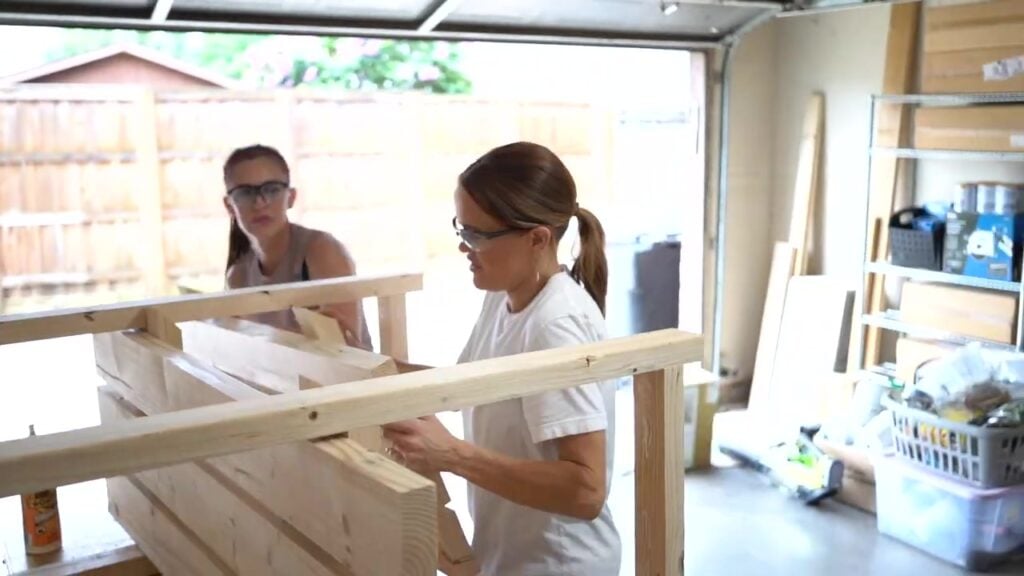
At this point, I could finally see the whole thing coming together, and I was already thinking I probably needed to build another one 😂
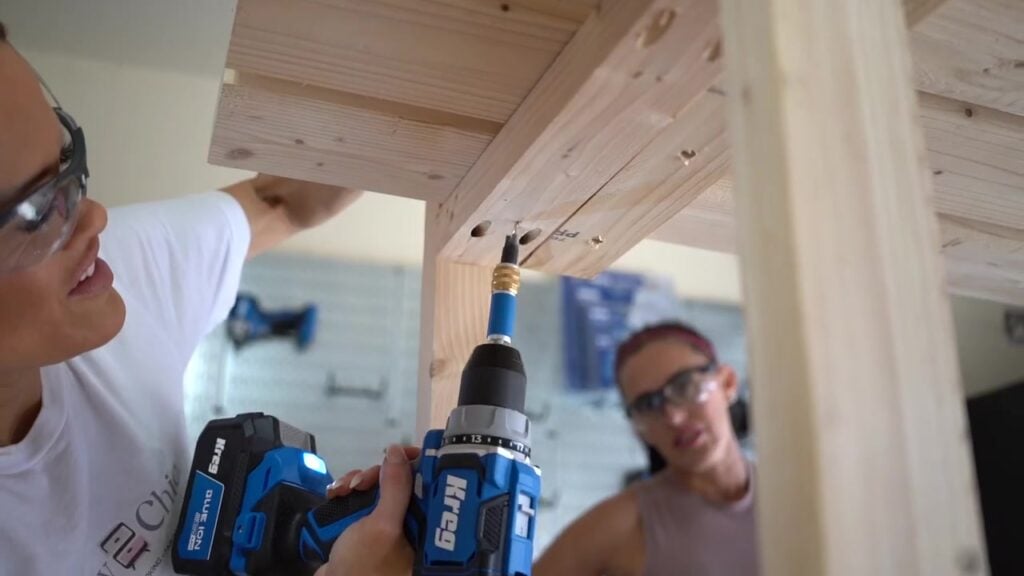
Step 9: Attach the Bottom Shelf
Flip the plant stand onto its side to make attaching the final shelf easier.
Add wood glue where the bottom shelf meets the bottom rungs and position the shelf according to the plans.
Attach the bottom shelf with 2 1/2″ screws.
And that’s it for the build!
Finishing the Plant Stand
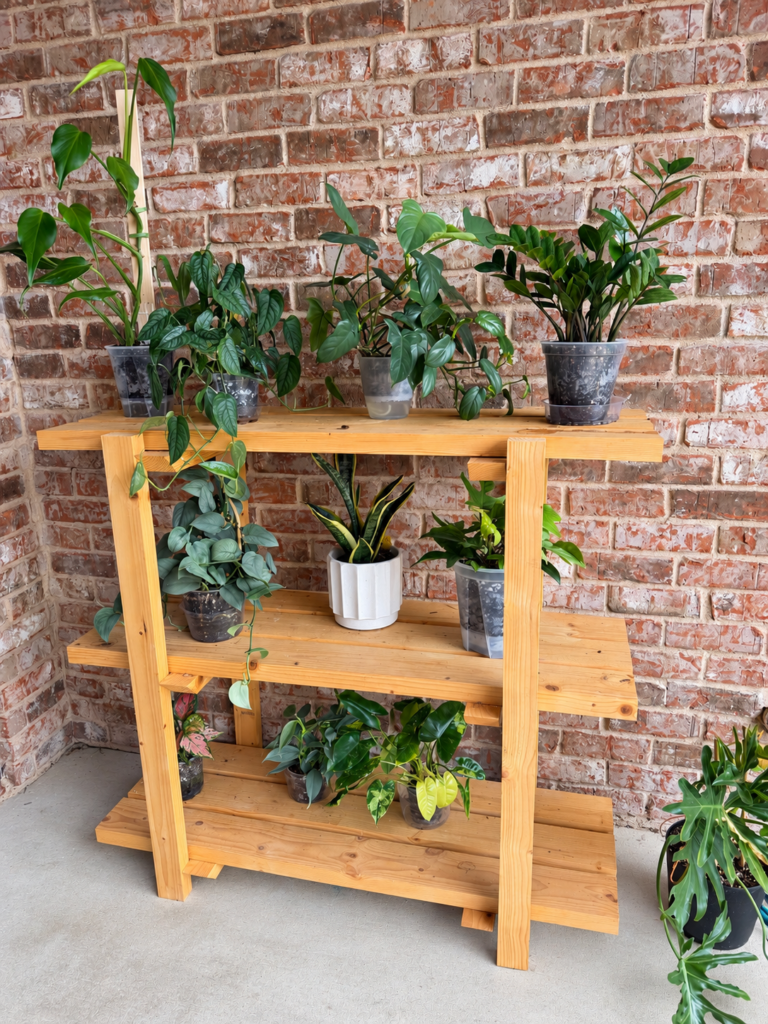
I love the natural color of the wood on this one, so rather than covering it with a dark stain, I wanted to keep the finish natural and let the wood warm up over time.
Because mine is going outside, I would definitely add a protective exterior finish to help protect the wood from moisture and weather.
If you’re keeping yours inside, you have even more options. You could stain it, paint it or leave the wood natural depending on where you’re using it.
A Few Tips Before You Build
Keep your shelf spacing consistent. The exact gap between the slats isn’t as important as keeping that gap the same across the entire shelf. We used about 3/4″.
Make the two side assemblies match. Marking the rung locations on both sides before assembling them makes it much easier to keep your shelves level later.
Use exterior-rated fasteners outdoors. We used Kreg Blue-Kote screws because this stand was designed for outdoor use.
Don’t skip the wood glue. We used glue along with our screws throughout the assembly.
Countersink the shelf screws. It gives the finished stand a much cleaner look and keeps the hardware less visible.
Other Ways to Use This Stand
I designed this specifically for my plants, but once we finished building it, we realized there are so many other places it could work.
You could use it as a potting stand with baskets or bins for soil and supplies, use it for extra storage inside, or even put it in a pantry for larger items.
And because the shelves are different heights, you have plenty of room for taller items on the lower shelves.
Of course, mine will be covered in plants. Lots and lots of plants.
Frequently Asked Questions
Can I use this plant stand indoors?
Absolutely. I designed mine to go outside because I needed more room for my plants, but I specifically wanted it cute enough that I could bring it indoors during the winter. Just choose a finish that works for where you plan to use it.
Why did you make the shelves slatted?
Drainage! I wanted to be able to water my plants without water collecting on a solid wood shelf. The gaps between the slats give the excess water somewhere to go.
Do I need the Kreg Quick-Flip?
No. We used it because it makes predrilling, countersinking and driving the screws really fast, but you can also use a standard drill bit and driver setup.
Can I paint the plant stand?
Yes! Paint would be so cute on this. Just make sure you choose a finish that’s appropriate for outdoor use if your stand will be exposed to the elements.
Can I change the size?
You can customize the dimensions, but remember that changing the overall width, depth or height will also affect the shelf pieces and support measurements. I would build from the free plans first unless you’re comfortable adjusting the cut list.
More DIY Projects
If you love building your own plant furniture as much as I apparently do now 😂, check out our [DIY Plant Stand], [RELATED OUTDOOR PROJECT] and [RELATED PROJECT]. We have tons of free furniture plans that you can customize for your own home.
FREE DIY Outdoor Plant Stand Plans
Ready to build your own?
You can download the FREE printable plans for this DIY outdoor plant stand below. The plans include the complete supply list, cut list, measurements and step-by-step assembly instructions.
[INSERT FREE PRINTABLE PLANS / HOW-TO CARD HERE]
I couldn’t be happier with how this one turned out. It’s tall enough to give some of my bigger girls room to grow, the slatted shelves make watering easy, and I gained a whole bunch of new plant real estate.
Which obviously means I can buy more plants.
Make sure to share your finished builds with us on social media and use #shanty2chic so we can see and share them!
Happy Building…and Planting!
DIY Outdoor Plant Stand
Tools
- – Kreg Jig 720PRO
- Kreg Quick-Flip
- – Drill/driver
- Miter Saw
- Table Saw
- Tape Measure
Supplies
- 7 2 x6 boards
- Wood glue
- 2 1/2 ” Kreg Blue-Kote Pocket-Hole Screws
- 2 1/2 ” wood screws
- Exterior wood finish or sealant
Instructions
- Build the Side Assemblies
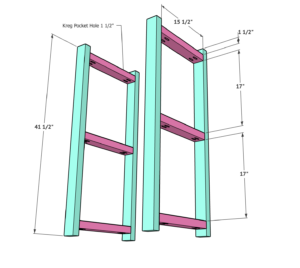
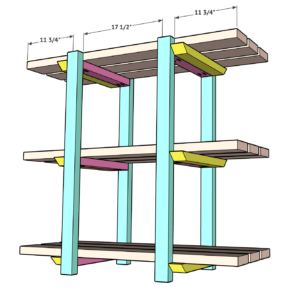
- Cut the legs and rungs according to the cut list. Drill 1 1/2″ pocket holes in both ends of each rung. Attach three rungs between each pair of legs with wood glue and 2 1/2″ pocket-hole screws to create two identical side assemblies. Follow the measurements shown in the plans for placement, spacing the rungs 17″ apart. The legs are 41 1/2″ long and the rungs are 15 1/2″ long.

- Build the Shelves
- Build three identical shelf assemblies. Space the three 46″ shelf boards 1″ apart, as shown in the plans. Cut the shelf supports 18 1/2″ long, long point to long point, with a 45° angle on each end. Center the supports under the shelf boards, positioning them 15 1/2″ apart. Add wood glue, predrill and countersink the holes, then secure the supports to the shelf boards with 2 1/2″ screws.

- Attach the Shelves
- Position the three shelf assemblies between the two side assemblies. Center the legs on each shelf using the measurements shown in the plans: 11 3/4″ from each end with 17 1/2″ between the legs. Add wood glue where the shelf supports meet the side assemblies. Predrill and countersink the holes, then attach each shelf securely with 2 1/2″ screws. Start with the top shelf, then attach the middle shelf and finish with the bottom shelf.

Notes
