Happy Monday!
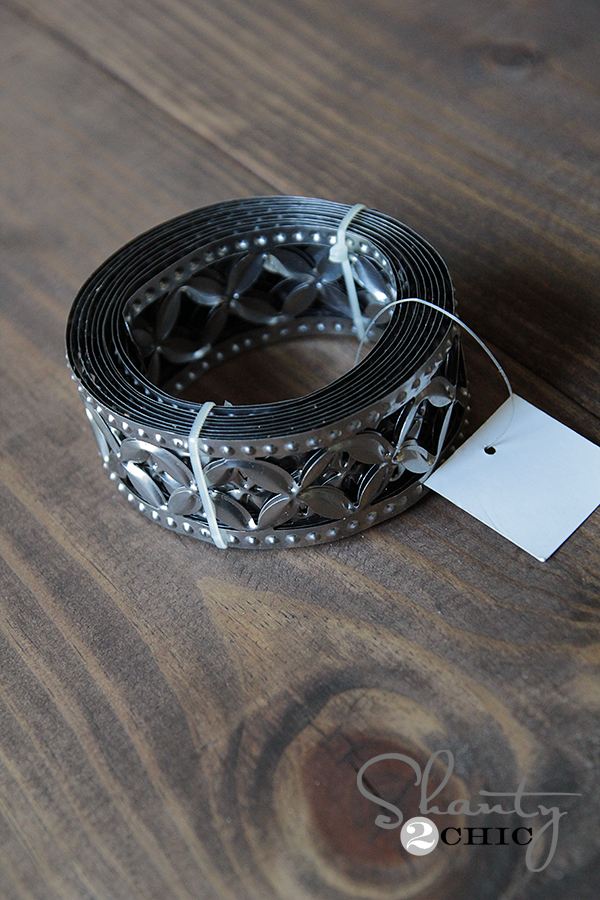
So, I recently came across this great metal ribbon at Hobby Lobby. I walked in for burlap, and come out with a bag of metal ribbon… Anyone have that same problem??
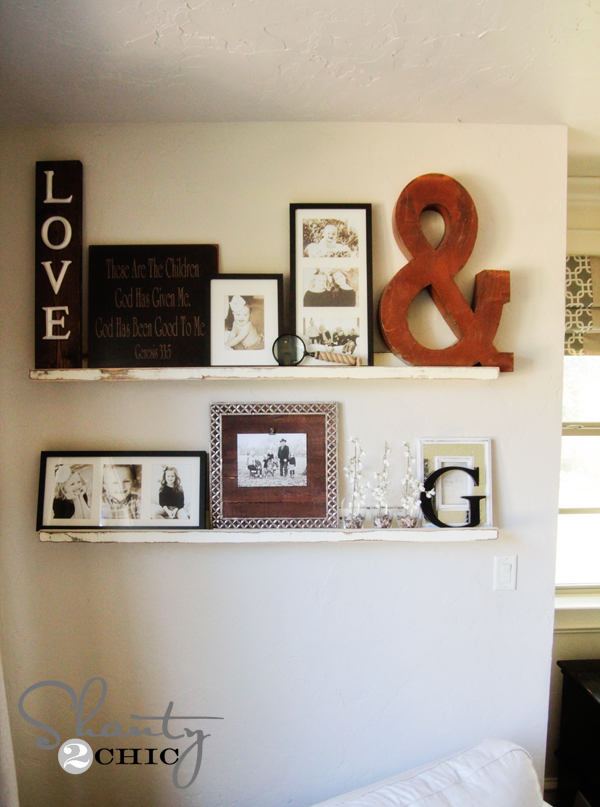
Well… I LOVE this stuff, and I finally put some of it to use today! I made a big frame to go on my DIY shelves in my bedroom and here is how it turned out…
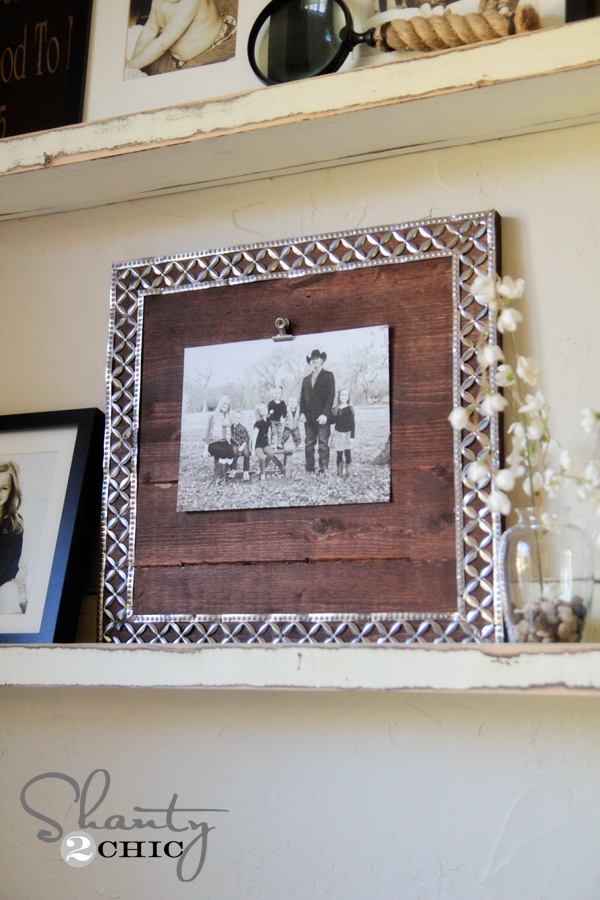
So fun! This is the easiest thing ever. Let me show you how I made it!
For my wood, I used a cheap project panel from the hardware store. You can buy these in different sizes and they are super cheap! Mine was 16″ wide and long enough to make at least 3 frames and I paid $10 for it… Woohoo! After using my miter saw to cut it, I started staining it. You can also have Home Depot cut your wood for you if you don’t have a saw! Also, a simple hand saw like this one work great for small projects like this one!
I decided to stain this frame with some new stain I love! This can be found at Home Depot and I love that it protects your stain with a poly as you are applying… Time saver peeps!
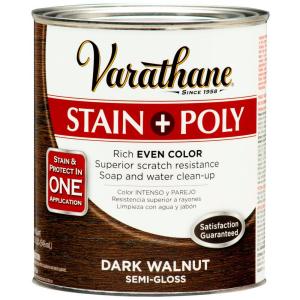
Varathane Stain+Poly in Dark Walnut
Here is what my metal ribbon looked like…
All I did was lay it out on my wood and marked where my corners would be. I used a black permanent marker to draw a small line on the ribbon. Then, I just used a pair of sharp scissors to cut it! Easy peasy.
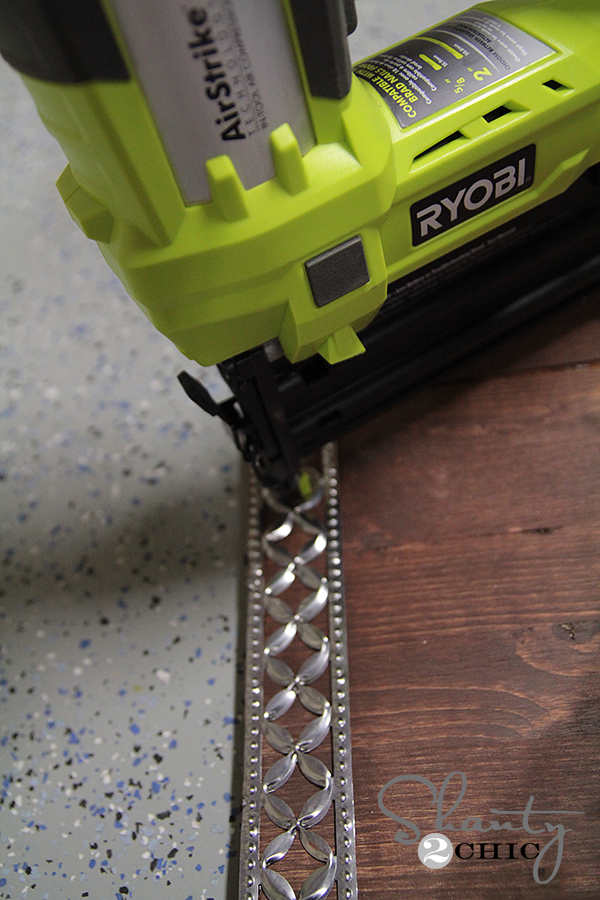
You can use a hammer and small finish nails to attach your ribbon, but I decided to use my Ryobi AirStrike Nailer. This thing is the bomb. I used 3/4″ nails and it did the rest of the work. I love that it’s cordless so I can carry it anywhere and it uses the same battery as my 18V drill. You can find all of our Ryobi tools at The Home Depot!
You can see in this pic where my nails are, They are so small I didn’t worry about doing anything to cover them.
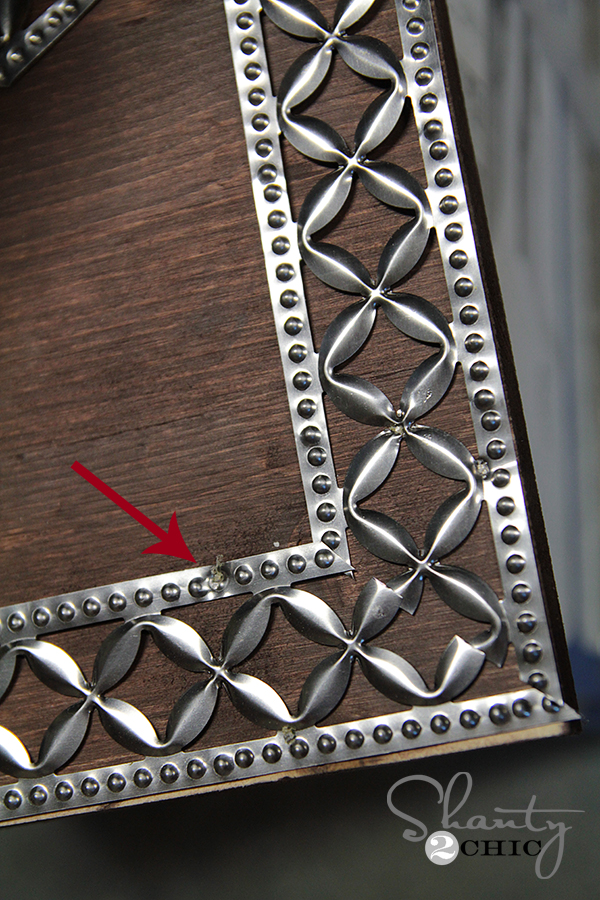
I put several in each piece until it felt secure. I also used my scissors to go back and cut any sharp edges on the corners. You may want to wear gloves when handling the ribbon. It can get pretty sharp, but it is thin and easy to work with.
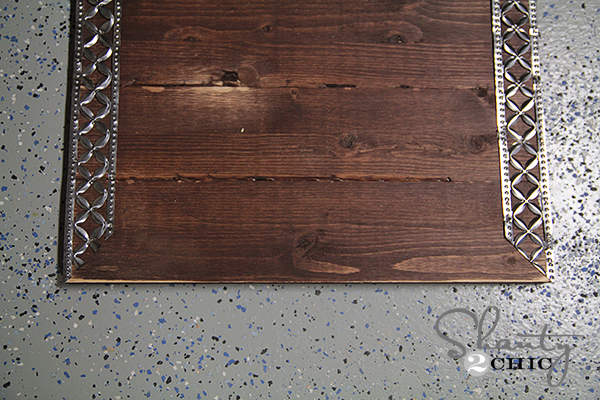
I did three sides the same and here is what it looked like before attaching my final piece…
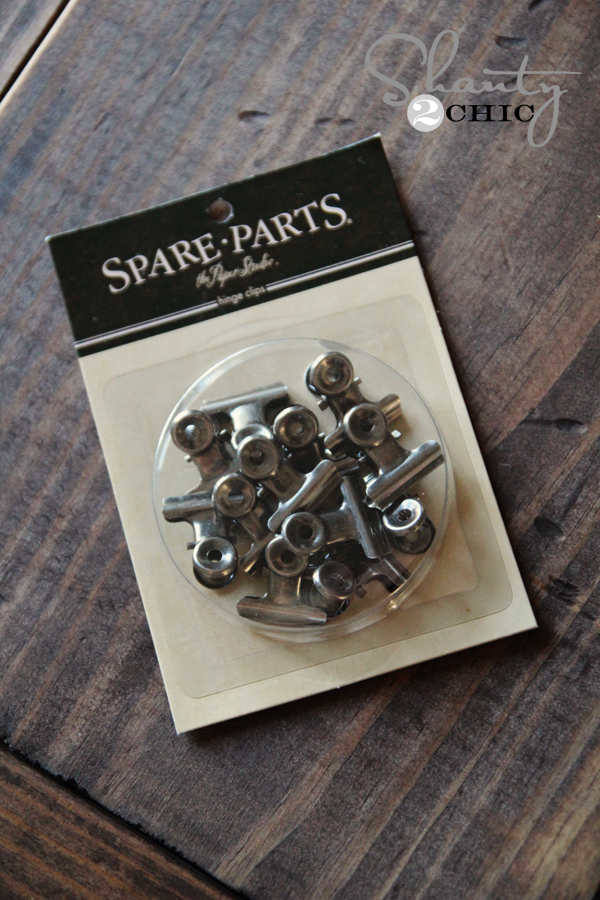
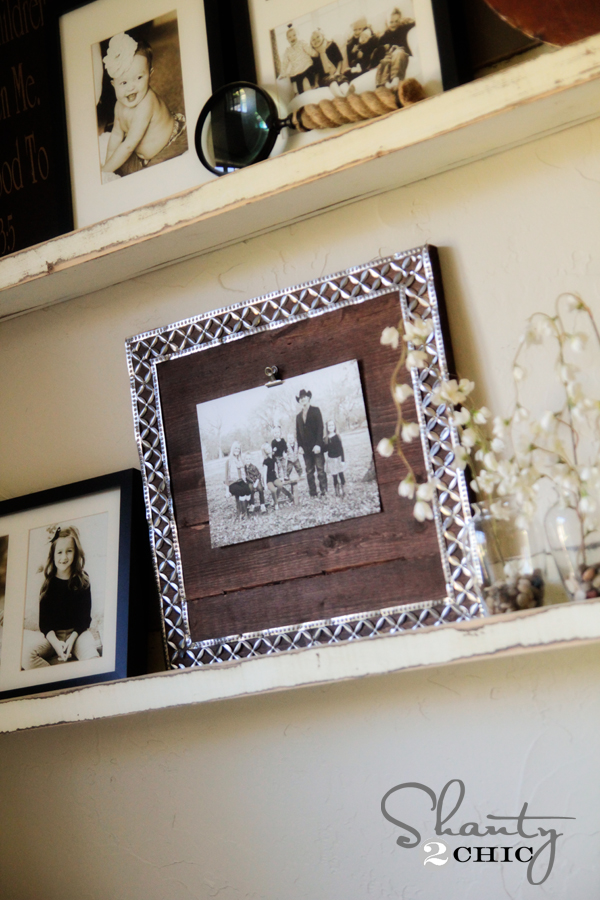
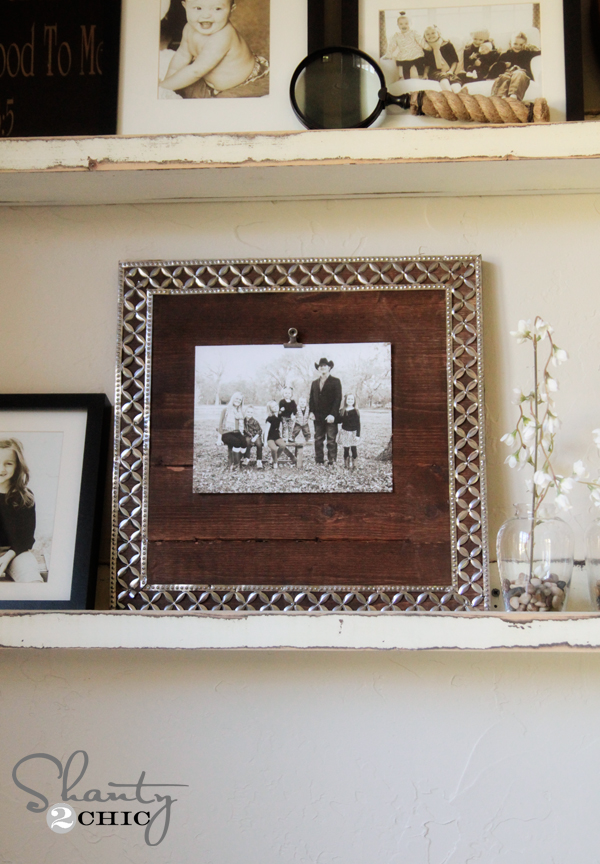
After attaching all my pieces I added a small silver metal clip. I also found these at Hobby Lobby… Half off of course 😉
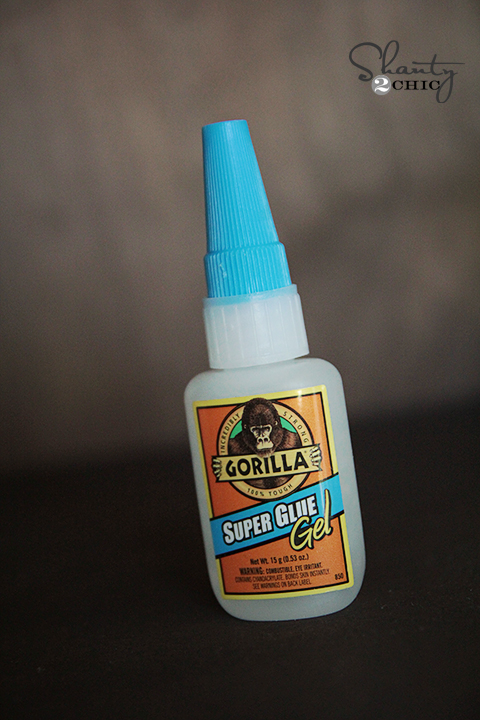
I used some Gorilla Glue Super Glue Gel to attach the clip. This stuff dries in about 30 seconds… Love that!
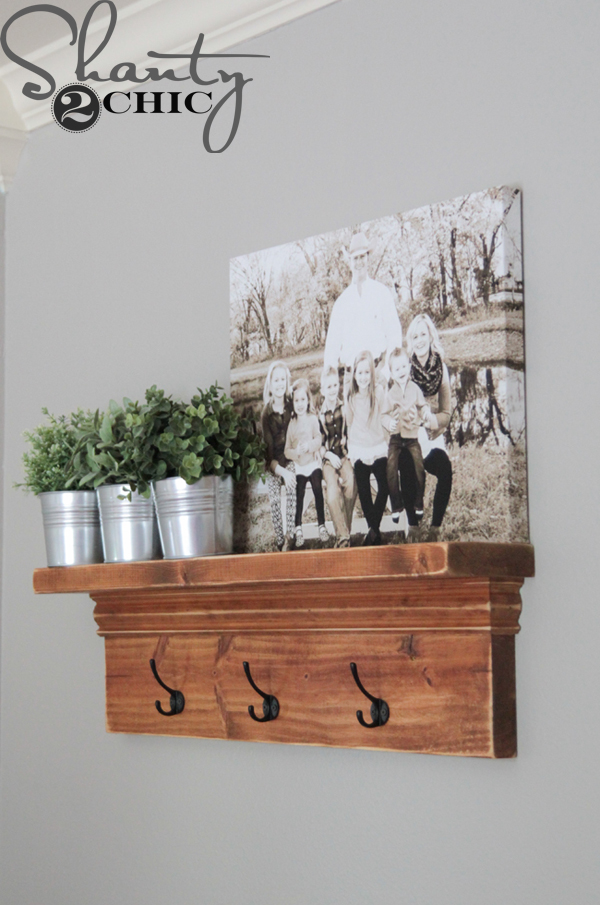
That’s it! I printed out a fam pic on photo paper and hung it up! What do you think??

I do have extra supplies to make more, and I was able to make this one for around $8. That is pretty darn cheap if you ask me! Now to go find something else I can put metal ribbon on… 😉
Thanks so much for stopping by!
I would LOVE for you to pin this frame and share it with your peeps below!
Have an awesome week!
~Whitney


Dollar tree has them from time to time