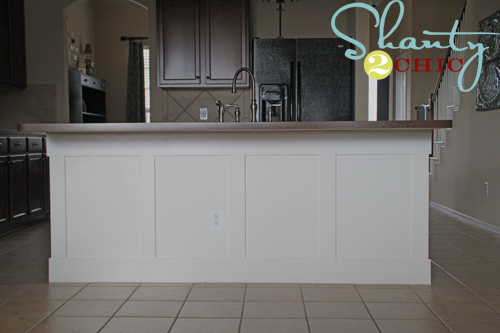
Hey there! So, for the past 2 years, I have been trying to add more custom features to our home. This week I tackled our kitchen island even though it wasn’t in my plans for a few more months.
See that pretty circle on the left? That’s the reason for the early revamp:) Long story short….I tried to touch-up paint around our house with our old paint from the builder and it was darker than our walls so….. our walls were pretty much two-toned throughout the ENTIRE house (note to self: test an inconspicuous area next time;) I cut a GIANT chunk of wall from our island, had it matched at Home Depot…nightmare over:)
With the chunk of wall back in place, it was time to revamp the island:) After having kids eat at the bar for 2 years, it had definitely seen better days. I actually didn’t realize how nasty it was until I started demolition!
I started by removing the old (dirty) baseboard with a utility knife. (Purchased at Home Depot for about $2.00) I just cut a seam along the caulk line.
Next, I pried the baseboard away from the wall by hammering a flat head screwdriver behind it.
Once the demolition was complete, I drew out where I wanted my battens placed.
I used pre-primed MDF boards for the battens because they are very straight, smooth and easy to paint. I used 1×6 for the top and bottom trim and 1×4 for the battens.
I mitered the corners with my compound miter, however, you can buy a miter box and hand saw at a hardware store and do the same.
To attach them to the wall, I applied Liquid Nails to the back side and then nailed it to the wall.
Now for the fun:) I used 1/4″ plywood sheets for the boards. ( I chose to cut the boards down to fit between the battens because it was cheaper and easier).
To cut the board down to size, I used the new Kreg Jig Rip Cut™ and I LOVE IT! It will be available in stores in April and it is only $34.99! It allowed me to cut every board exactly to size, it was super easy takes up very little storage space! It has a guide at the end to keep your cut straight and an adjustable ruler to make your cuts accurate!
I attached the boards to the wall with Liquid Nails and my nailer. (I used a router to cut out spots for the electrical sockets;) I finished by caulking the gaps and painting it my trim color (also matched at Home Depot).
So easy and so cheap! I only spent $50 total and the best part it, I can wipe it down when it gets dirty! (I used a semi-gloss latex paint).
This was so easy and I feel like I got a lot of bang for my buck:) Now I’m off to upgrade more builder grade:) If you love it, I would LOVE pins! Thanks so much for stopping by! ~Ashley
Become a VIP Insider
Stay up-to-date on all the new project, free plans and new products available for you!
That looks great! My island seems like it’s already made of a plywood looking material. It’s the same material as my cabinets. Do you think I could get this look by just removing my trim and attaching the battens?
Fantastic! You both always amaze me with the solutions you come up with, the price to implement the solution and the no fear approach! Love the new look of the island!
Looks amazing! You make using power tools sound so easy – they are completely frightening for me! I finally just used a staple gun for the first time on one of my last projects, scared the heck out of me!! 🙂
Wow! Your little project made a world of difference in the look of your island. Recently found your blog from Pinterest (where I just pinned this project) and am enjoying looking back at all of your fabulous posts. Oh, we are neighbors…I’m in Keller!

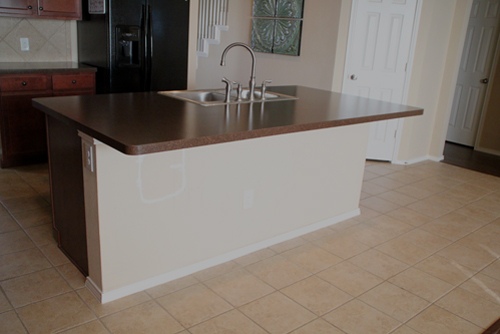 See that pretty circle on the left? That’s the reason for the early revamp:) Long story short….I tried to touch-up paint around our house with our old paint from the builder and it was darker than our walls so….. our walls were pretty much two-toned throughout the ENTIRE house (note to self: test an inconspicuous area next time;) I cut a GIANT chunk of wall from our island, had it matched at Home Depot…nightmare over:)
With the chunk of wall back in place, it was time to revamp the island:) After having kids eat at the bar for 2 years, it had definitely seen better days. I actually didn’t realize how nasty it was until I started demolition!
See that pretty circle on the left? That’s the reason for the early revamp:) Long story short….I tried to touch-up paint around our house with our old paint from the builder and it was darker than our walls so….. our walls were pretty much two-toned throughout the ENTIRE house (note to self: test an inconspicuous area next time;) I cut a GIANT chunk of wall from our island, had it matched at Home Depot…nightmare over:)
With the chunk of wall back in place, it was time to revamp the island:) After having kids eat at the bar for 2 years, it had definitely seen better days. I actually didn’t realize how nasty it was until I started demolition!
 I started by removing the old (dirty) baseboard with a utility knife. (Purchased at Home Depot for about $2.00) I just cut a seam along the caulk line.
 Once the demolition was complete, I drew out where I wanted my battens placed.
 To attach them to the wall, I applied Liquid Nails to the back side and then nailed it to the wall.

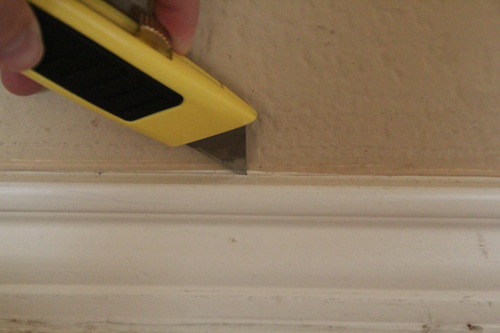 I started by removing the old (dirty) baseboard with a utility knife. (Purchased at Home Depot for about $2.00) I just cut a seam along the caulk line.
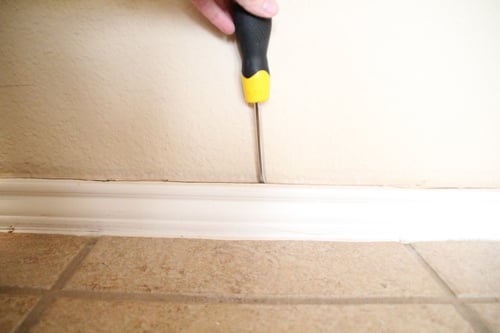 Next, I pried the baseboard away from the wall by hammering a flat head screwdriver behind it.
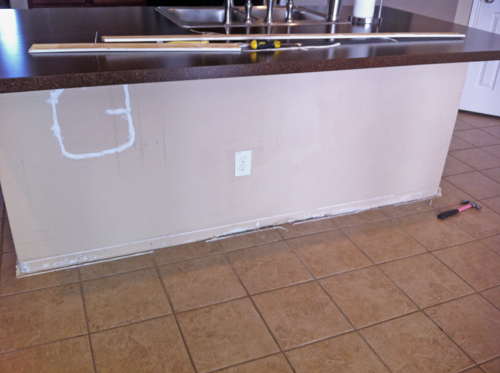 Once the demolition was complete, I drew out where I wanted my battens placed.
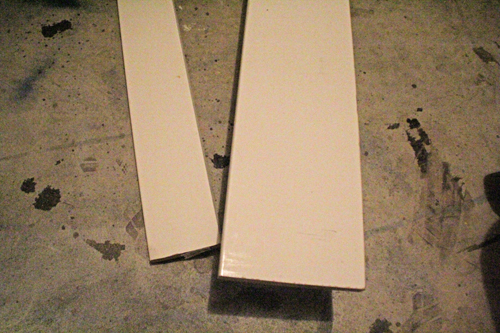 I used pre-primed MDF boards for the battens because they are very straight, smooth and easy to paint. I used 1×6 for the top and bottom trim and 1×4 for the battens.
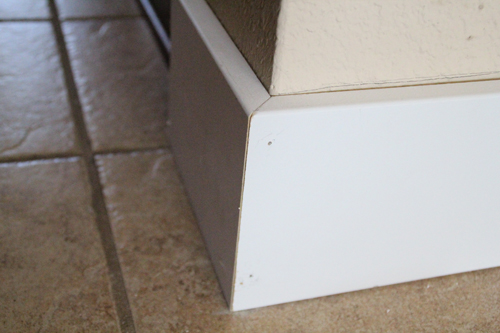 I mitered the corners with my compound miter, however, you can buy a miter box and hand saw at a hardware store and do the same.
 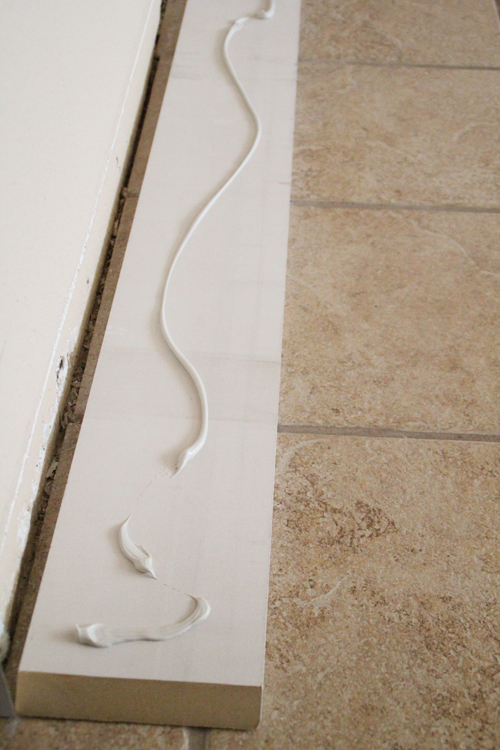 To attach them to the wall, I applied Liquid Nails to the back side and then nailed it to the wall.
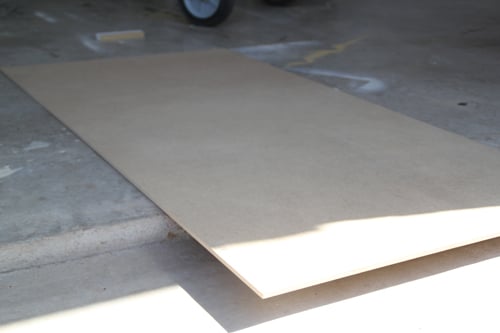 Now for the fun:) I used 1/4″ plywood sheets for the boards. ( I chose to cut the boards down to fit between the battens because it was cheaper and easier).
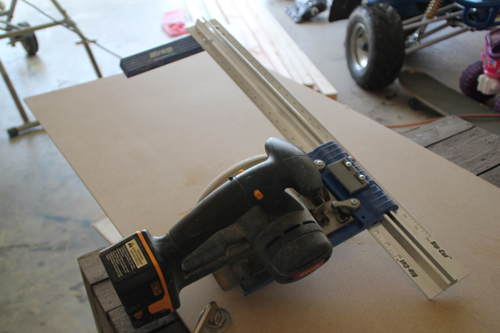 To cut the board down to size, I used the new Kreg Jig Rip Cut™ and I LOVE IT! It will be available in stores in April and it is only $34.99! It allowed me to cut every board exactly to size, it was super easy takes up very little storage space! It has a guide at the end to keep your cut straight and an adjustable ruler to make your cuts accurate!
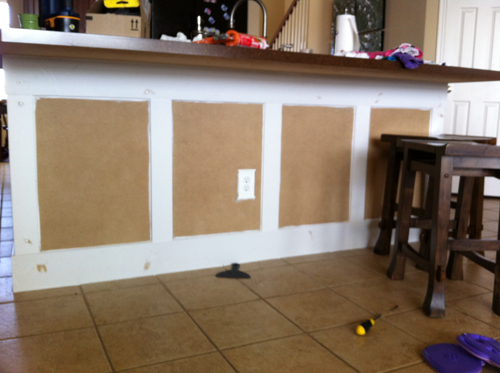 I attached the boards to the wall with Liquid Nails and my nailer. (I used a router to cut out spots for the electrical sockets;) I finished by caulking the gaps and painting it my trim color (also matched at Home Depot).
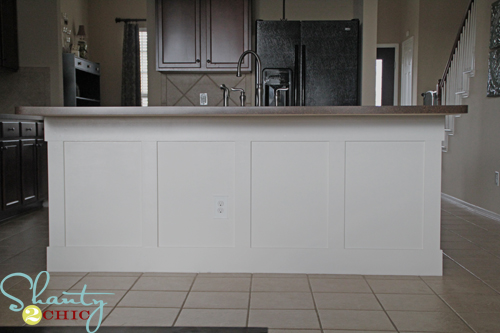 So easy and so cheap! I only spent $50 total and the best part it, I can wipe it down when it gets dirty! (I used a semi-gloss latex paint).
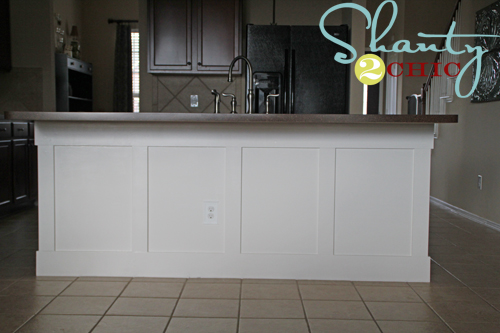
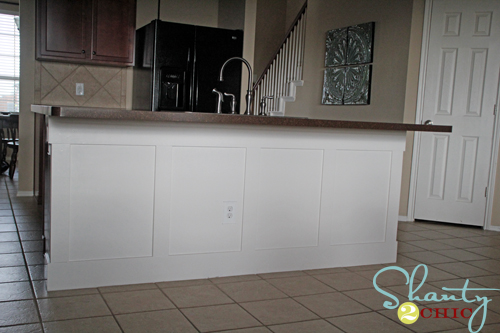 This was so easy and I feel like I got a lot of bang for my buck:) Now I’m off to upgrade more builder grade:) If you love it, I would LOVE pins! Thanks so much for stopping by! ~Ashley

It looks so good. I know you are so proud of your hard work!
I love it, it looks awesome!
I wish you would show the entire post in google reader instead of just a preview. 🙂
Thank you so much Kori:))
Is that a Ryobi 18v One + circular saw?? I have one too and I am psyched to see that the Rip Cut fits it!!
It is! From what I understand it fits most circular saws and it was very easy to assemble!
Great job! I’m envious. Wish I could use tools as well as you do. Will be pinning it.
Awesome! Thanks so much Rita! You can, just start small and you will be addicted fast:)
alrighty then, I’ve got to go with the others and say WOW! you did good. really good.
Thanks so much Cindy:)
Looks so much better than builder’s grade!! Great job!!
Thank you Tracy!
That looks great! My island seems like it’s already made of a plywood looking material. It’s the same material as my cabinets. Do you think I could get this look by just removing my trim and attaching the battens?
Thank Lynn! Yes for sure! That would be so easy:))) Good luck!
Awesome change! I just love the look. I have to get cracking and tackle some of my projects that are waiting…
Thank you! Good luck to you:)
oh how wonderful. I’m completely smitten with how this turned out…an entirely different space with this addition – well done!
Thank you so much:) It makes me happy!
Terrific! You made it look so easy. What a difference! Thanks for sharing 🙂
Thanks so much Kellie!
Fantastic! You both always amaze me with the solutions you come up with, the price to implement the solution and the no fear approach! Love the new look of the island!
Thank you Debbie:))
wow! looks fantastic!
Thanks so much Mishelle!
Looks amazing! You make using power tools sound so easy – they are completely frightening for me! I finally just used a staple gun for the first time on one of my last projects, scared the heck out of me!! 🙂
Leanne
LOL Leanne! That’s a start! Thank you:))
What a nice difference you made with this project. Good job! I love board and batten!
Smiles,
Lesli @ BeautifullyCoastal.com
Thank you Lesli:)
Wow! Your little project made a world of difference in the look of your island. Recently found your blog from Pinterest (where I just pinned this project) and am enjoying looking back at all of your fabulous posts. Oh, we are neighbors…I’m in Keller!
Awesome! Thanks so much Misty! We probably shop at the same stores:)))