You can also catch our LIVE video updates on the Periscope App! Find us at Shanty2Chic!
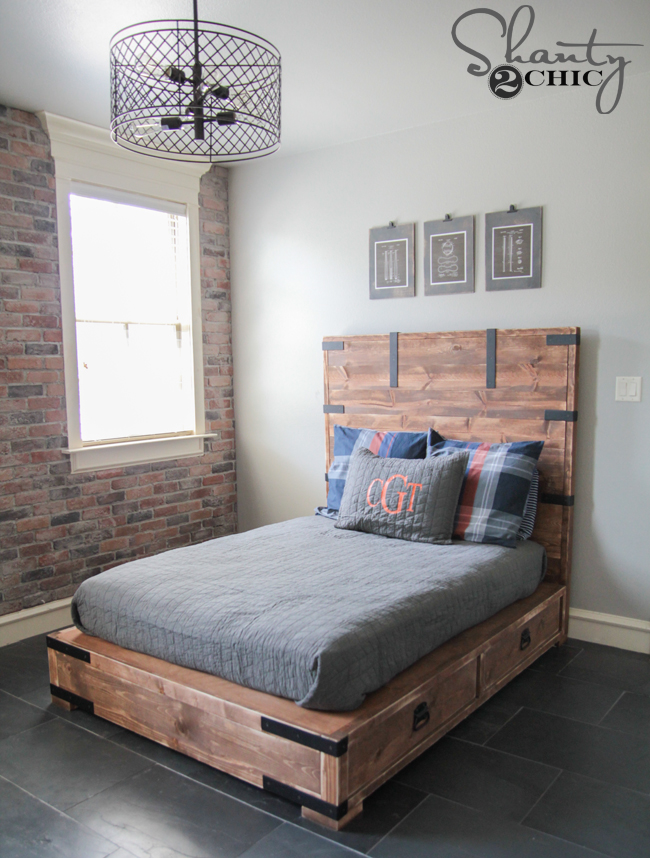
Friends. I might trade beds with my son. I am IN LOVE with this thing. Now… His mattress photographed is a full size mattress and works great with this bed. It allows the platform to show around the bed which I like. It will also fit a queen size mattress without the platform showing. Check out the DIY Full or Queen Size Storage Bed I built for my little guy!
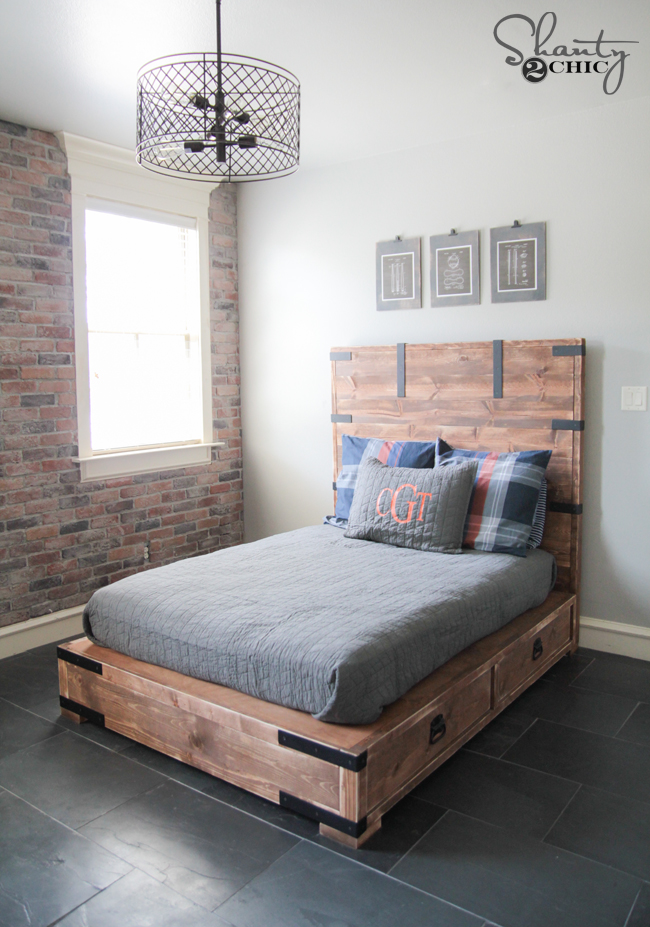
How cool is that? I am in love… Did I mention that? And can I just say that there is absolutely NO wasted space under this bed… And he can’t throw his junk under there. #winning As always, I will share the whole build and free plans here. If you read allllll the way to the bottom of the post, I will share info on where to get all the accessories, hardware, paint and everything else.
Click HERE or the button below to download and print the FREE PLANS!
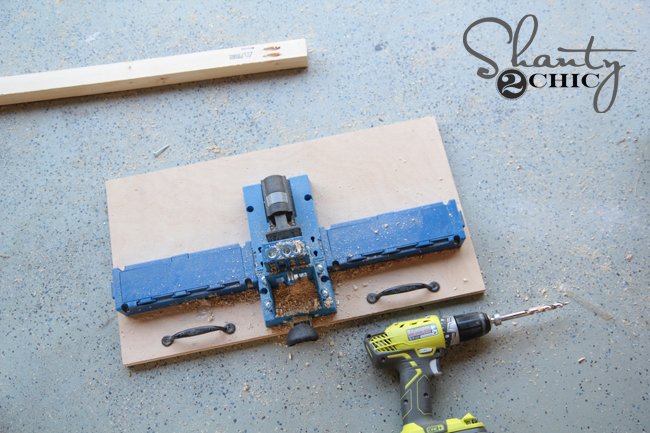
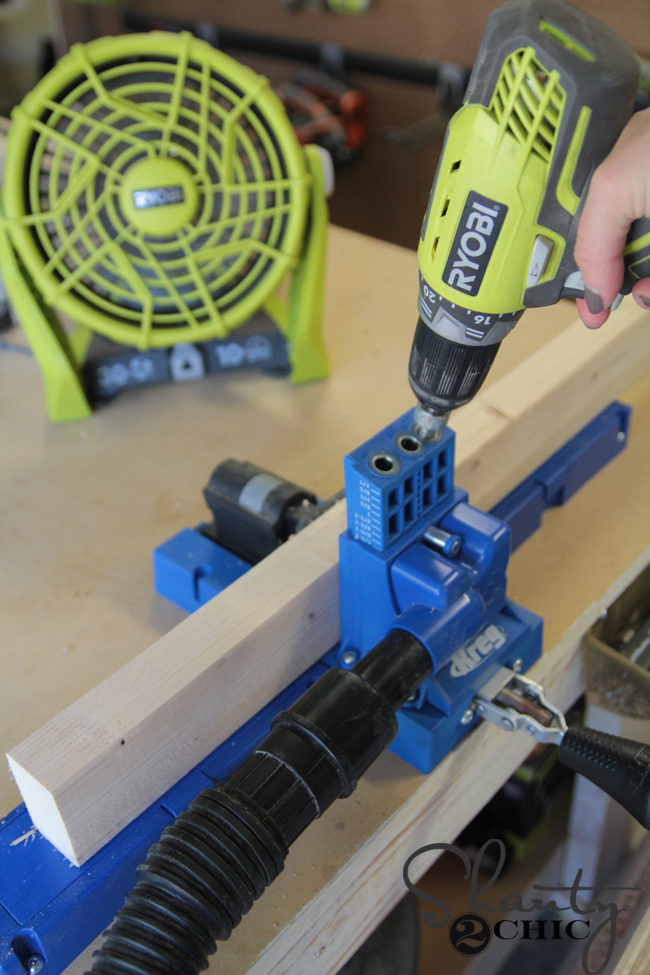
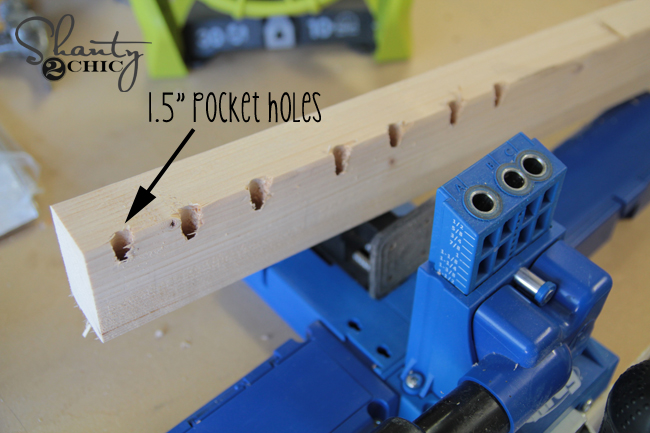
The very first step of this plan is to build the front and back frames of the bed. I used my K5 Kreg Jig for most of this build. I actually use two K5 jigs. I have one attached to the top of my workbench for shorter boards, and I also attached one to a scrap piece of 3/4″ plywood so I could lay it on the ground for longer boards. That’s what I used to make the pocket holes down the sides of each panel.
This bed uses a few sheets of 3/4″ plywood. I used one of our very favorite products for this part. It’s called PureBond Hardwood Plywood and you can find it in the lumber section at Home Depot. I used Birch for this build. This product is amazing. It stains beautifully without the cost of true hardwood, and it’s made in America with sustainable resources. You can see more about it HERE.
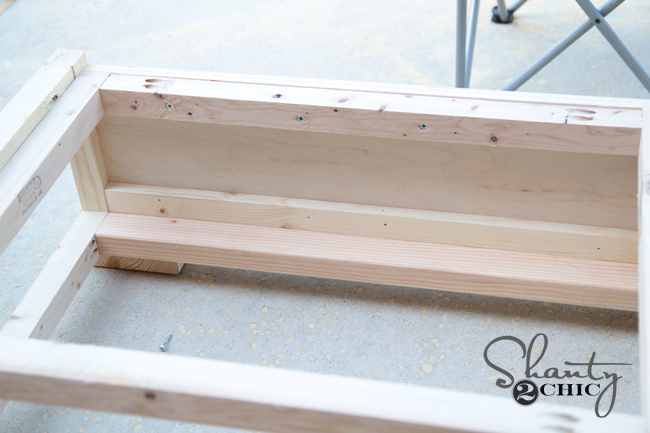
You can see here where I added all of my 3/4″ pocket holes on these boards.

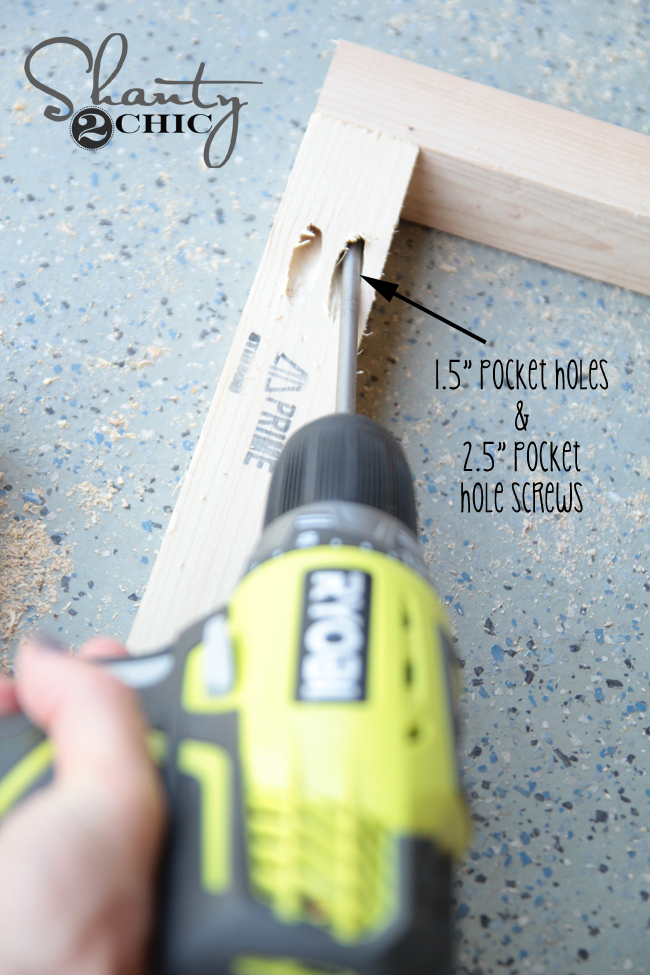
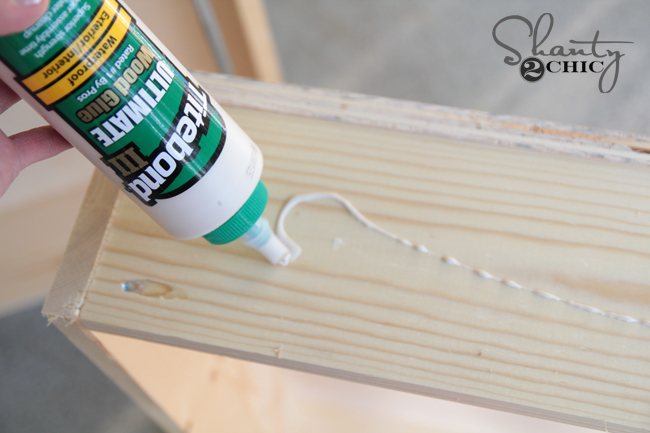
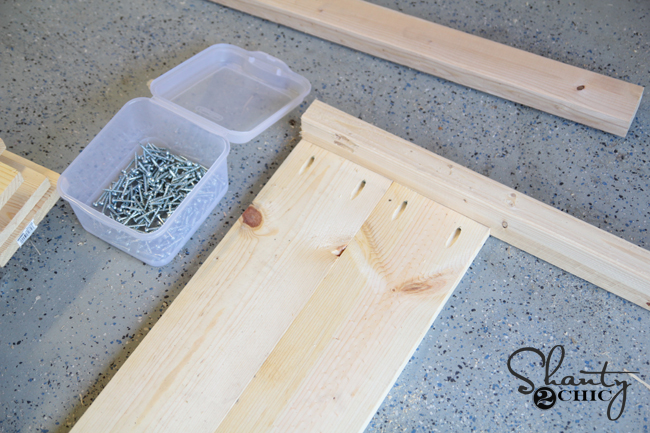
Next, I used a line of wood glue and attached these panels to my 2×4 boards with 1.5″ pocket hole screws.

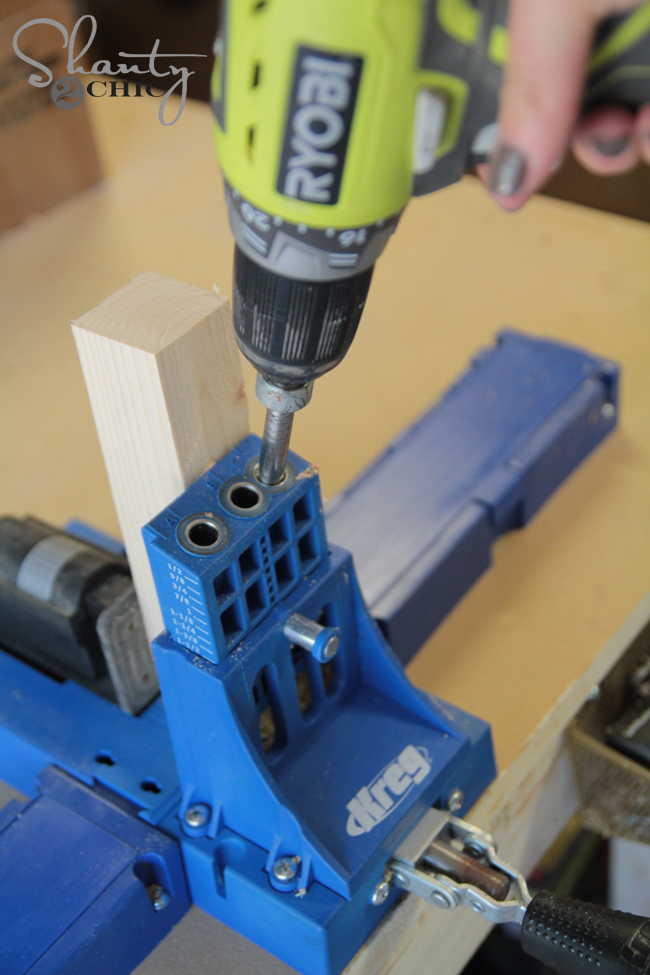
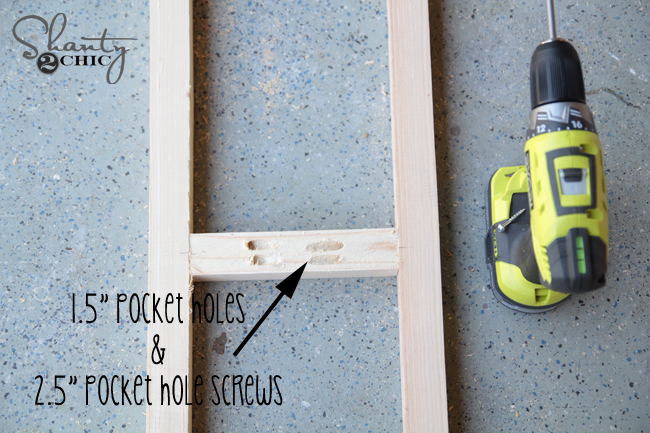
Now onto the sides which are the frames for the drawers. I actually used my Ryobi table saw to rip my own 2×2 from 2×4 because the selection of 2×2 is always comical.
I used my Kreg Jig again to add pocket holes to these boards, but these were 1.5″ pocket holes.
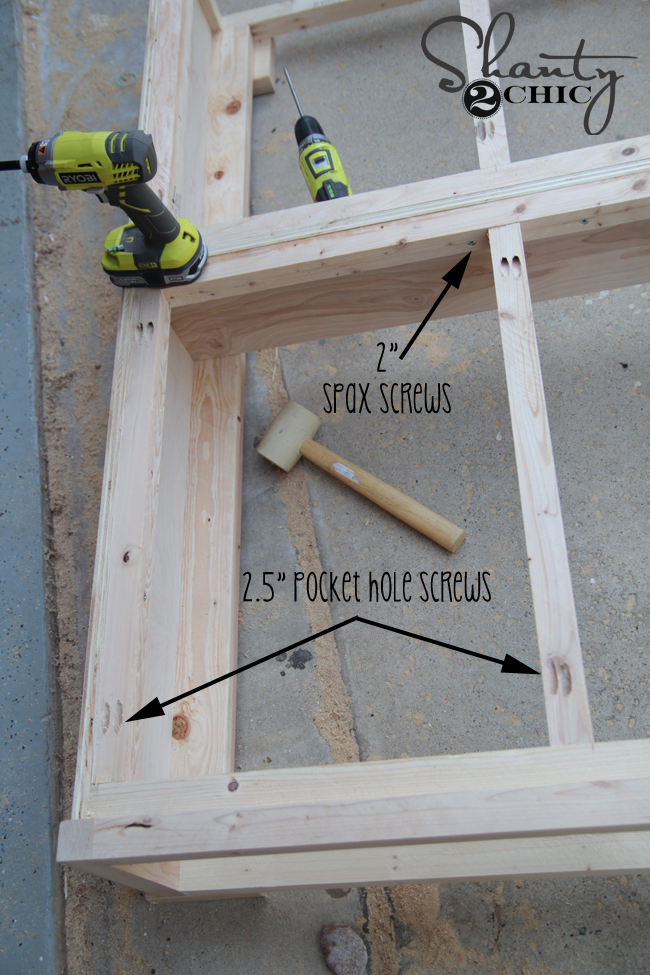
I attached the corners first, and then the center pieces.
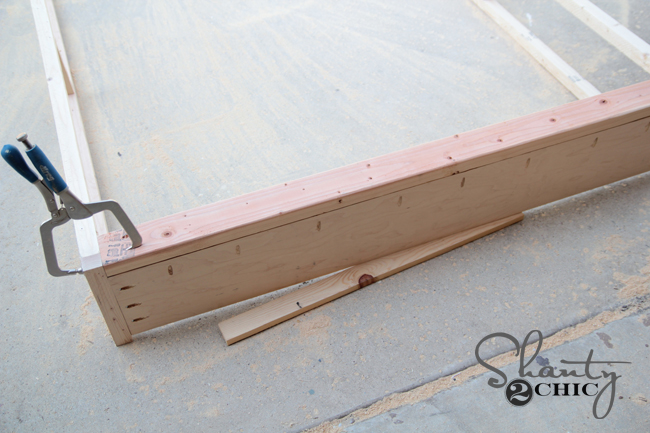
Once the side frames are built, you attach them to the front and back panels. A Kreg Right Angle Clamp is super helpful for this part! It’s like having an extra hand to hold something.

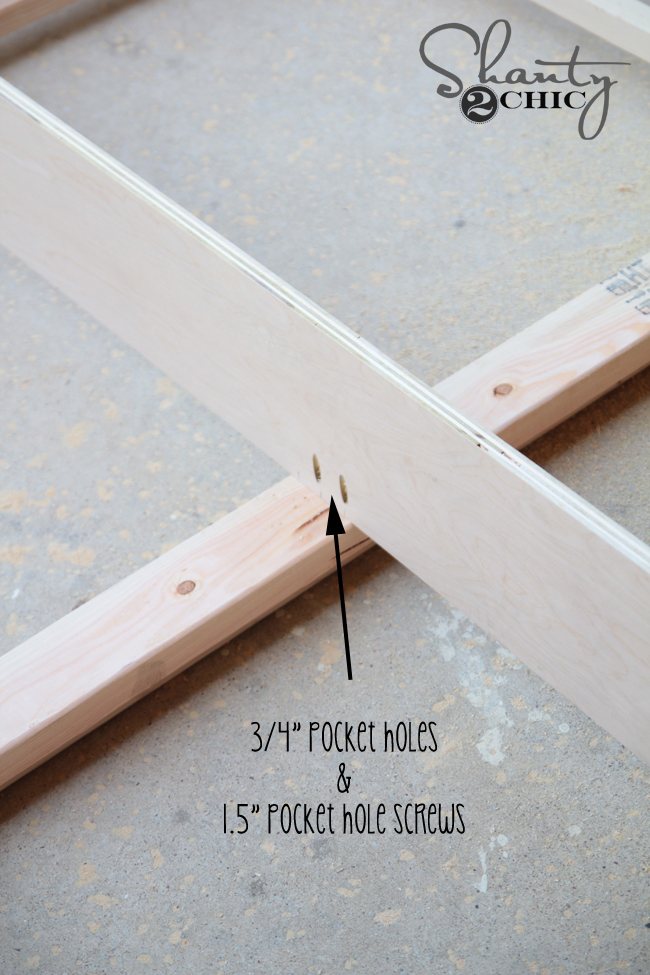
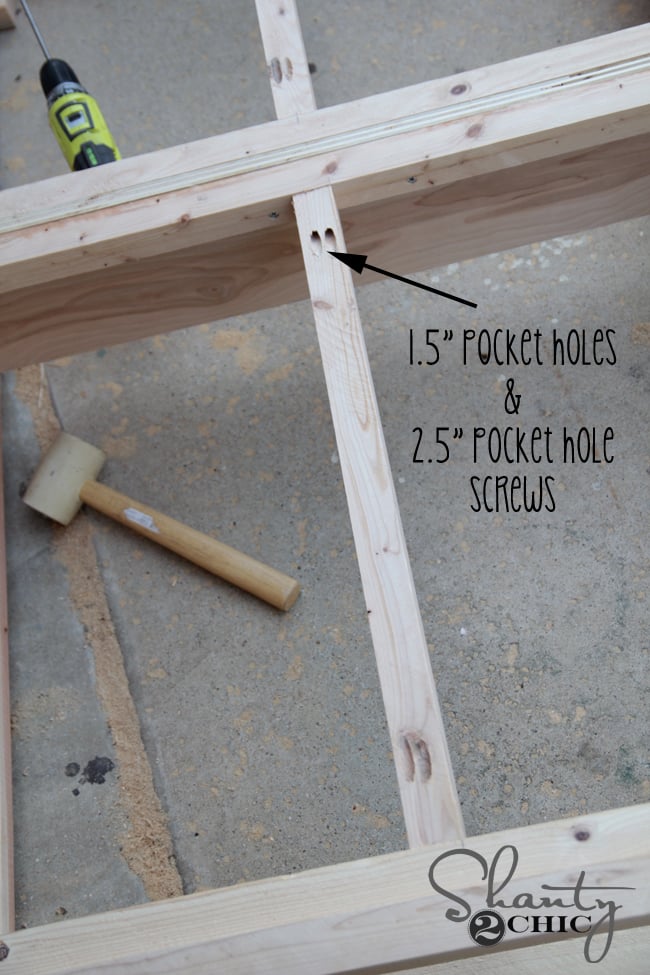
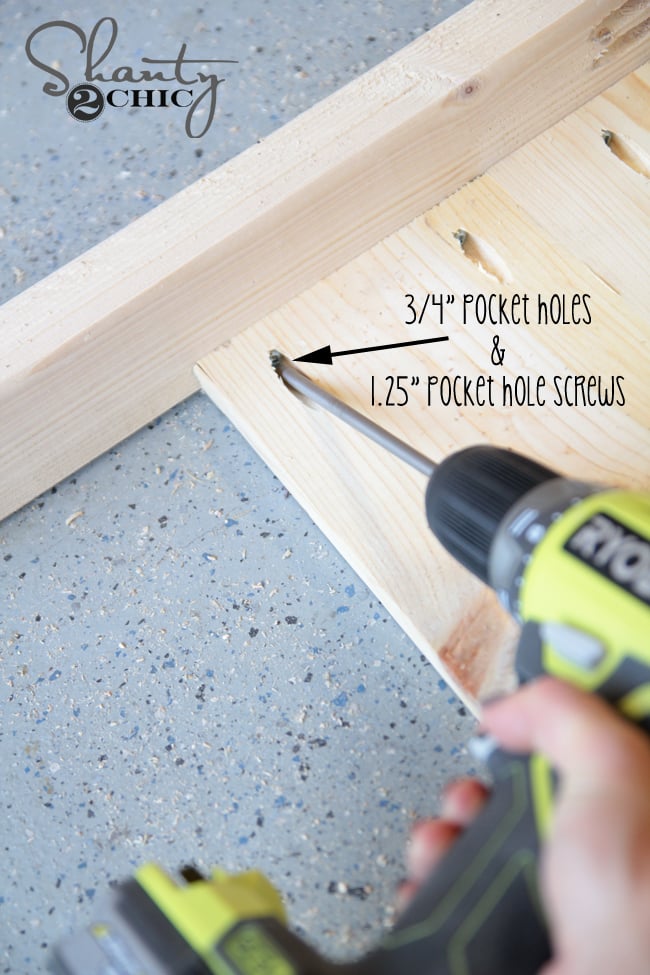
Next, I attached the center piece of Purebond using 1.25″ pocket hole screws.
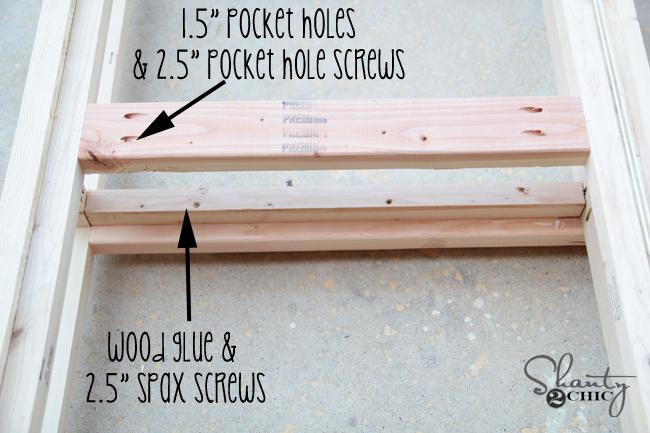
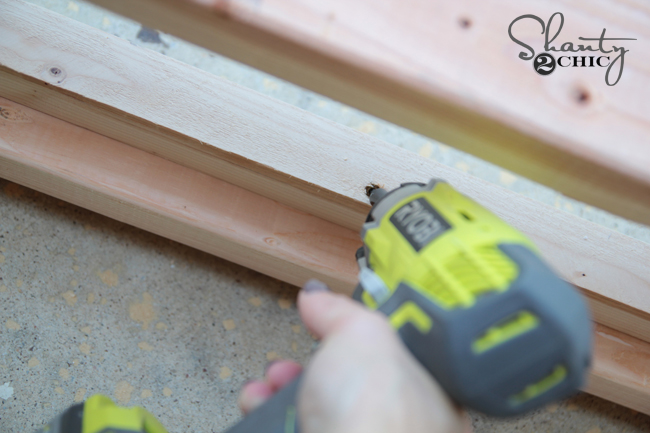
After that, I built the runners for the drawers. We use a great wood drawer slide system that I heart so much. It’s very simple to follow. I attached most pieces with pocket holes and pocket hole screws, and also used wood glue and Spax screws to attach the side 2×2 pieces.

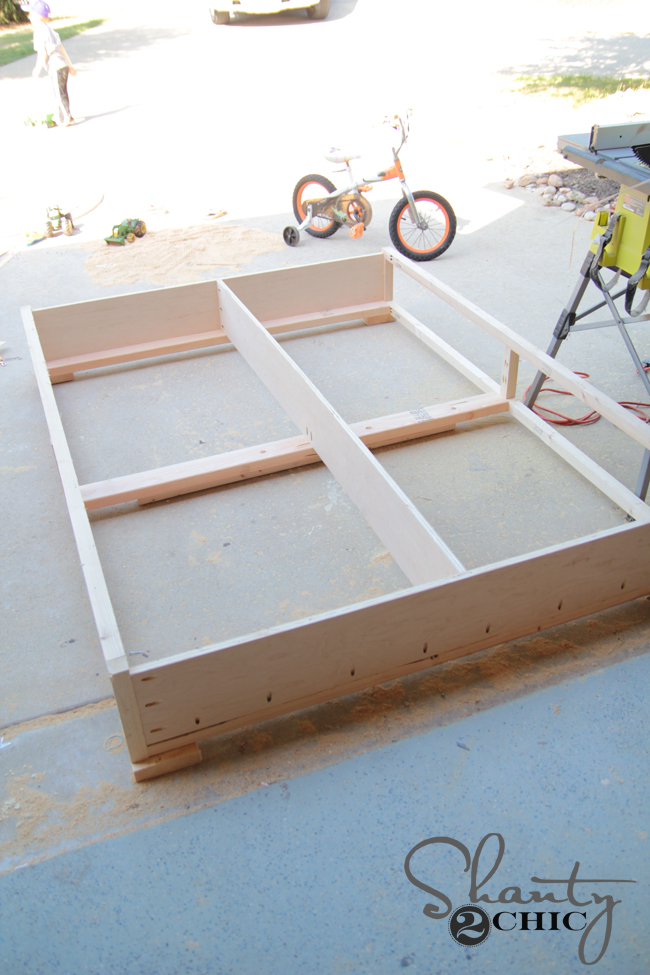
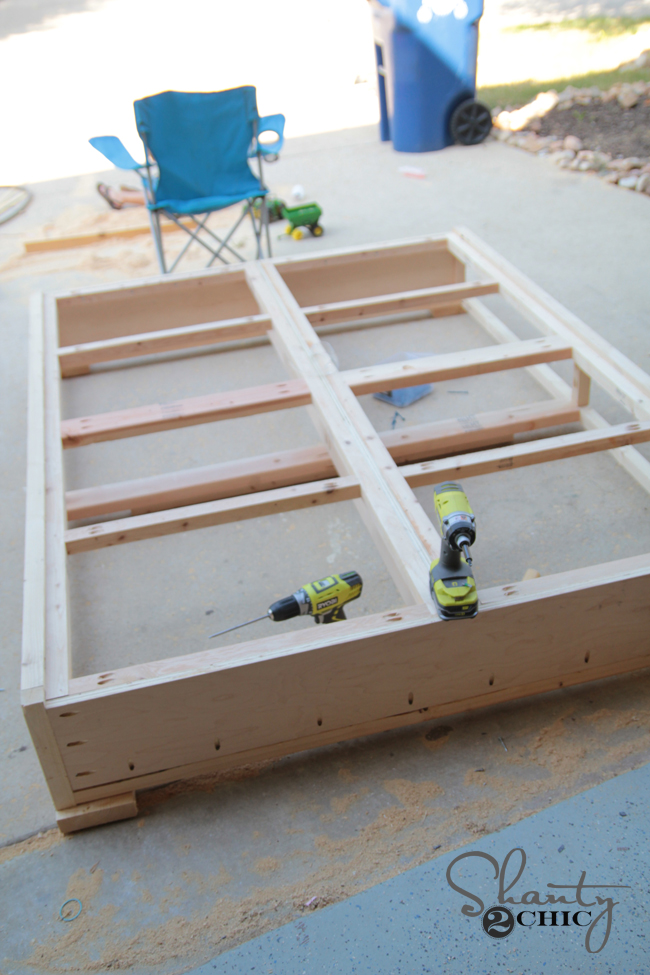
Here are some more shots to show how it came together and what I used…

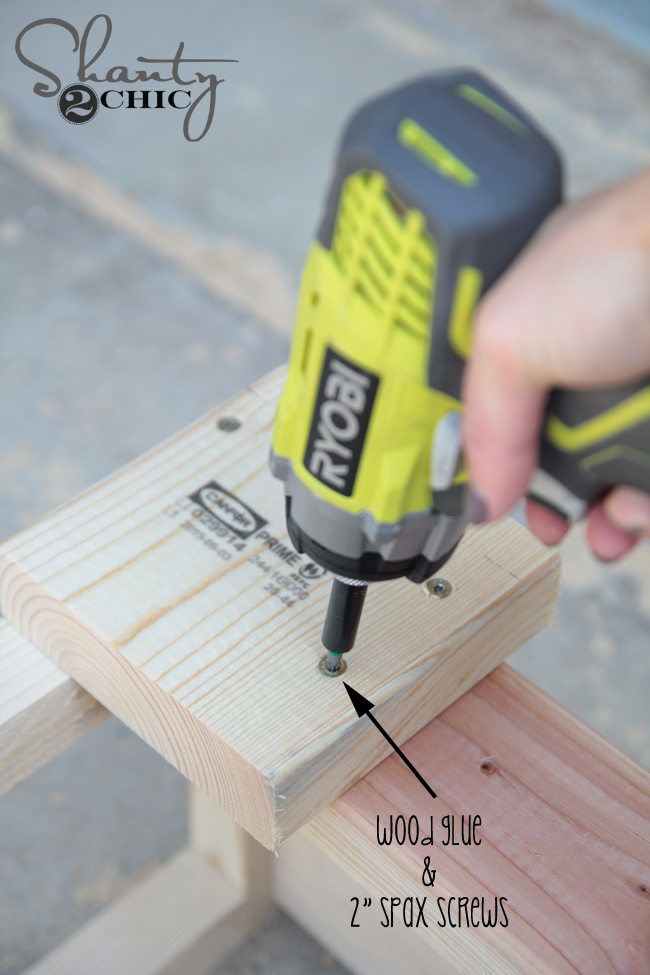
I used my impact driver and Spax screws to attach the feet of the bed.
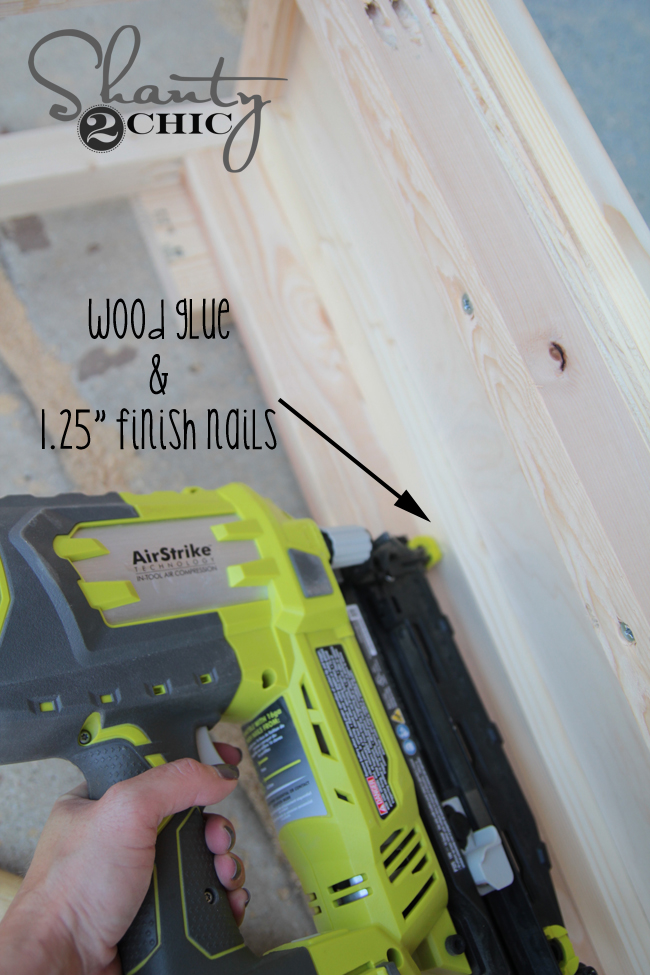
And used my nailer with wood glue to attach the trim on the outside.
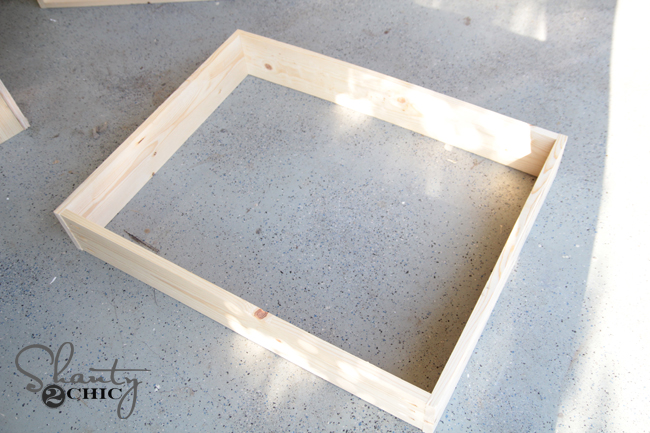
After finishing this part of the bed, I moved to the drawers. These are very simple. The sides are built from 1×6 that I attached with 1.25″ pocket hole screws. The base is Purebond plywood glued and nailed into the side frames.

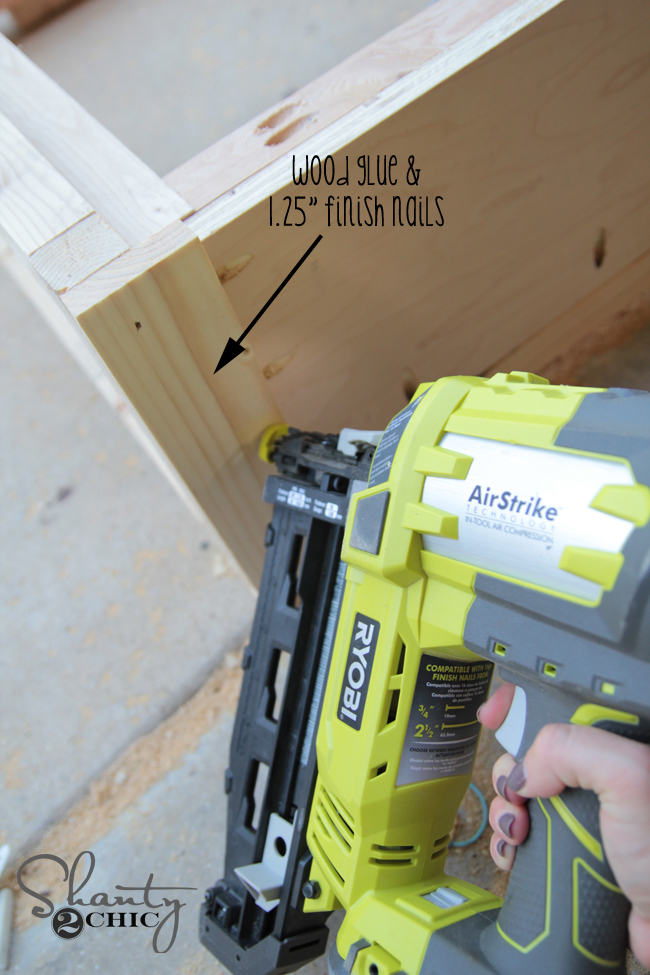
I glued and nailed the drawer frames with 1.25″ finish nails from inside the drawer side into the face frames.
Now for the headboard…. YEAAAAHHH. It’s simple and a whole lot faster than the bed 🙂
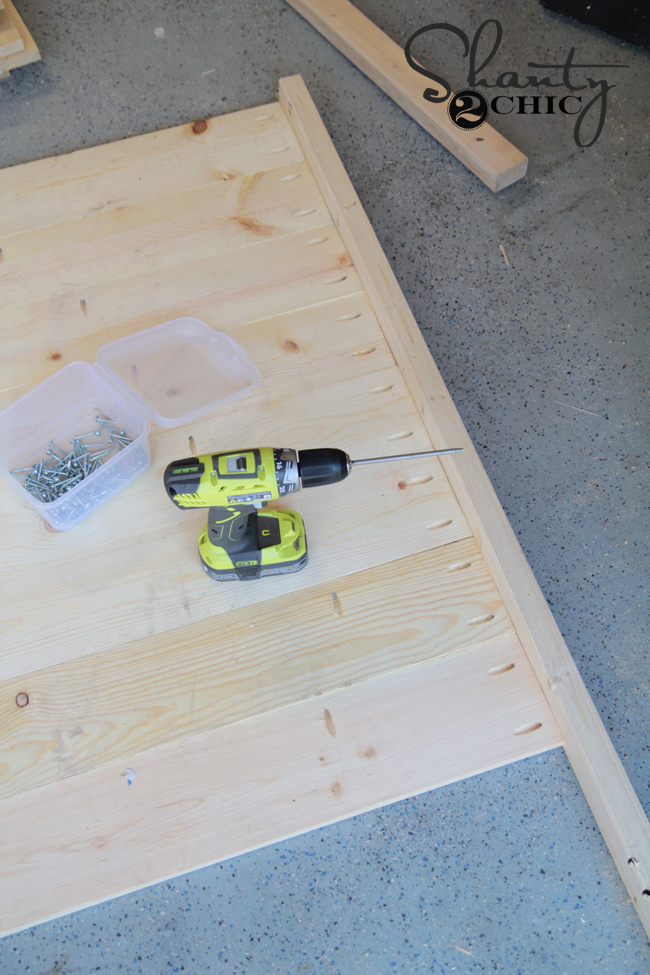
You will start by cutting your 2×3 and making 1.5″ pocket holes on the bottom of each side. These will be used to attach the headboard to the bed.
Next, I planked the 1x boards into each side using 1.25″ pocket hole screws.
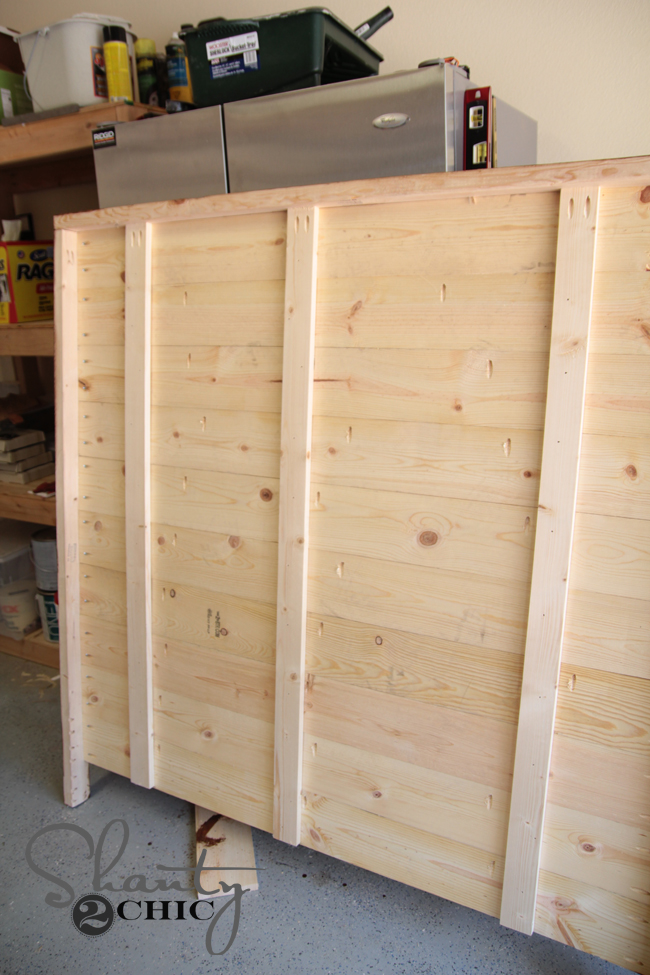
Planked some more…
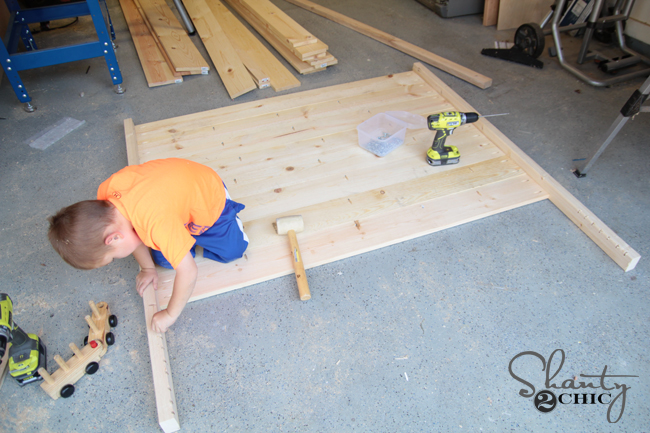
Had a helper…
Almost done…
I stood my headboard up to add the 3 support boards to the back.
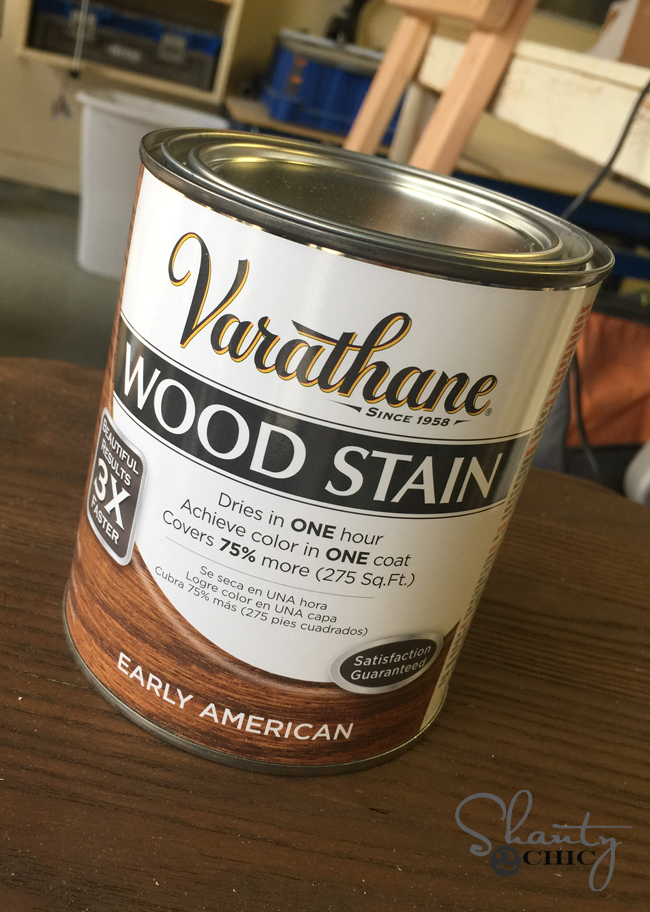
I was done with the build… At this point I stained everything before moving it into the house and assembling.
I stained his bed using Varathane in Early American. You can find it at Home Depot.
Now… Let’s talk about that hardware!!! It’s amazeballs right?
We have a really good local friend who owns an amazing Etsy shop called Wayne Works.

I showed him my vision for these metal straps, and he put a set together for me. And guess what?? He’s offering that set to you guys too! You attach them to the wood with drywall screws. So simple. HERE is the link to the set!
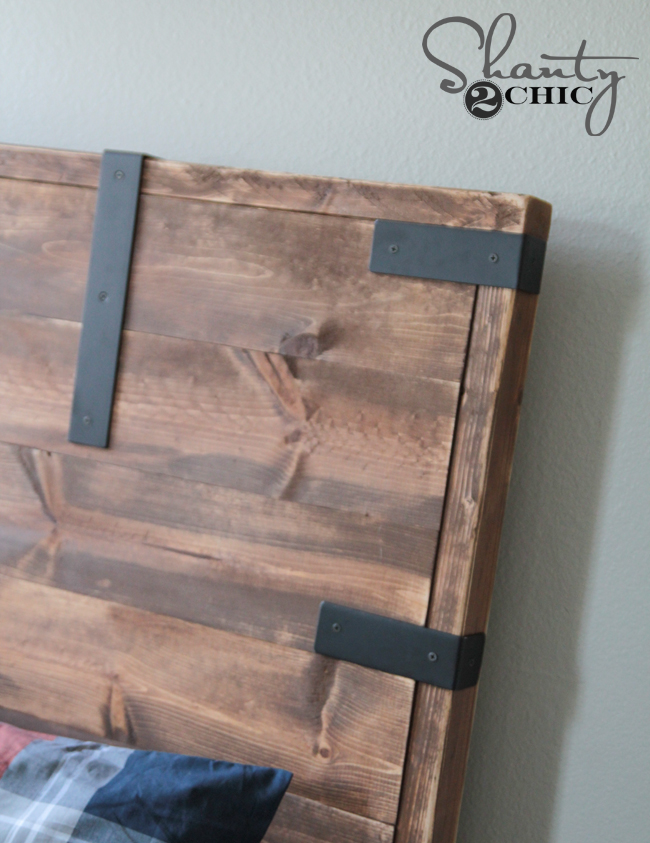
They add so much to the bed too! Go check out his shop and get some!
The handles on the bed are outdoor pulls from Home Depot that I spray painted black.
The bedding…
I actually busted out my Silhouette Cameo cutting machine for this project! I forgot how much I love this machine. I used it to cut his monogram out of orange iron-on material and attached it to the pillow.
I found the grey quilt and sham at Target.
I found the plaid euro cases at PBTeen.
The flooring is from The Tile Shop. You can see info on it HERE.
My brick wall was a DIY post I shared HERE.
The wall color is Mindful Gray (7016) by Sherwin Williams.
The lighting fixture is from Lamps Plus and you can see it HERE.

Does anyone know where you can find similar hardware for the bed, the links in this article no longer work unfortunately?
Would love measurements for a Cal King bed!
where can I get plans and materials sheet I love the design
King bed please!!!!
I love this bed. I have desperately looked all over for a bed similar for my son to surprise him for his birthday, and can not, I mean CAN NOT FIND ANYTHING LIKE IT. I am so disappointed and just wanted to ask do you all take orders? So that I can get his bed built for him????
Do you guys have measurements for a queen size bed
The bed looks awesome. I just got done with another one of your full size bed designs, and we love it. I was wondering the cost of this one.
Thanks
Dimensions for King size bed?
Dimensions for the queen sized version and cut list. This will be the second bed I made from your website. Thank you.
On the PDF plan it has 2.5″ wood screws and 1.25″ pocket hole screws in the materials list. On this page (with pics) it shows 1.5″ pocket hole screws and 2″ spax screws. Not sure which to go with but I am guessing to go with the specs on this page (1.5″ pocket hole screws and 2″ spax screws). Remodeling house this winter and this is an excellent piece to add to our guest bedroom.
Could you post measurements for a king size bed?
With some slight modifcations. you can make 2 sets of drawers.
Can i use these same measurements for a queen?
Is it possible to get twin size dimensions with two drawers?
What a great project. I will use this and some other Ana White designs to make a King Size storage bed. Thanks for the inspiration and great projects.
Got to have this bed…..I love it. Beautiful job!!