Happy Wednesday!
I am SO excited to share my latest build with you guys today! Building took a back seat to Christmas, but with that behind us (for 11 more months), I was so pumped to dust off my tools and get to work!
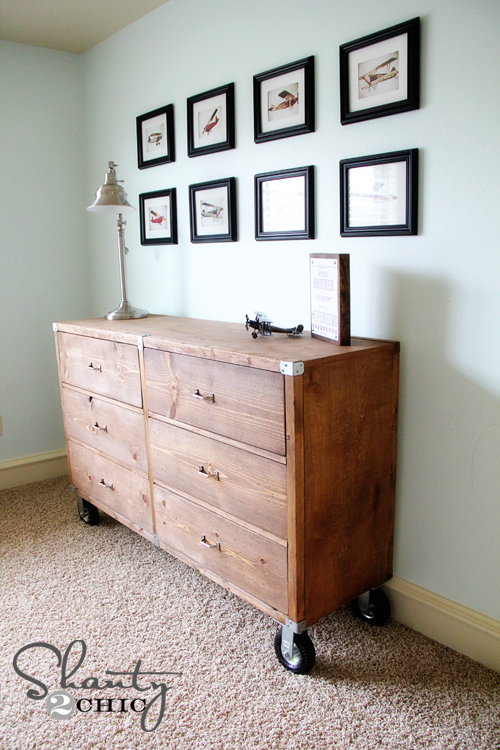
This might just be my favorite build yet. My youngest son has an empty room. He has a crib, and that’s about it. I have been folding his pajamas and socks for months, and putting them in a basket. No more of that! I knew I wanted to start with a dresser, so I started looking for ideas to hack borrow. I couldn’t find exactly what I was looking for, so I just started designing it in my head. That’s the great thing about DIY… Oh, and Miss Ana White! Once I had my idea, I hit her up for some new plans, and she delivered! I LOVE it. Here is how it turned out…
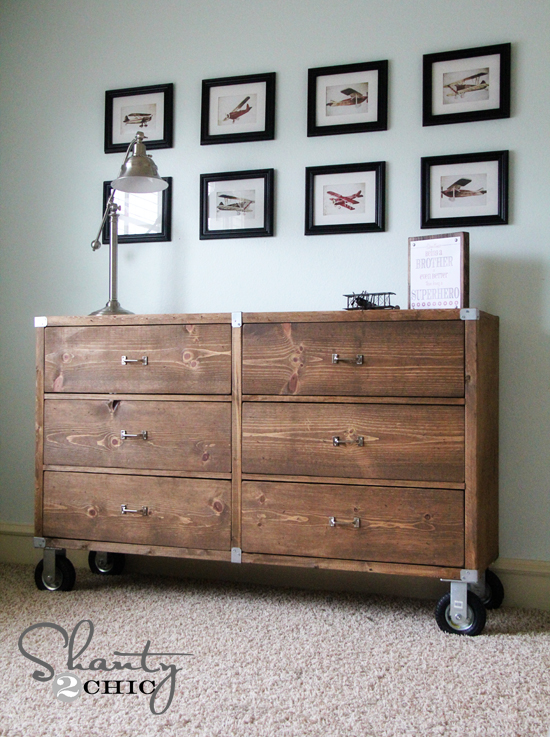
What do you think??
Isn’t it the bomb? If his room weren’t empty, I would be tempted to keep this baby for myself!
I will share details of my build here, and you can get the full set of plans over at Ana’s site!
So… Here we go!
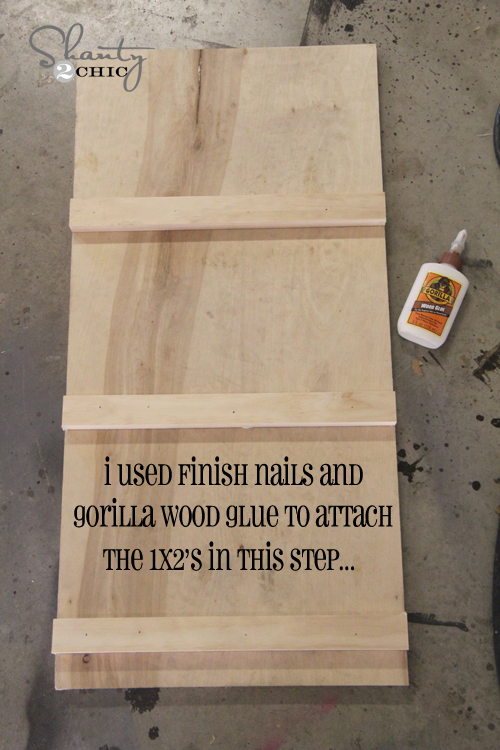
For my wood, I chose PureBond Plywood of course. Many of you guys know how much Ash and I love this stuff.

The thought of building beautiful furniture with plywood may sound a bit strange. It did to us as well! That was until we learned about PureBond Plywood.
PureBond Plywood can be found at any Home Depot.
What sold us on PureBond…
~ It uses Formaldehyde-free glue (scary to think we have been breathing in harmful chemicals until now)
~ It’s made in AMERICA… Whoop!!!
~ It’s made with wood from sustainable forests
~ It’s extremely easy to work with
~ Biggest selling point for us… It’s BEAUTIFUL! You get the look of real hard wood for a fraction of the cost. Home Depot stocks birch and oak. You can also order hickory, maple, you name it and have it delivered to your store… Love that!
So after learning the benefits of PureBond Plywood, we will never go back. It’s such an obvious choice and it fits quite nicely in our shanty budgets!
I had the nice guys at Home Depot cut it down for me. For the rest of the dresser, I used pine boards. Yesterday we shared a few videos on working with PureBond. You can see them here!
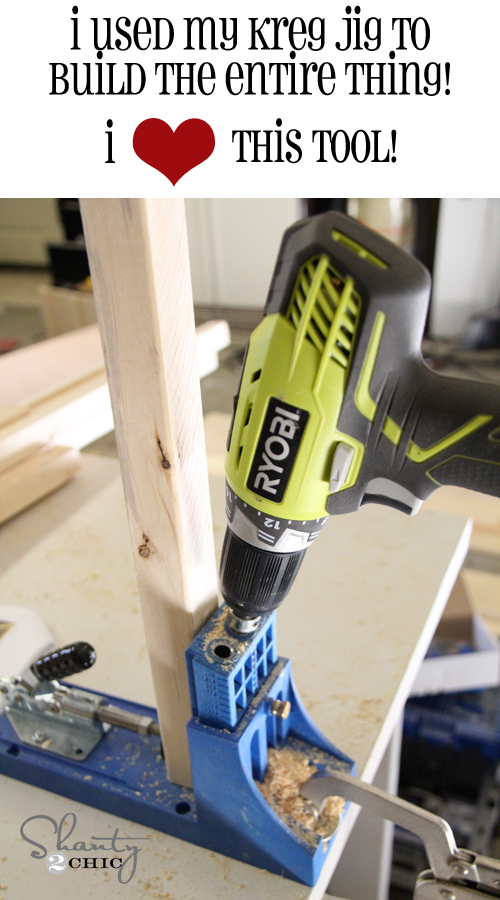
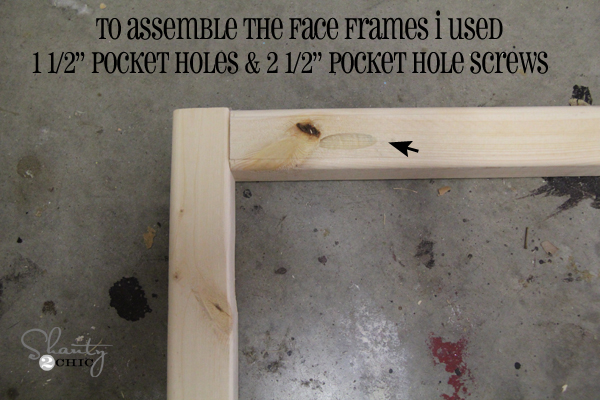
For those of you still on the fence about getting a Kreg Jig, just go for it! It is a small investment with such a huge return!


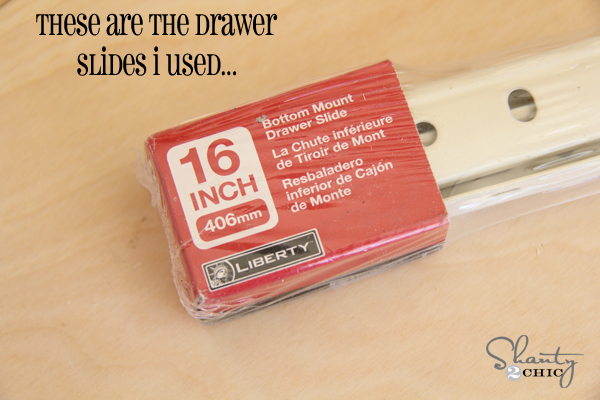
I must say I was a bit intimidated by the 6 drawers before I started. Drawer slides have always been challenging for me. I usually just avoid them, so I can avoid failure 😉
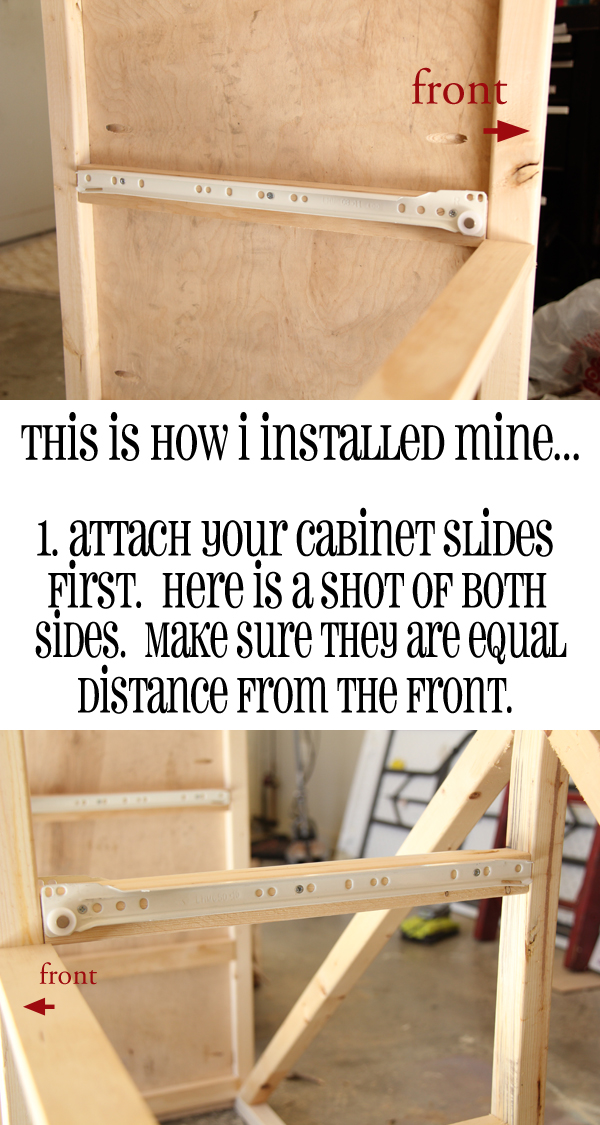
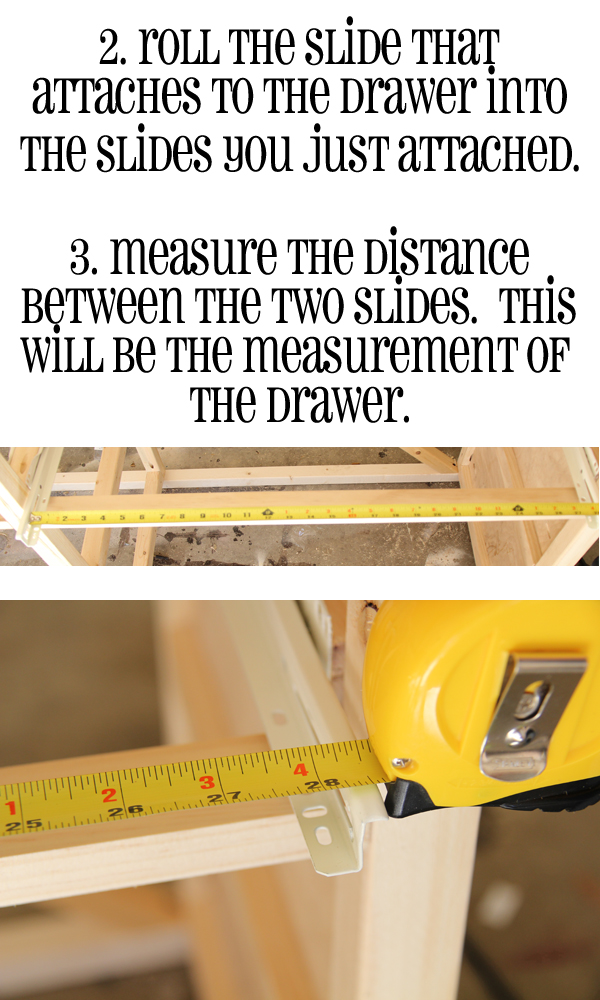
I knew I had to figure them out for this. The best part of this dresser is the 6 huge drawers! Hear me mommies?? So I came up with my own ‘shanty’ method of getting these babies on. I’m pretty sure there is a more professional way of doing it, but this was easy, and fool proof for me. I now have 6 perfectly functioning drawers. Here is my method…

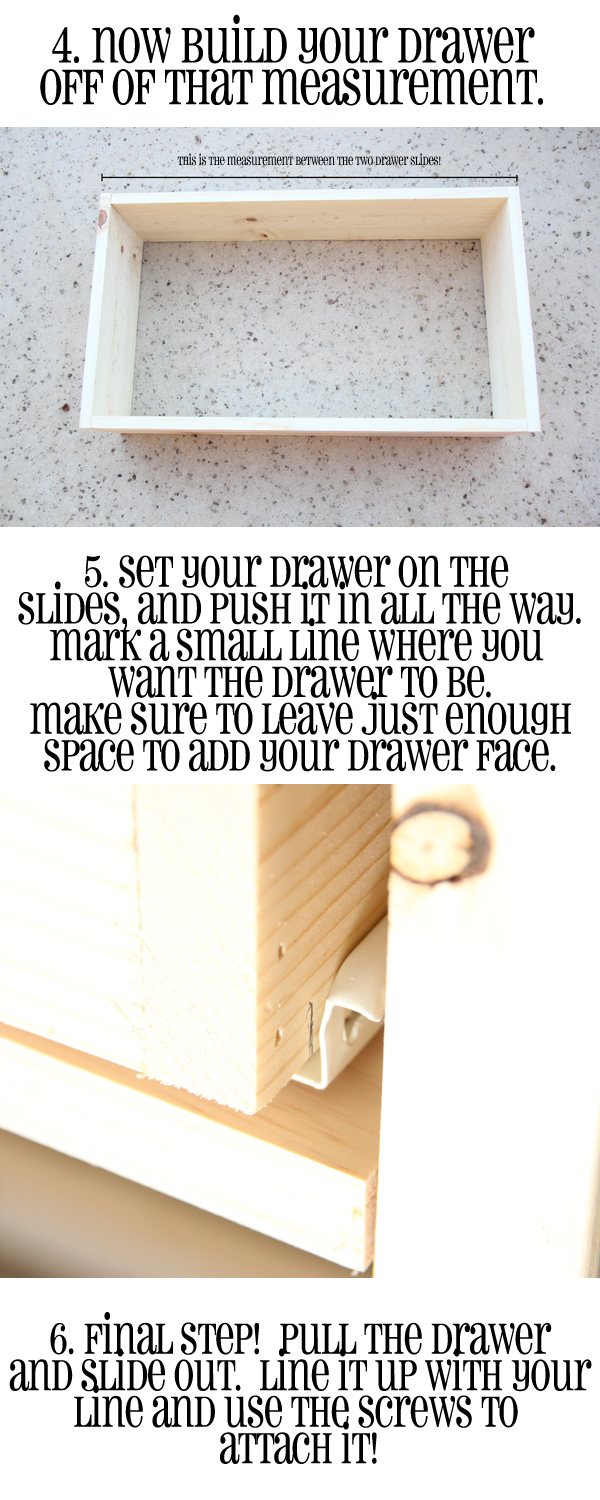

Your final step is cutting your faces of your drawers to size. I just measured each opening, and made the face about 1/8″ shorter in length for a perfect fit.

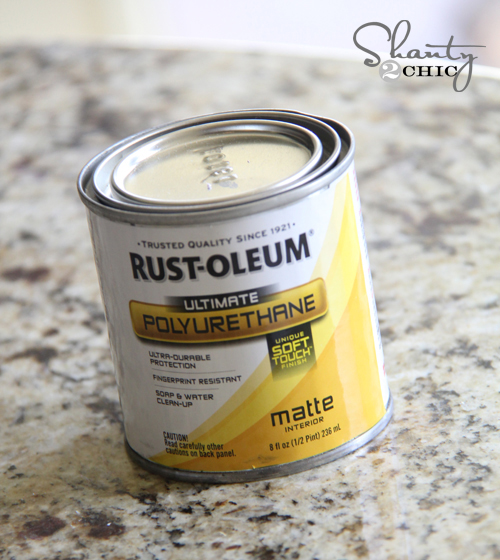
I also used a coat of this on everything to protect the finish!
I found my pulls and hardware at Lowe’s, and my casters are from Northern Tool.
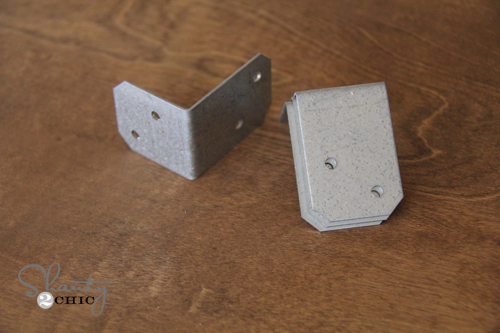
I also wanted to shanty it up a bit more, so I found these cheap metal brackets in the framing section. They serve no purpose on the dresser, but to look cute 😉
Whew…. Writing that was harder than getting this baby built! Promise!
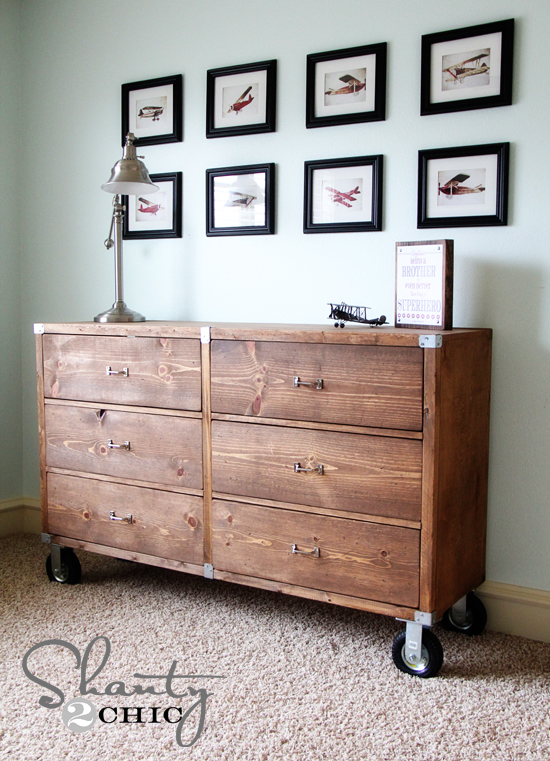
I hope I covered everything, but of course let me know if you have any questions at all! Here are a few more pics of his new dresser!

Thank you so much for stopping by!
You can see the full set of plans for the dresser at Ana-White.com!
I would LOVE for you to pin and share this below! Have an awesome day!
~Whitney

Your plans call for 1/4″ plywood. Is that an error? Not sure how you can drill pocket holes into something that thin!
has anyone been able to find the wheels? I have seen others, but none that would fit correctly
Great project! Mine is coming along nicely. I’m having trouble finding the wheels. Any advice??
I LOVE THIS!!! I would like to build this, but I wanted to know what size and type of screws did you use for the metal brackets (for decor)?
Thank you!
How much did this project cost you?
Do you water based or oil based stains?
Hi! I have already started building this dresser, and I am so anxious to finish!! I have a couple of quick questions! How should the 2×2 supporters in the back be attached? Also, where were the casters found at? I love the actual ones on the dresser in the picture and cannot find anything like them! Thank you so much! 🙂
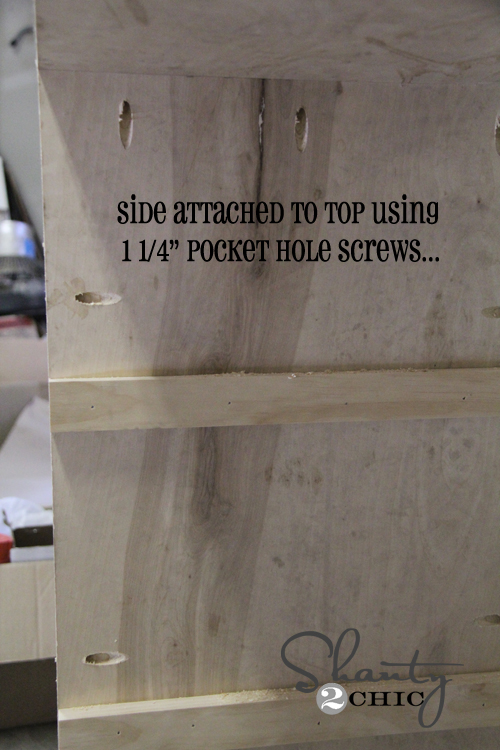
Hi, I was just wondering if you covered the ends of the plywood on the sides of the top or left it exposed. It’s kind of hard to tell from the photos.
I can’t find Purbond plywood in my Home Depot and I’ve never worked with plywood before. Is there another kind that is good or a certain type of wood that I should look for?
Just wonderign what the estimated cost for your project was? I’m trying to decide between this one, and the one with the open shelf on the bottom.
loving the artwork as well 🙂 where did you get them?!
Очень классно http://prom-snab-komplekt.com.ua/
Better than PB! Love it!
This is exactly what i’ve been looking for to use as a tv console. …wht wld I do if I wanted the 2 top drawers to be open so I can use it for the dvr and blu-ray player?