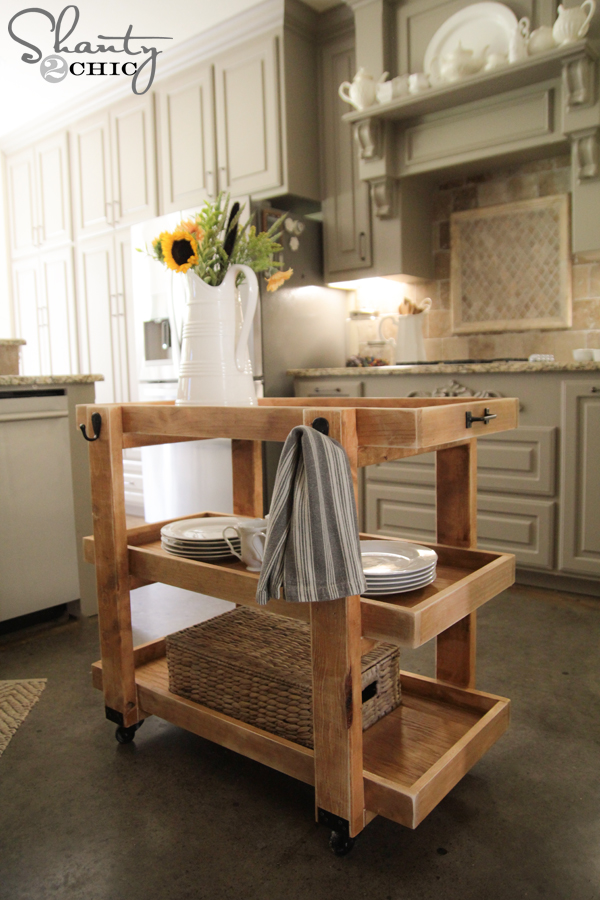
Hey friends! I am LOVING how this next piece turned out! I have been wanting something big and beefy for my entryway, and this console table fits the bill. It’s a beast. And it’s beautiful. Check out my new DIY Industrial Cart Console Table!


I designed this based off my bookcase I shared several weeks ago. It’s really a very simple build, and the only challenge is lifting the 2×12… It was a great workout! And, just like the bookcase, this piece is ALL about the hardware. Really you are taking a very basic build and a few boards and turning them into a piece of art by adding some awesome hardware. These corner brackets are a new fav!

These are called Rigid Tie™ RTA12 connectors. I found them at Home Depot. I found them at Home Depot. They are Simpson Strong-Tie brand, and they can be found on the endcap with the other Simpson Strong-Tie products.

They cost $1.53 a piece, which makes me love them even more. You can leave them silver, or paint them like I did. I’ll show you how I painted mine after we talk about building this bad boy. Let’s get started!
You can download and print the FREE PLANS by clicking HERE, and I will walk you through the entire build below. And, let’s talk cost. The cost of lumber on this was around $70. The casters do add to the cost, but I love them, and was still able to build this for under $200.
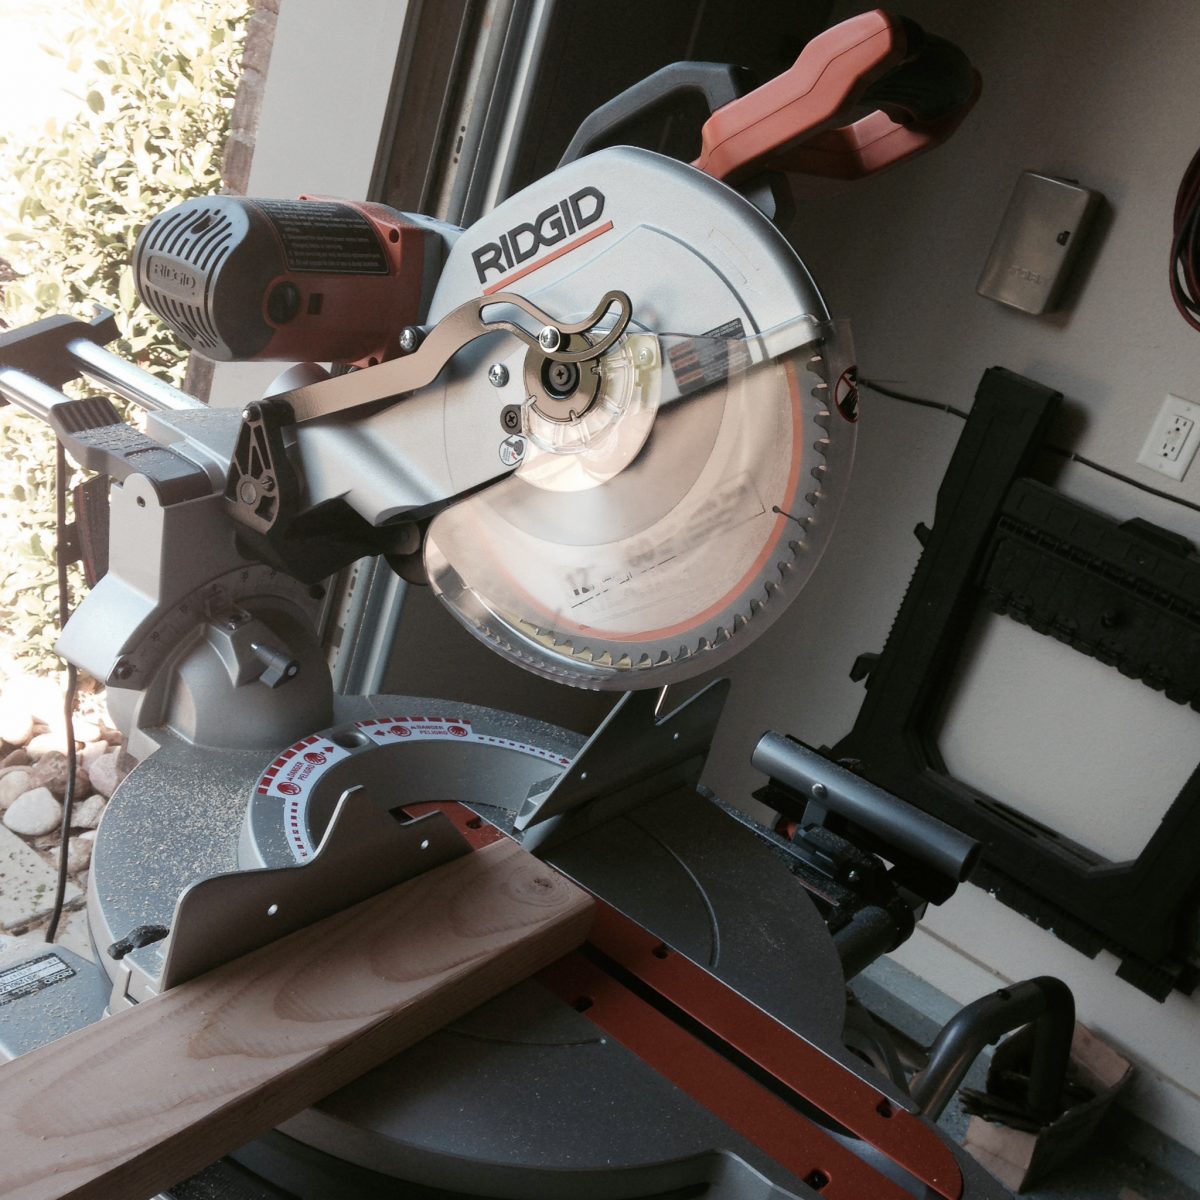
I made all of my cuts using my miter saw. If your miter saw can’t make the entire pass on the 2×12 boards, you can make one cut and flip the board to finish the cut.
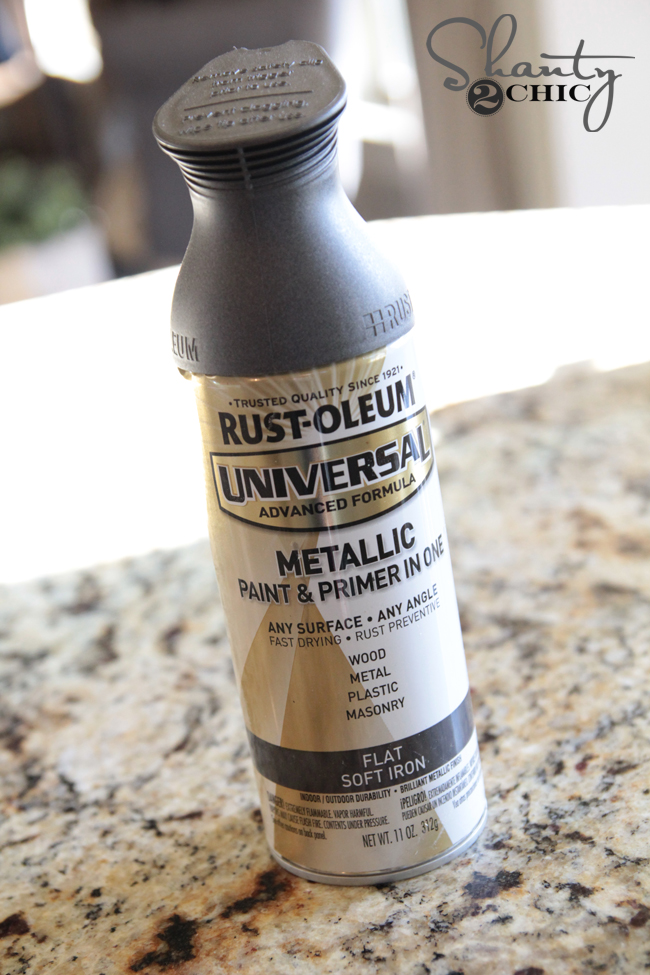
Before I began assembling everything, I painted my wooden dowels and let them dry. I also painted the hardware and casters to match. I used a cool dark grey metallic color by Rust-Oleum called Universal Metallic Spray Paint in Flat Soft Iron.
I let that dry while I started assembly.
I made my cuts for the legs first. These are just 2×4 studs. Make sure to cut a very small piece off the end before making your measurements. This gets the board square.
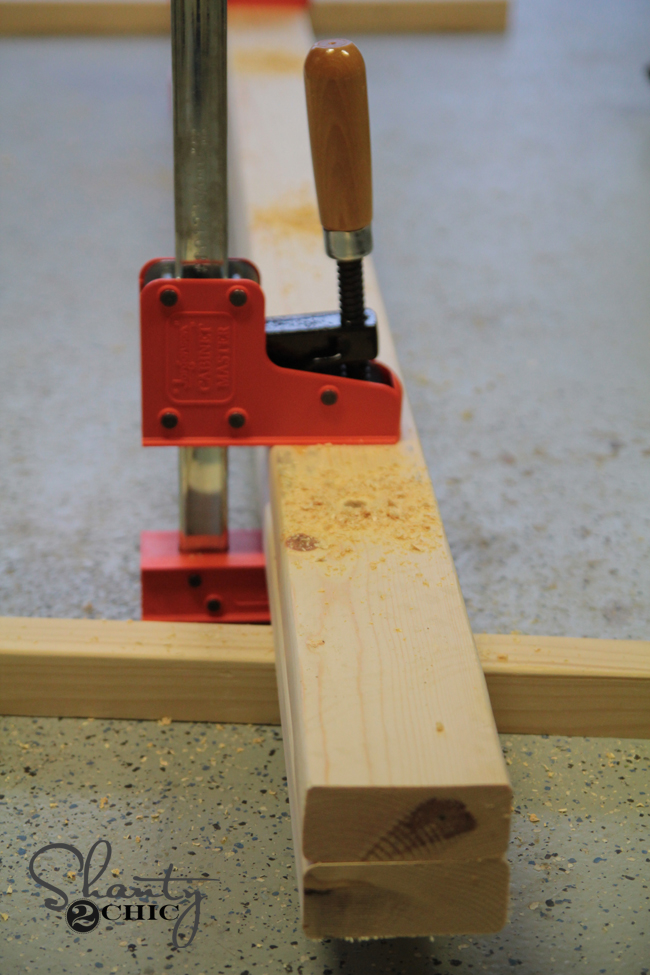
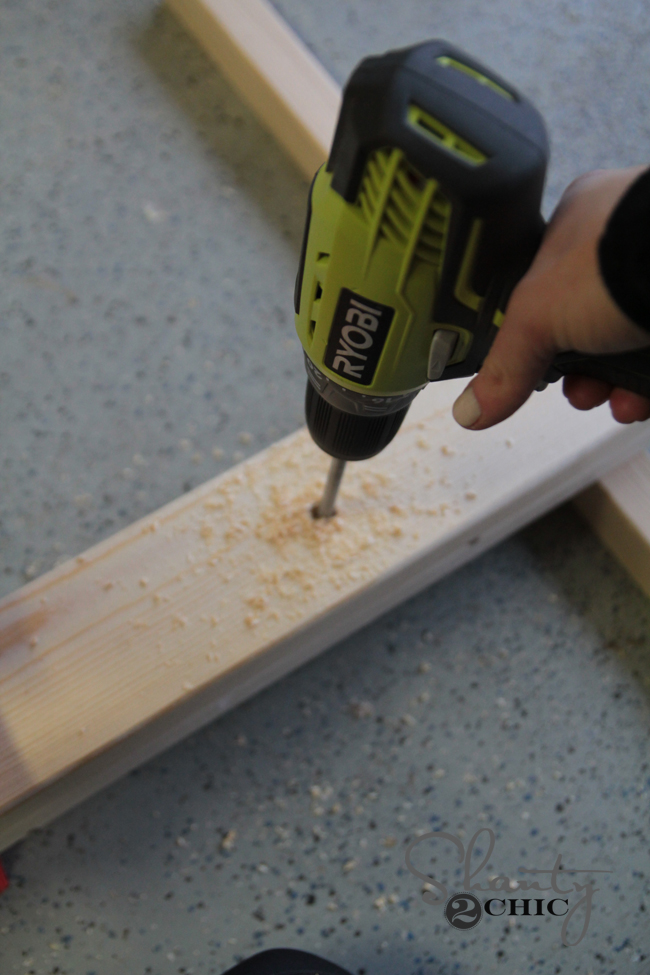
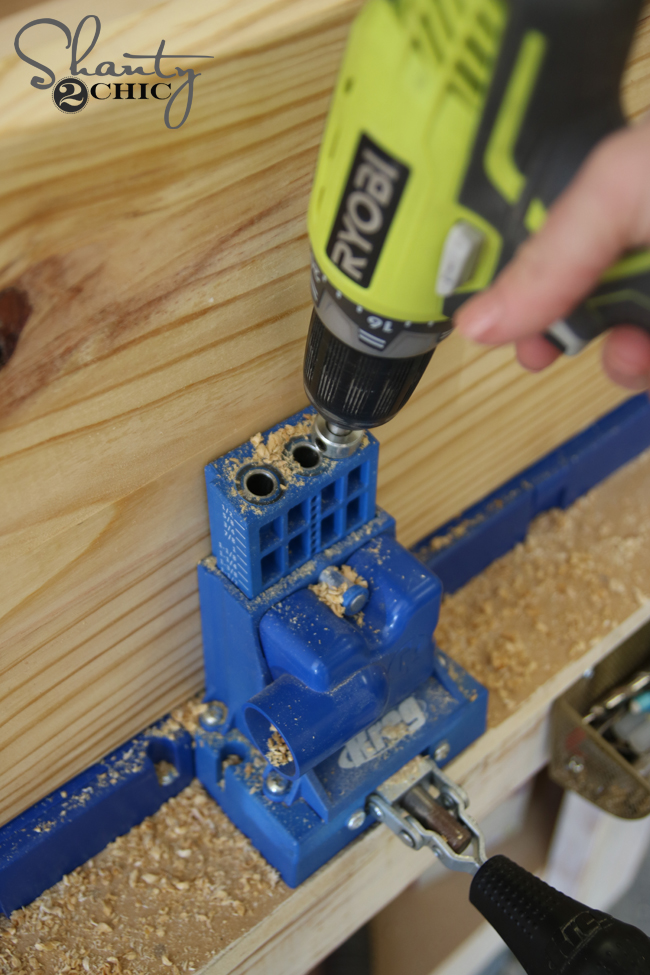
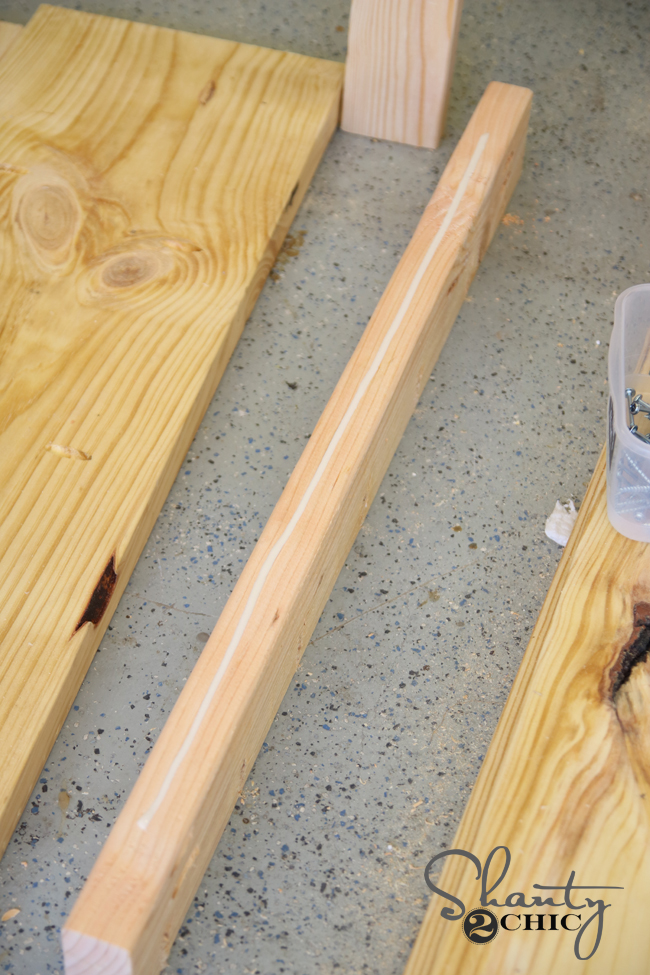
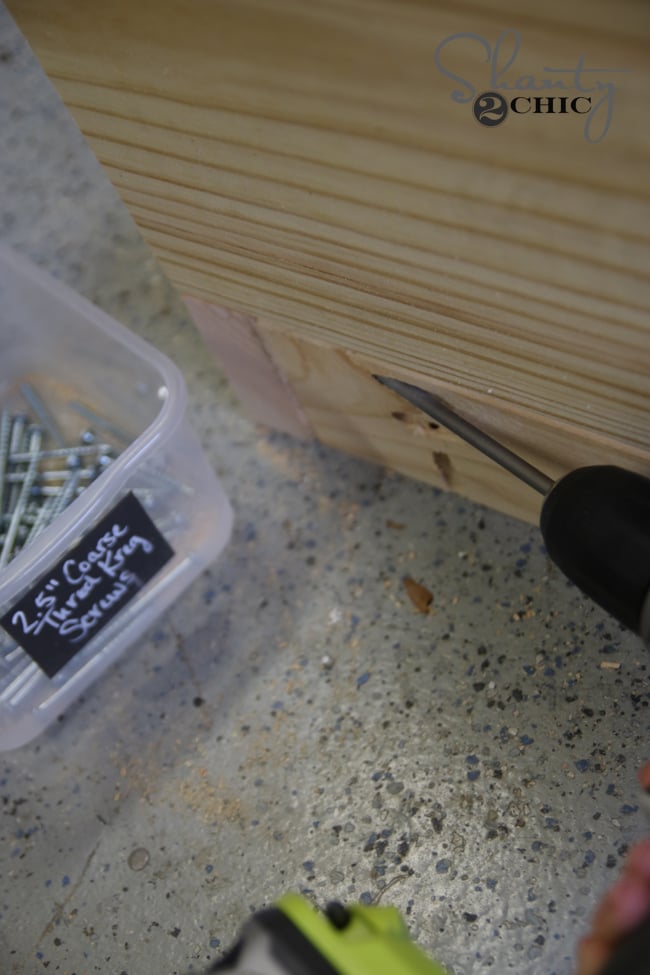
I clamped the three back legs together, and used my drill with a 1/2″ drill bit to put two holes through each board where the dowels will line up. I marked with a pencil where each board would go before doing this. This helps it all join together more easily. Also, once you make the hole, it helps to move the drill bit around a bit to widen the holes just a bit to help the dowels fit better.
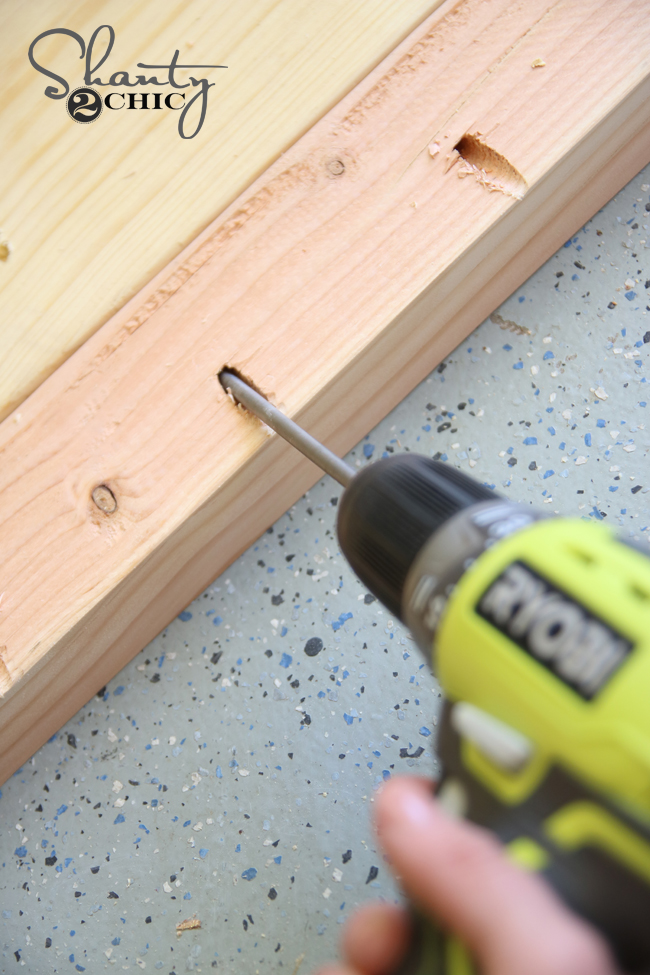
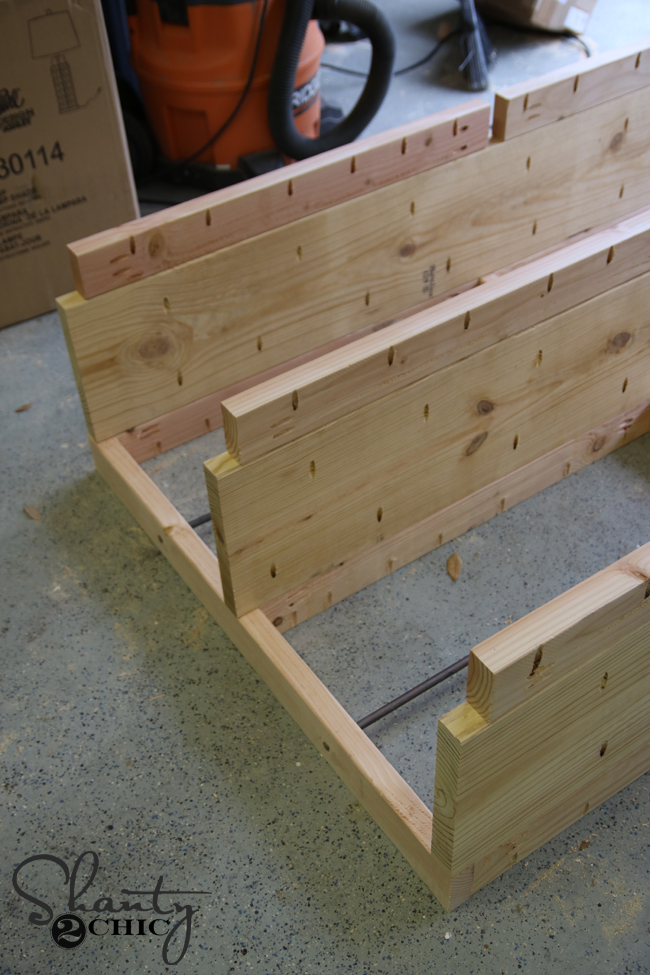
I made the cuts for the shelves next. Each 2×12 is 70″ long, and will have four 2×4 that attach around and connect to the legs. I used my Kreg Jig to assemble the entire thing. I made 1.5″ pocket holes along the bottom of each shelf piece and the bottom of each 2×4.
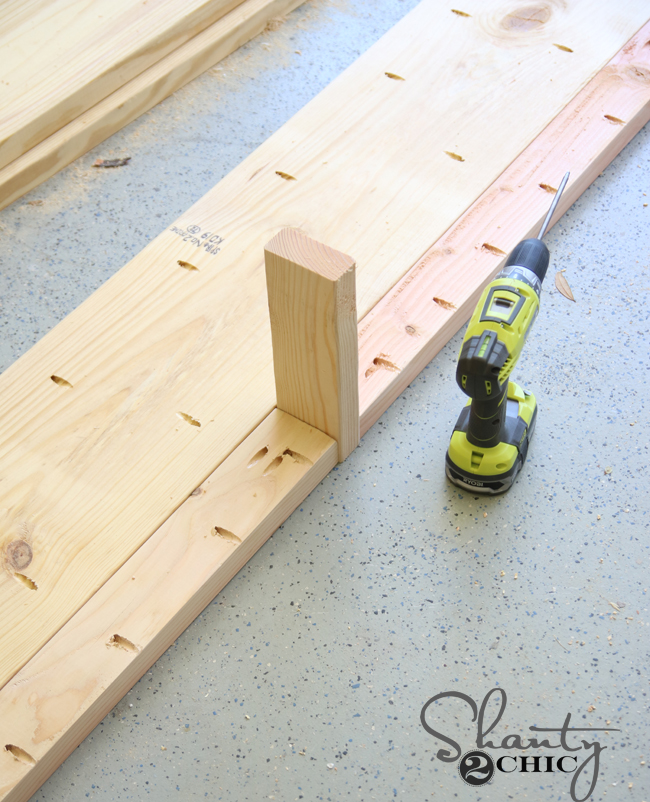
I added a line of wood glue to each 2×4 piece and attached them to the 2×12 with 2.5″ pocket hole screws. I used a scrap of 2×4 to serve as a block where my legs would be. This is an easy way to line your boards up correctly.

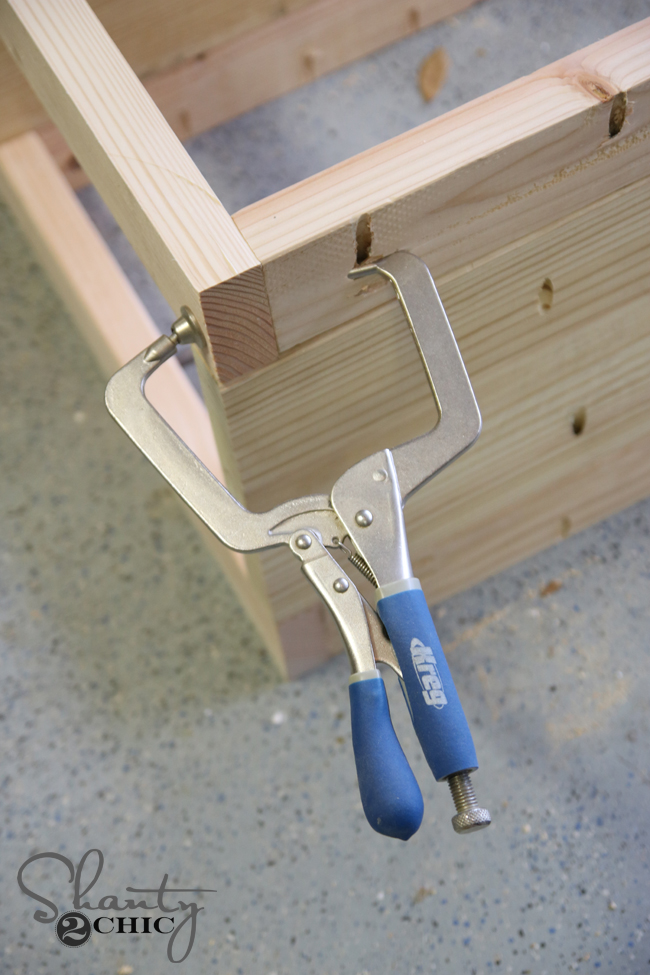
After assembling all 3 shelves, I attached the back assembly to the bottom shelf. I found that standing the shelves up on their sides was the easiest way to get this done. I used wood glue on each joint, and 2.5″ pocket hole screws through the holes to attach.
I attached the next two shelves the same way.
The final assembly step is adding the front legs. I added glue to each joint, and also attached these with 2.5″ pocket hole screws.
I decided to add the casters at this point before standing this beast up. I found the casters on Wayfair! They ship quick and I think the price is great for their 8″ size. You can find them HERE.
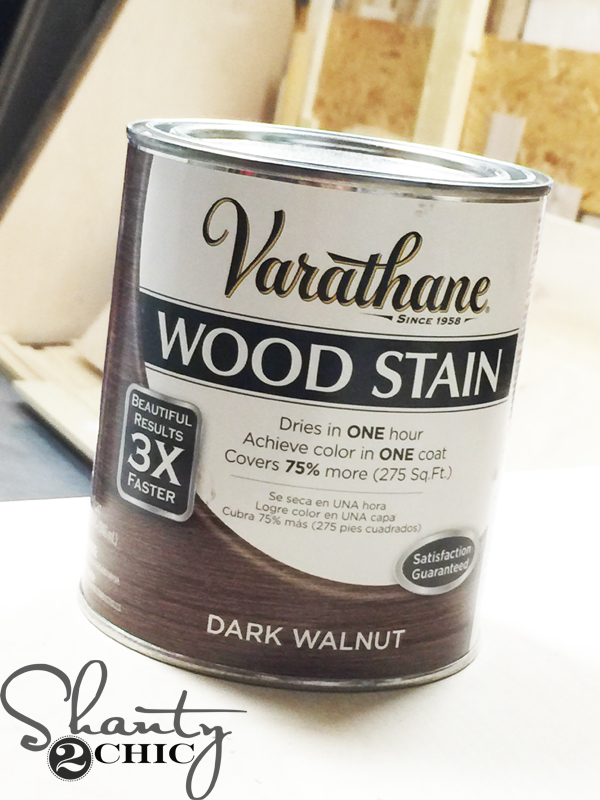
Now for stain! I love the way my bookcase came out, so I went with the same stain combo on this table. I actually combined three stains to create a very worn brown color. It matches the pallet I have hanging on the wall almost exactly. Here are the three I mixed.
I actually combined three stains to create a very worn brown color. It matches the pallet I have hanging on the wall almost exactly. Here are the three I mixed.

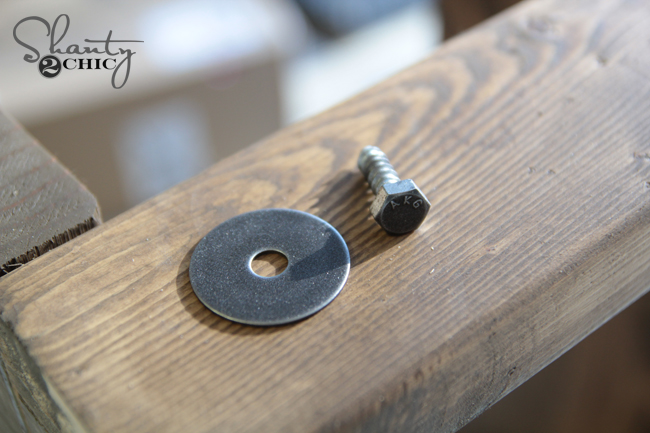
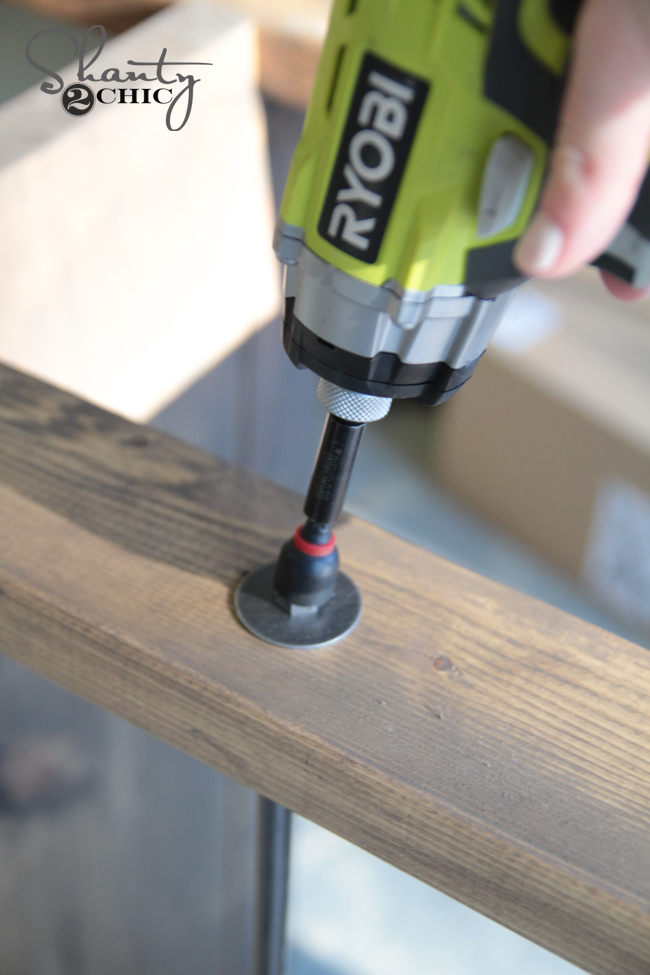
Once the stain dried, I added the rest of the hardware. I started with the washers and hex screws.
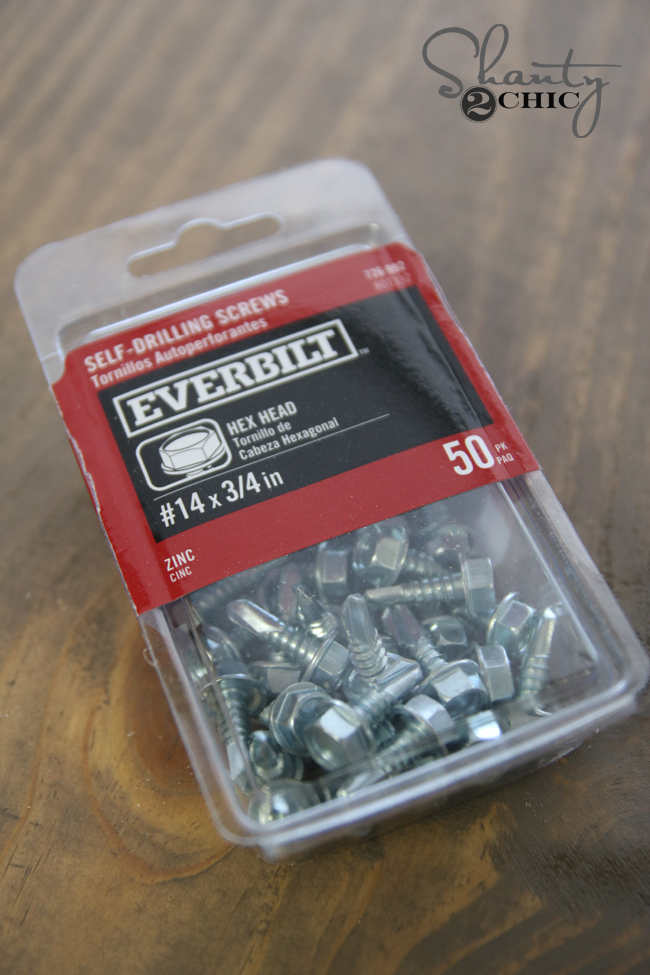

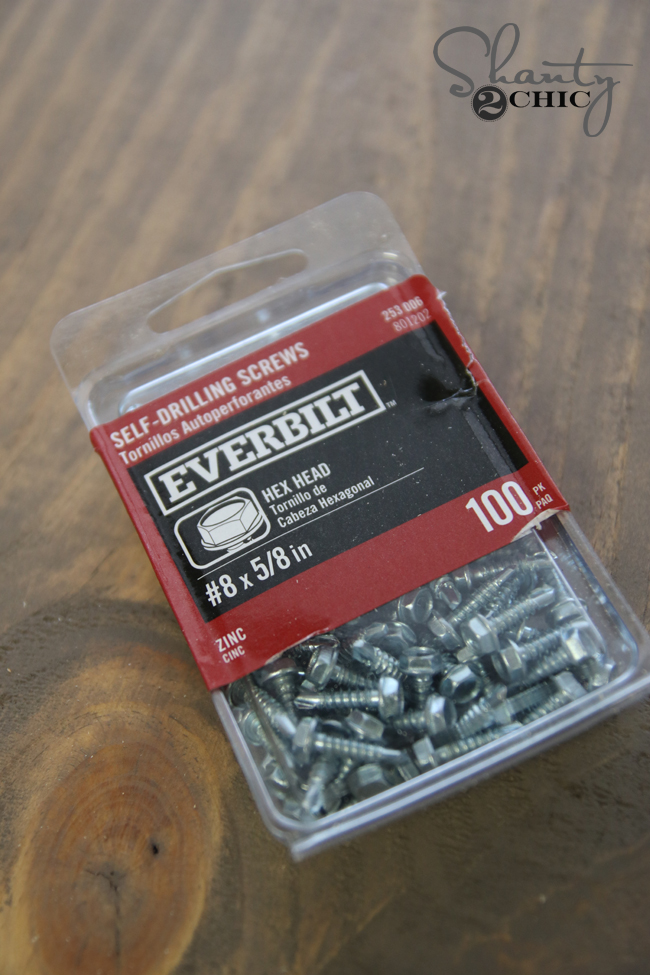
Then, I used these small screws to attach the Simpson Strong-Tie connectors.
You will see those are still silver. I found this great paint at Michael’s. The color is Gunmetal. It matches the spray paint almost exactly. I dabbed some on each of the screws and I also used it touch up anywhere else that needed it.

So… Here she is in my entry! What do you think??
I also found the other goodies on Wayfair!
Baskets – I picked the large size
I was really thrilled to team up with Simpson Strong-Tie on this build! They are one of our fav products we use to dress up our projects!
![]()
Be sure to check out other really great project ideas that use Simpson Strong-Tie hardware at DIYDoneRight!

You can also find Simpson Strong-Tie on Facebook, Twitter, and Instagram
Thanks so much for stopping by guys! Let us know if you have any questions at all! Happy Building!


I just found your website and I’m just blown away. You folks inspire me to get some tools and start constructing! I adore this most recent creation! I’m a furniture painter and maker in Tecumseh, MI, with an antique shop. Many years ago, I took wood shop in high school and college.
Please piece of DIY look so robust with the RTA12 connectors, but I like the wheels especially, where can I get it?
Could you please tell me where you found the wheels?
I’m curious, what are the final dimensions of your console table in the photos because it looks much smaller than what ours turned out after following your plans. Ours sits about 50″ high (about 1 1/2″ higher than our wall switch & yours looks to be around the bottom of your light switch). Thanks
I’ve been looking all over for the black H-O-M-E letters used in these pictures. I’ve found similar ones, but they always fall over because they don’t have a base like these do. Would you be able to tell me where you found them?
Any response on this? Sorry, I’m still looking for them so figured I would ask again.
I love the look and seemingly simplicity of this! I have a question for you… I am new to building, and don’t have a space big enough for this, do you think I can adjust the plans by a foot in height and length? Or is that more difficult than it sounds??
I just finished mine yesterday and I love this build! I ended up using two 2×6 instead of a 2×12 for the shelf. I also used two swivel casters to make it easier to maneuver. Thank you so much for this plan!
This is a beautiful console table. How much did the supplies for this project cost in total?
You didn’t put pocket hole screws or anything in the ends of the 2x12s to attach to the legs? They’re not attached to anything but the shelf 2x4s?
Sooooooo fancy!!!! Love it and LOVE your site. Just found it yesterday. Where did you find the wheels?!! Love them. Thanks so much. You girls are FABULOUS!! Love how easy it is to follow your instructions. Take care. Sandy C.
Wow! I just discovered your website and I’m blowing away. You guys make me want to pick up some tools and start building! I love, love, love this recent project! I’m a furniture painter and crafter with an antique space in Tecumseh, MI. I took wood shop in high school and college many moons ago. I just may pick up some tools and get started making some stuff with wood. You two are so inspirational!
super, super cute!!
Love the casters. Where did you find them? (Love it all too).
The casters are from Wayfair, she posted the link in the post.
You sweet ladies have done it again!!! Love, love love this and the bookcase that coordinates! Thank you both for sharing these awesome plans! Can’t wait to build these!
Thank you so much Robyn!!! Made me smile 🙂