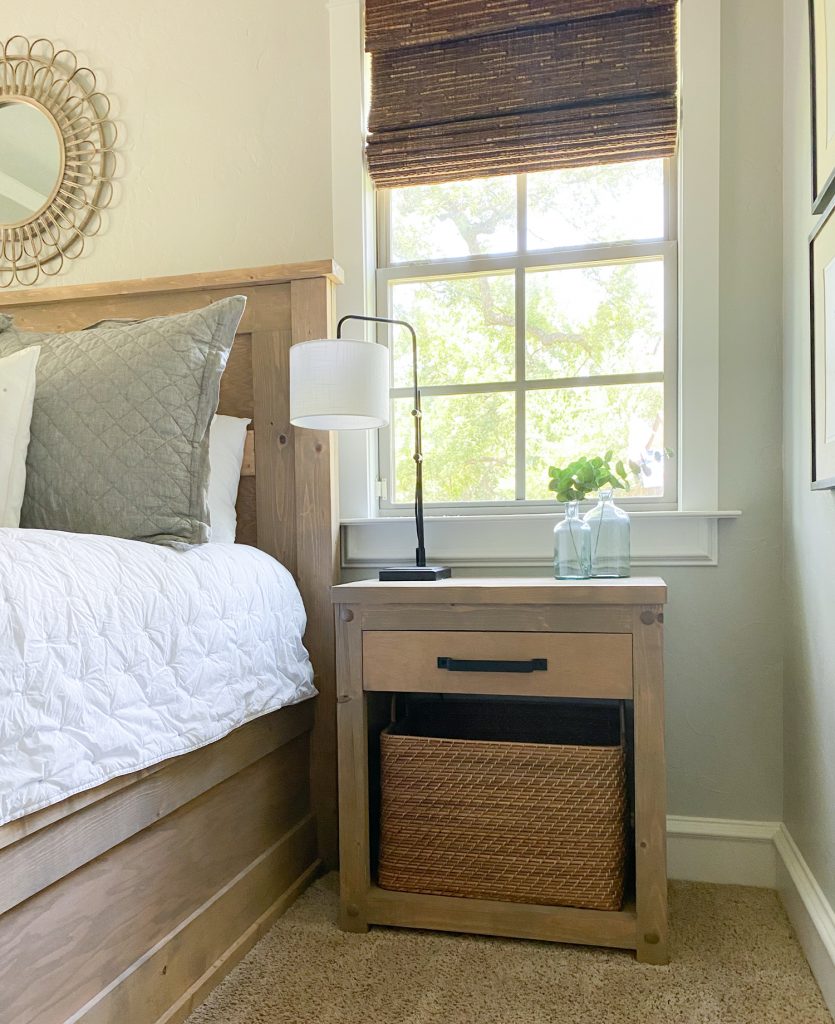
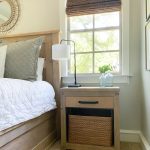
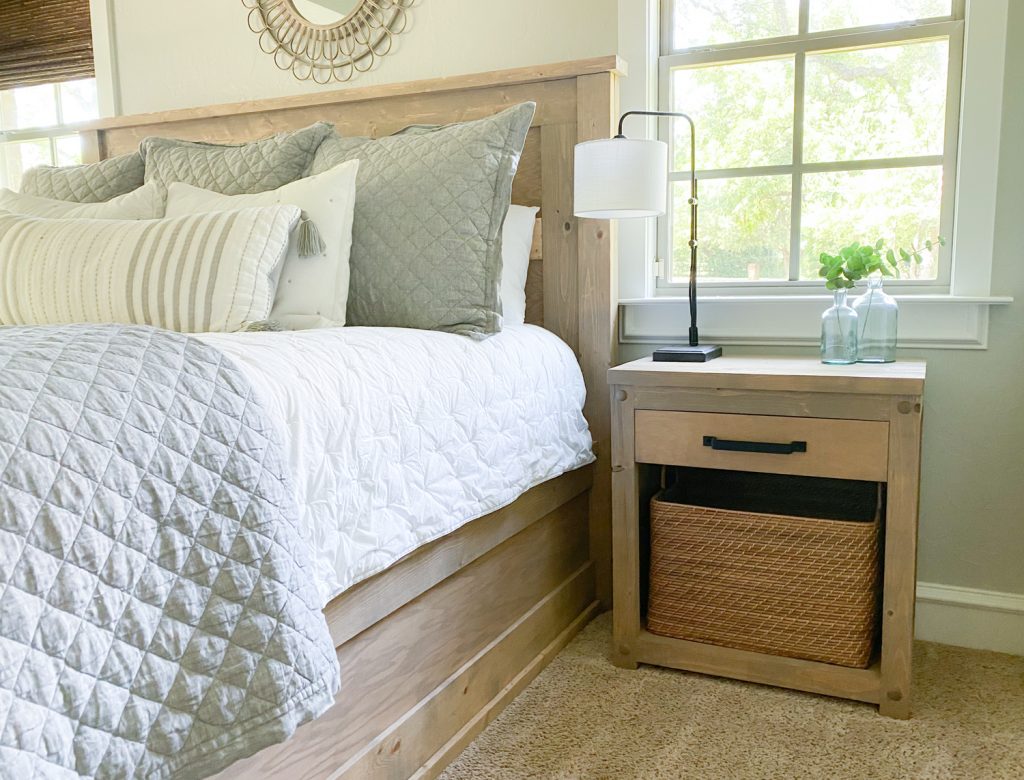
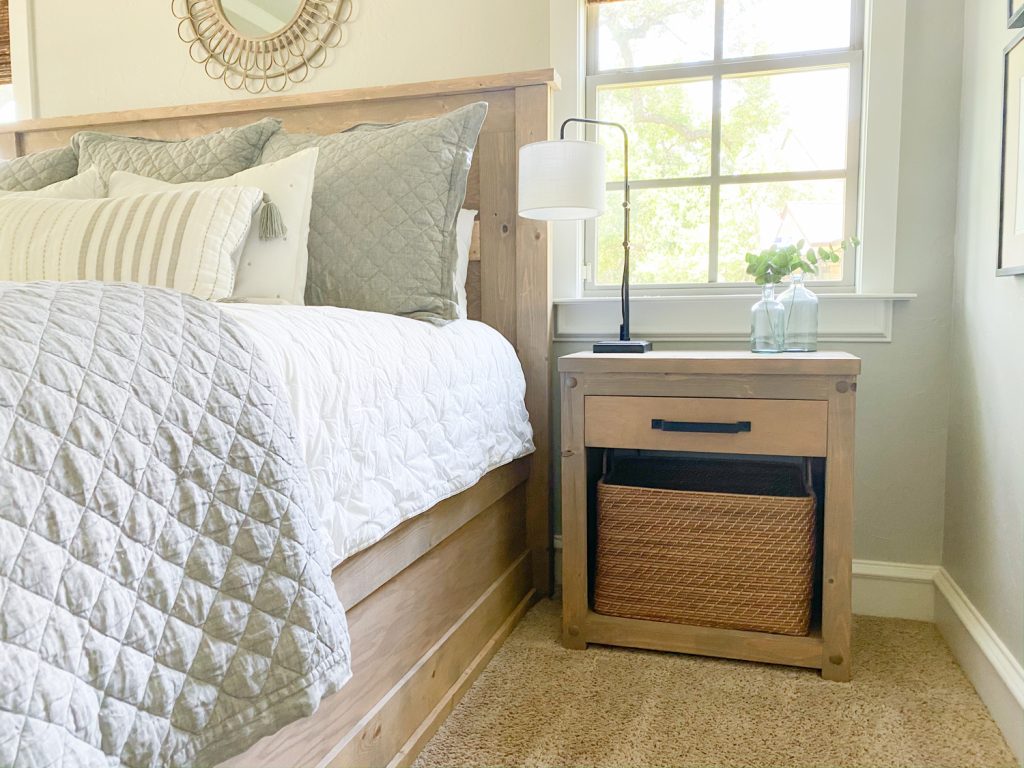
I hope you all are staying safe and healthy… and busy building! 😉 Did y’all see my new king bed build? I shared it a few weeks ago. I LOVE IT! The only thing it needed was a couple of matching nightstands. That is what I’m sharing today! You can check out my video below!
You can get the free printable plans for this build by clicking the link at the bottom of this post.
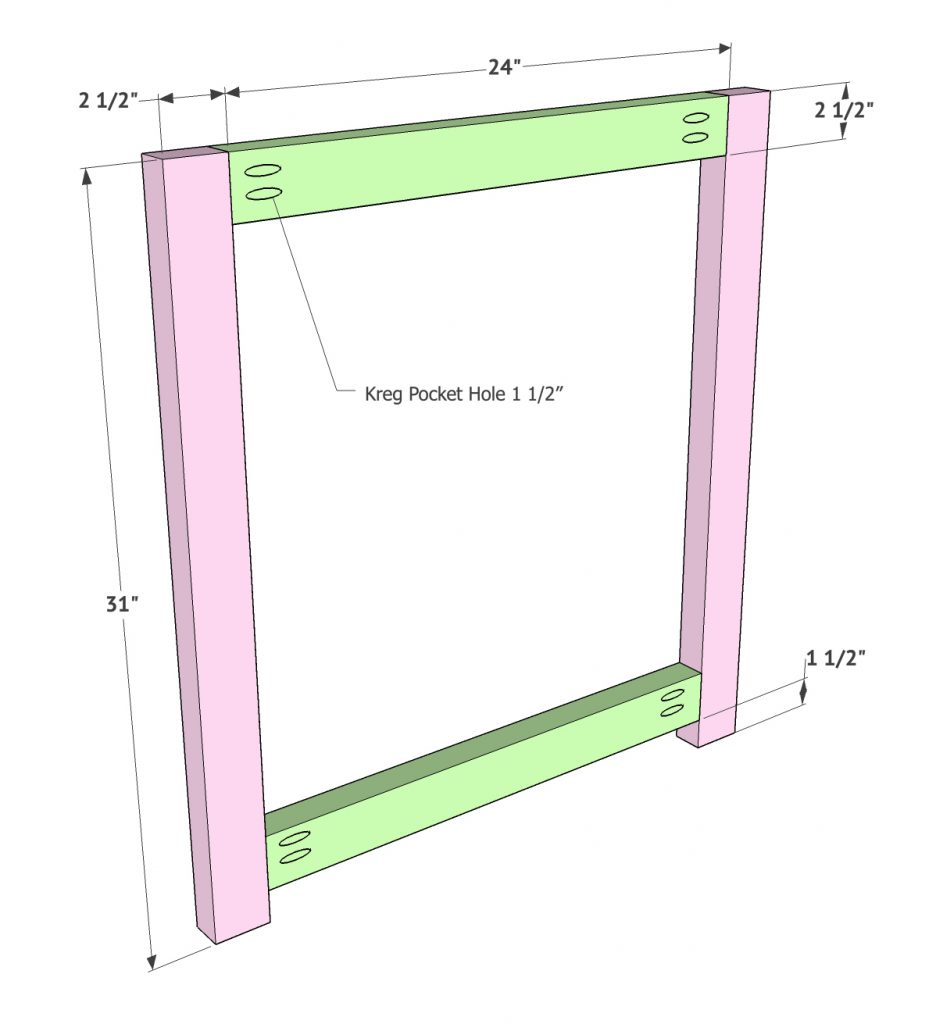
First, build 2 face frames. I ripped the boards for these out of 2×6 boards, but you can also rip down 2×4. These are ripped to 2.5” wide each. Attach the horizontal frame pieces to the leg pieces using wood glue and 2.5” pocket hole screws. You want the tops to be flush and the bottom horizontal board will be placed 1.5” from the base of the legs.
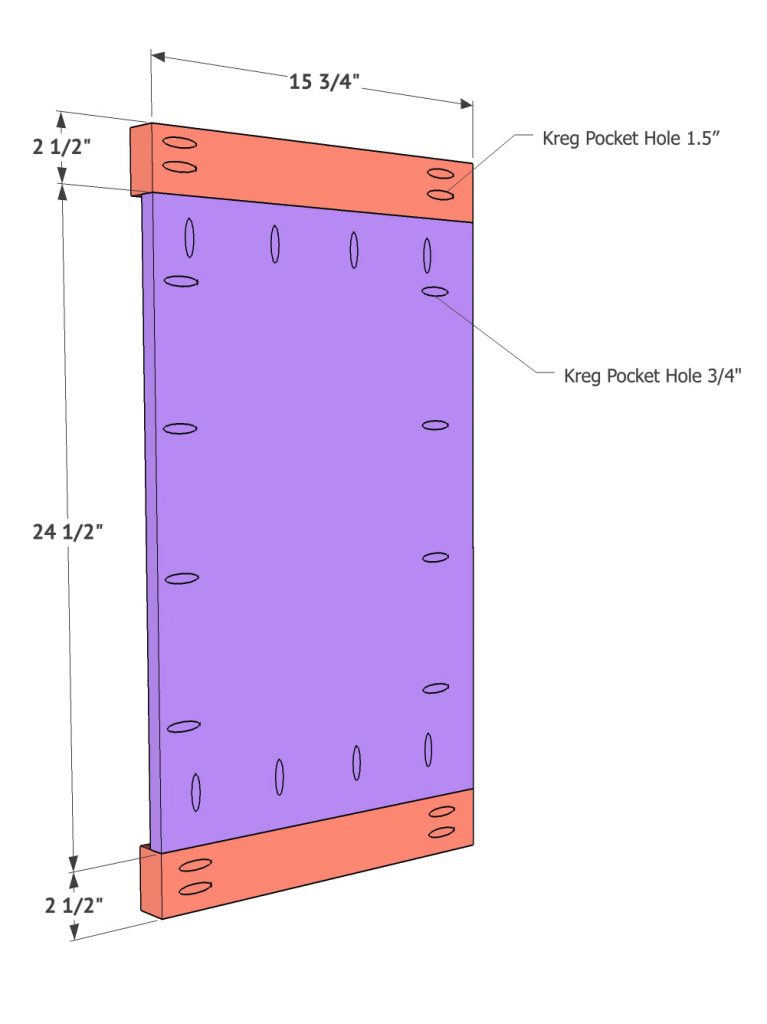
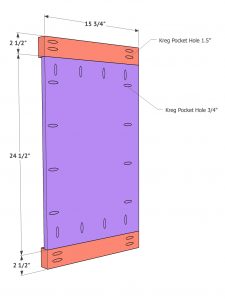
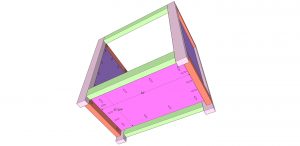
Next, create two side frames. These also use 2x baords ripped to 2.5”. They also use 3/4” hardwood plywood cut to 24.5” x 15.75”. Add 1.5“ pocket hole screws to each end of the 2x boards. Add 3/4” pocket holes down each side of the plywood. Attach the top and bottom 2x boards using wood glue and 2” pocket hole screws. You want the back of the plywood to be flush with the back of the 2x boards.
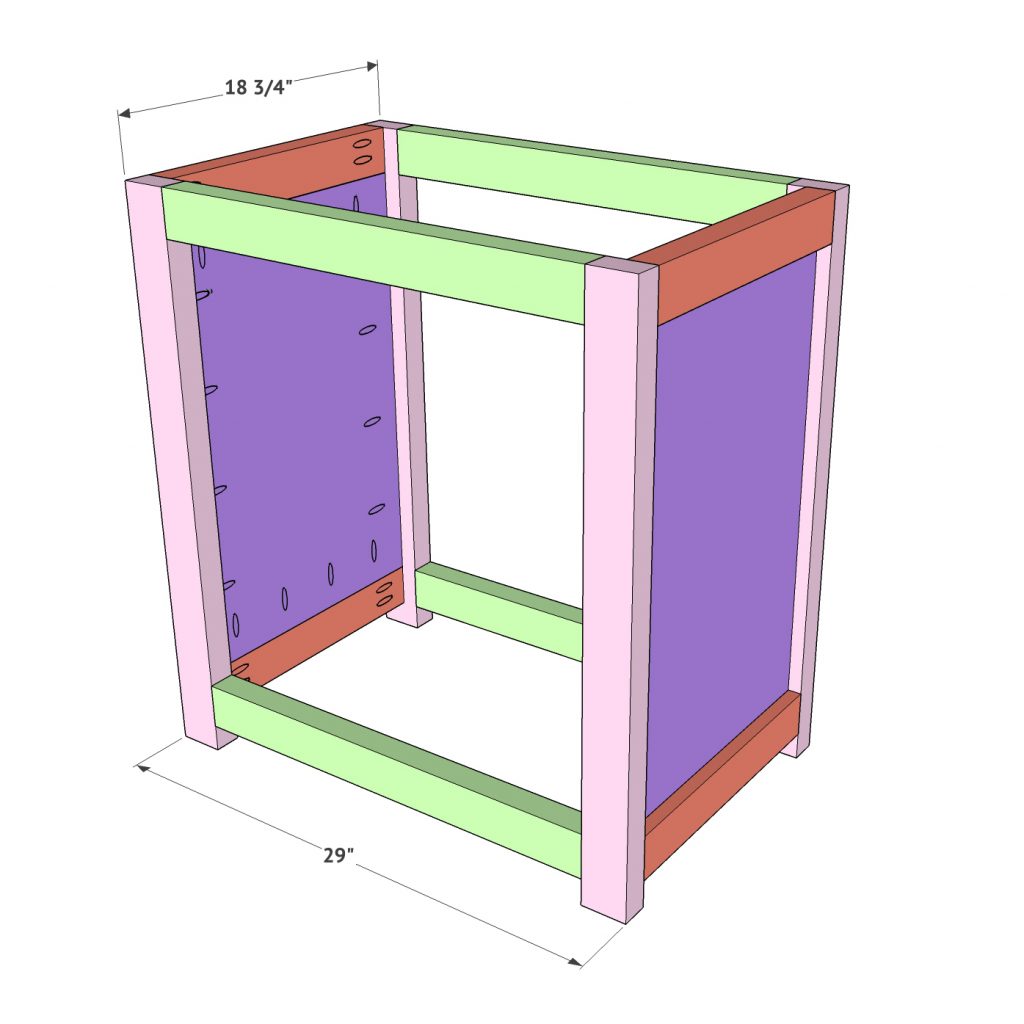
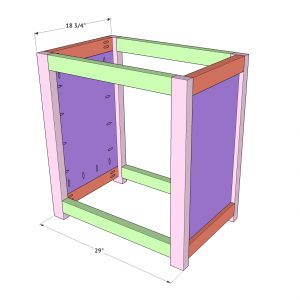
Now attach both side frames to the front and back face frames. Use wood glue between all joints. Use 2” pocket hole screws through all of the plywood, and use 2.5” pocket hole screws through the 2x boards. Make sure the tops and bottoms of all frame pieces are flush. You also want the sides to line up flush.
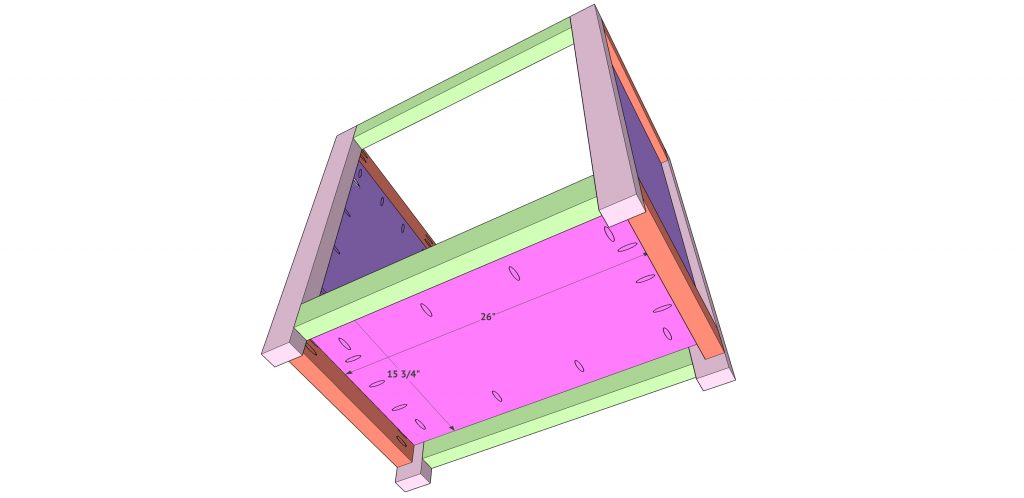
Now attach the bottom plywood panel. You can also do this step just before attaching the 4th side in the previous step. Attach the panel using wood glue and 1.25” pocket hole screws through the panel and into the frames. Make sure the top of the plywood is flush with the tops of the 2x boards on the face frames.
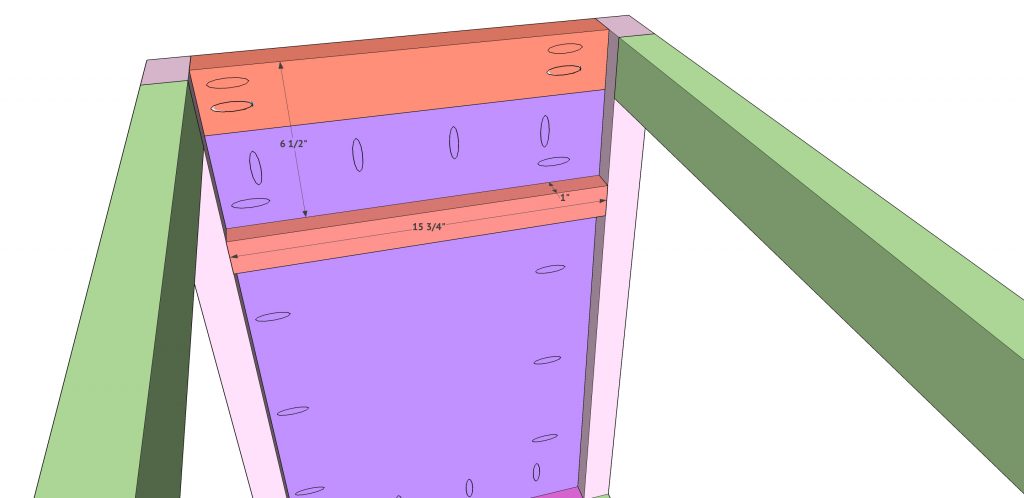
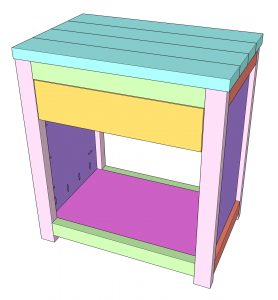
Add cleats for the drawer slides next. I wanted the widest drawer possible, so I ripped some of my 2x boards down to 1”. You can also use 2×4 cut to 15 3/4”, but you will want to adjust the drawer measurements to fit the smaller space. Attach the cleats using wood glue and wood screws through the cleat and into the plywood. The top of each cleat should be 6.5” from the top of the nightstand.
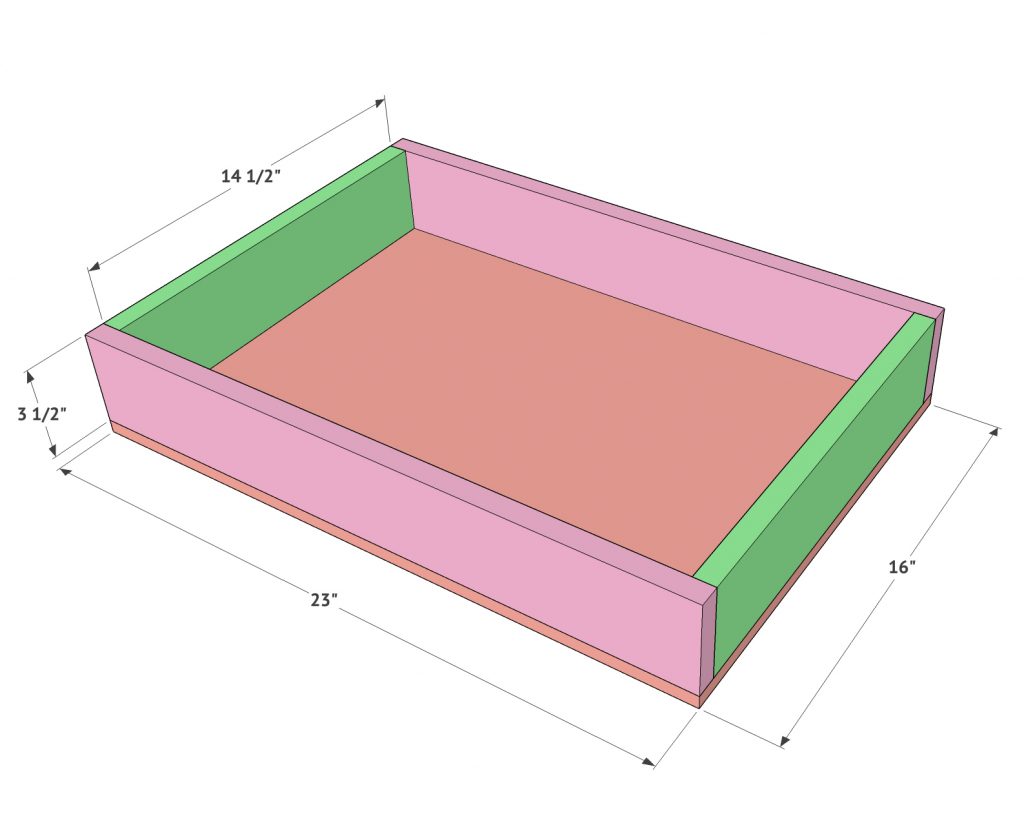
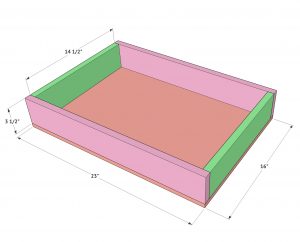
Time to build the drawers! I used 1×4 for this, but you can also rip plywood down for the drawer sides. Attach the corners using wood glue and 1.25” brad nails. The base of the drawers is 1/2” plywood. Attach the base to the drawer sides using wood glue and 1.25” brad nails through the base and into each side.
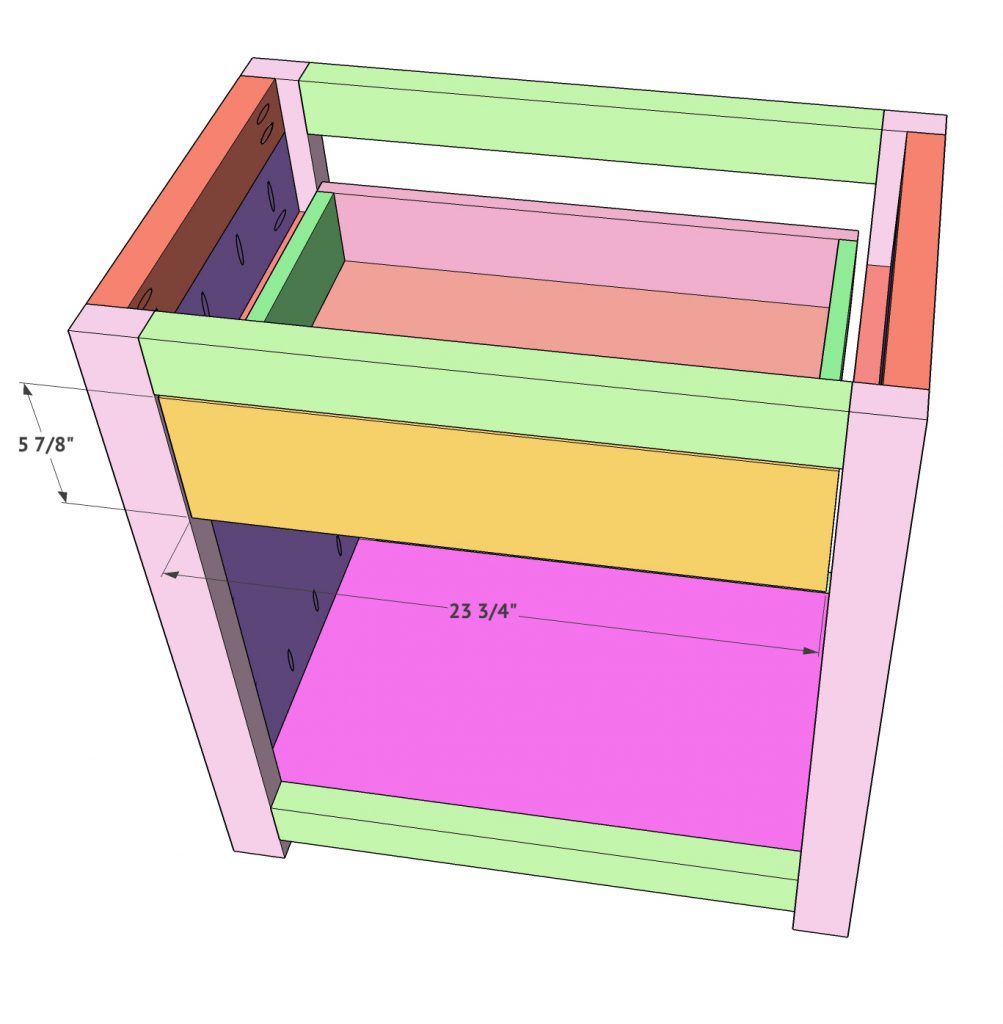
Attach the drawer slides next and install the drawers. Push the drawer back into place to line up the drawer face in the right position. The drawer face is hardwood plywood cut to size. Attach it using wood glue and 1.25” brad nails or wood screws through the inside of the drawer and into the drawer face.
The top of the nightstand is 2×6 boards I ripped to 4.75” each. Add 1.5” pocket holes through 3 of the 4 boards. Attach each board together using 2.5” pocket hole screws.
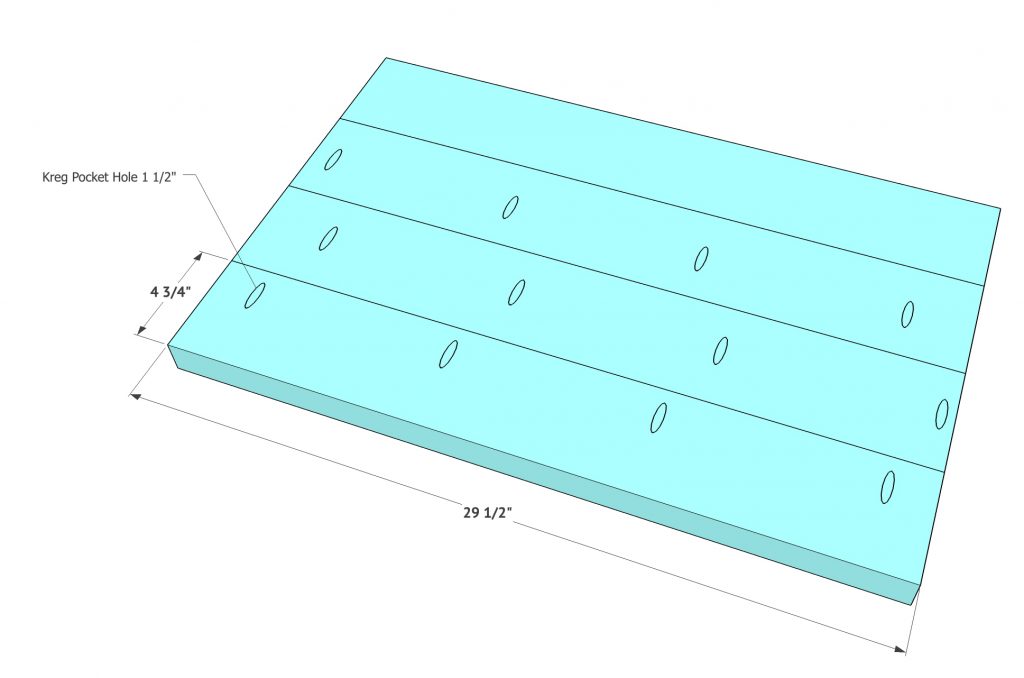
Attach the top of the top of the nightstand using wood glue and 2” nails through the top and into the nightstand base. Be sure to check out our post and video on how I finished this piece. Make sure to share your builds with us on social media! Happy Building!
Let’s talk about all the goodies!
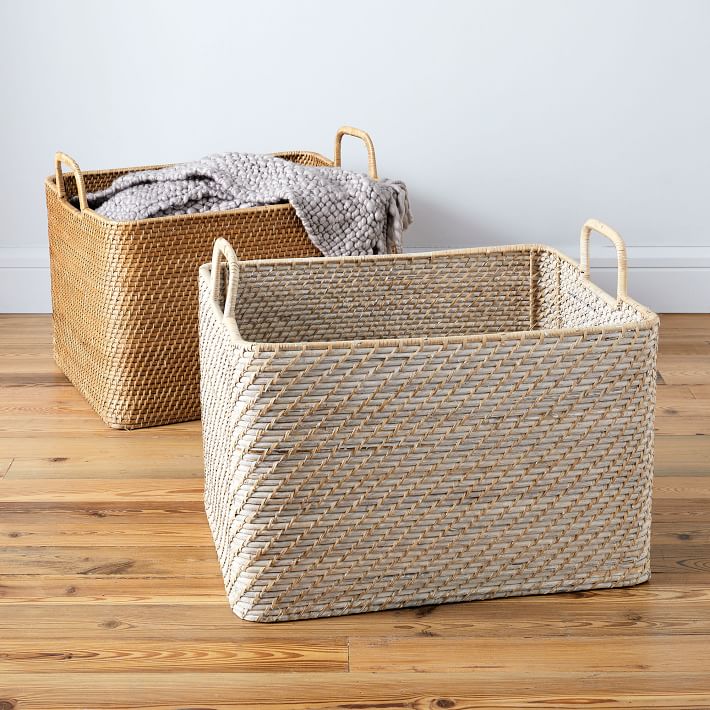
I actually designed these nightstands around the baskets that I found because they are a great price and size. You can use any basket that fits though! You can find the ones I used HERE!
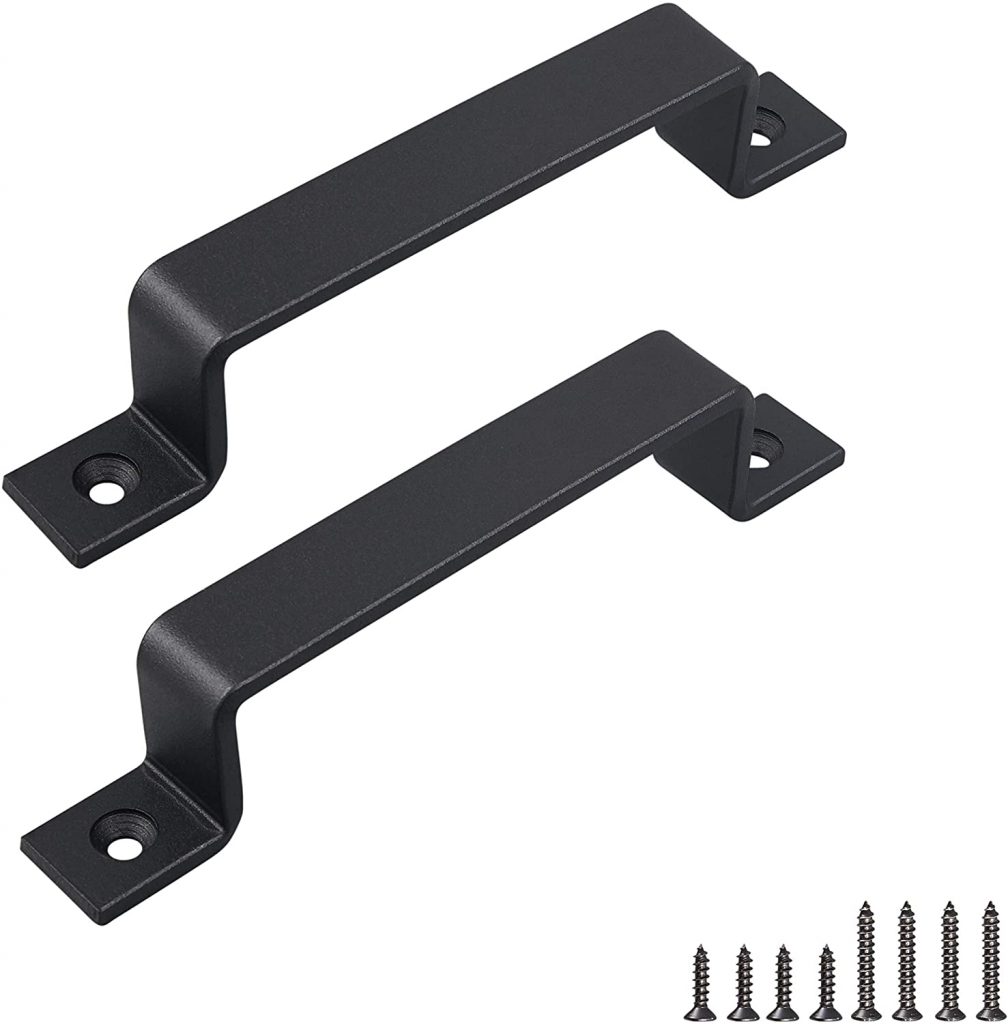
I love the drawer pulls I used! I used them on lots of pieces! You can find them HERE ON AMAZON!
I used THESE DRAWER SLIDES! They are super easy to install and always work well!
I copied the same finish I used on my King Bed. I sampled several finishes before I decided to mix my own. This is SO easy. It’s like cooking.
I used 5 parts of this stain… You can find it HERE on Amazon!
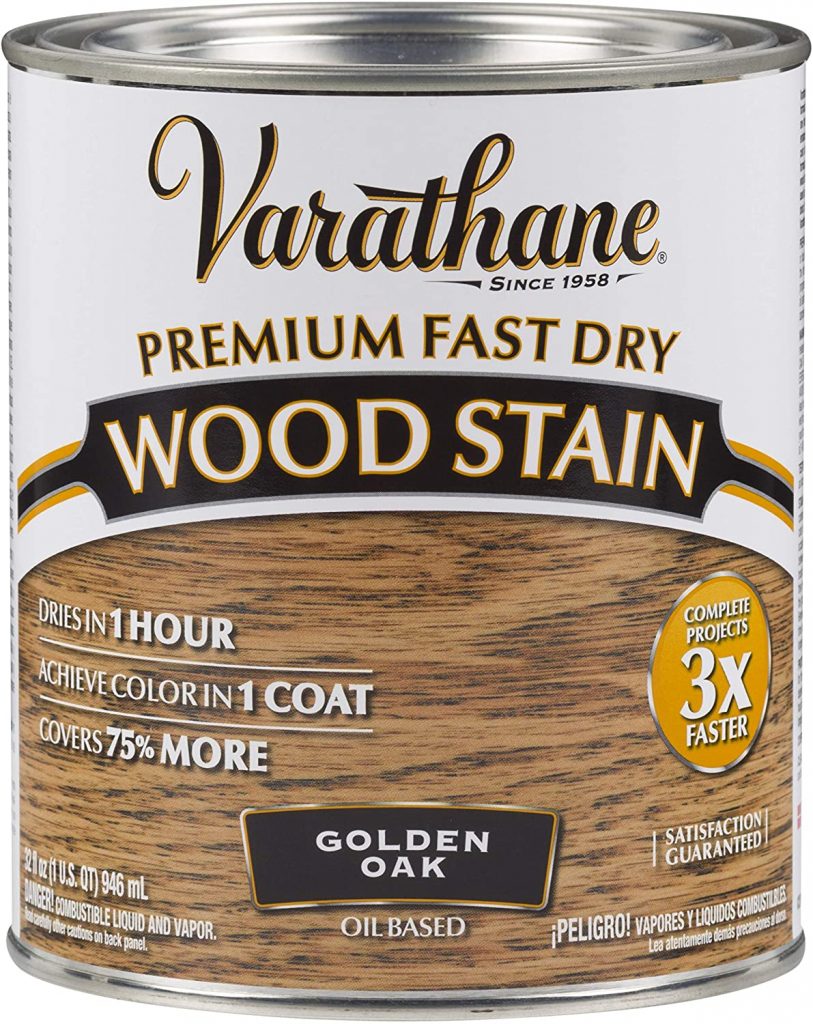
I mixed that with 1 part of this stain… You can find it HERE!
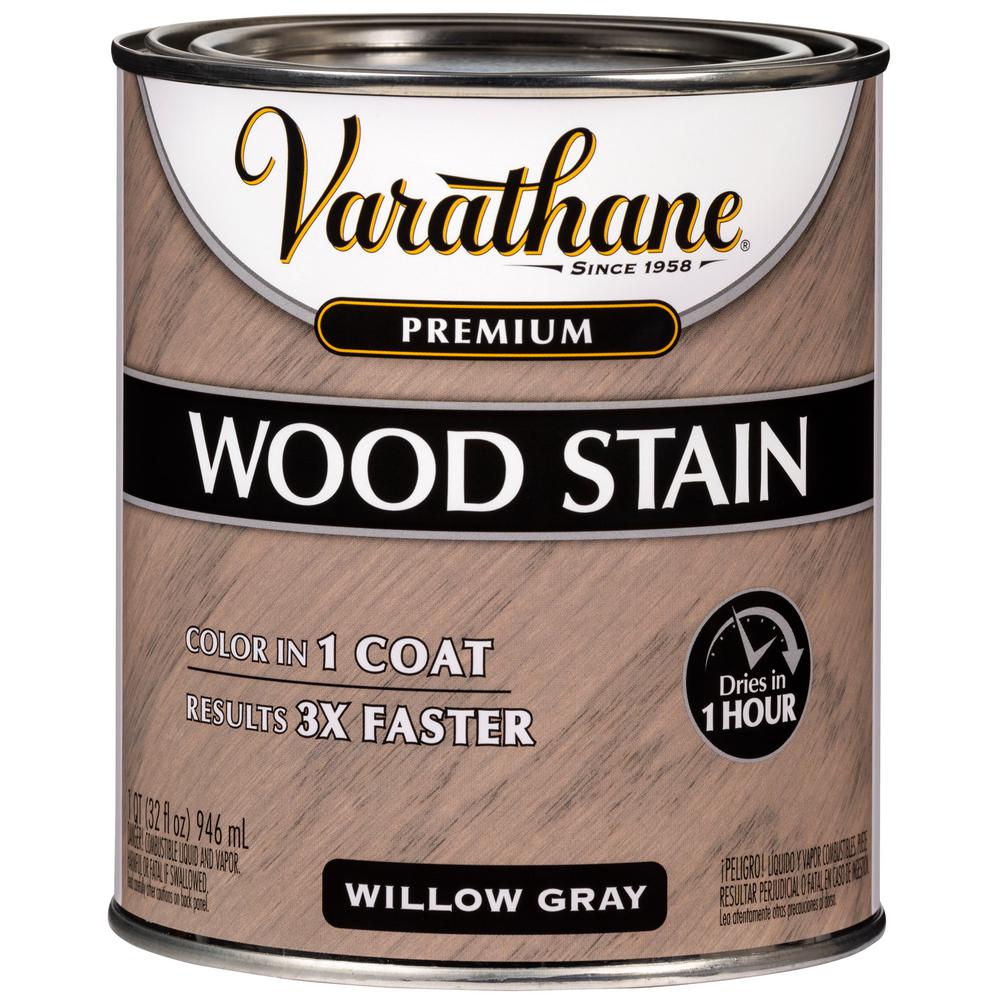
All you have to do is pour the parts into tray or cup and then mix them with a stir stick. So, you could mix 1 1/4 cups of Golden Oak with 1/4 cup of Willow Gray to get the finish I created. It’s PERFECTION!
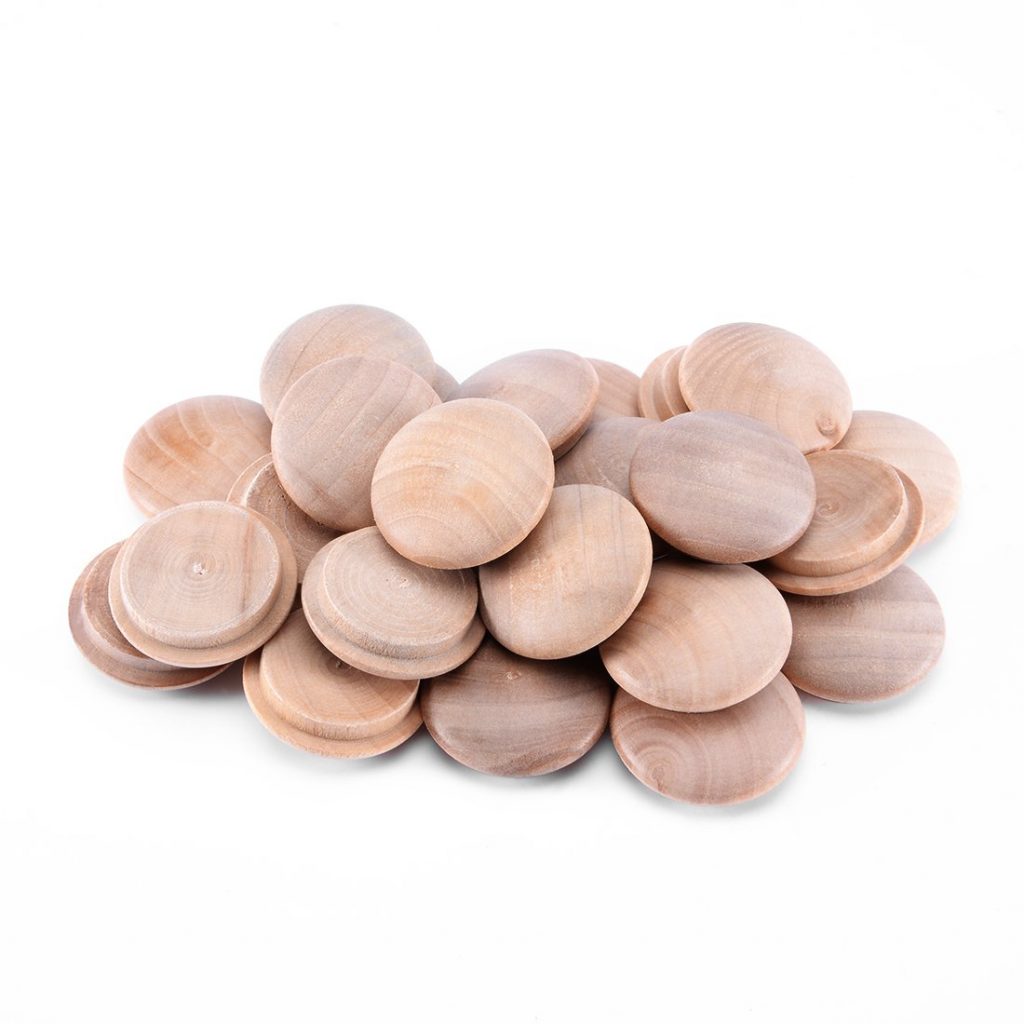
The small round decorative pieces I used can be found on Amazon HERE! I ordered 2 packs to do both headboard and footboard and that will also give you enough to do the nightstands and TV console I will be sharing soon.
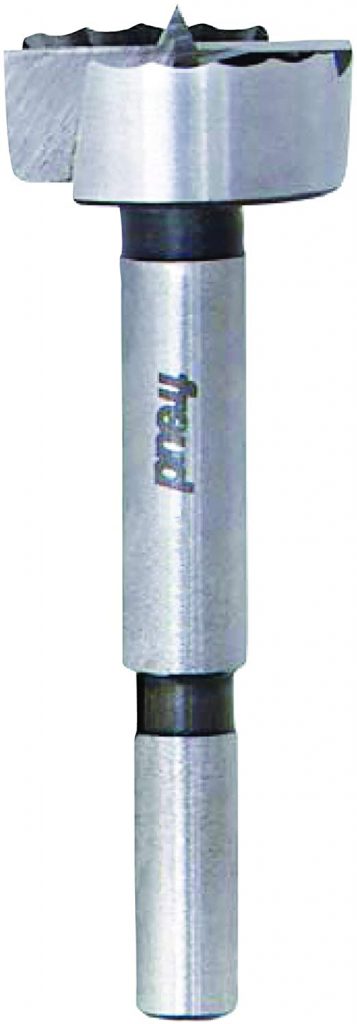
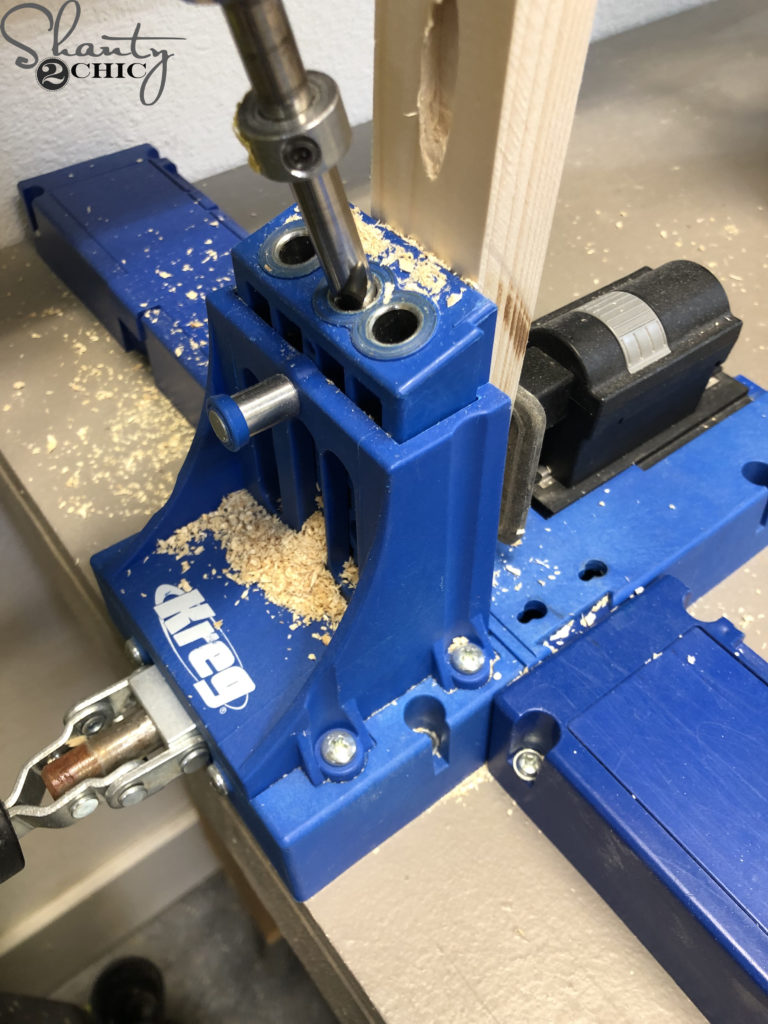
The Forstner bit I used is AMAZING. It cuts so quickly and clean. You can find it HERE on Amazon!
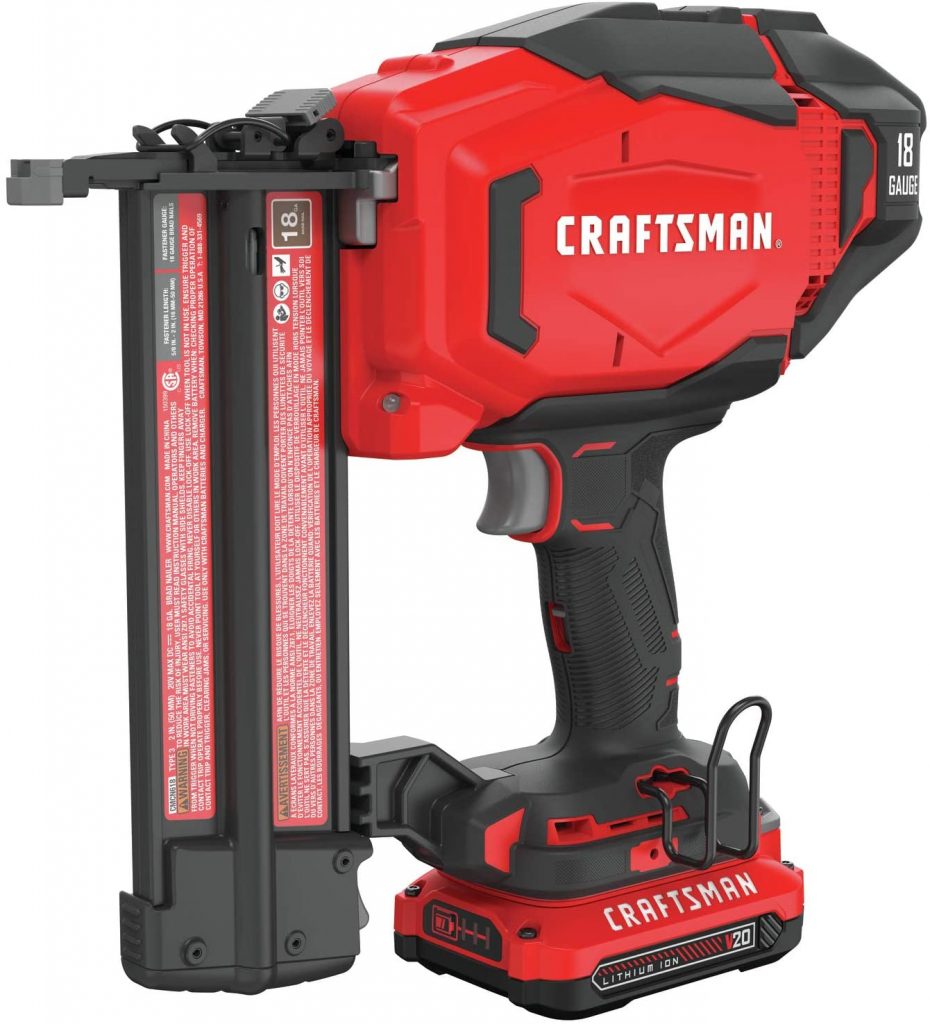
You can see my new Craftsman 18g nail gun HERE on amazon! I LOVE this thing. It shoots so smoothly and quietly compared to others! 
I used my K5 Kreg Jig for the pocket holes! LOVE this baby too… y’all knew that. Here is a link on Amazon!
DIY King Bed Nightstands
Instructions
- First, build 2 face frames. I ripped the boards for these out of 2×6 boards, but you can also rip down 2×4. These are ripped to 2.5” wide each. Attach the horizontal frame pieces to the leg pieces using wood glue and 2.5” pocket hole screws. You want the tops to be flush and the bottom horizontal board will be placed 1.5” from the base of the legs.

- Next, create two side frames. These also use 2x baords ripped to 2.5”. They also use 3/4” hardwood plywood cut to 24.5” x 15.75”. Add 1.5“ pocket hole screws to each end of the 2x boards. Add 3/4” pocket holes down each side of the plywood. Attach the top and bottom 2x boards using wood glue and 2” pocket hole screws. You want the back of the plywood to be flush with the back of the 2x boards.

- Now attach both side frames to the front and back face frames. Use wood glue between all joints. Use 2” pocket hole screws through all of the plywood, and use 2.5” pocket hole screws through the 2x boards. Make sure the tops and bottoms of all frame pieces are flush. You also want the sides to line up flush.

- Now attach the bottom plywood panel. You can also do this step just before attaching the 4th side in the previous step. Attach the panel using wood glue and 1.25” pocket hole screws through the panel and into the frames. Make sure the top of the plywood is flush with the tops of the 2x boards on the face frames.

- Add cleats for the drawer slides next. I wanted the widest drawer possible, so I ripped some of my 2x boards down to 1”. You can also use 2×4 cut to 15 3/4”, but you will want to adjust the drawer measurements to fit the smaller space. Attach the cleats using wood glue and wood screws through the cleat and into the plywood. The top of each cleat should be 6.5” from the top of the nightstand.
- Time to build the drawers! I used 1×4 for this, but you can also rip plywood down for the drawer sides. Attach the corners using wood glue and 1.25” brad nails. The base of the drawers is 1/2” plywood. Attach the base to the drawer sides using wood glue and 1.25” brad nails through the base and into each side.

- Attach the drawer slides next and install the drawers. Push the drawer back into place to line up the drawer face in the right position. The drawer face is hardwood plywood cut to size. Attach it using wood glue and 1.25” brad nails or wood screws through the inside of the drawer and into the drawer face.

- Attach the top of the top of the nightstand using wood glue and 2” nails through the top and into the nightstand base. Be sure to check out our post and video on how I finished this piece. Make sure to share your builds with us on social media! Happy Building!


I hope you love how they turned out! Please let me know if you have any questions at all when you build yours!


not sure about the plans…if you want a wider drawer box then make the plans with the cut you used, also there are no 2.5 in wide cuts on the cut list but there are directions on page one to connect 2.5 wide legs
Any hints on where you those nightstand lights came from?
Is there a Dresser that goes with this. Would love to see one
I’m going to start this today. I don’t have the 1/2″ plywood however. . I can’t wait to see the finished product I have learned so from you girls. Thank you so much