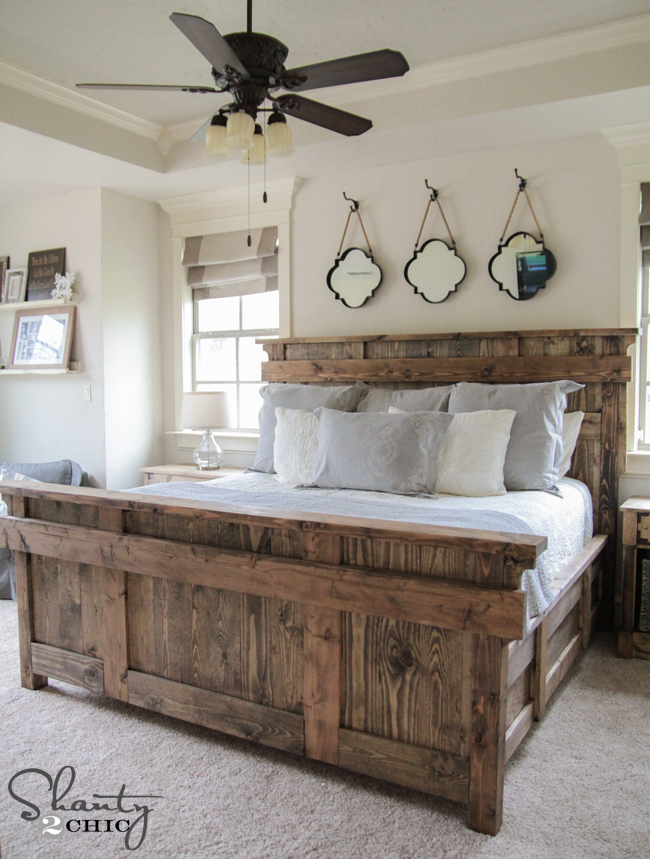
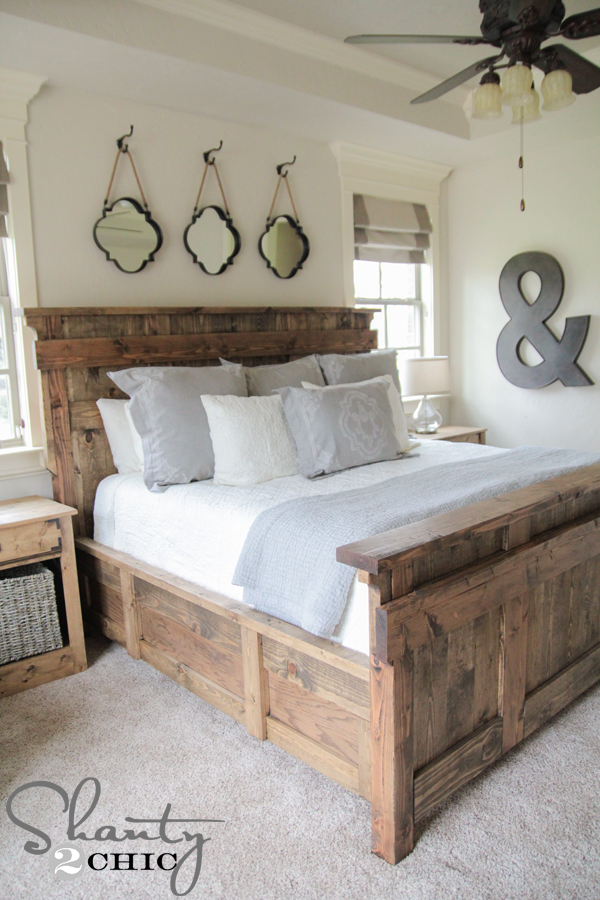
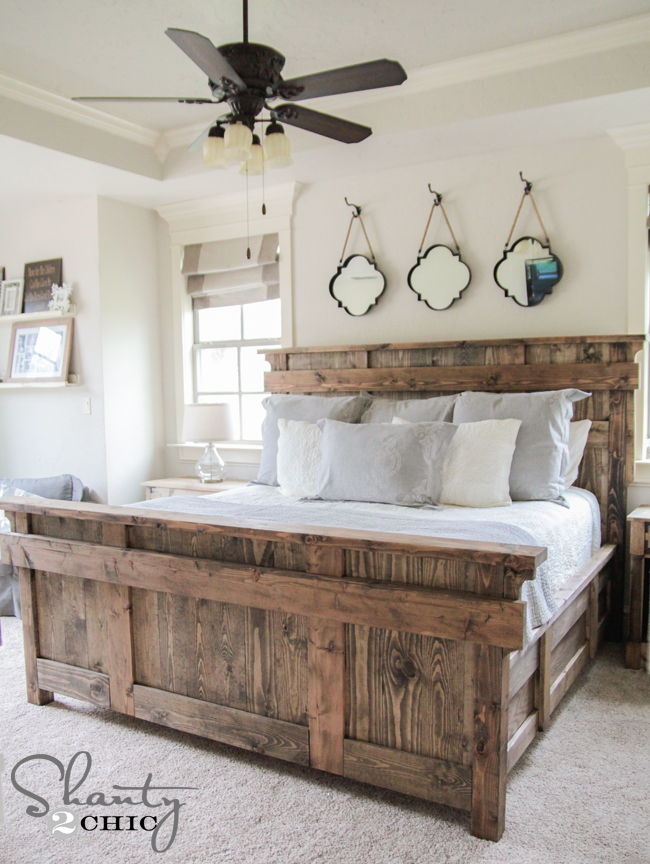
Holy guacamole. This is a big darn bed. I’m so glad I finally get to reveal it to you!
I have been wanting to build my own bed for years now. I had a beautiful store bought bed prior to this albatross. I loved it, but have always had the itch to create one myself. I ran across my inspiration at a store called Arhaus. The store is full of inspiration… As well as very hefty price tags. The original bed before shipping and tax for them was $3699.00. Nope, that was not a typo. I am happy to say that I built my version for under $400. (Insert happy dance) Check it out… My new DIY King Size Bed Free Plans!
Yah. I love it. A whole lot.
As always, I will walk you through this entire build here (with 42 photos… you have been warned) and you can also download and print the free plans at the bottom of this post!
Let’s get started! I imagine writing this tutorial is going to take longer than actually building the bed, so let’s get a move on.
DIY King Size Bed Free Plans
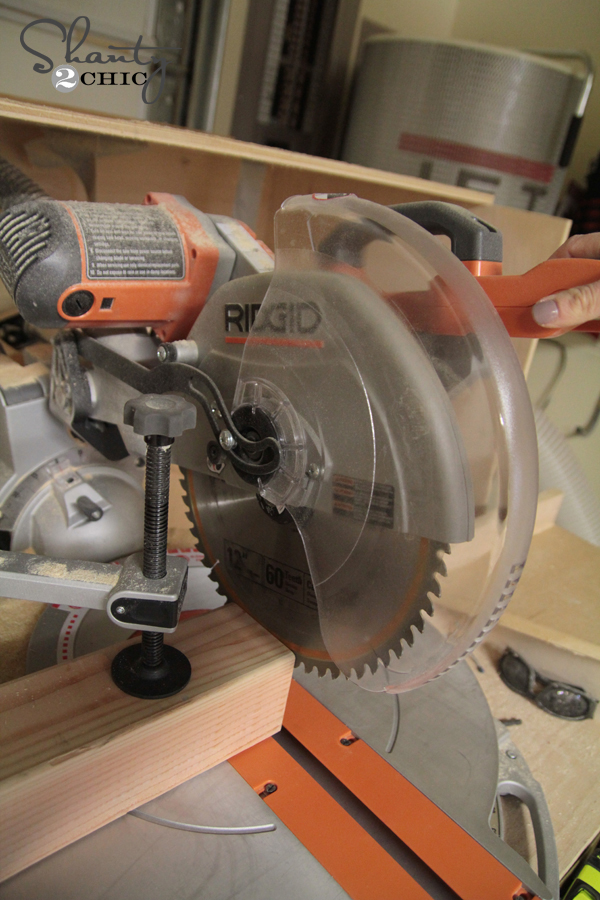
The posts of this bed are 4×4. These are untreated boards and can be found at both big hardware stores. You won’t be able to cut through a 4×4 without a 12″ miter saw. So, if yours is smaller, you can have the hardware store make these few cuts. You can also use a hand saw with a little elbow grease. Or, upgrade your saw! I use Ridgid’s 12″ sliding compound miter saw, but I am so pumped to try out Ryobi’s new 12″ sliding miter that comes out in a few weeks!
Watch our How to Use a Miter Saw video HERE!
I decided to attach all of the planks before building the actual headboard support so I could get an exact measurement. I used white wood boards to keep the cost down, and I love how rustic they look when stained. I used my Kreg Jig for this entire build. I use the K5, but I also own the K4 and the new Foreman. I love every single one of them for different reasons. If you are looking to invest and get one, I would go for the K5. It’s a small amount more than the K4, but I find that it’s much more user friendly and has lots of upgrades that make it my fav. And, it’s easy enough for a beginner. In fact, I would suggest beginning with a Kreg Jig. They make building much easier.
Watch our How to Use a Kreg Jig Video HERE!
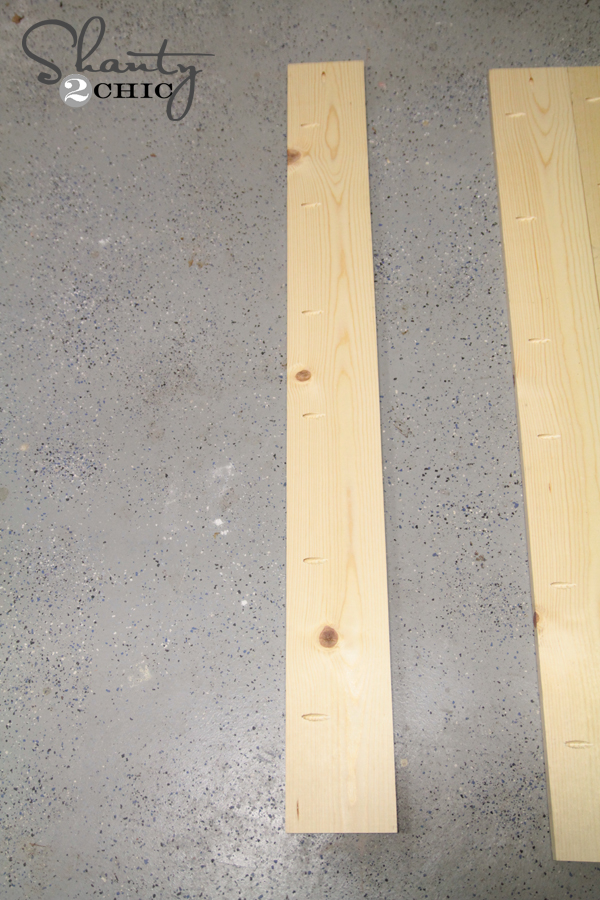
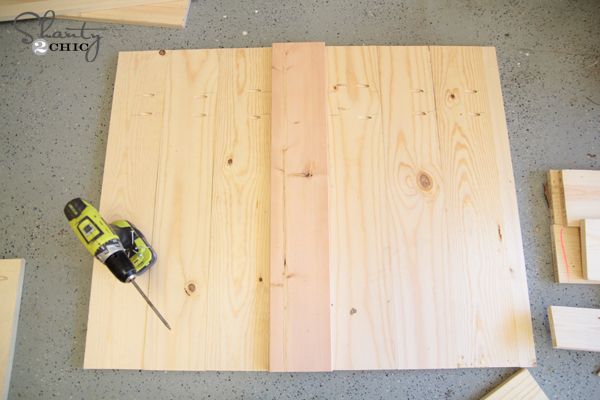
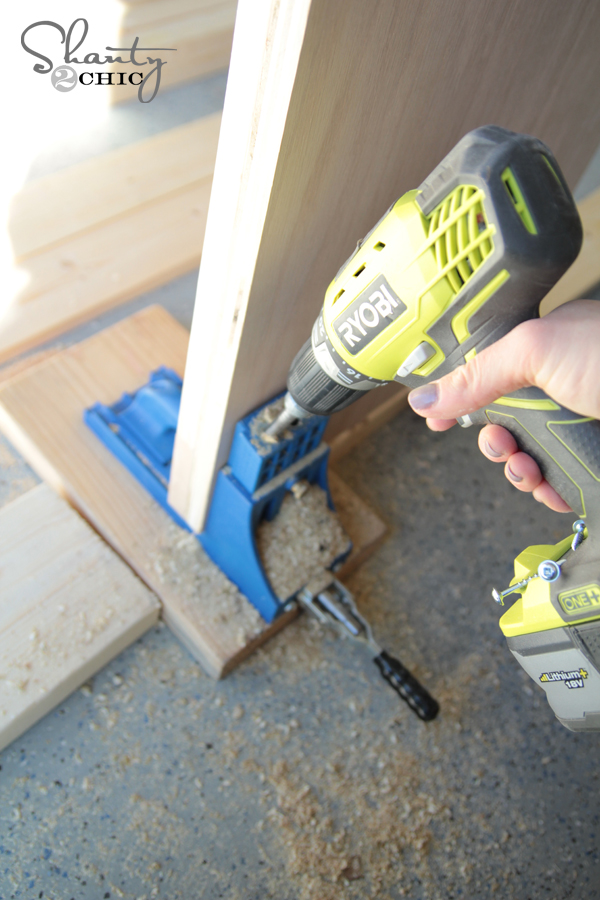
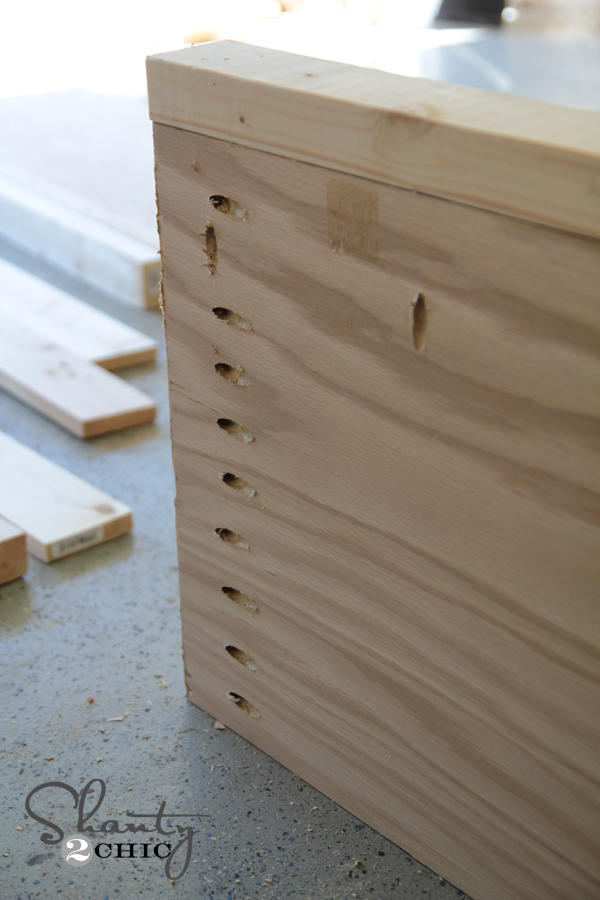
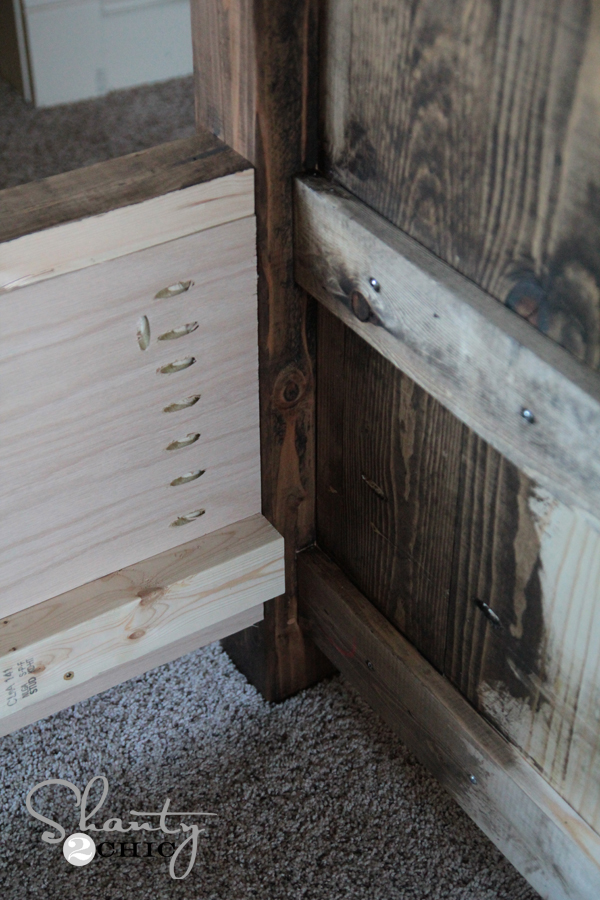
Let me explain how I did the pocket holes on the headboard. This uses 1×6 and 2×6. I didn’t do pocket holes in any of the 2×6. I did most of the planks with 3/4″ pocket holes down one side like this…
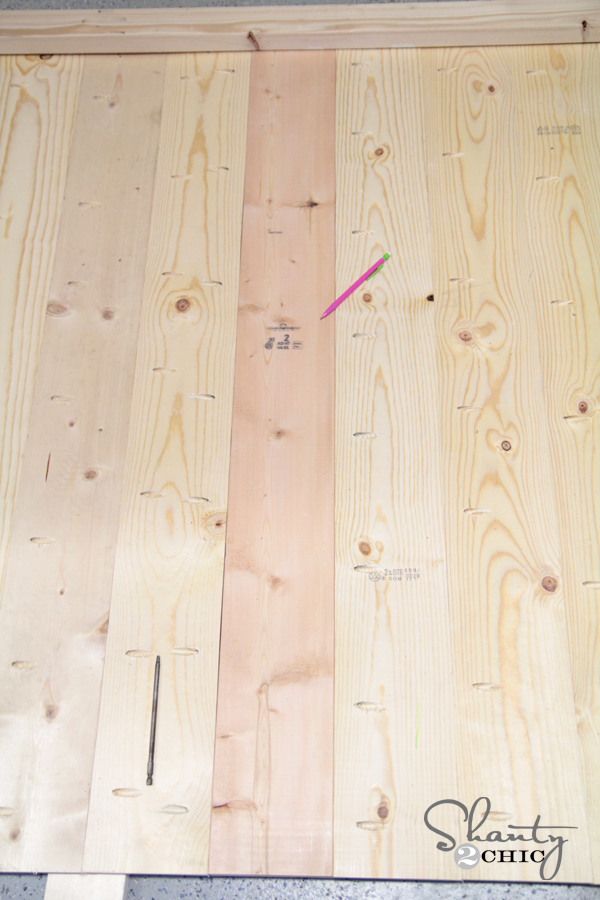
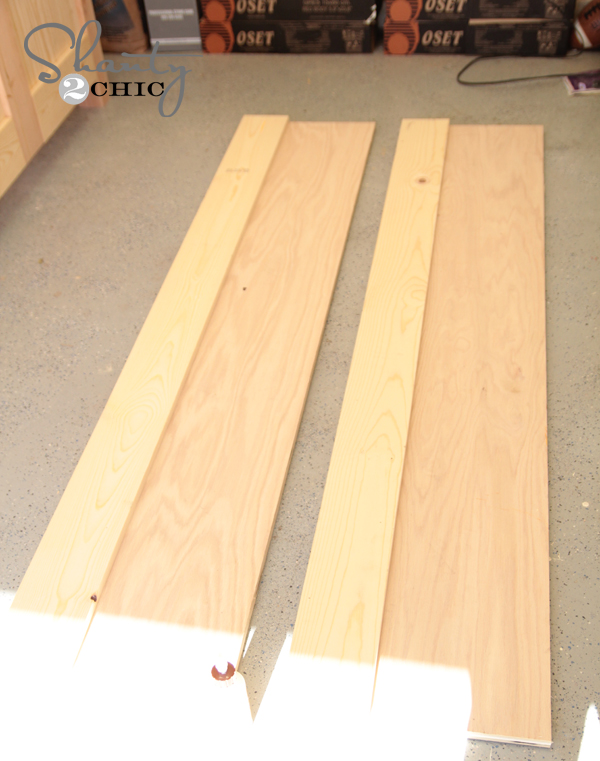
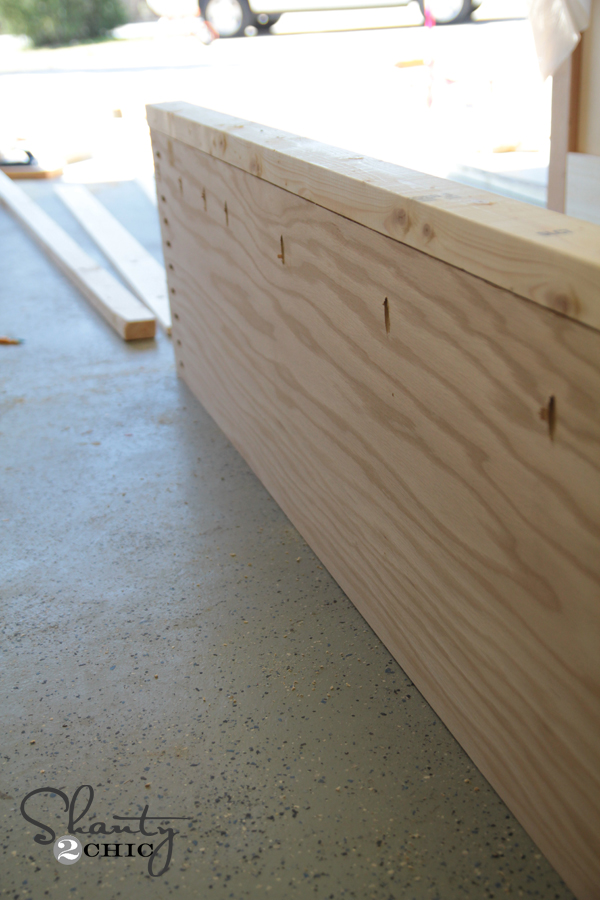
When I lined all of my boards up, you can see that on the boards sitting next to the 2×6 boards, I did pocket holes down both sides. This allowed me to attach into the 2×6 as well as the next plank.
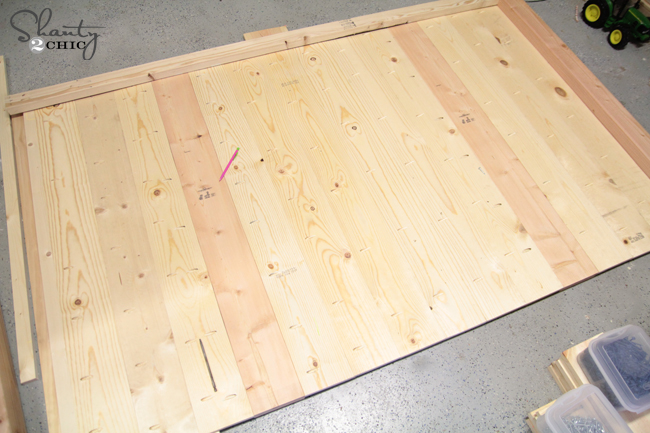
Here it all is laid out and you can see where all of the pocket holes were positioned…
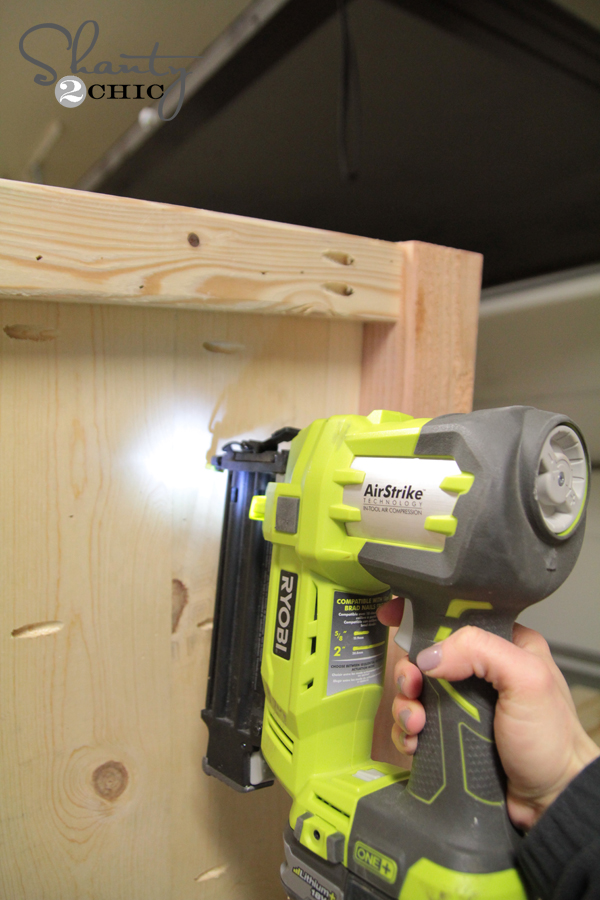
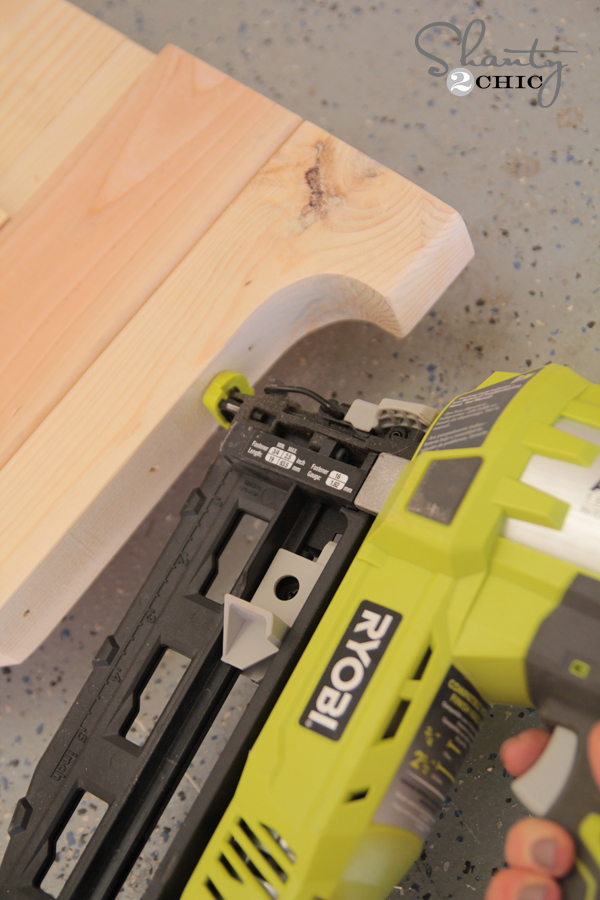
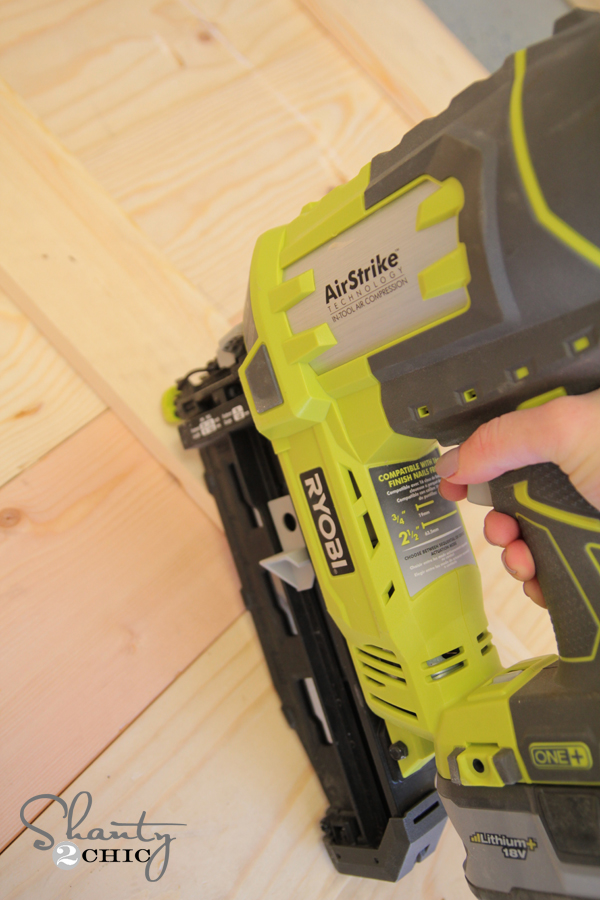
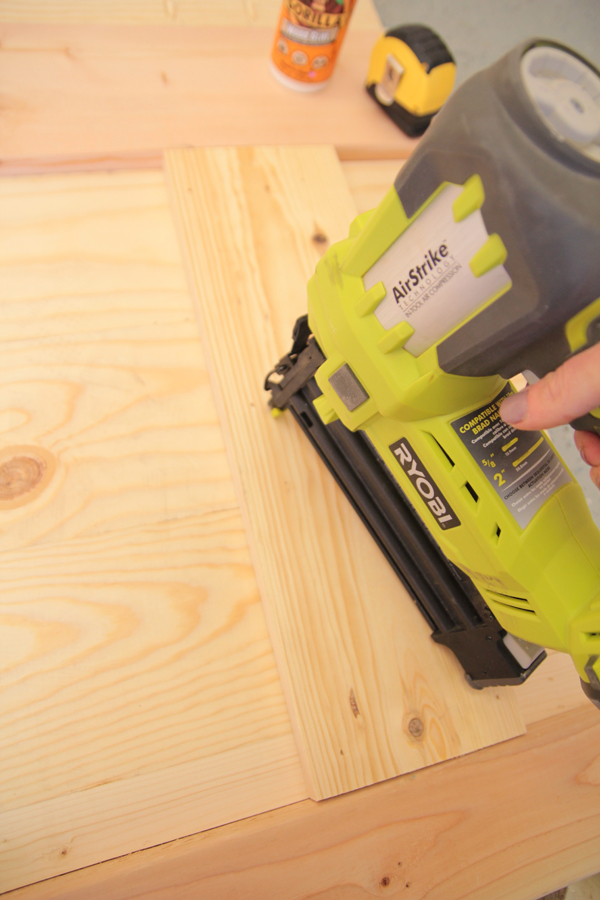
Once I had that finished I took the measurement to build the frame that sits behind it. For this I used 2×3 boards and made 1.5″ pocket holes on each end. I used 2.5″ pocket hole screws to attach them to the 4×4 posts. You want the face of the support to sit 1.5″ from the front of the posts. This will allow it to all line up correctly. Once the frame was made, I laid it on the back side of the planks. I used wood glue and 1.25″ finish nails with my Ryobi 16G finish nailer to attach through the frame and into the planks.
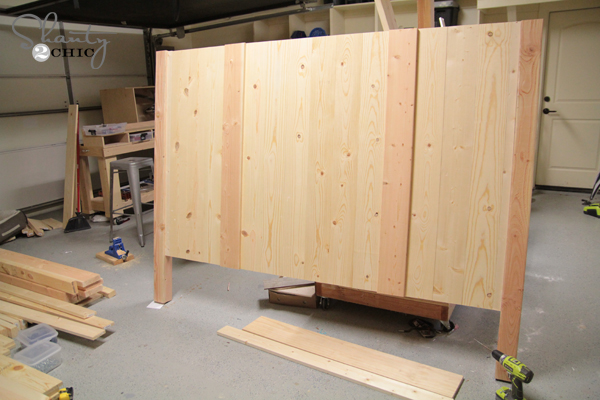
Here is the front of it…
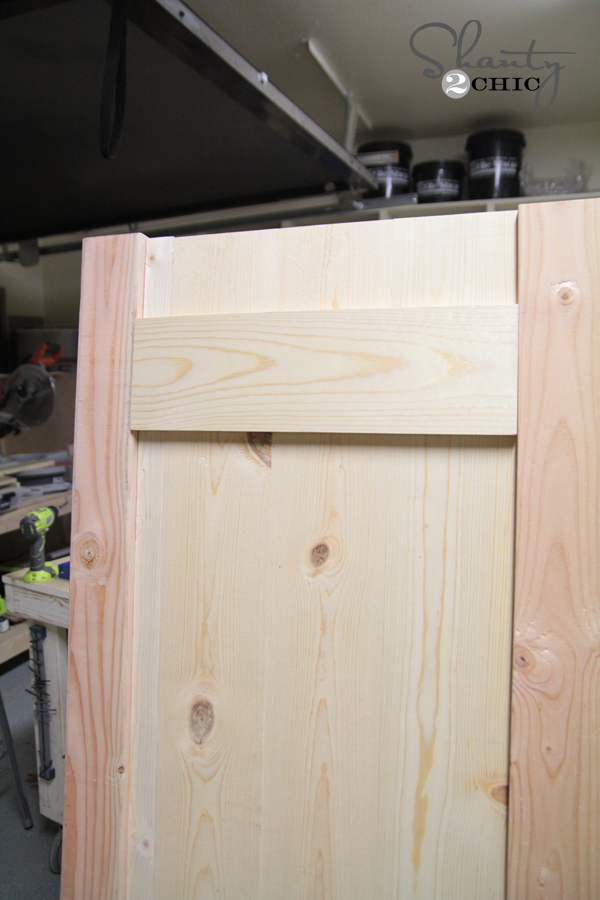
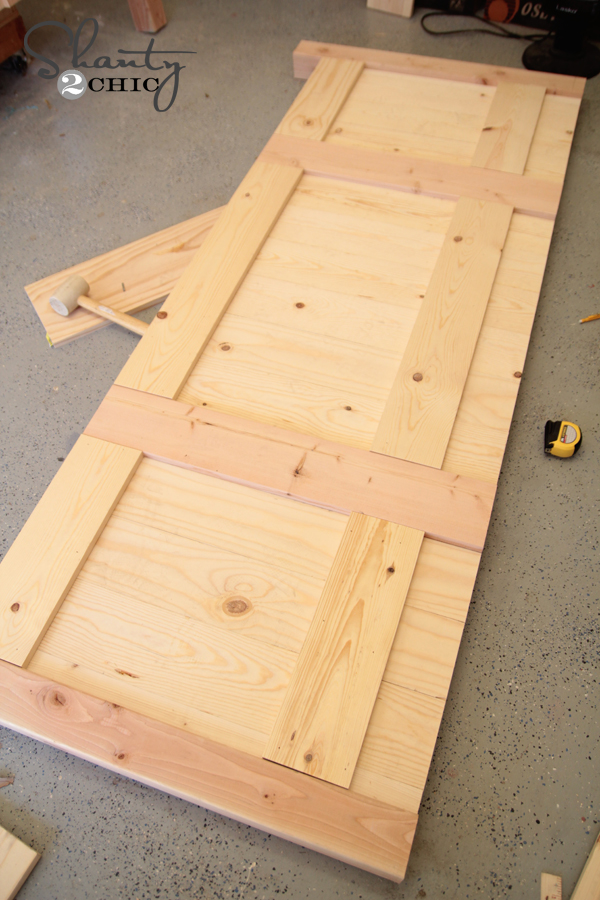
Next, you will add trim pieces. These are simple cuts. I measured the space exactly on each one rather than going from the plan. I used wood glue and finish nails through these pieces and into the front of the headboard.
First two lines of planks glued and nailed…
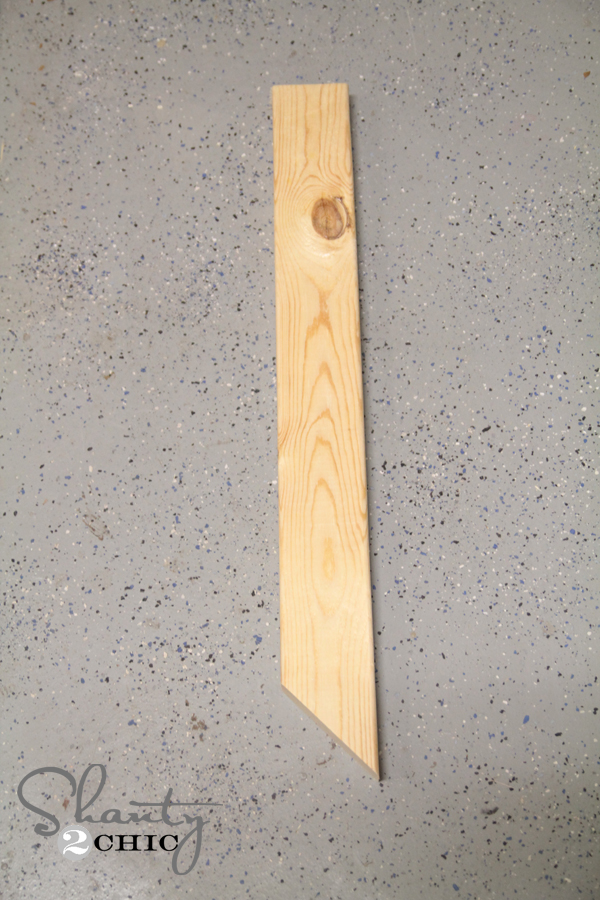
Now for the decorative side pieces. These were simple to make with my jig saw. I started by making just the miter cut on the 2×4 using my miter saw.
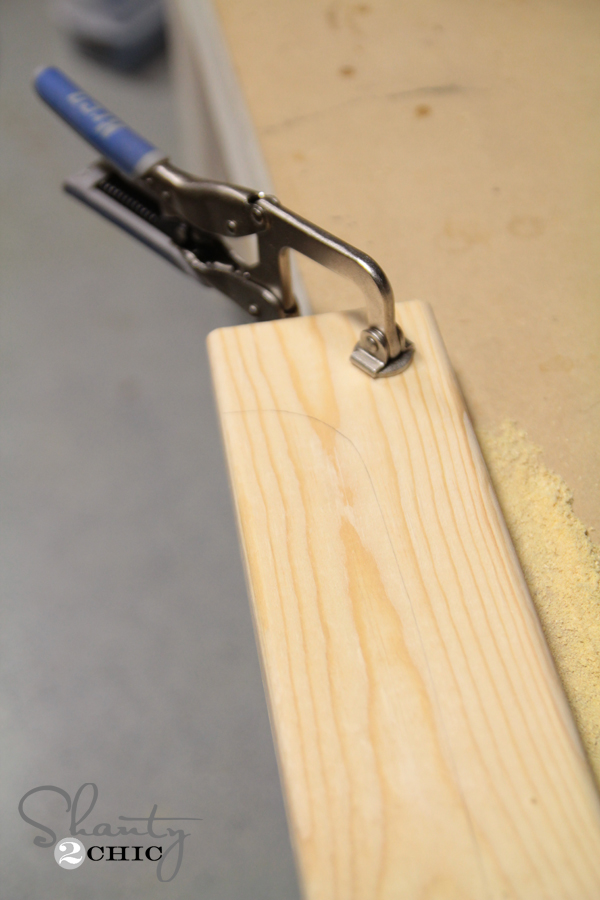
I clamped that piece to my workbench and drew out the design per the plan.
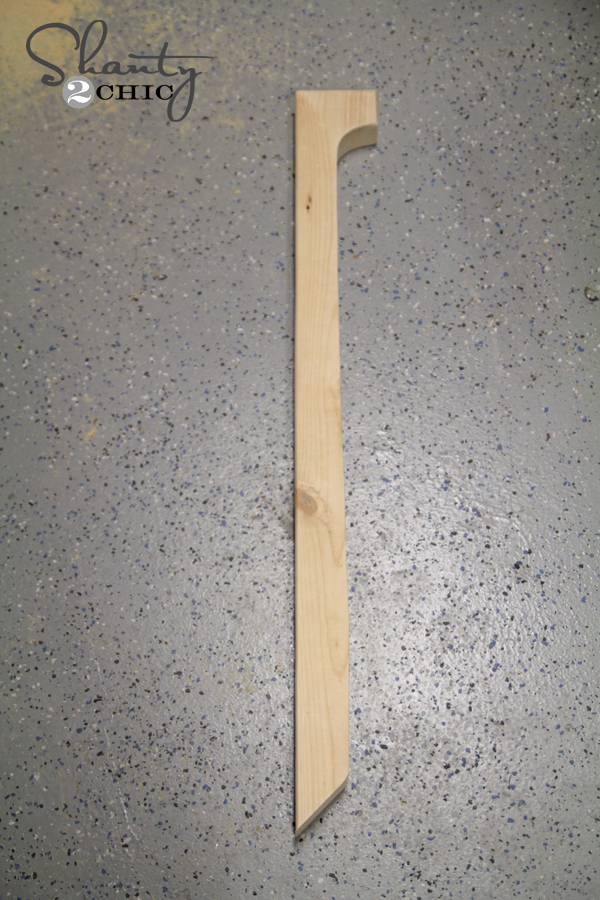
Then, I just used my Ryobi 18V jig saw to cut the design out slowly.
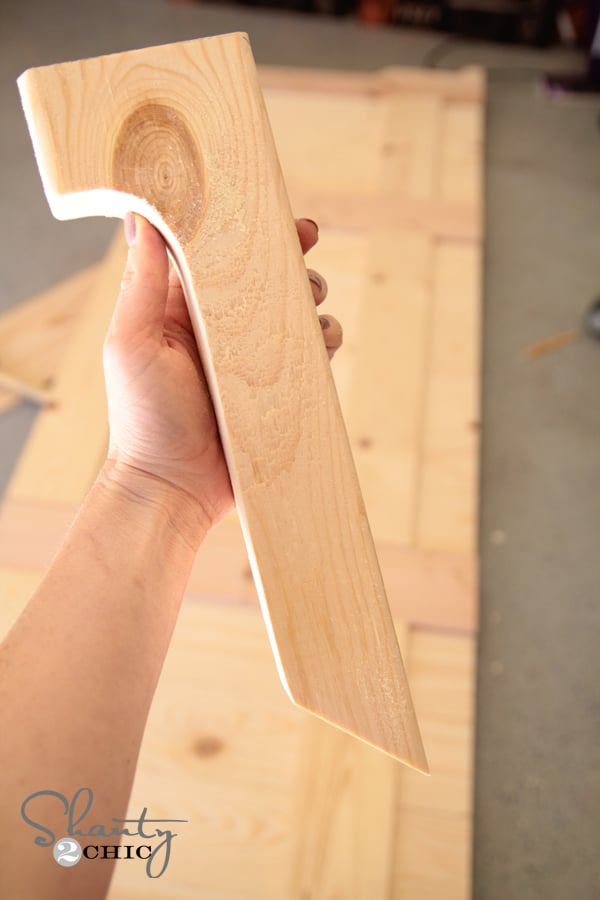
Here it is…
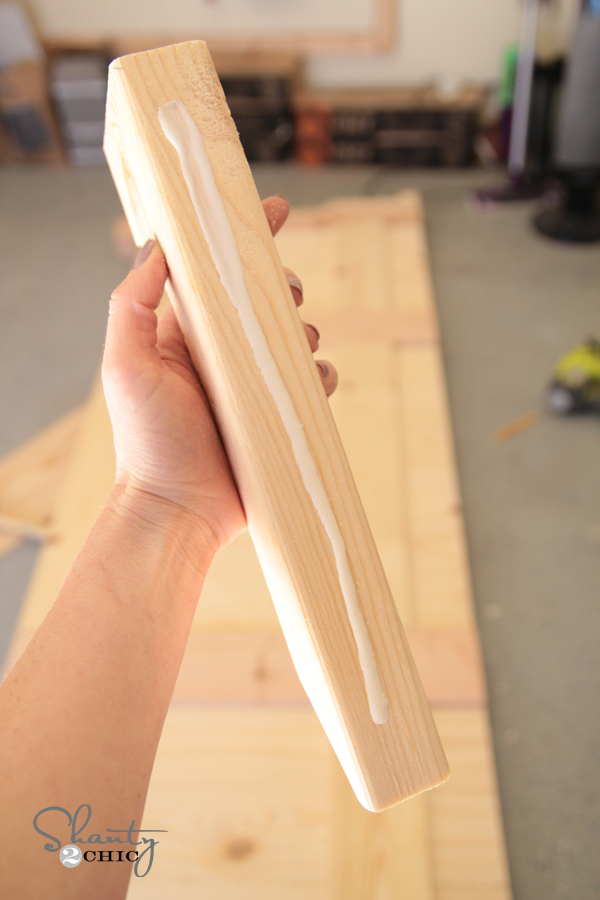
Add some glue to the end that will attach to the bed…
And I secured it using my finish nailer with 2″ nails.
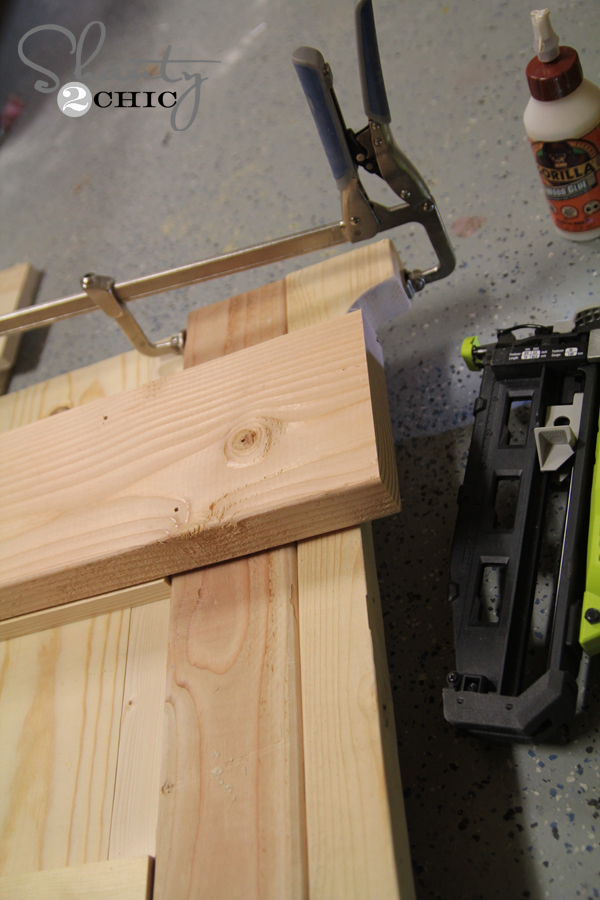
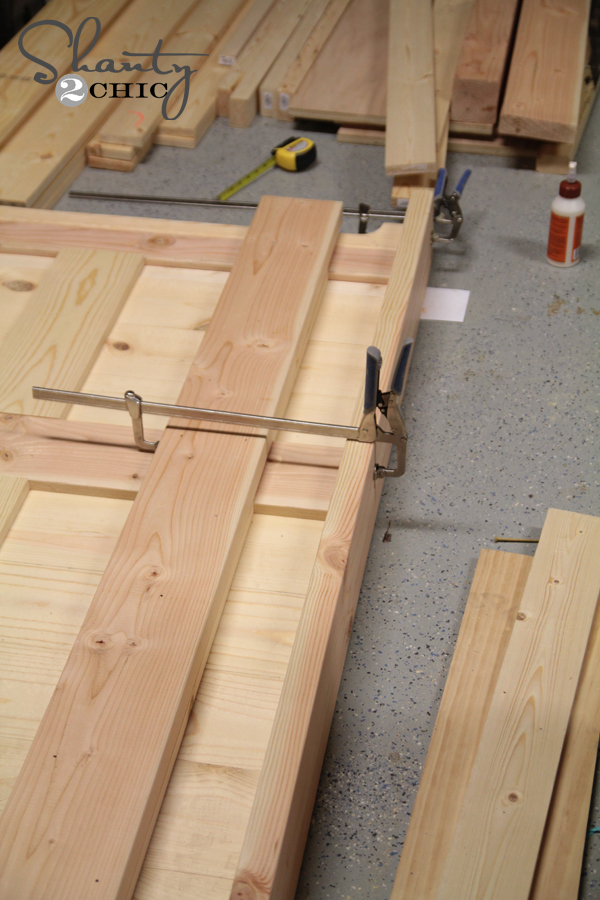
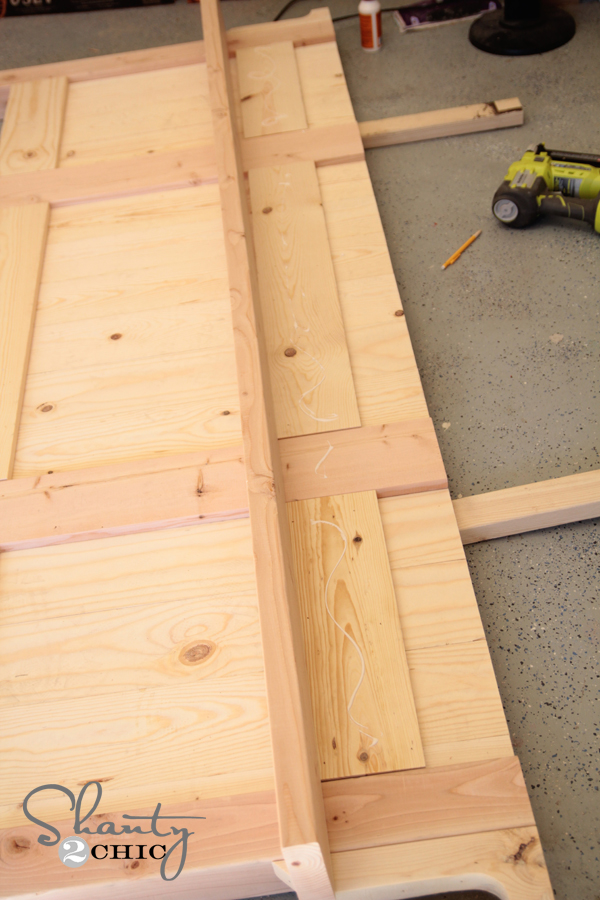
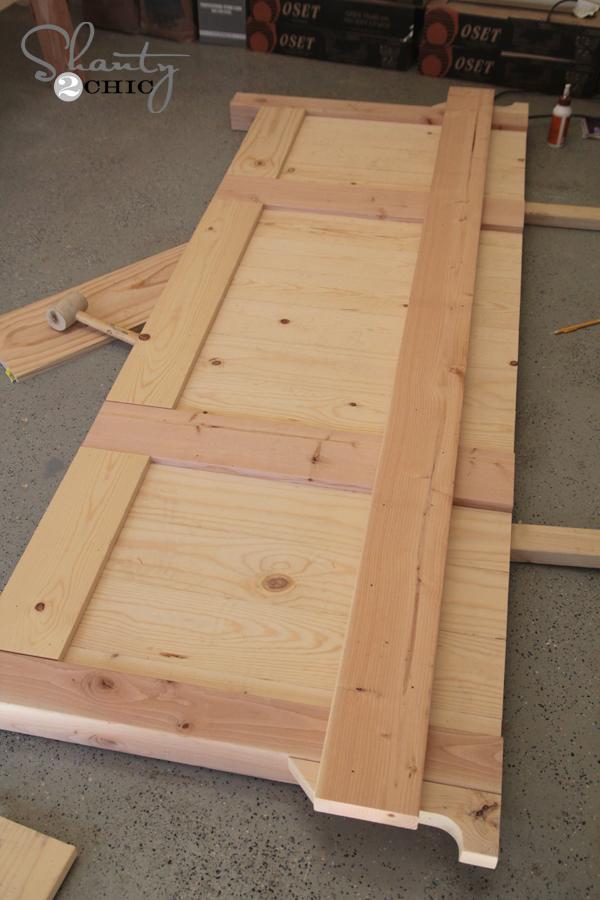
Next, you will add the 2×6 boards. These are heavy. I used a good amount of wood glue and 2″ finish nails to attach it in place. I also ran a few wood screws through the back of the headboard after that and into the 2×6 just to be extra safe.
I also added the top board at this point. After glueing and nailing it with 2″ nails, I did add some wood screws through the top and into the headboard just to be extra safe.
See my new Kreg clamps?? I love them. I have 4 and I want 36 🙂 They are like having an extra set of hands around and they are so simple to use.
Headboard finished. Moving onto footboard.
This is basically the exact same build as the headboard with different measurements. I did do everything the same though. Here are some photos to show you…
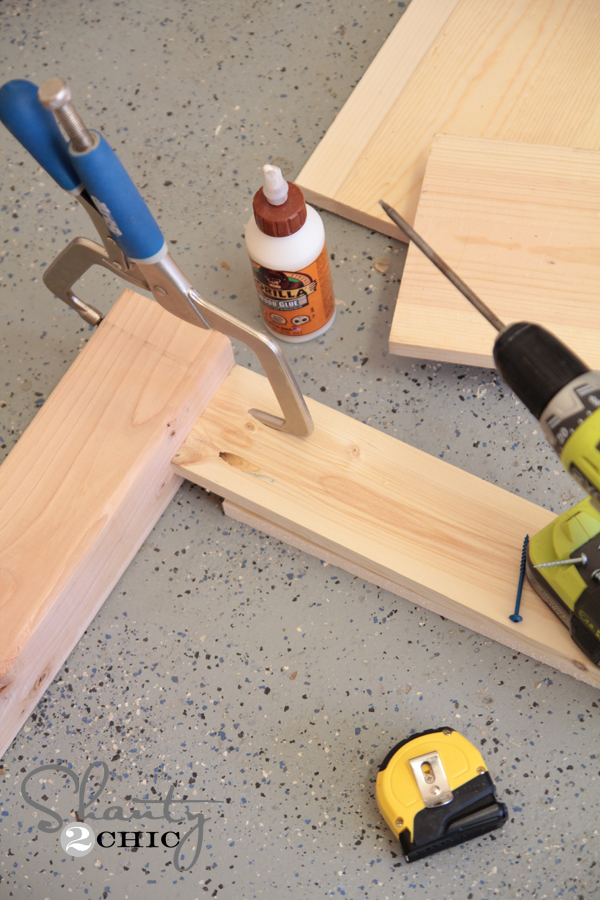
I did use 1×4 for the supports on the footboard since it wasn’t as large as the headboard. I used my right angle clamp to hold it all in place while I attached using 2.5″ pocket hole screws into the leg.
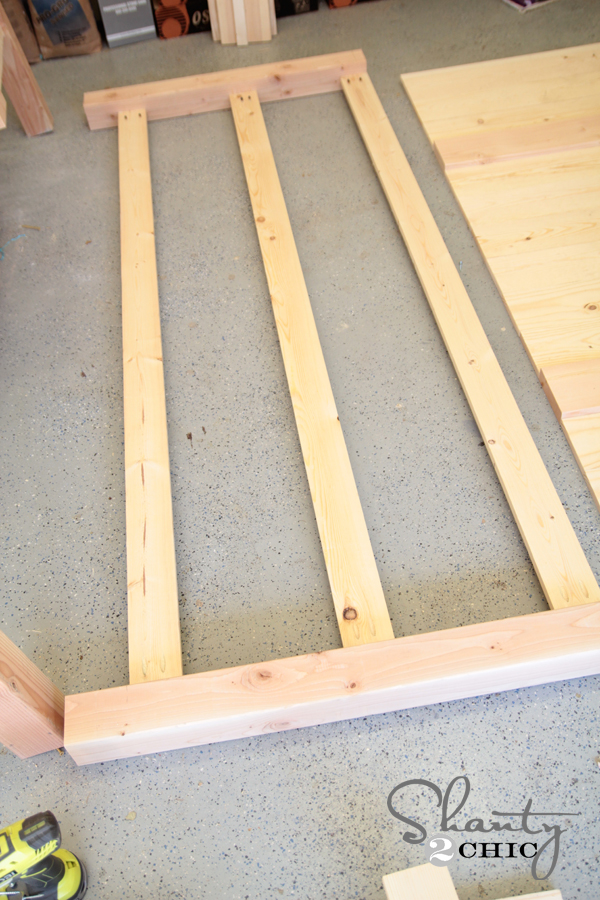
Here is the frame ready for the planks…
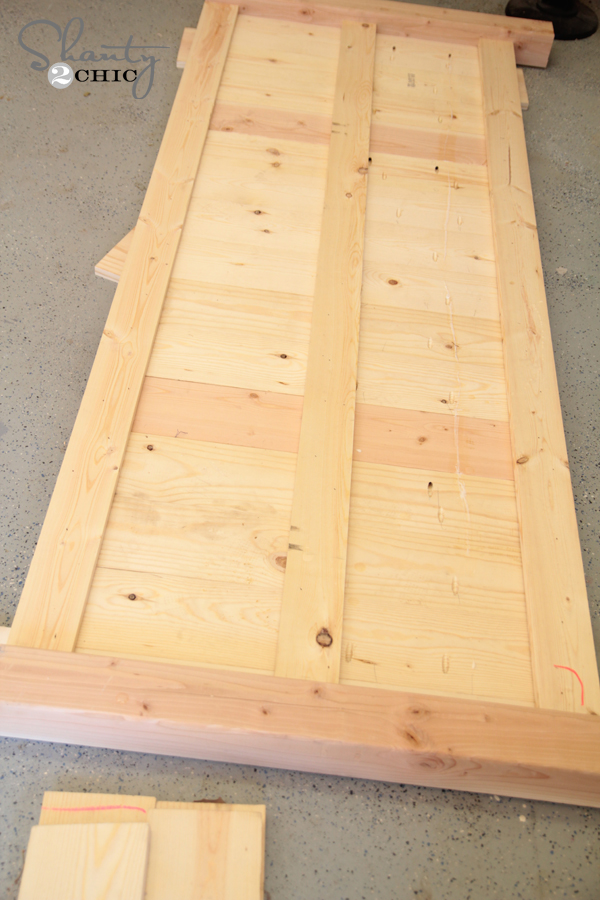
I used wood glue and nails through the back of the supports and into the planks.
Added my trim pieces to the front…
Then my decorative side pieces…
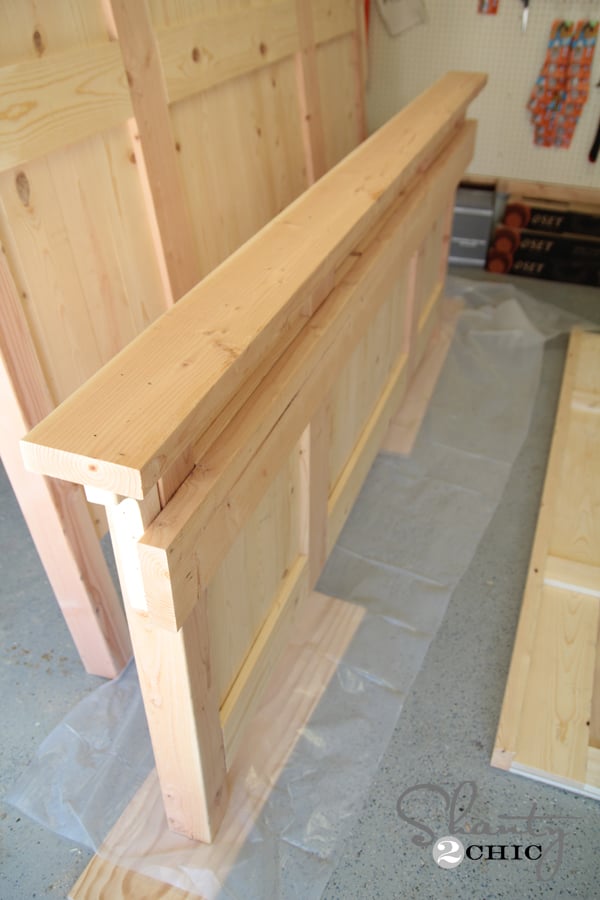
Now the 2×6 runners…
I put the top 2×6 on last before moving to the bed’s side rails.
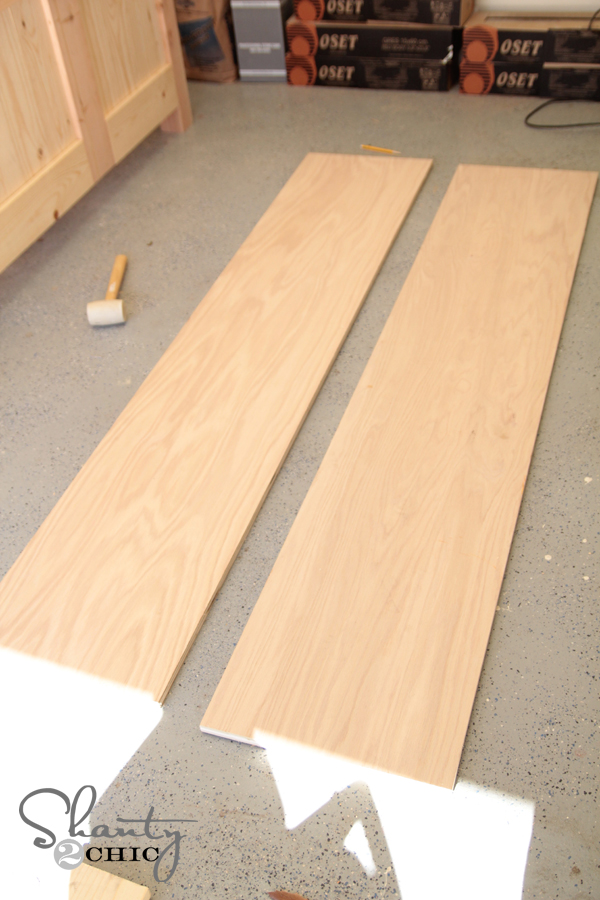
I used PureBond Plywood for the base of the side rails. I had the guys at Home Depot rip mine to size so I could get it home easy. I used Birch. You will start with two pieces that look like this…
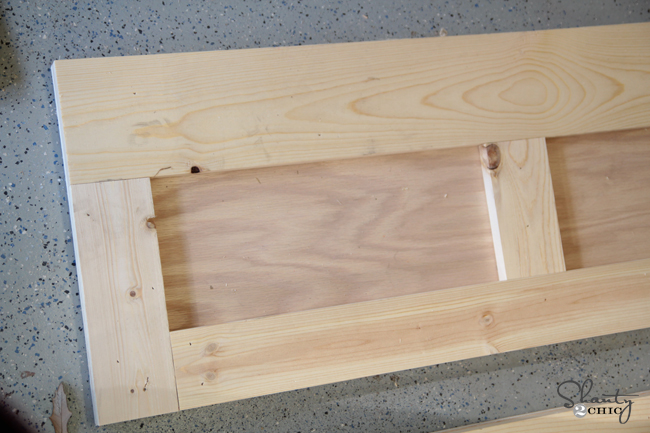
Next, I used wood glue and 1.25″ finish nails to trim these out starting with the top board.
Next, I added the smaller boards.
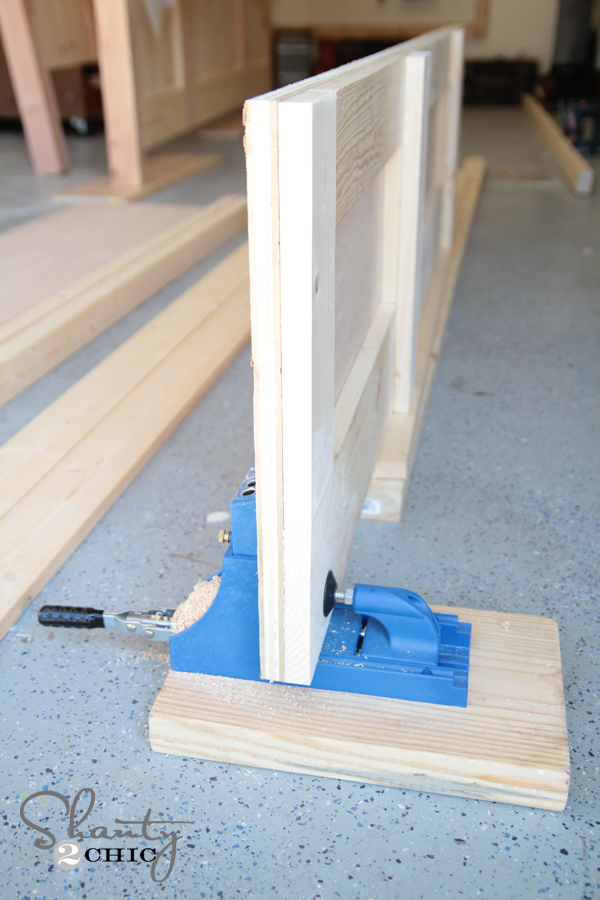
Once I had this trimmed out I used my Kreg Jig to make 1.5″ pocket holes on each end and running down the top of each side rail. I used my K3 mounted to a board to make my pocket holes.
The ends of each side rail should look like this…
I used 2.5″ pocket hole screws to attach the top 2×3 and the side rails.
And here she is ready for stain! I stained everything before getting it inside.
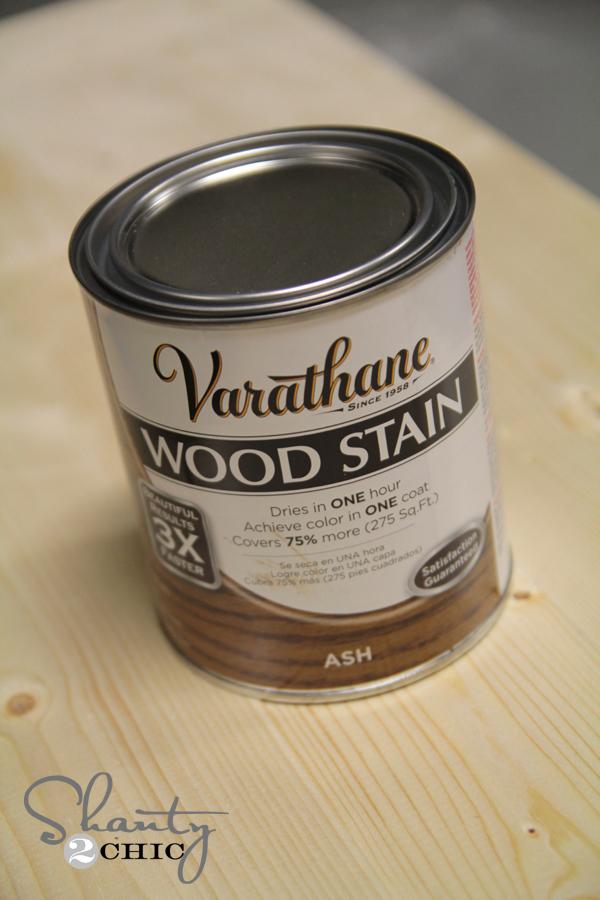
I used a new fav stain color on my bed. It’s called Ash by Varathane and you can find it at Home Depot. It’s not a very dark brown, but where the grain catches the stain it really goes a black tone which I love.
Now putting it together… This was something I did enlist lots of help on. My hubby and his friend moved the headboard in first. Then I cut a few 4×4 scraps to help hold the rails in place while I used 2.5″ pocket hole screws through the pocket holes on the rails and into the legs.
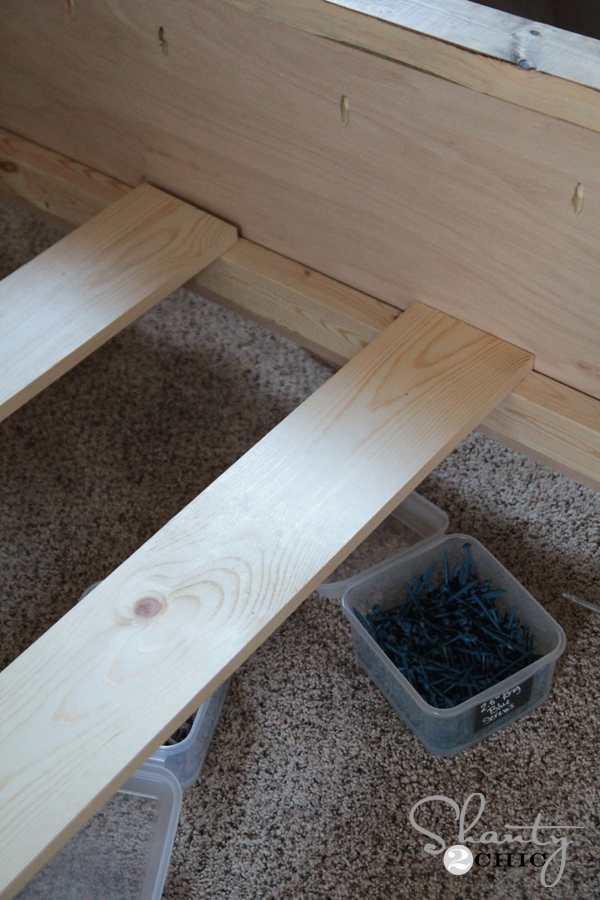
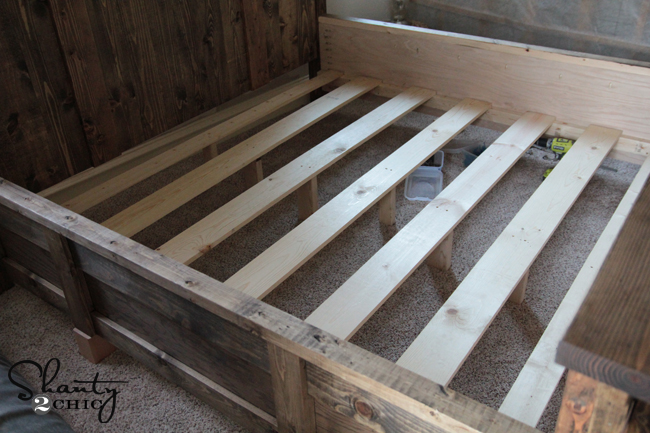
After that I did the same to the footboard. Finally, I cut all of the planks to run under the mattress. These all use a block under them to support the weight of the mattress. I nailed them in place with 2″ finish nails into the runners on the sides.
That’s it! Told you it would take forever 🙂
But… I LOVE IT. I will say… This is not a super advanced build by any means. All of the cuts are straight and many are the same. I would say it is very labor intensive. I was sore for two days after building it… Which really is more a testament to my physical health, but we’ll blame the bed. 😉
I hope you LOVE it as much as I do!
You can download and print the FREE plans by clicking HERE
The bedding was a Valentine’s gift from my hubby. It’s all from Restoration Hardware.
The large metal ampersand magnet board can be found HERE!
The color on the walls is Valspar Homestead Resort Parlor Taupe.
The mirrors are from Hobby Lobby as well as the hooks I used to hang them. Wayfair carries one that is very similar and super cute HERE!
The nightstands are a little sneak peek for next week or so… One isn’t totally finished but you guys will love them!



Looks like you used pocket holes and wood screws to attach the side rails to the head/foot boards. It would seem that this would make it very hard to break the bed down for future moves. Have you ever seen any hardware that would attach to each side and then hook together?
I finished mine today and love it! Based on some other comments I cut the width down by 3 inches and it’s perfect! All you need to do is not use the 1×2 on each side and cut down the length of all the horizontal boards on the headboard and footboard.
Cant wait to start this. I am a beginner, but after looking at these plans, I don’t see why I couldn’t complete this! Thanks for putting such details plans. I will upload my picture upon completion.
I’m late to the game here, but I’m looking for these exact roman shades. Could you tell me where you got them?
LOVE THIS BED…would look perfect in our future mtn home. We have an extended queen Sleep # bed. Does anyone know how to adjust the measurements for that? I’d love to see if my nephew would make this for me.
Just wanted to point out that the measurement for the width of the bed is wrong it says 95 1/2′ yet the dimensions for board cuts states the top rails at 92 1/2″, I noticed a few people comment their confusion on the matter.Love the design, I’ll be building a queen size version for my sister and her husband
The link to the pdf plans fails to download. Anyone else having an issue?
Did anyone get an answer to the size question? We have a king size bed but some comments indicated that this plan seems to make a bed frame that is too large for a standard size king bed. I would really like to make this frame for our room but I would like some direction on how to edit the plans if it’s going to be too big…
Will the Cal King Mattress fit in this plan??
I have emailed shanty 2 chic 3 times and never got a response from them on the plans for a queen bed. So I’ll try posting here do you guys have plans for a queen
Still have never heard from them
Most queen beds are 16-18 inches narrower than a king. Just subtract that from all the boards that go the width of the bed.
Hi there! My grandfather has been making furniture for years, and I printed off the PDF plans so that he could make this bed for me! It turned out gorgeous, but exactly following the plans the frame is far too wide for our standard king mattress 🙁 Did I miss an update on it somewhere?
I am glad you posted this. I am about to start my project tomorrow and measured my king size bed at 76 inches. That would leave 6 inches of space on each side of the mattress for this frame! Looks like I can return a few boards to home depot.
is there an actual cut list or materials list for this build? It would be nice to know what i am gonna need up front 🙂
There is a diagram with each board and where to cut them.
I’m an idiot. I didnt realize that was a link lol thanks 🙂
No worries! 😉
No worries! 😉
Did anyone ever attempt a queen sized version? I am assuming you could just subtract 16″ from the width? If anyone has tried this can you please let us know.. a pic would be fantastic too.
What color stain did you use on this bed and how many coats did you use? We bought the color ash stain, different brand thought but it doesn’t look as pretty as your bed.
Is there any way to convert the plans to a queen size?