Learn how to build this DIY King Size Bed with free plans and a step-by-step tutorial! No fancy tools and perfect for beginners!
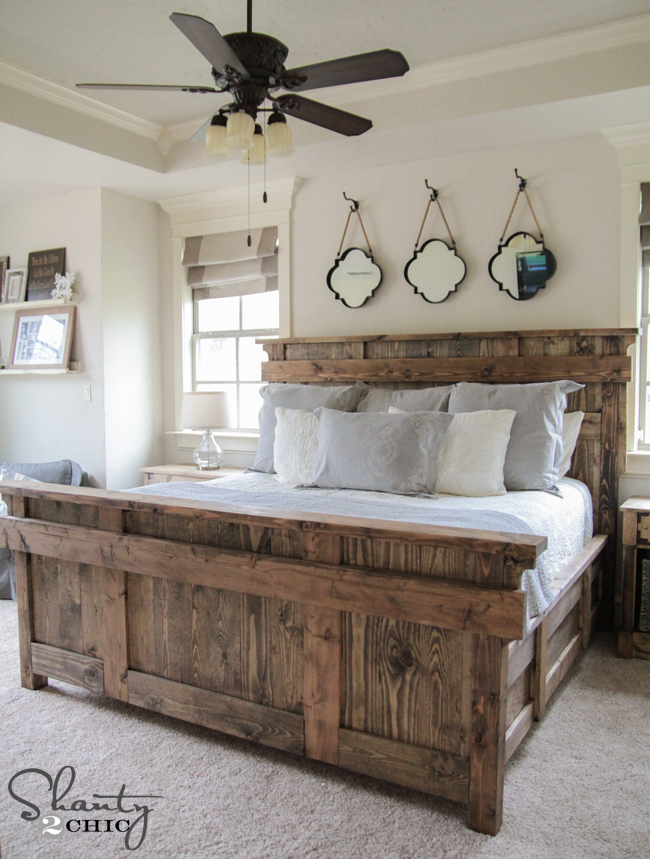
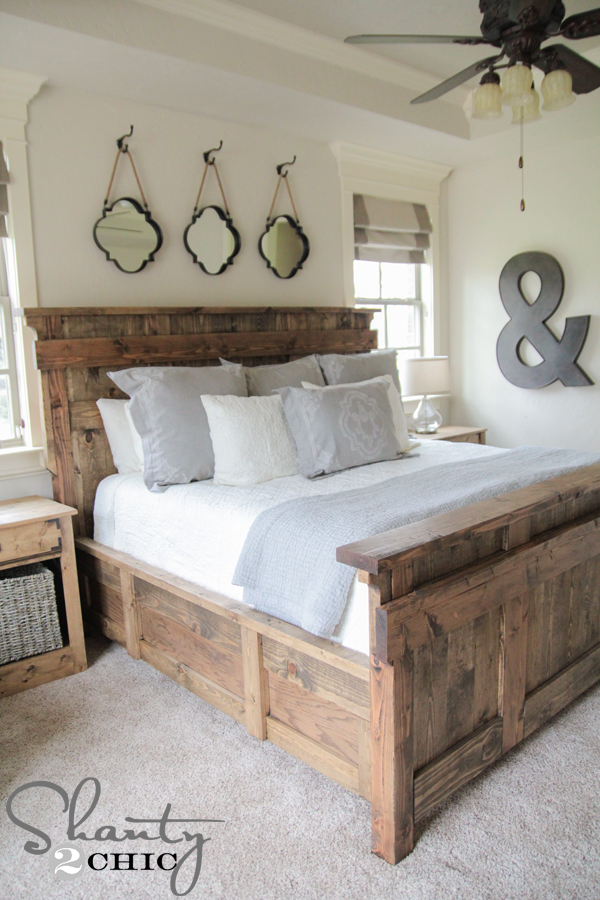
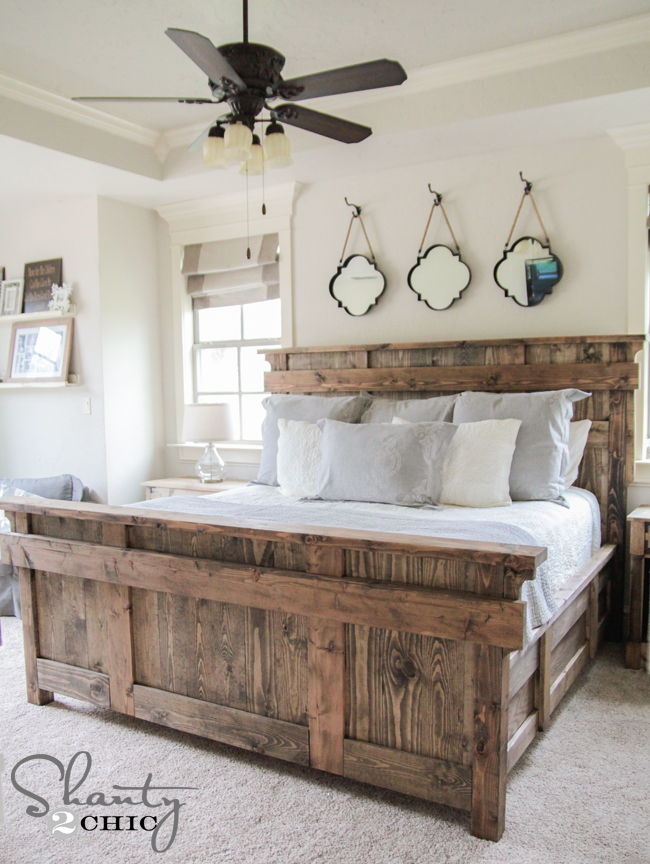
I have wanted to build my own bed for years. Before this project, I had a beautiful store-bought bed that I truly loved, but I could never shake the desire to create one myself. Eventually, I found the perfect inspiration at a store called Arhaus. The store is filled with stunning furniture and endless ideas, but it also comes with very hefty price tags. The bed that caught my eye was listed at $3,699 before shipping and tax. No, that was not a typo.
However, instead of buying it, I decided to build my own version, and I am thrilled to say I completed it for under $400. That savings alone made the effort worthwhile, and the end result is everything I hoped it would be. Check it out—my new DIY king-size bed with free plans!
To say I love it would be an understatement. I truly couldn’t be happier with how it turned out.
As always, I will walk you through this entire build step by step so you can follow along easily. This tutorial includes 42 photos, so you have been warned, and you will also find free downloadable and printable plans at the bottom of the post.
With that said, let’s get started. I have a feeling writing this tutorial will take longer than building the bed itself, so we might as well jump right in.
Table of Contents
DIY King Size Bed Free Plans
Building the Headboard
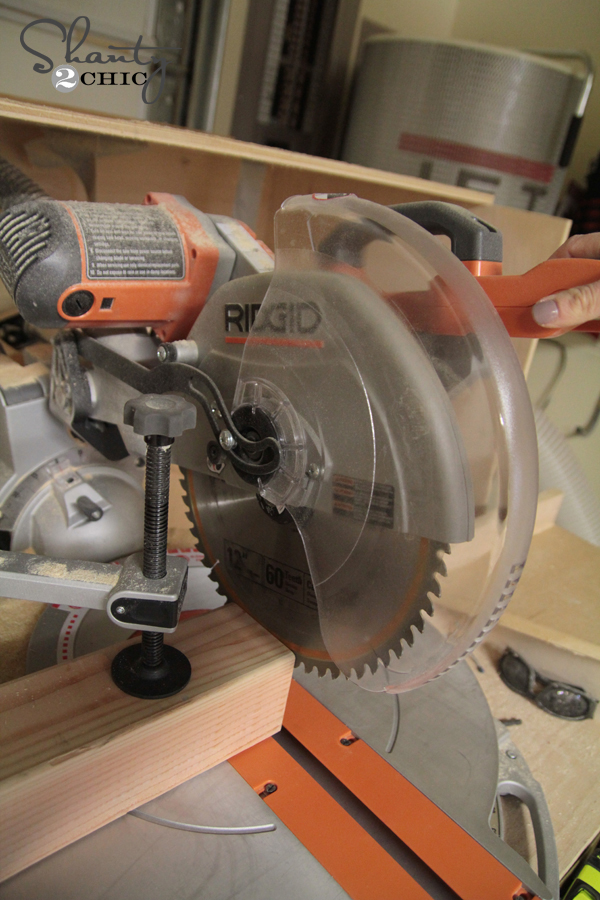
Step 1: Cutting the Posts
The posts of this bed are 4×4. These are untreated boards and can be found at both big hardware stores. You won’t be able to cut through a 4×4 without a 12″ miter saw. So, if yours is smaller, you can have the hardware store make these few cuts. You can also use a hand saw with a little elbow grease. Or, upgrade your saw! I use Ridgid’s 12″ sliding compound miter saw, but I am so pumped to try out Ryobi’s new 12″ sliding miter that comes out in a few weeks!
Watch our How to Use a Miter Saw video HERE!
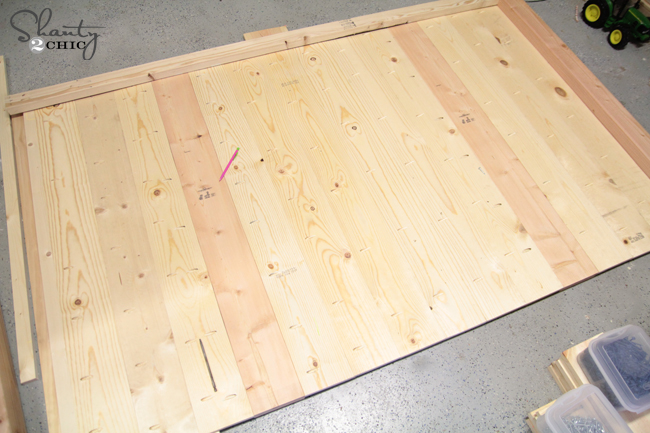
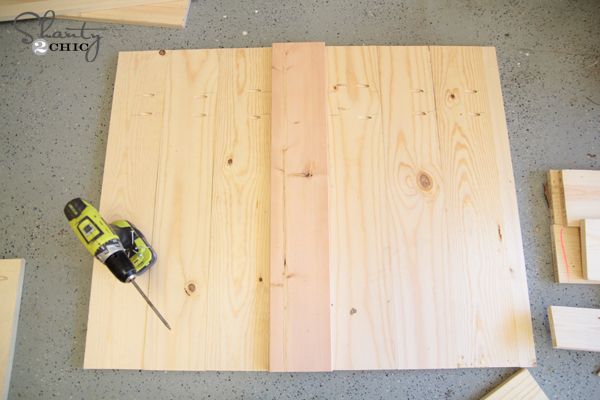
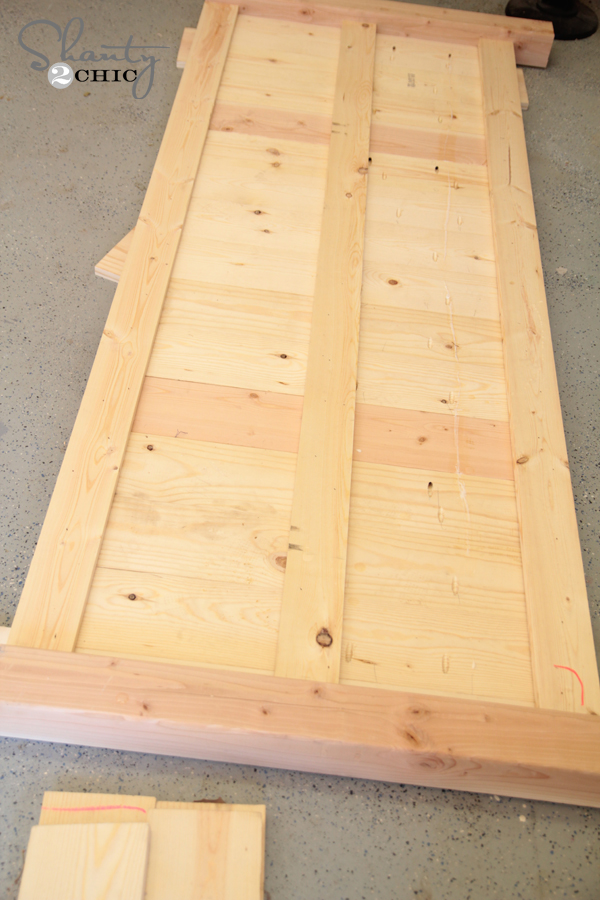
Step 2: Planking the Headboard
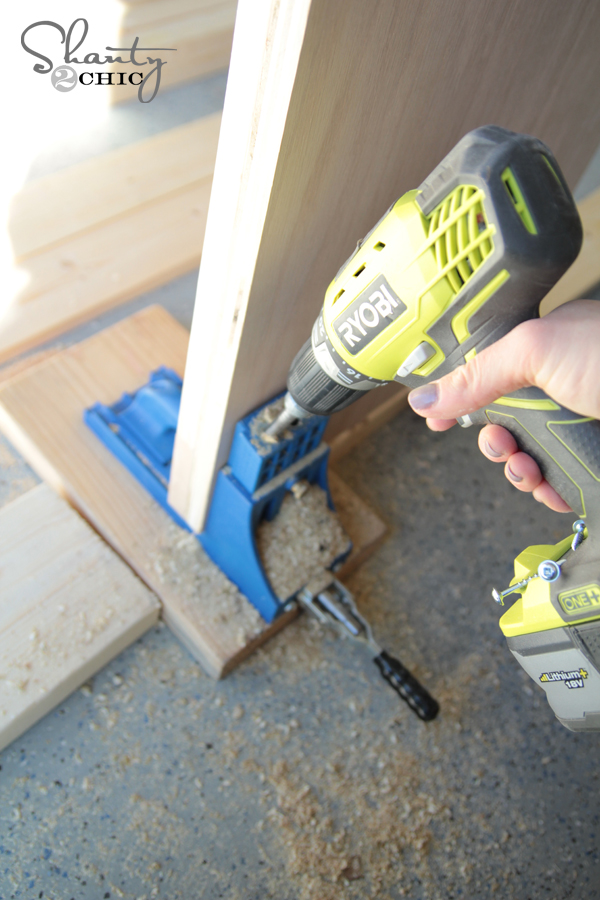
I decided to attach all of the planks before building the actual headboard support so I could get an exact measurement. I used white wood boards to keep the cost down, and I love how rustic they look when stained. I used my Kreg Jig for this entire build. I use the K5, but I also own the K4 and the new Foreman. I love every single one of them for different reasons. If you are looking to invest and get one, I would go for the K5. It’s a small amount more than the K4, but I find that it’s much more user friendly and has lots of upgrades that make it my fav. And, it’s easy enough for a beginner. In fact, I would suggest beginning with a Kreg Jig. They make building much easier.
Watch our How to Use a Kreg Jig Video HERE!
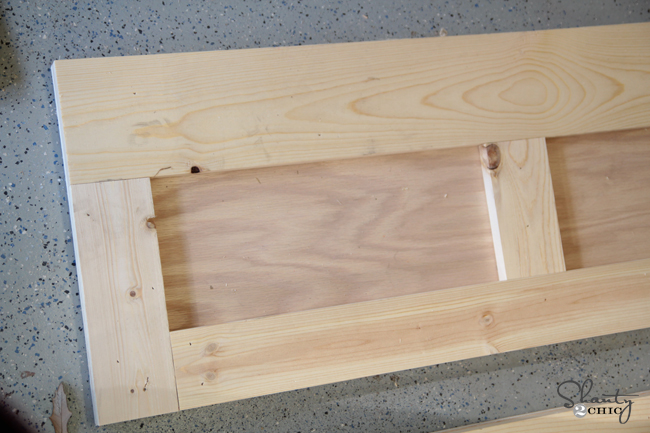
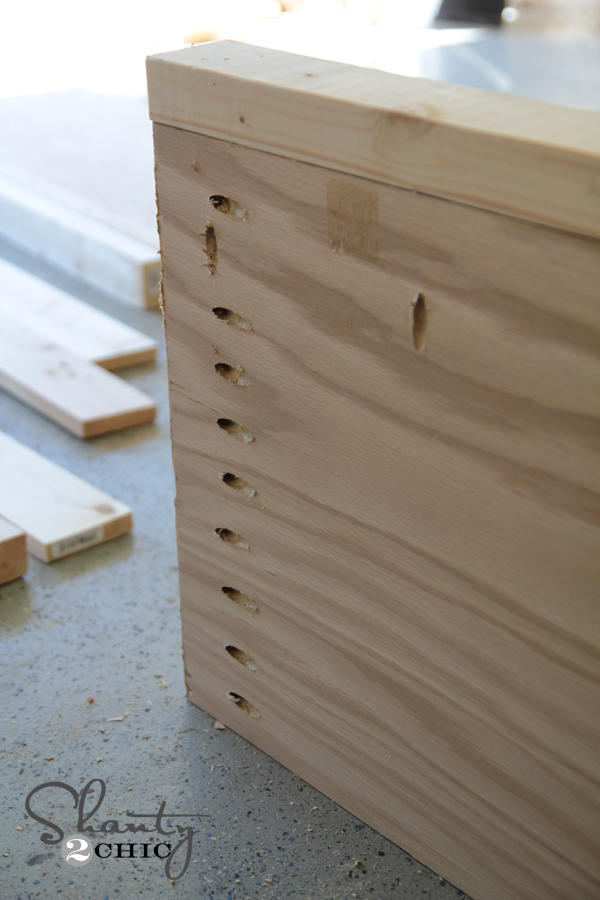
Let me explain how I did the pocket holes on the headboard. This uses 1×6 and 2×6. I didn’t do pocket holes in any of the 2×6. I did most of the planks with 3/4″ pocket holes down one side like this.
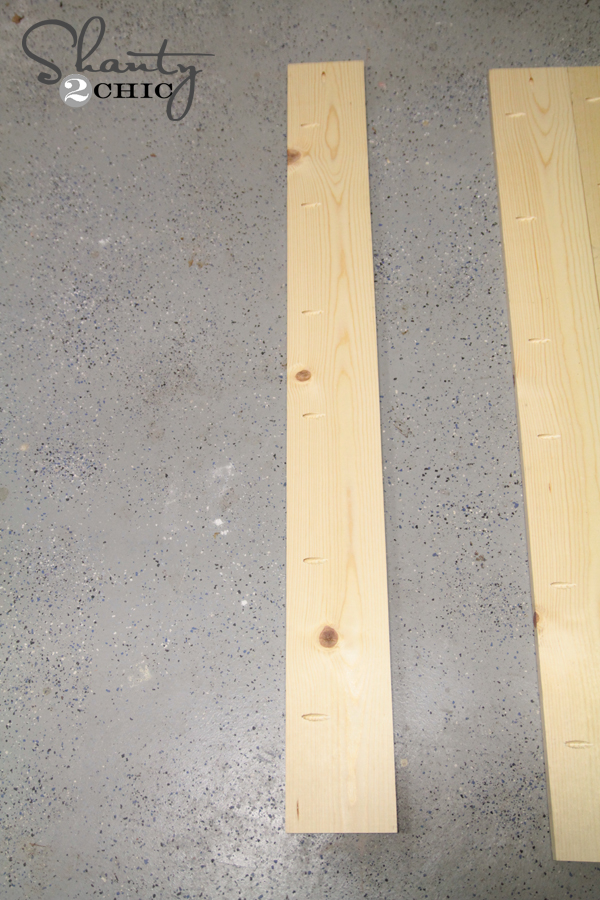
When I lined all of my boards up, you can see that on the boards sitting next to the 2×6 boards, I did pocket holes down both sides. This allowed me to attach into the 2×6 as well as the next plank.
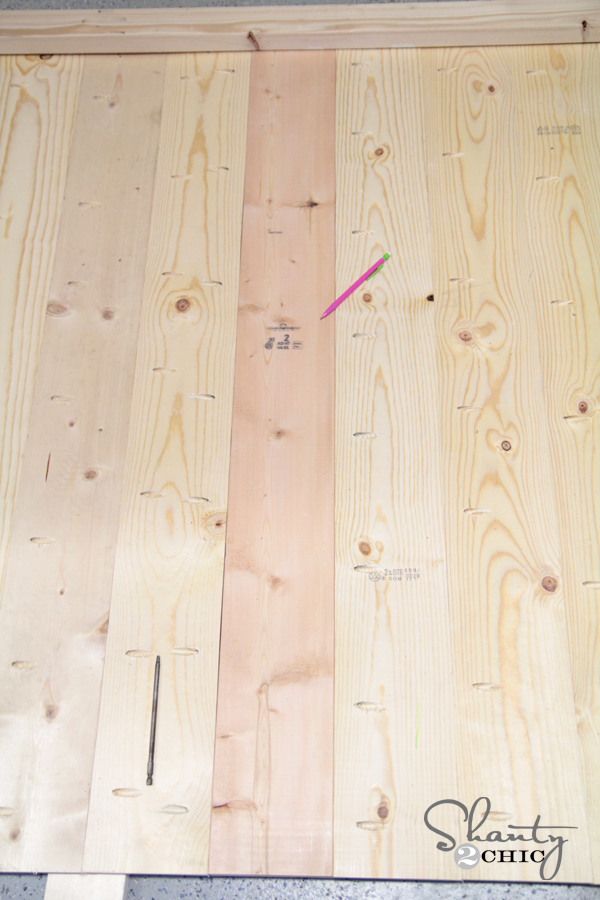
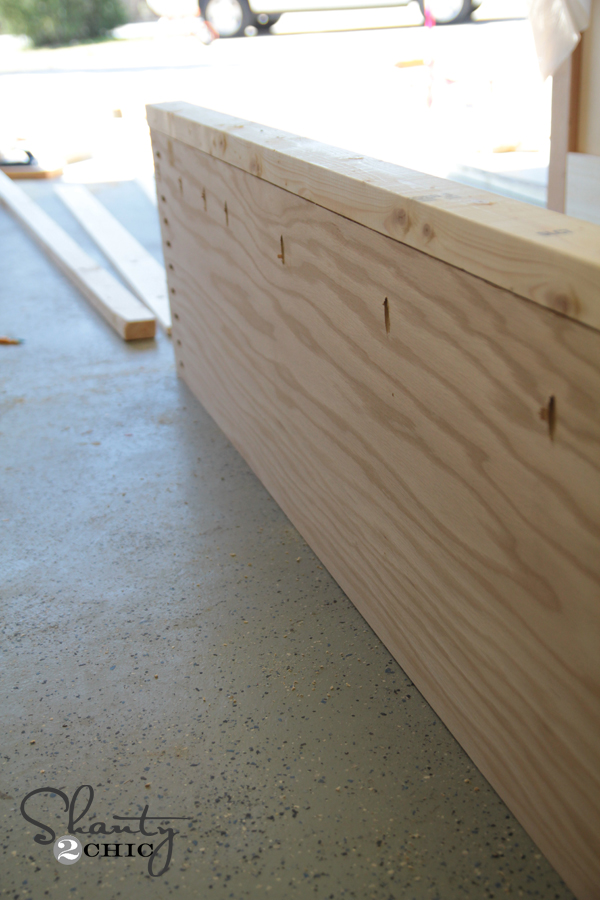
Here it all is laid out and you can see where all of the pocket holes were positioned.
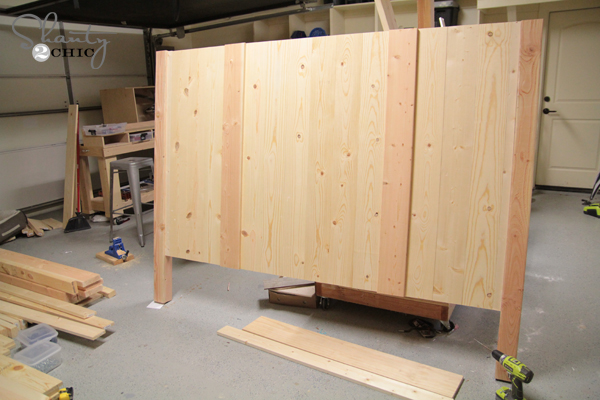
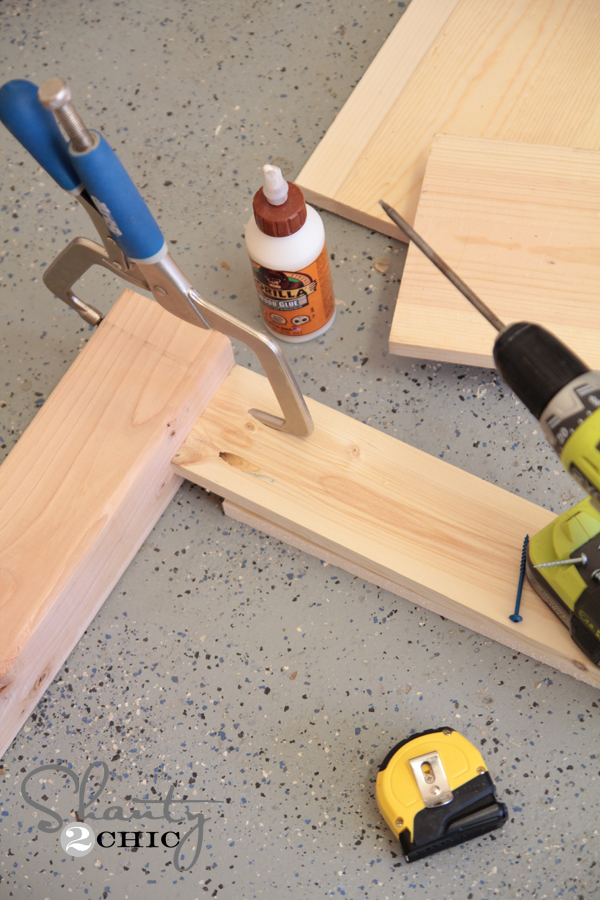
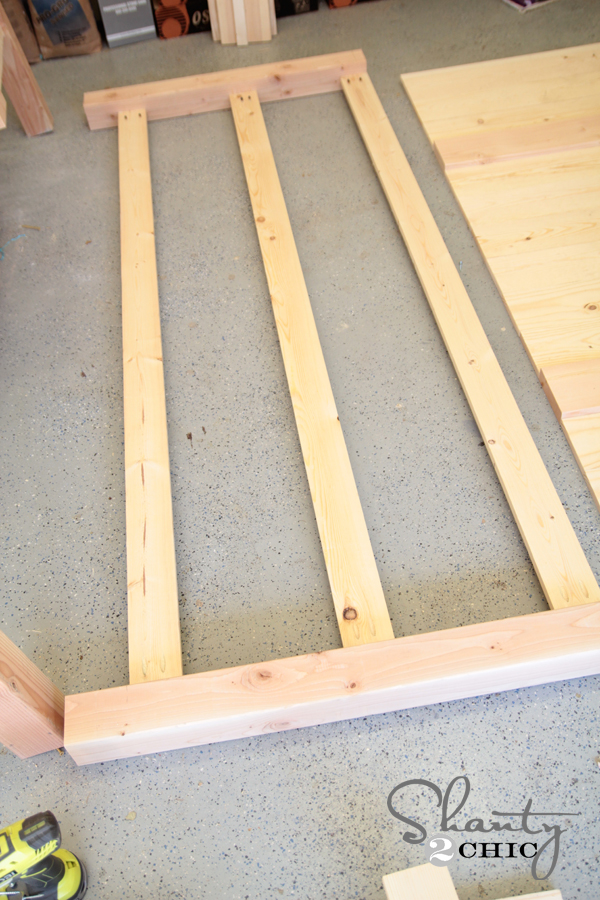
Step 3: Headboard Frame
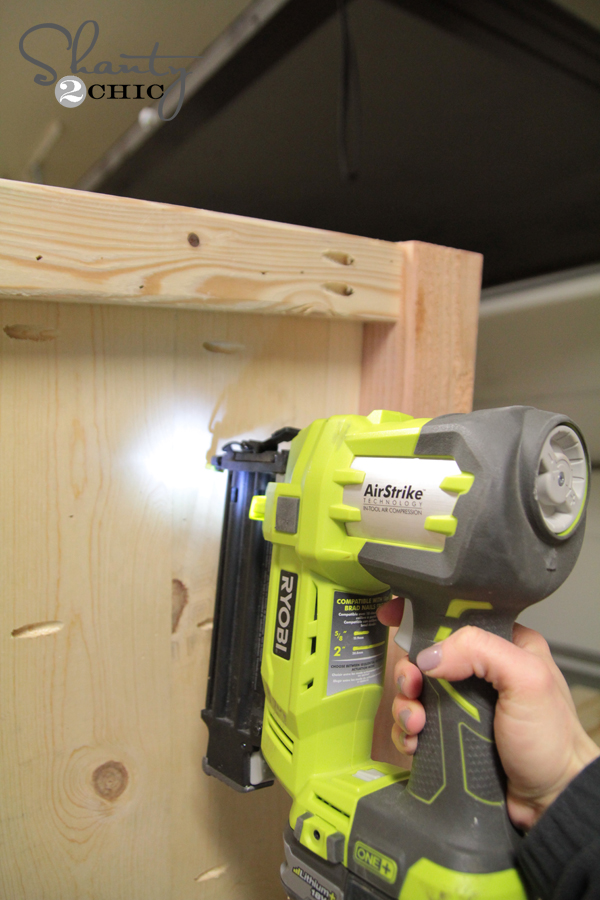
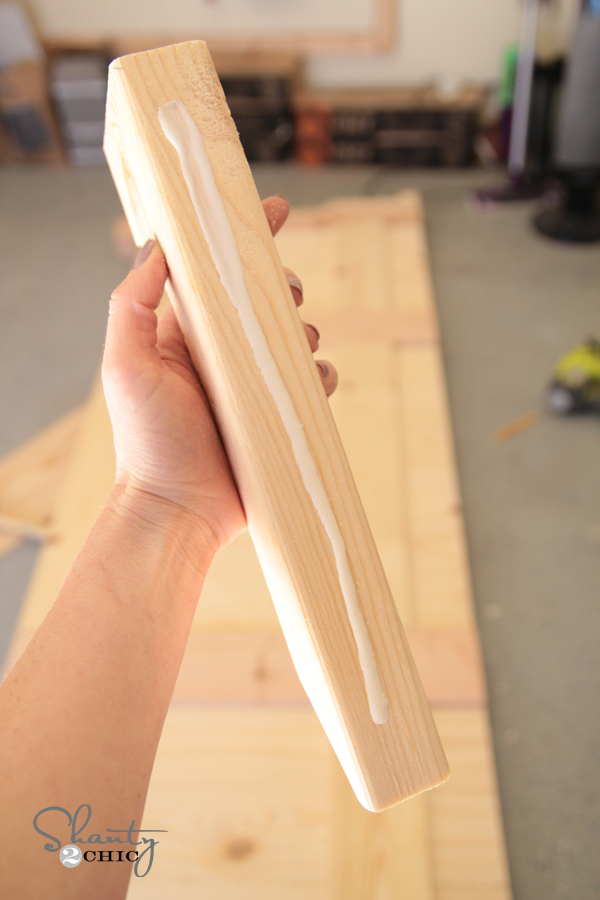
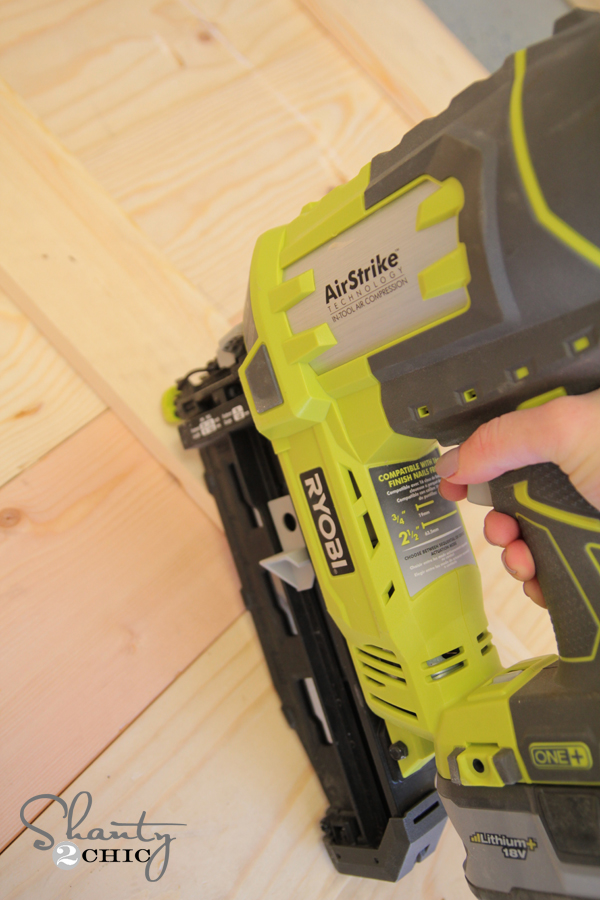
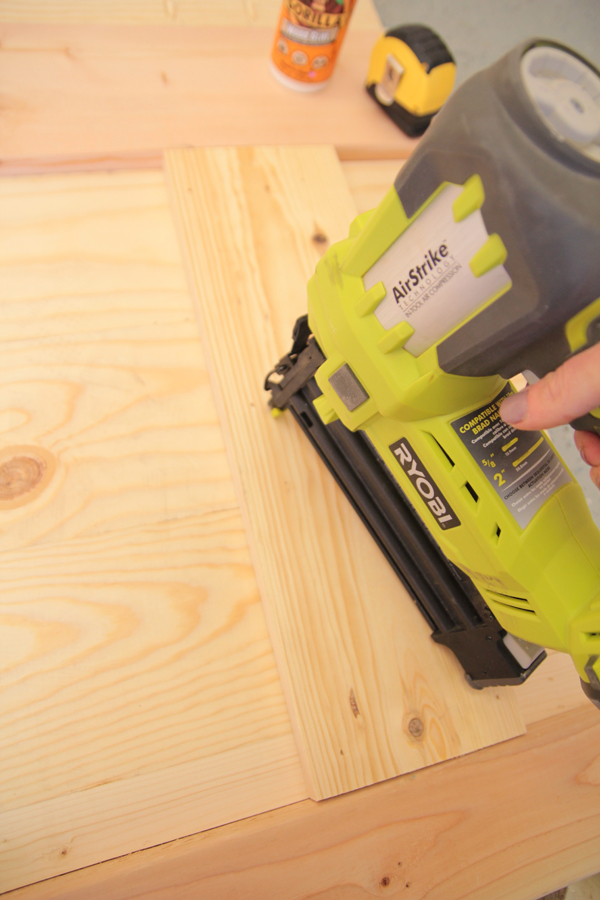
Once I had that finished I took the measurement to build the frame that sits behind it. For this I used 2×3 boards and made 1.5″ pocket holes on each end. I used 2.5″ pocket hole screws to attach them to the 4×4 posts. You want the face of the support to sit 1.5″ from the front of the posts. This will allow it to all line up correctly. Once the frame was made, I laid it on the back side of the planks. I used wood glue and 1.25″ finish nails with my Ryobi 16G finish nailer to attach through the frame and into the planks.
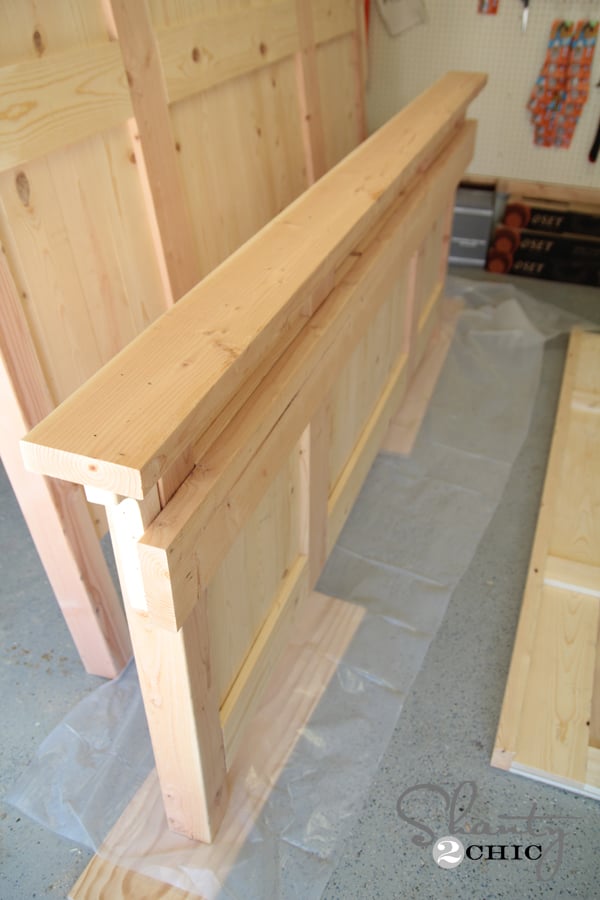
Here is the front of the headboard.
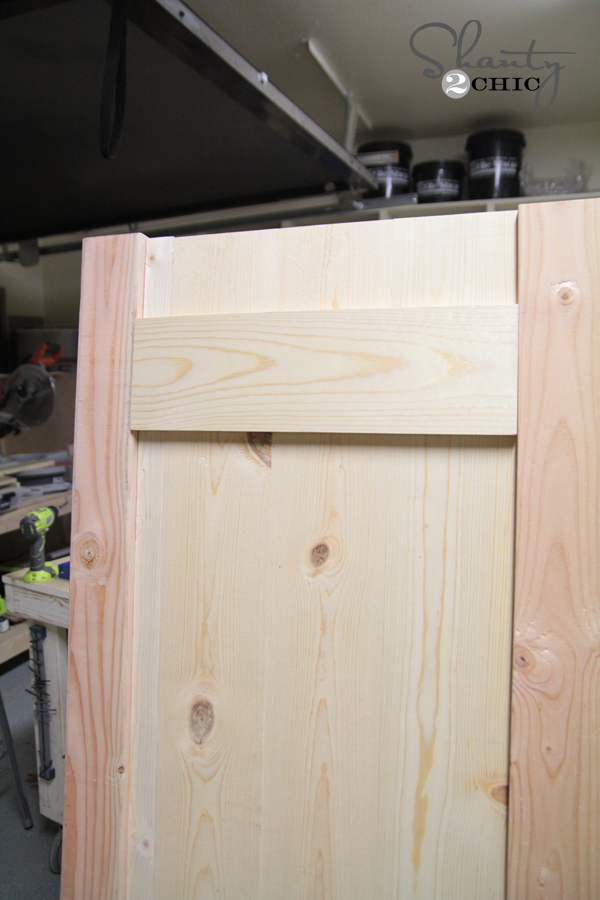
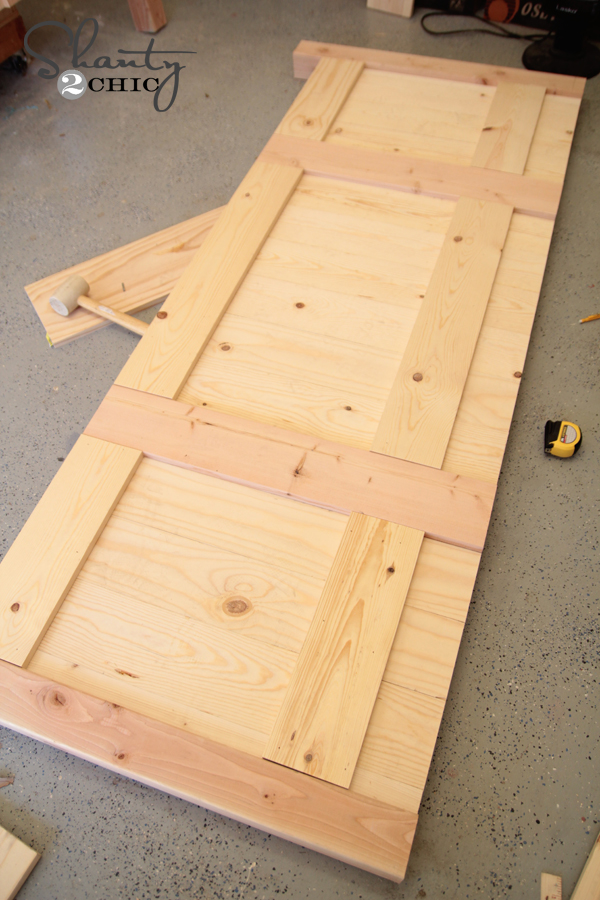
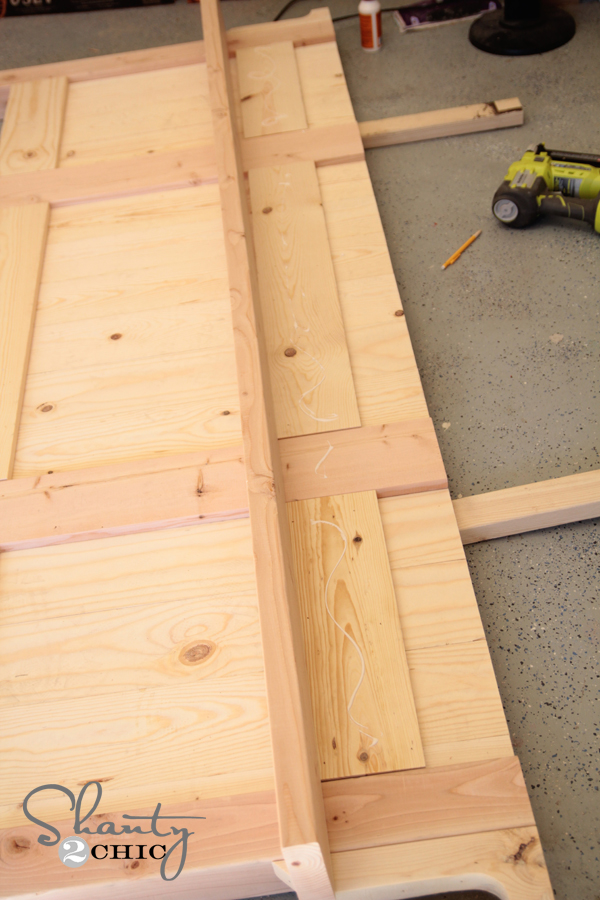
Step 4: Headboard Trim
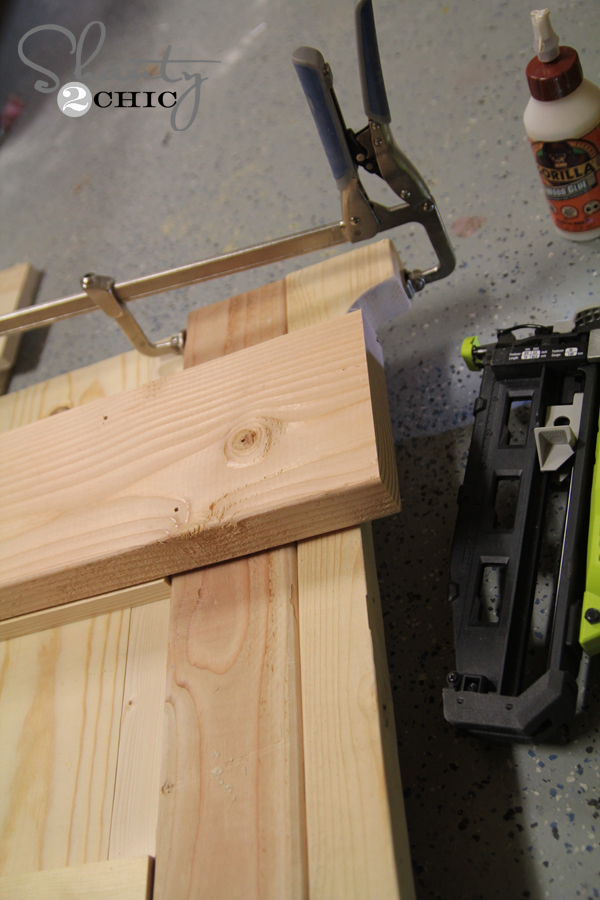
Next, you will add trim pieces. These are simple cuts. I measured the space exactly on each one rather than going from the plan. I used wood glue and finish nails through these pieces and into the front of the headboard.
First two lines of planks glued and nailed.

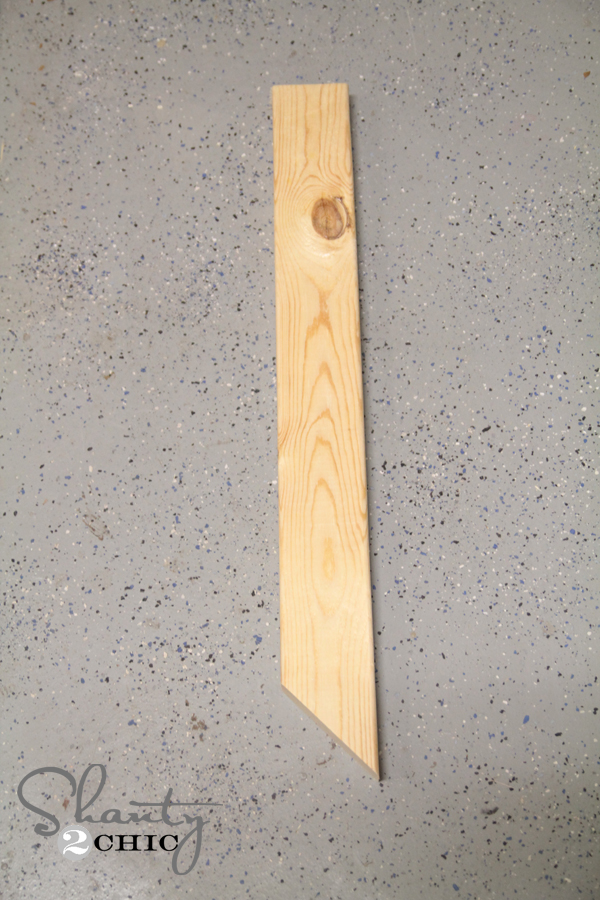
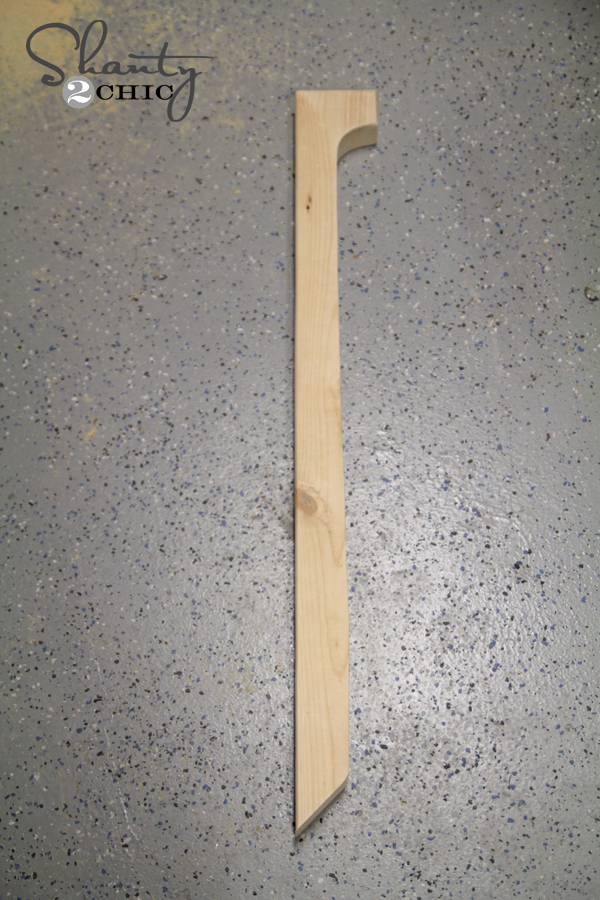
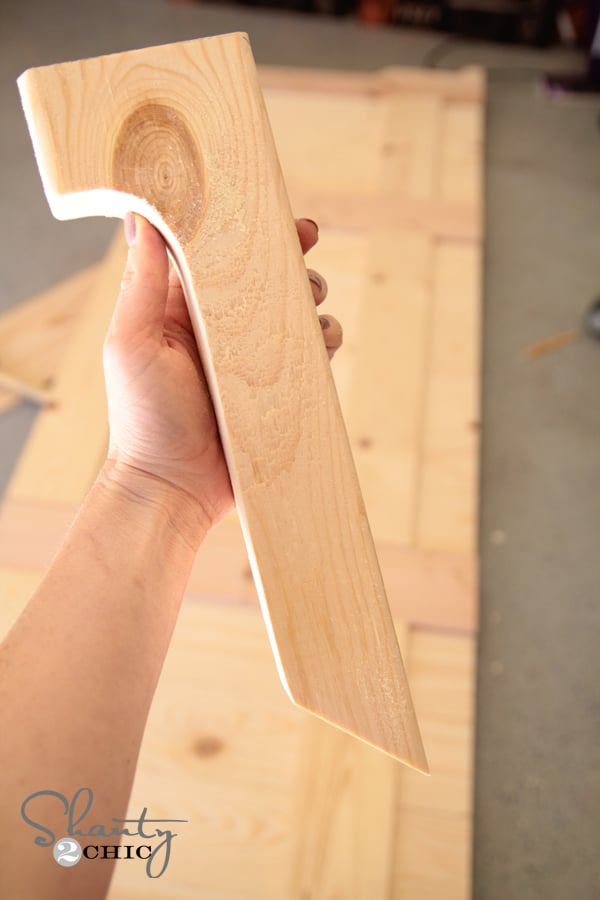
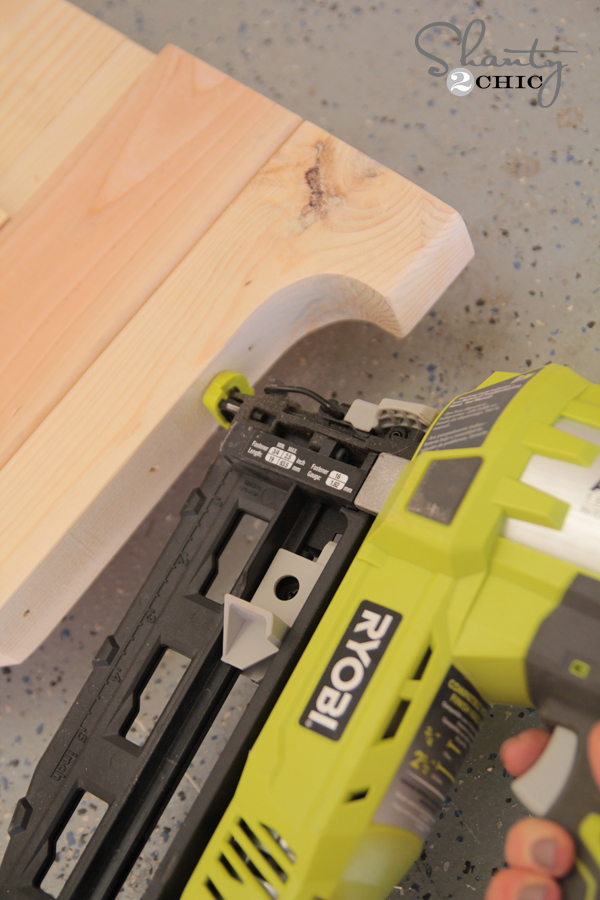
Now for the decorative side pieces. These were simple to make with my jig saw. I started by making just the miter cut on the 2×4 using my miter saw.
I clamped that piece to my workbench and drew out the design per the plan.
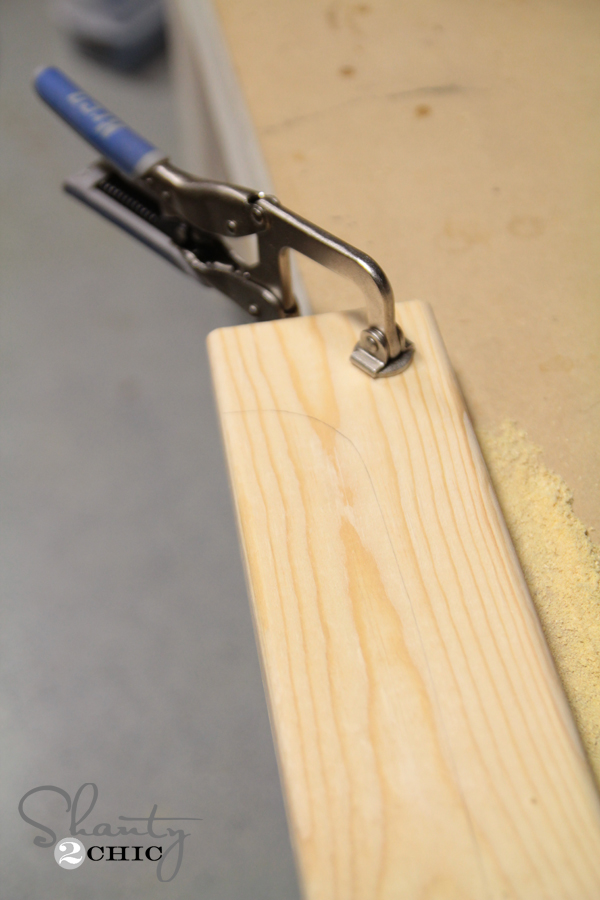
Then, I just used my Ryobi 18V jig saw to cut the design out slowly.
Check it out below!
Add some glue to the end that will attach to the bed.
And I secured it using my finish nailer with 2″ nails.
Next, you will add the 2×6 boards. These are heavy. I used a good amount of wood glue and 2″ finish nails to attach it in place. I also ran a few wood screws through the back of the headboard after that and into the 2×6 just to be extra safe.
I also added the top board at this point. After glueing and nailing it with 2″ nails, I did add some wood screws through the top and into the headboard just to be extra safe.
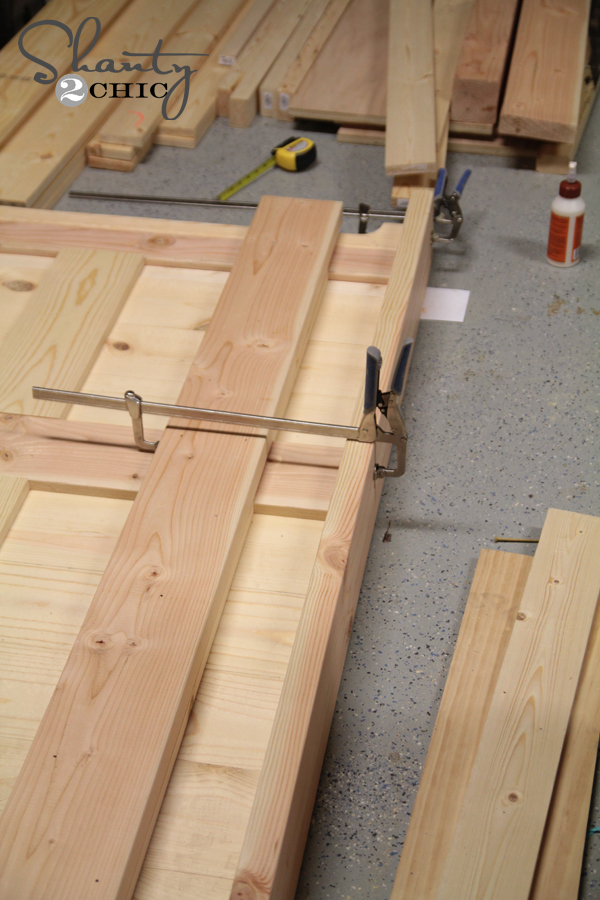
See my new Kreg clamps?? I love them. I have 4 and I want 36 🙂 They are like having an extra set of hands around and they are so simple to use.
Creating the Footboard
Step 5: Frame of the Footboard
This is basically the exact same build as the headboard with different measurements. I did do everything the same though. Here are some photos to show you.
I did use 1×4 for the supports on the footboard since it wasn’t as large as the headboard. I used my right angle clamp to hold it all in place while I attached using 2.5″ pocket hole screws into the leg.
Here is the frame ready for the planks.
Step 6: Planking the Footboard
I used wood glue and nails through the back of the supports and into the planks.
Step 7: Footboard Trim
Now, add trim pieces to the front.
Then follow with the decorative side pieces.
Finally, add the 2×6 runners.

I put the top 2×6 on last before moving to the bed’s side rails.
King Bed Side Rails
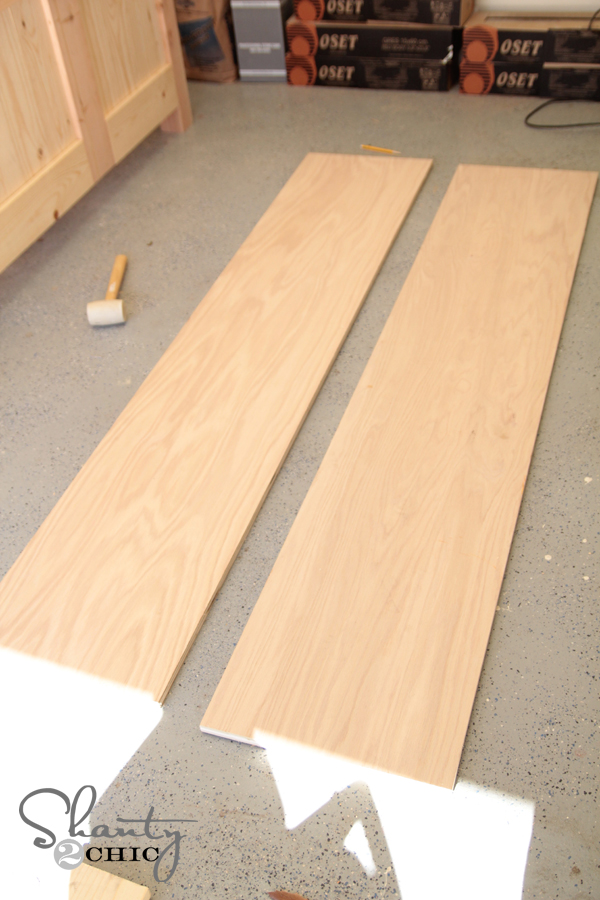
Step 8: Trimming the Plywood Sides
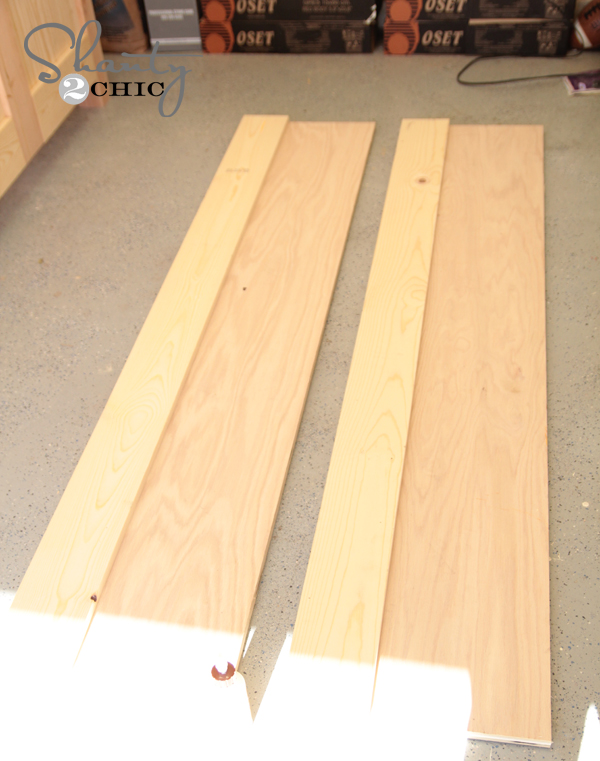
For the base of the side rails, I used PureBond Plywood. I had the guys at Home Depot rip mine to size so I could get it home easy. I used Birch. You will start with two pieces that look like this.
Next, I used wood glue and 1.25″ finish nails to trim these out starting with the top board.
Now, add the smaller boards.
Step 9: Framing the Side Rails
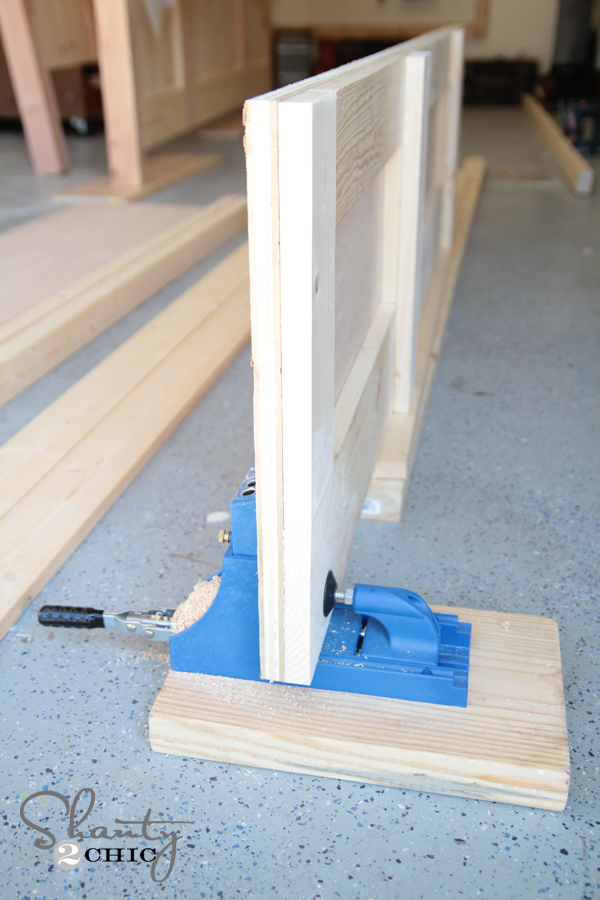
Once I had this trimmed out I used my Kreg Jig to make 1.5″ pocket holes on each end and running down the top of each side rail. I used my K3 mounted to a board to make my pocket holes.
The ends of each side rail should look like this.
I used 2.5″ pocket hole screws to attach the top 2×3 and the side rails.
The Finish
Step 10: Staining the Bed
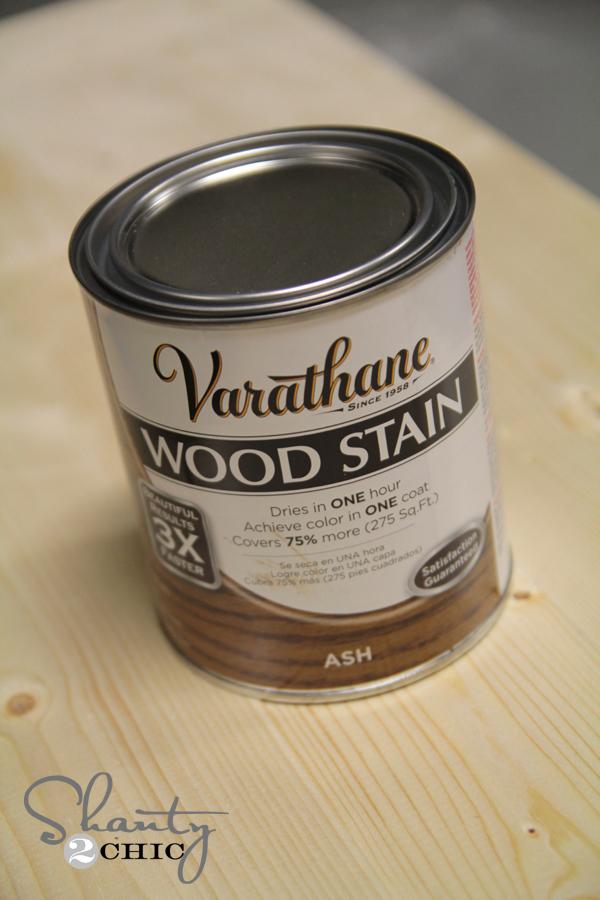
And here she is ready for stain! I stained everything before getting it inside.
I used a new fav stain color on my bed. It’s called Ash by Varathane and you can find it at Home Depot. It’s not a very dark brown, but where the grain catches the stain it really goes a black tone which I love.
Assembling the DIY Bed
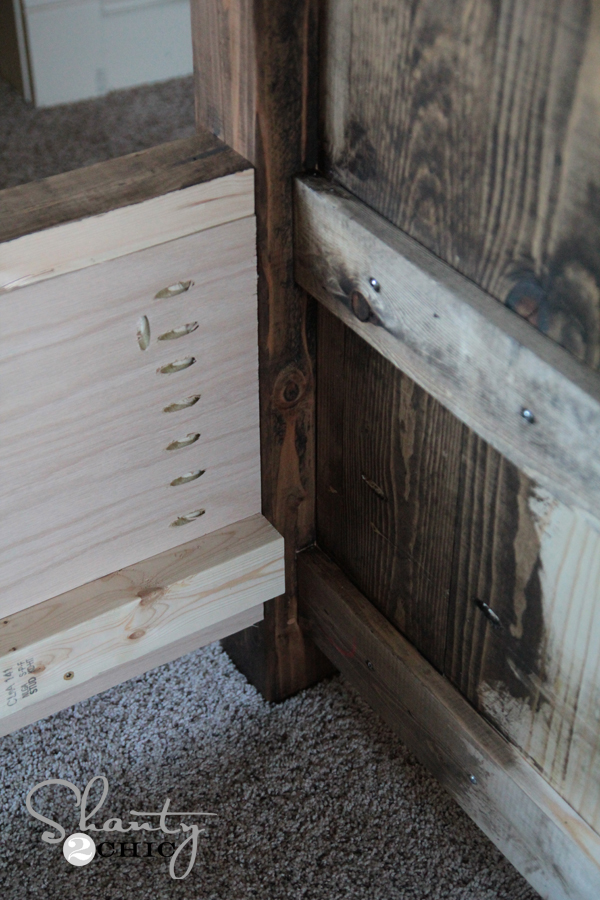
Step 11: Attaching the Side Rails to the Headboard
Now putting it together… This was something I did enlist lots of help on. My hubby and his friend moved the headboard in first. Then I cut a few 4×4 scraps to help hold the rails in place while I used 2.5″ pocket hole screws through the pocket holes on the rails and into the legs.
Step 12: Attaching the Footboard
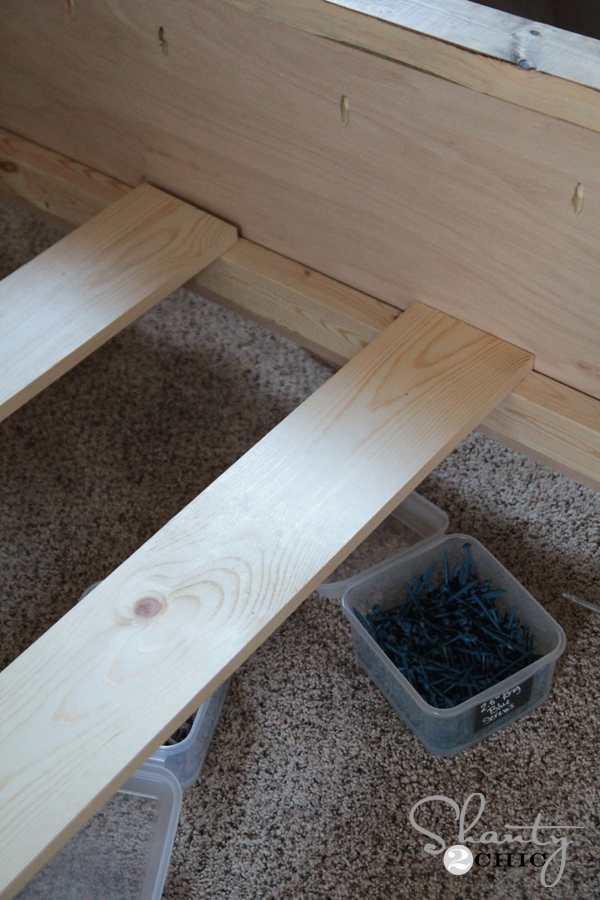
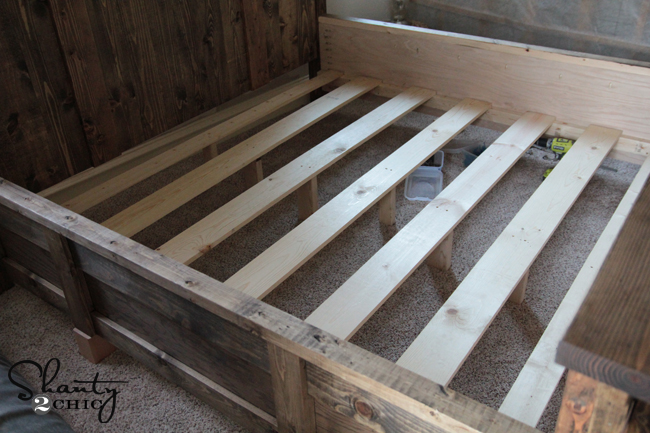
After that I did the same to the footboard. Finally, I cut all of the planks to run under the mattress. These all use a block under them to support the weight of the mattress. I nailed them in place with 2″ finish nails into the runners on the sides.
That’s it! Told you it would take forever 🙂
But… I LOVE IT. I will say… This is not a super advanced build by any means. All of the cuts are straight and many are the same. I would say it is very labor intensive. I was sore for two days after building it… Which really is more a testament to my physical health, but we’ll blame the bed. 😉
I hope you LOVE it as much as I do!
FREE PRINTABLE PLANS
You can download and print the FREE plans by clicking HERE
The bedding was a Valentine’s gift from my hubby. It’s all from Restoration Hardware.
The large metal ampersand magnet board can be found HERE!
The color on the walls is Valspar Homestead Resort Parlor Taupe.
The mirrors are from Hobby Lobby as well as the hooks I used to hang them. Wayfair carries one that is very similar and super cute HERE!
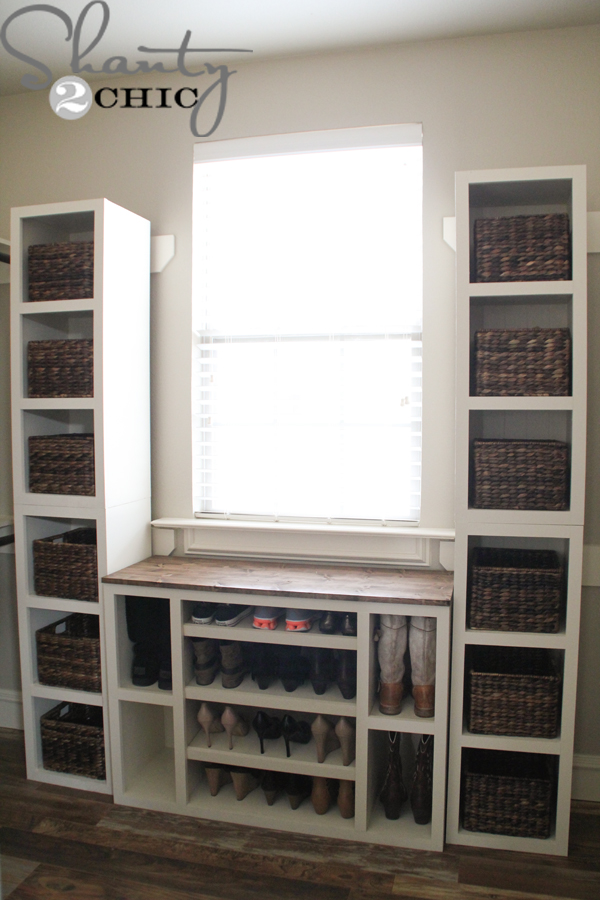
The nightstands are a little sneak peek for next week or so… One isn’t totally finished but you guys will love them!


Thanks for the plans, I love my new bed!
Hi! When you did this build did you put a clear coat on it? If so, what brand?
This is amazing work. I wish I could make this bed. It seems hard and I don’t even know where to start with the tools. Do you have to be a carpenter to make this bed.
Love the bed, but what is the paint color in your room?
Just finished up mine. Made some big modifications, but kept the inspiration. Queen Sized
What adjustment(s) did you make to complete the queen?
Hi Rajah, I did a lot of eye balling it and making adjustments on the fly. Basically, I took about 13 inches off the height of the headboard and 7 inches off the height of the foot board and just made the width smaller. I also made the side runners smaller – only 13inches wide
Sounds good. Great job with it!
Thank you for the plans. Making my wifes dreams come true!
My bed
I love the color that you used for your stain… can you tell me the brand / color?
I just finished my version of this. I added two drawers on each side and made it a platform bed since we don’t have a box spring. One thing is the slats are cut at 82″ in the plan but a king size mattress is only 76″ wide so keep that in mind. I would take out the two small 1×2’s on either side of the paneling of the head and foot board to make up for this difference. But I’ll have to figure out how to make up for the gap some other way… I’d post my sketchup file for my Captain’s bed conversion but I don’t know the best place to host it if anyone would be interested. I don’t know if it’s letting me add a photo either.
Do you have build plans for adding in the drawers and making it a platform bed? That’s exactly what I want to do!
Hopefully this works? If this isn’t a good hosting site for files, let me know a better one.
http://s000.tinyupload.com/?file_id=63070491216191099017
Hopefully this works. Let me know if it doesn’t. And in my plans I used 3/8″ ply for the cubbies to save money but this isn’t a good idea and makes things more difficult. I would use 3/4″ ply instead.
http://s000.tinyupload.com/?file_id=24722367579993279656
how did you overcome the gaps? i just completed my headboard and trying to troubleshoot the rest
Has anyone built this bed and NOT used a box spring? Did you raise the supports on the frame to give it the same look?
I built a more farmhouse style of this bed, but put drawers under and did not need a box spring.
You could easily run a 2×4 the length of the sides and run more slats across the bed to hold up just a matress.
Thanks Nick! That is exactly what I was trying to ask!
So is this plan designed for use with a box spring?
Yes it is. But you can adjust the slats as Nick mentioned above if you want to forgo the box spring.
HELP PLEASE! My husband and I are in the process of making this bed right now and are completely stuck. All the pieces are cut and pocket holes drilled. The problem is when I went to screw the pieces together for the headboard slats, the screw is going through the wood to the front! We are using 1.25″ screws and they are still going through. How do we prevent this from happening?
are you setting the kreg jig for 1″ or 3/4″ material? When doing thin material I also do tests and adjust the jig accordingly
Hi Kim, what Nick said, make sure you’re jig is set appropriately. You also need to make sure that the drill stop is set appropriately or your holes will bore too deep.
Hello. Could you comment on the fact that some others here have pointed out that the dimensions of your plan are too wide for a king mattress? It looks like from your photos that you really did use the plan and your king mattress fit?? By my calculations, the width based on your plans is about 81 inches wide. A standard king is 76. How did yo get your mattress to fit on the bed f yo used this plan? Also, I did not read other posters comments until I had assembled the headboard so I’m looking for a way to either dismantle and subtract boards or leave it as is and make the King mattress fit. Any suggestions would be greatly welcomed. Thank you.
Just finished a queen size version of this bed in a gray stain! We are absolutely in love!
How did you adjust the plan to make a queen?
Can you tell me what grey stain you used? Did you clear coat it with anything after?
If you want to it yourself just look for woodprix website. There is all you need to make it 🙂
I love this bed and really plan on making it. The only question that I have (and it may be silly) but how does it come apart if you ever move? Without cams or other fasteners of the like it seems like you wouldn’t be able to. thank you and great job!
OH I AM OBSESSED. I. NEED. THIS. BED. I have a California King…Will the pattern easily translate to this size?
Did you use knotty pine or clear pine?