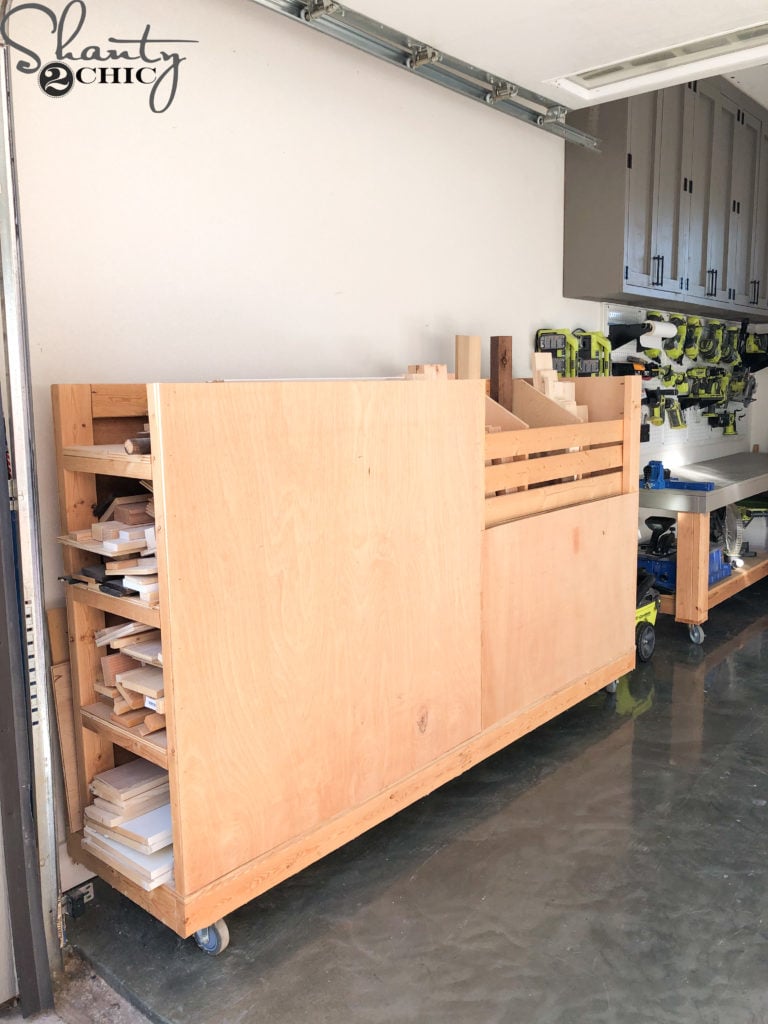
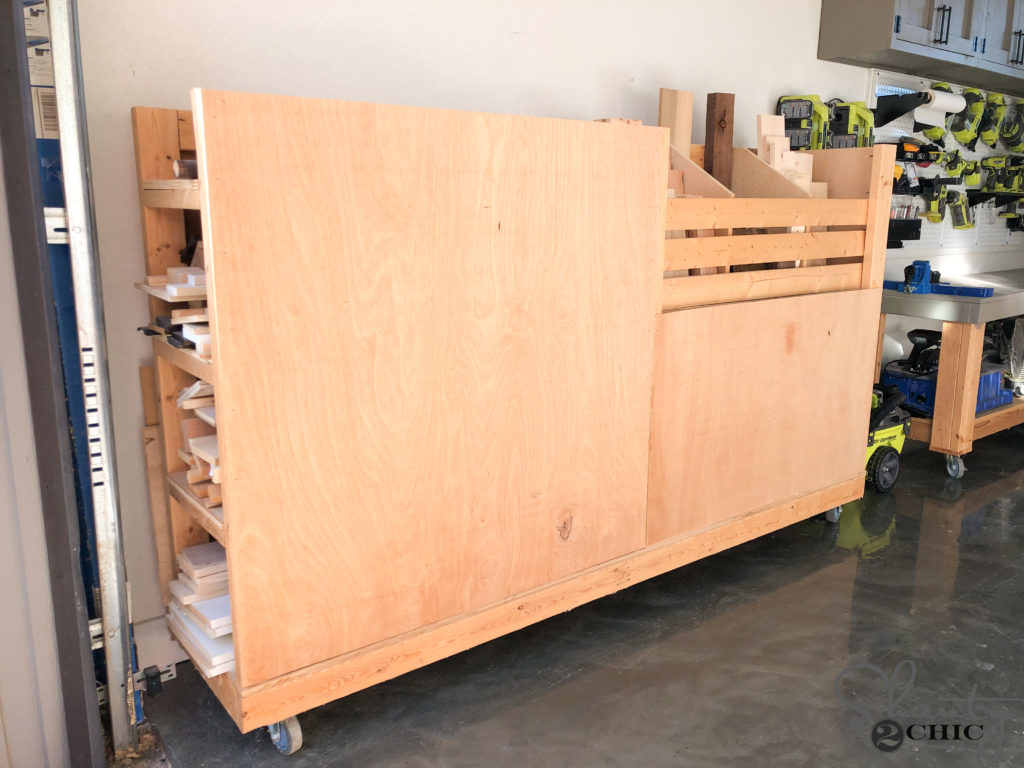
Happy New Year friends! I’m so excited to share with you my newest addition to my shop, my DIY Lumber Cart! I built it a while back but I am just now getting around to sharing the plans. I am happy to say that I still LOVE it and get so much use out of it!
So let’s build this thing! Make sure to download the FREE Printable Plans HERE and follow along with the how-to below!
You can also check out the rest of my shop in our shop tour on Youtube! Click HERE to watch!
Table of Contents
1. Building the Base
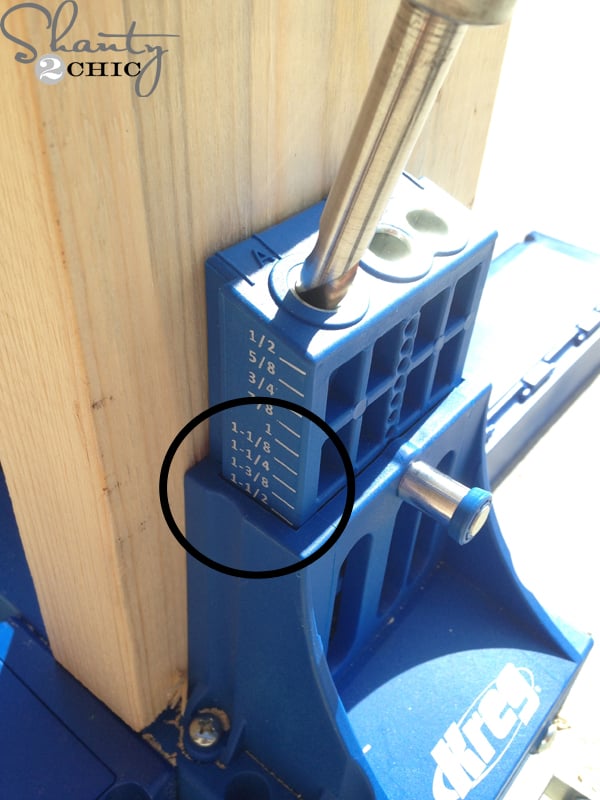
Our first step was to cut the base frame pieces to size and drill 1 1/2″ pocket holes into both ends of the short, cross pieces. You can find our favorite Kreg Jig model HERE!
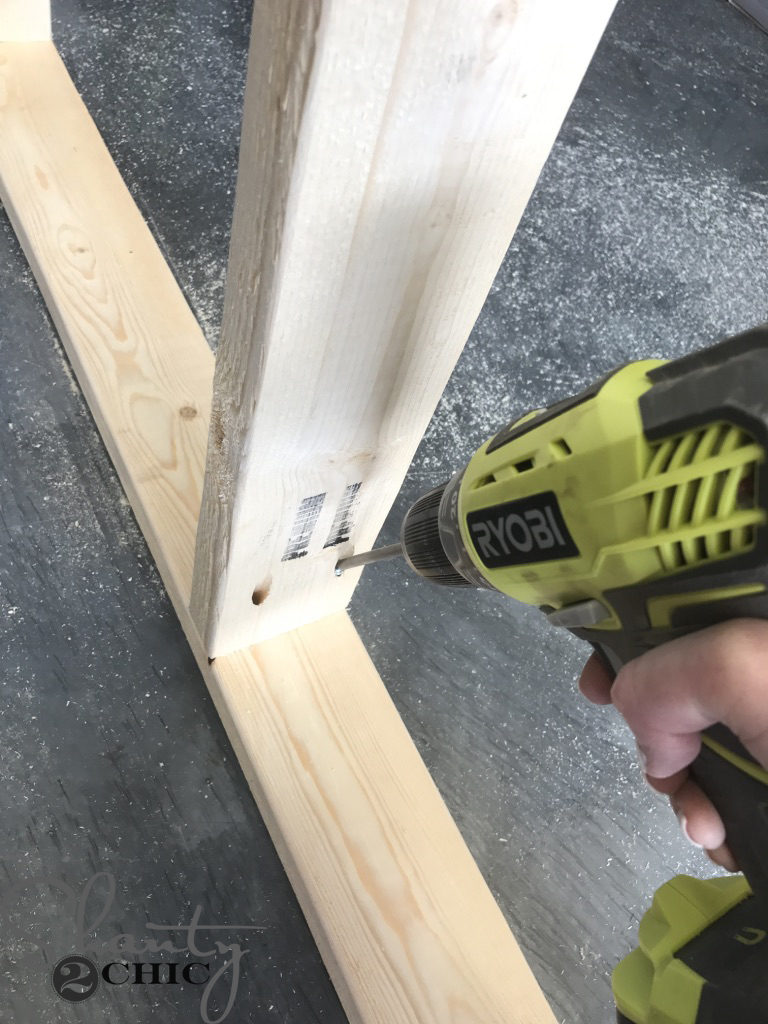
Then, we attached them to the long frame pieces with 2 1/2″ pocket hole screws and wood glue.
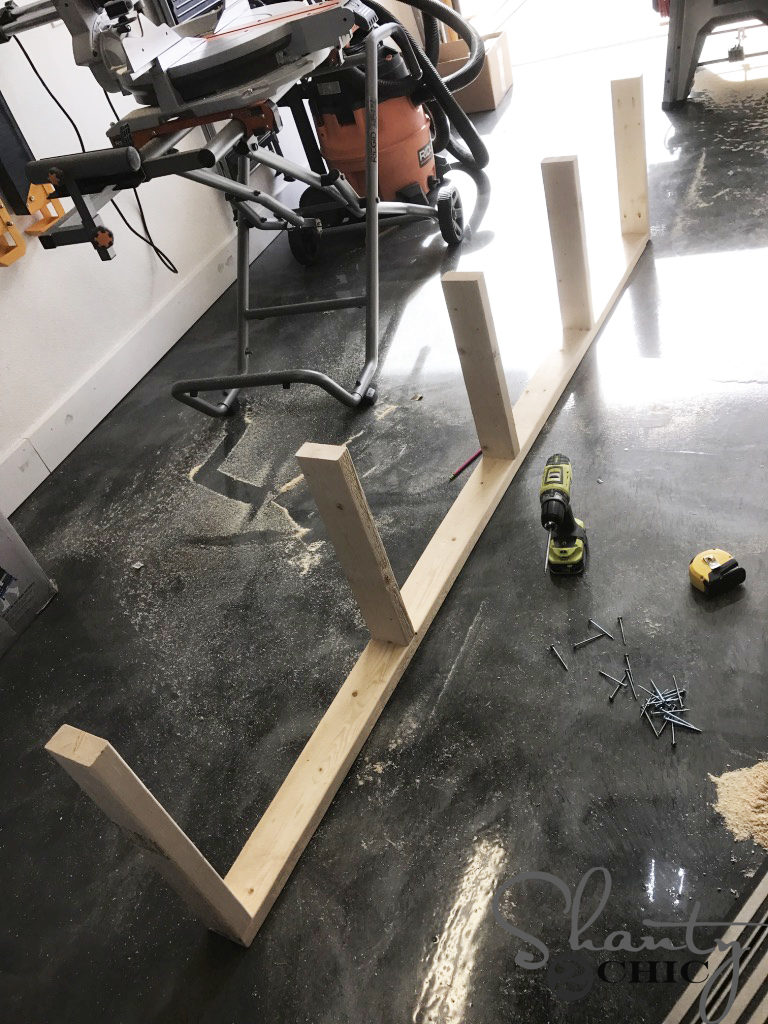
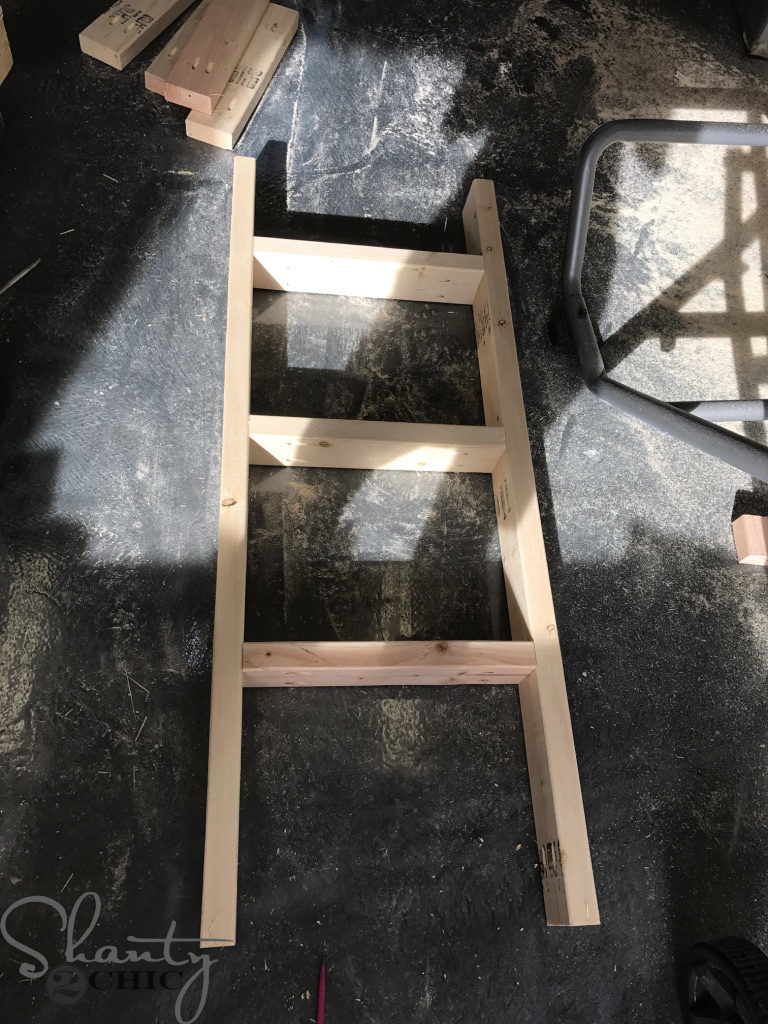
Here is the base with one long frame piece attached.
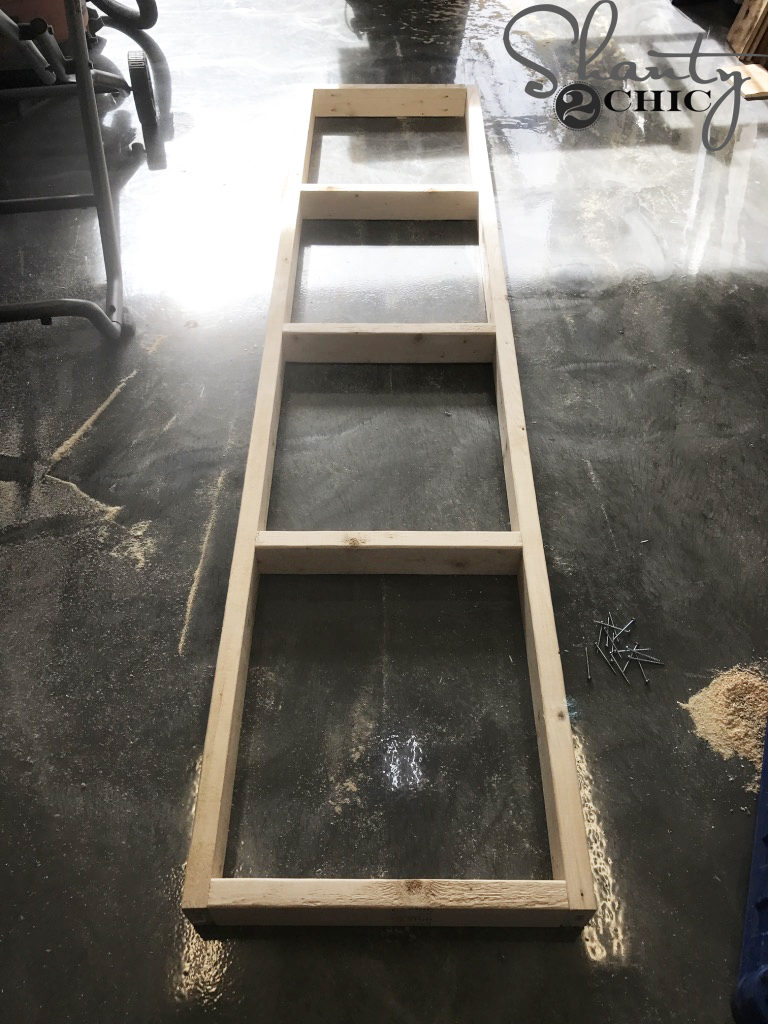
This is what the base frame should look like now.
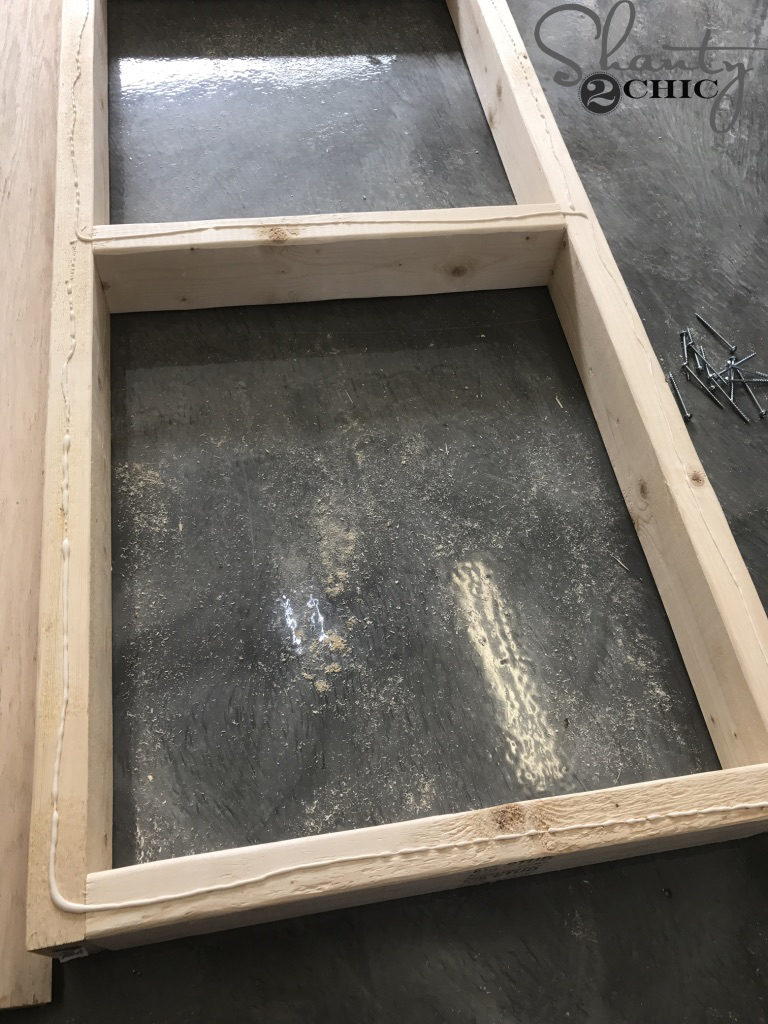
We applied a thin line of glue on the top of the base frame.
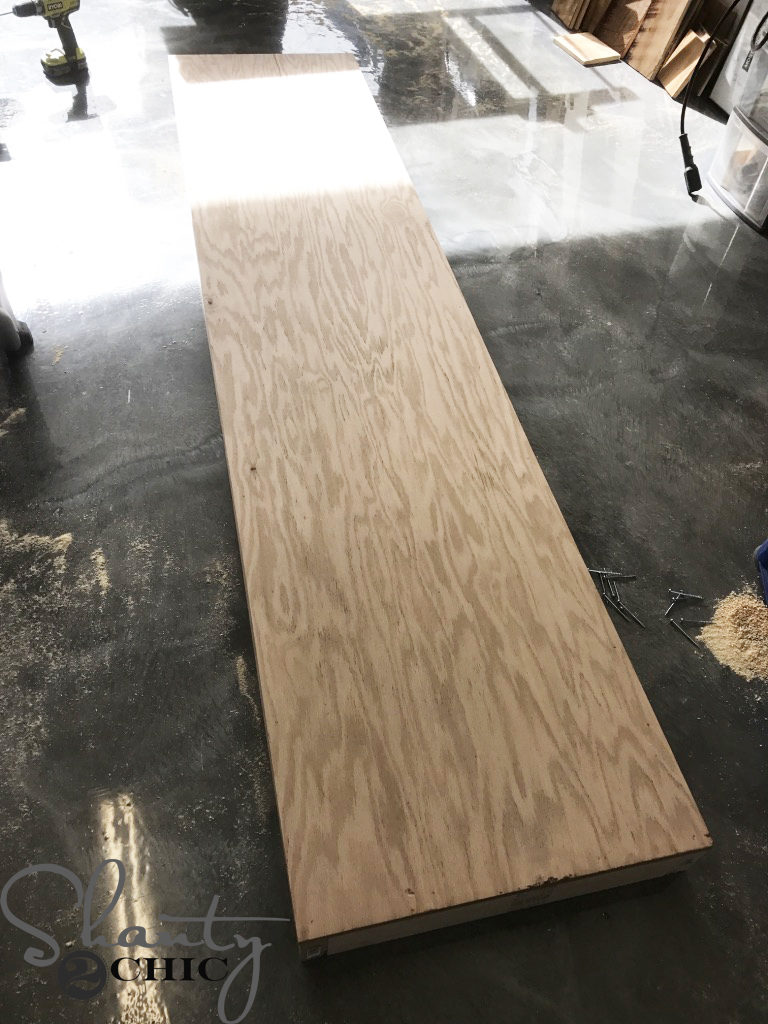
Next, we cut the bottom sheet of plywood to size and attached it to the frame with 1 1/4″ brad nails and wood glue.
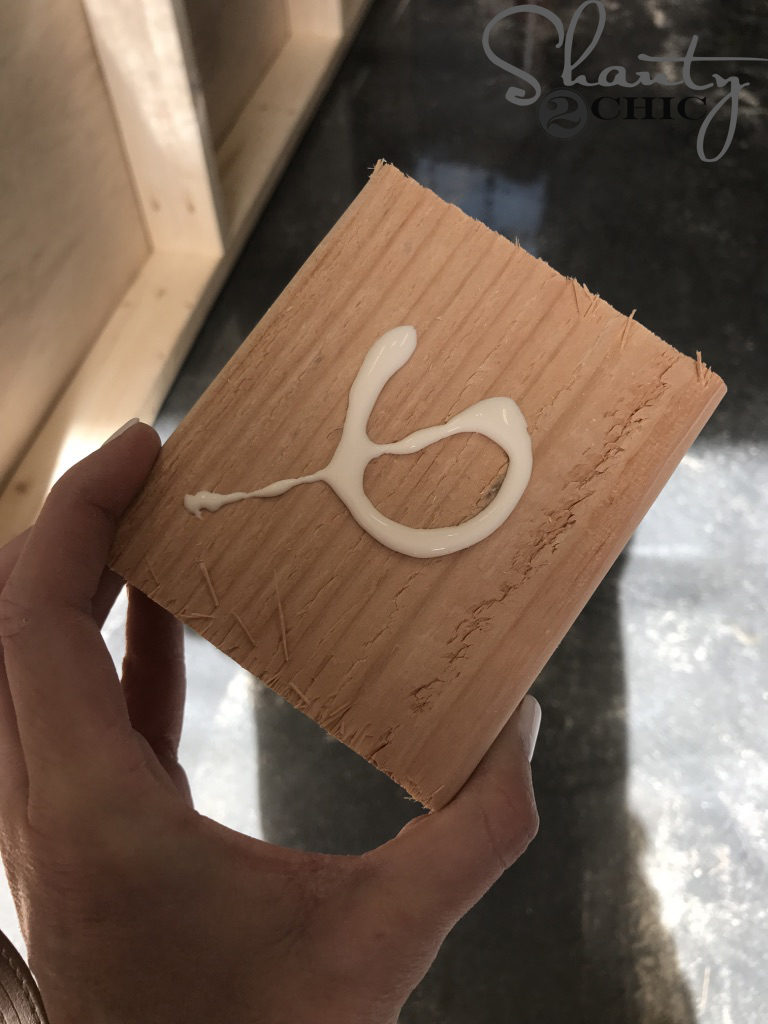
We flipped the base upside down and cut the wheel block pieces to size. We attached the first set of blocks to the bottom of the base frame with 2 1/2″ wood screws and wood glue. Then, we attached the second set of blocks to the first set with 2 1/2″ wood screws and wood glue. You can find our favorite glue bottle dispenser HERE!
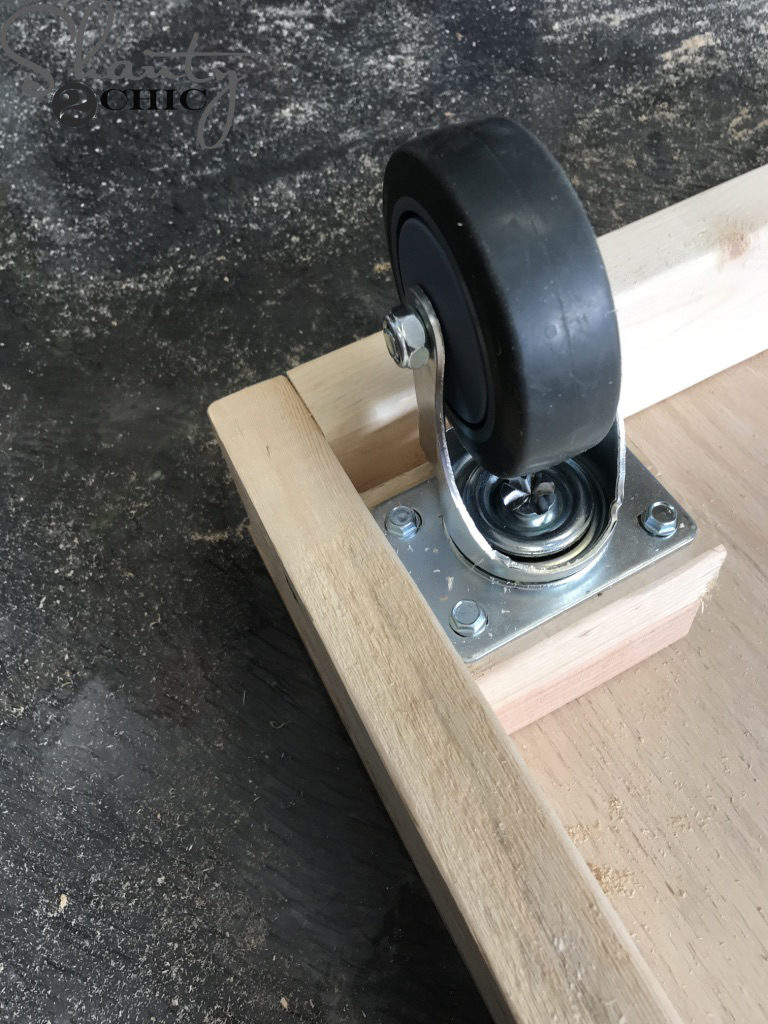
Final step for the base assembly was to attach the wheels. We attached a caster to each wheel block. Note: Make sure the wheels are in the locked position for the remainder of the build. You can find the 5″ casters HERE.
2. Assembling the Ladders
We cut the ladder pieces to size and drilled 1 1/2″ pocket holes into the ends of the 2×4 rungs, 3/4″ pocket holes into the ends of the 1×4 rung and 1 1/2″ pocket holes into one end of each ladder rail piece. Then, we attached the rungs to the ladder rail pieces with 2 1/2″ (2×4’s) and 1 1/4″ (1×4) pocket hole screws and wood glue.
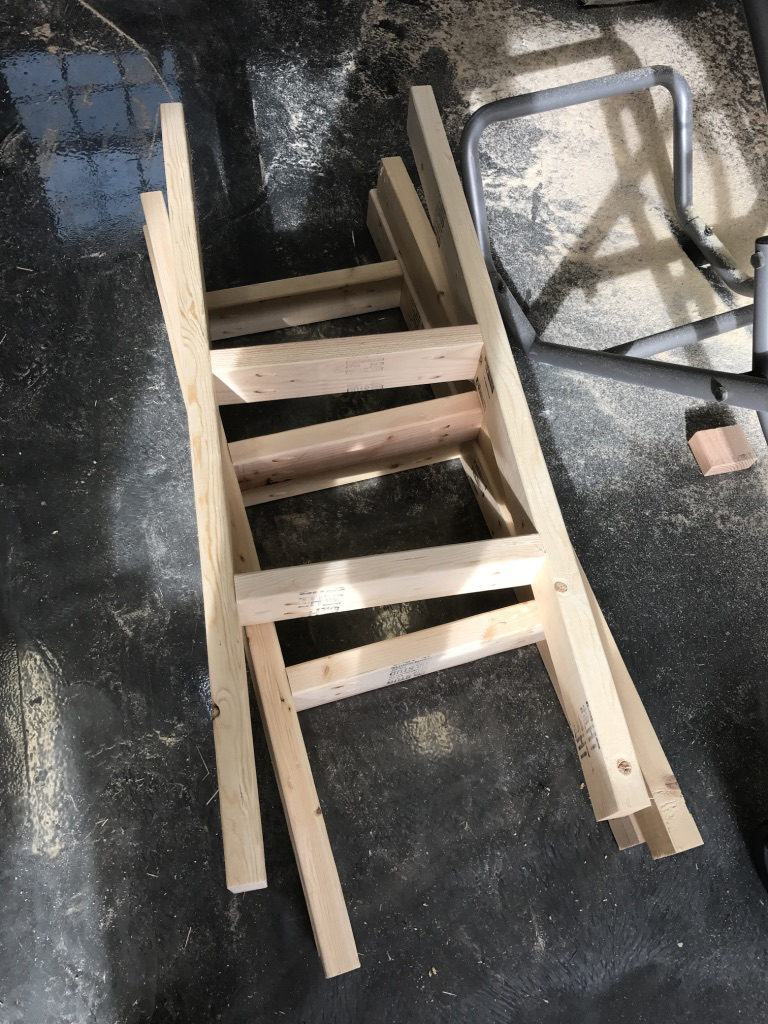
All three ladders will be a little bit different. Make sure to refer to the free plans for the details!
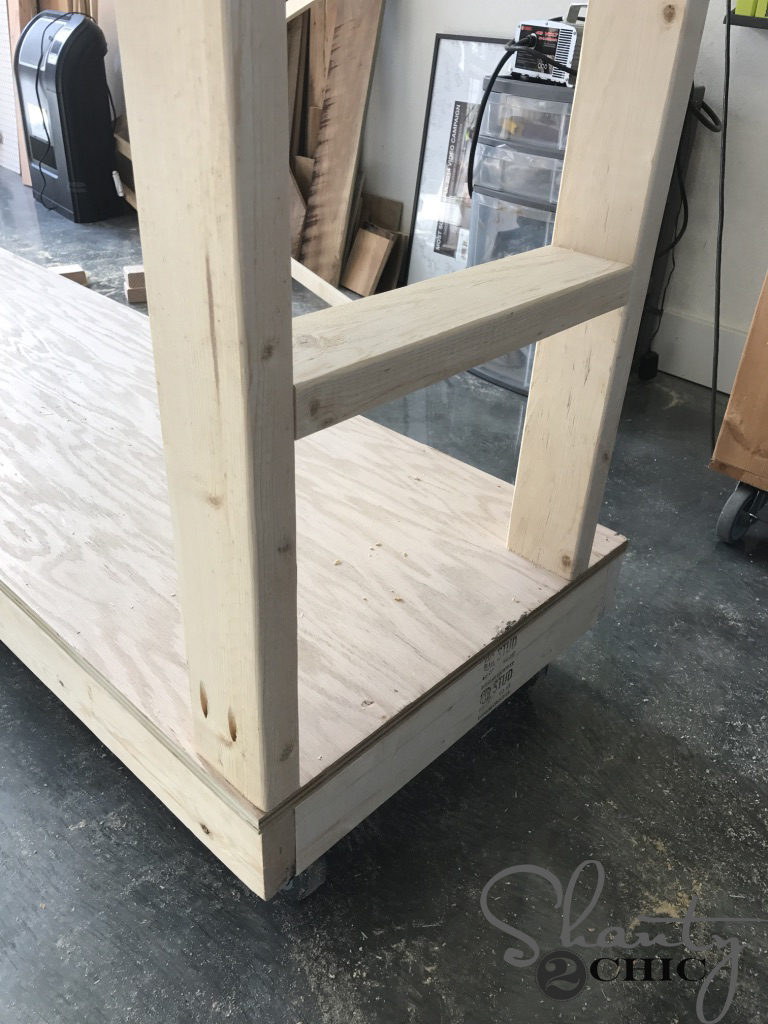
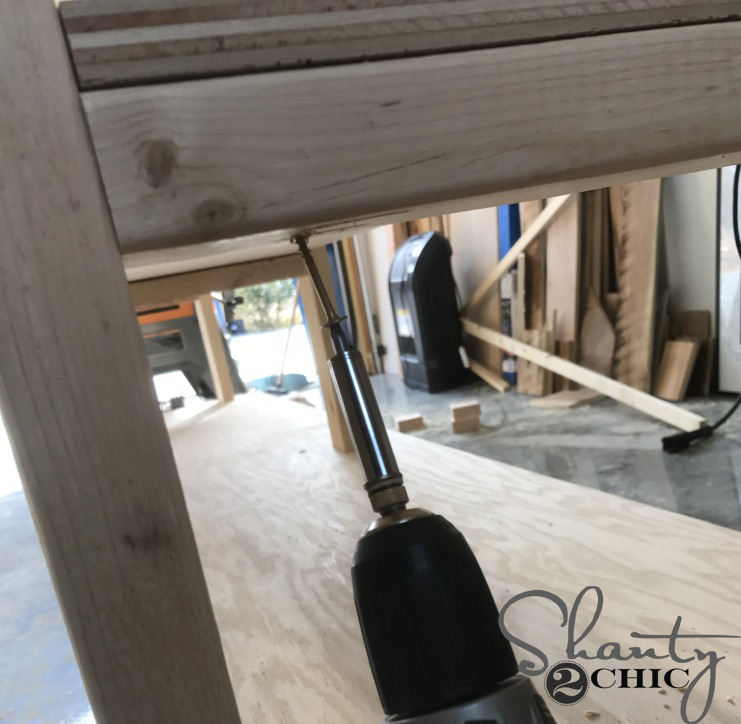
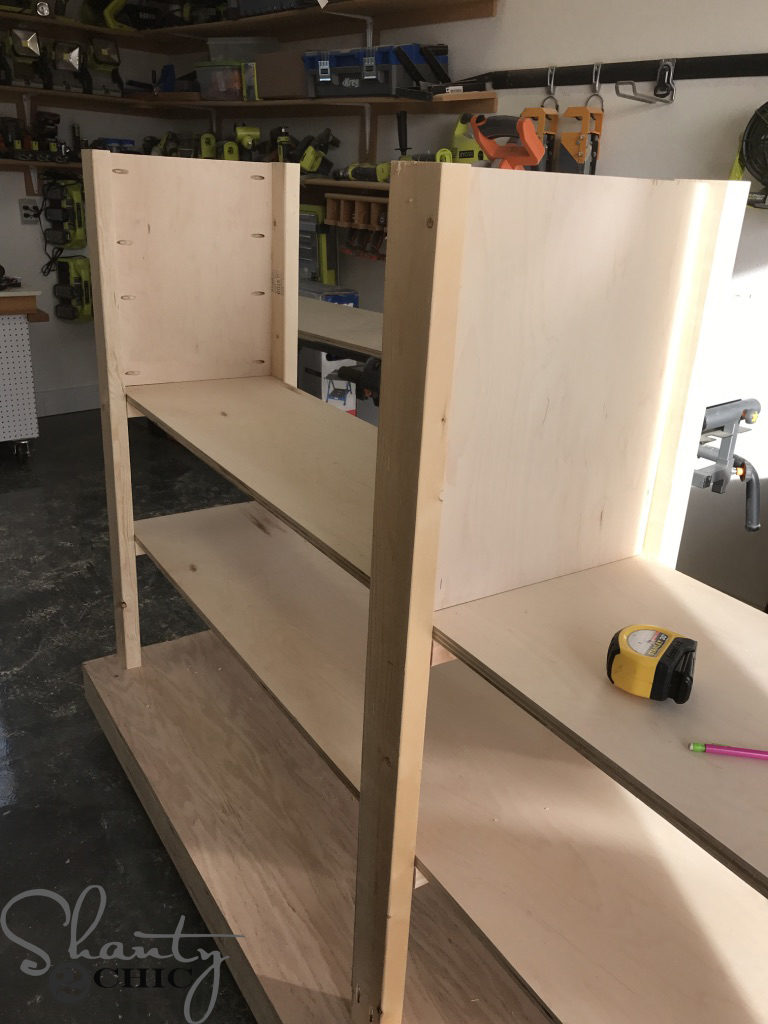
Now, to attach the ladders to the base. We attached each ladder to the base frame with 2 1/2″ pocket hole screws and wood glue, through the pocket holes on the ladder rails and into the top of the base frame.
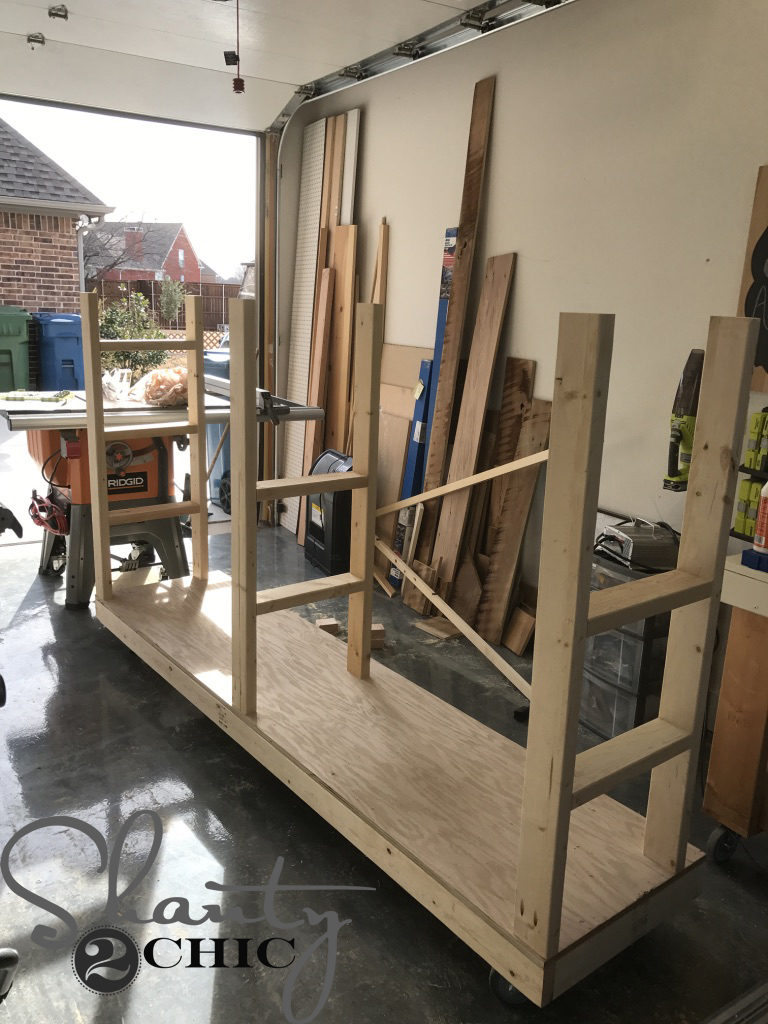
The lumber cart should look like this now. (Note: We attached the 1×4 rung after this pic was taken).
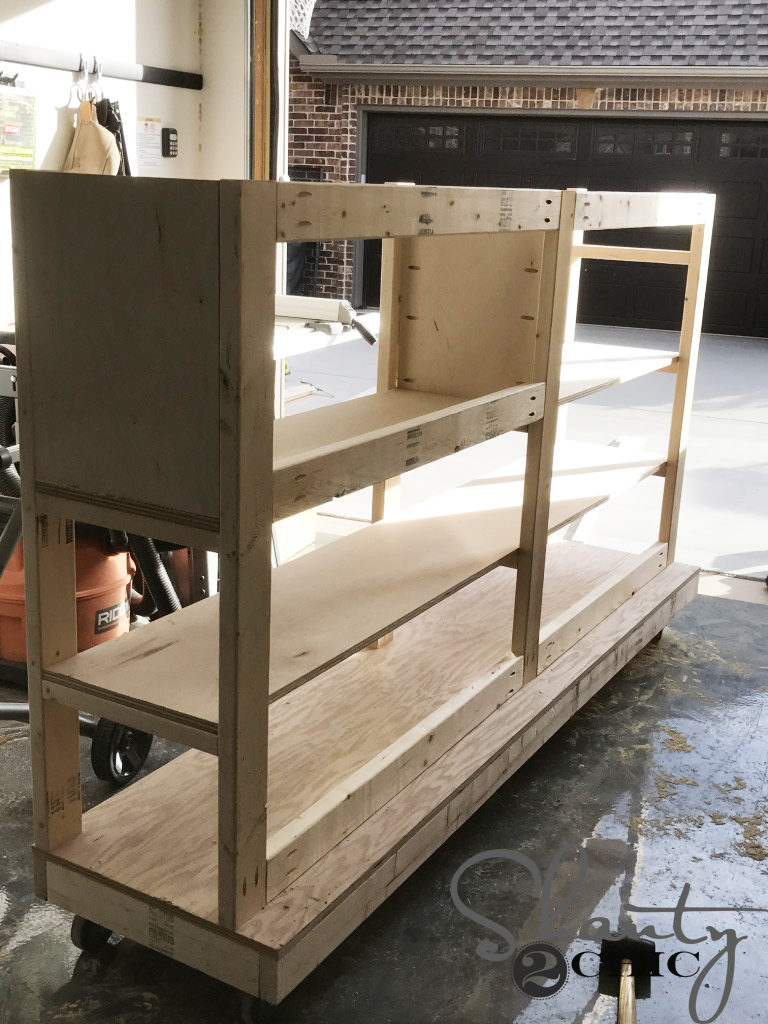
3. Attaching the Shelves
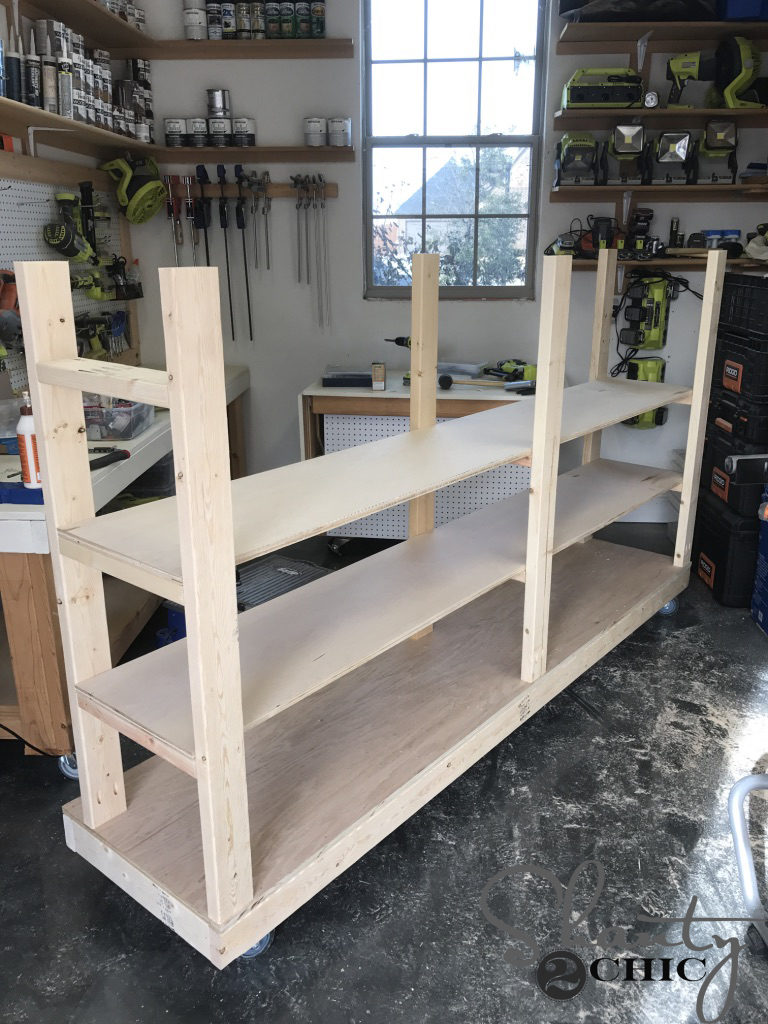
We cut the shelf pieces to size and slid them in from bottom to top.
Then, we attached them to the ladder rungs with 2″ wood screws and wood glue, from the bottom of teach rung and into the shelf. We used 1 1/4″ brad nails to attach the short shelf to the 1×4 rung.
4. Scrap Storage Assembly
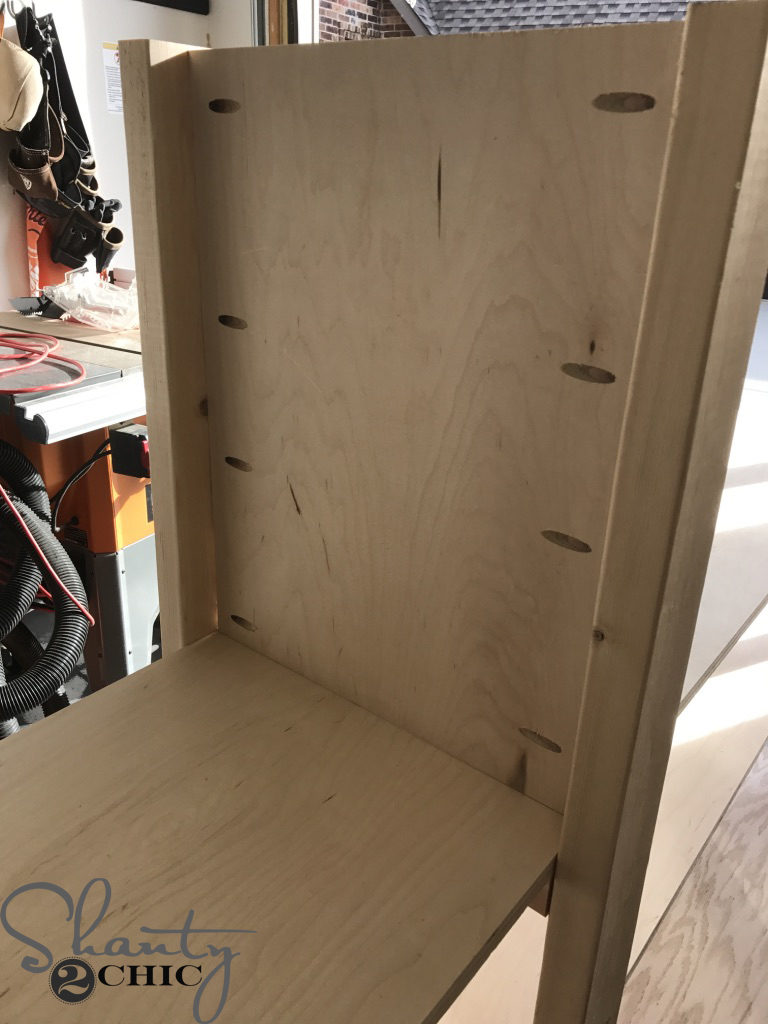
To build the scrap assembly, we cut the scrap, side panels to size and drilled 3/4″ pocket holes on the vertical sides. Then, we attached them to the 2nd and 3rd ladders with 2 1/2″ pocket hole screws and wood glue.
Both panels will be attached at different spots. Make sure to refer to the plans for the exact placement.
We flipped the lumber cart to the back and cut the back support pieces to size. We drilled 1 1/2″ pocket holes into both ends of each piece. Then, we attached them to the back of the ladders with 2 1/2″ pocket hole screws and wood glue.
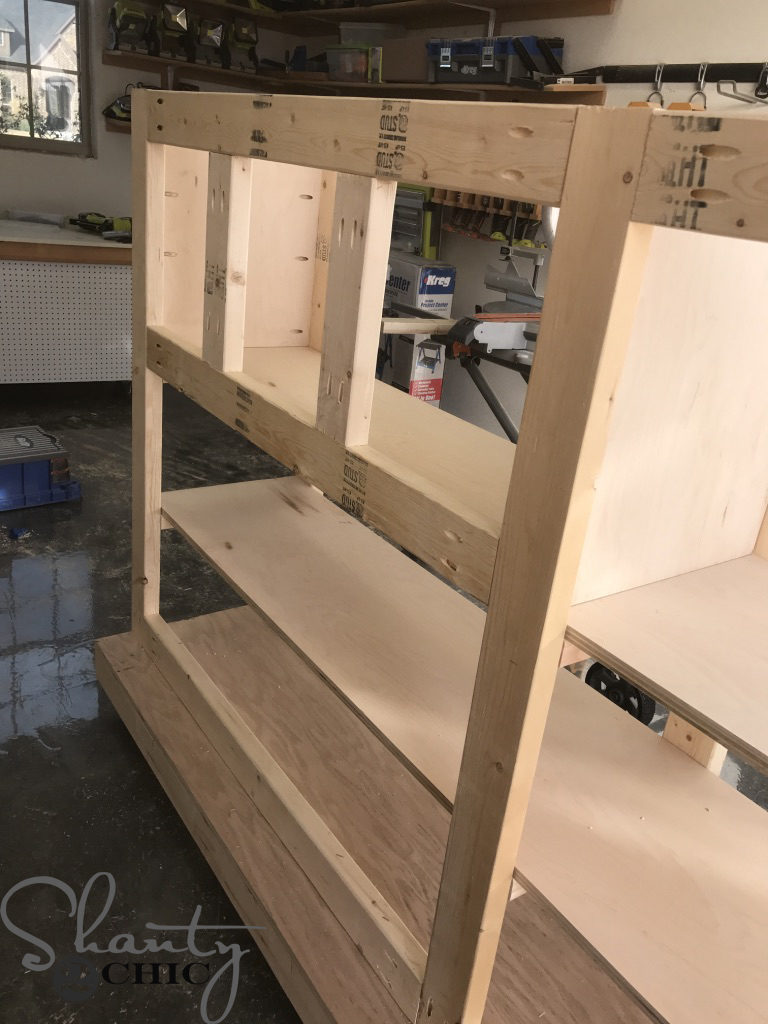
Next, we cut the vertical support pieces to size and drilled 1 1/2″ pocket holes into the ends. We attached them to the cross support pieces with 2 1/2″ pocket hole screws and wood glue.

With the back supports done, we moved on to the scrap dividers. We cut the scrap dividers to size and drilled 3/4″ pocket holes into the back vertical side of each piece.
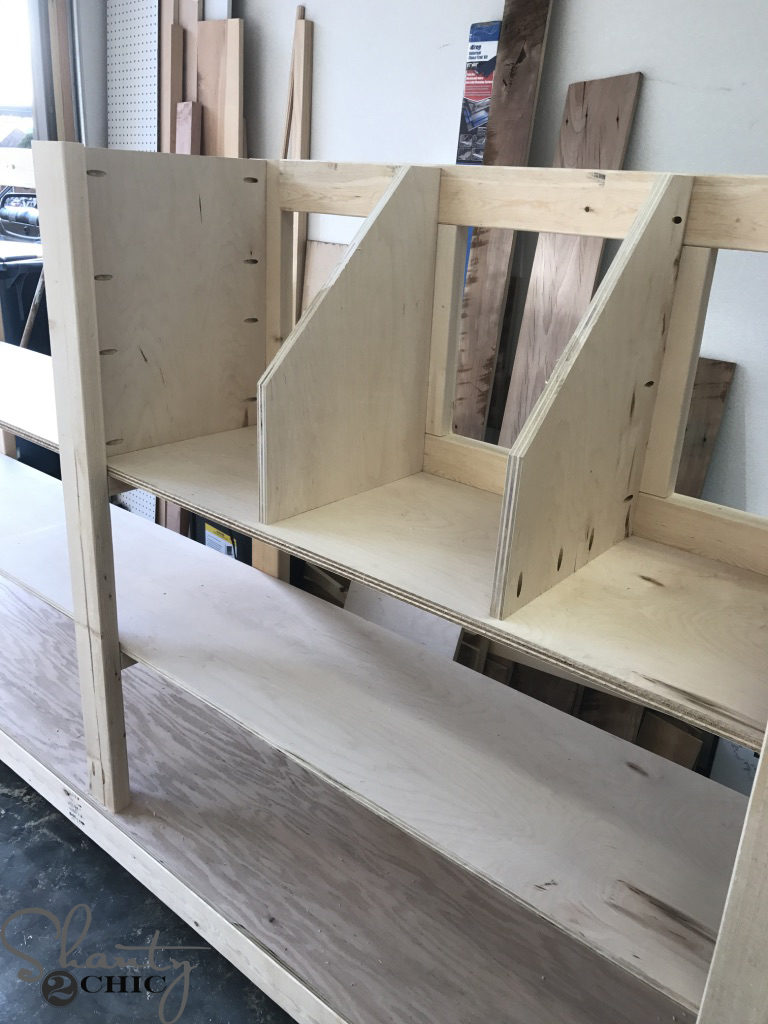
Then, we attached them to the back, vertical supports with 1 1/4″ pocket hole screws and wood glue.
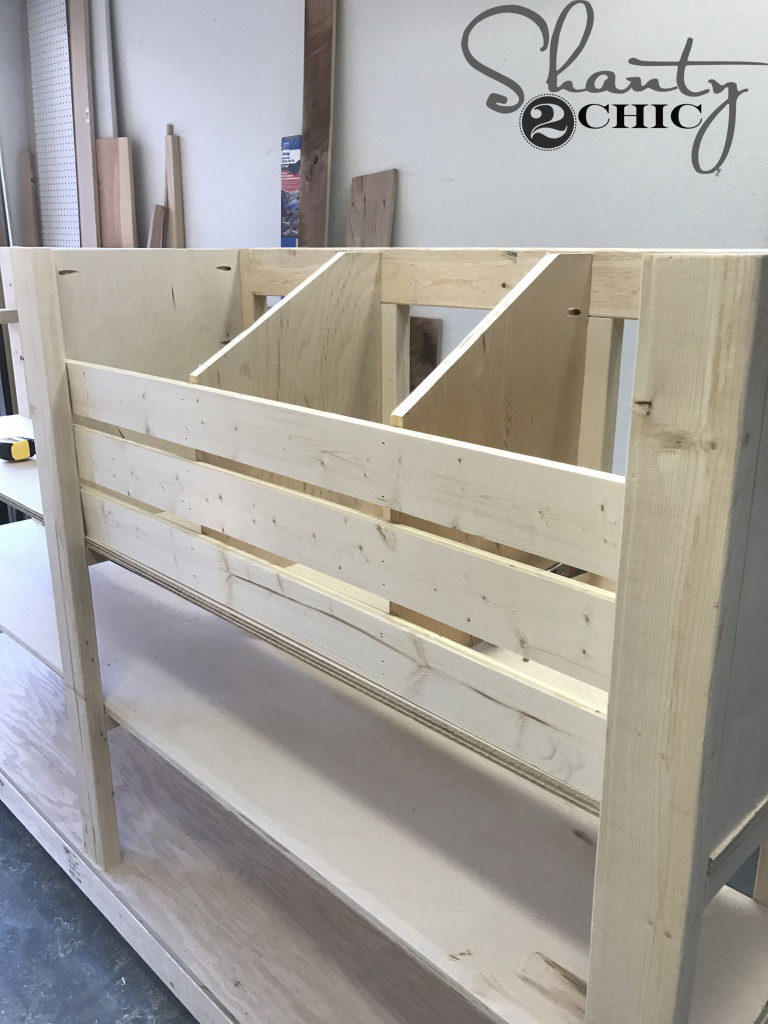
To hold our scraps inside, we attached slats to the front.
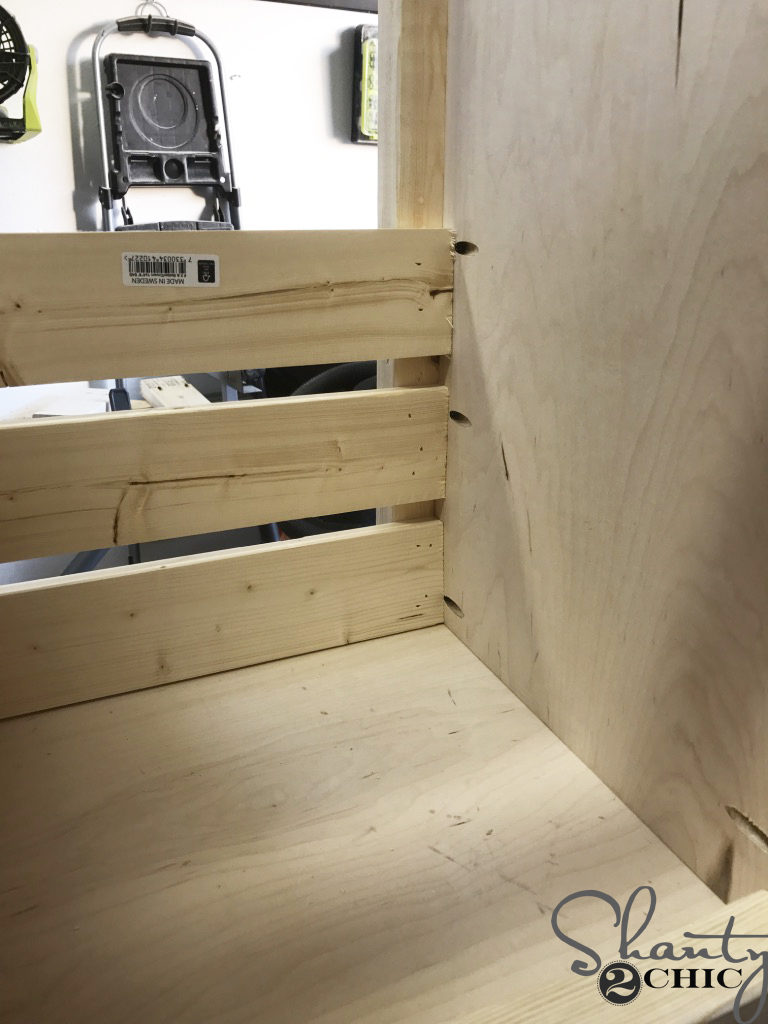
We cut the slats to size and attached them to the inside of the ladder rails with 1 1/4″ brad nails and wood glue. We also attached the front slats into the scrap dividers.
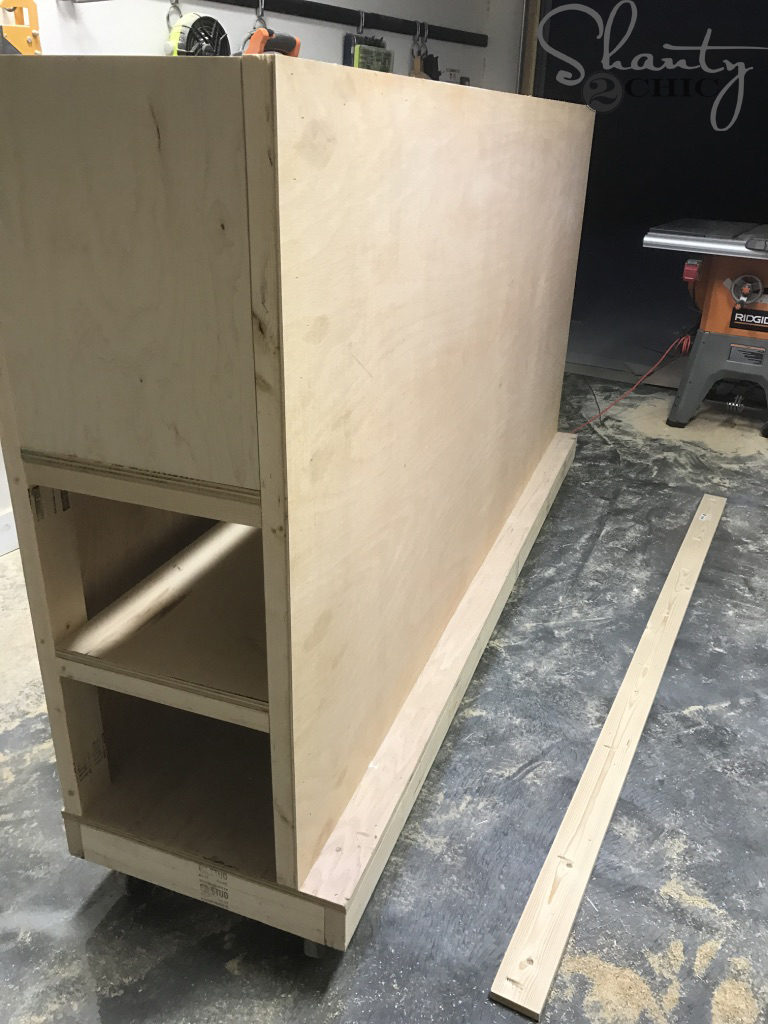
5. Attaching the Plywood Fronts and Back
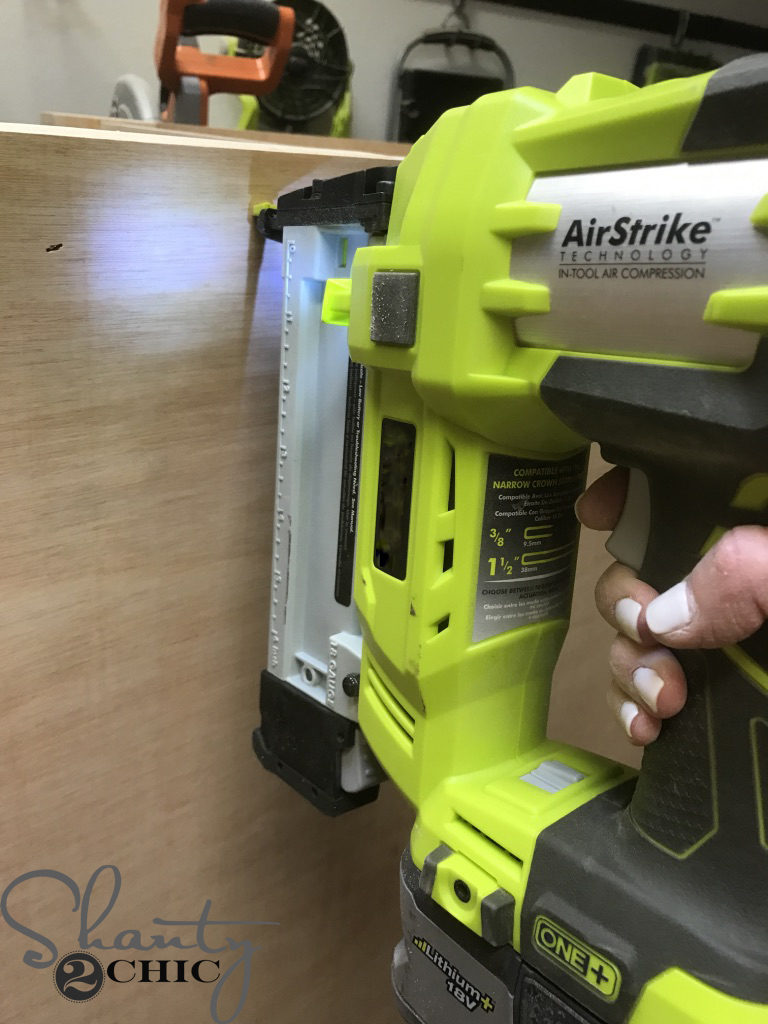
We cut the two, front pieces of plywood and the back piece to size and attached them to the ladder rails with 1″ staples and wood glue. You can also use 1 1/4″ brad nails here.
6. Ledge for Plywood Sheet Holder
The final step in assembly was to attach the ledge to the back of the lumber cart. This will create a spot to store full sheets of plywood!
We drilled 3/4″ pocket holes along one edge of the 1×4 piece and attached it to the back of the lumber cart with 1 1/4″ pocket hole screws and wood glue.
That’s it! I loaded it with all my scraps and called it a day!
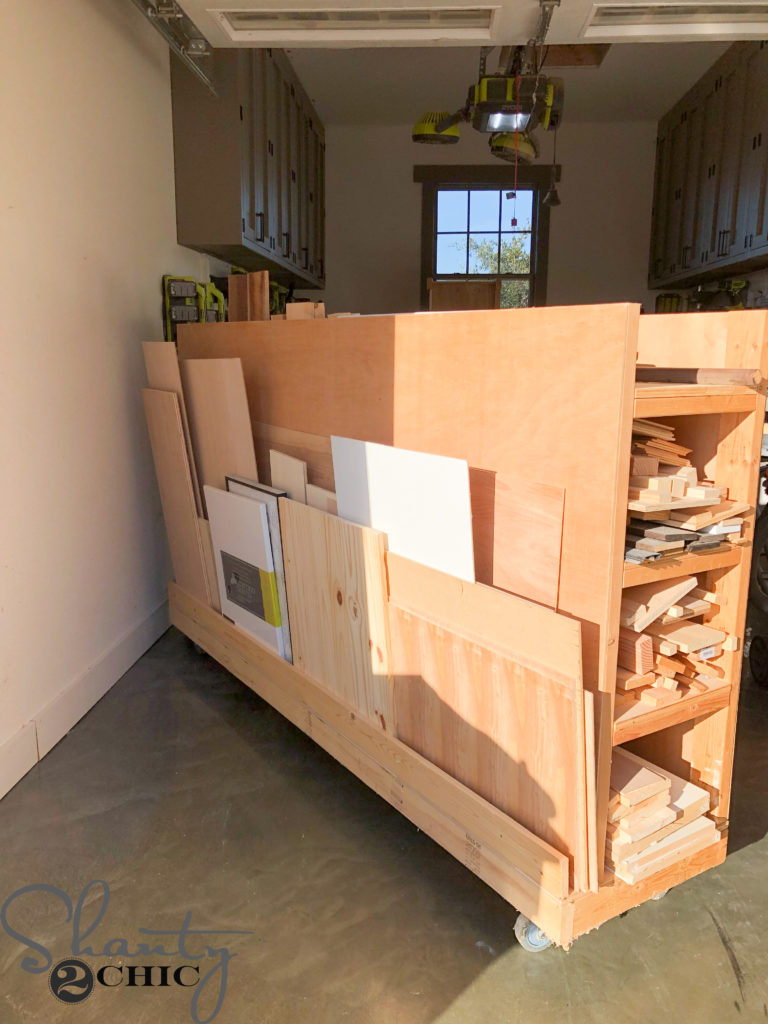
My favorite feature is the plywood storage! This spot can hold full 4×8 sheets of plywood!
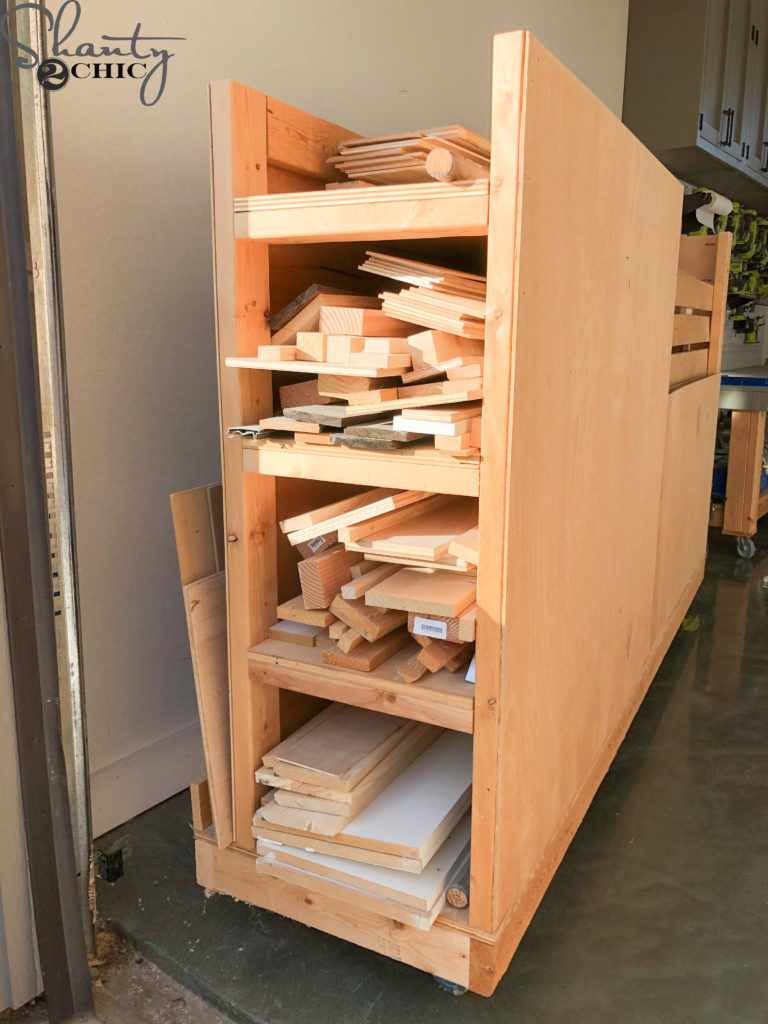
And, there are two cubbies for 8ft boards and two cubbies for 4 ft boards!
I also love the scrap bins for all the little scraps 😉
You can check out the rest of my shop in our shop tour! Just click HERE to watch!
Make sure to share your builds with us on social media and use #shanty2chic so we can share them too!
Happy Building!


Just a few things I’ve learned while completing this build (so far). If I find more I’ll add them as a reply to myself…
1. The plans only call for 6 3.5” blocks, but you need 12. There is plenty of scrap on other boards to complete the cuts though. No additional wood is needed.
2. When attaching the blocks to the bottom, 2.5” screws go through the plywood. I reduced the screw size to 2” instead and it worked great.
3. When attaching the ladders to the base I could not get the Kreg Jig driver + drill into the space below the bottom rung to drill it in. I had to do it by hand using a screwdriver.
Just sharing in case it’s helpful to others in the future. I’m super grateful for the plans and project – looking forward to an organized garage!
Very useful tutorial, I need to re-organize my workshop, this will come in very handy!
I’m so grateful for the images! They make all the difference! Thank you. This is a very useful tutorial.
You can not see how long your pieces are till you pull them out
gonna throw this together this weekend for my garage/workshop
Absolutely LOVE this build! Hubby and I really need this in our garage/workshop. Thanks so much for the post. You two are amazing! 🙂
Be still my heart! I just sent the link to my husband, as I’ve been trying to describe my lumber cart idea for six months, but he lacks three dimensional imagination! And since we only ever finish a project to 95% before starting another, I’m just about ready! 🙂