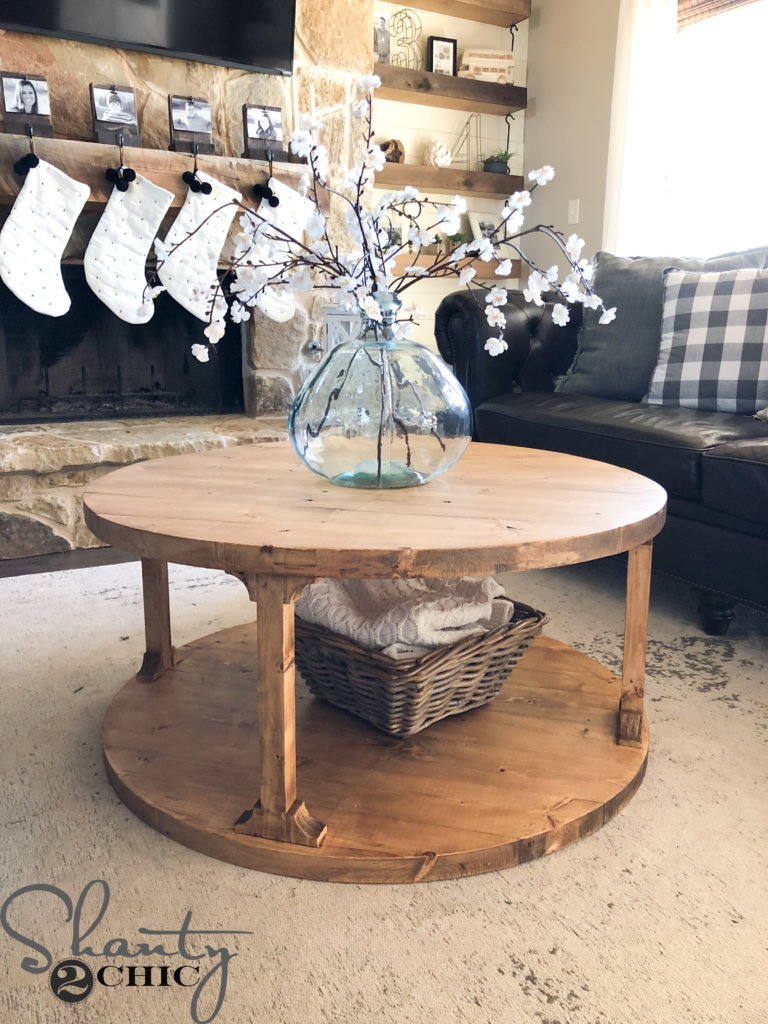
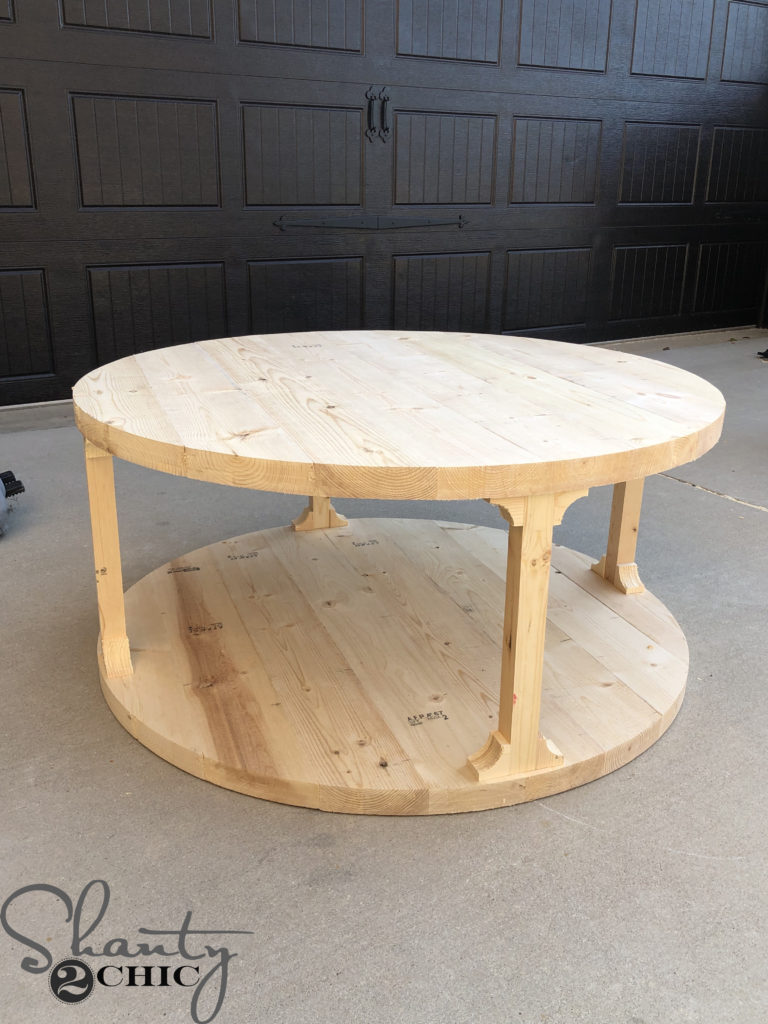
One of our most requested furniture builds has to be a round table! Whether it’s a coffee table, kitchen table or dining table, we always get requests for a round option! Well, today, we are sharing how to build this DIY Round Coffee Table and, it’s very easy and won’t break the bank! We were able to build this beauty with only seven 2×6 boards for a grand total of $39!
So, let’s get to building! Just click HERE or the box below to build the coffee table with us!
How fun was that?! I love getting creative to save time and money so my favorite part of this build was definitely the corbel cuts! You can also follow along with the build process below and make sure to download the Free Printable Plans!
Click HERE to download the FREE Printable Plans!
Table of Contents
How to Build DIY Round Coffee Table
Building the Top and Bottom of the Coffee Table
Step 1: Ripping the Round Edges
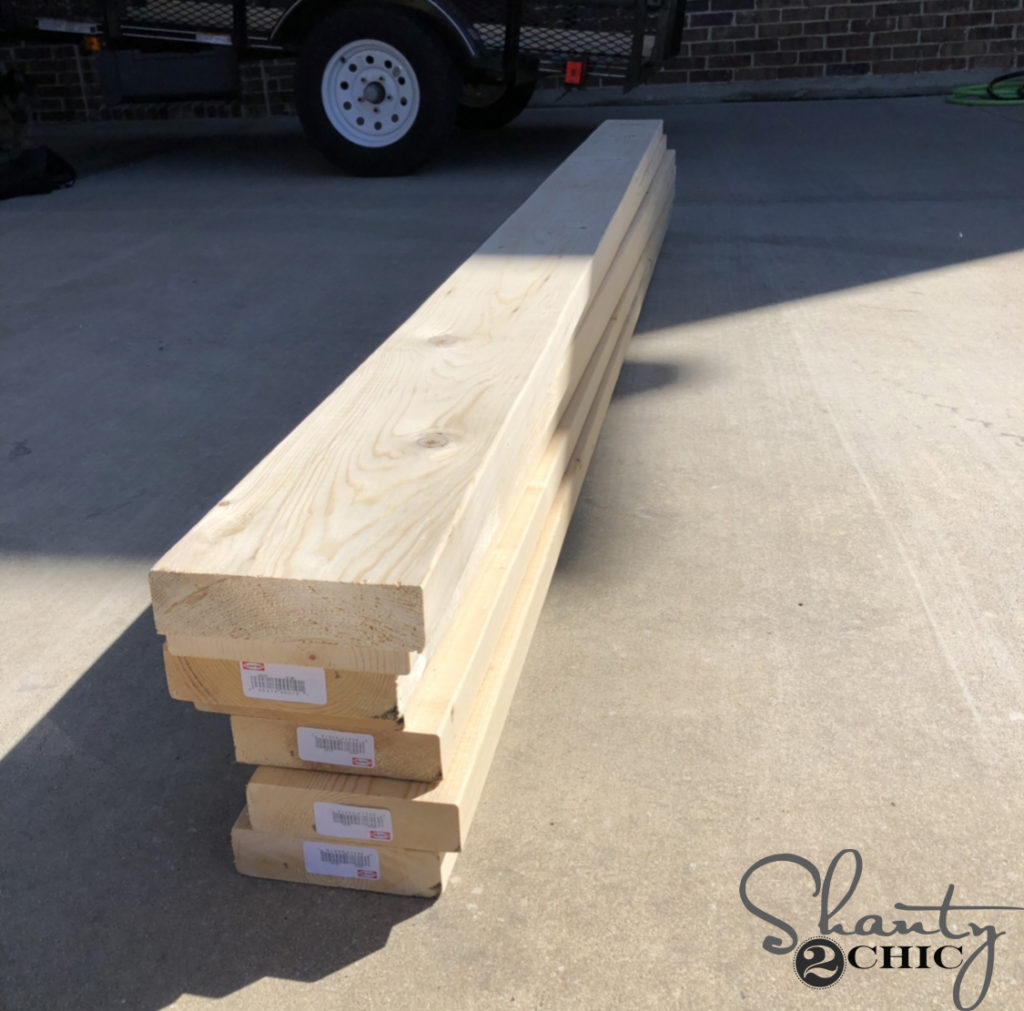
Here is all you need to build this table – seven 2×6 boards. Our first step was to rip the round edges off the boards, making them 5″ wide each. We also ripped the 2×2 boards and the corbel boards from the left over 2×6. This saved us a lot of money! This is not a necessary step but if you choose not to rip your boards, make sure to adjust the measurements and supply list, accordingly!
Step 2: Pocket Holes in Planks

Once the boards were ripped, we cut the top and bottom planks to size. We drilled 1 1/2″ pocket holes into each plank. You can find our favorite Kreg Jig model HERE!
Also check out our How to Use a Kreg Jig video HERE!
Step 3: Attaching the Planks
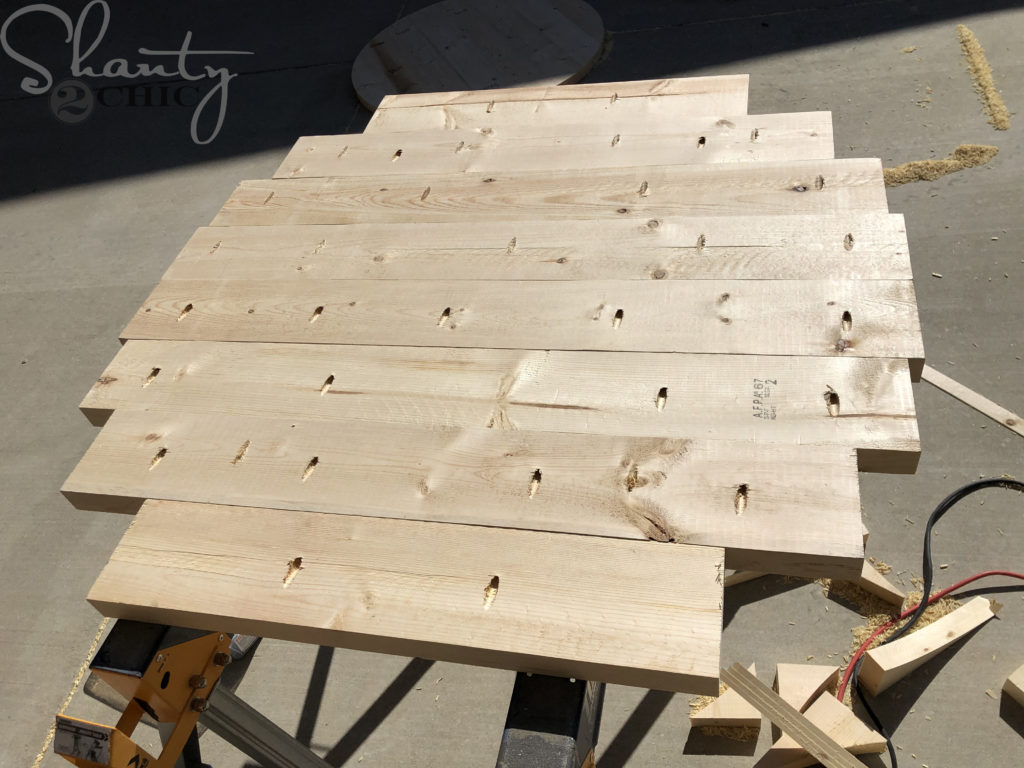
Then, we attached them together with 2 1/2″ pocket hole screws and wood glue. Refer to the printable plans for the pocket hole placement, direction and spacing of the planks. Build two of these to create a table top and bottom.
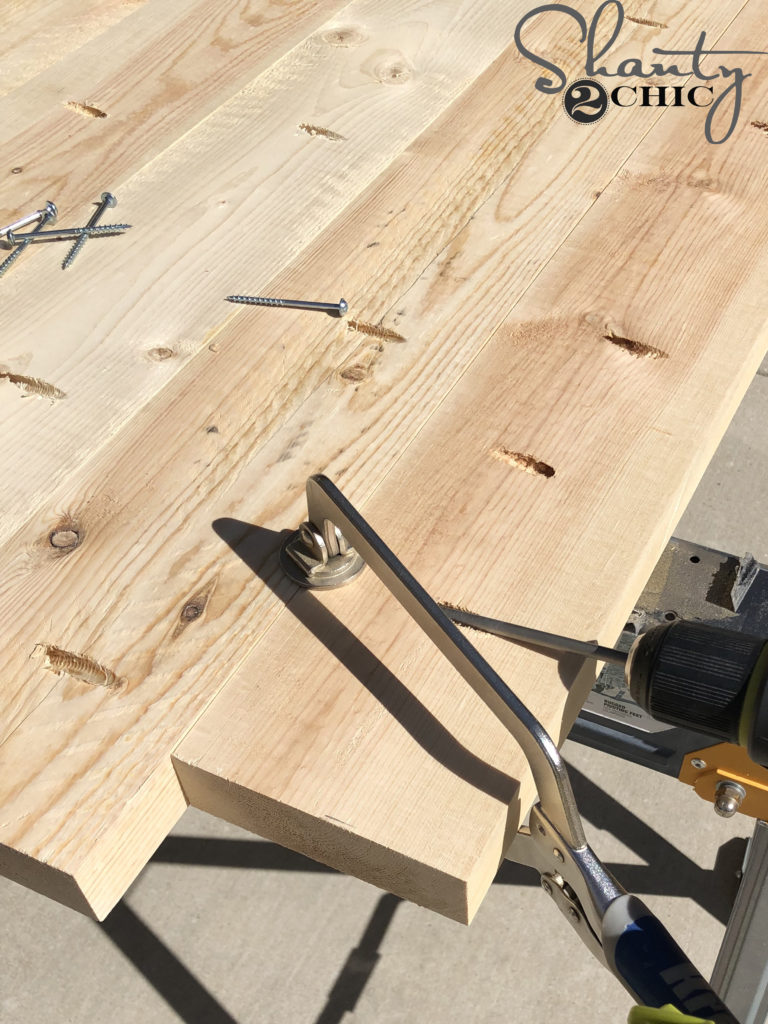
We always get asked how we make our table tops so smooth! Our favorite technique is using a Kreg Tool Face Clamp at each pocket hole. This will squeeze the boards together in place while we attach! You can find the 6″ model that we use for our table planking HERE!
Step 3: Making the Circles
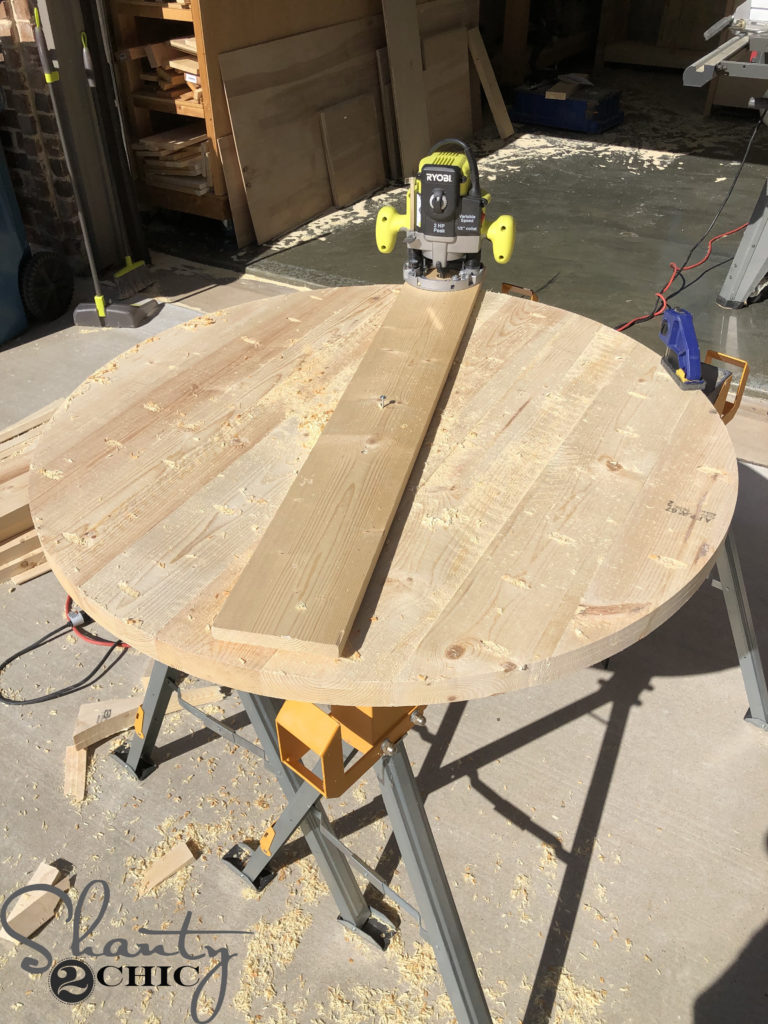
Next, we used a plunge router, attached to a circle jig and cut a 38″ diameter circle, from the table top and bottom. You can learn how we made our circle jig HERE! We followed the same steps to create another round piece.
You will need a special router bit for this type of cutting. You can find the one that we used HERE!
Assembling the Coffee Table
Step 4: Coffee Table Legs
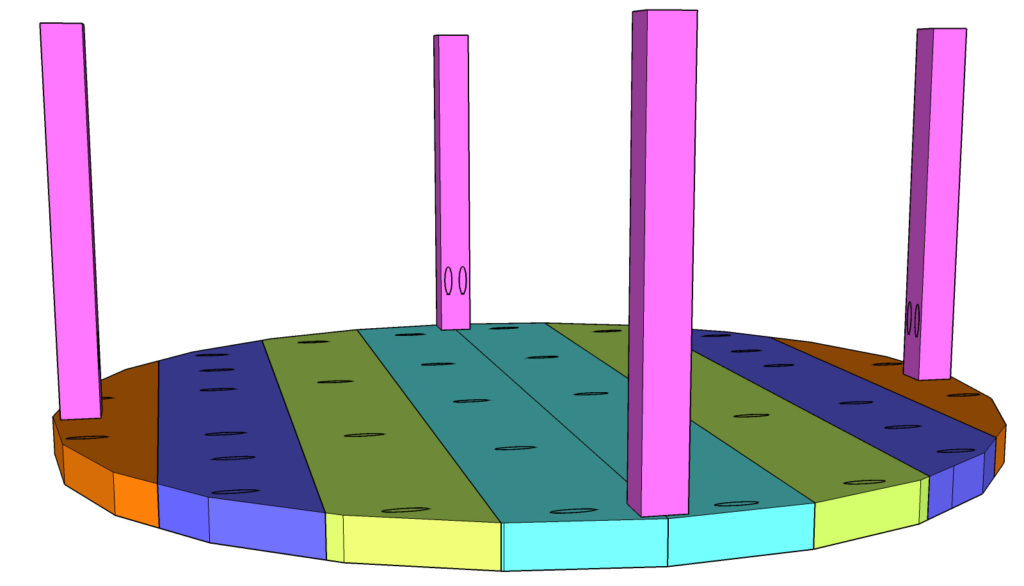
Once the table top and bottom were cut, we moved onto the legs! We cut the legs to size and drilled 1 1/2″ pocket hole on one end of each leg. Then, we turned the table top upside down and attached the legs to the bottom of the table top with 2 1/2″ pocket hole screws and wood glue.
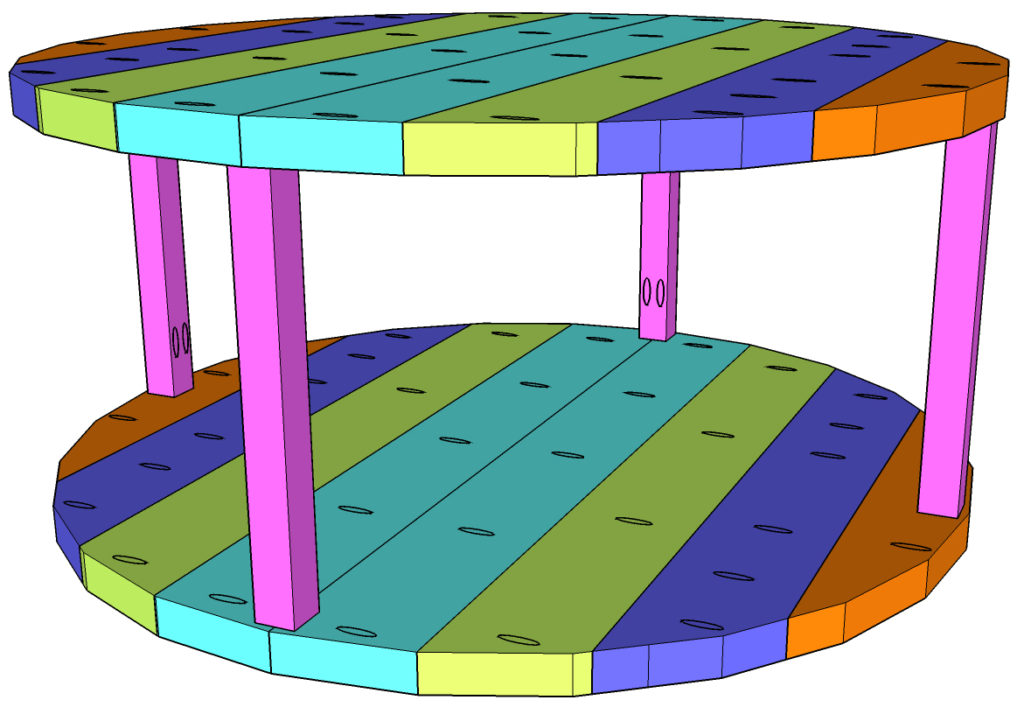
We flipped the table bottom upside down and attached it to the table legs with 2 1/2″ wood screws and wood glue, from the bottom of the table bottom and into each table leg. We used 2 screws per leg.
Decorative Accents
Step 5: Creating the Corbels
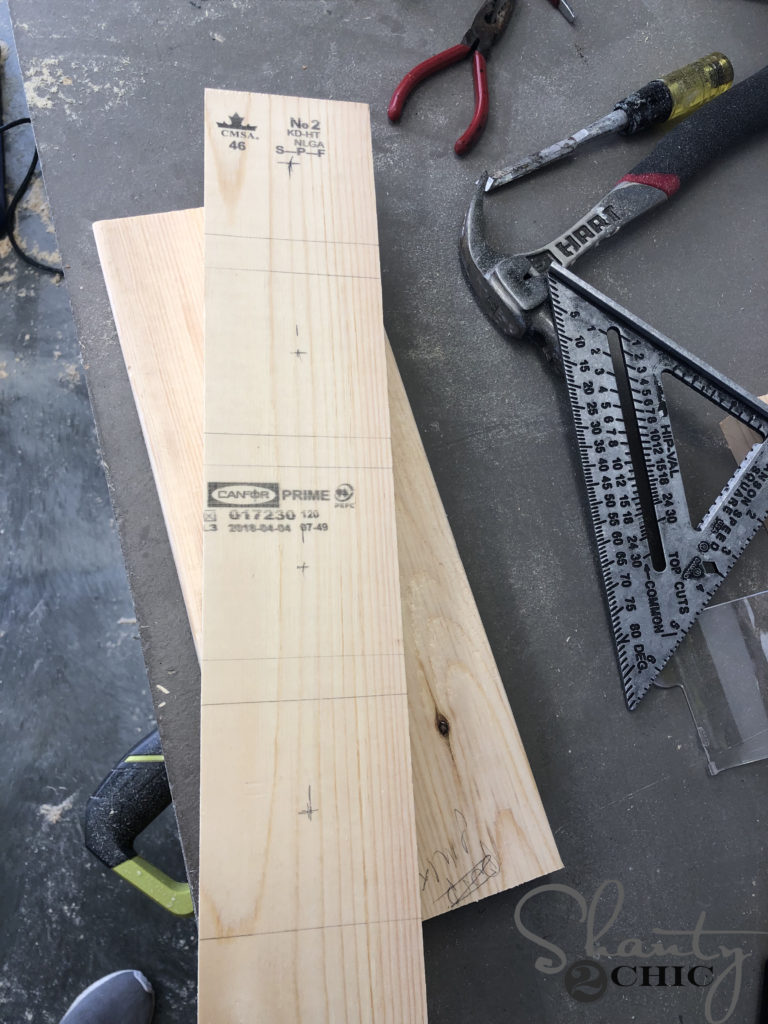
The best way to cut the corbels is to rip a 3 1/2″ board from a 2×6 board.
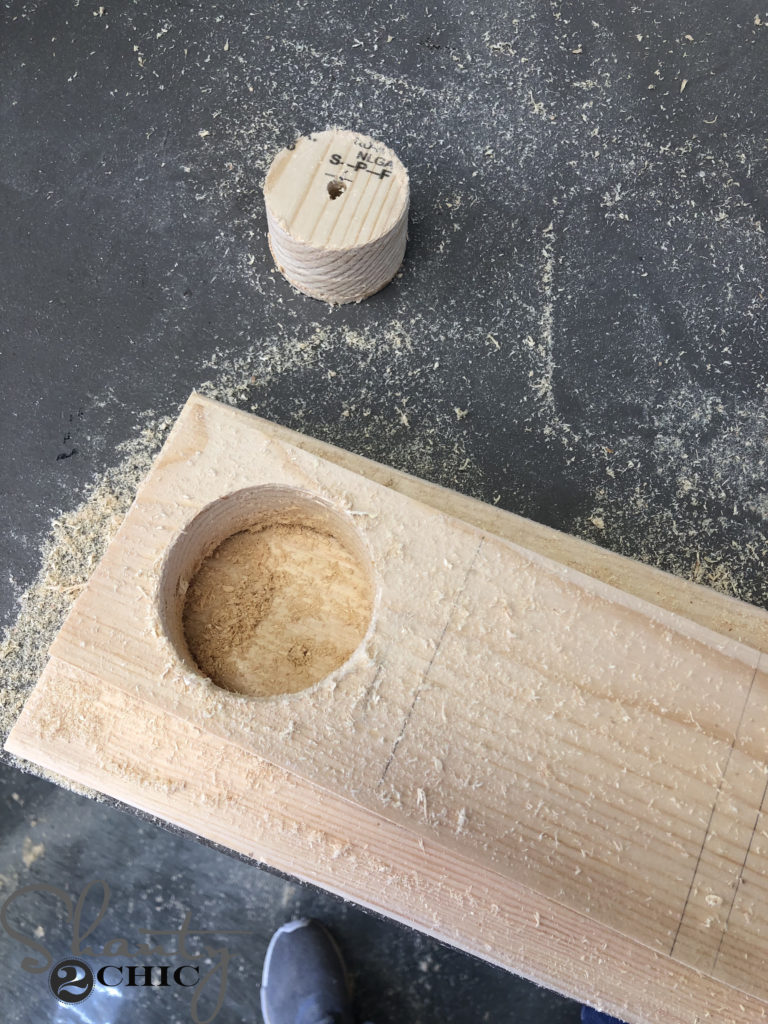
Mark for four 3 1/2″ squares and drill a 2 1/2″ hole in the center of each square, with a hole saw cutter. You can find the hole saw cutter that we used HERE!
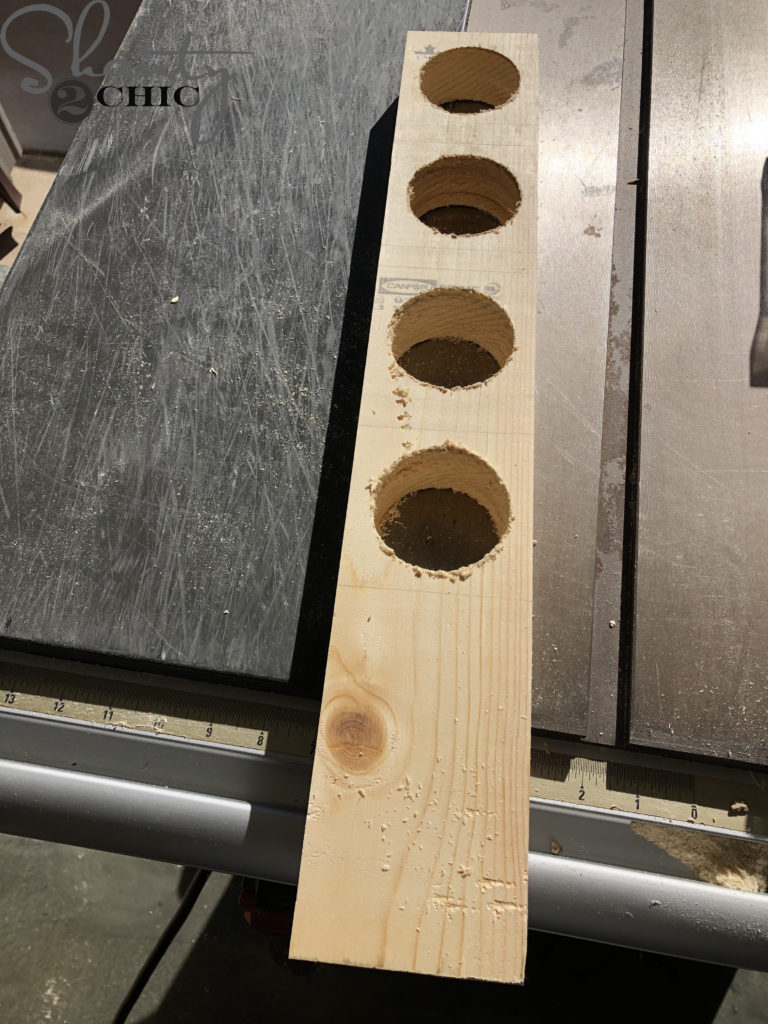
Do this for four circles.
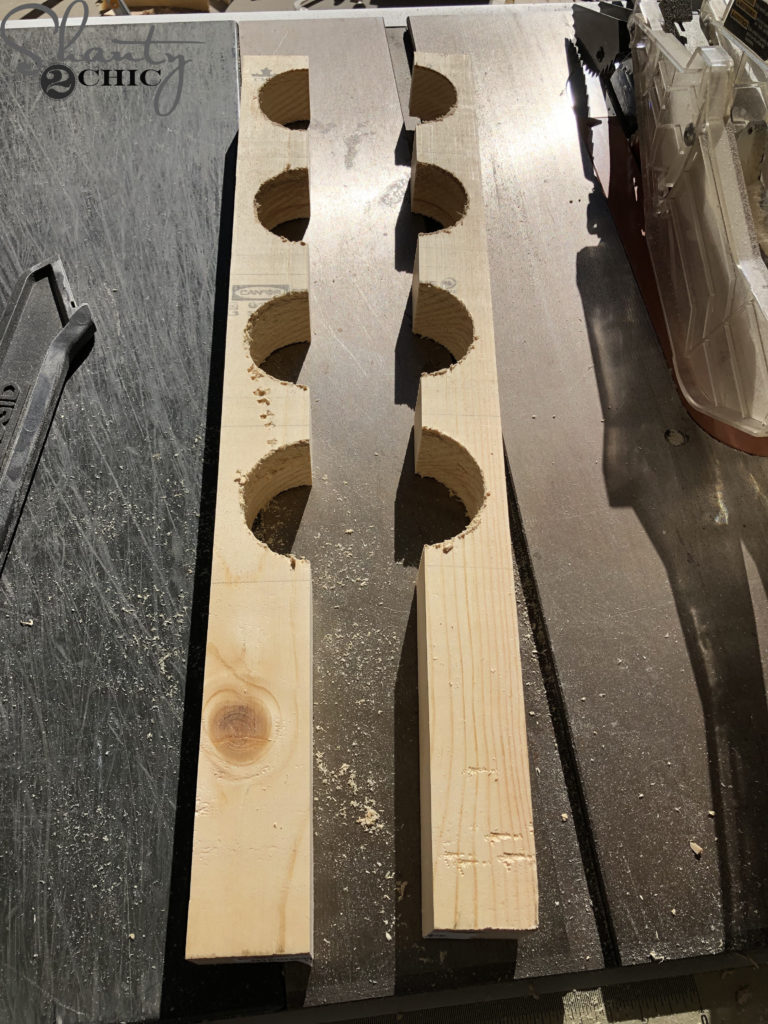
Once the four circles are cut, rip the entire piece down he middle to create two boards with four arches. From there, cut each arch in half to create 16 corbels. Check out our how-to video for even more detail on this technique.
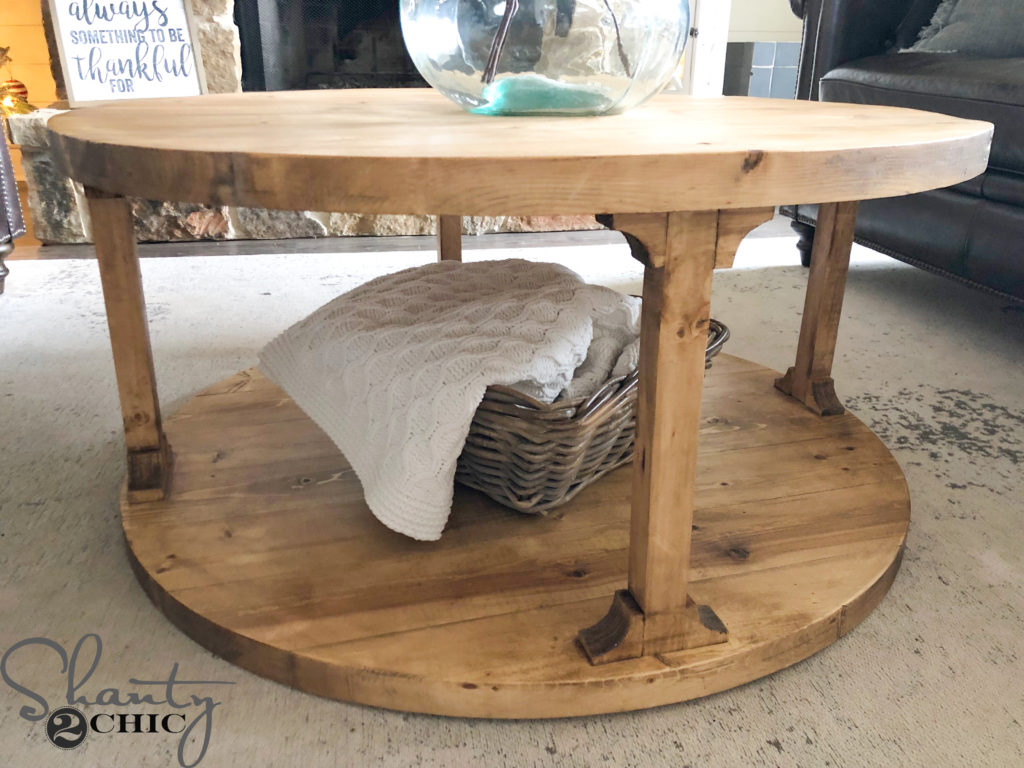
Step 6: Attach the Corbels
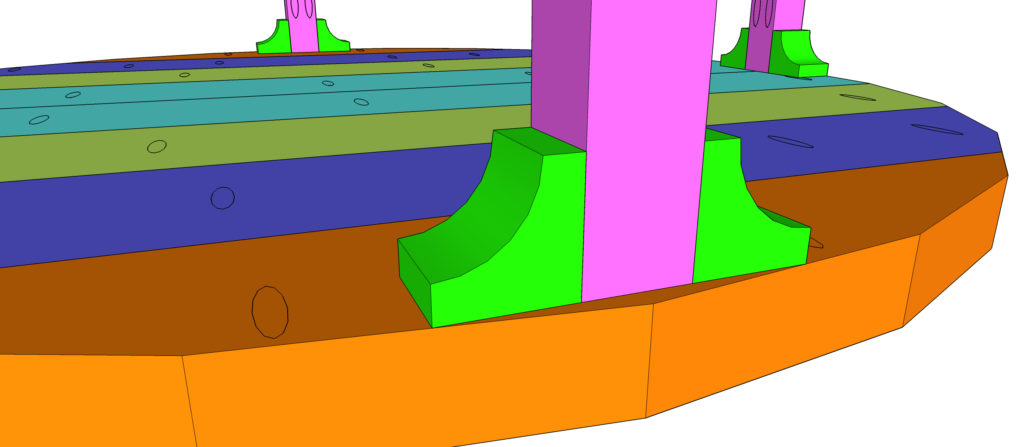
Attach four corbels to each leg with 2″ brad nails and wood glue. The corbels should be flush with the legs on the front and back.
The Finish
Step 7: Sand and Stain
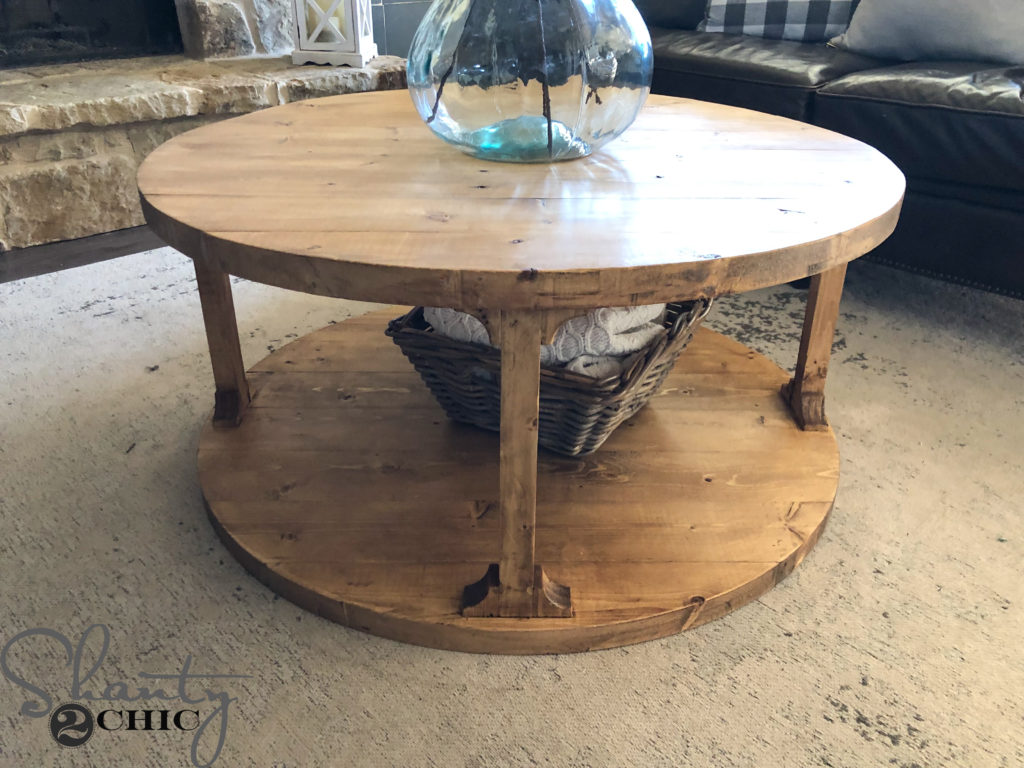
That’s it! Now, give it a good sand and a finish! You can find the stain that we used HERE!

Not bad for only 7 boards and $38 of lumber 😉


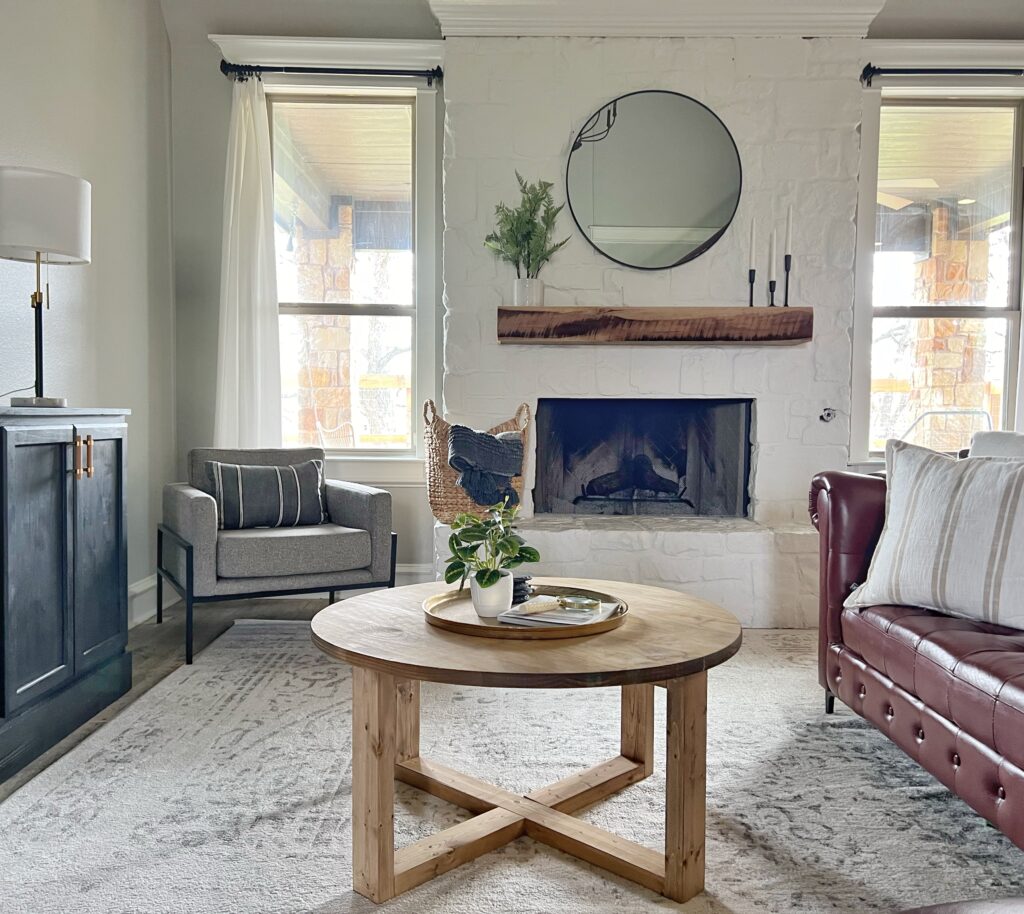
Make sure to check out the links below for info on the other items in this room! Hope you all enjoyed our DIY Round Coffee Table project and the how-to video!
Happy Building!
Click the links below for info on the other items in this room:
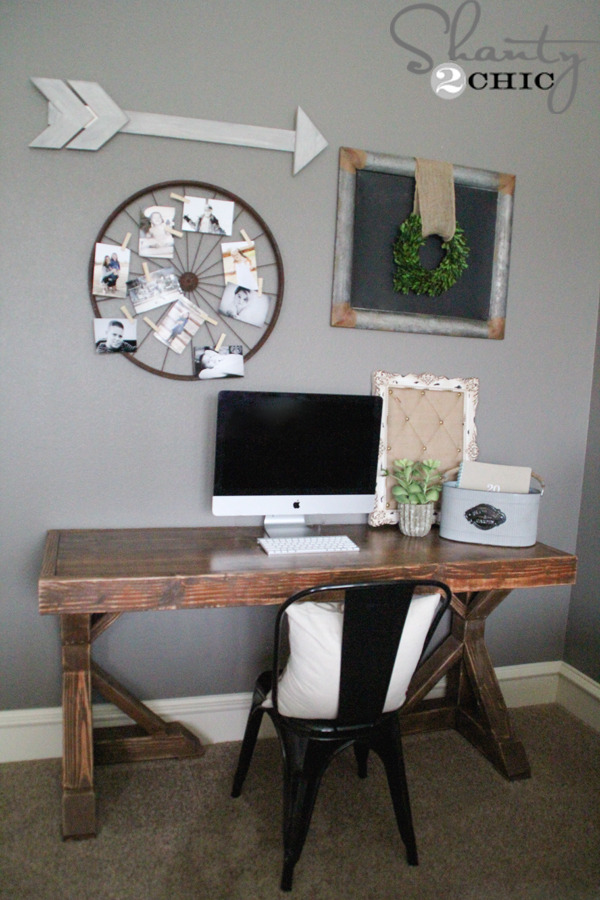
Always Something to be Thankful for Sign
Pillows are a mix from AtHome, Kirkland’s and Target
More Coffee Table Plans


Check out our complete list of DIY Coffee Table Plans to find the perfect table for your skill level, style and size!


This round coffee table design looks fantastic. The circular form helps soften the layout of a living area while still providing a functional surface for everyday use. It’s impressive how the simple construction approach results in a piece that feels both modern and timeless.
From an interior industry perspective, round tables are often preferred in living spaces because they improve movement flow and create a more conversational seating arrangement. Furniture pieces like this also highlight how thoughtful material selection and clean structural design can produce durable yet visually appealing interior elements. We’ve also been following similar furniture and material trends across the interior industry here: https://plywoodbazar.com/
Built this in 2021 at a cost of $115.
Stain color and finish is all dependent on the type of wood and degree of sanding,
On pine always use a pre stain conditioner.
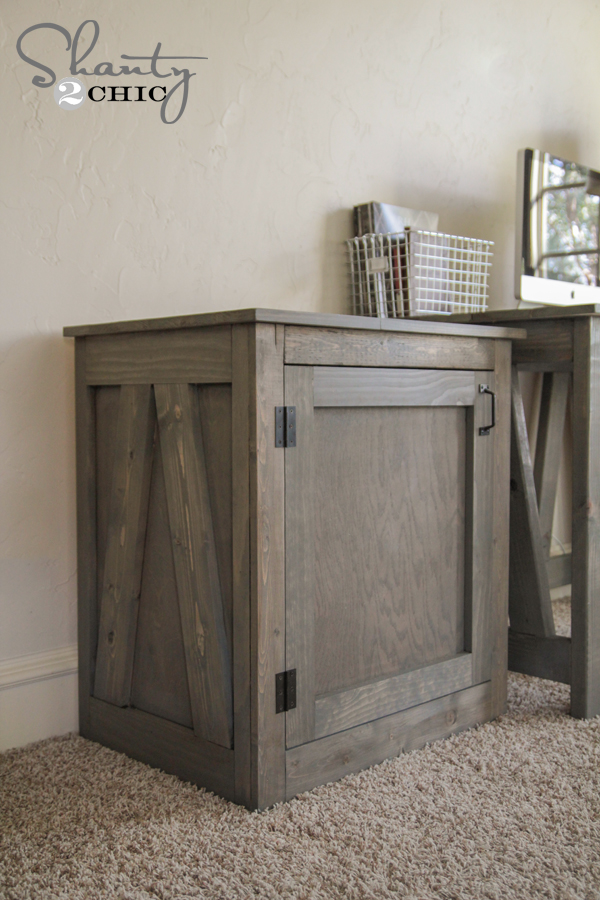
This lives in my daughters living room with a matching end table and two other S2C items
Hi there! We bought the same stain you used, and tried it out on a scrap piece of wood. It doesn’t match what is pictured. Did you use anything else to achieve that color? My husband put 3 coats and it’s giving a more yellow color. Thank you in advance!
Hello Whitney and Ashley! I have been wanting to build this since the plans came out but my husband calculated it would weigh close to 100 pounds. Is this about accurate? In the video you mention it being heavy but I didn’t want to give up hope ?
Thank you ladies and hope you are doing well!
What are the finished dimensions of the tabletop? I need a new top for my pub table in my kitchen and this looks like it would be perfect! I’d like the finished product to be 32″ in diameter… What modifications would I need to make?
Is the honey maple stain the only finishing product you used? I’m curious how that stain color gave it a slightly weathered look. I like the look but it doesn’t seem like that stain alone will achieve that. Thanks
Is the honey maple the only stain that was used? What mini wax stain would be comparable to that color?
Can this be used outside. On patio
I am curious why you use a Kreg jig on most of your tabletop builds, instead of a biscuit joiner? Is one better than the other?
I believe it is because the Kreg Jig is easy for any wood builder to use. Plus pocket holes are a great joint to use and probably less intimidating for someone who is wanting to start building than other joints.
Great build and great instructions. However, my table top bowed. How Do I keep this from happening? Thank you!
Pocket hole joinery is an easy entry level method that can eliminate the need for pipe clamps. I use both pocket holes or biscuits depending on the project.
I am just curious as to which ryobi plunge router I should use, the fixed based router or the plunge base router?
You guys are amazing! What an inspiration you are to the average person. Thank you for blessing us by sharing all that you do. I anxiously await each newsletter to see what “new” project I can dream of trying.